How to Break In Your ATV
January 30, 2009
By Jason Giacchino
If you’re anything like us, the day you’ve actually gone down to the showroom to pick up your shiny new ATV is the final step in a long succession of research, daydreaming, and sales-brochure memorizing. It may seem like the hard part is over with by the time you fill out all of the credit paperwork and swap cash for keys, but in truth the entire life expectancy of your new ride depends critically on the precautions you exercise shortly after leaving the dealer.
Your machine has very likely endured a multipoint tech inspection during its assembly at the dealership. Though pre-lubed, greased, and filled up with fluids before you even pressed the starter button for the first time, keep in mind that many systems and components on your quad will be undergoing seating, break-in, and excessive wear during those first few hours of operation.
The following steps should get you and your ATV started on the proverbial “right foot” for a long and mostly trouble-free relationship.
Step 1: Oil is the Engine’s Lifeblood
 You may hear mechanics and wannabes alike claiming that oil changes are less important then ever thanks to tighter tolerances and advances in oil lubricants. While these claims may be true to a certain extent, break in is certainly not the time to experiment. Proper break-in of a new ATV engine is an essential aspect to the vehicle’s longevity. The key to successful break-in is to ride the quad easy but not so mellow that the rings can’t seat within the cylinder. The best way to do this is to combine a high load with low RPM. In other words lug the engine a bit by riding smoothly in a higher gear then necessary as opposed to popping it into one gear and revving it out.
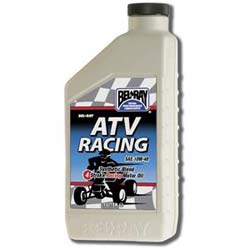
The oil that comes inside your engine will be adequate for the first few hours of break in but conduct a thorough oil change immediately after. It’s not a bad idea to consider a synthetic blend even over a full synthetic. Make certain to run motorcycle or ATV specific oil blends as the yare designed to lubricate the clutch (this is known as a wet clutch) as well as the engine’s internals. Automotive oil and full synthetics may be adequate at lubing up the engine but usually lead to clutch slippage.
Step 2: New Oil Filter is a Must
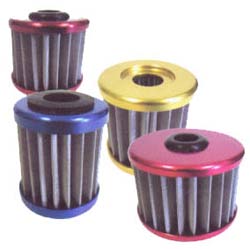 Some riders feel that swapping out the fluid oil volume is sufficient in protecting their engine but in truth never are there more fine metal fragments and shavings mixed within the oil than after those first few hours of break-in. Keep in mind that the system is designed for the oil to carry these fragments through the filter where they are then screened out and deposited. No sense risking contamination of your new oil by leaving the old packed up filter in place.
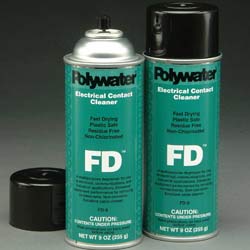
When you have the filter out, it’s not a bad idea to break out a can of contact cleaner and actually spray right through the drain bolthole on the bottom of the casing and within the filter housing itself. It sounds excessive but there could easily be fragments lurking in these areas that will go unnoticed until picked up by the new oil.
Step 3: Lube Away
 Sure your ATV was greased at all of the pivots before leaving the factory but this grease is designed to withstand overseas shipping and initial break-in operation. Asking it to endure for the life of the machine is simply looking for trouble. Not to mention that all it takes is a little contact with the water from a pressure washer to blast this lubrication away.
It’s always a good idea to check any and all exposed bearings and pivots (swing arm linkage for example) and to apply a thick slosh of quality waterproof grease on these areas BEFORE they show signs of compromised performance. The common mistake is to wait until bearings begin to squeal or drag before paying attention to them and by then it’s almost always too late.
Step 4: Chain Gang
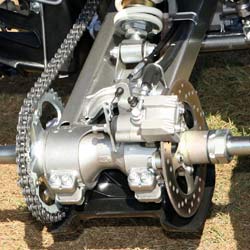 It’s quite normal for the quad’s chain (shaft and belt drive units need not apply) to stretch a bit during those first few rides. However, just because a bit of additional slack is normal, it’s critical to check to make sure it hasn’t become too loose. It’s a good practice to get in the habit of keeping a small ruler in your toolbox for this specific purpose. This way, whenever you lube the chain, you can measure and jot down the amount of slack present. Your vehicle’s owner’s manual will provide the proper range of movement expected before the chain will require tightening or replacement (depending on how many times you’ve tightened it before).
If you find yourself in a situation where you can’t access a ruler to measure the amount of slack, the rule of thumb is typically no more than two to three finger widths of vertical movement.