SS Camaro - Track trips, build pics etc.
#11
 11-21-2015, 02:45 PM

Join Date: Aug 2010
Posts: 230
Likes: 0
Received 0 Likes
on
0 Posts
Ebrake cables
Passenger airbag
AC side cooling fan
2 door speakers
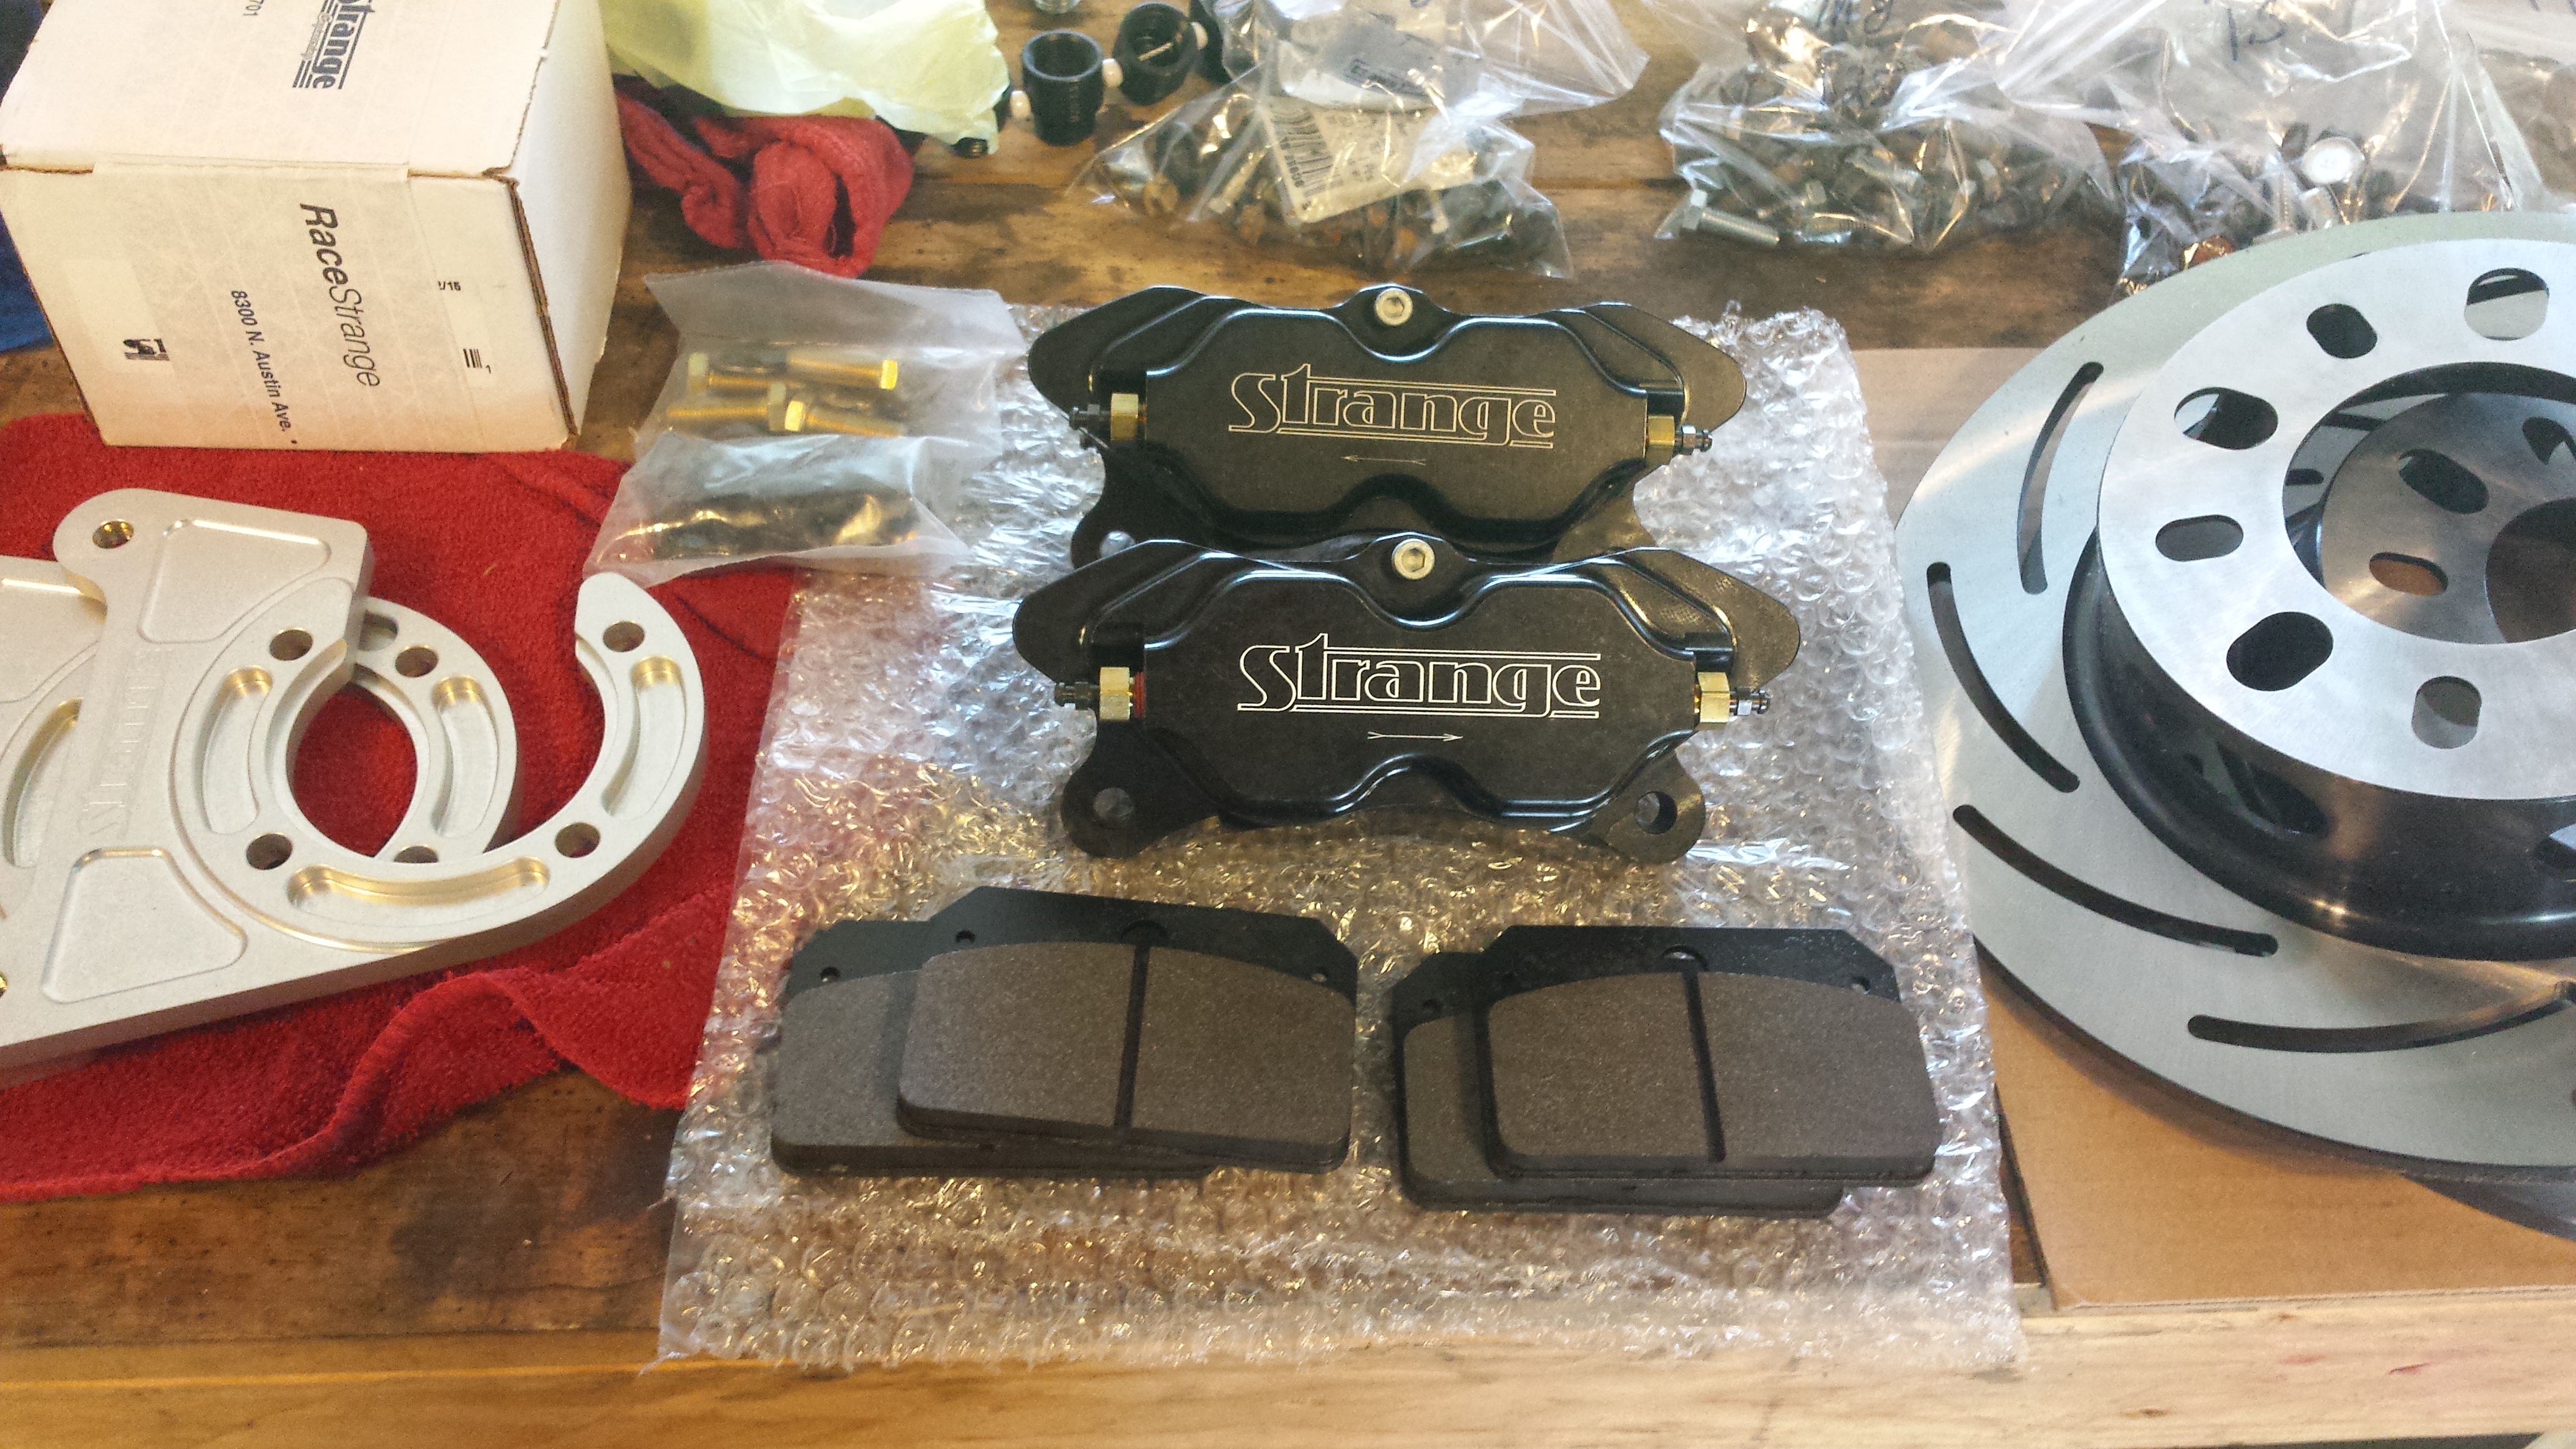
I originally got this kit, with Strange aluminum hubs. After looking I was sure it would not fit behind a stock wheel due to the design and the large dust cap. After searching around I found most drag wheels allow for the dust cap to come through the center. Since switching wheels was not an option I contact Midwest Chassis and they revised the kit to work with a stock hub and therefore stock wheels.
The kit for drag wheels:

Here's the modified kit and brackets:
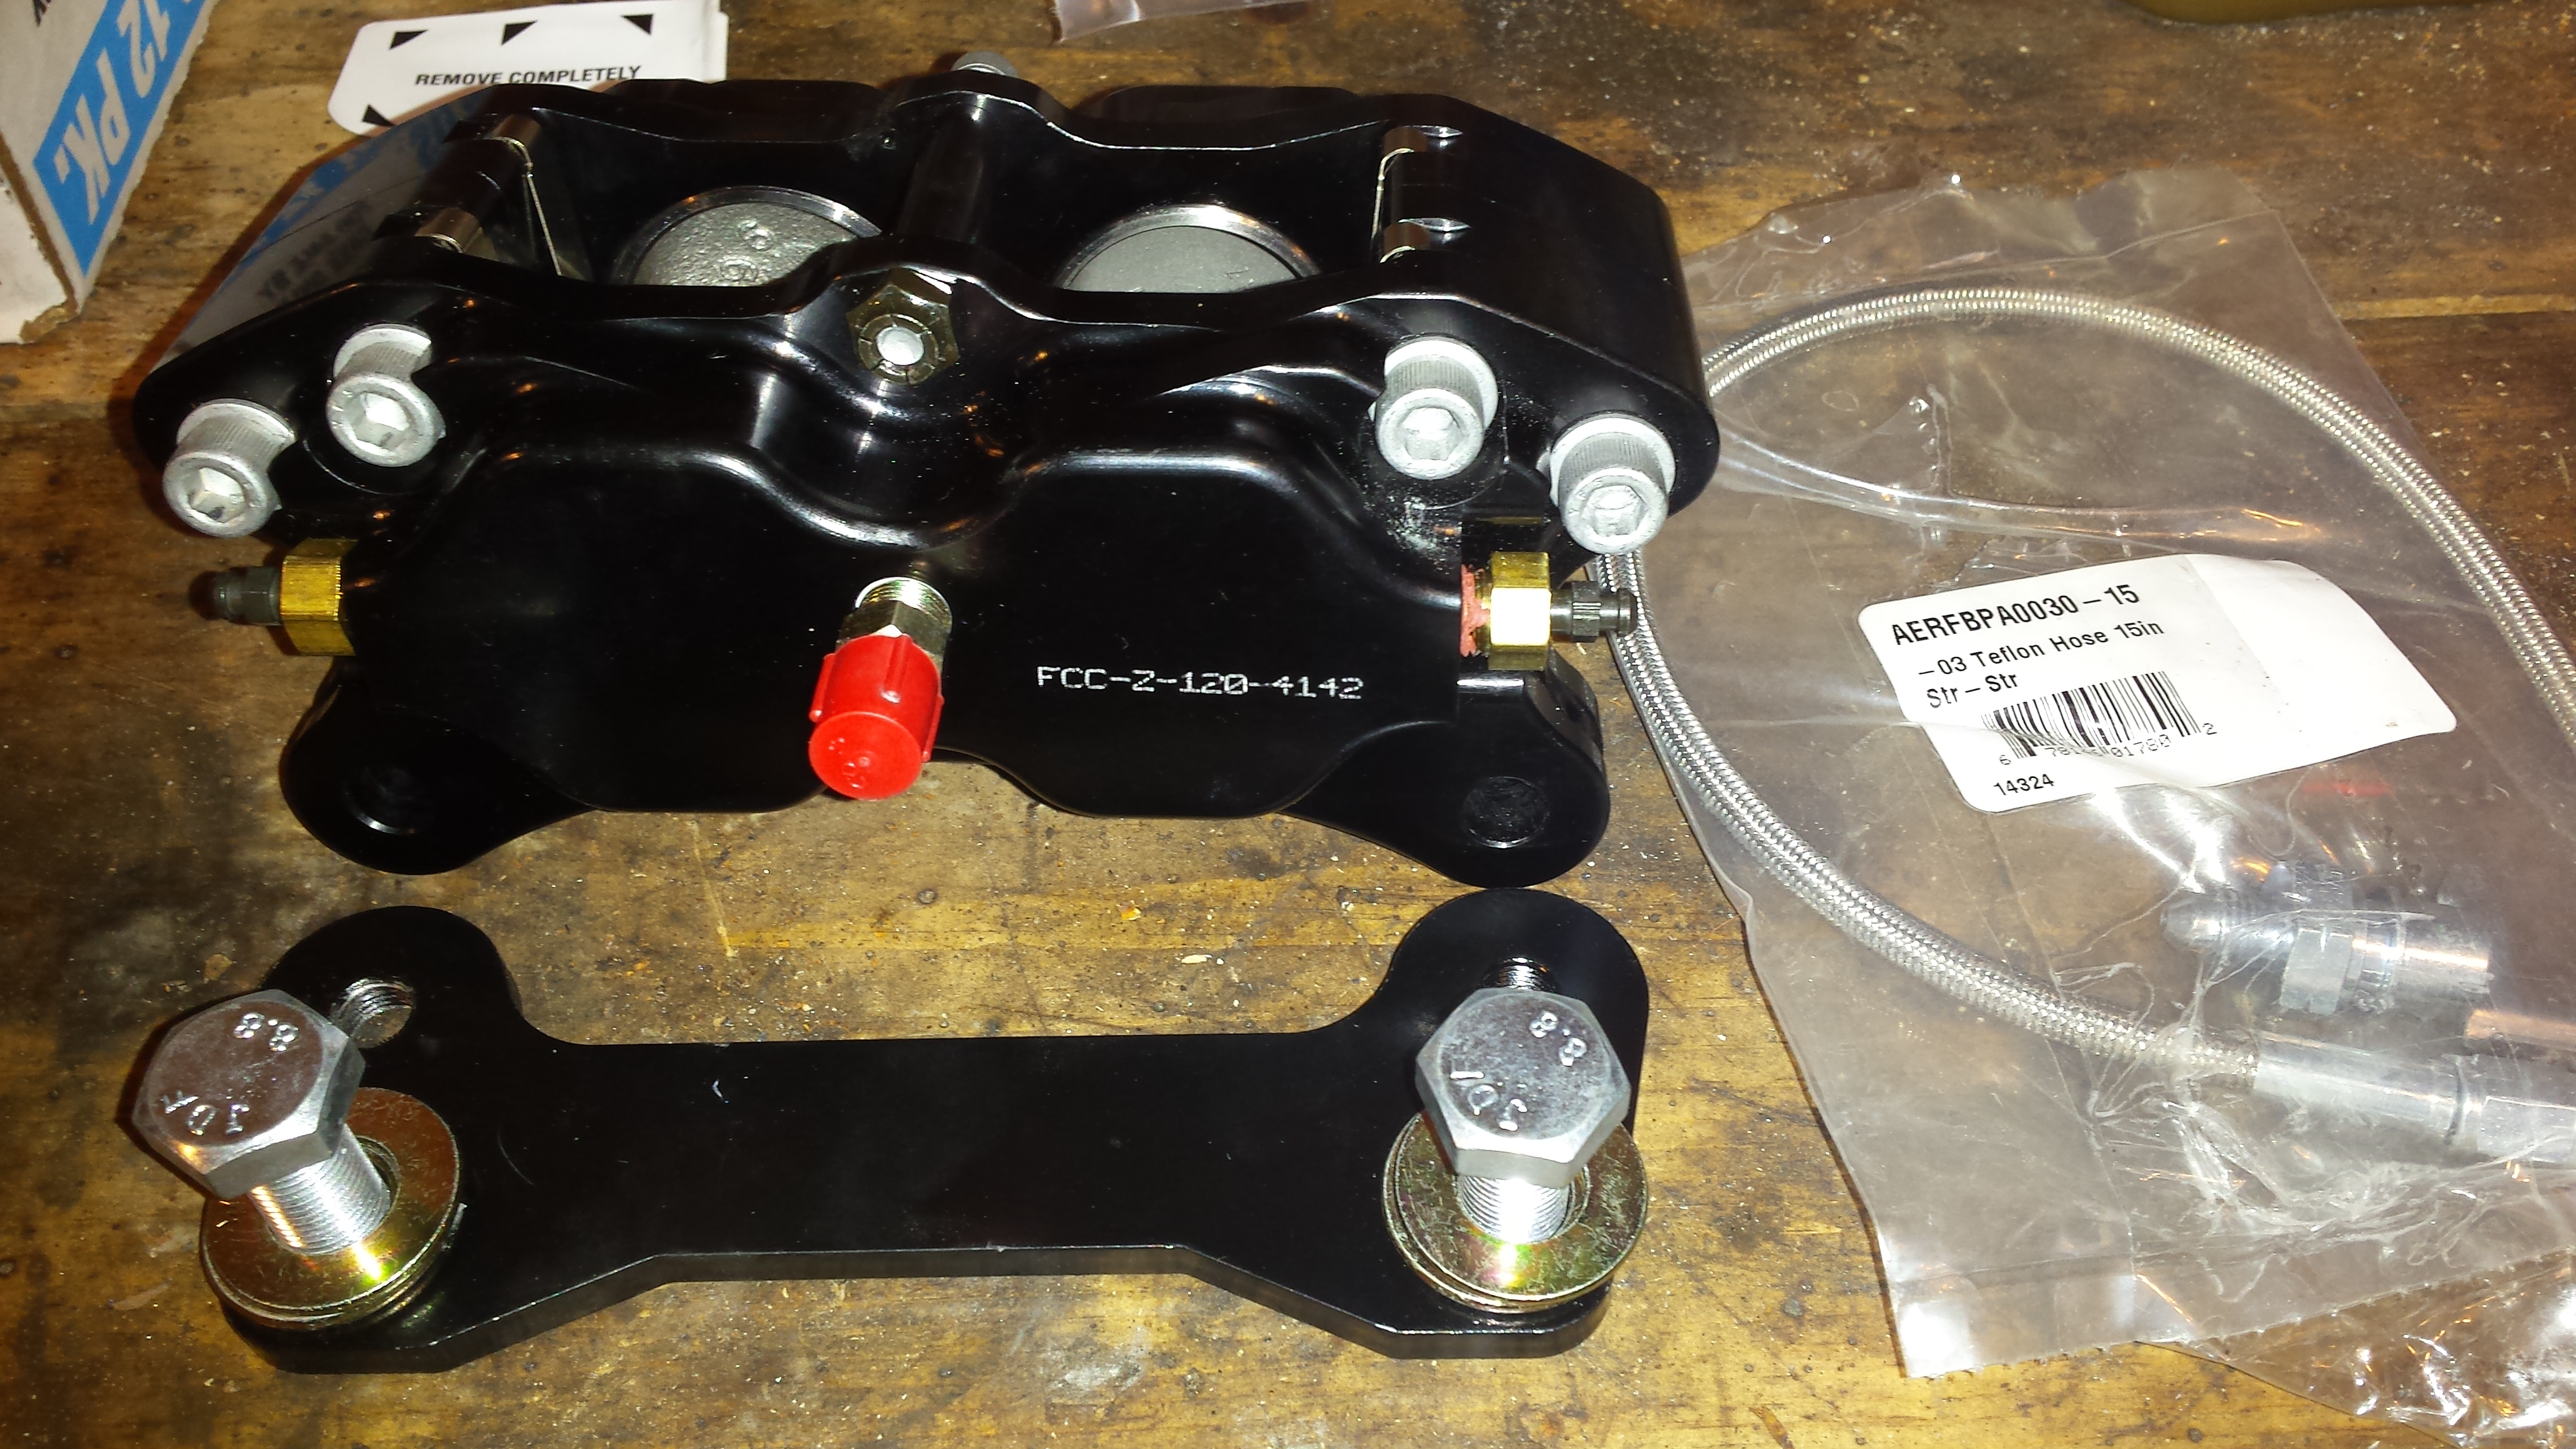
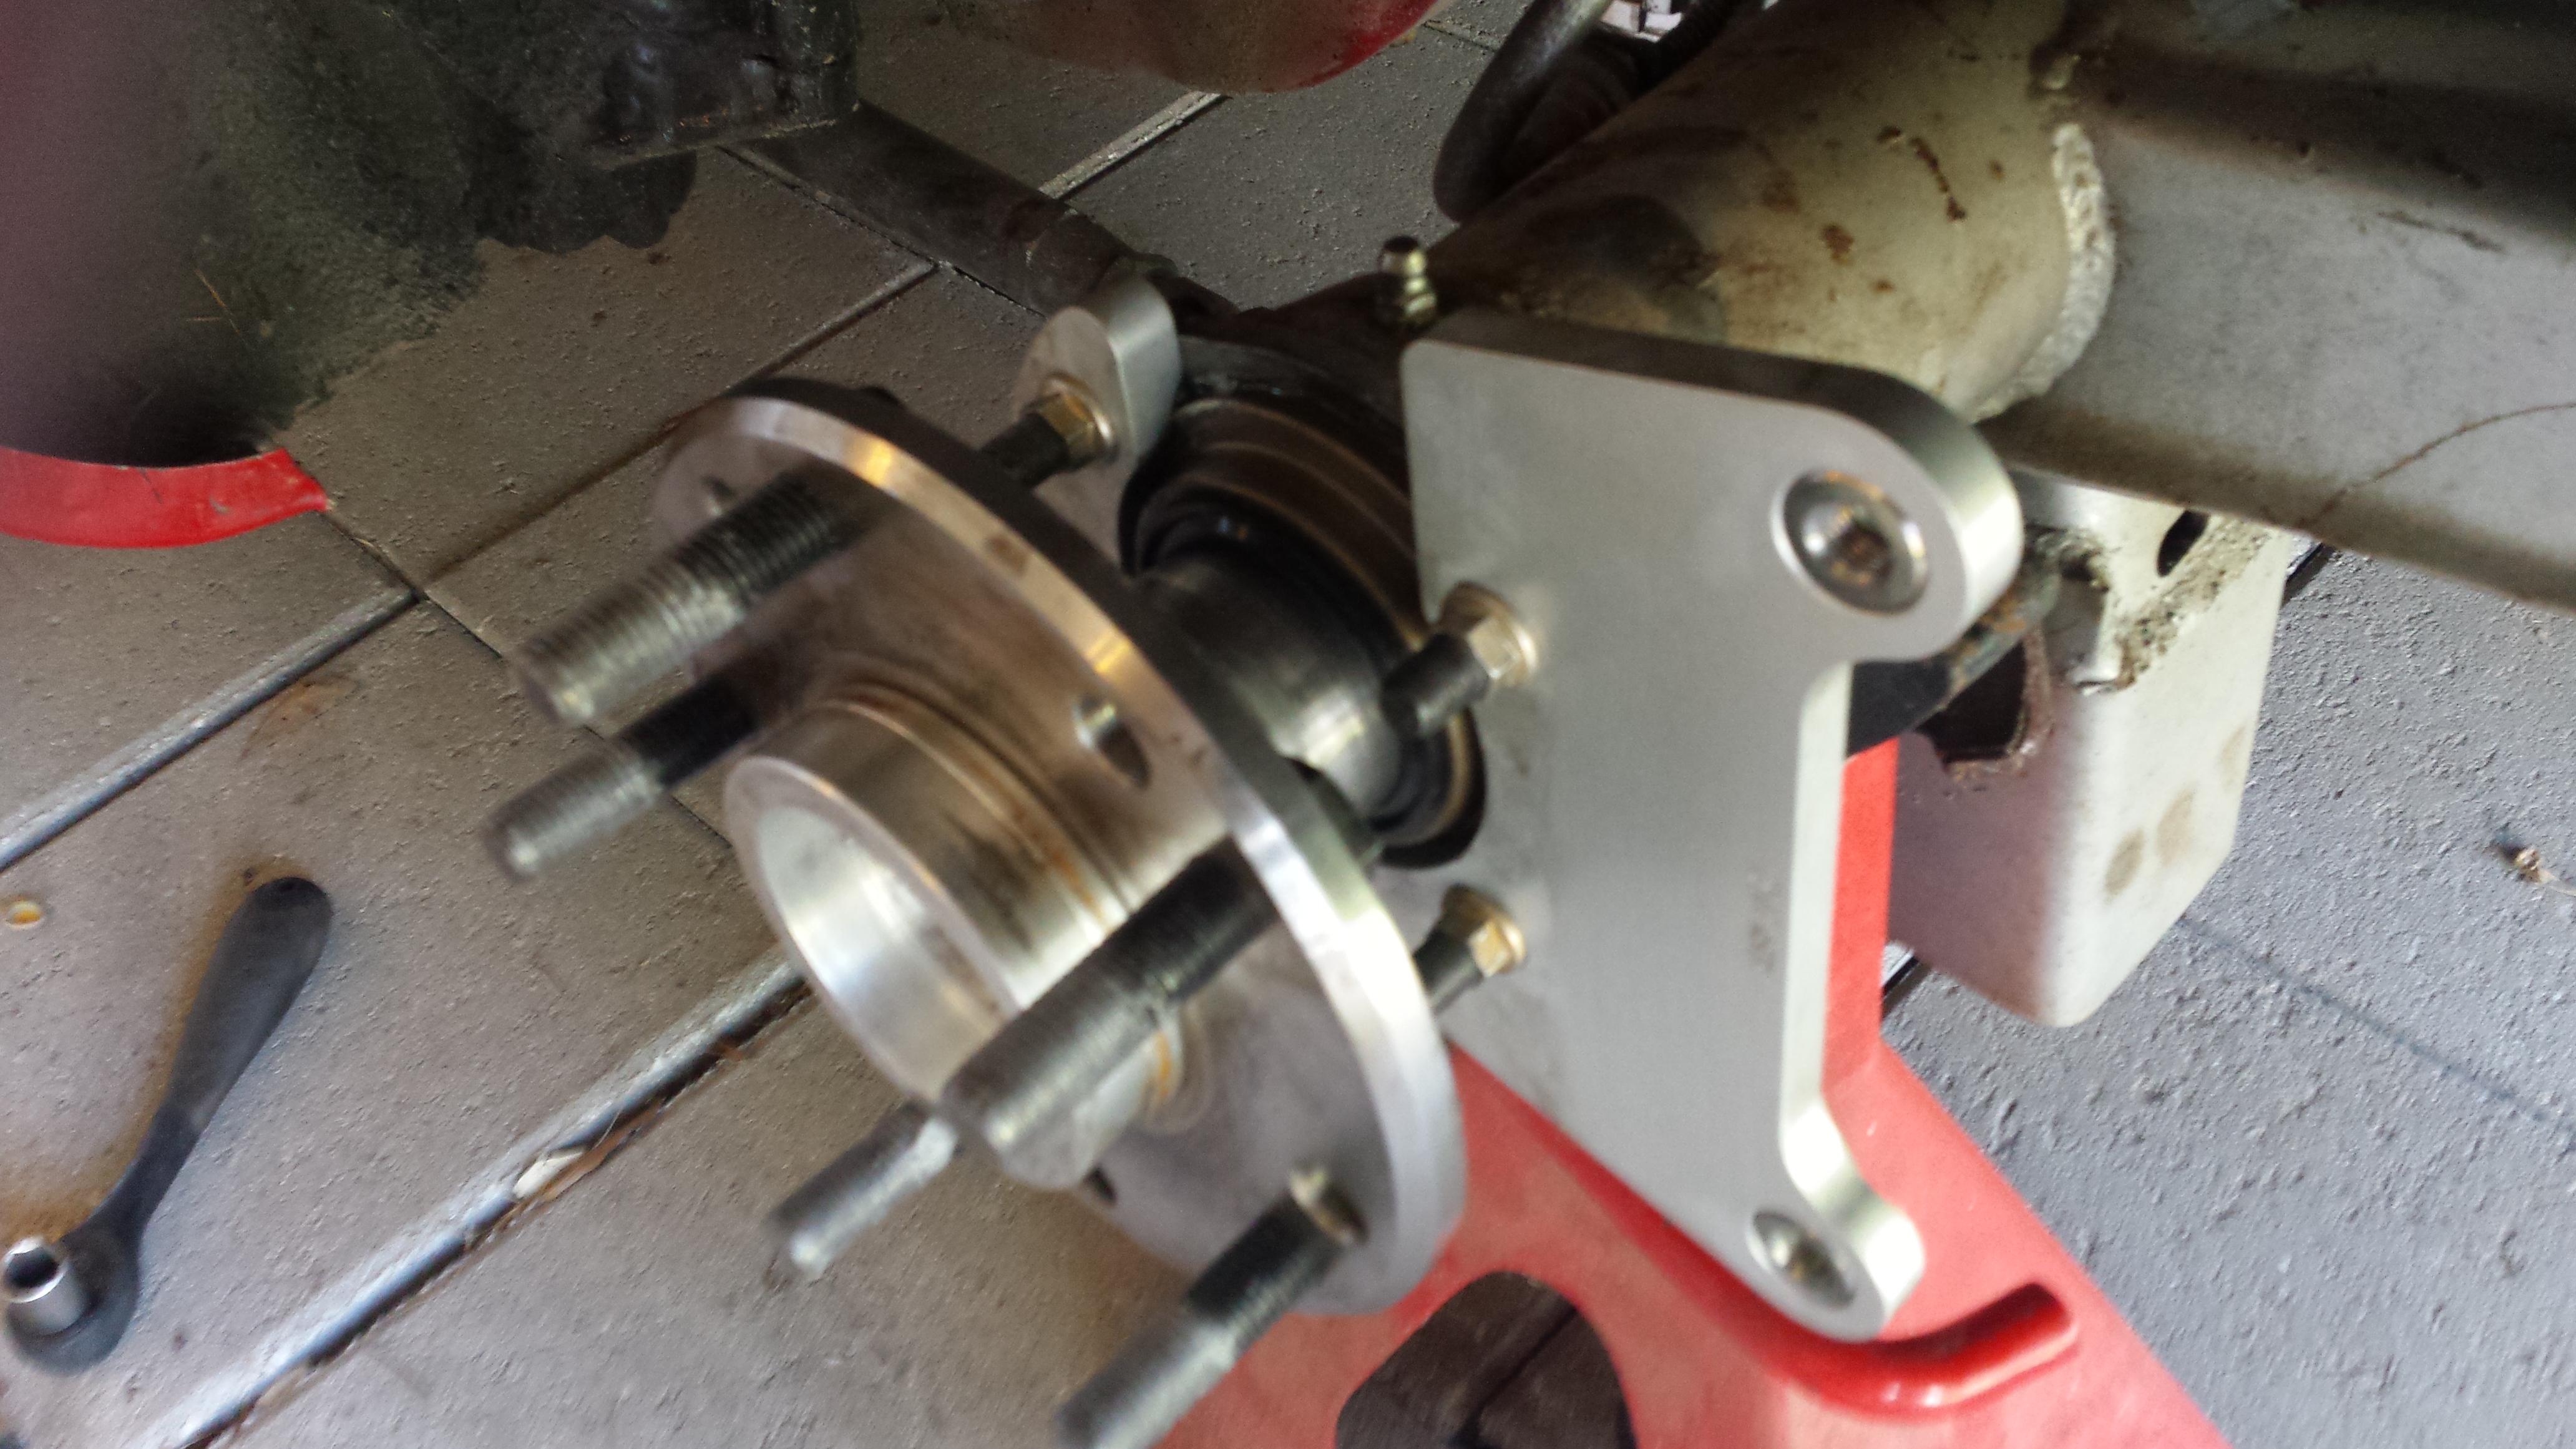
So once I had all the correct parts, I fit it all to the car. You will need either brake line adapters, or a brake line kit. I got the kit from Midwest and it work well. The old hard lines are a pain to break free from the stock adapters so go easy on them. You can see the new line and adapter in place in this picture.
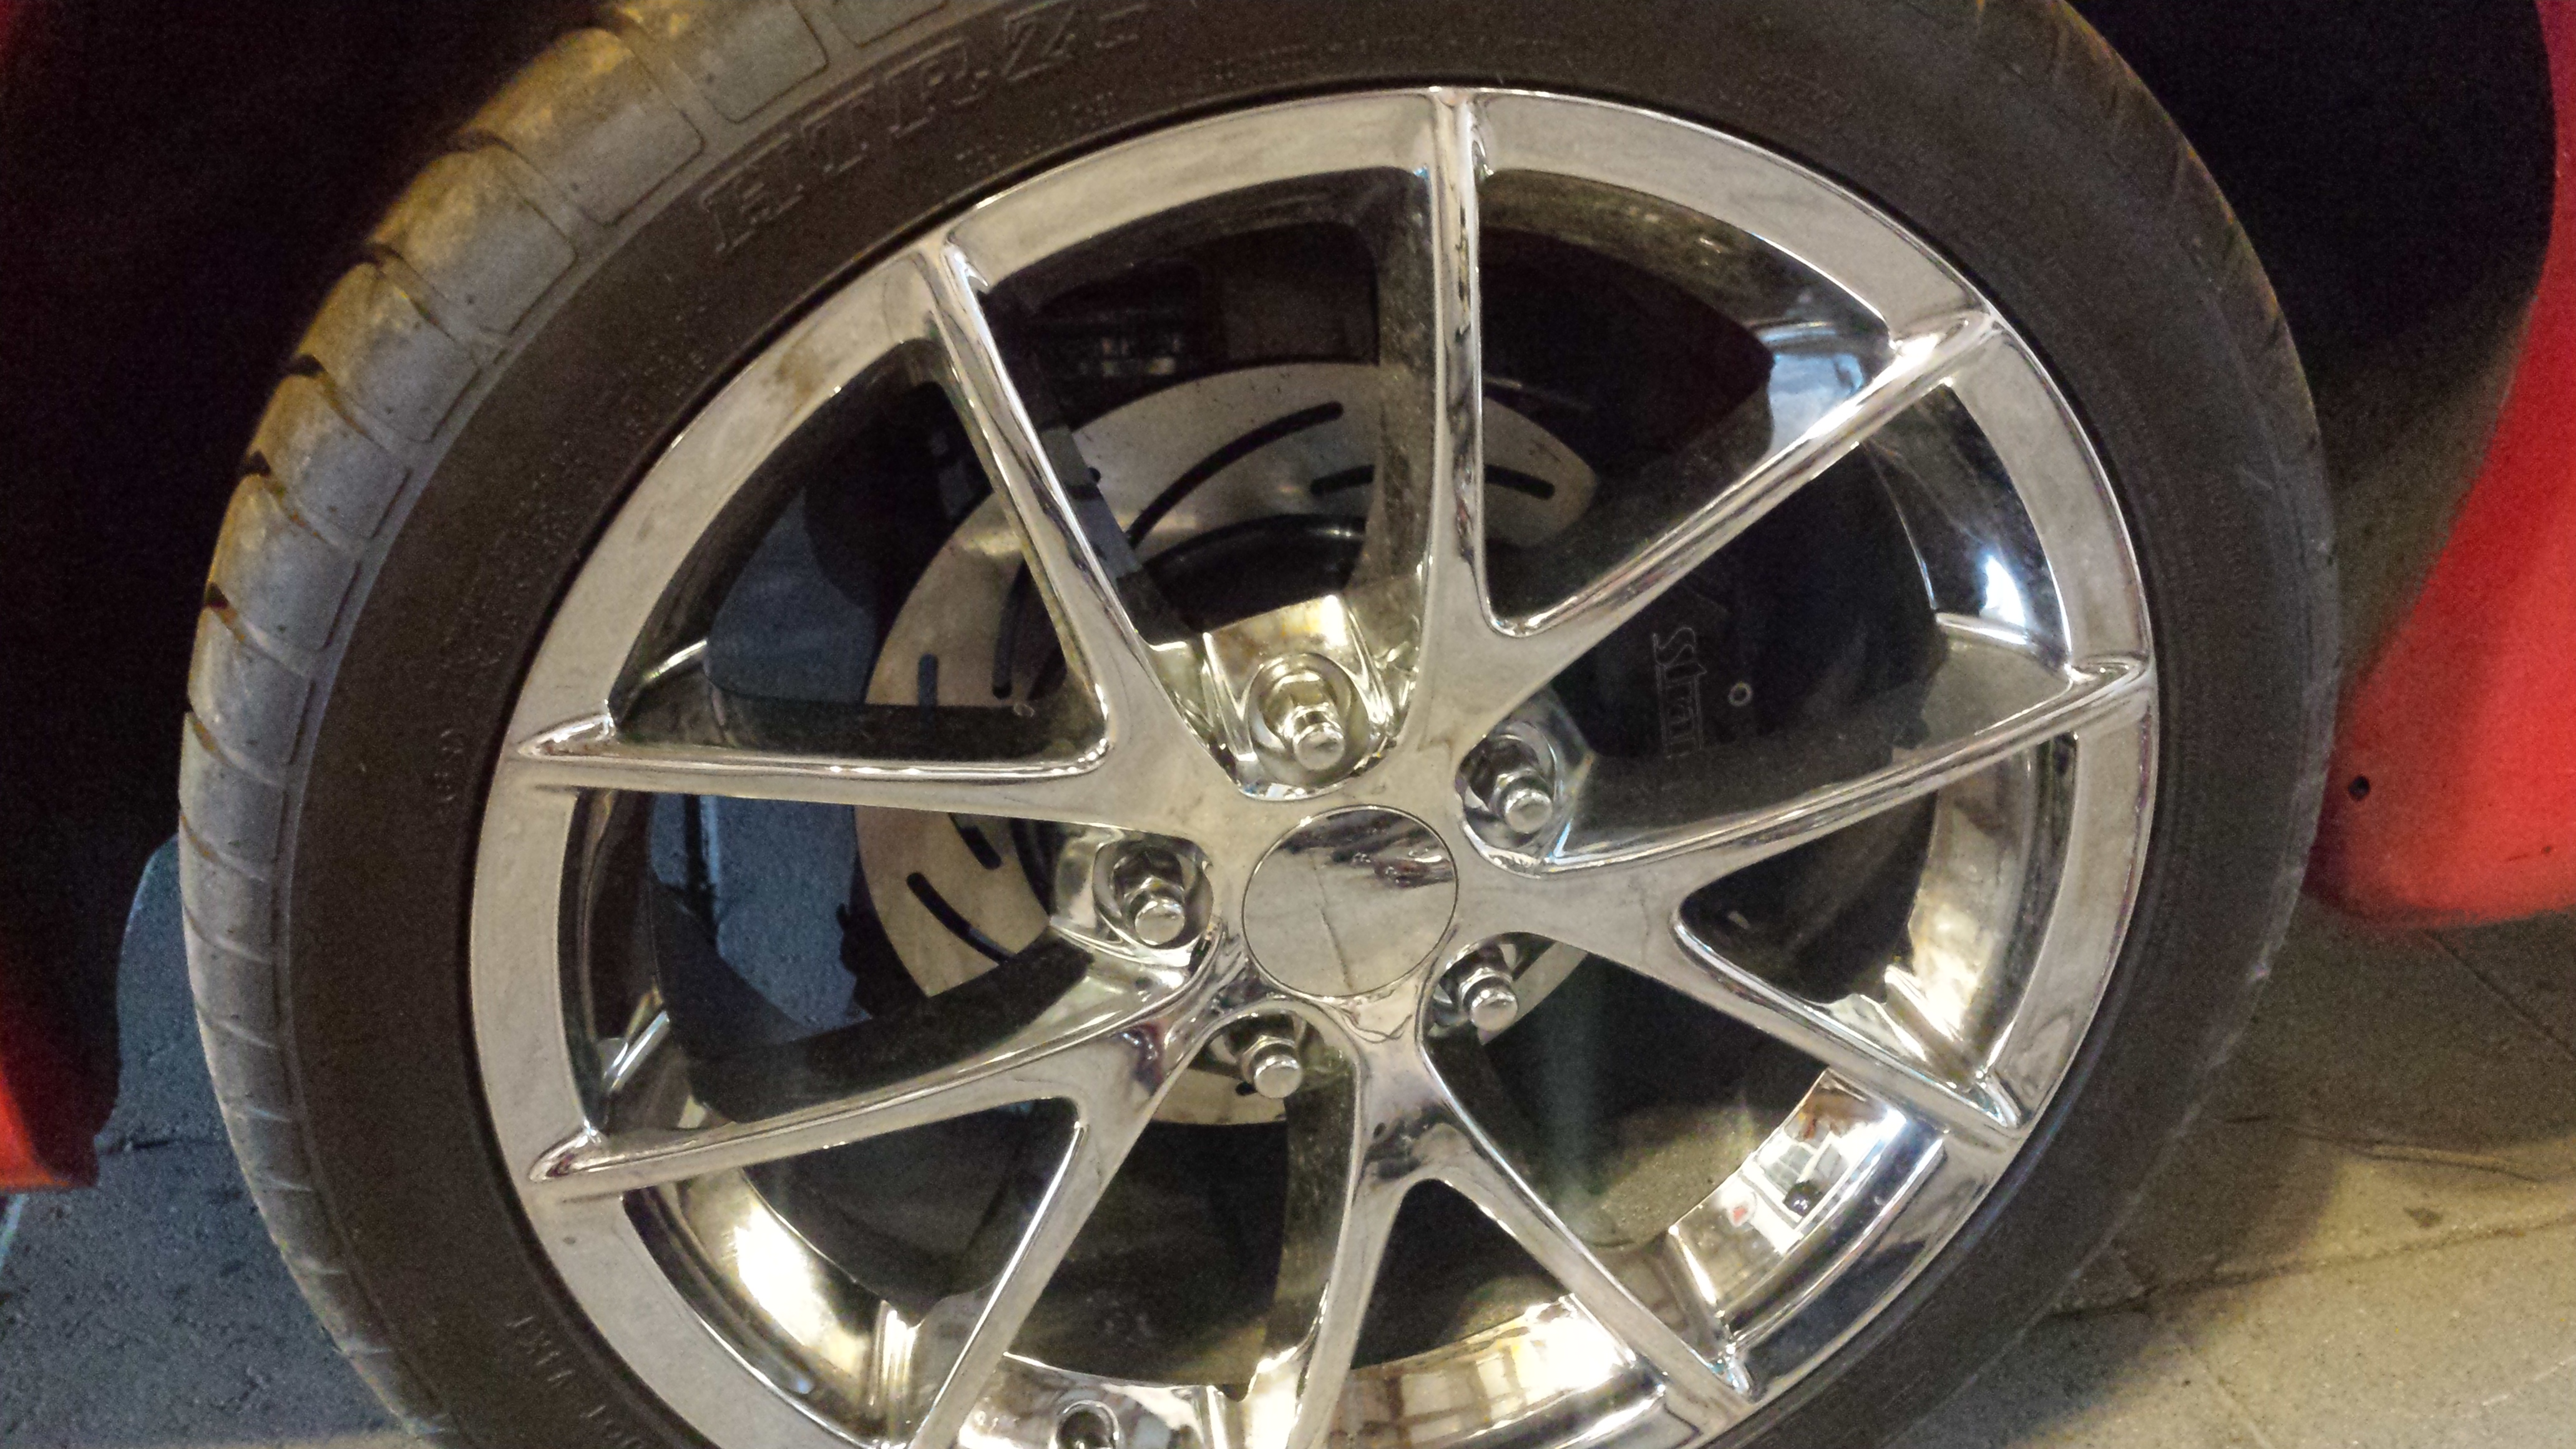
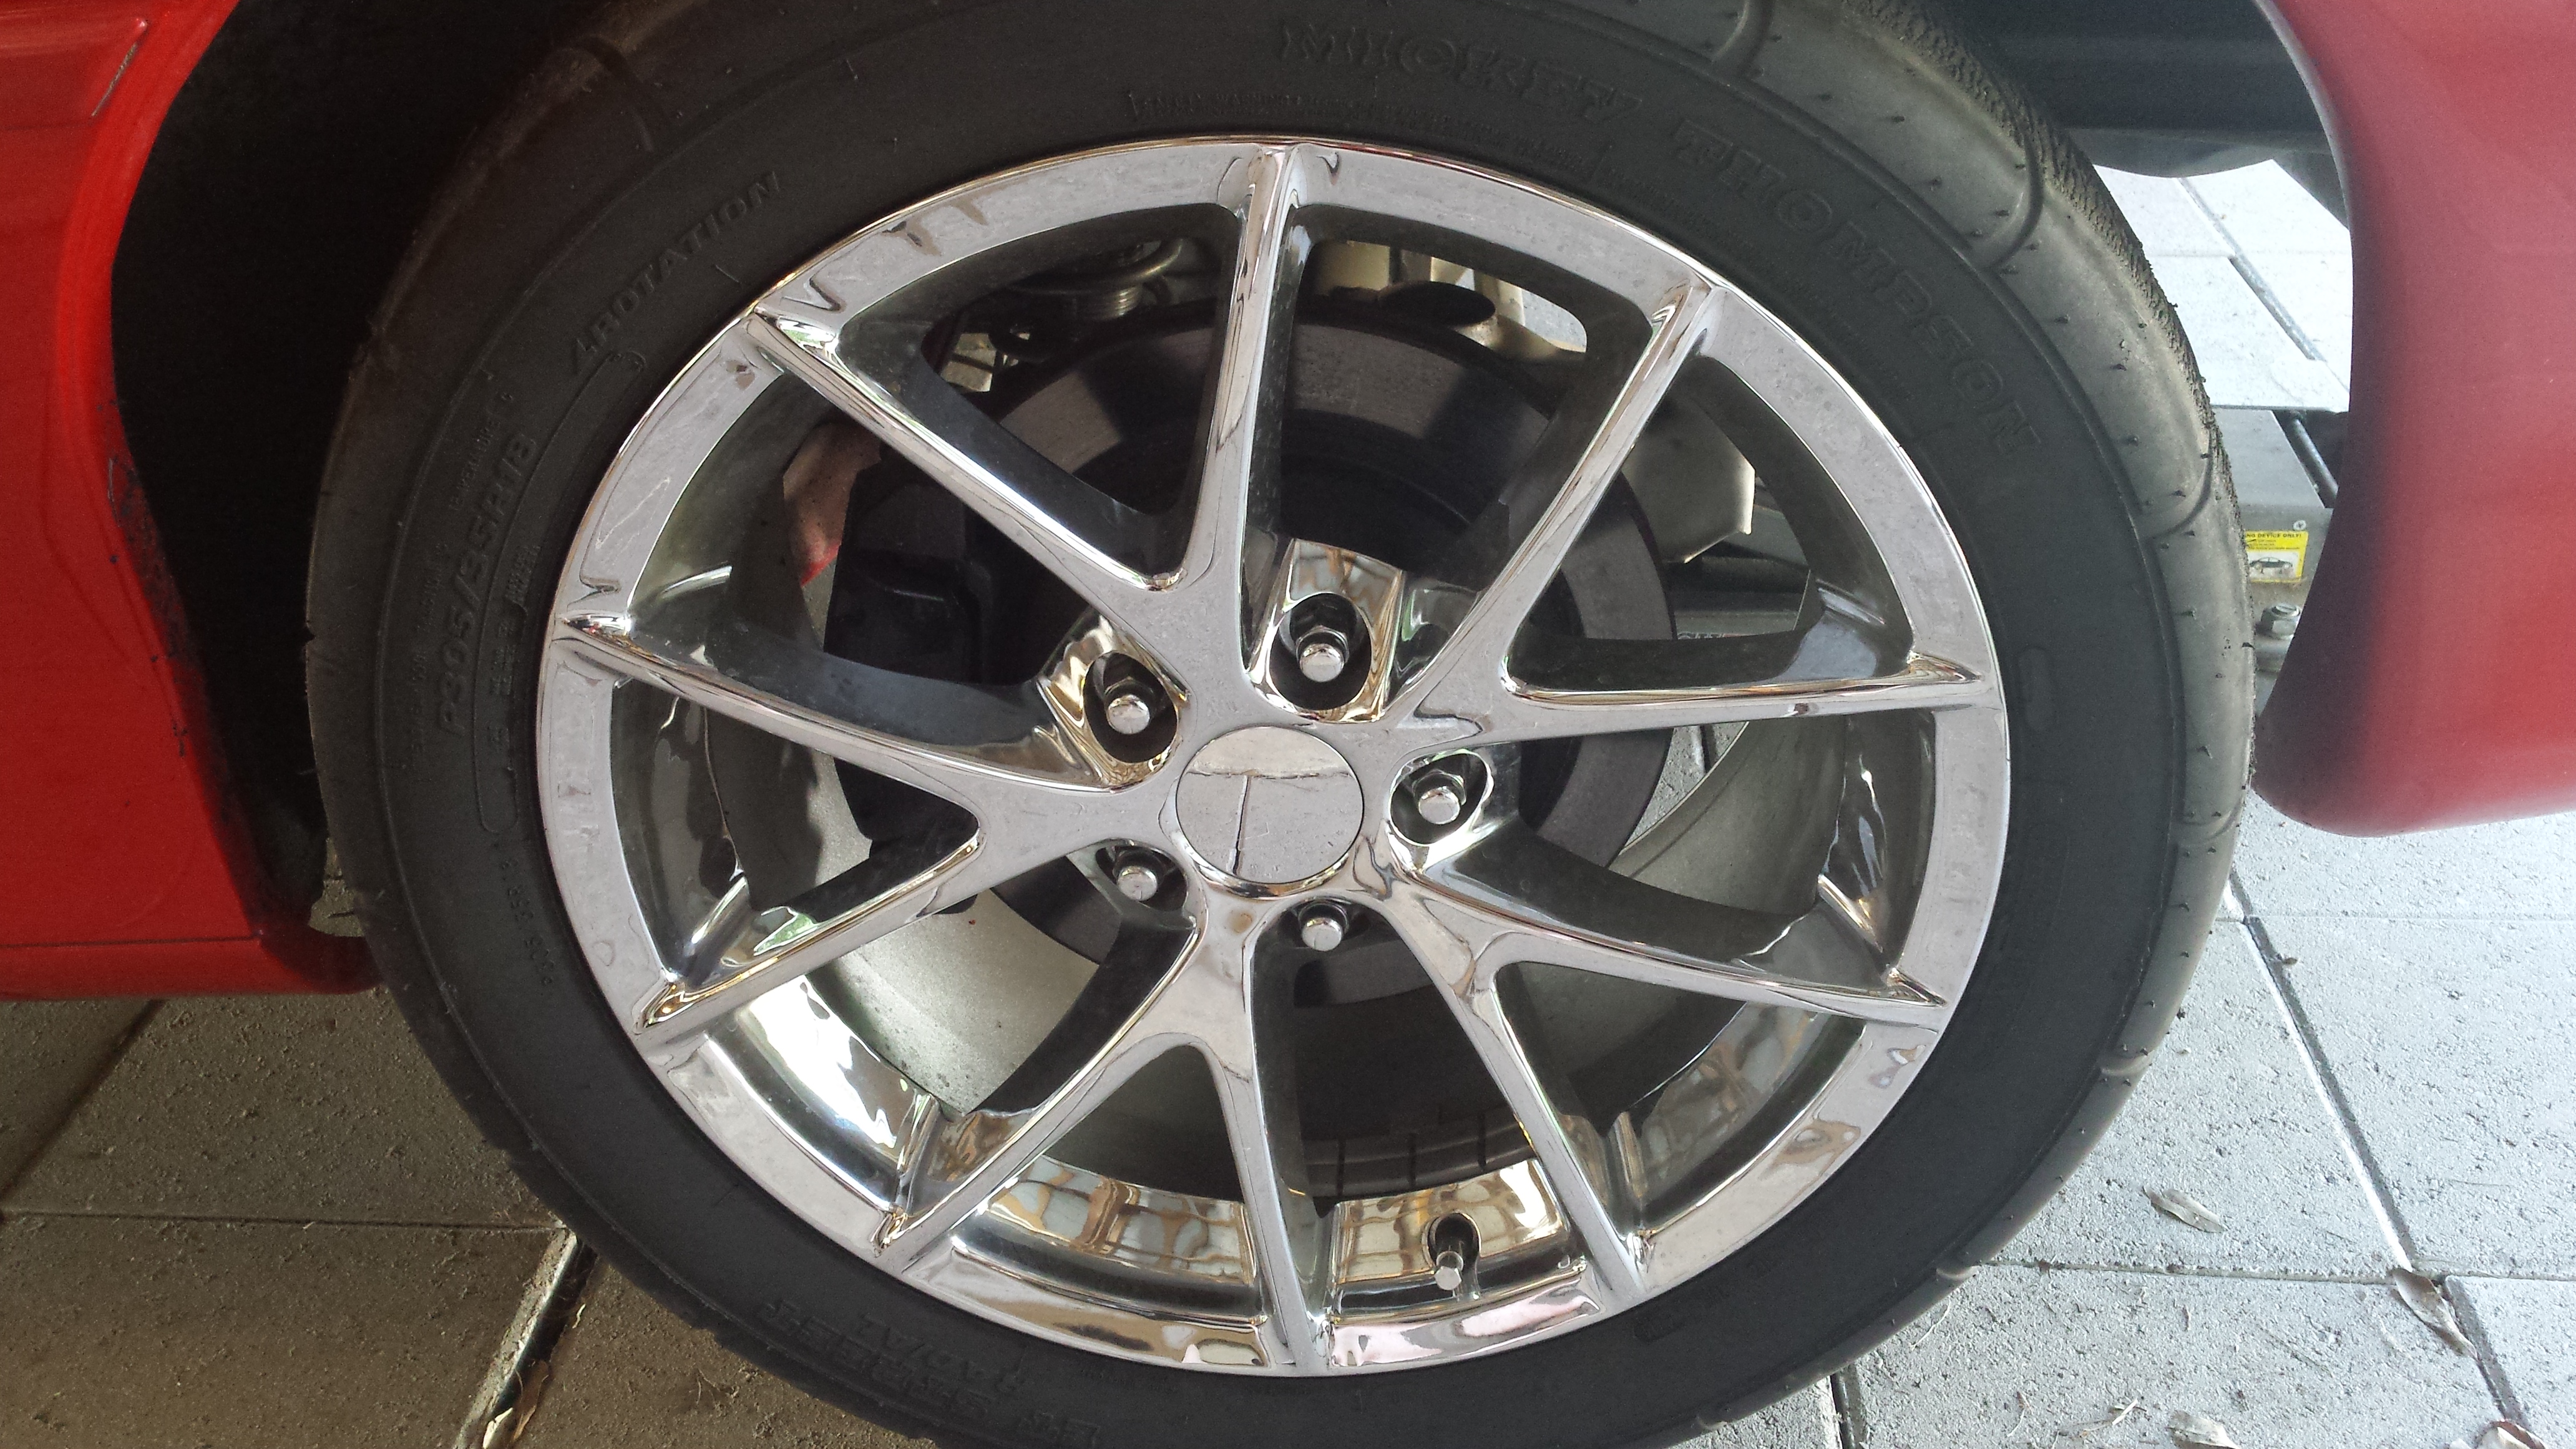
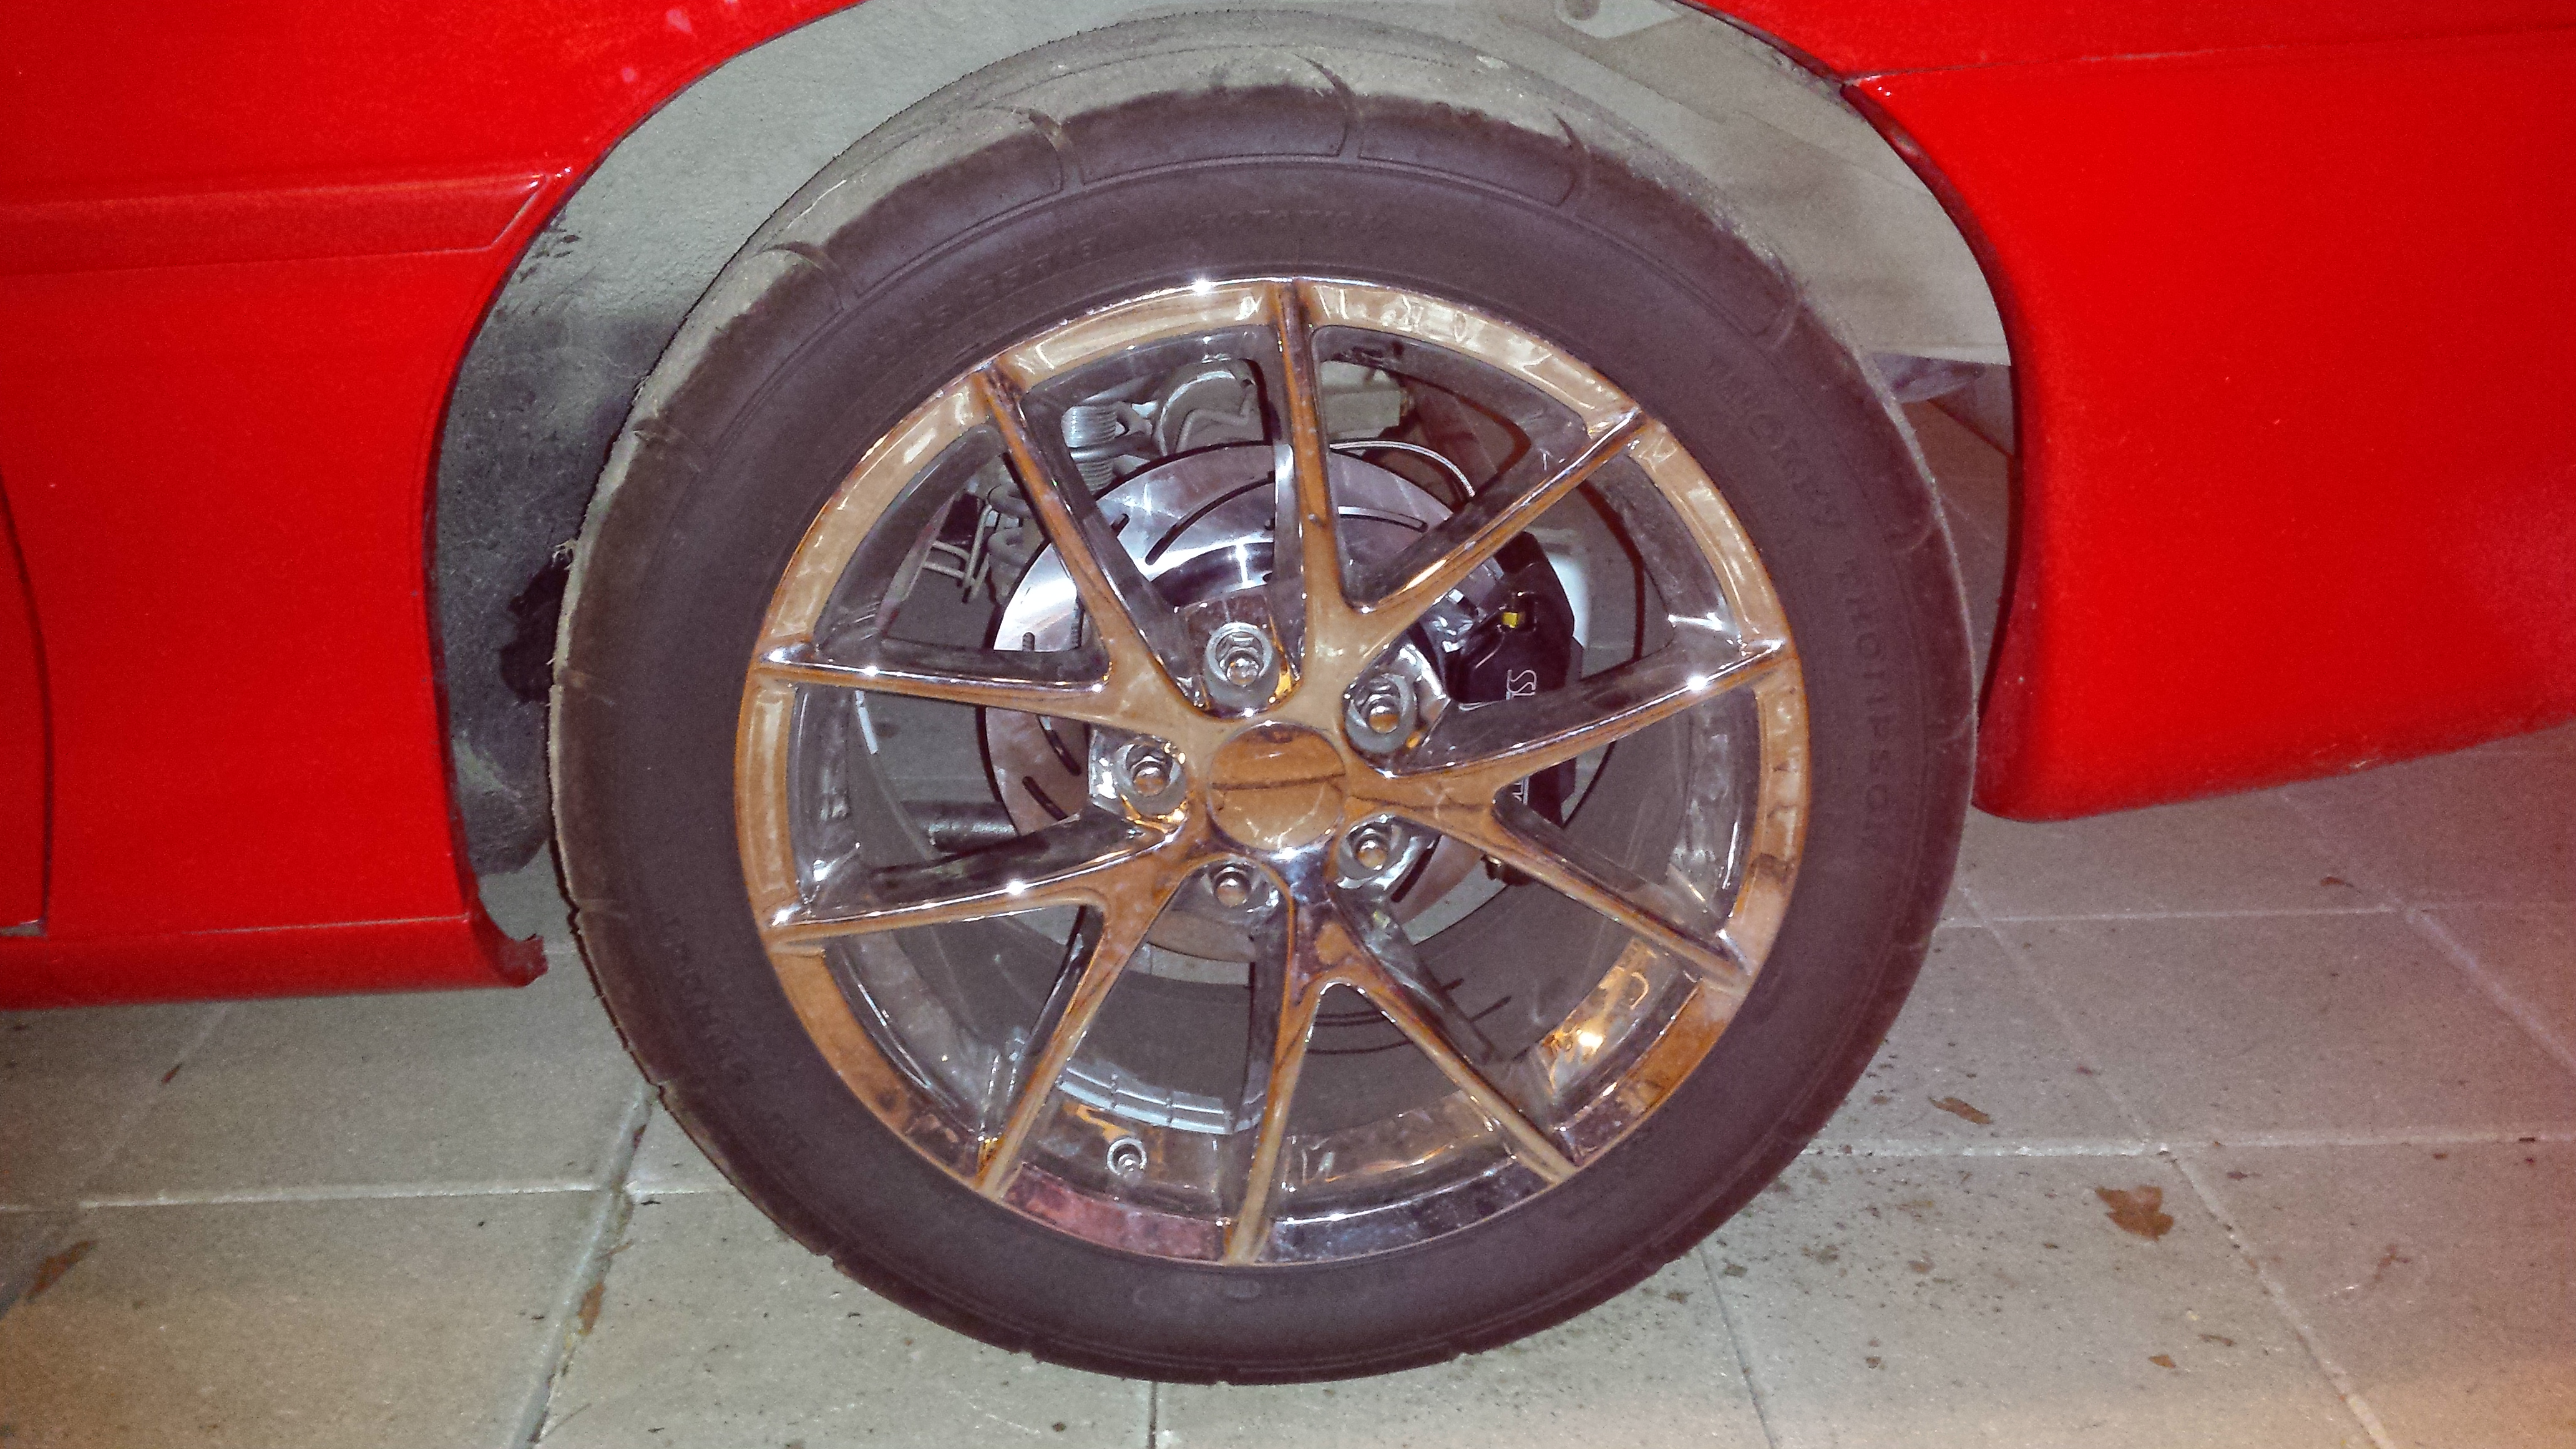
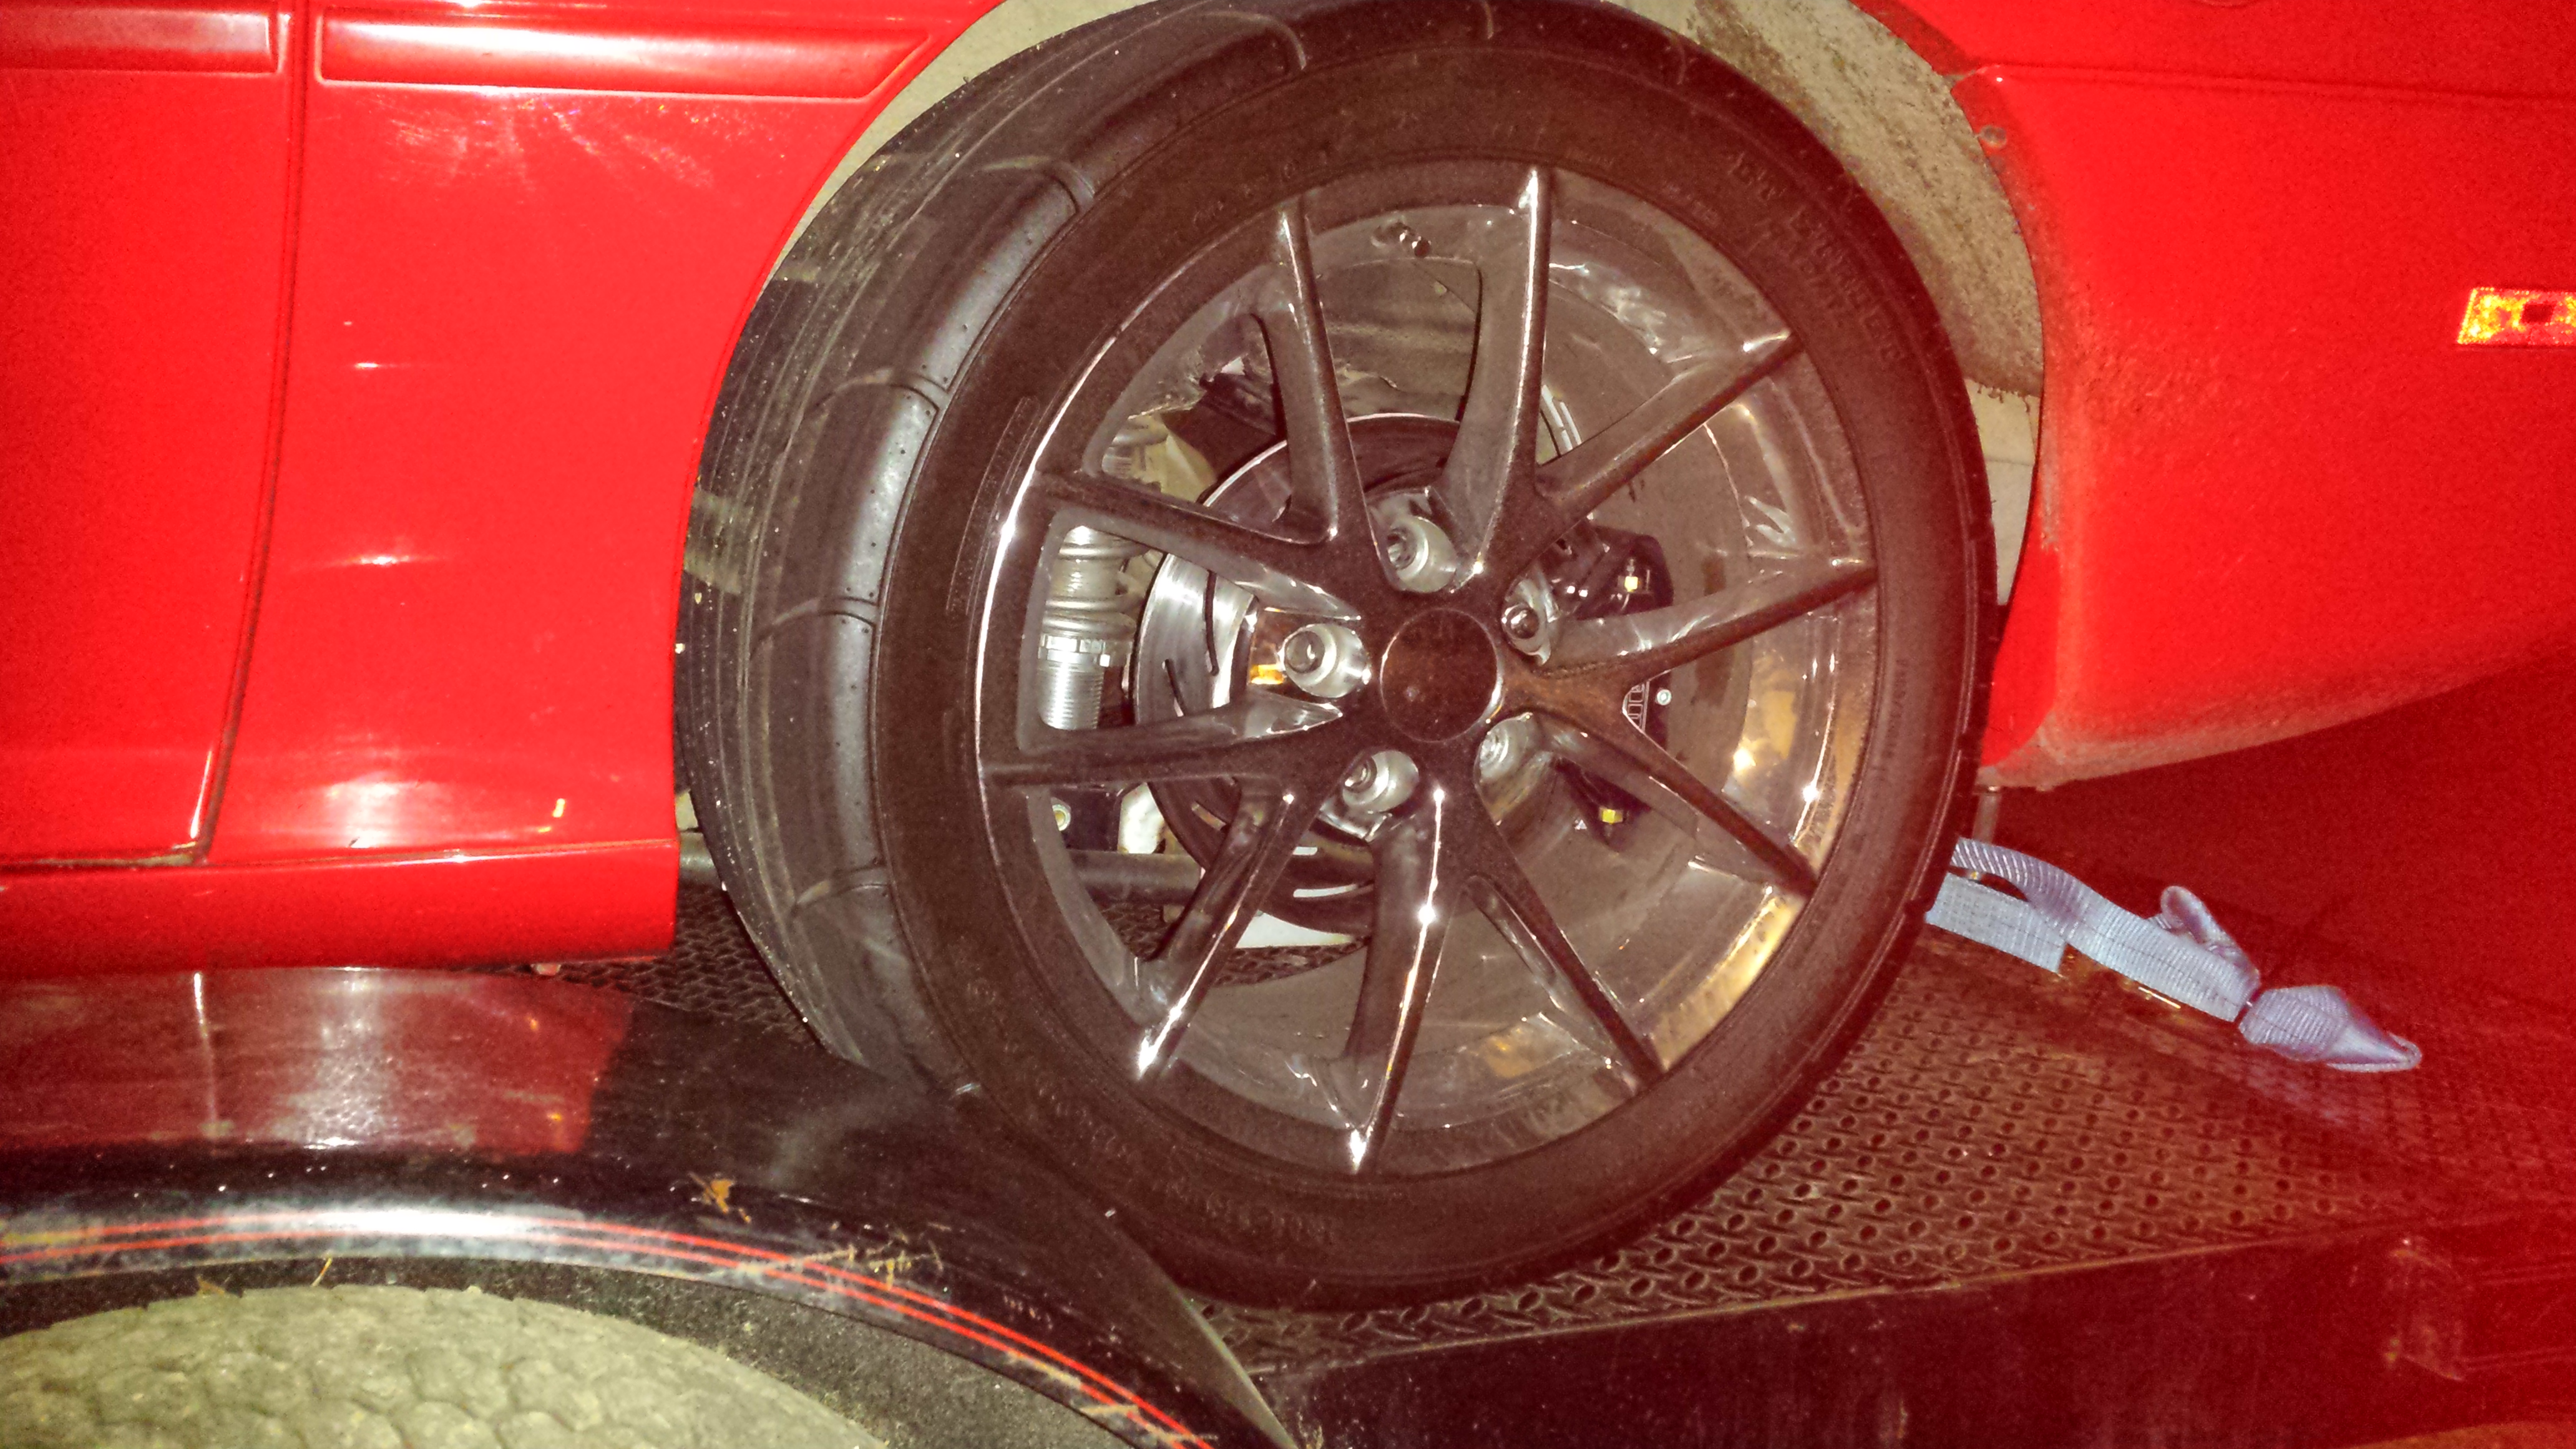
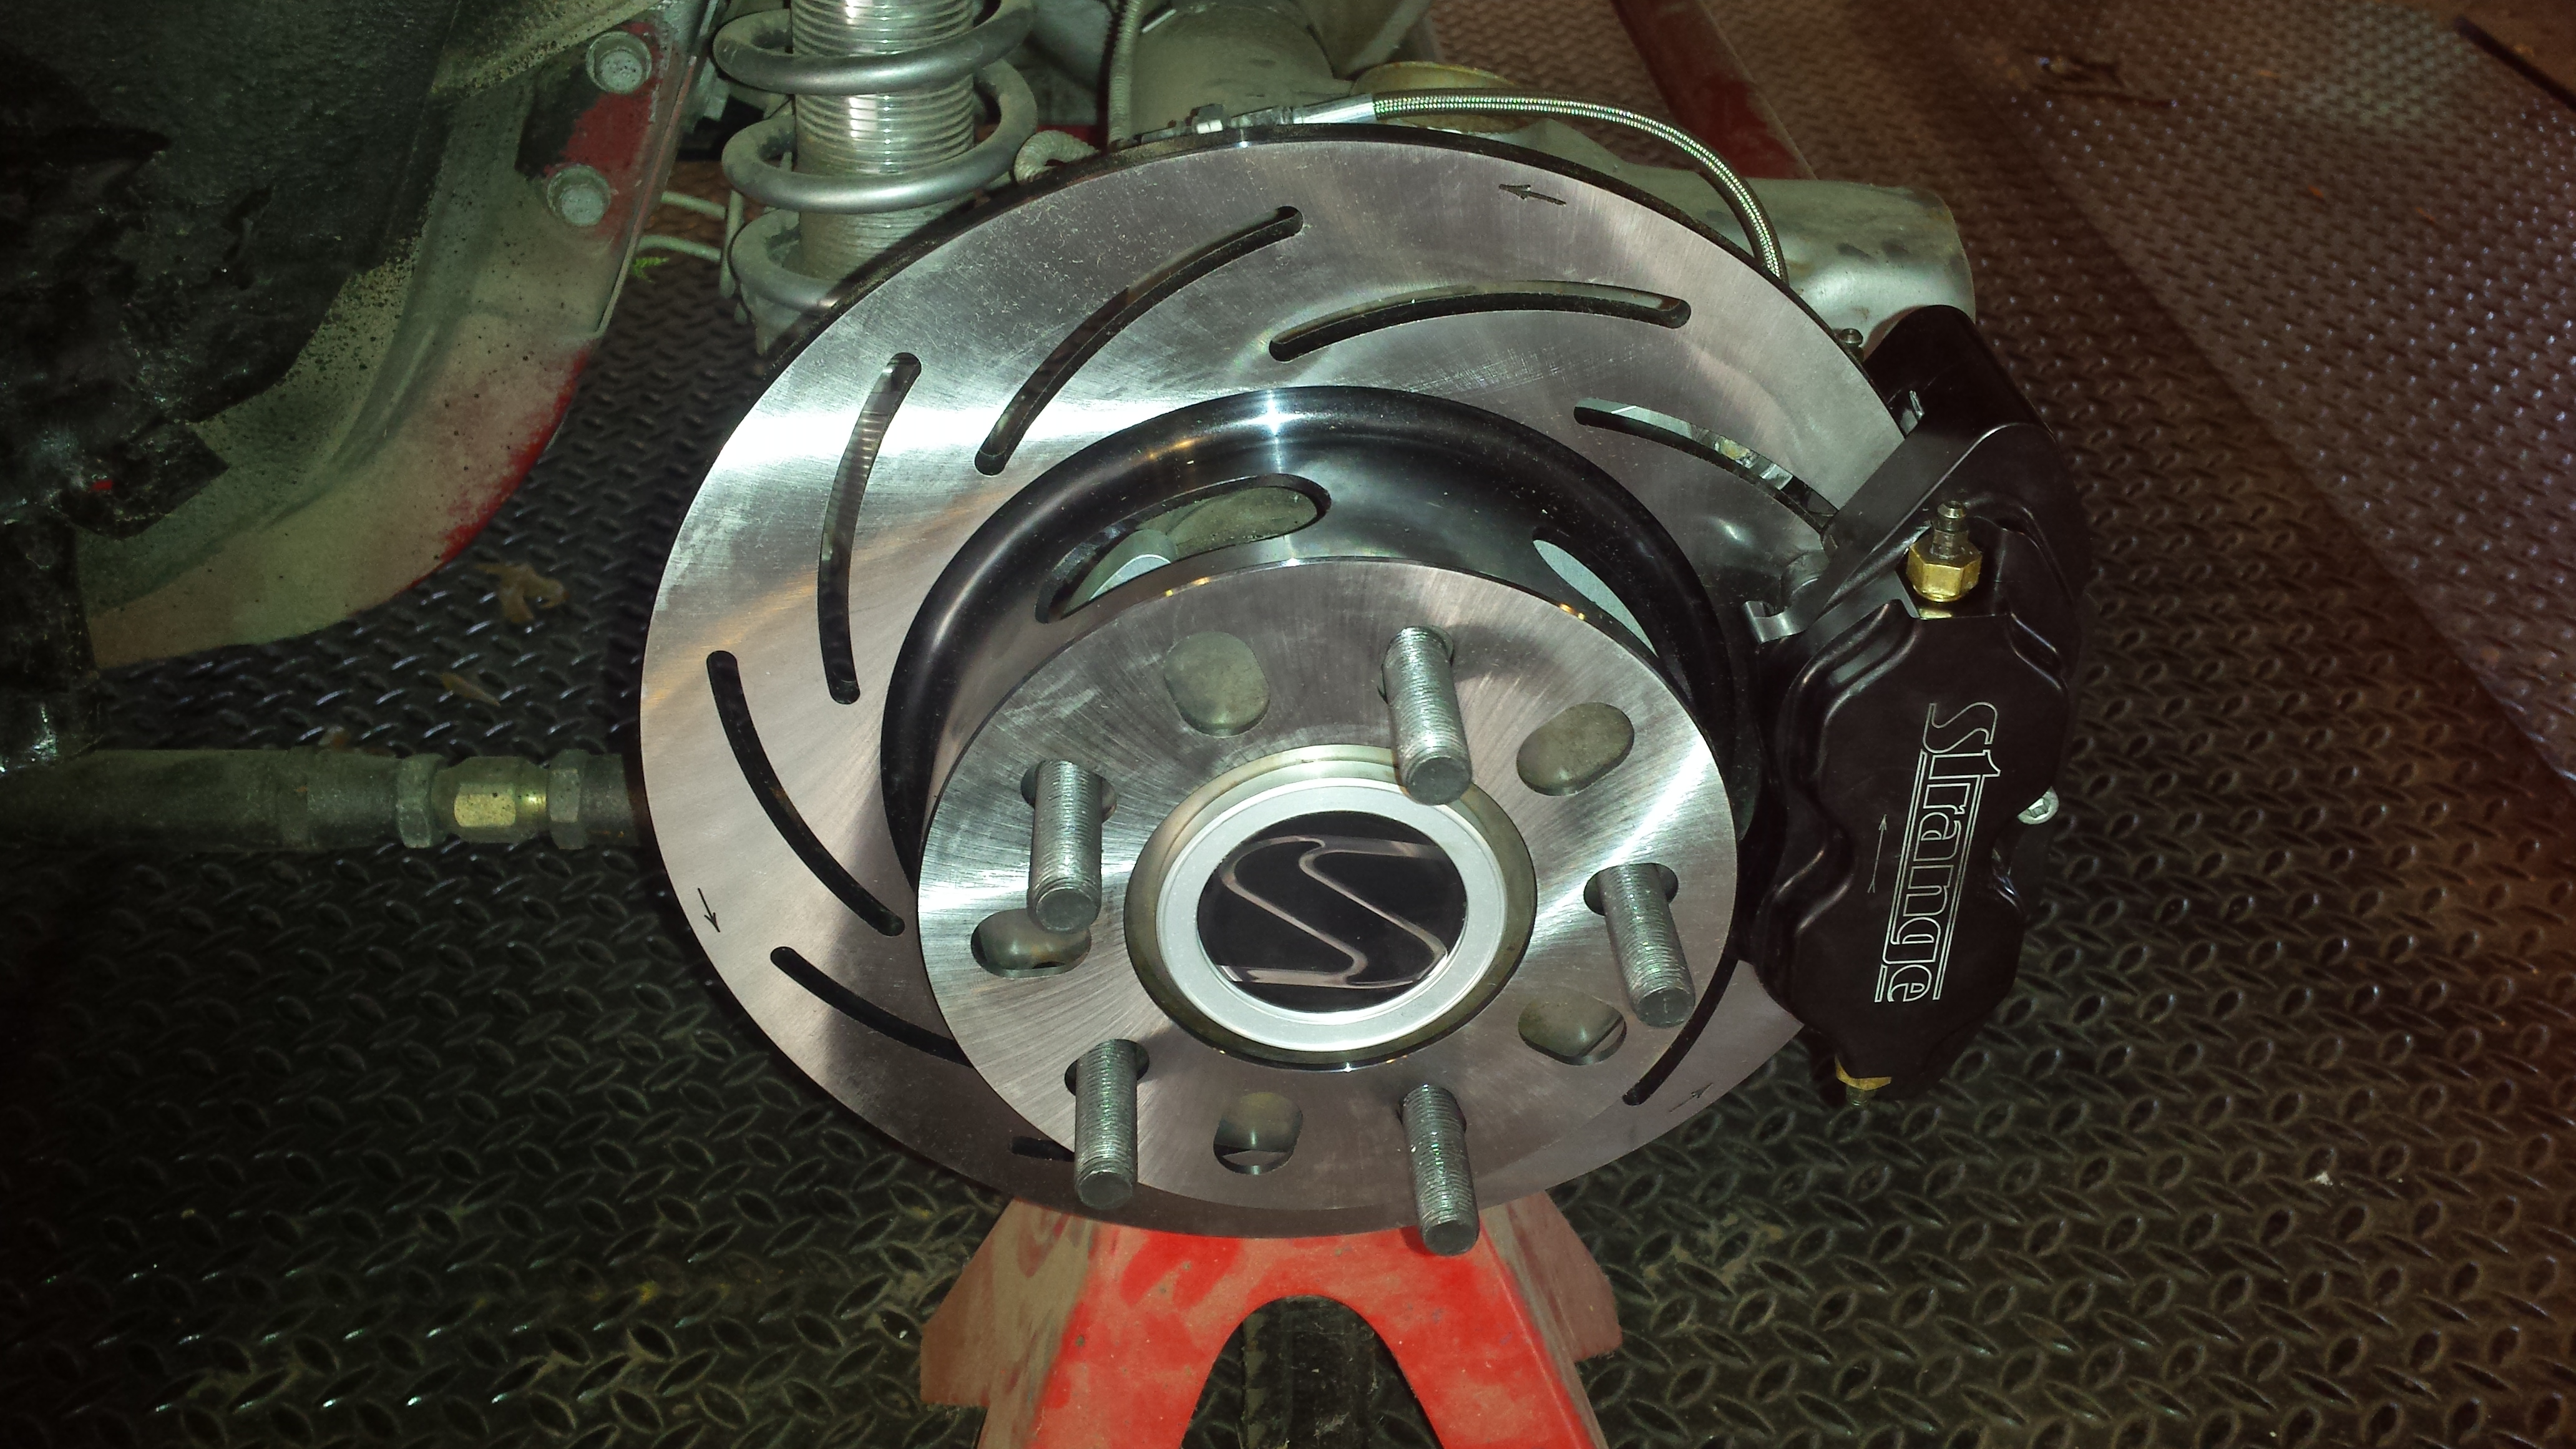
Here they are behind the wheel:
-----------------------------------------------

Passenger airbag

AC side cooling fan

2 door speakers

I originally got this kit, with Strange aluminum hubs. After looking I was sure it would not fit behind a stock wheel due to the design and the large dust cap. After searching around I found most drag wheels allow for the dust cap to come through the center. Since switching wheels was not an option I contact Midwest Chassis and they revised the kit to work with a stock hub and therefore stock wheels.
The kit for drag wheels:

Here's the modified kit and brackets:

So once I had all the correct parts, I fit it all to the car. You will need either brake line adapters, or a brake line kit. I got the kit from Midwest and it work well. The old hard lines are a pain to break free from the stock adapters so go easy on them. You can see the new line and adapter in place in this picture.

Here they are behind the wheel:

-----------------------------------------------
#12
11-21-2015, 02:45 PM
Join Date: Aug 2010
Posts: 230
Likes: 0
Received 0 Likes
on
0 Posts
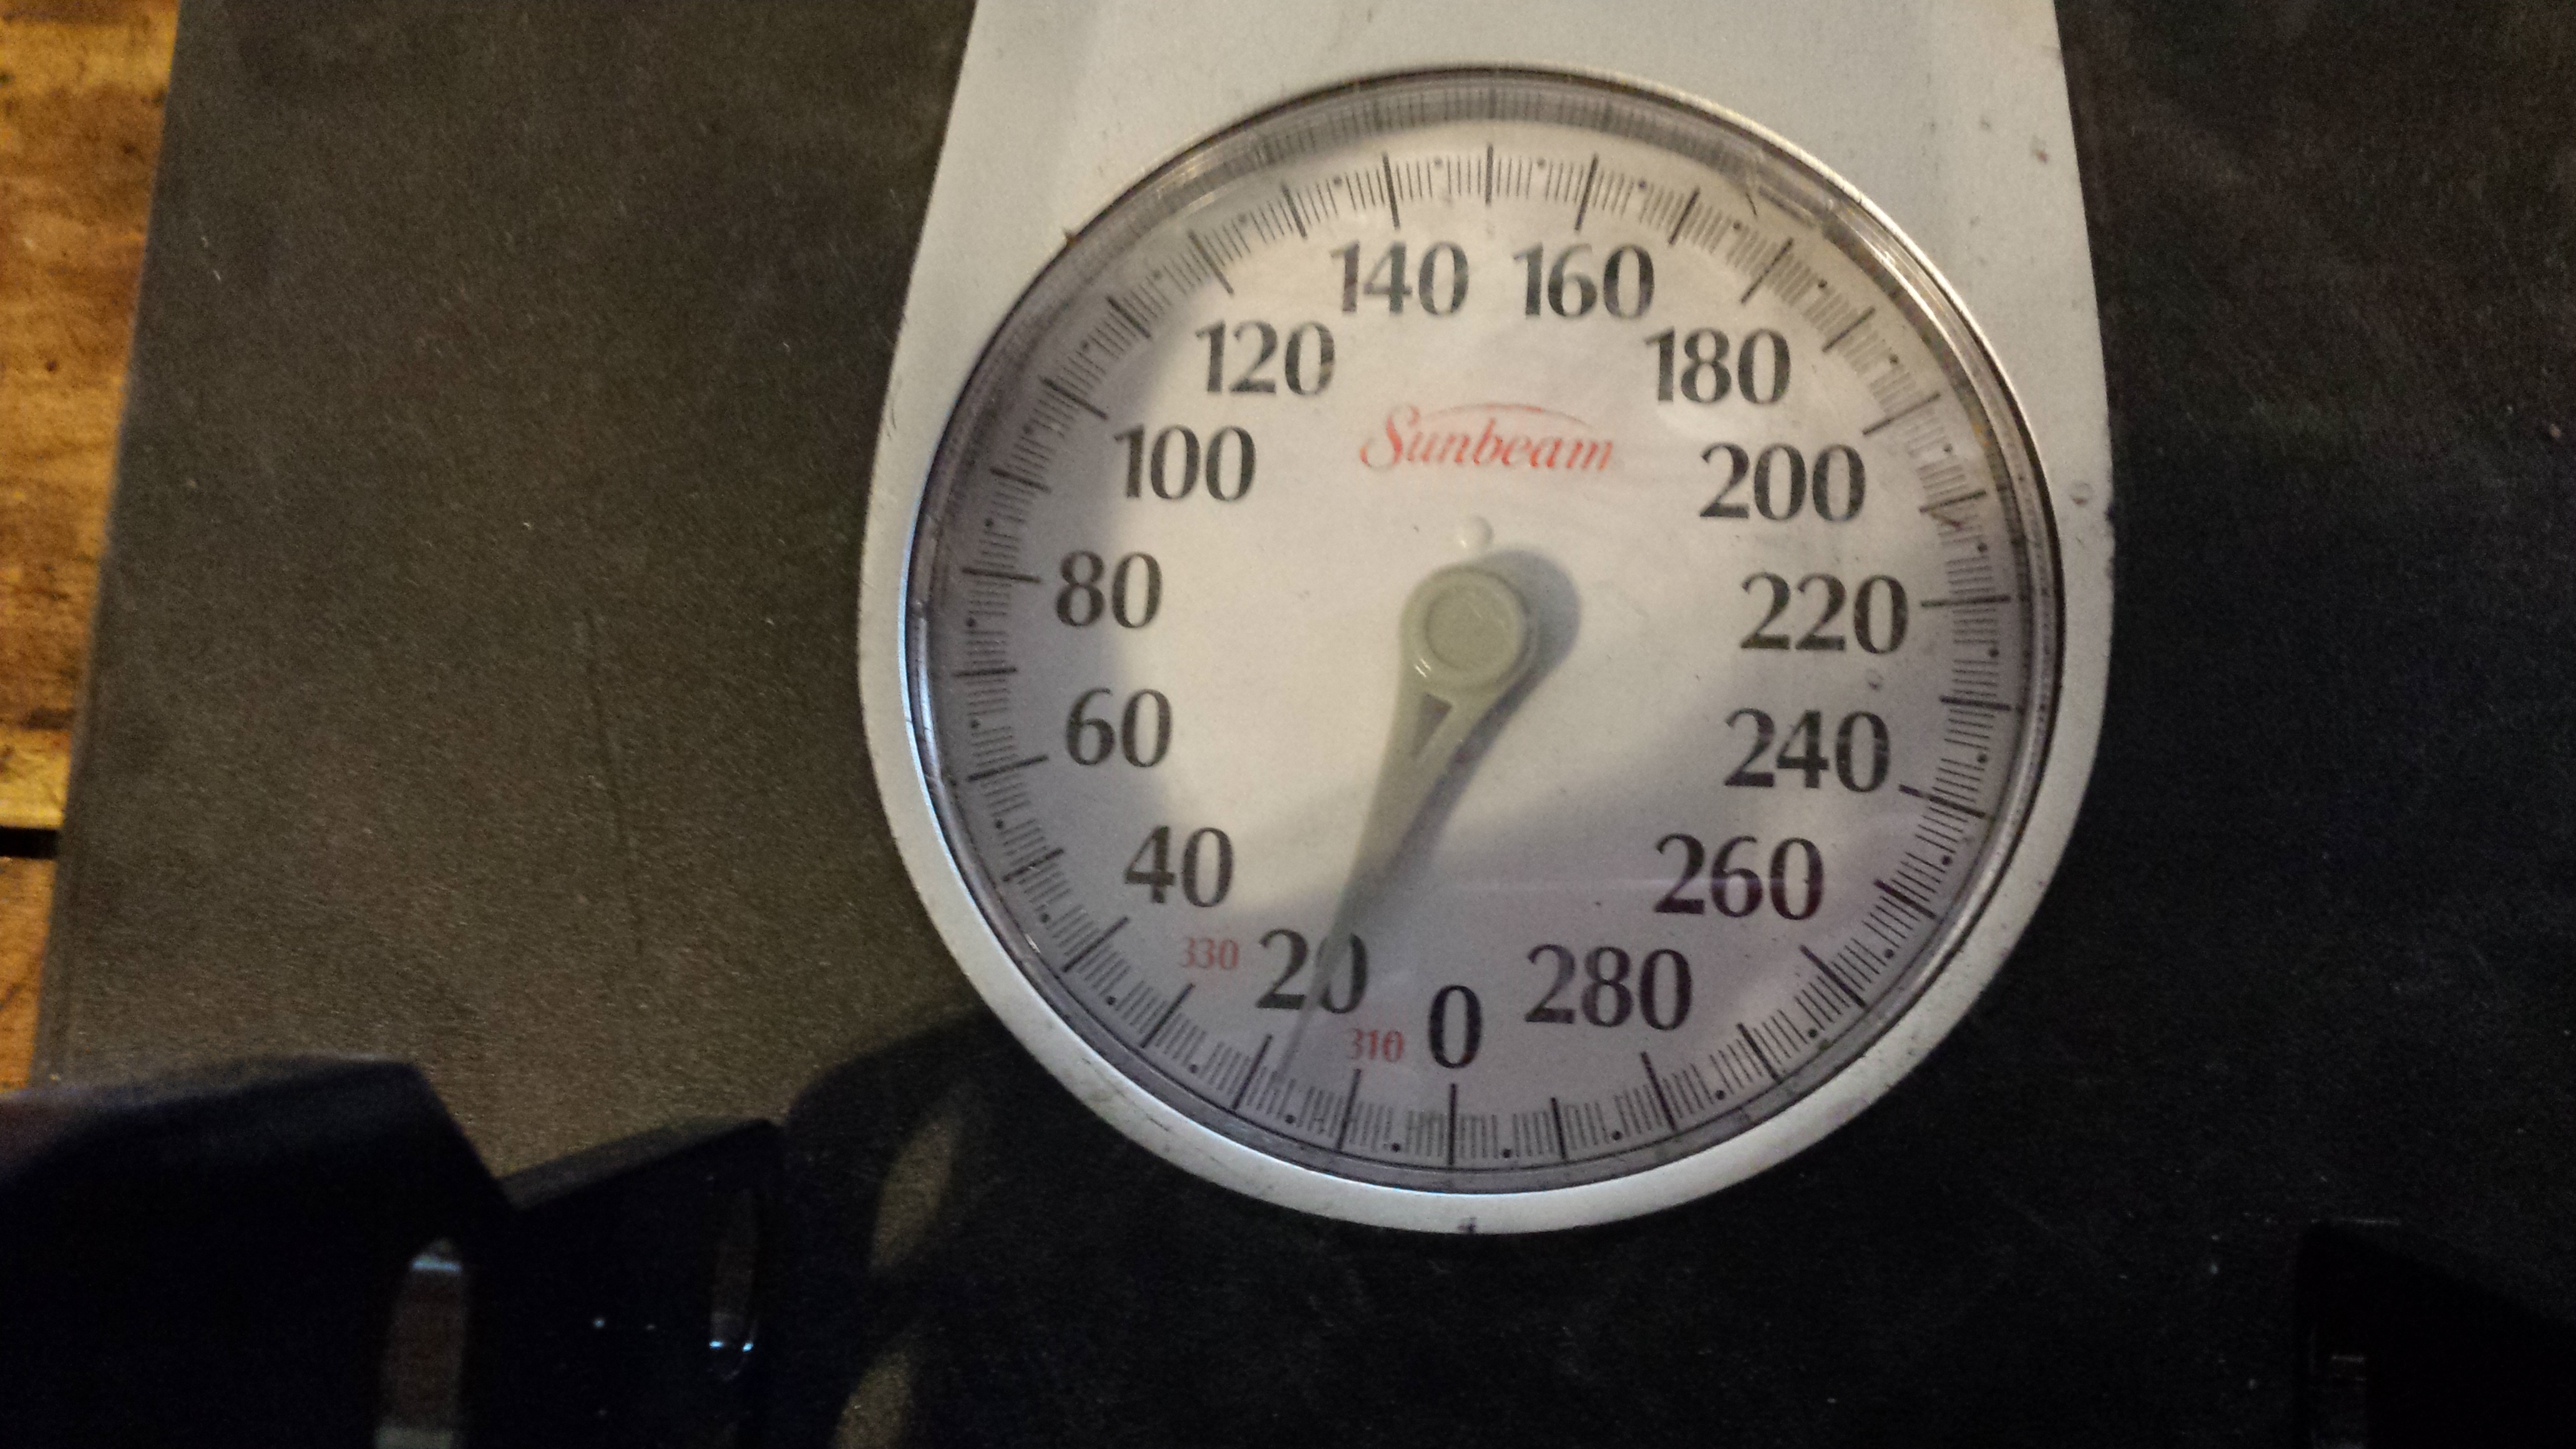
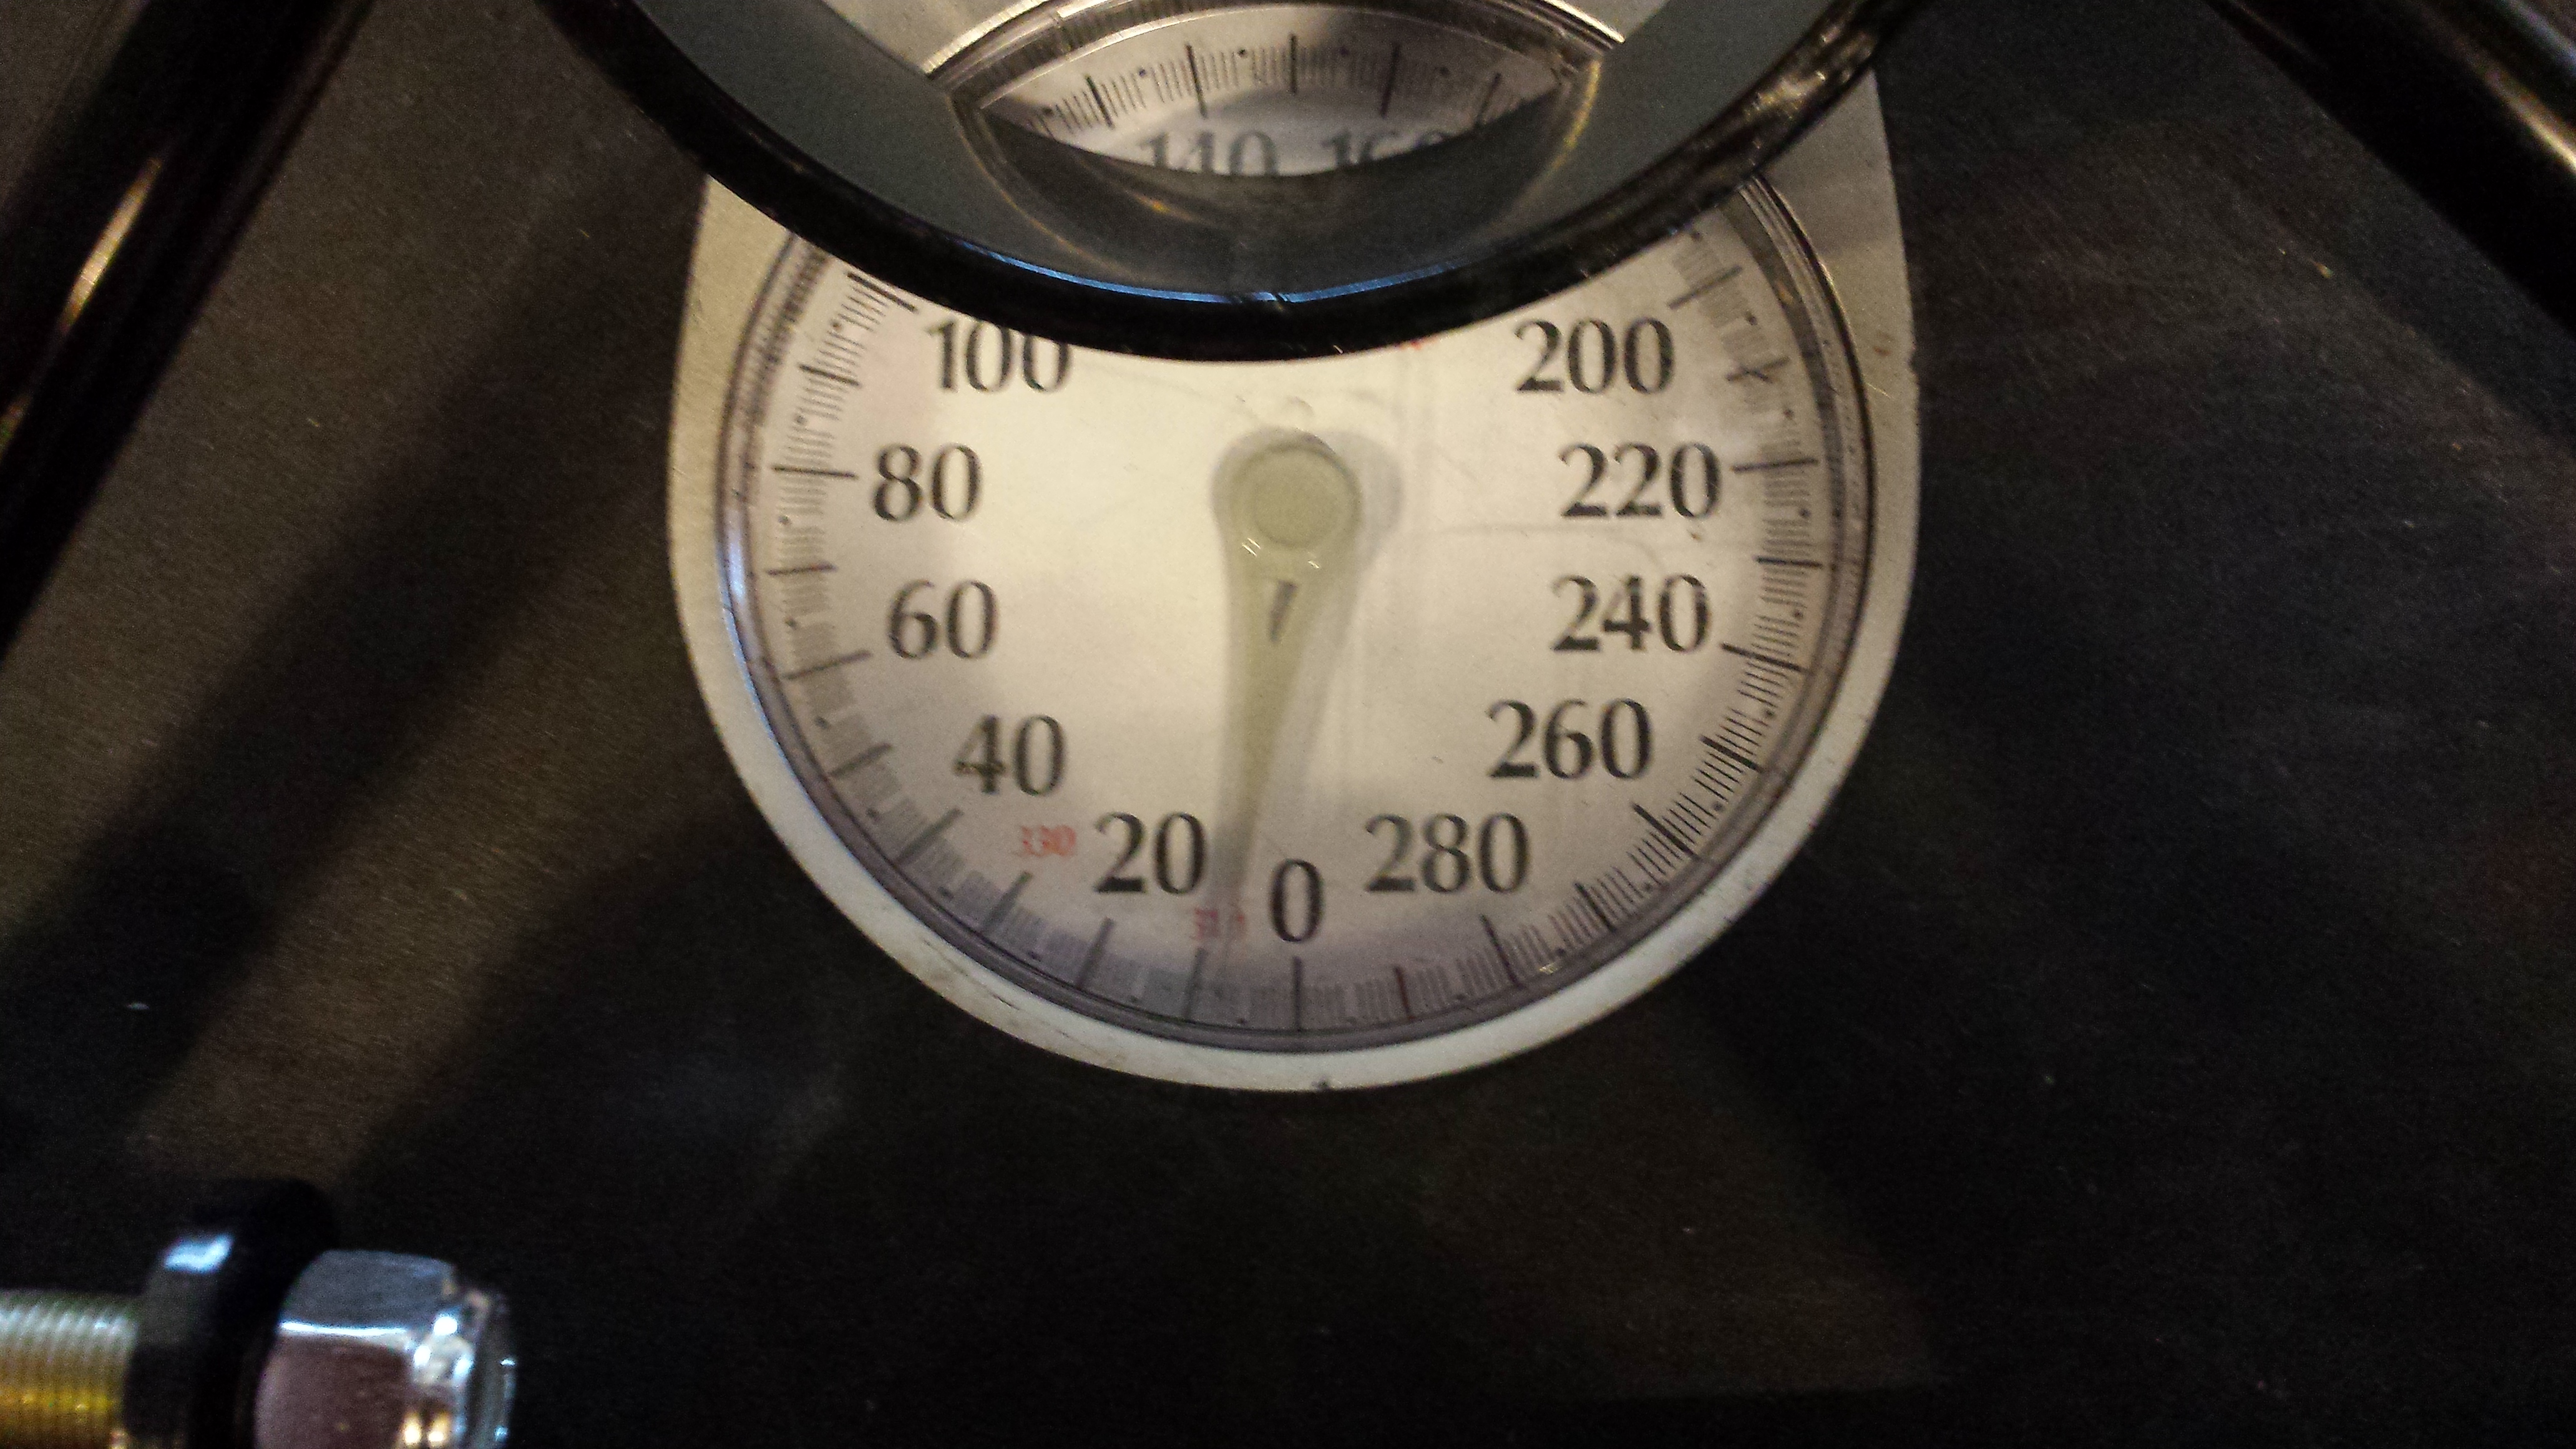
And the weight. I assembled all the strange stuff on the scale and got 25lbs total. I assembled one side of the stock stuff and got about 31lbs. So 62 vs 25. So a 37 pound weight drop:
For driving impressions, the first few stops felt about like stock. After say a half dozen stops the pedal got more reactive and sensitive and the brakes had a very nice initial bite. Very confidence inspiring. I did not do any hard panic type stops but for normal driving you wouldnt know they were there other then the fact that the car seems to stop very well.
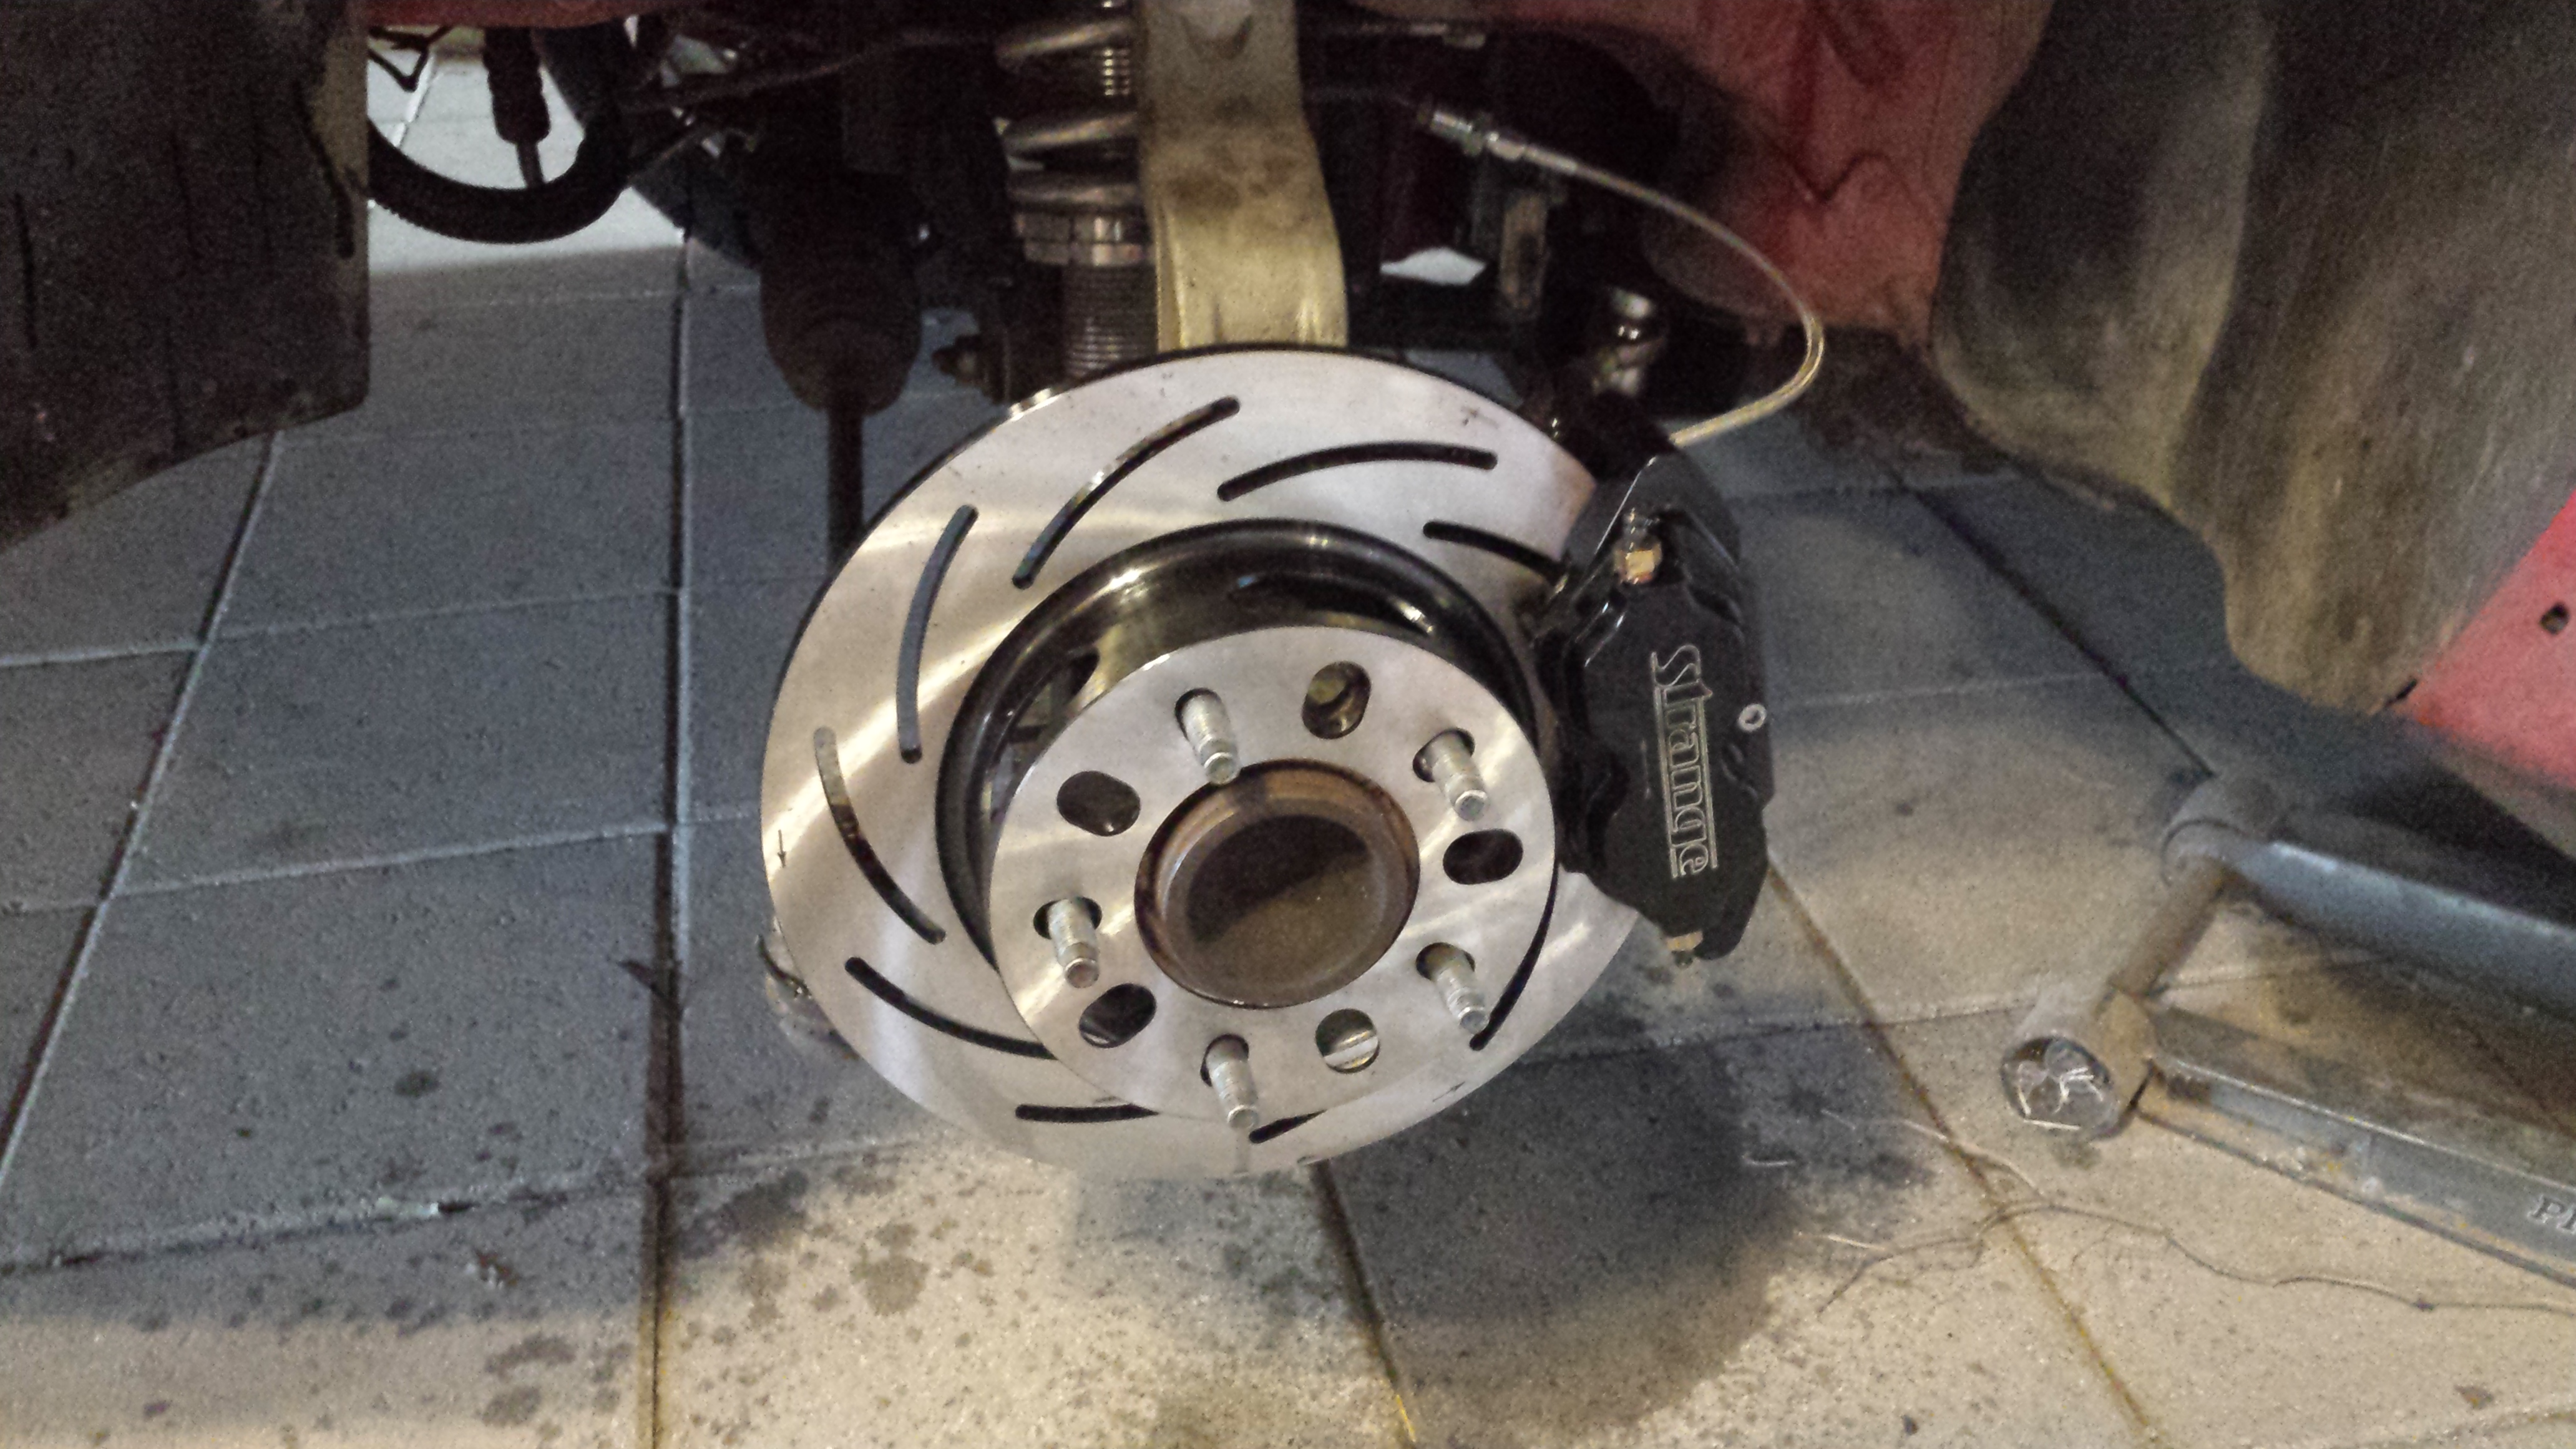
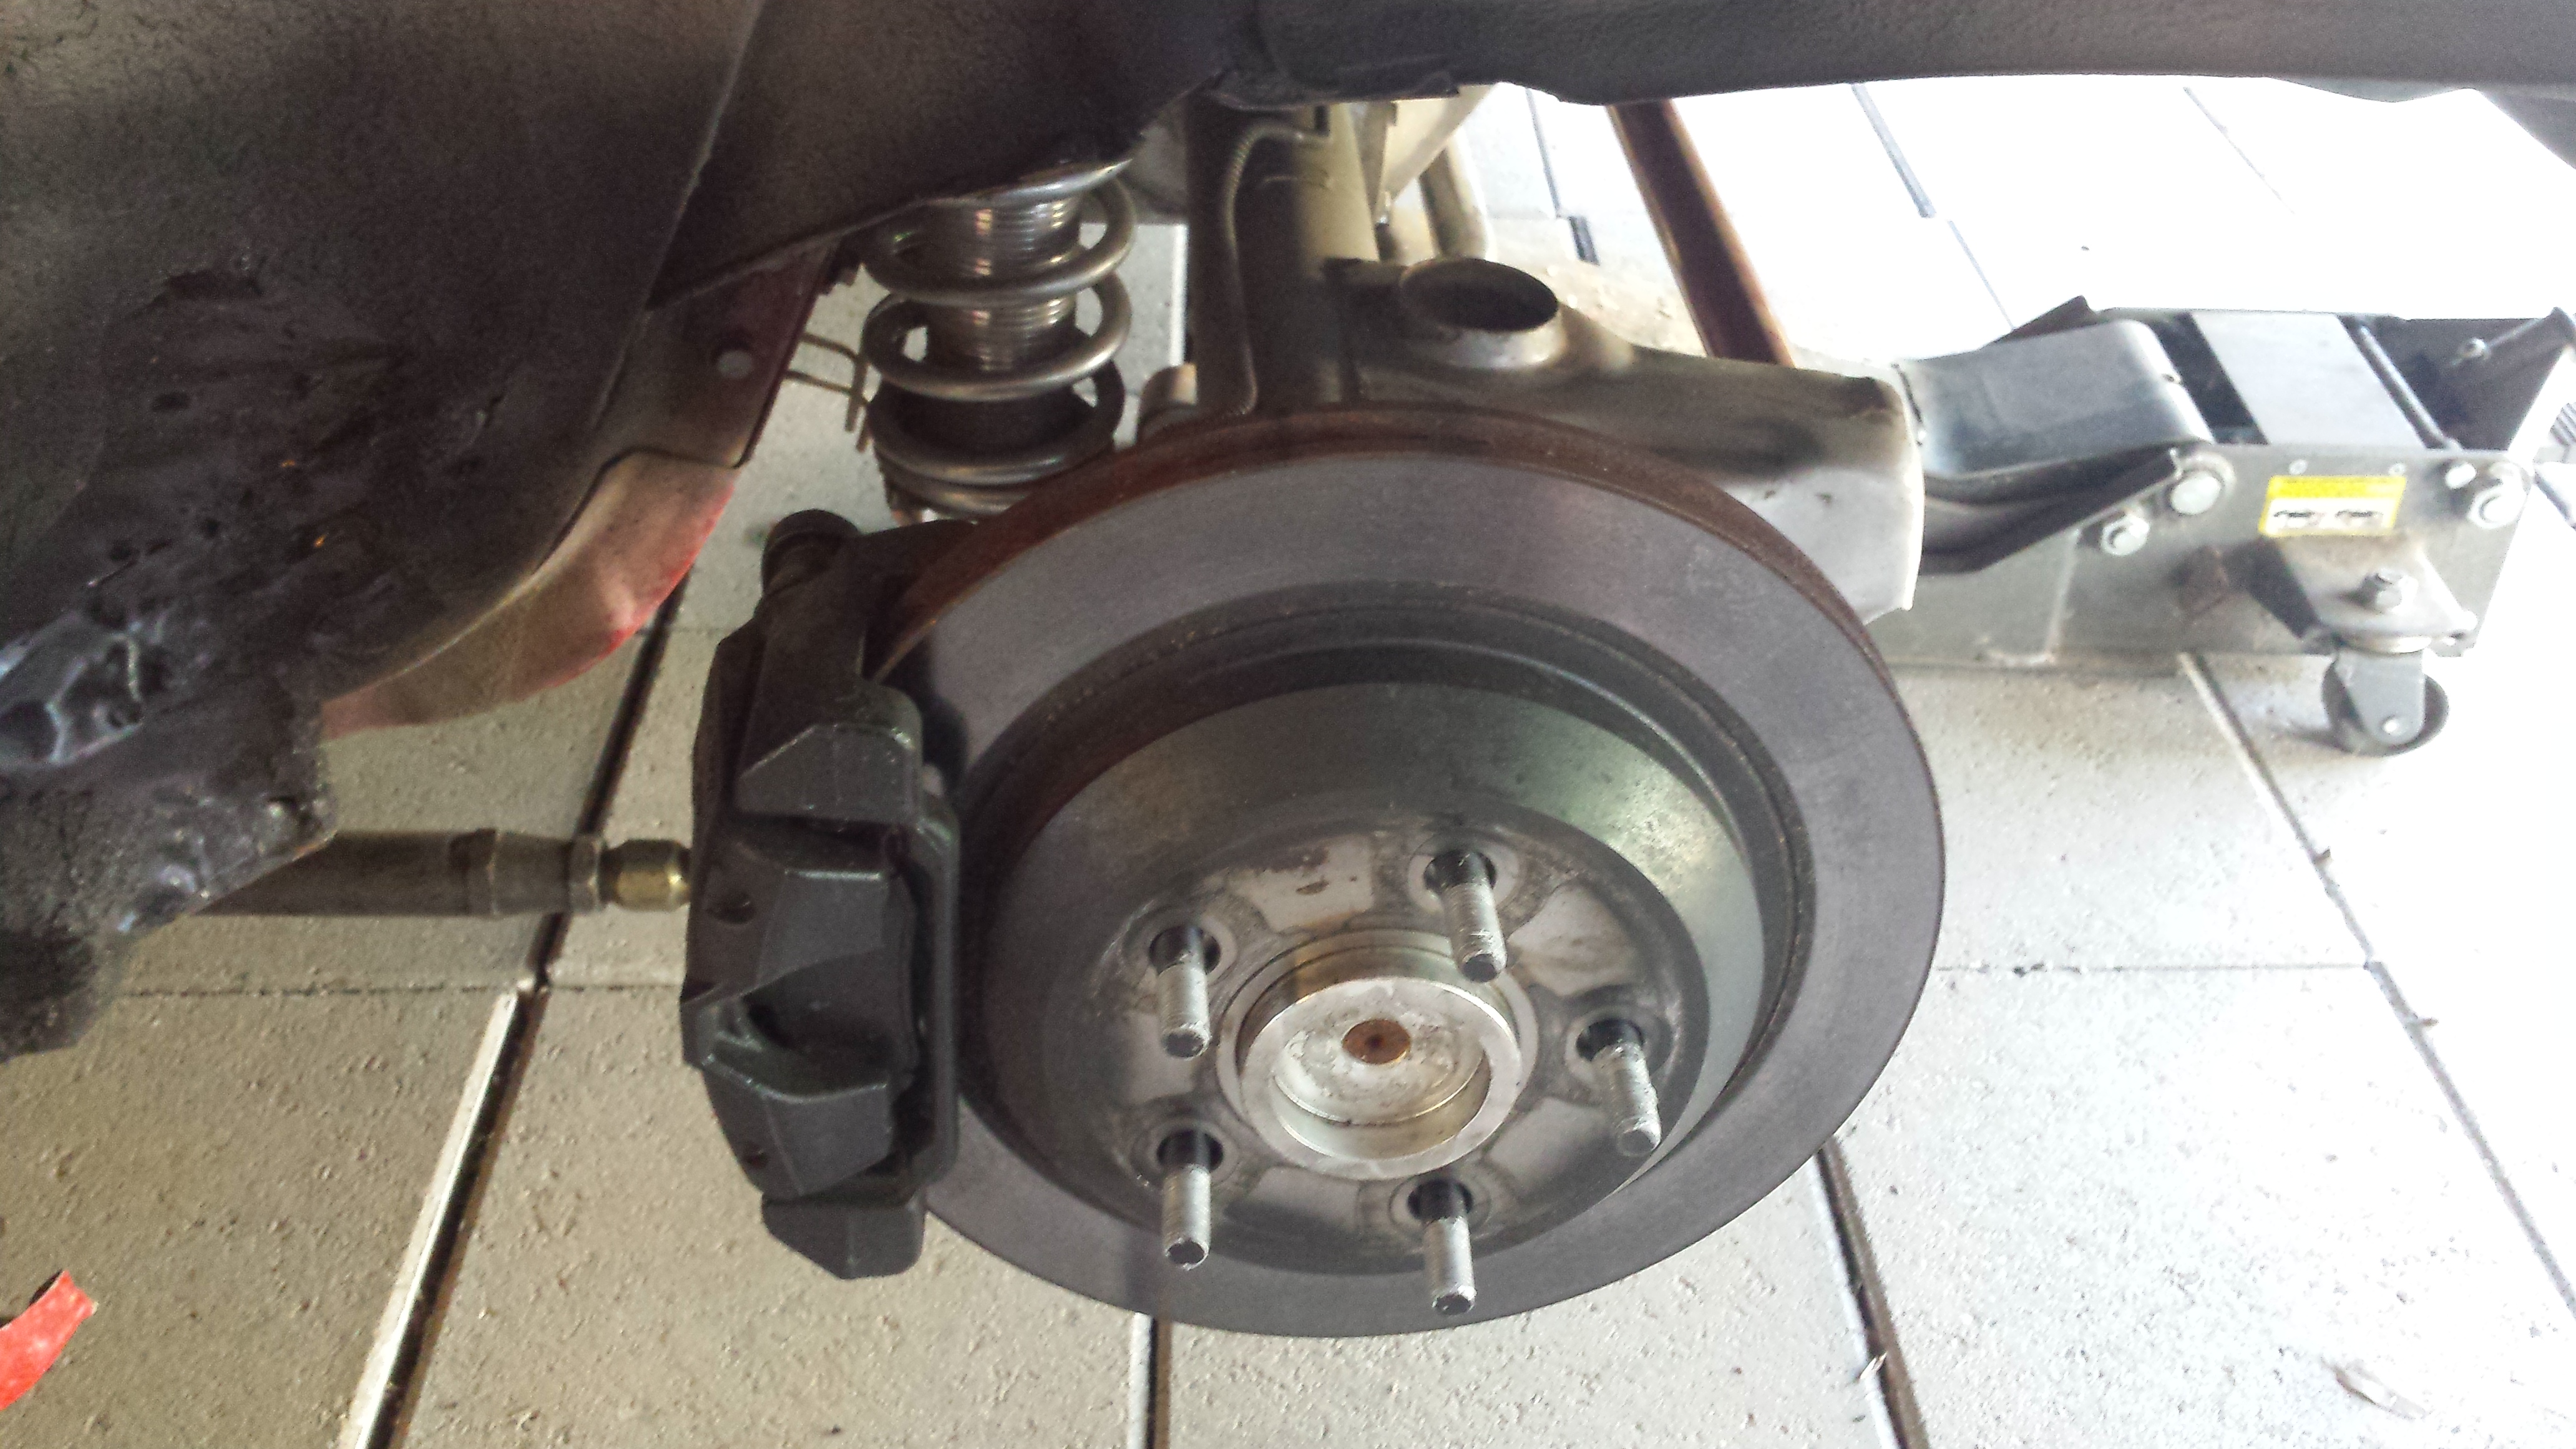
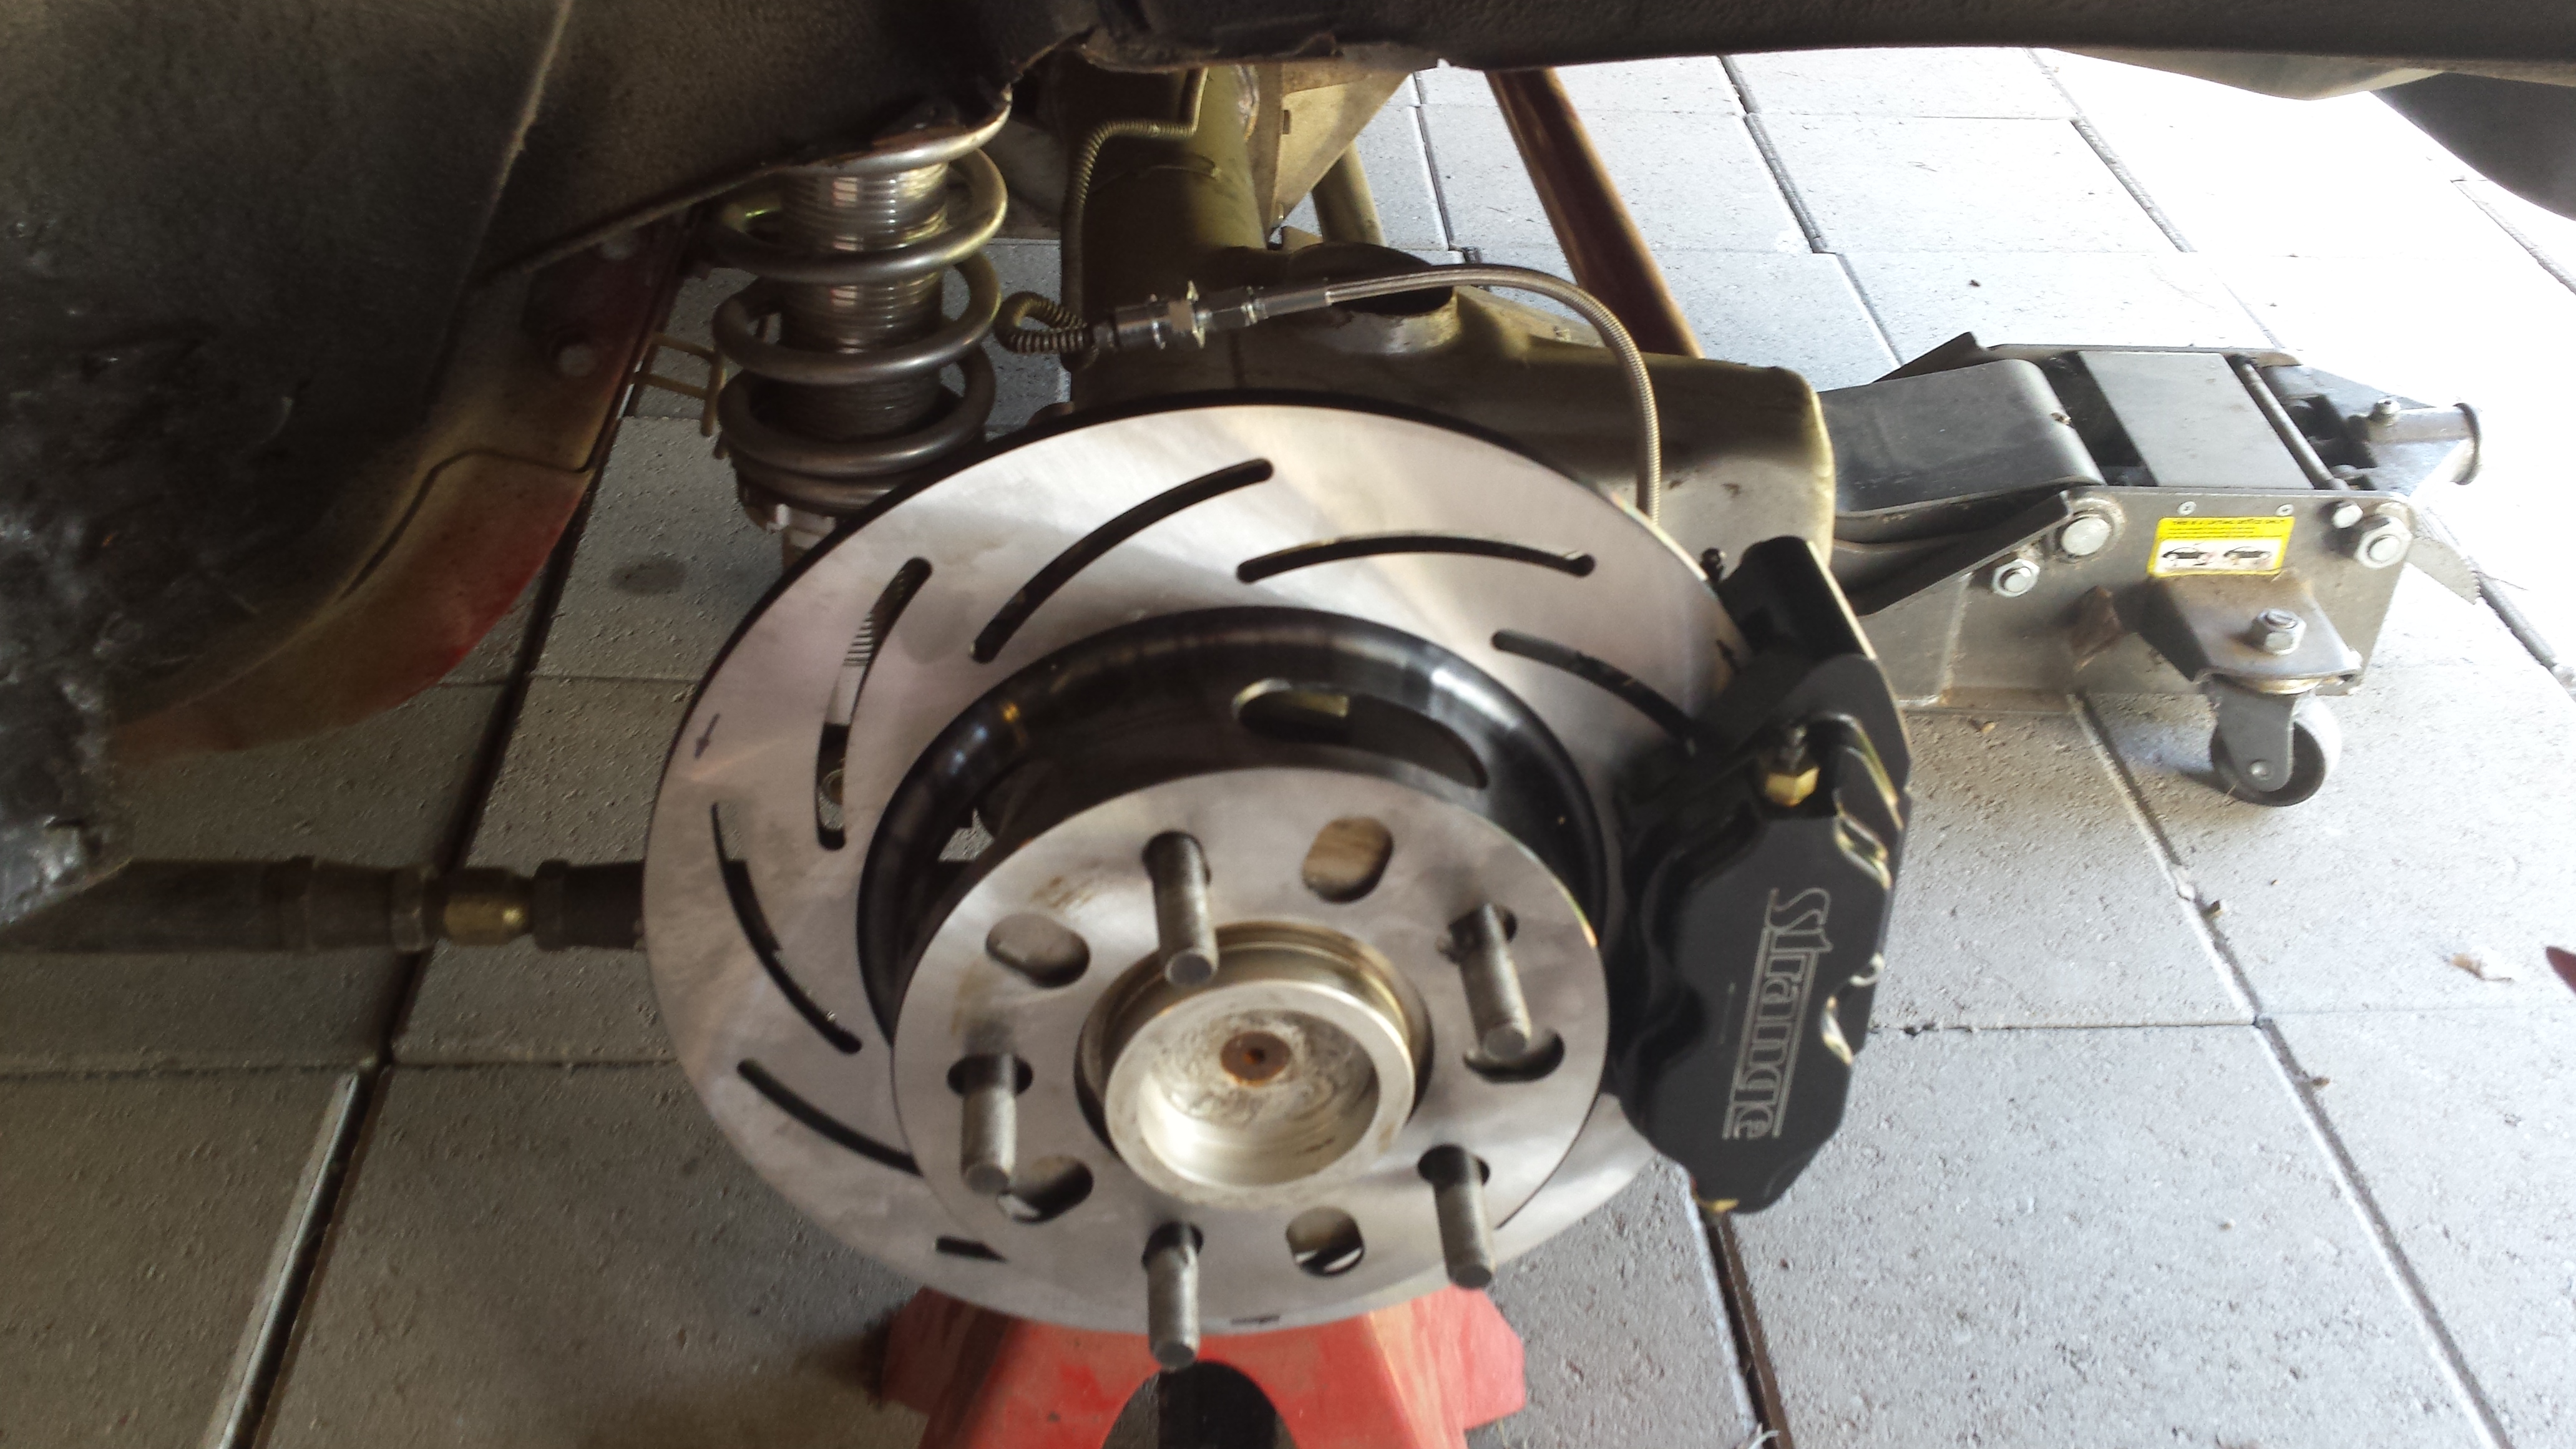
So we know what the new stuff looks like:
Yanked the old stuff off and promptly put it for sale: Its a BMR setup, which has worked good for me.

2 concerns, weight by needing to add the stock transmission crossmember back and ride quality. So lets look at the weight....The BMR torque arm was 25lbs. Then their crossmember was 10 pounds. Making the old setup 35 lbs.
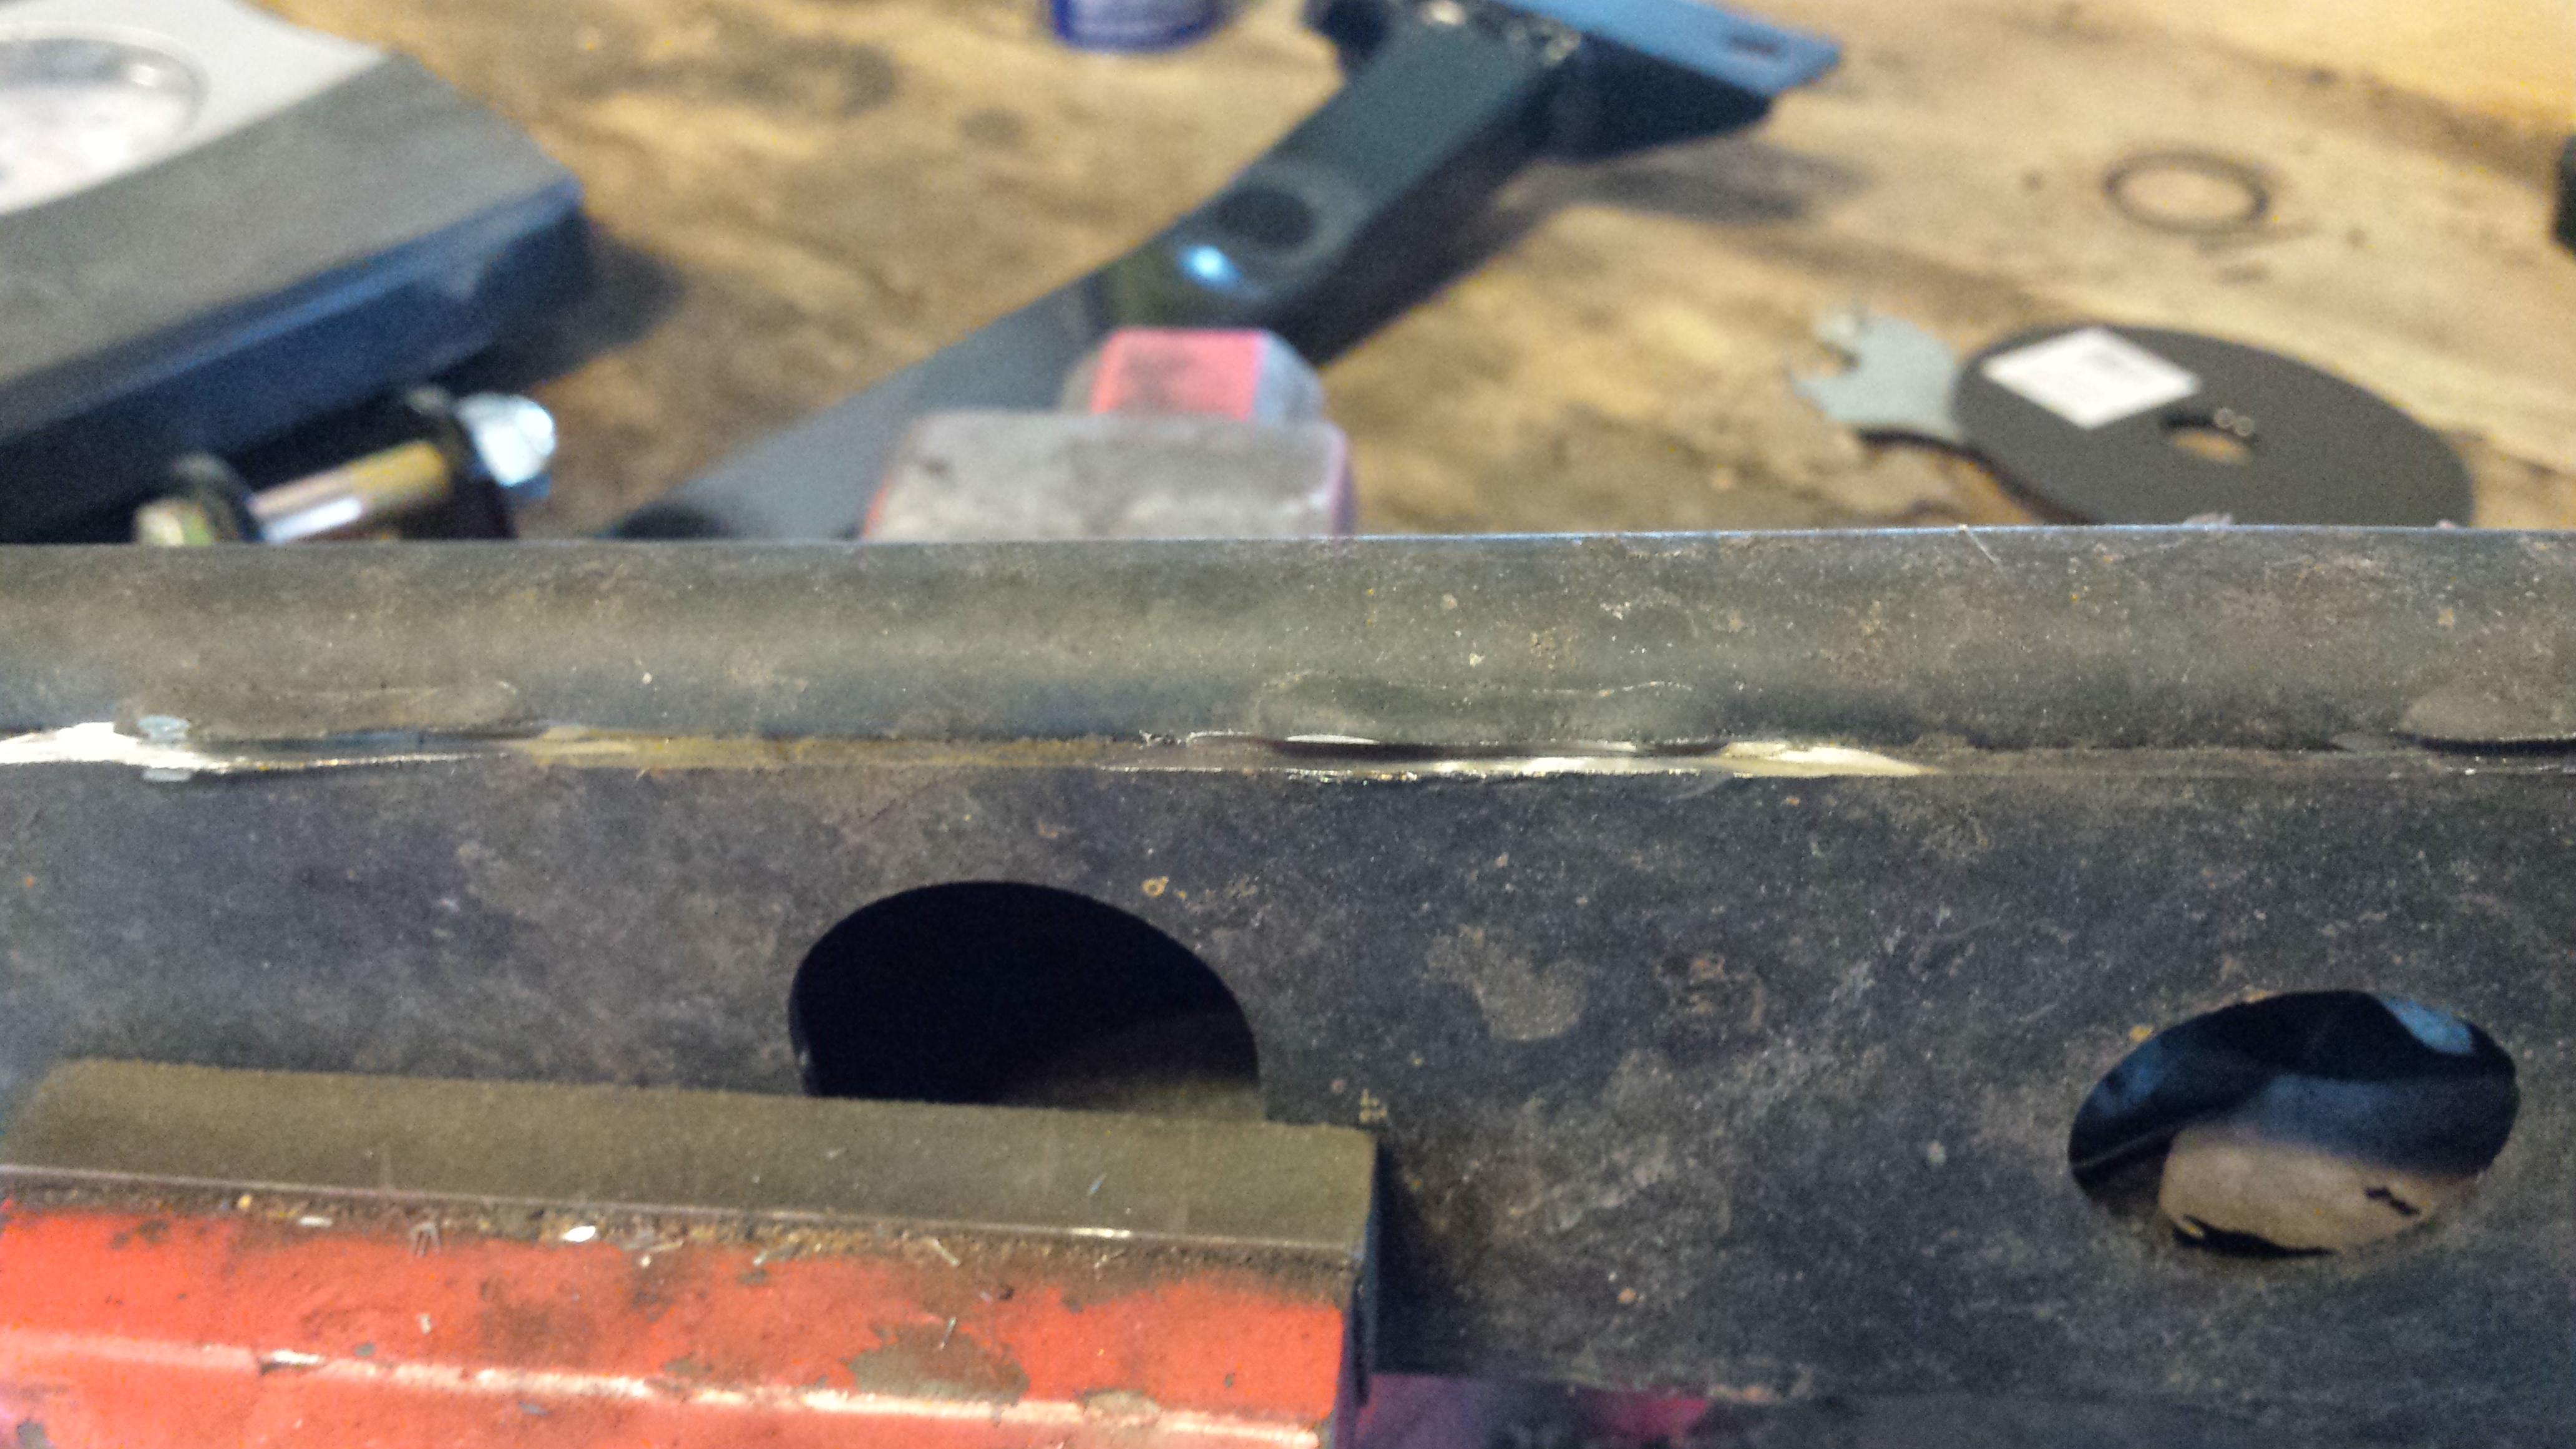
Here's the stock trans crossmember: Its fully boxed and heavy. It should be as the torque arm is mounted to the trans when stock:
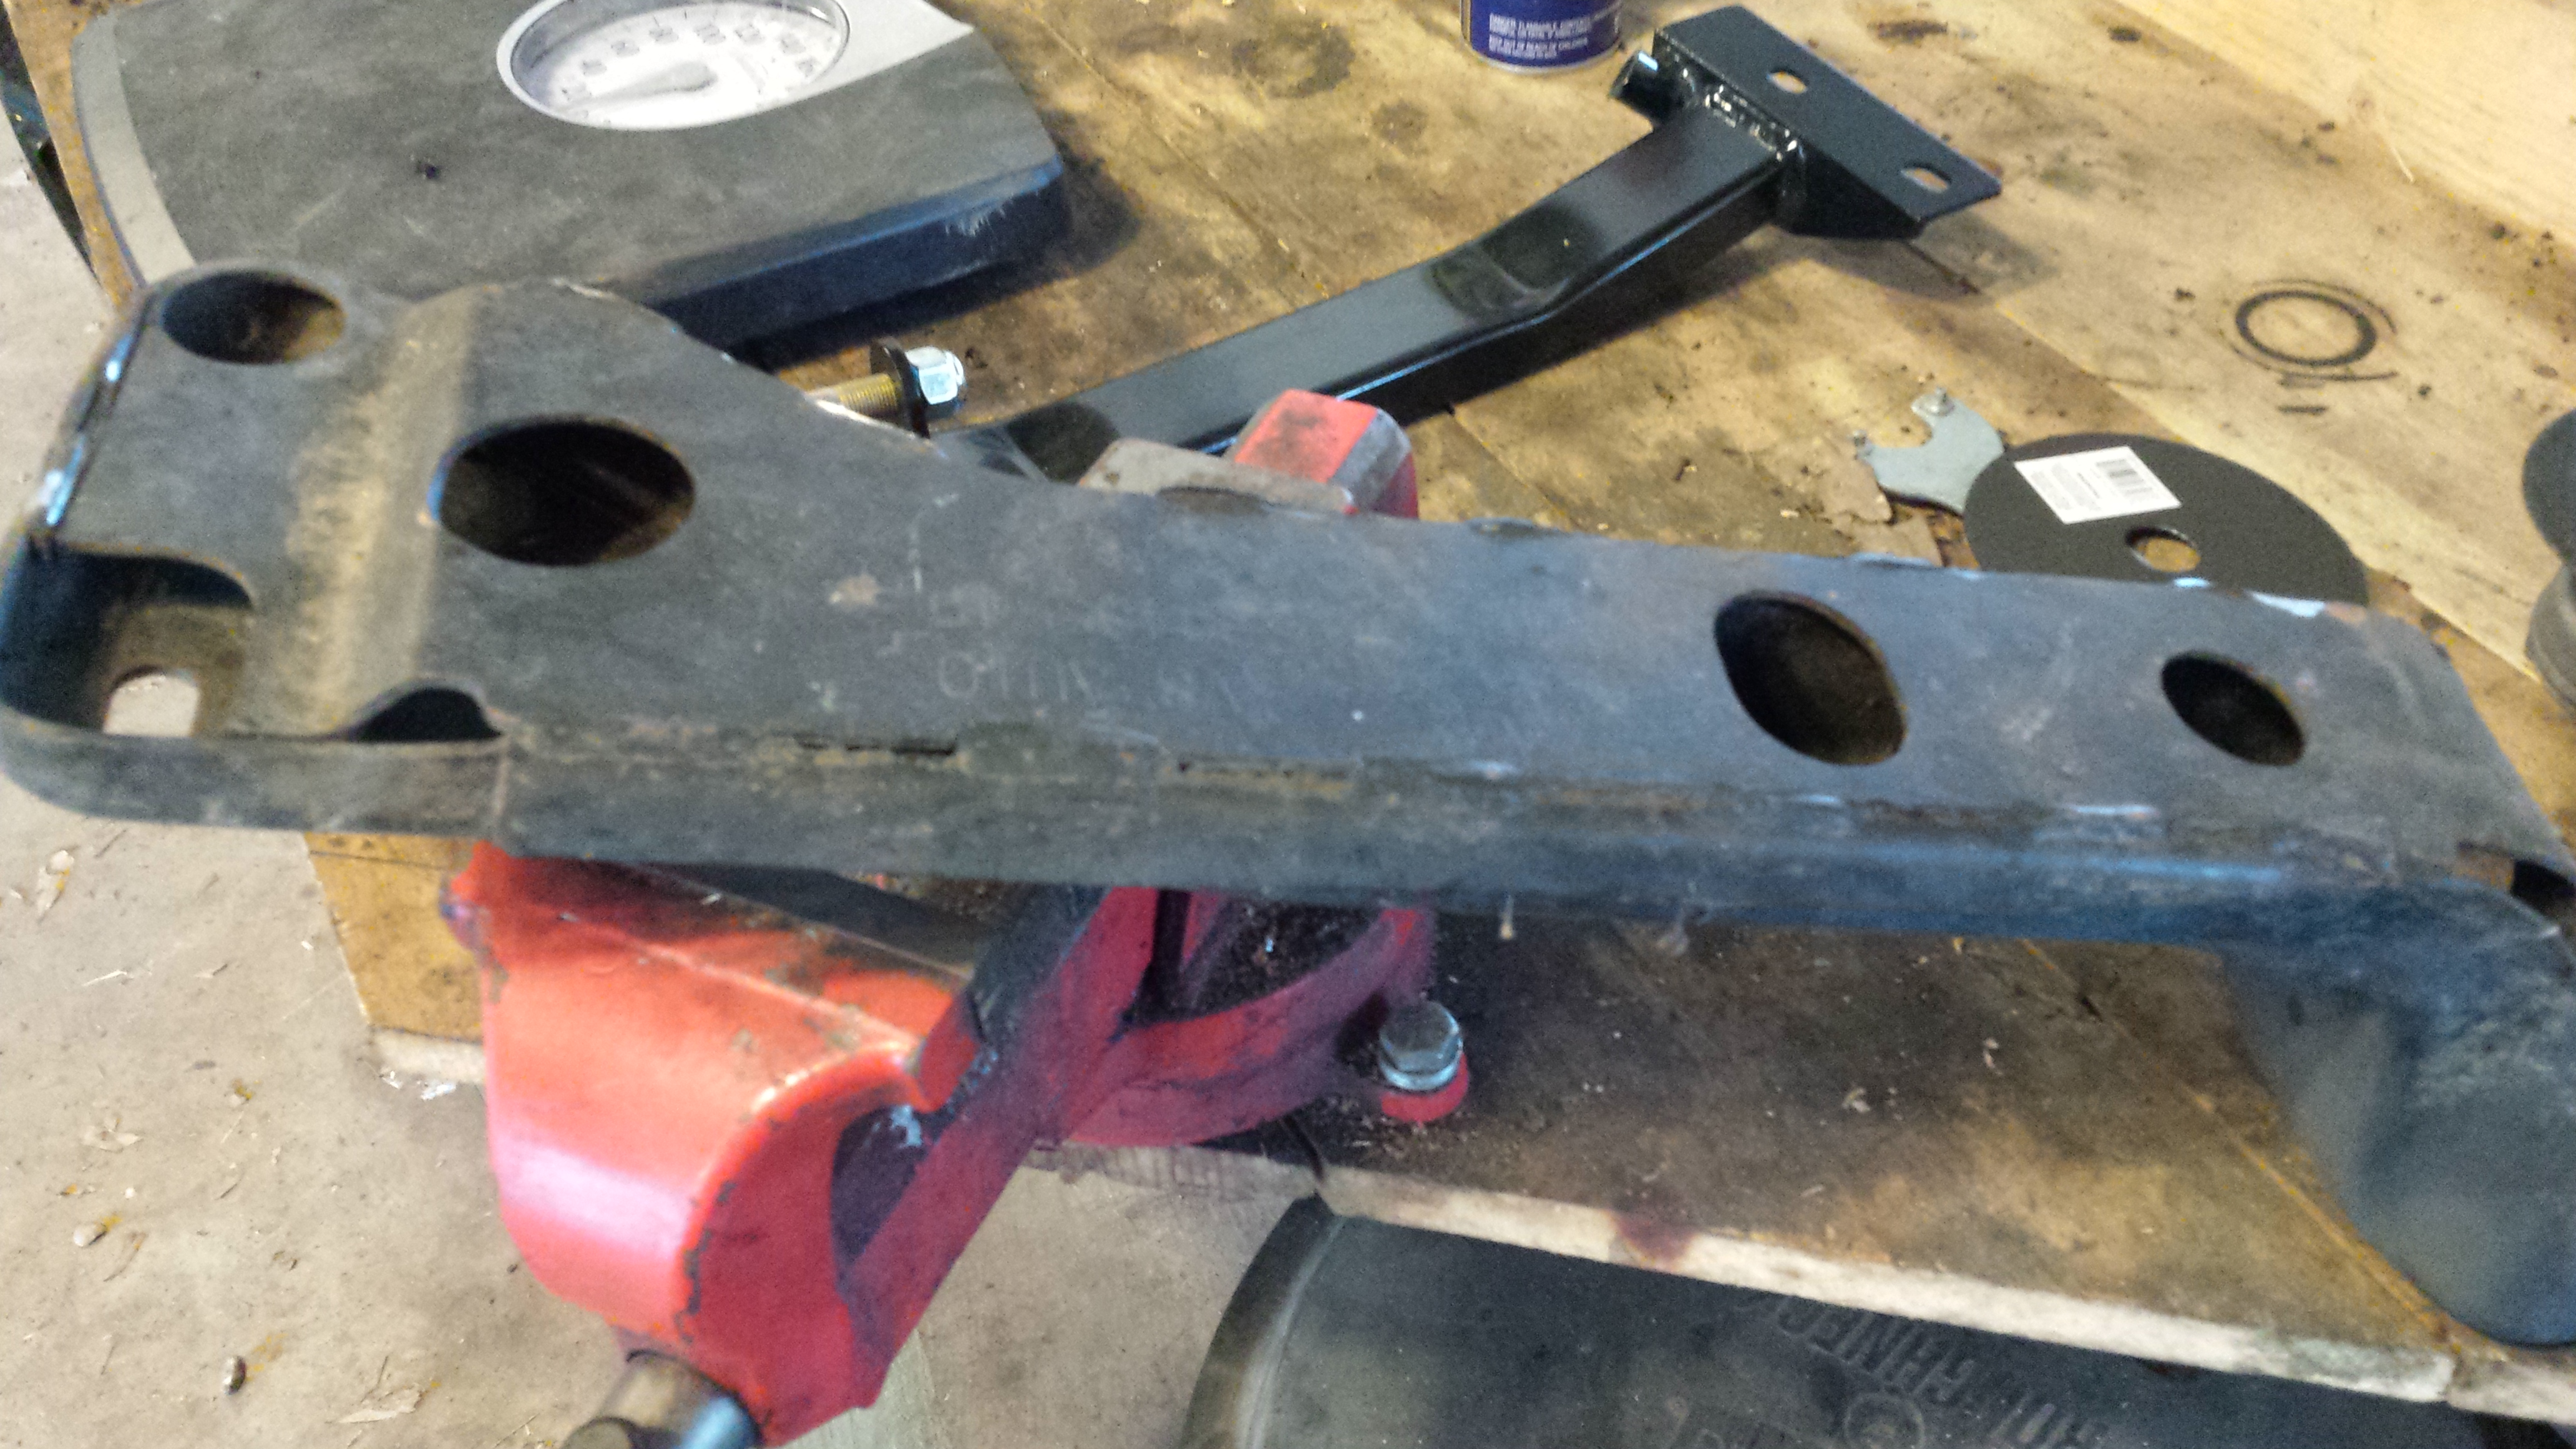
The stock trans crossmember:
We are gonna un-box it by cutting the stock welds.
--------------------------------------------
Now this little piece removed might not weigh much:
I mighta hole sawed it too......
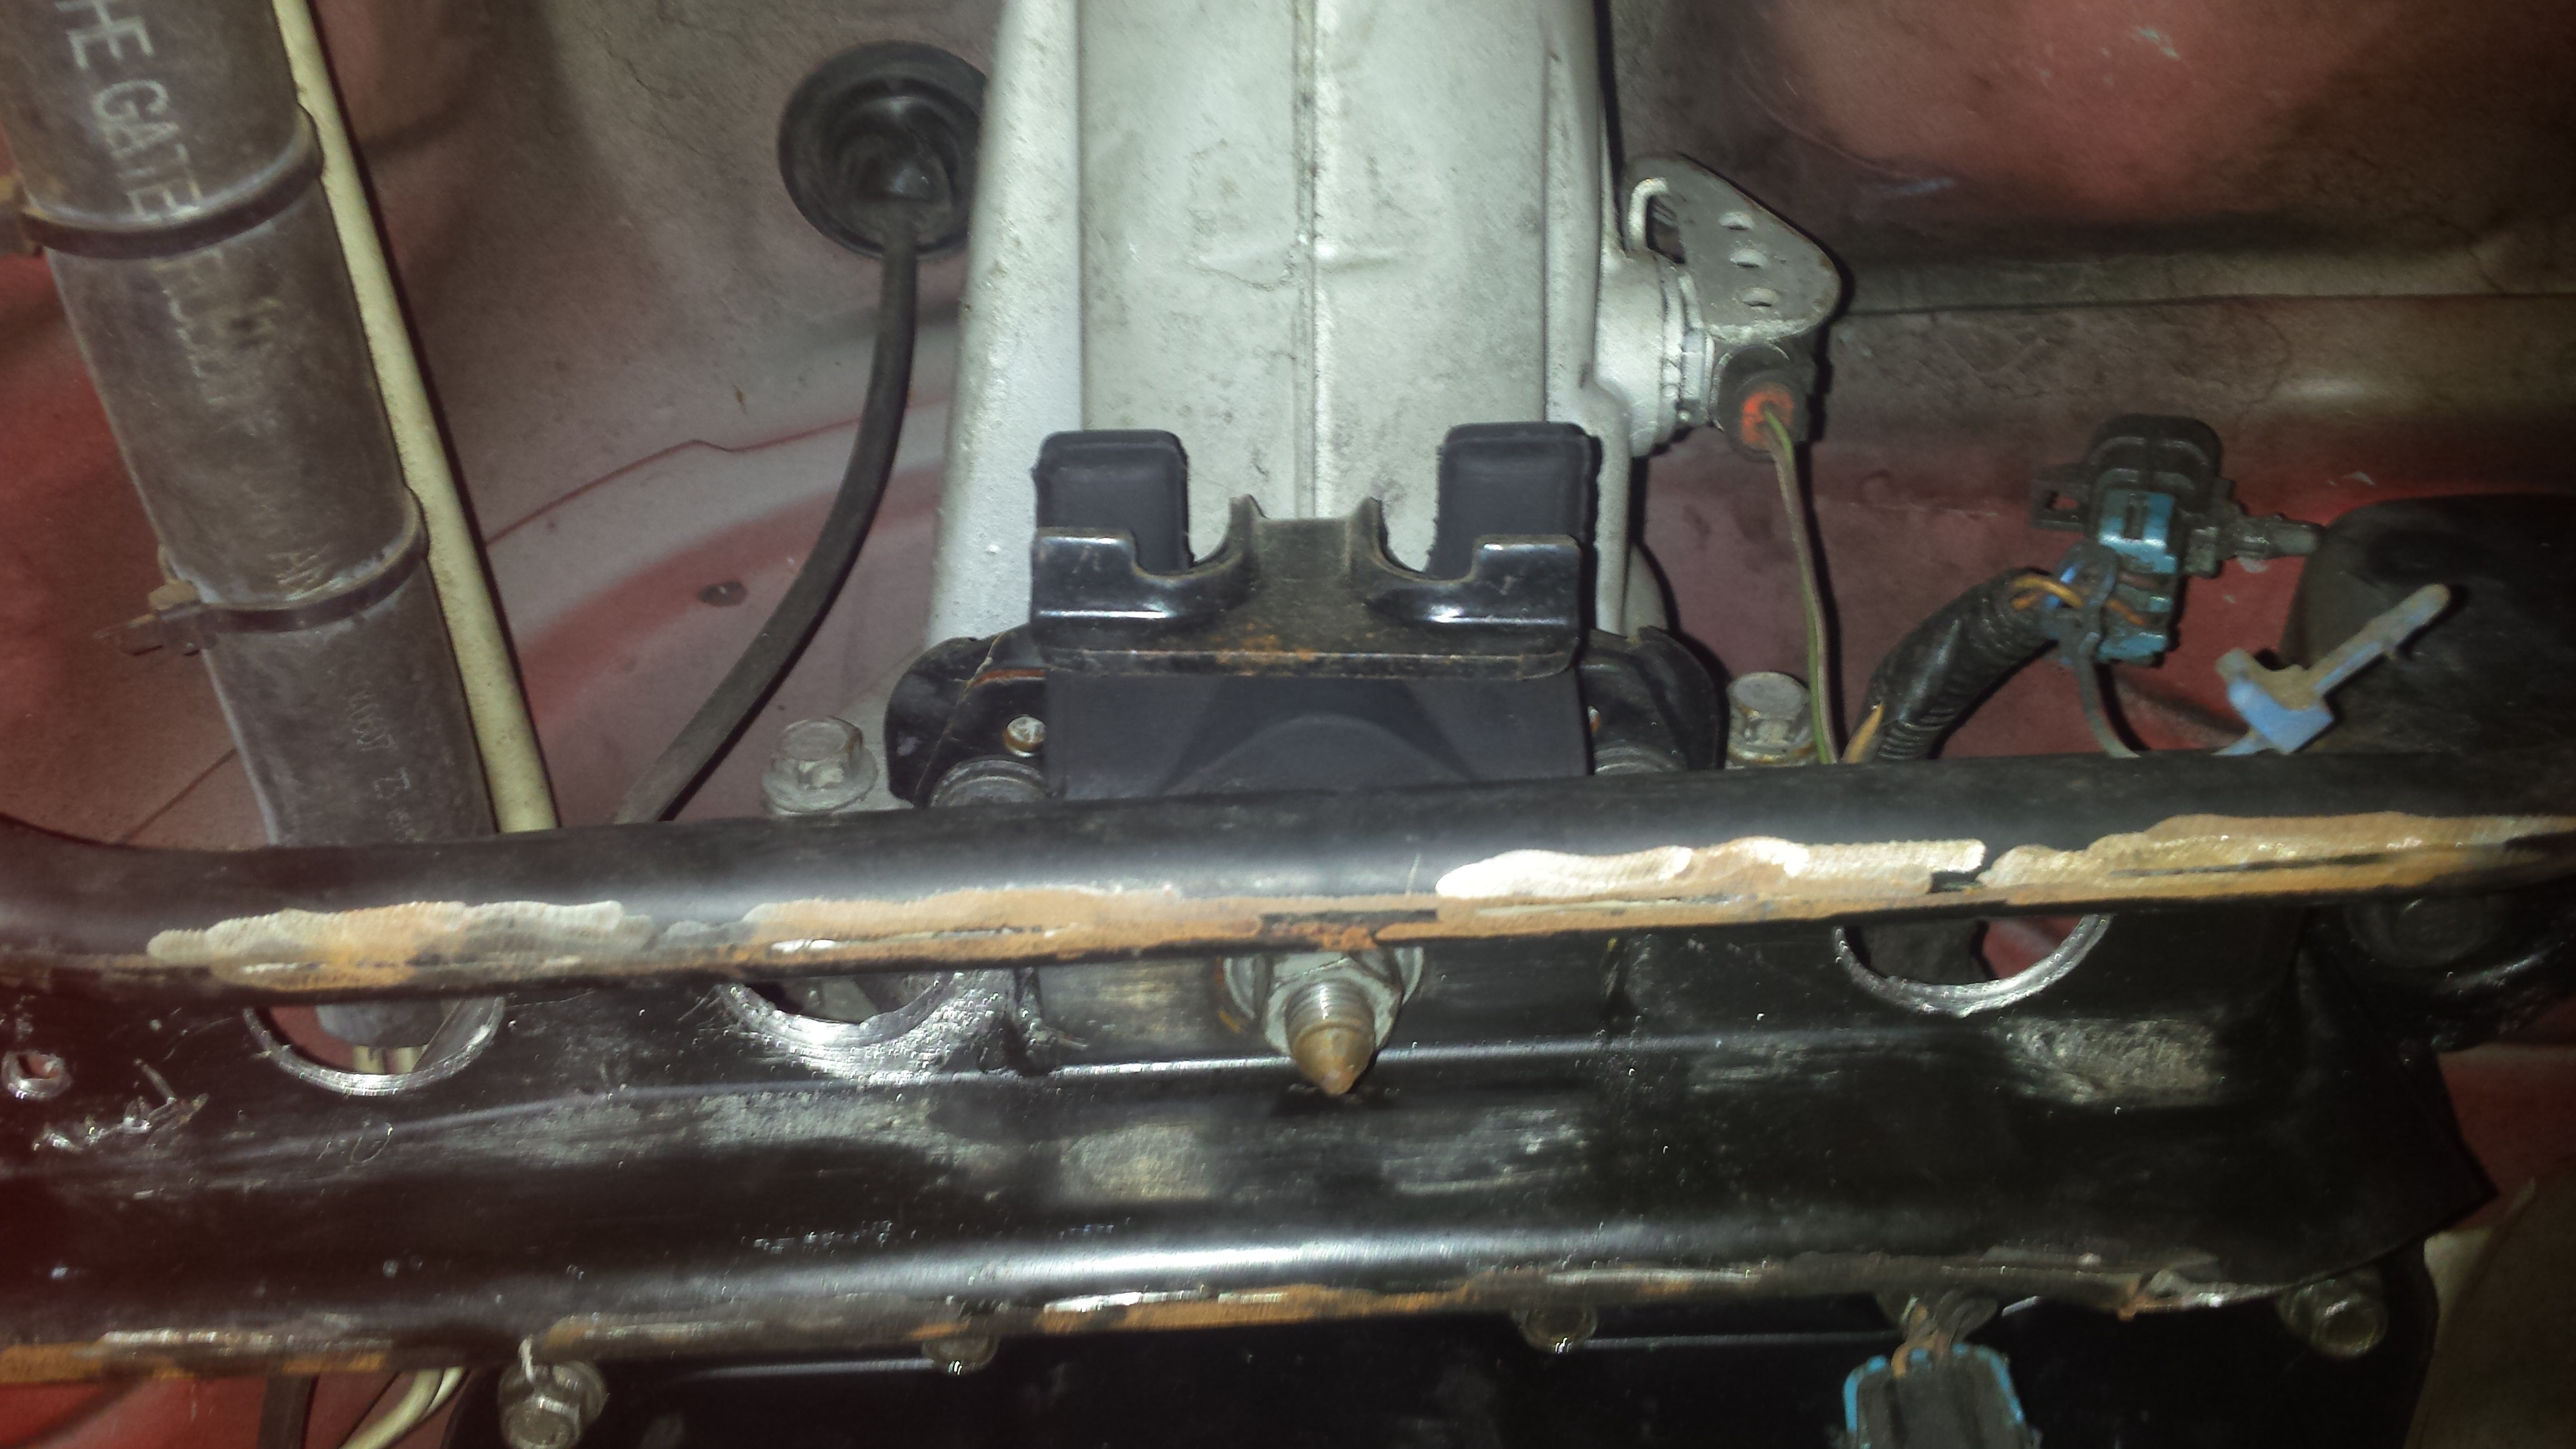
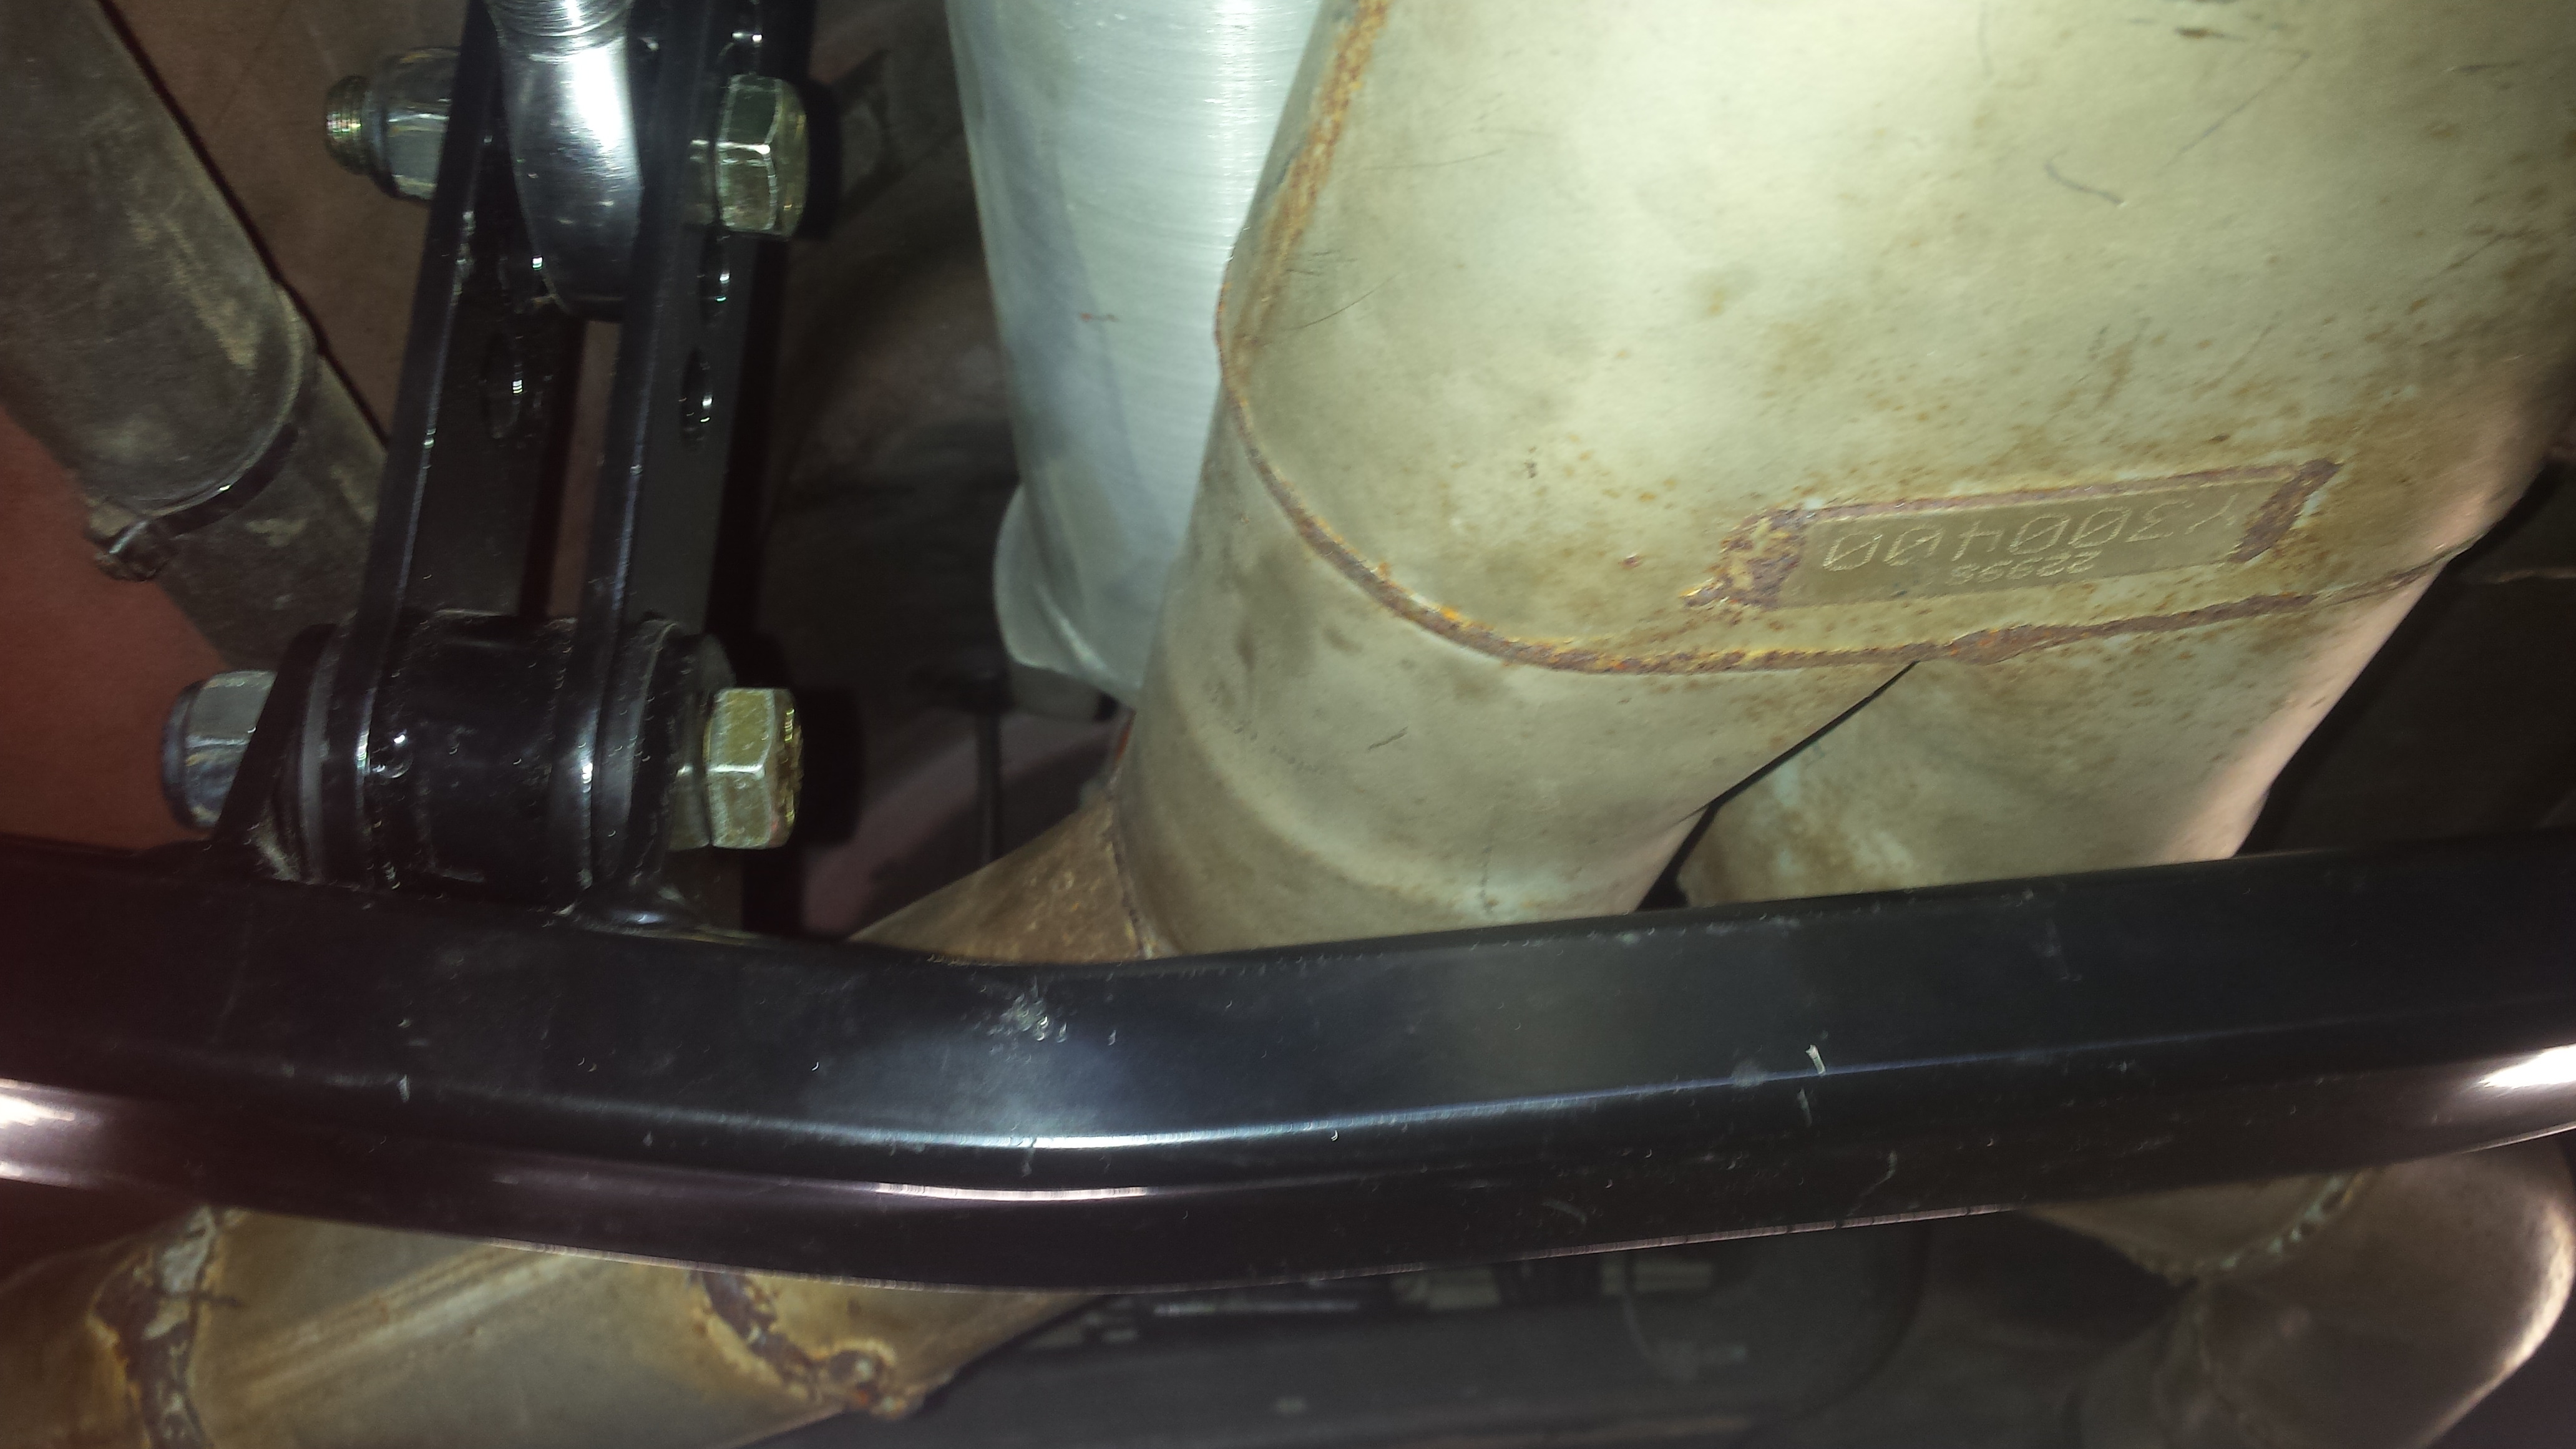
TA crossmember cleared my Flowmaster 3 into 4 merge very comfortably.
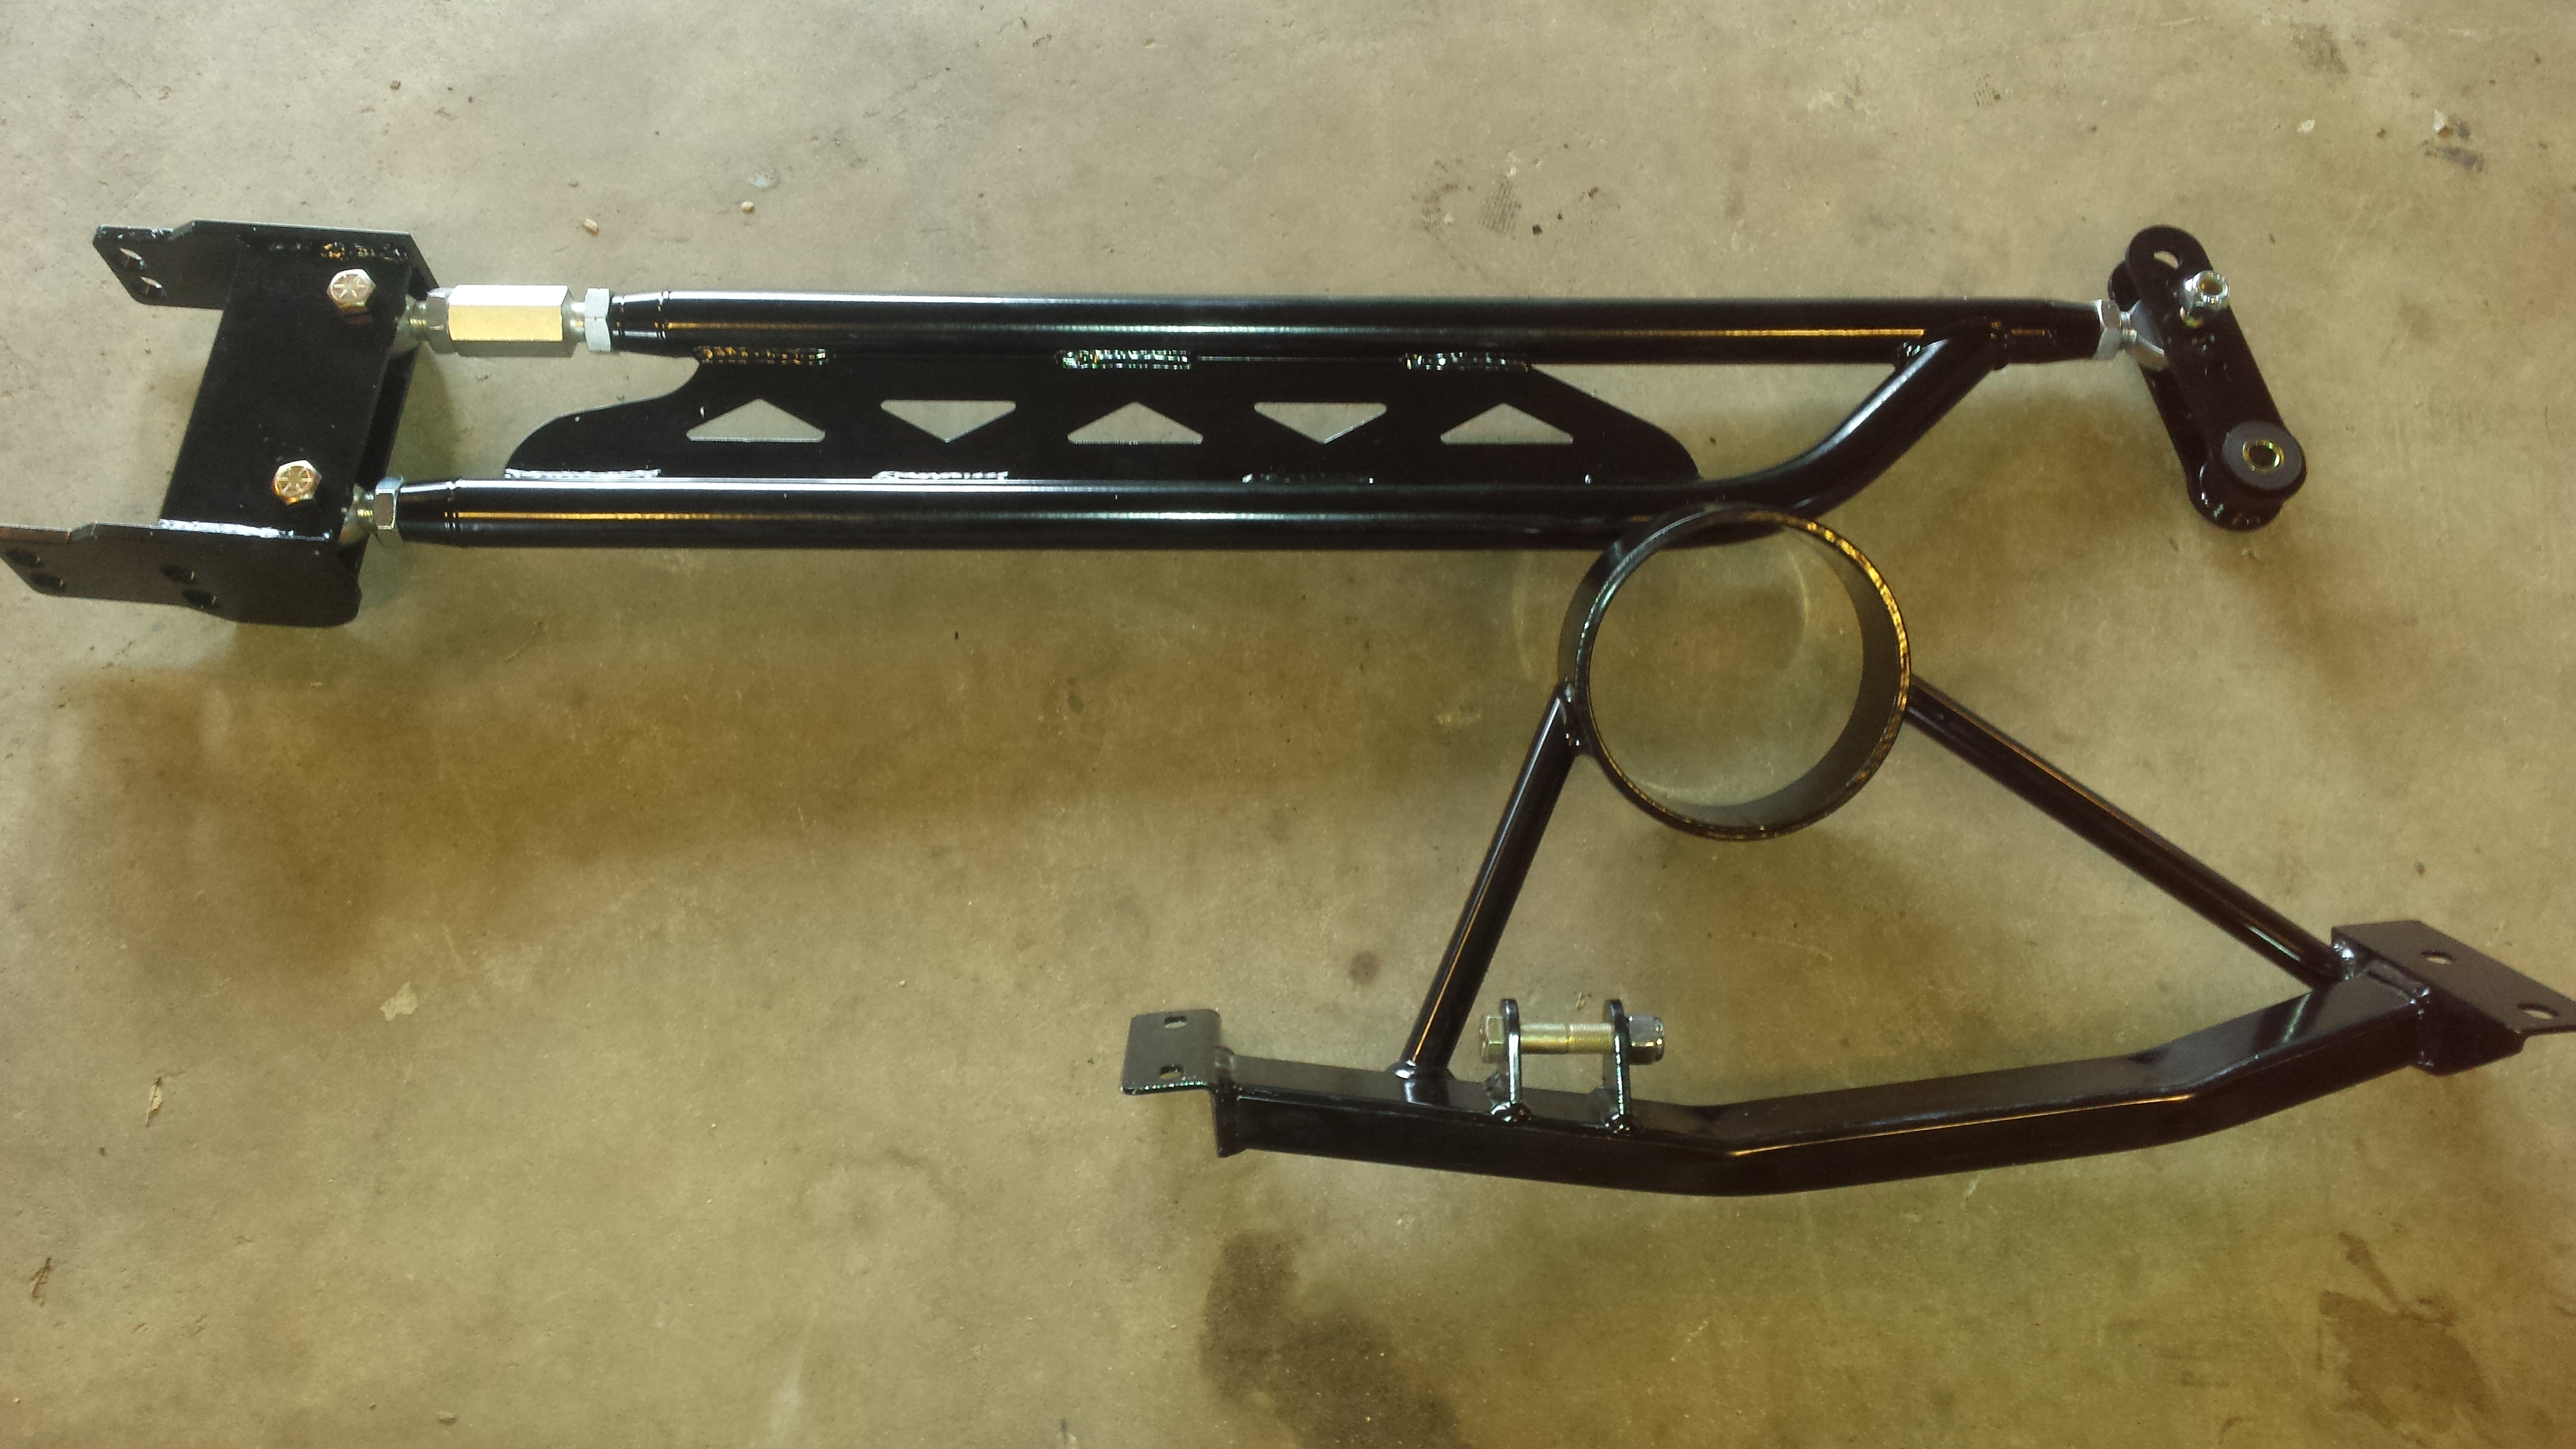
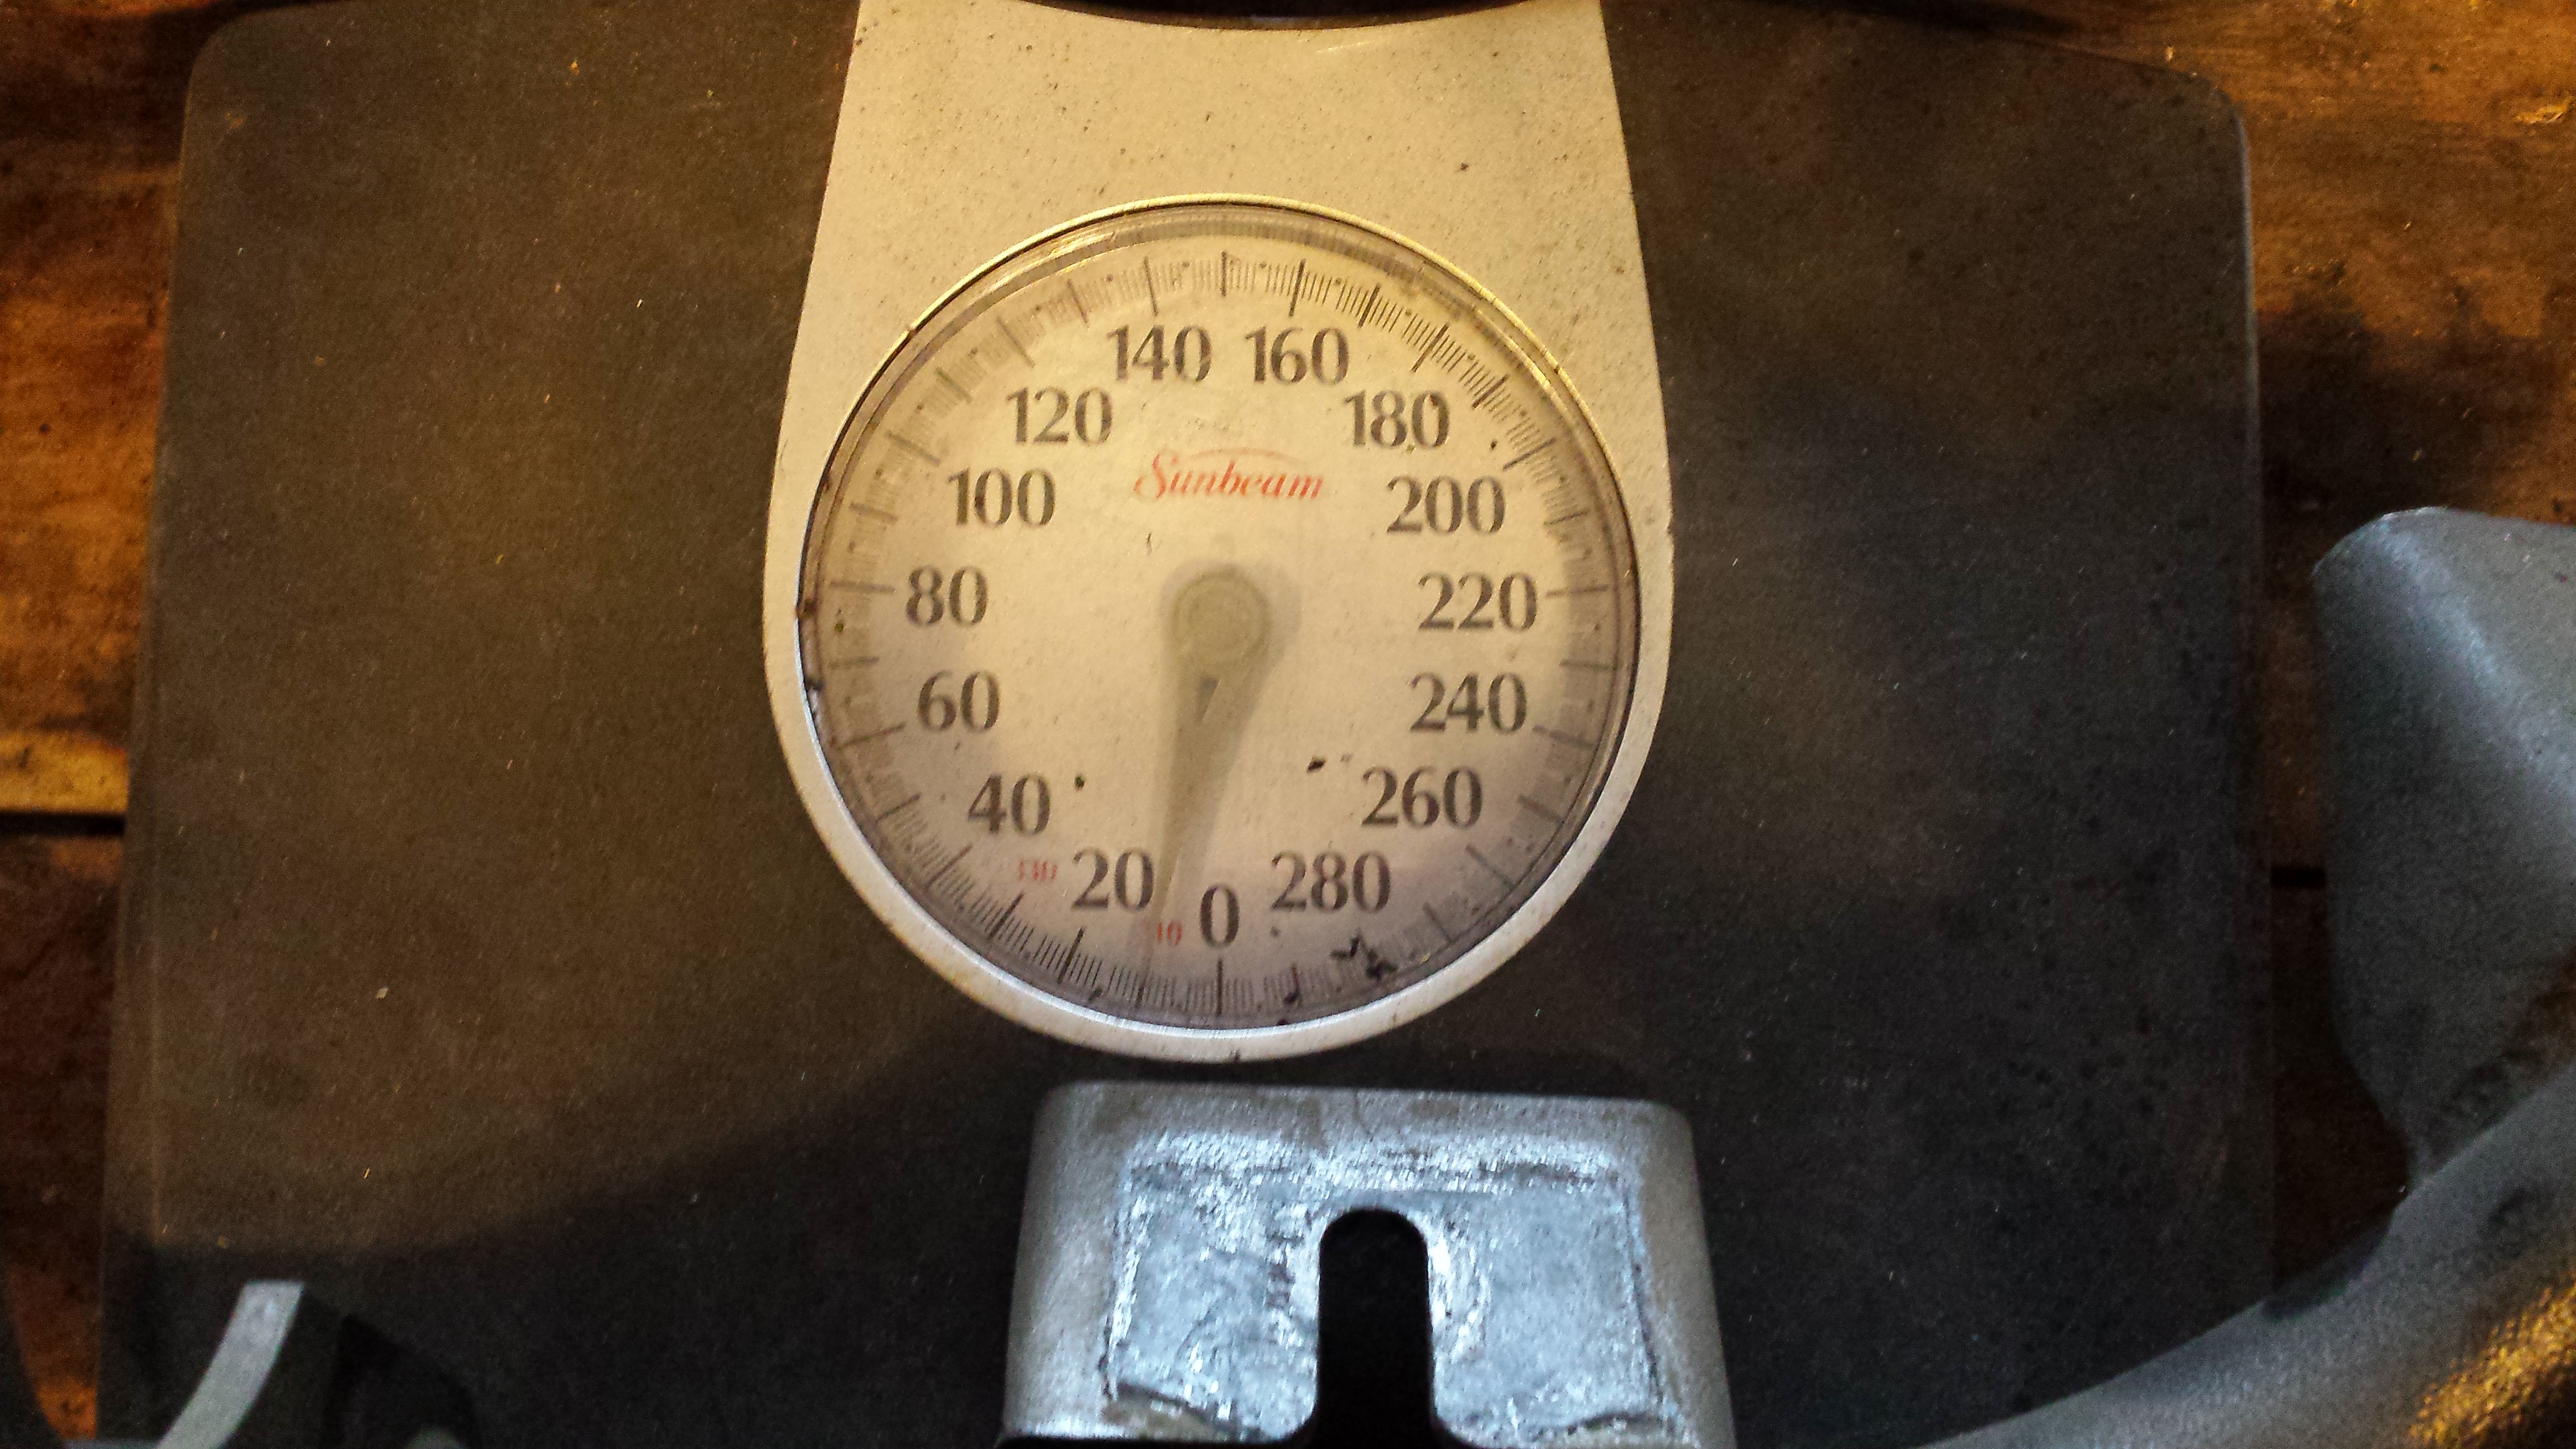
The Midwest torque arm: about 17lbs.
And this is their crossmember with DS loop:
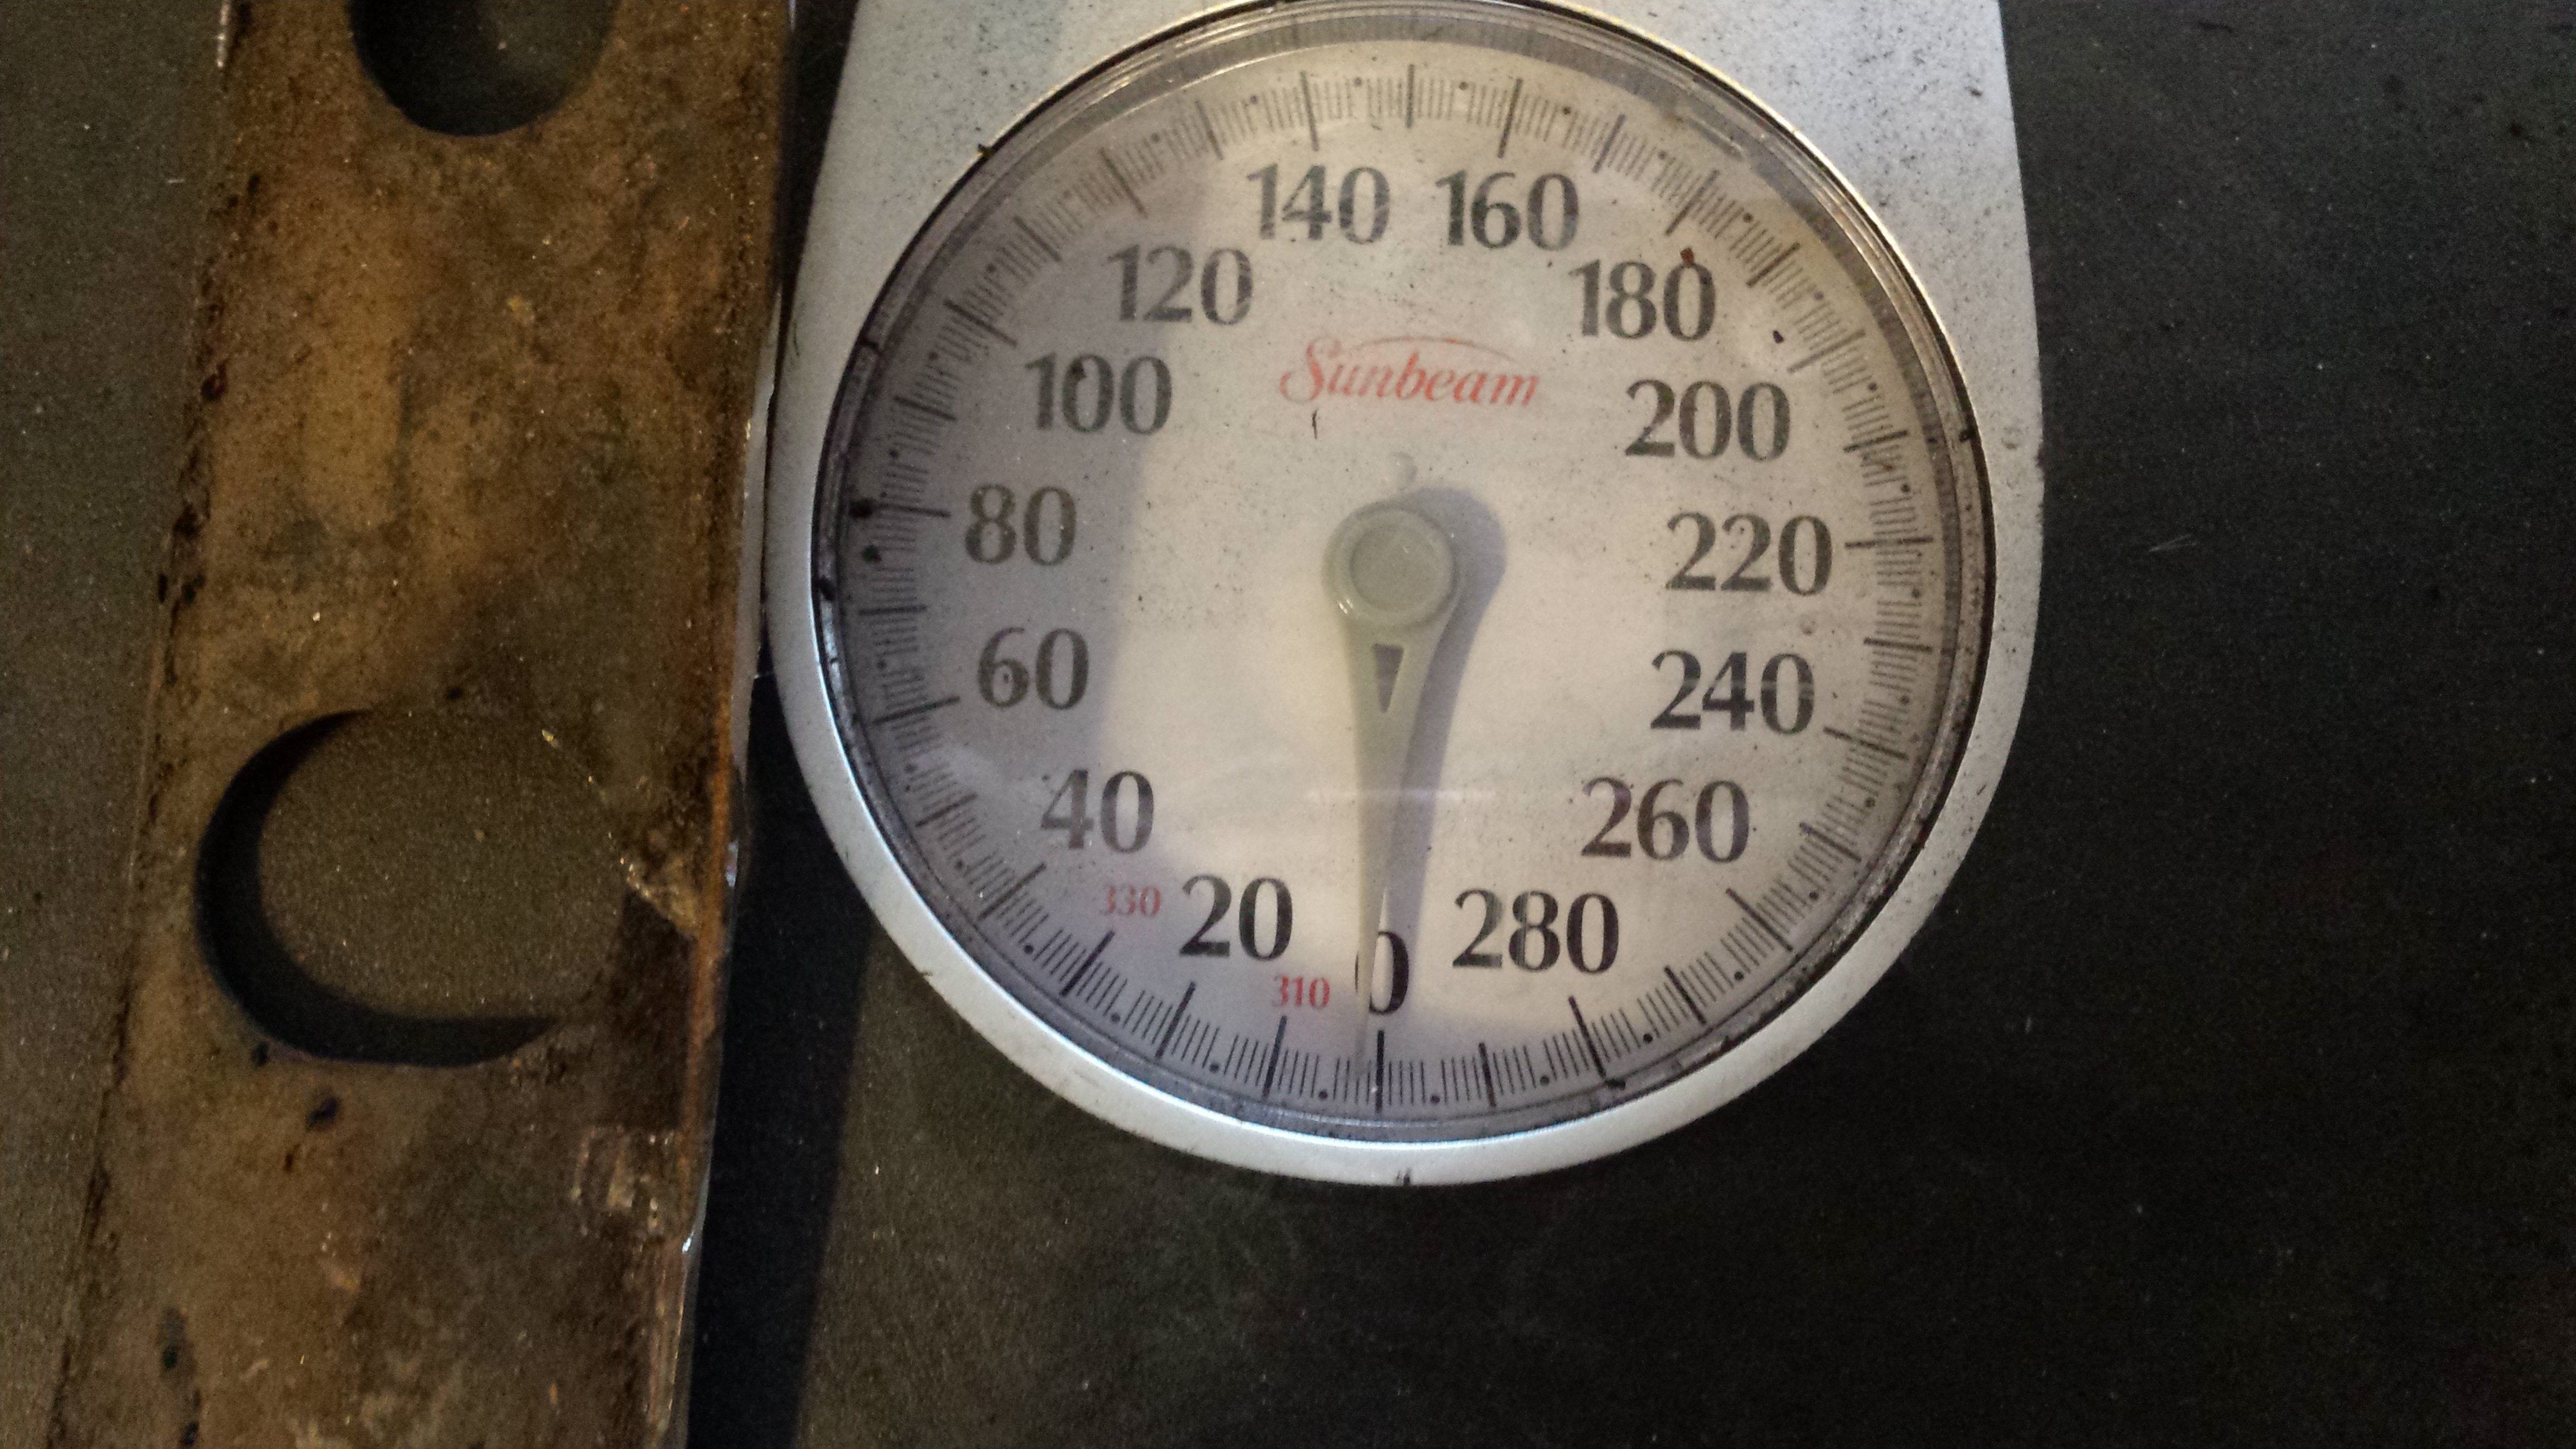
The conclusion, the BMR setup was 35. The Midwest is 17, I was able to get the TA crossmember down to 5 by eliminating the DS loop, so we are at 22. I was able to get the stock transmission crossmember down to 4 so that's 26. We lost 9 pounds.
Driving impressions: Nice. Quiet, not harsh, I'm really impressed. Traction is about the same on the street. Pinion angle is -2.5.
------------------------------------------------
Special delivery:
Here's the stock stuff:
Teardown:
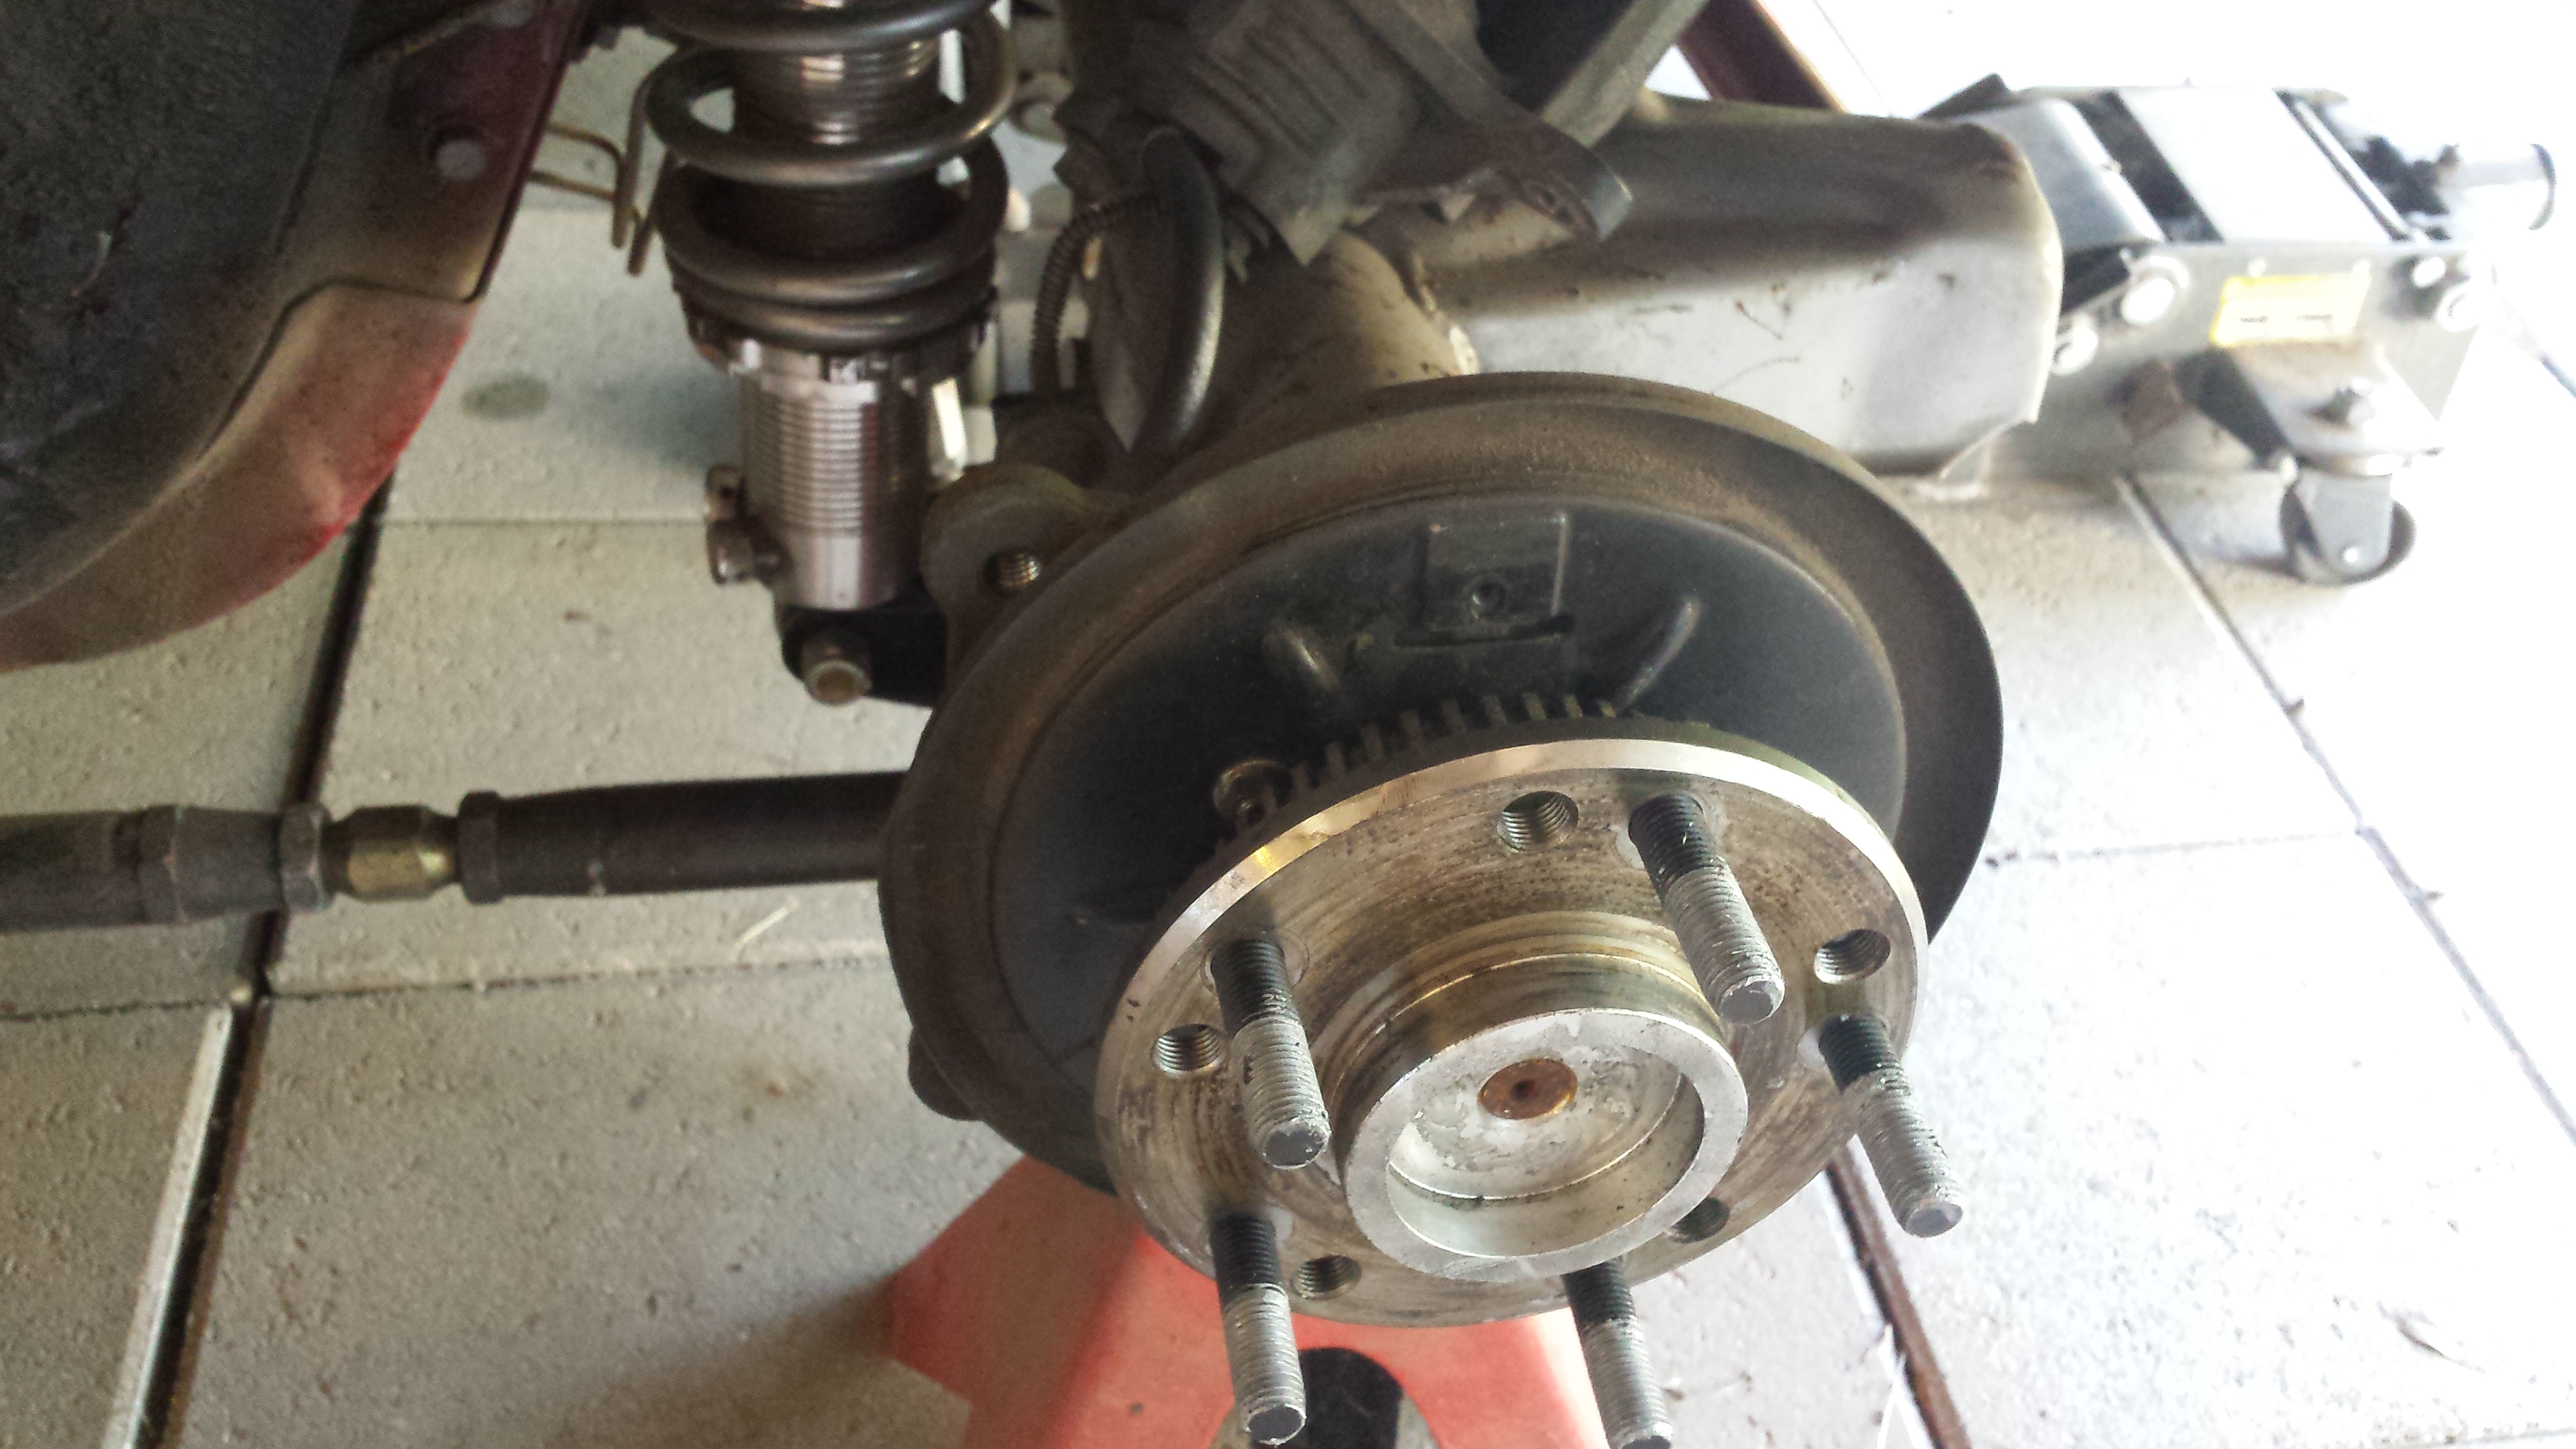
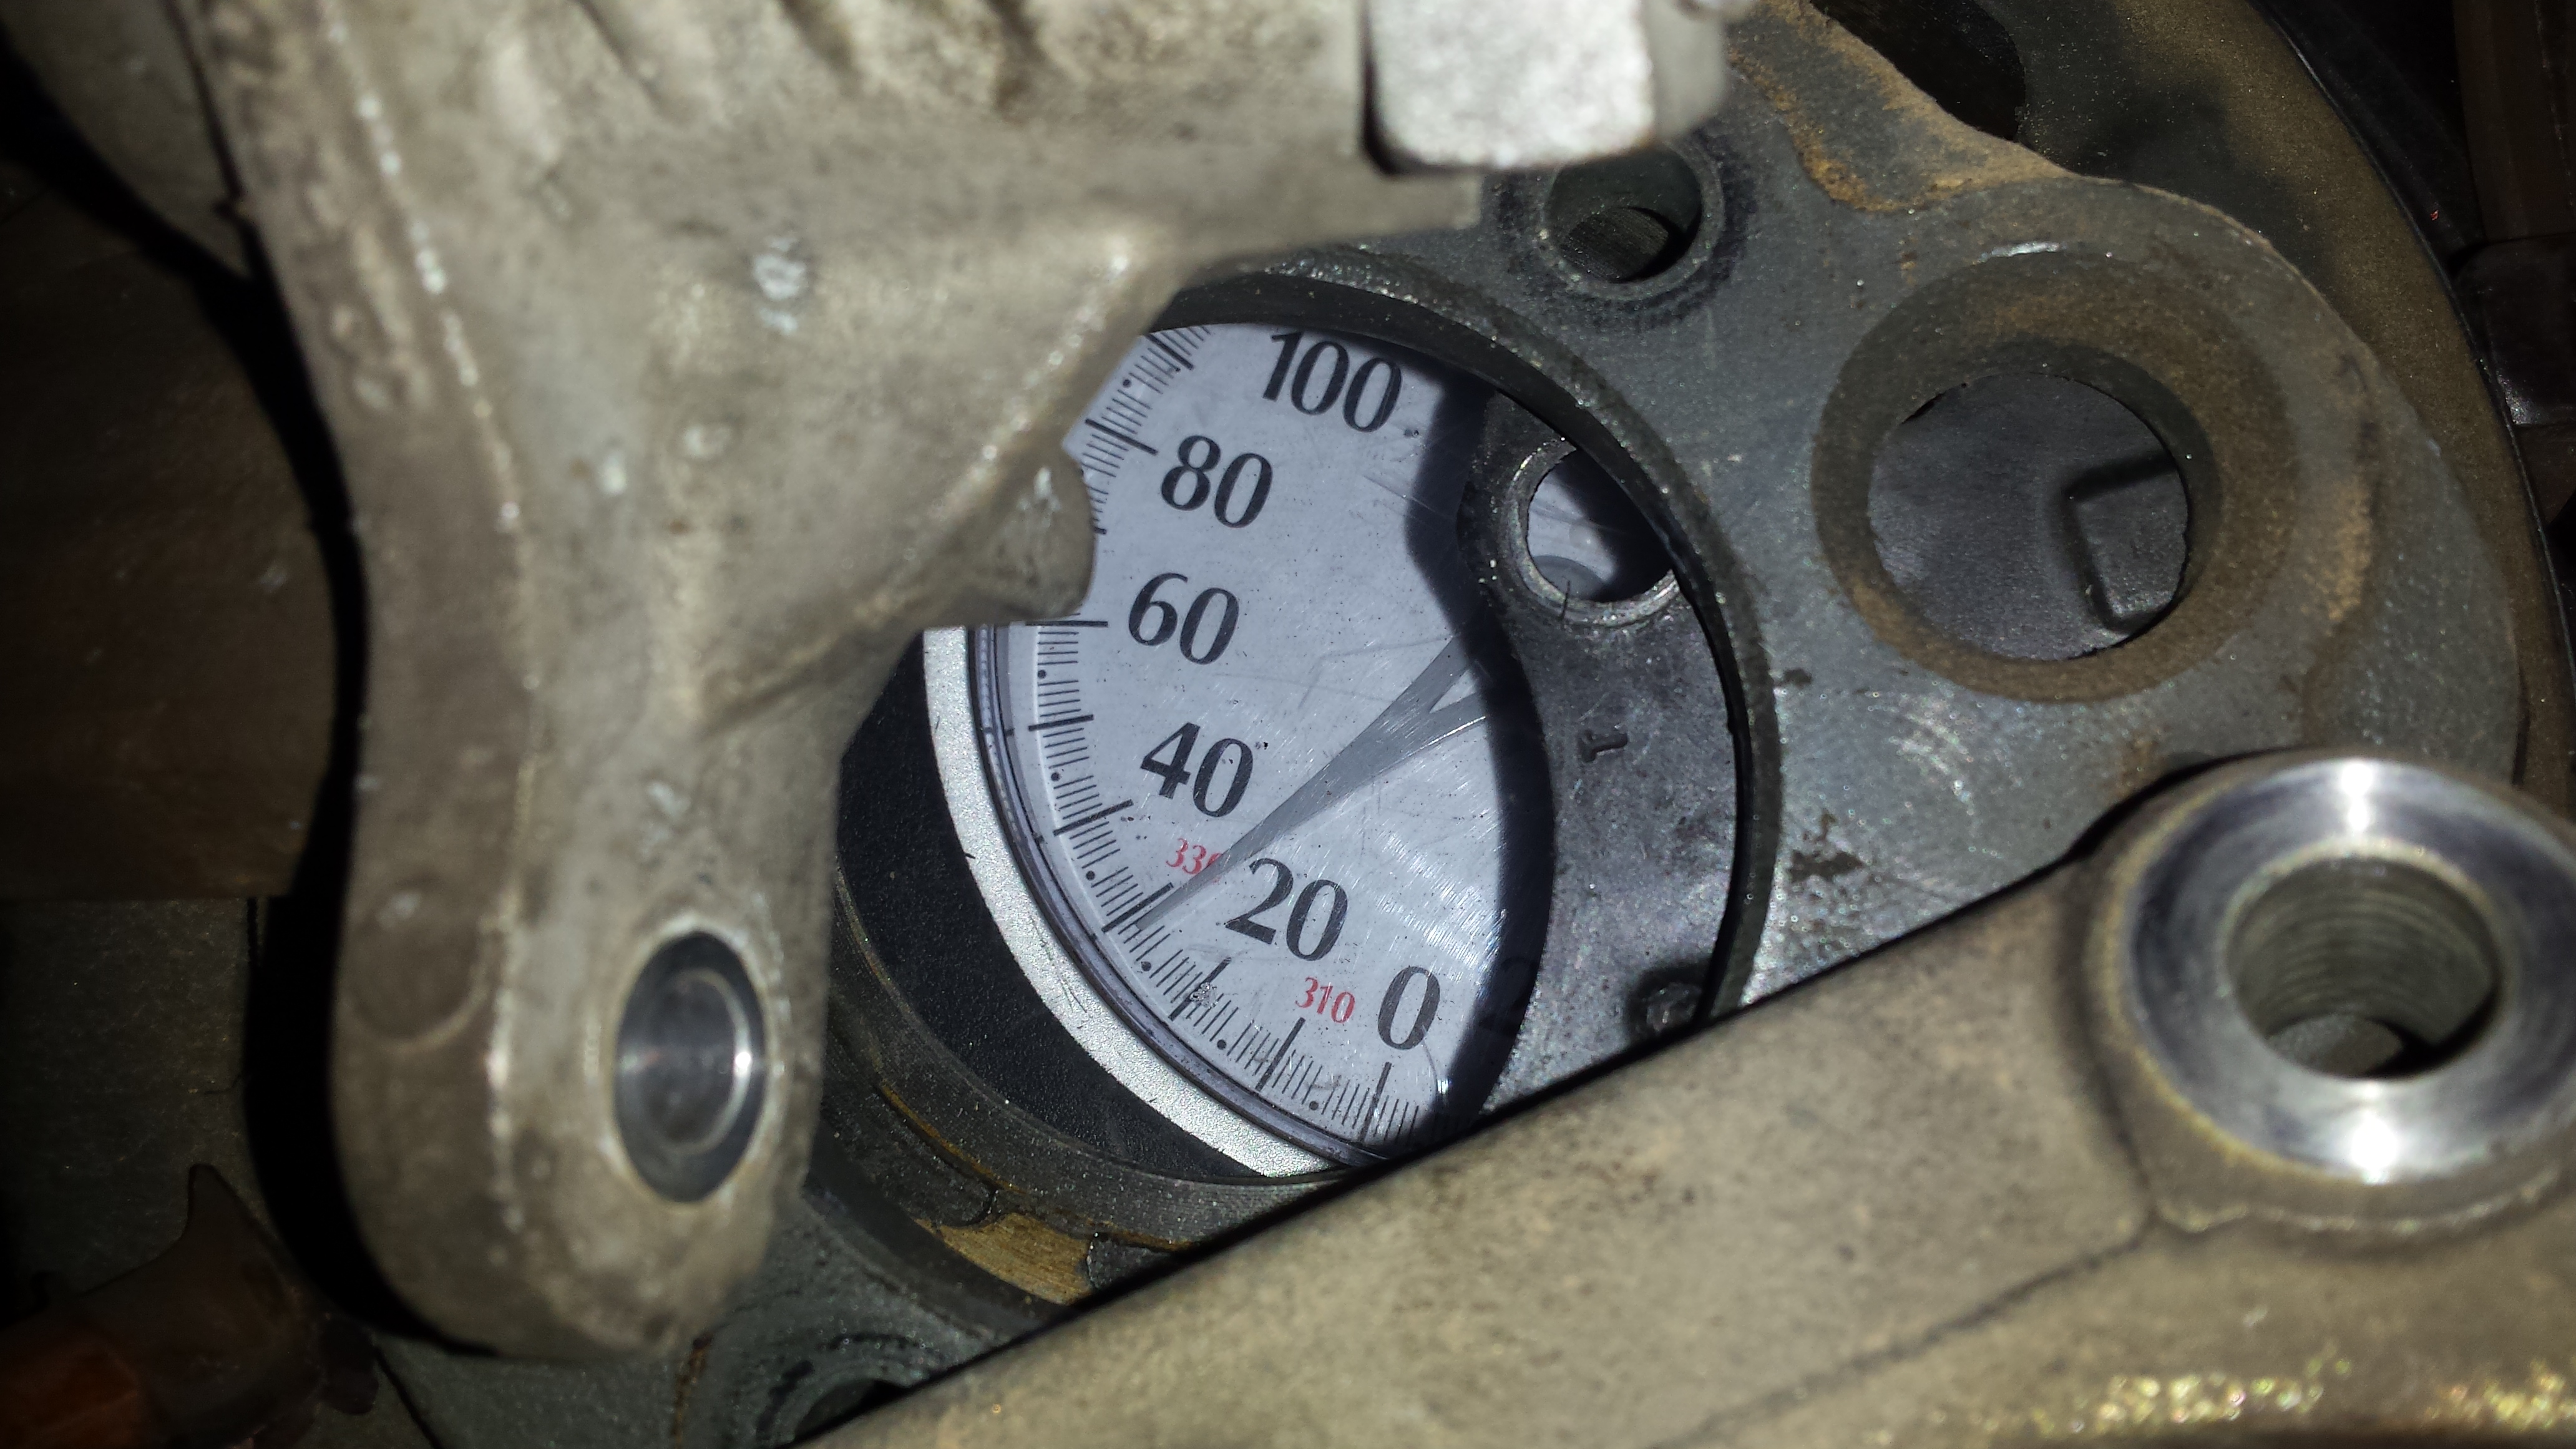
Stock weighs 28 per side:
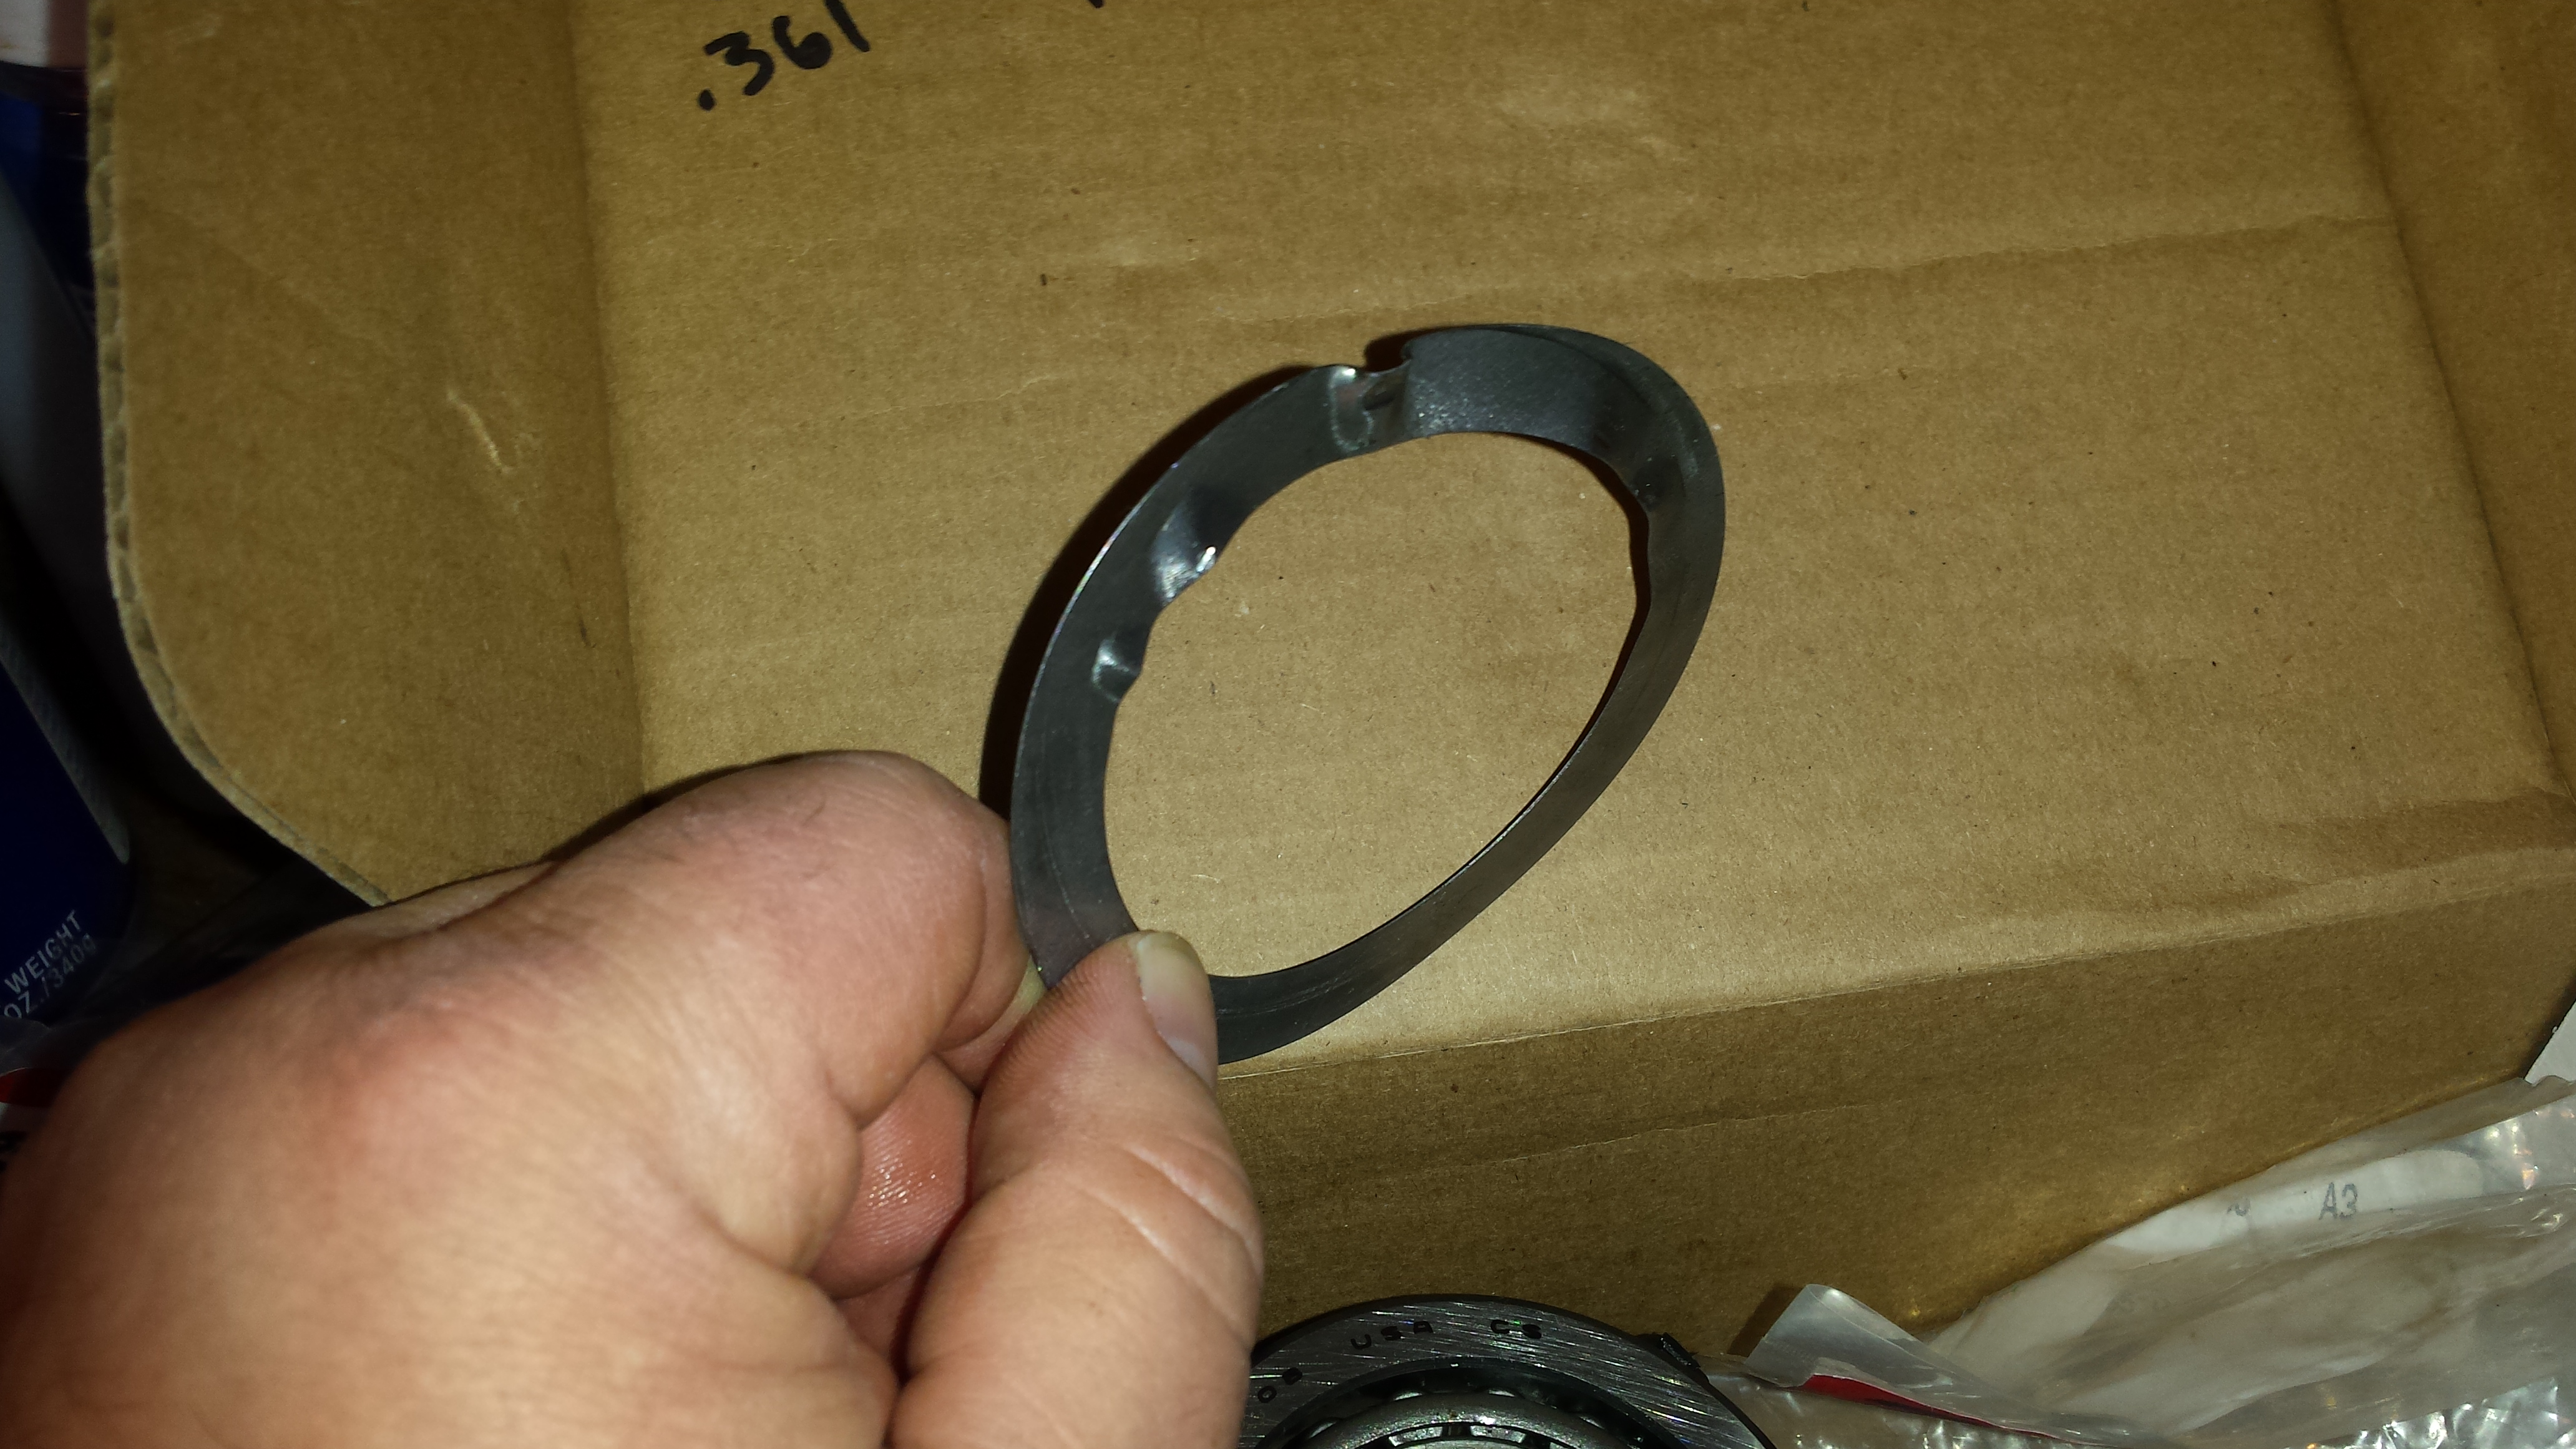
The carnage, new bearings and wedding rings needed:
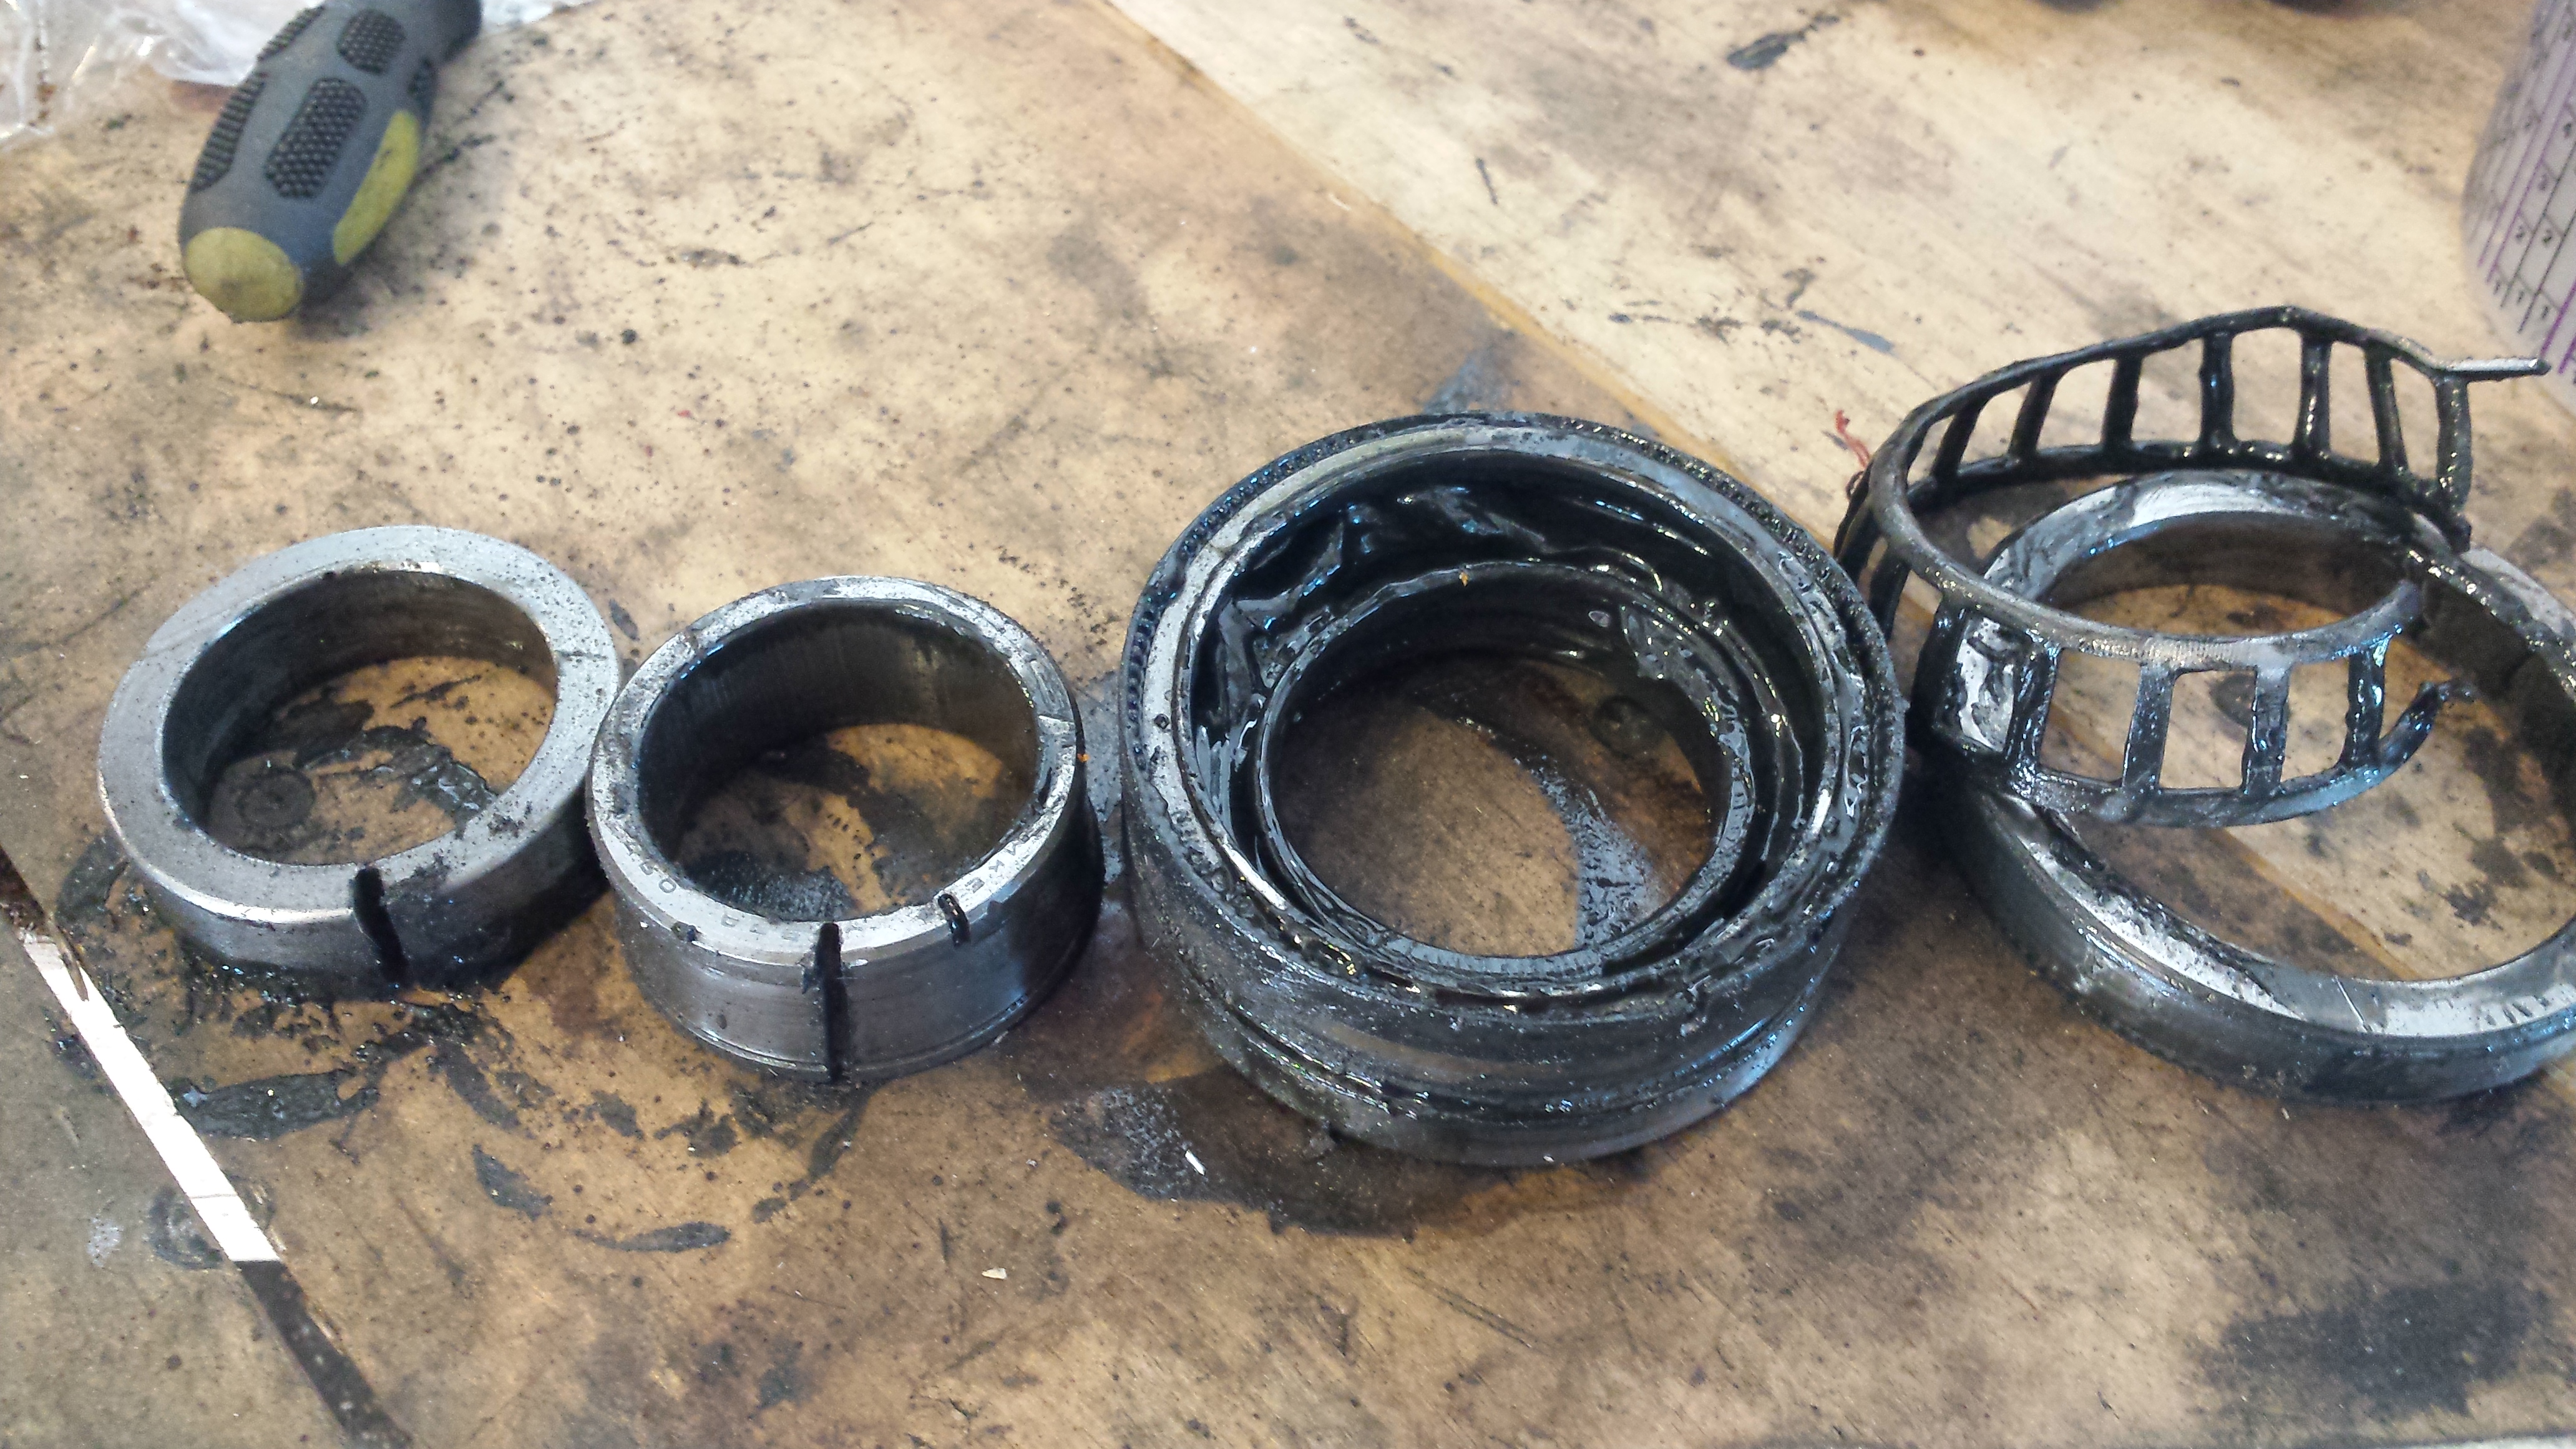
Going together:
Done!
12 per side for Strange.
So stock was 28+28=56, Strange was 24, so 56-24=32lbs in savings.
---------------------------------------------------

For driving impressions, the first few stops felt about like stock. After say a half dozen stops the pedal got more reactive and sensitive and the brakes had a very nice initial bite. Very confidence inspiring. I did not do any hard panic type stops but for normal driving you wouldnt know they were there other then the fact that the car seems to stop very well.

So we know what the new stuff looks like:
Yanked the old stuff off and promptly put it for sale: Its a BMR setup, which has worked good for me.

2 concerns, weight by needing to add the stock transmission crossmember back and ride quality. So lets look at the weight....The BMR torque arm was 25lbs. Then their crossmember was 10 pounds. Making the old setup 35 lbs.

Here's the stock trans crossmember: Its fully boxed and heavy. It should be as the torque arm is mounted to the trans when stock:

The stock trans crossmember:

We are gonna un-box it by cutting the stock welds.

--------------------------------------------
Now this little piece removed might not weigh much:

I mighta hole sawed it too......

TA crossmember cleared my Flowmaster 3 into 4 merge very comfortably.

The Midwest torque arm: about 17lbs.

And this is their crossmember with DS loop:

The conclusion, the BMR setup was 35. The Midwest is 17, I was able to get the TA crossmember down to 5 by eliminating the DS loop, so we are at 22. I was able to get the stock transmission crossmember down to 4 so that's 26. We lost 9 pounds.
Driving impressions: Nice. Quiet, not harsh, I'm really impressed. Traction is about the same on the street. Pinion angle is -2.5.
------------------------------------------------
Special delivery:

Here's the stock stuff:


Teardown:

Stock weighs 28 per side:

The carnage, new bearings and wedding rings needed:

Going together:

Done!


12 per side for Strange.

So stock was 28+28=56, Strange was 24, so 56-24=32lbs in savings.
---------------------------------------------------
#13
11-21-2015, 02:46 PM
Join Date: Aug 2010
Posts: 230
Likes: 0
Received 0 Likes
on
0 Posts
So I finally decided to collect the fruits of my labor. Track time, TNT, we been planning it for over a month. Well the weather turned out really nice and DA was in the 750-1000 range. So, everyone and their momma came out.
Long story short I made three passes. I adjusted the coilovers in between each pass looking for traction. The second two passes I wheel hopped bad. Due to the crowd I decided that was enough for me for one night. I did noticed with the new brakes I can brake stall really high now. With the stock brakes it would push through pretty quick. I notice a bad vibration on the way home, and Im thinking its driveshaft related, broken ujoint or something. I made it halfway home and had to call the old lady to come bring the car hauler.
----------------------------------------------

Long story short I made three passes. I adjusted the coilovers in between each pass looking for traction. The second two passes I wheel hopped bad. Due to the crowd I decided that was enough for me for one night. I did noticed with the new brakes I can brake stall really high now. With the stock brakes it would push through pretty quick. I notice a bad vibration on the way home, and Im thinking its driveshaft related, broken ujoint or something. I made it halfway home and had to call the old lady to come bring the car hauler.

----------------------------------------------
#14
11-21-2015, 02:46 PM
Join Date: Aug 2010
Posts: 230
Likes: 0
Received 0 Likes
on
0 Posts
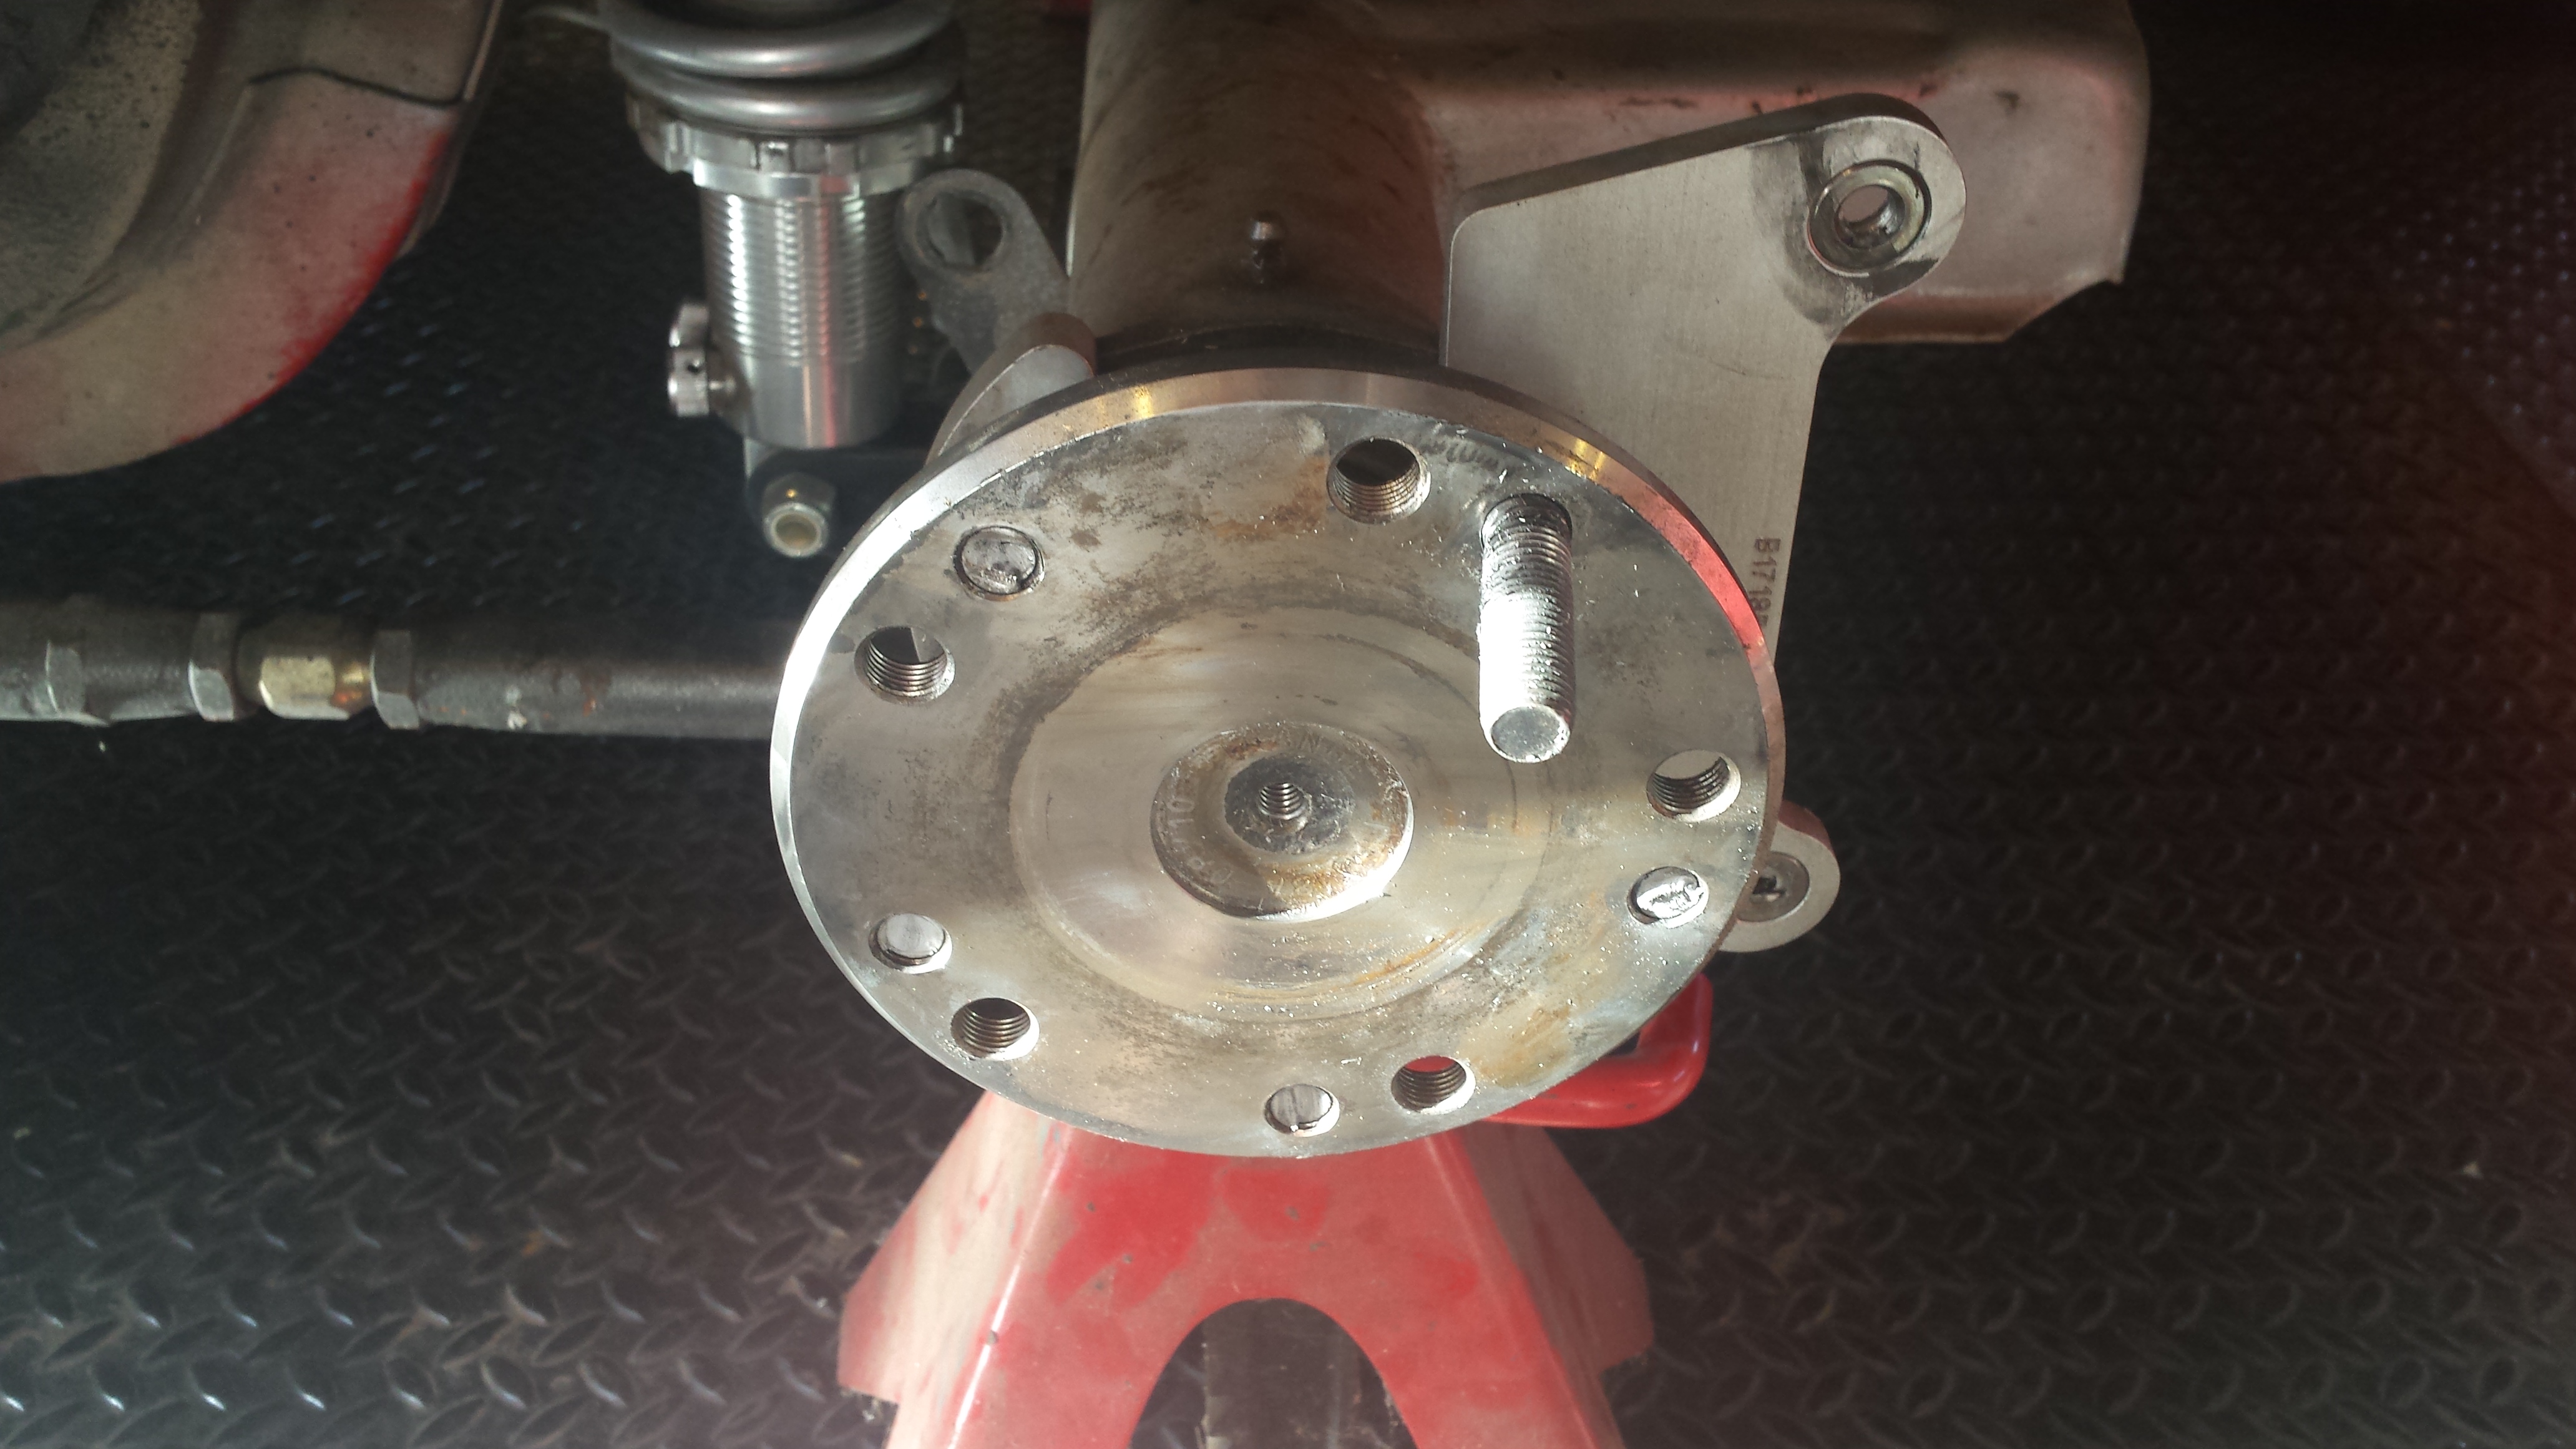
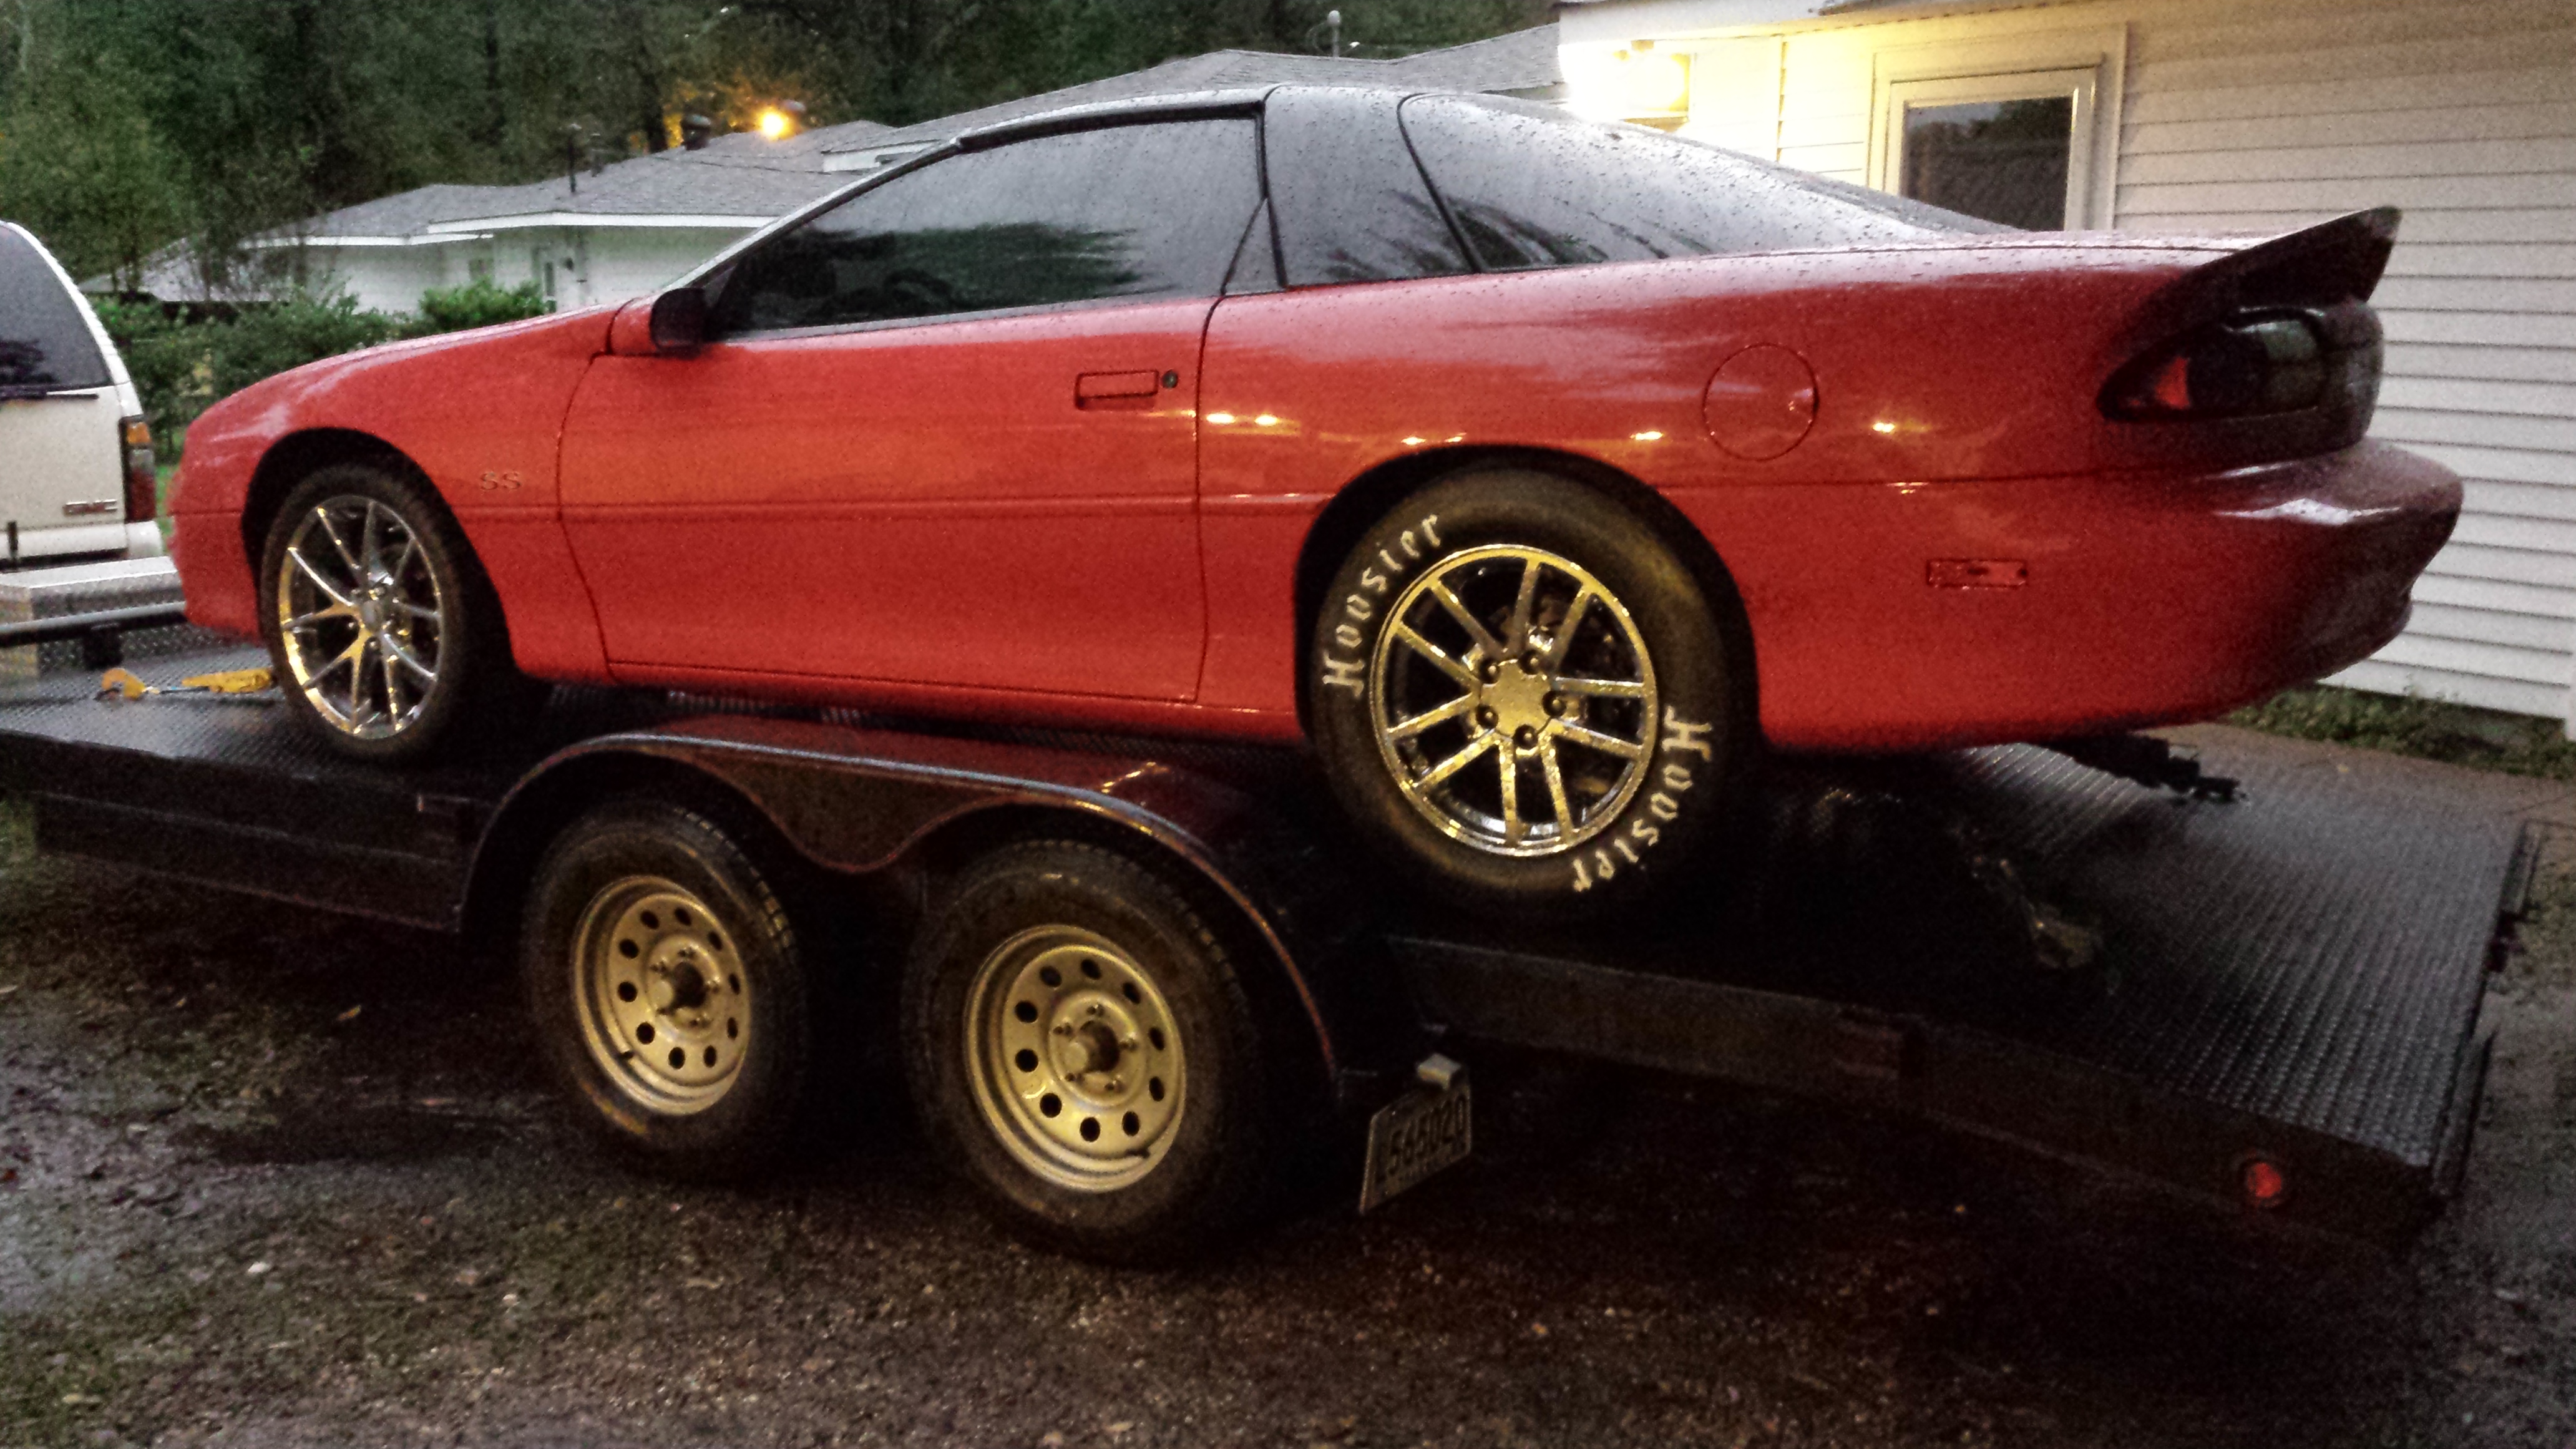
This, doesn't look right.
Decided to not chance it and just make the repair on the trailer:
Wheel holes are wallered out, brake rotor holes are too, and the centering register on the axle is Spam wordSpam word Spam wordSpam word Spam wordSpam word Spam wordSpam word Spam wordSpam word Spam wordSpam word Spam wordSpam word Spam wordSpam word ed. So I will be replacing all of them. Caliper took a little rubbing from the rotor but looks mostly cosmetic.
Strange was so kind to drill both 12mm and 1/2" stud holes. I will be going back with 1/2" this go round to see if I can stop this Spam wordSpam word Spam wordSpam word Spam wordSpam word Spam wordSpam word Spam wordSpam word Spam wordSpam word Spam wordSpam word Spam wordSpam word from happening again.
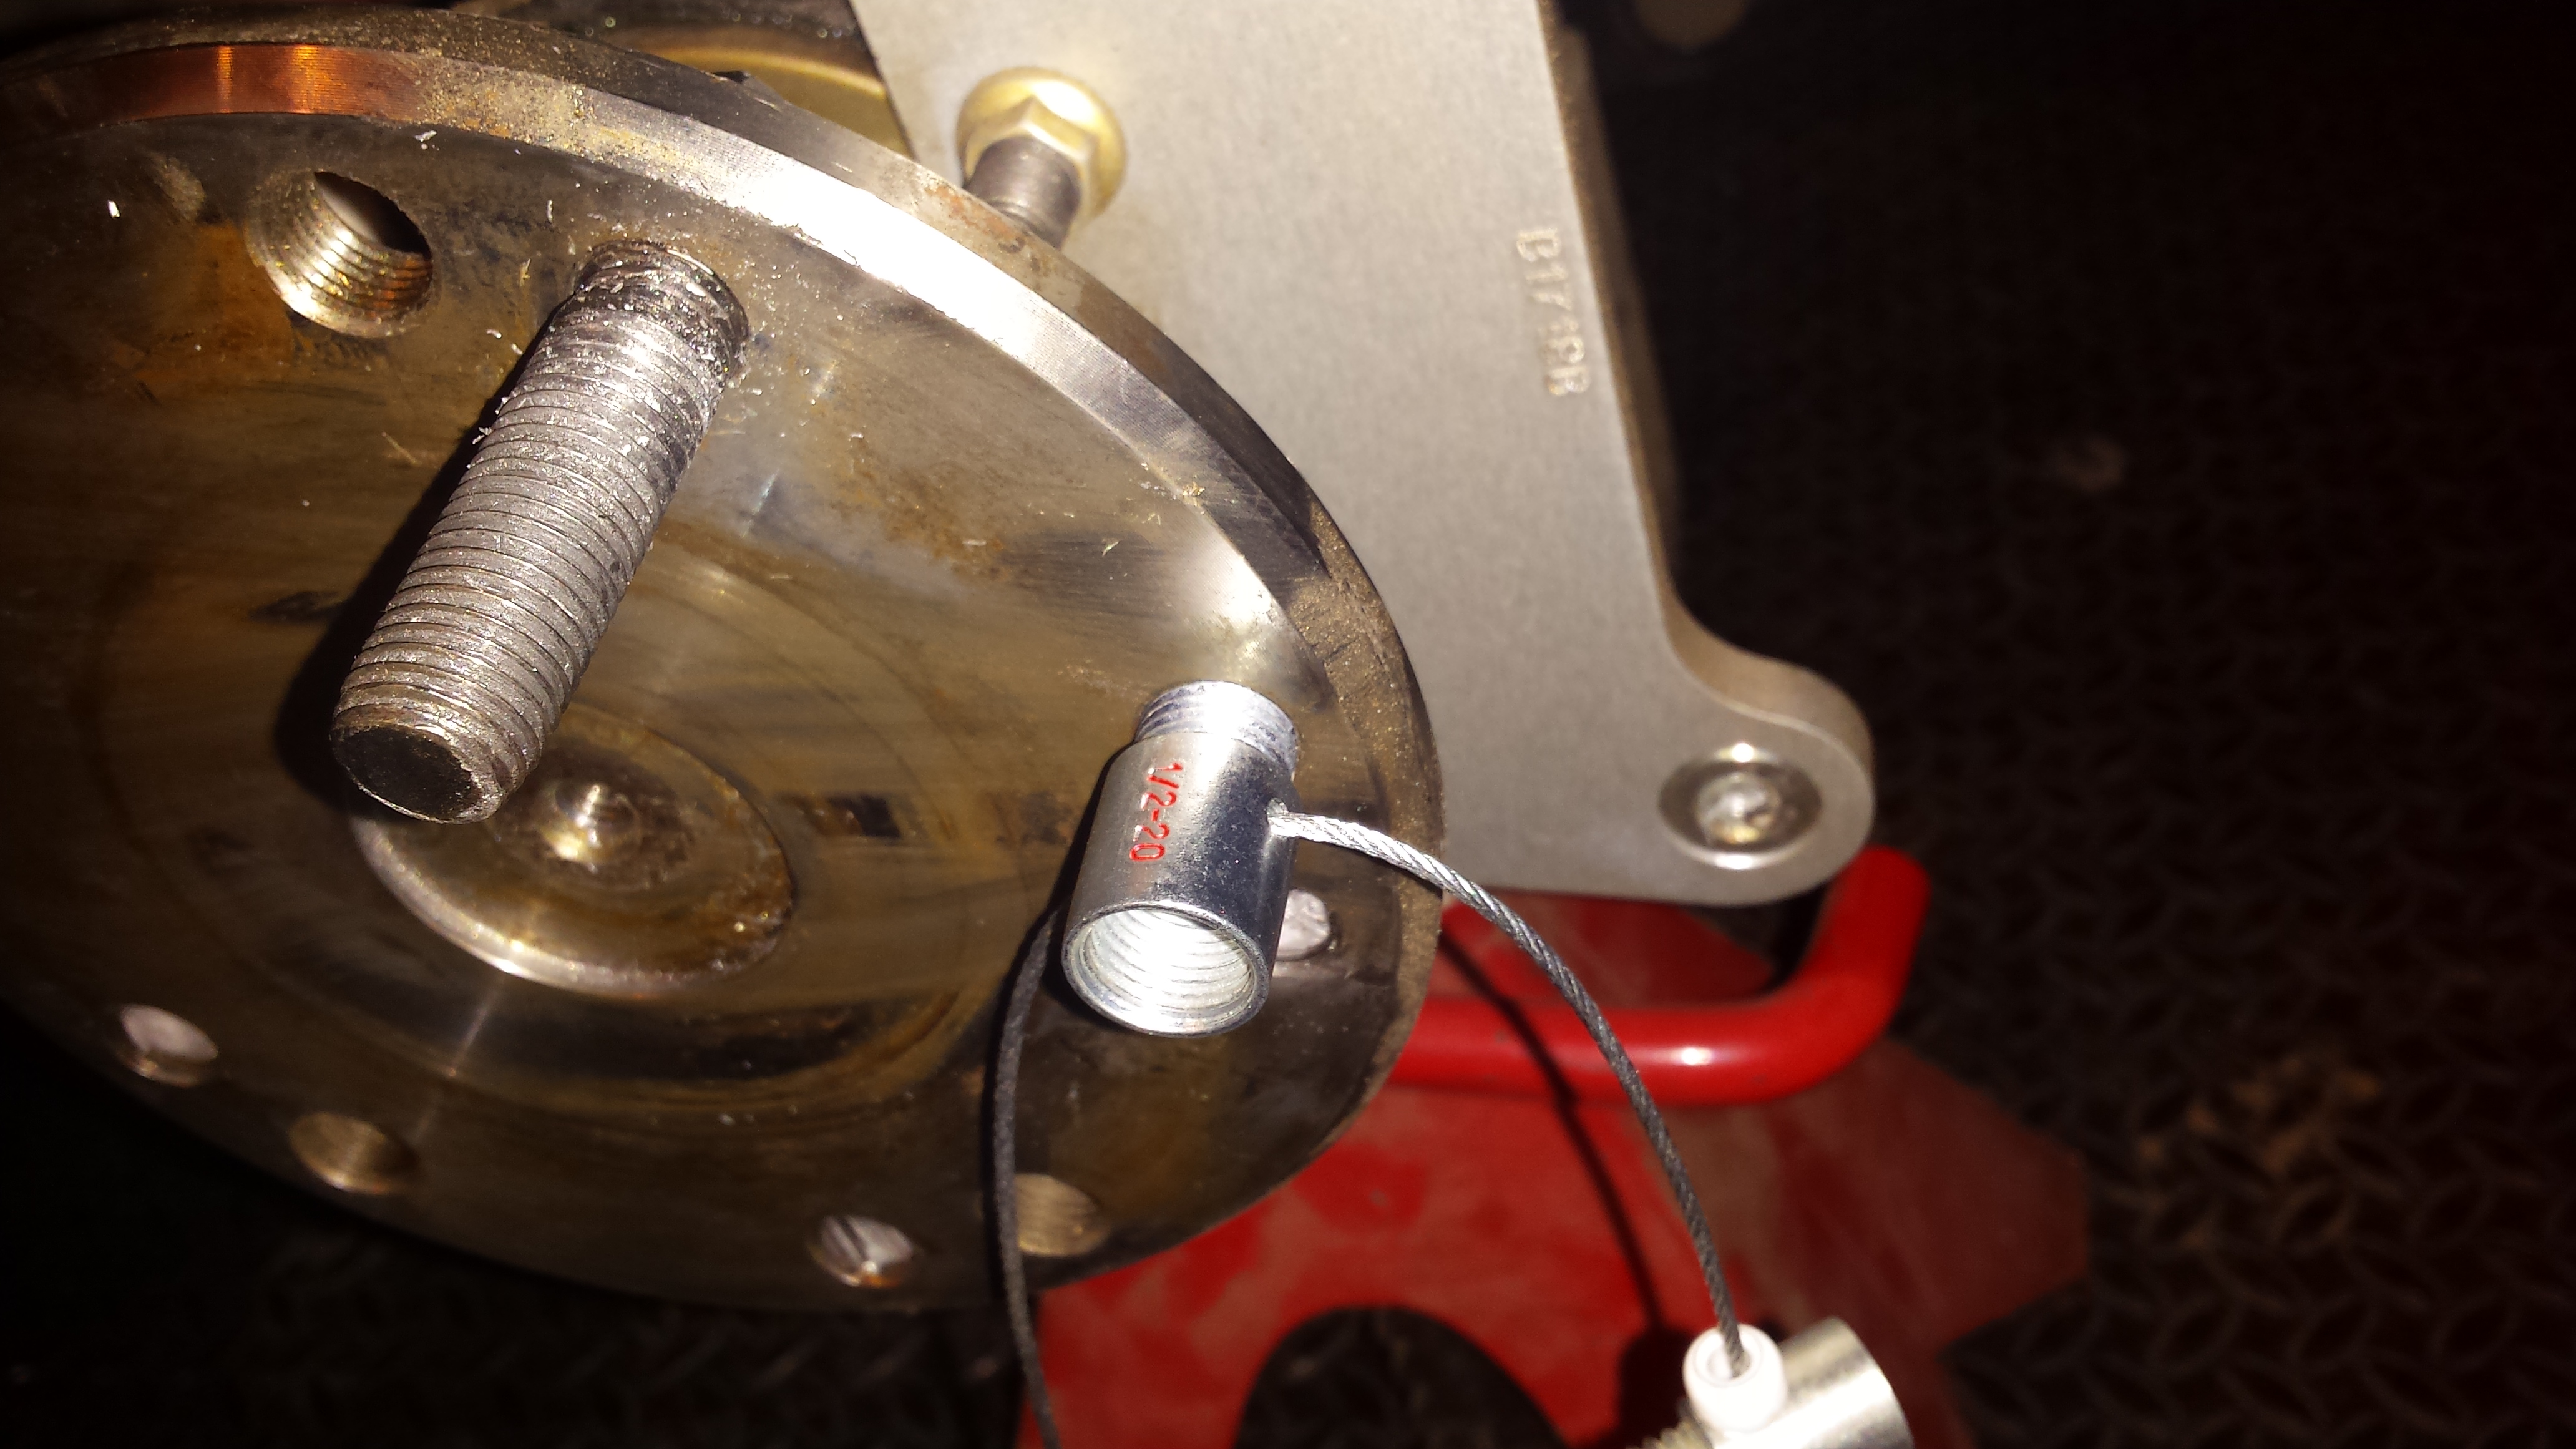
Here's the passenger side wheel studs.....whoops.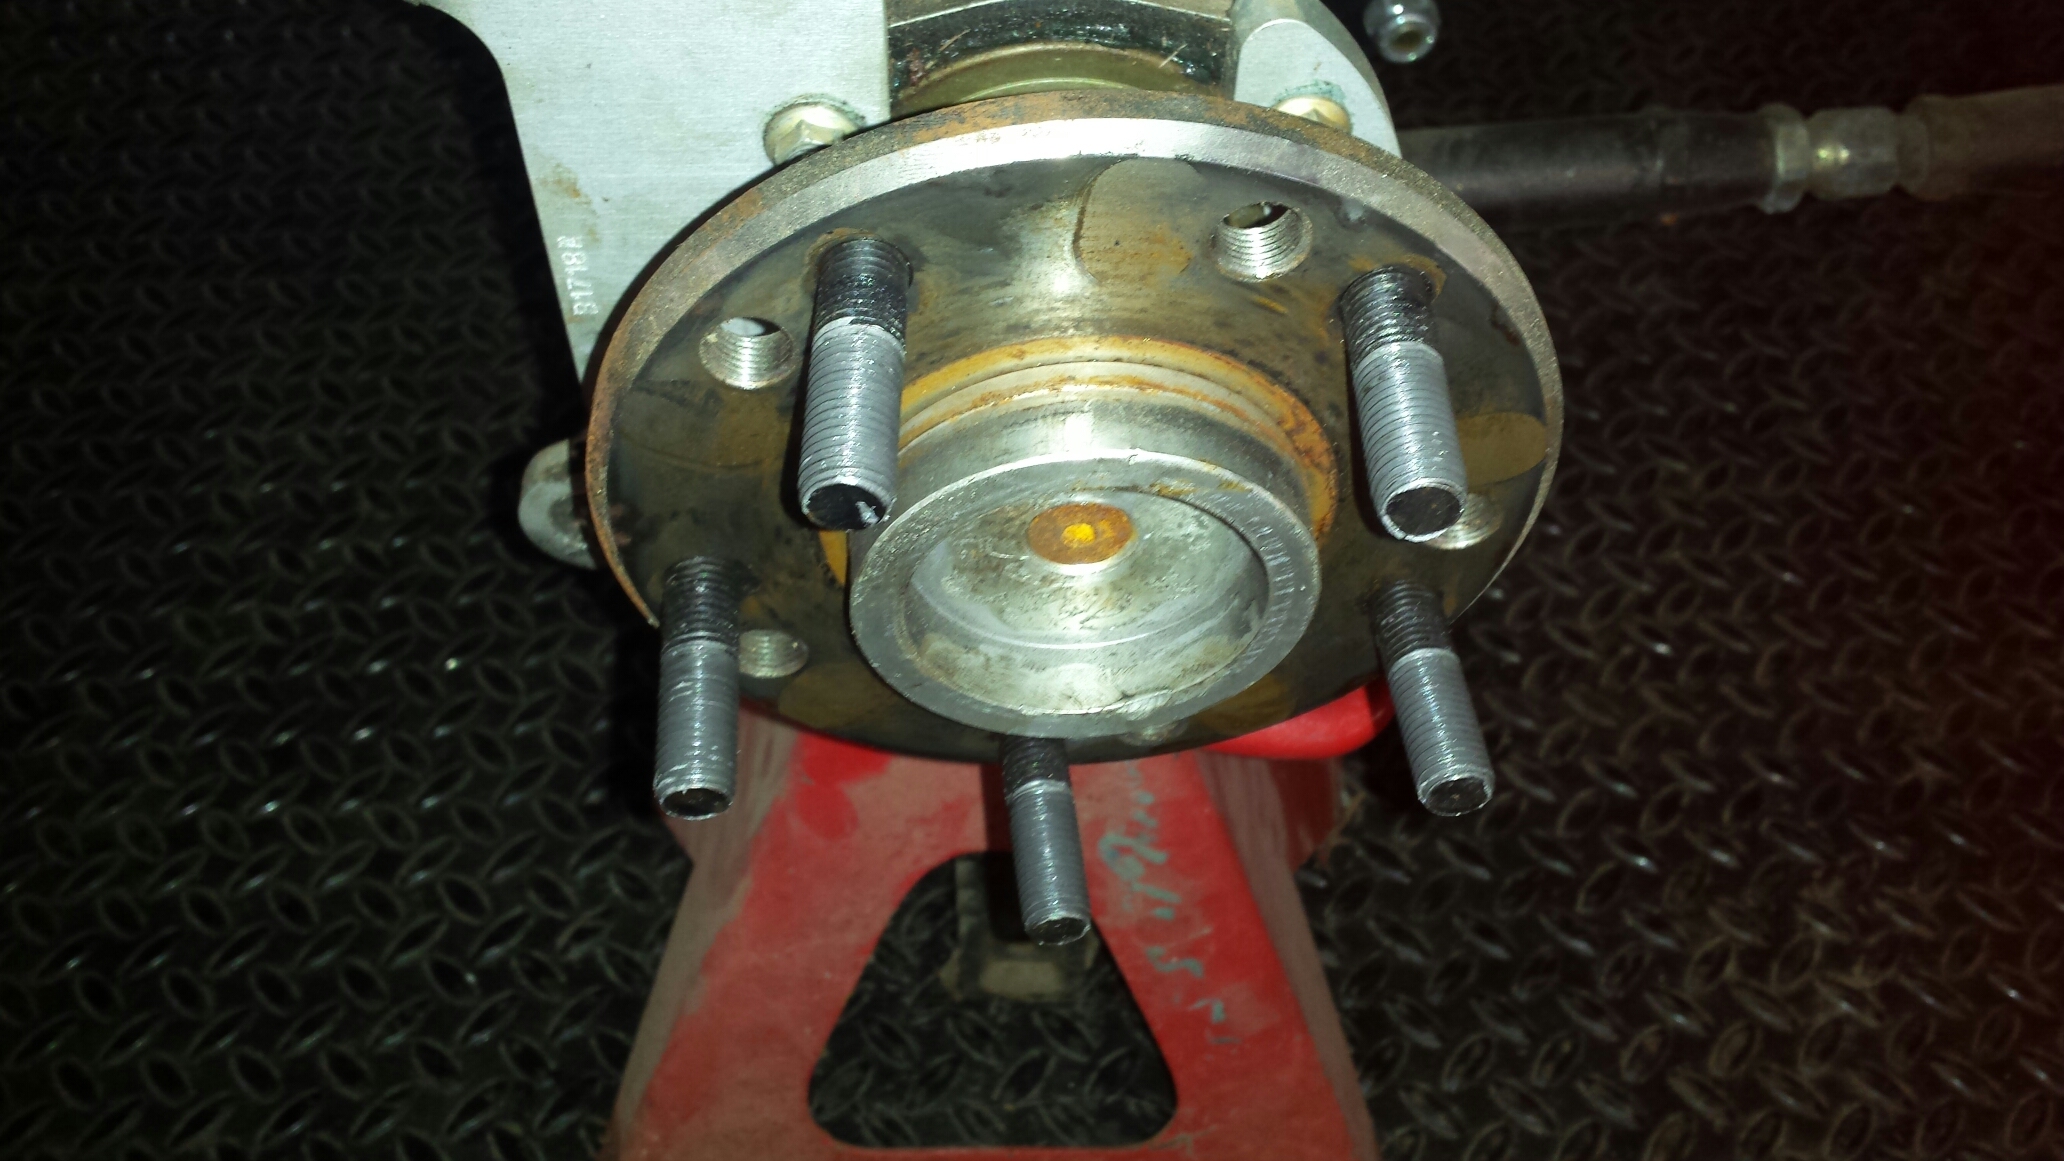
So I waited about a week for new 1/2 studs and a brake rotor from Strange. I didn't get in a hurry to get it fixed due to I'm still waiting on a wheel. I went ahead and patched it together yesterday and put the stock wheels back on the rear to get it off the trailer.
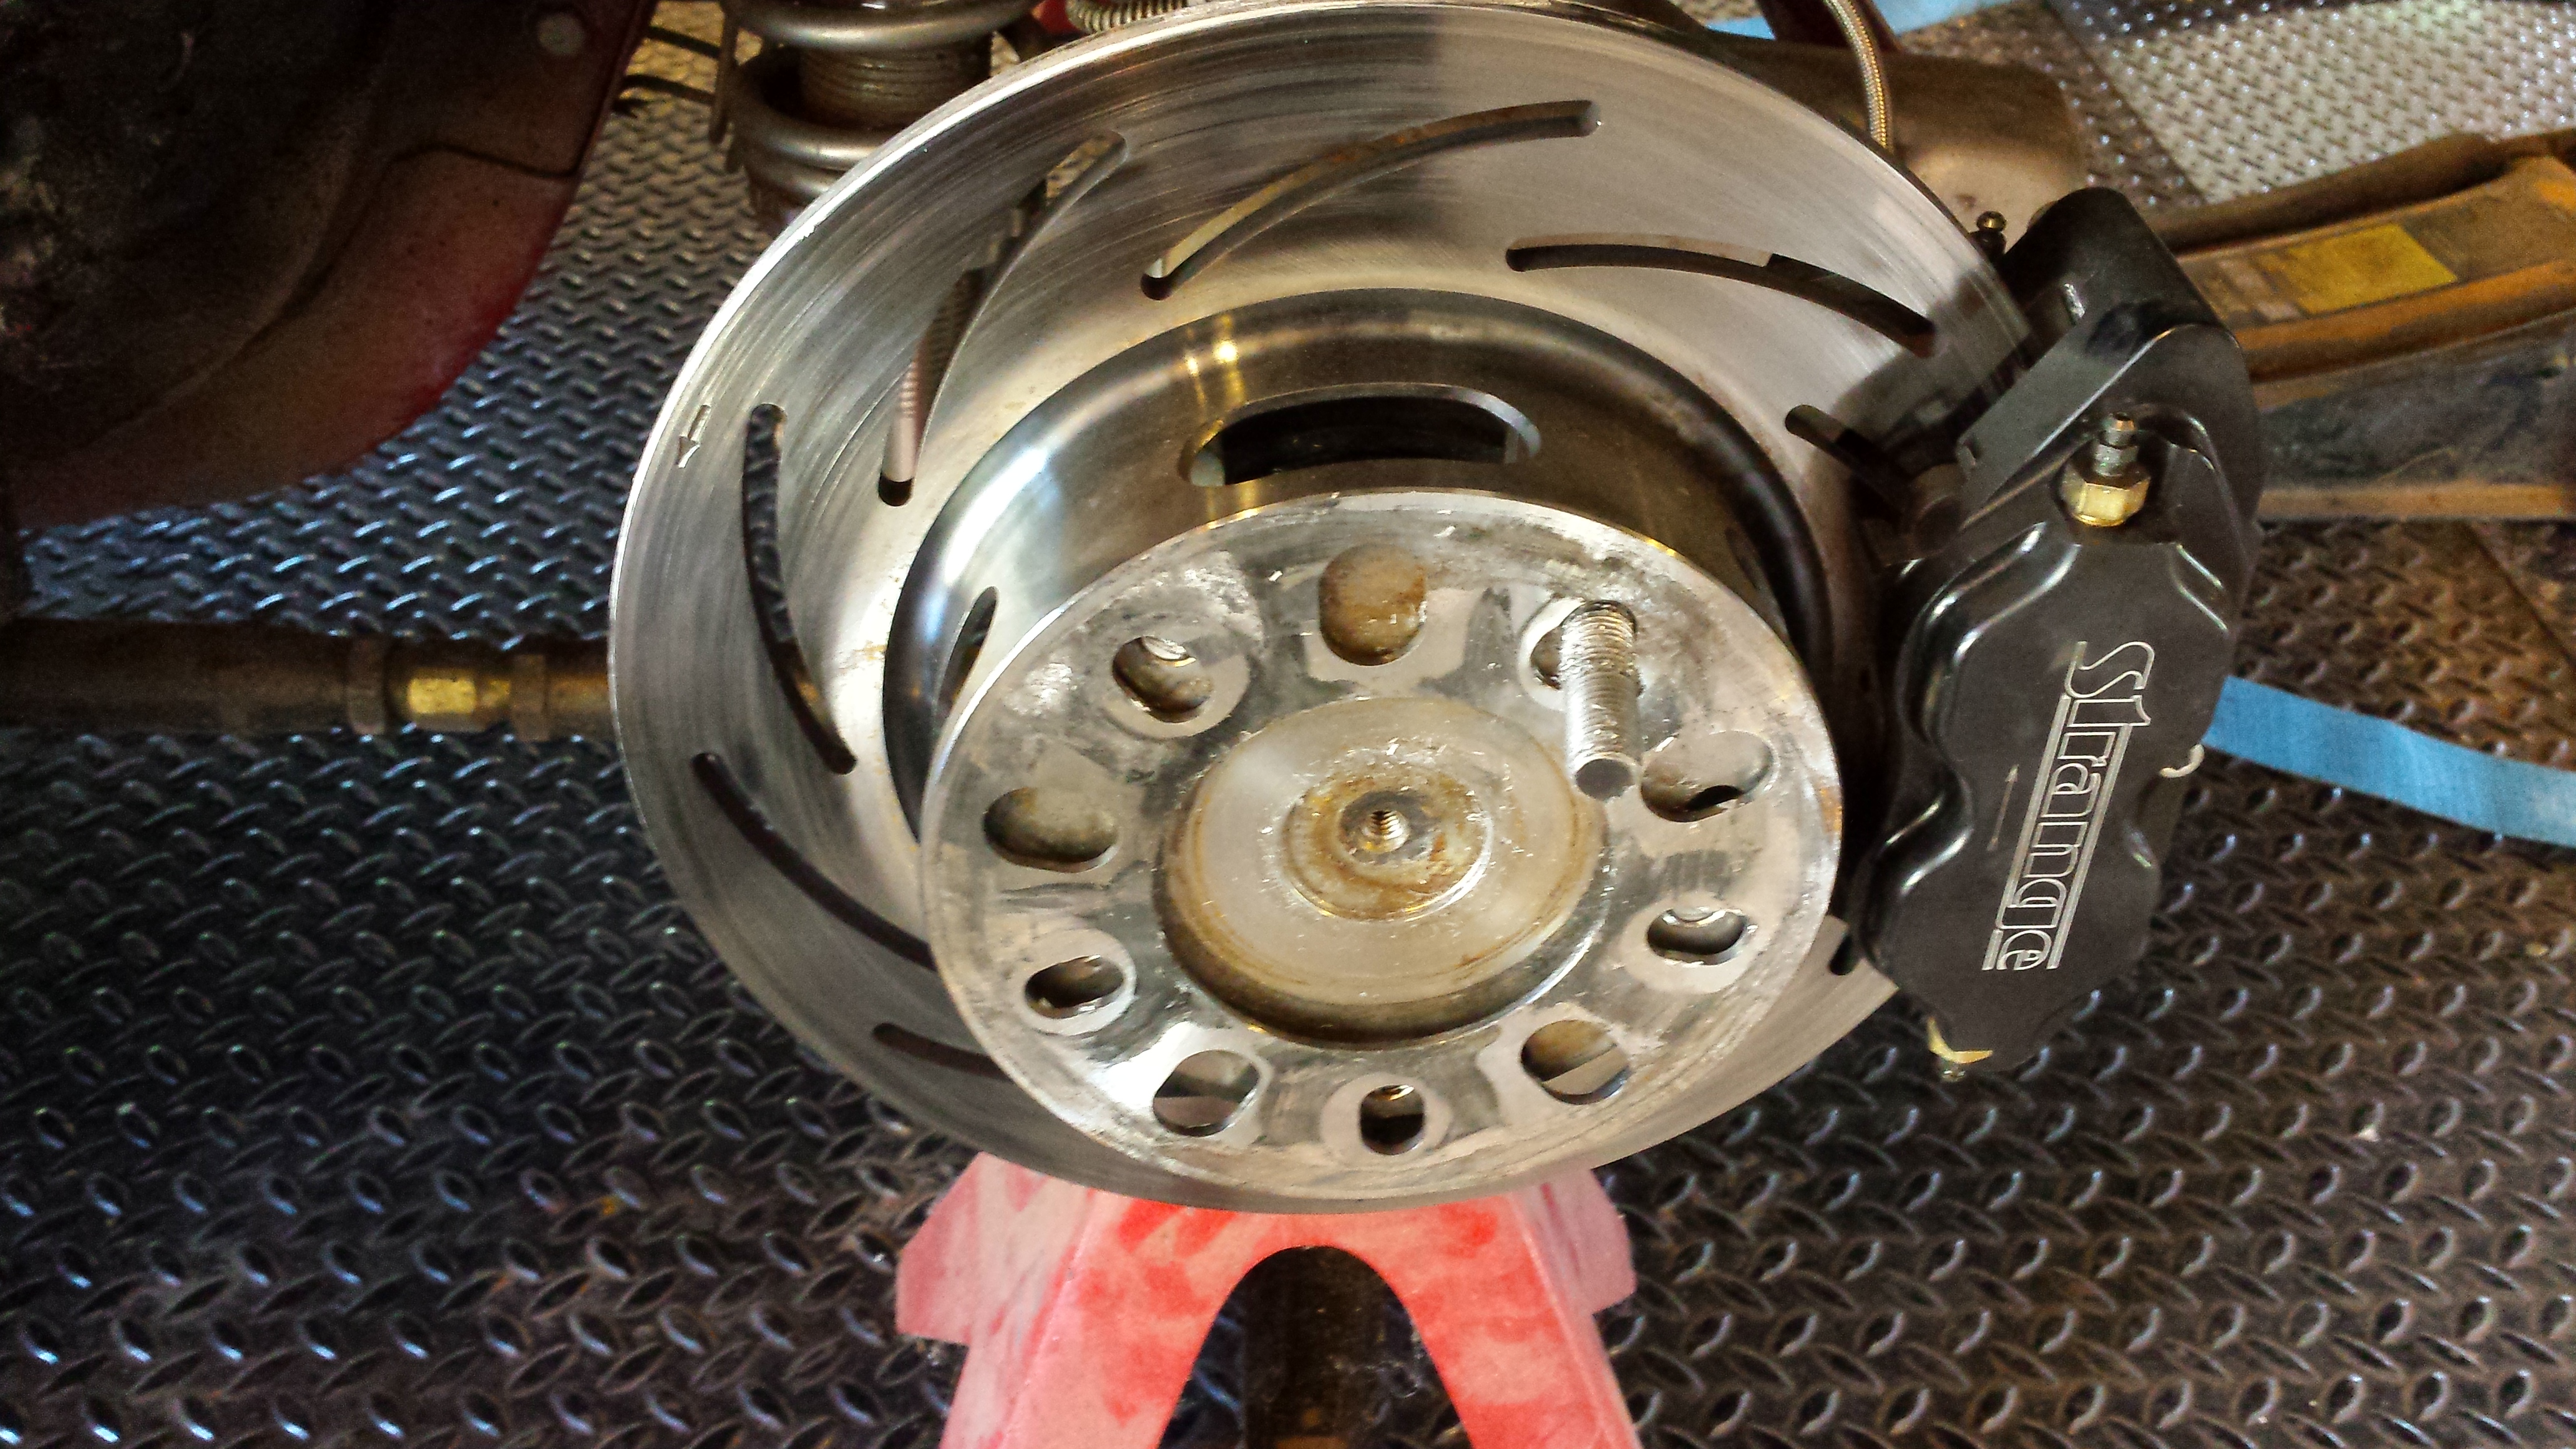
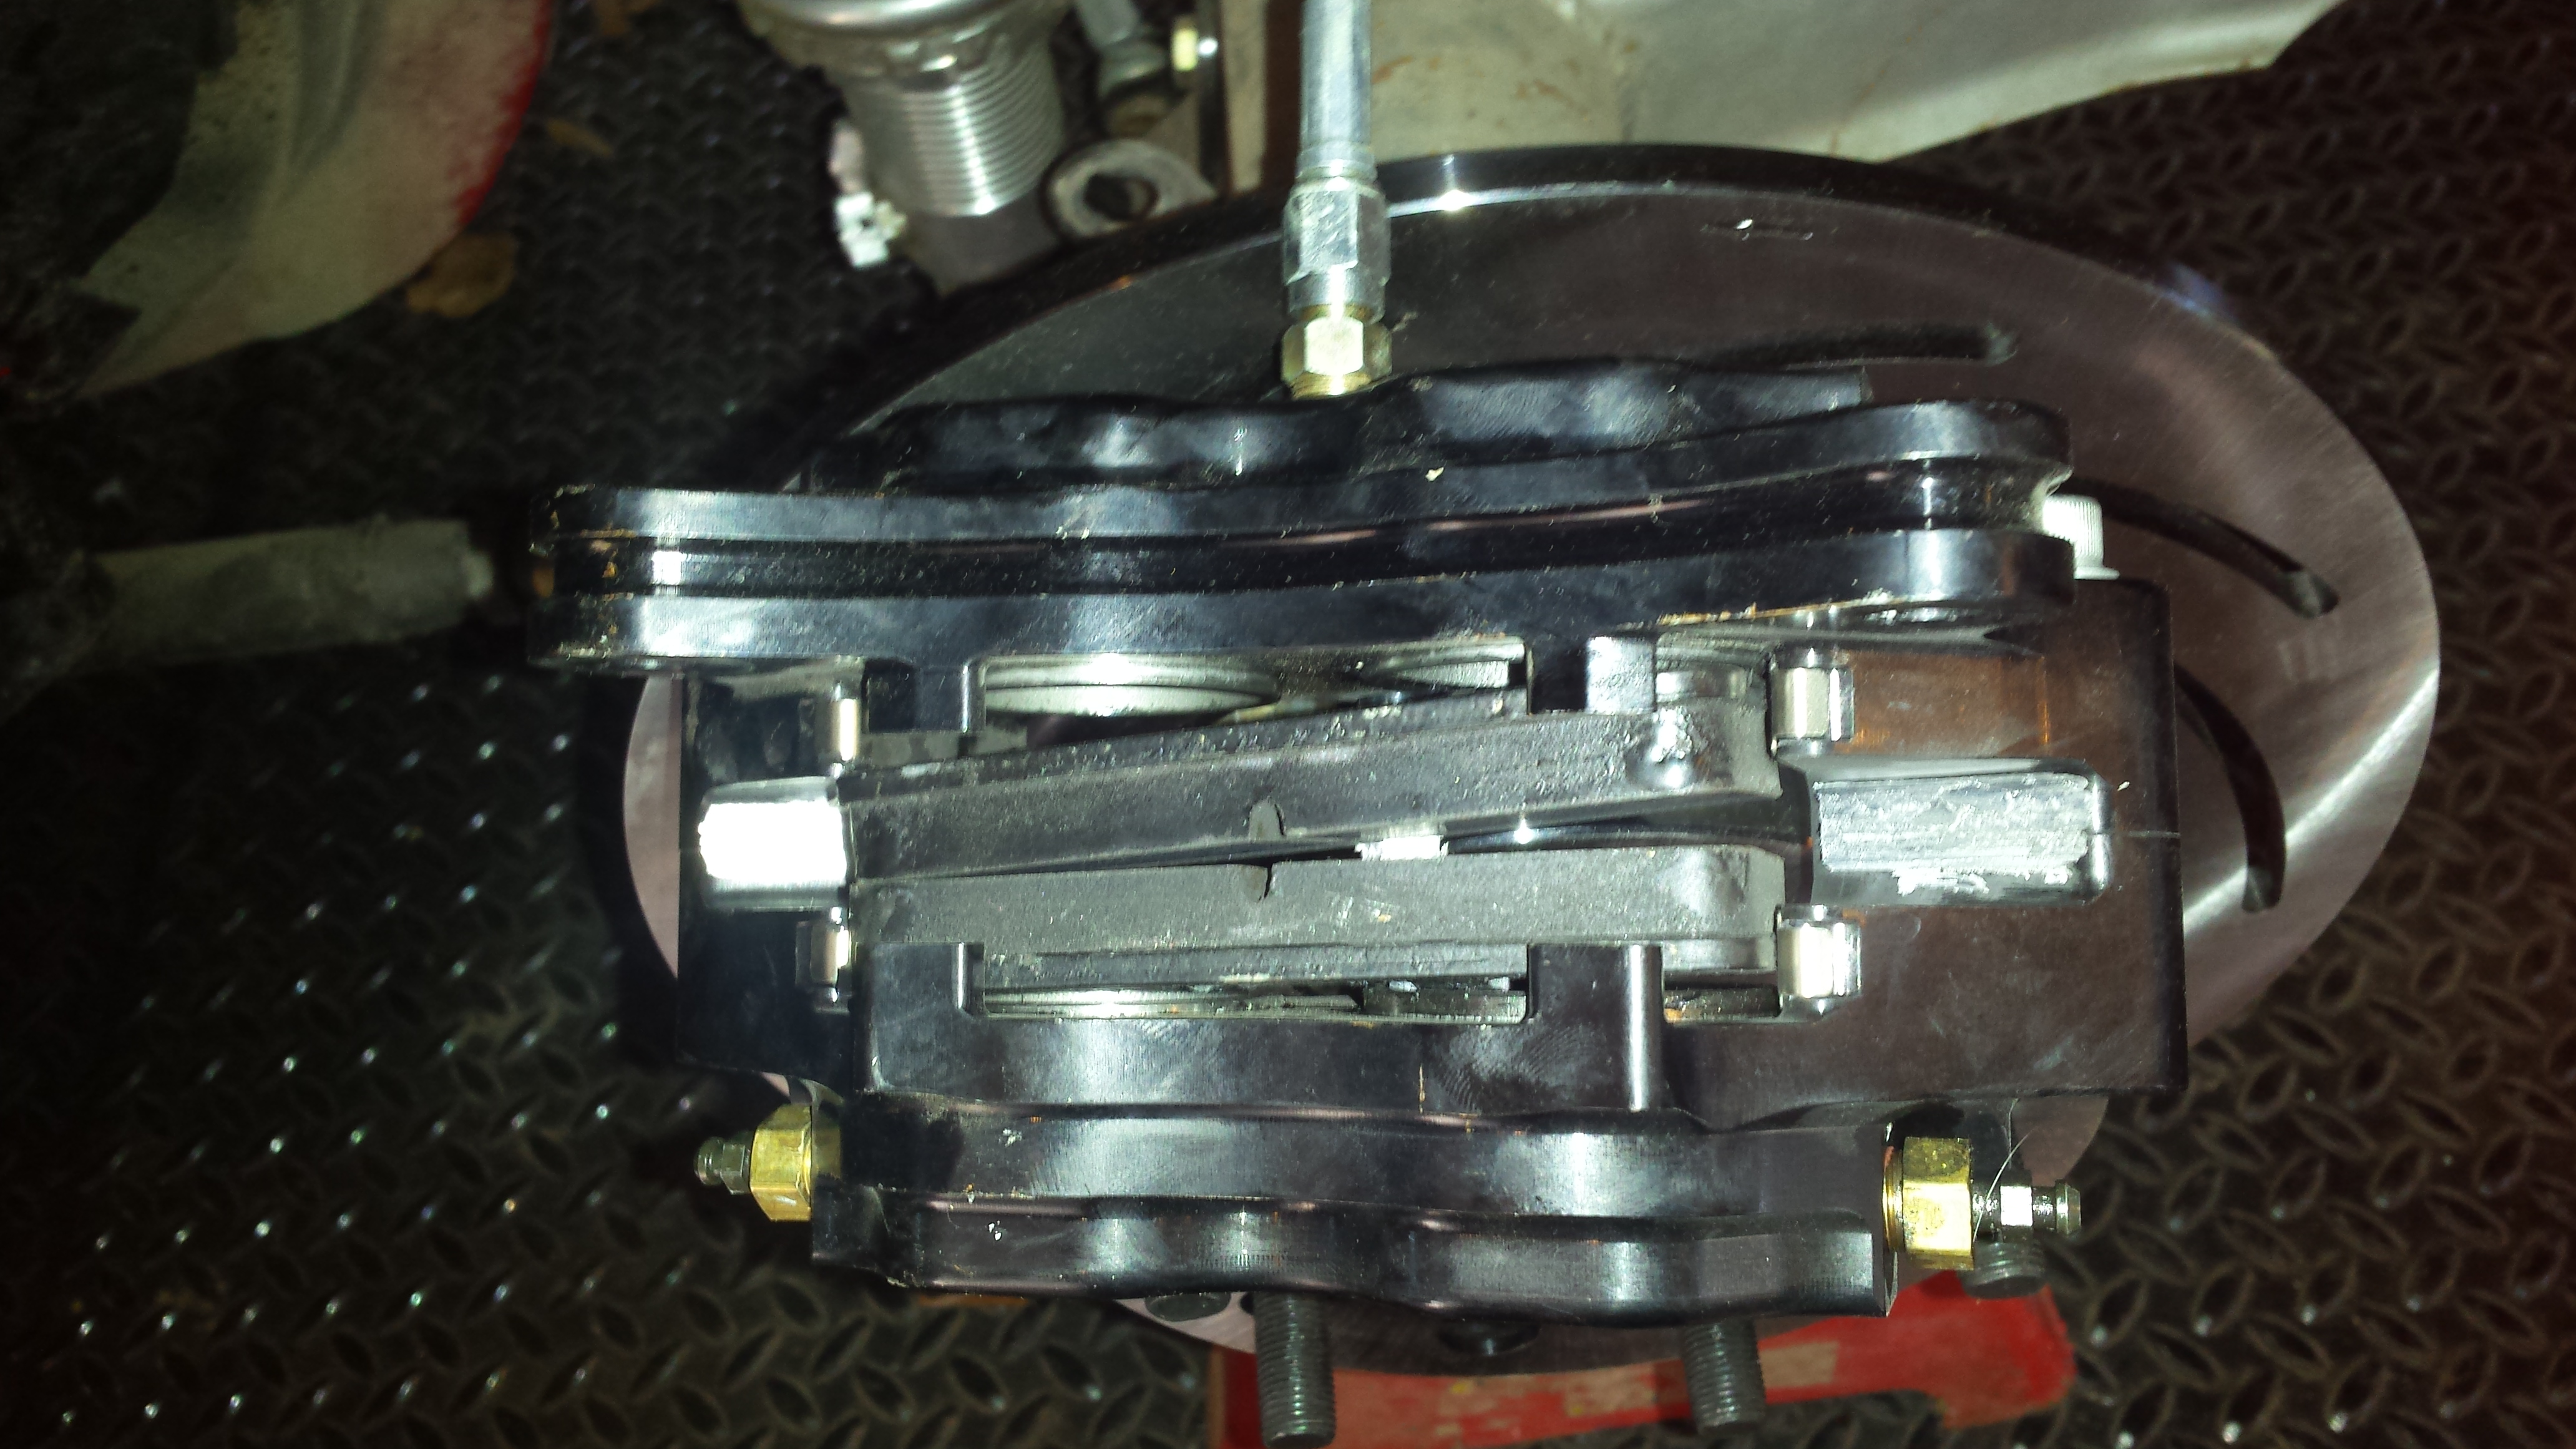
This is the damage to the caliper where the rotor rubbed the inside of it. Looks like i stopped in time and didnt do major damage to the caliper.
Here's the new 1/2 studs after installation.
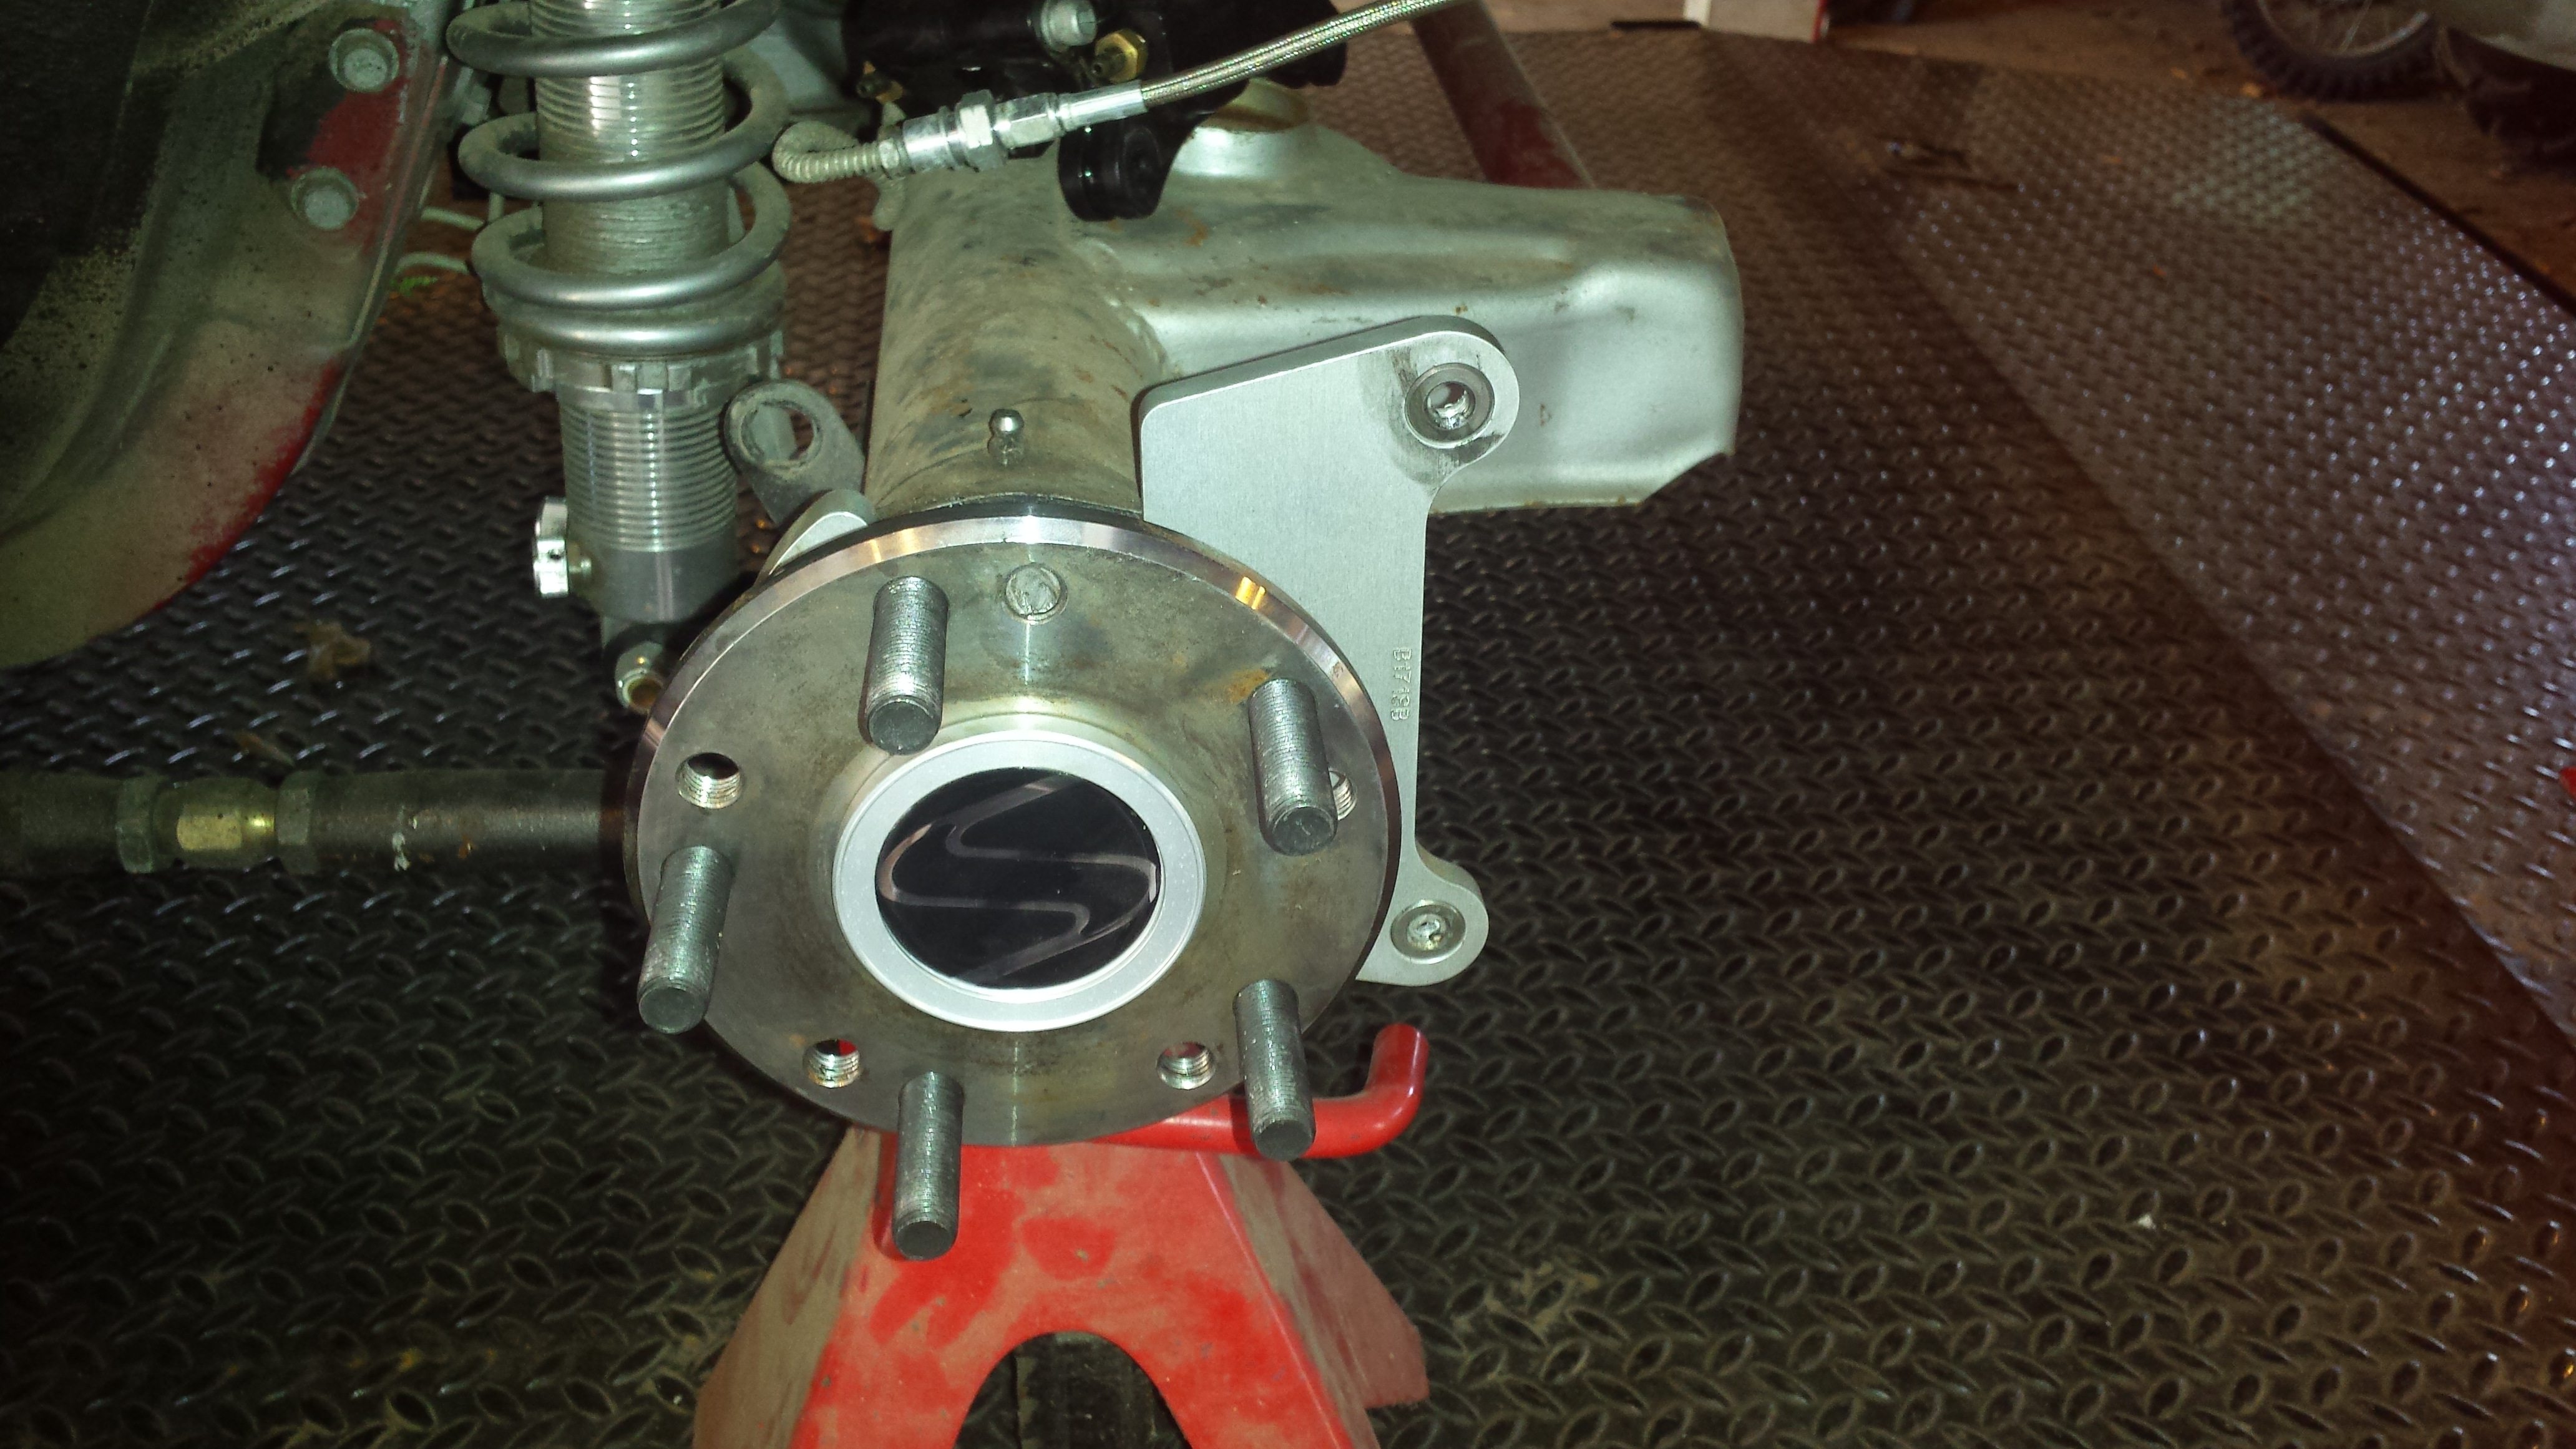
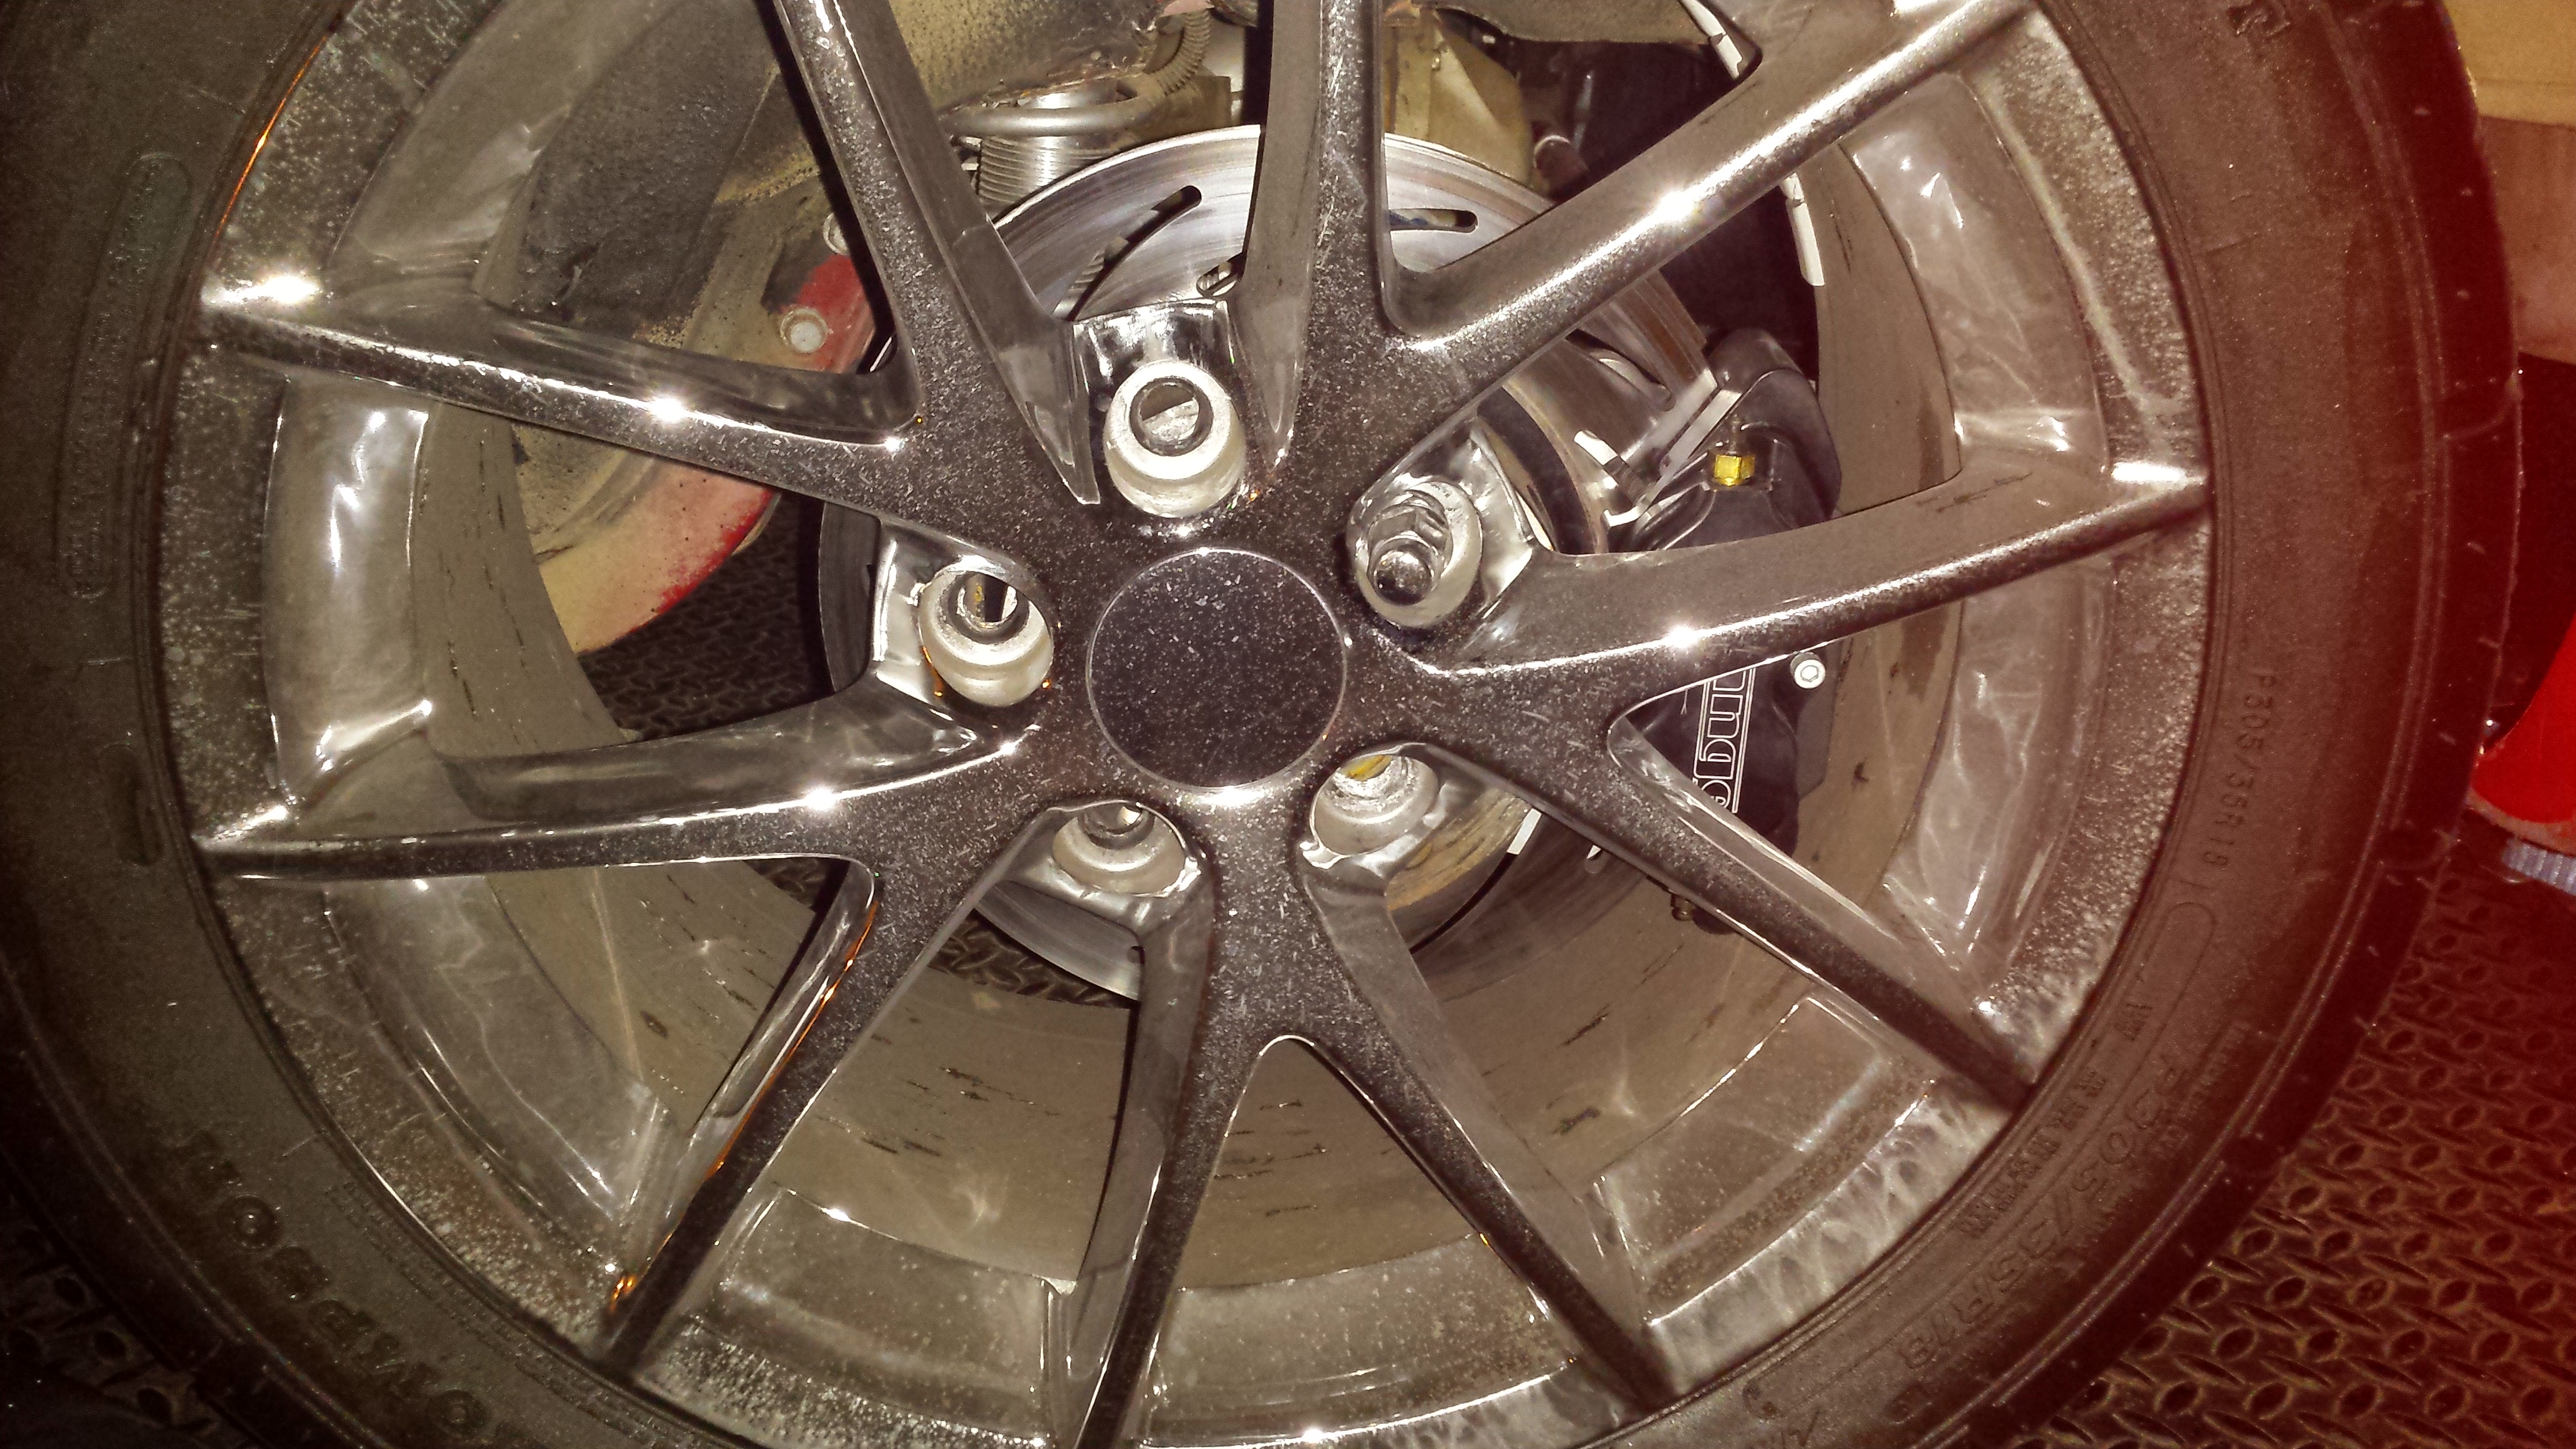
Here's the complete assembly with the new center register and rotor. You can see from this picture the rotor is stud-centric meaning it depends on the studs to center itself. Common sense tells you if it fits with 1/2 studs and 12mm are smaller, then there was some slack with the 12mm. Enough to cause an issue? Well I cant say for sure but I do believe these were designed to work best with 1/2 because the fit is much tighter. Strange should mention this detail in their product literature I think.
I'm making a lug nut swap also. I'm including this picture for those who may not be familiar. Stock wheels use a hex nut conical seat on the top left. Drag wheels use something like the mag type hex nut with a washer. That type goes through the wheel to grip the stud all the way at the base making it stronger. Even with stock wheels you can use the hex nut ET (extended thread) and it gives a similar effect of the mag type where it actually passes through the wheel and engages more thread and in to a further point.
-----------------------------------------

Decided to not chance it and just make the repair on the trailer:

Wheel holes are wallered out, brake rotor holes are too, and the centering register on the axle is Spam wordSpam word Spam wordSpam word Spam wordSpam word Spam wordSpam word Spam wordSpam word Spam wordSpam word Spam wordSpam word Spam wordSpam word ed. So I will be replacing all of them. Caliper took a little rubbing from the rotor but looks mostly cosmetic.

Strange was so kind to drill both 12mm and 1/2" stud holes. I will be going back with 1/2" this go round to see if I can stop this Spam wordSpam word Spam wordSpam word Spam wordSpam word Spam wordSpam word Spam wordSpam word Spam wordSpam word Spam wordSpam word Spam wordSpam word from happening again.

Here's the passenger side wheel studs.....whoops.

So I waited about a week for new 1/2 studs and a brake rotor from Strange. I didn't get in a hurry to get it fixed due to I'm still waiting on a wheel. I went ahead and patched it together yesterday and put the stock wheels back on the rear to get it off the trailer.
This is the damage to the caliper where the rotor rubbed the inside of it. Looks like i stopped in time and didnt do major damage to the caliper.

Here's the new 1/2 studs after installation.

Here's the complete assembly with the new center register and rotor. You can see from this picture the rotor is stud-centric meaning it depends on the studs to center itself. Common sense tells you if it fits with 1/2 studs and 12mm are smaller, then there was some slack with the 12mm. Enough to cause an issue? Well I cant say for sure but I do believe these were designed to work best with 1/2 because the fit is much tighter. Strange should mention this detail in their product literature I think.

I'm making a lug nut swap also. I'm including this picture for those who may not be familiar. Stock wheels use a hex nut conical seat on the top left. Drag wheels use something like the mag type hex nut with a washer. That type goes through the wheel to grip the stud all the way at the base making it stronger. Even with stock wheels you can use the hex nut ET (extended thread) and it gives a similar effect of the mag type where it actually passes through the wheel and engages more thread and in to a further point.

-----------------------------------------
#15
11-21-2015, 02:47 PM
Join Date: Aug 2010
Posts: 230
Likes: 0
Received 0 Likes
on
0 Posts
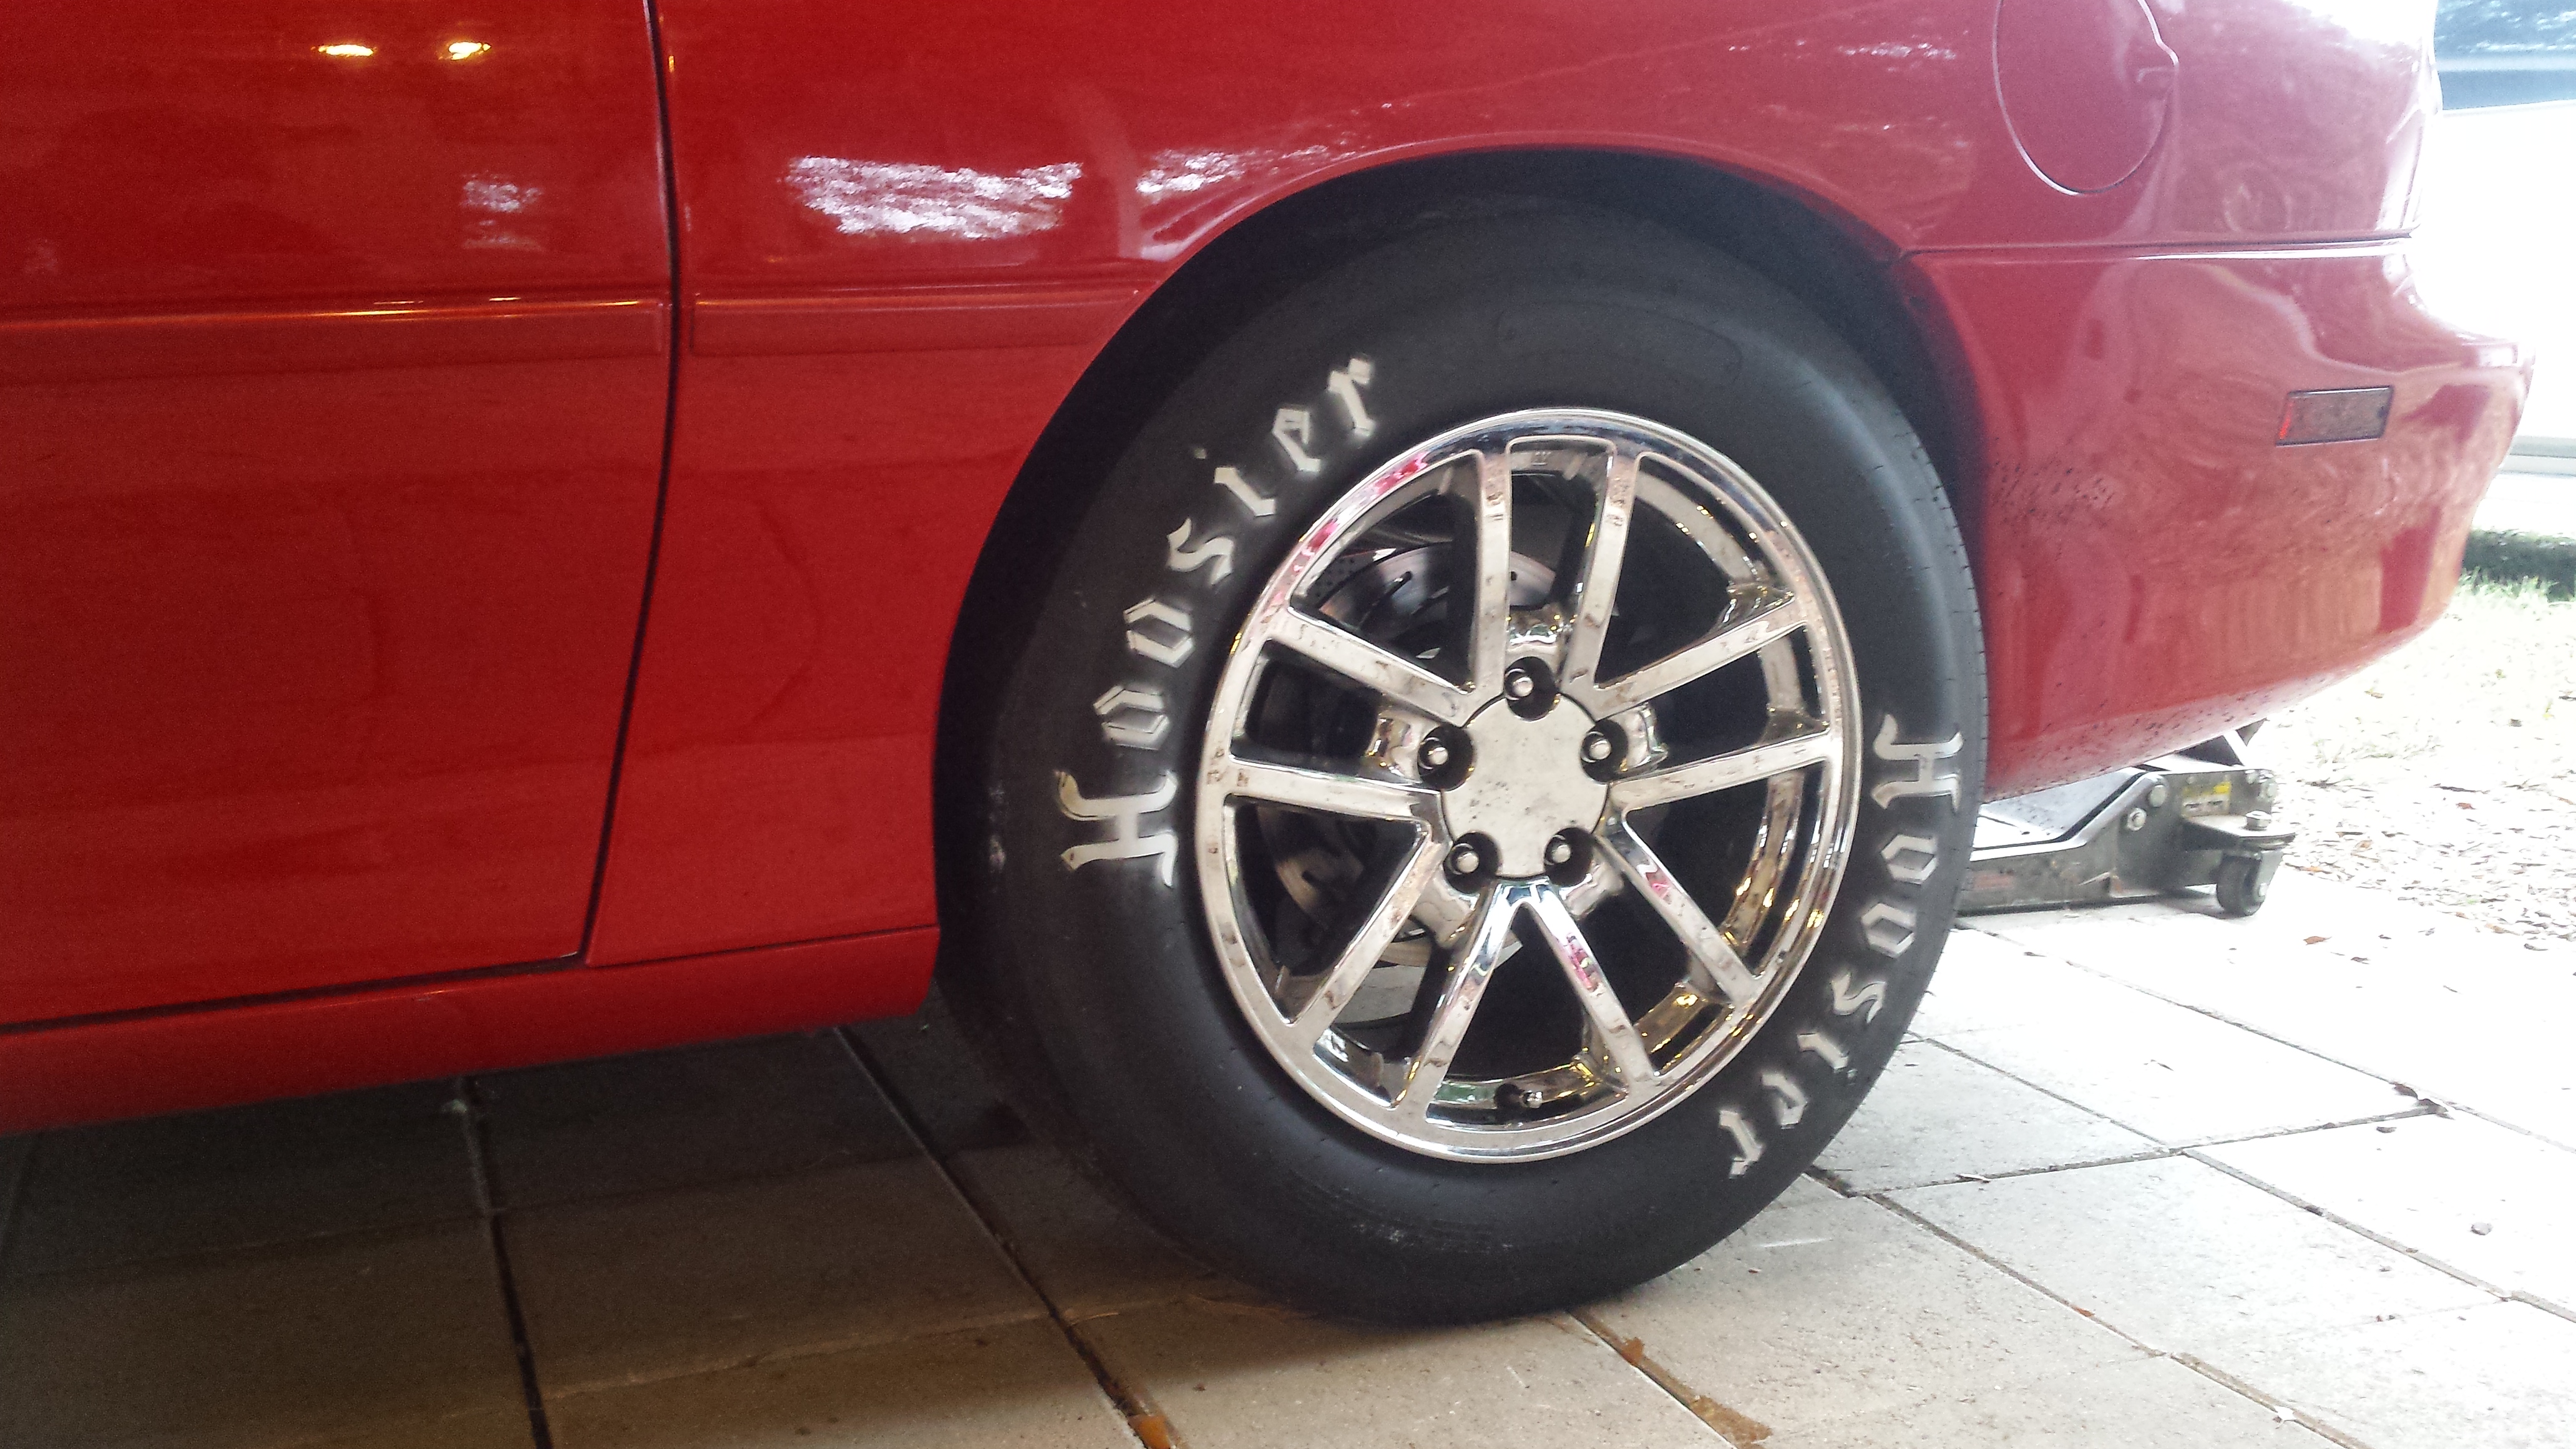
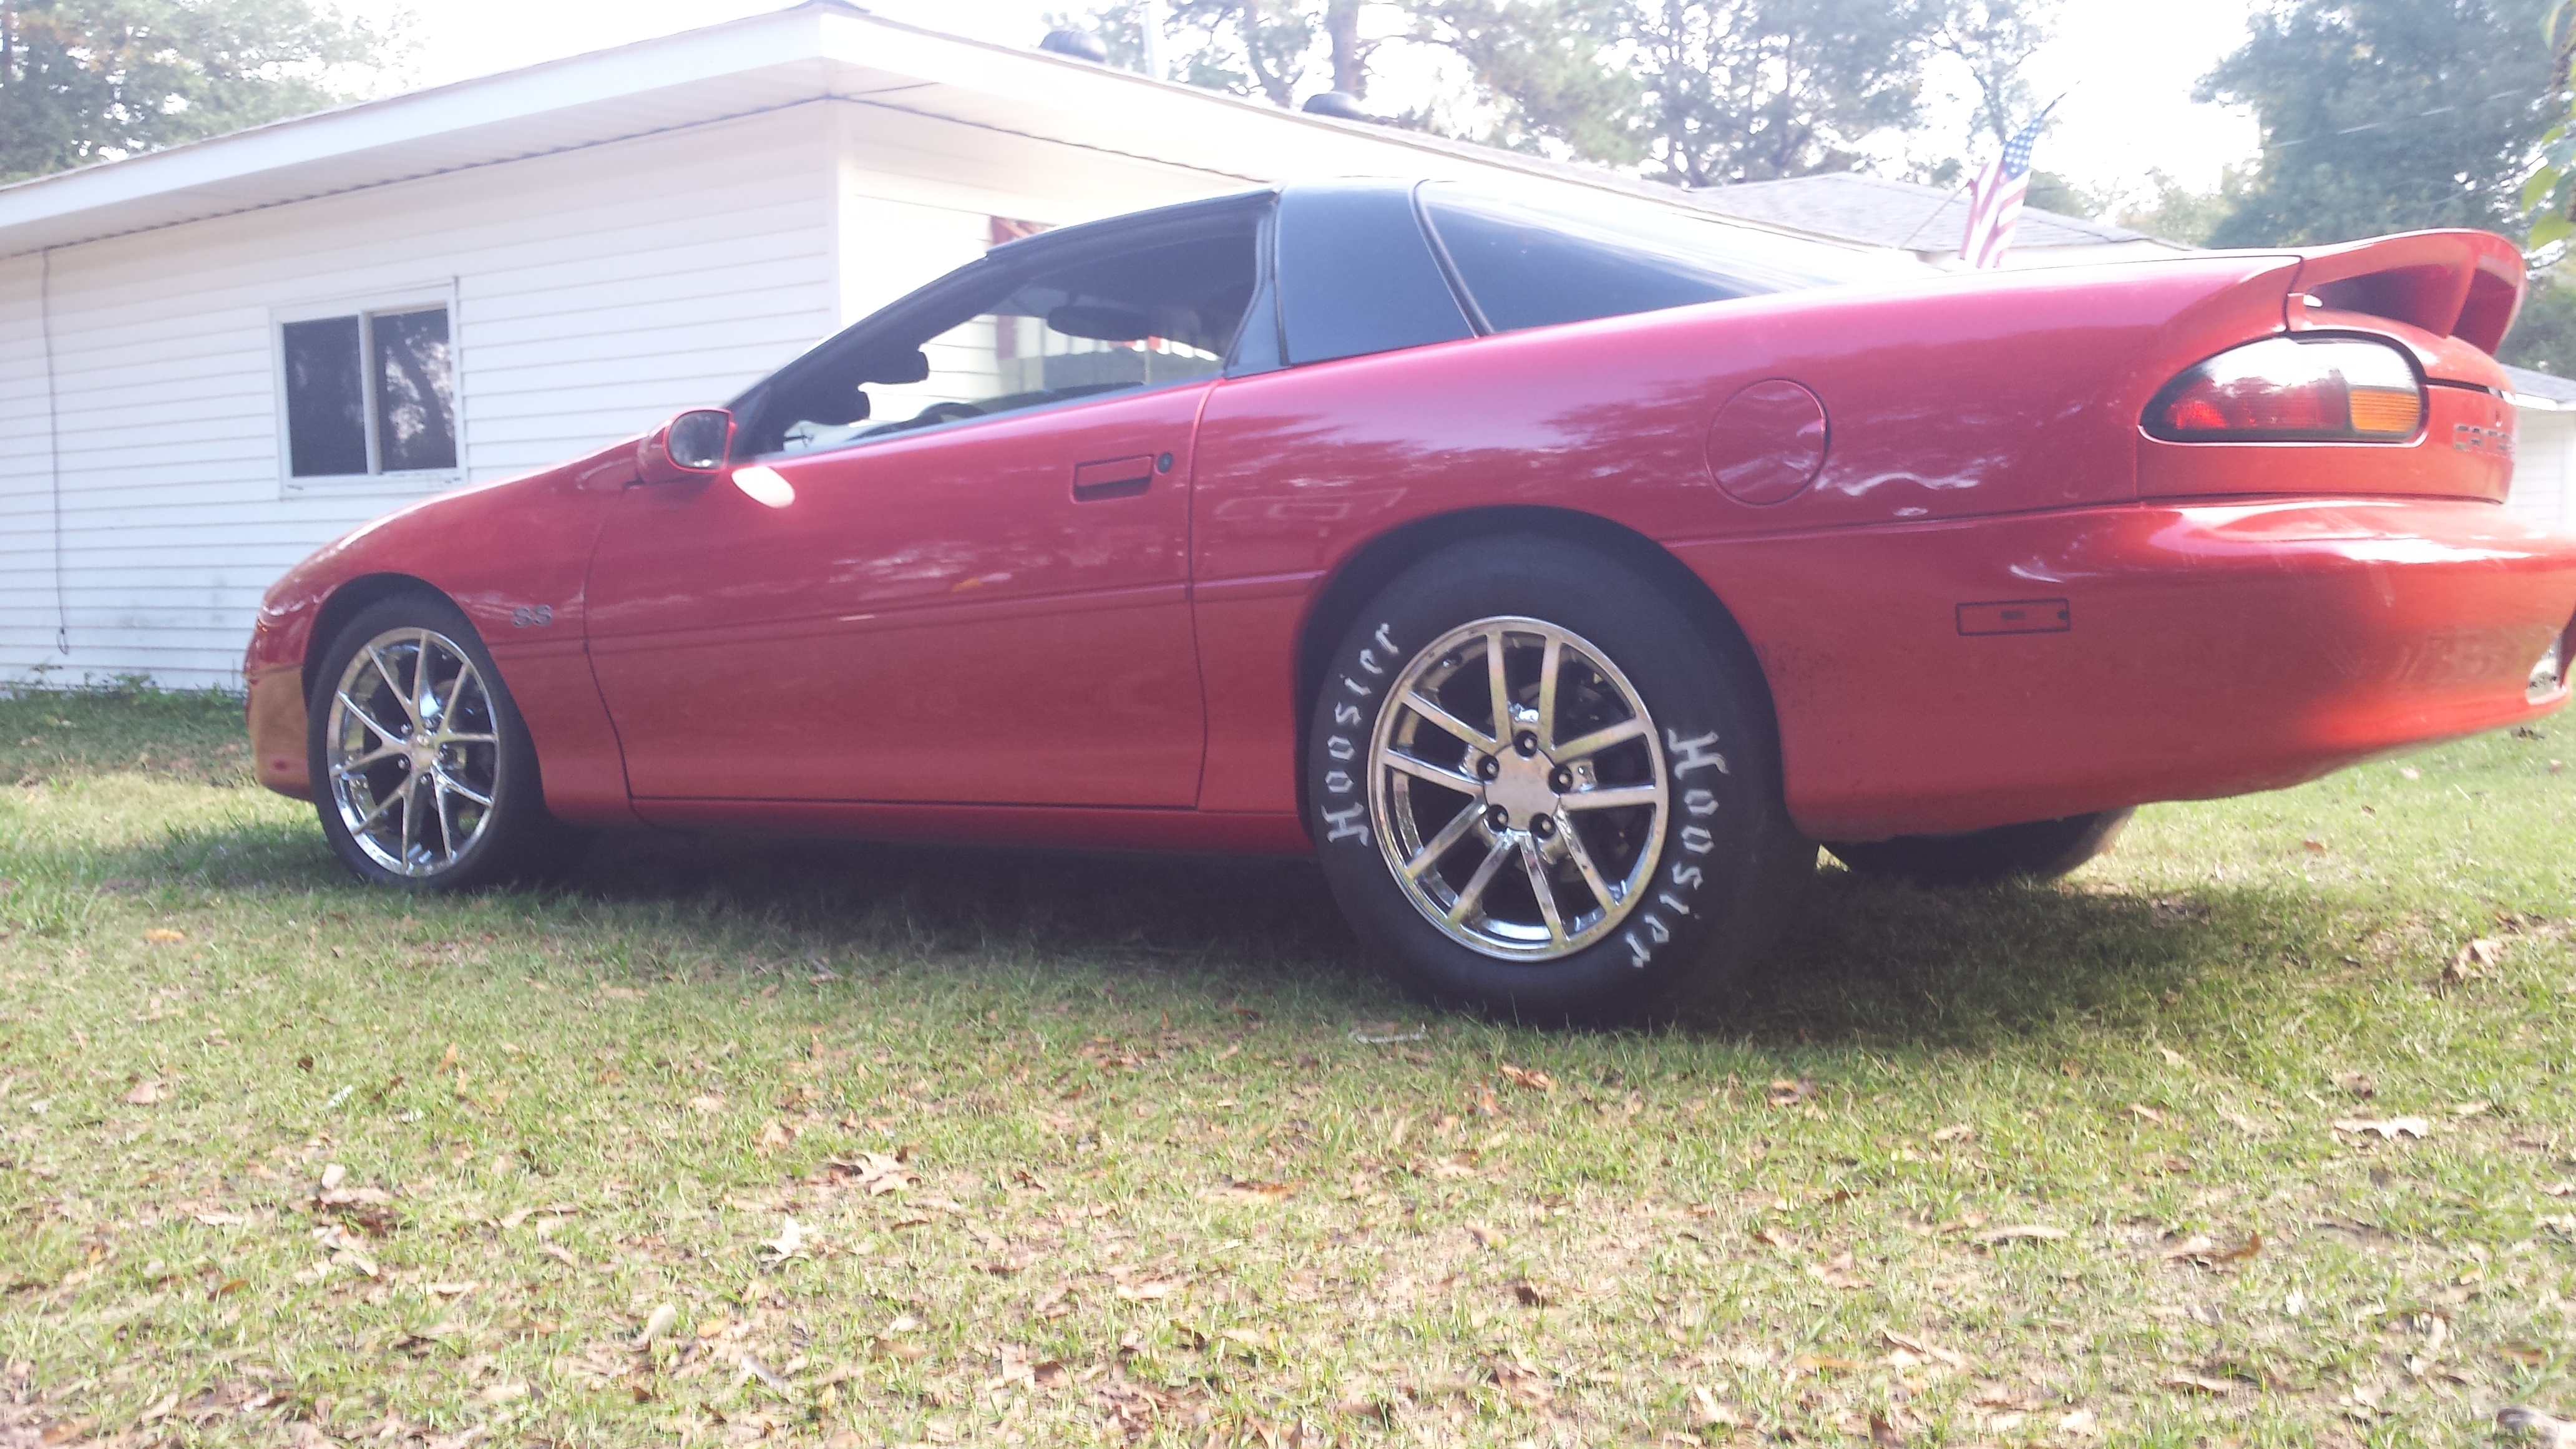
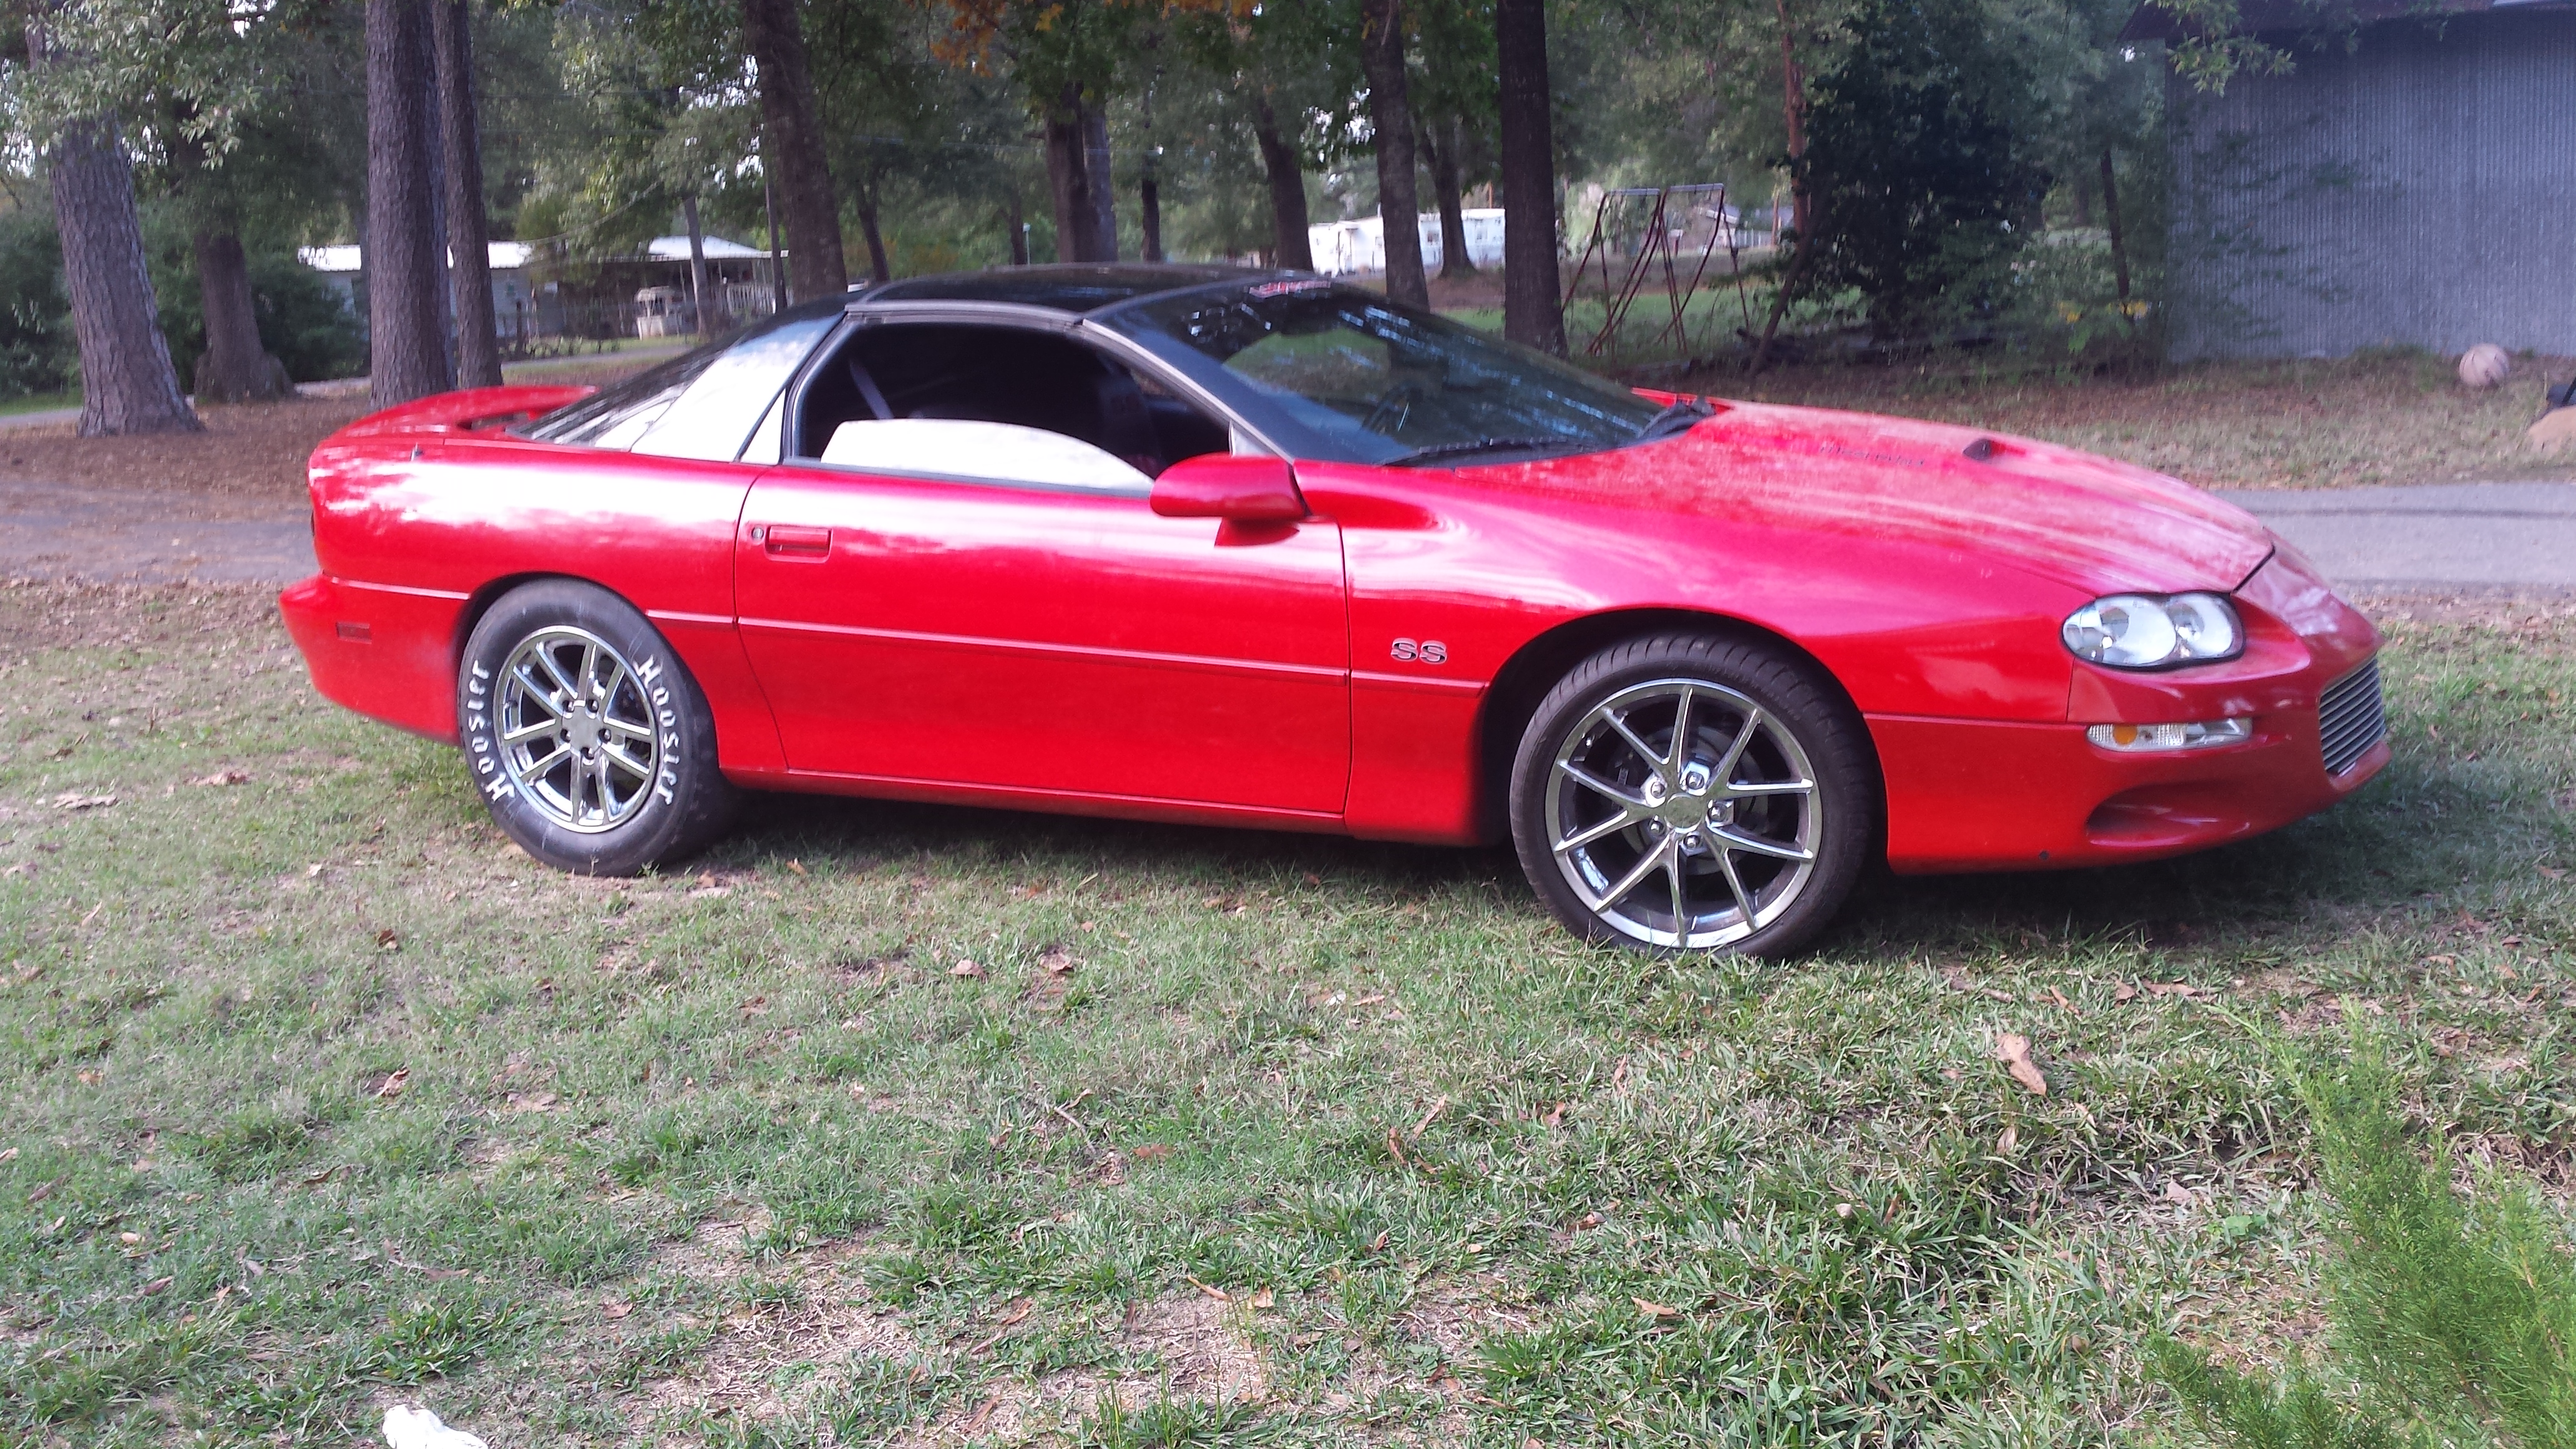
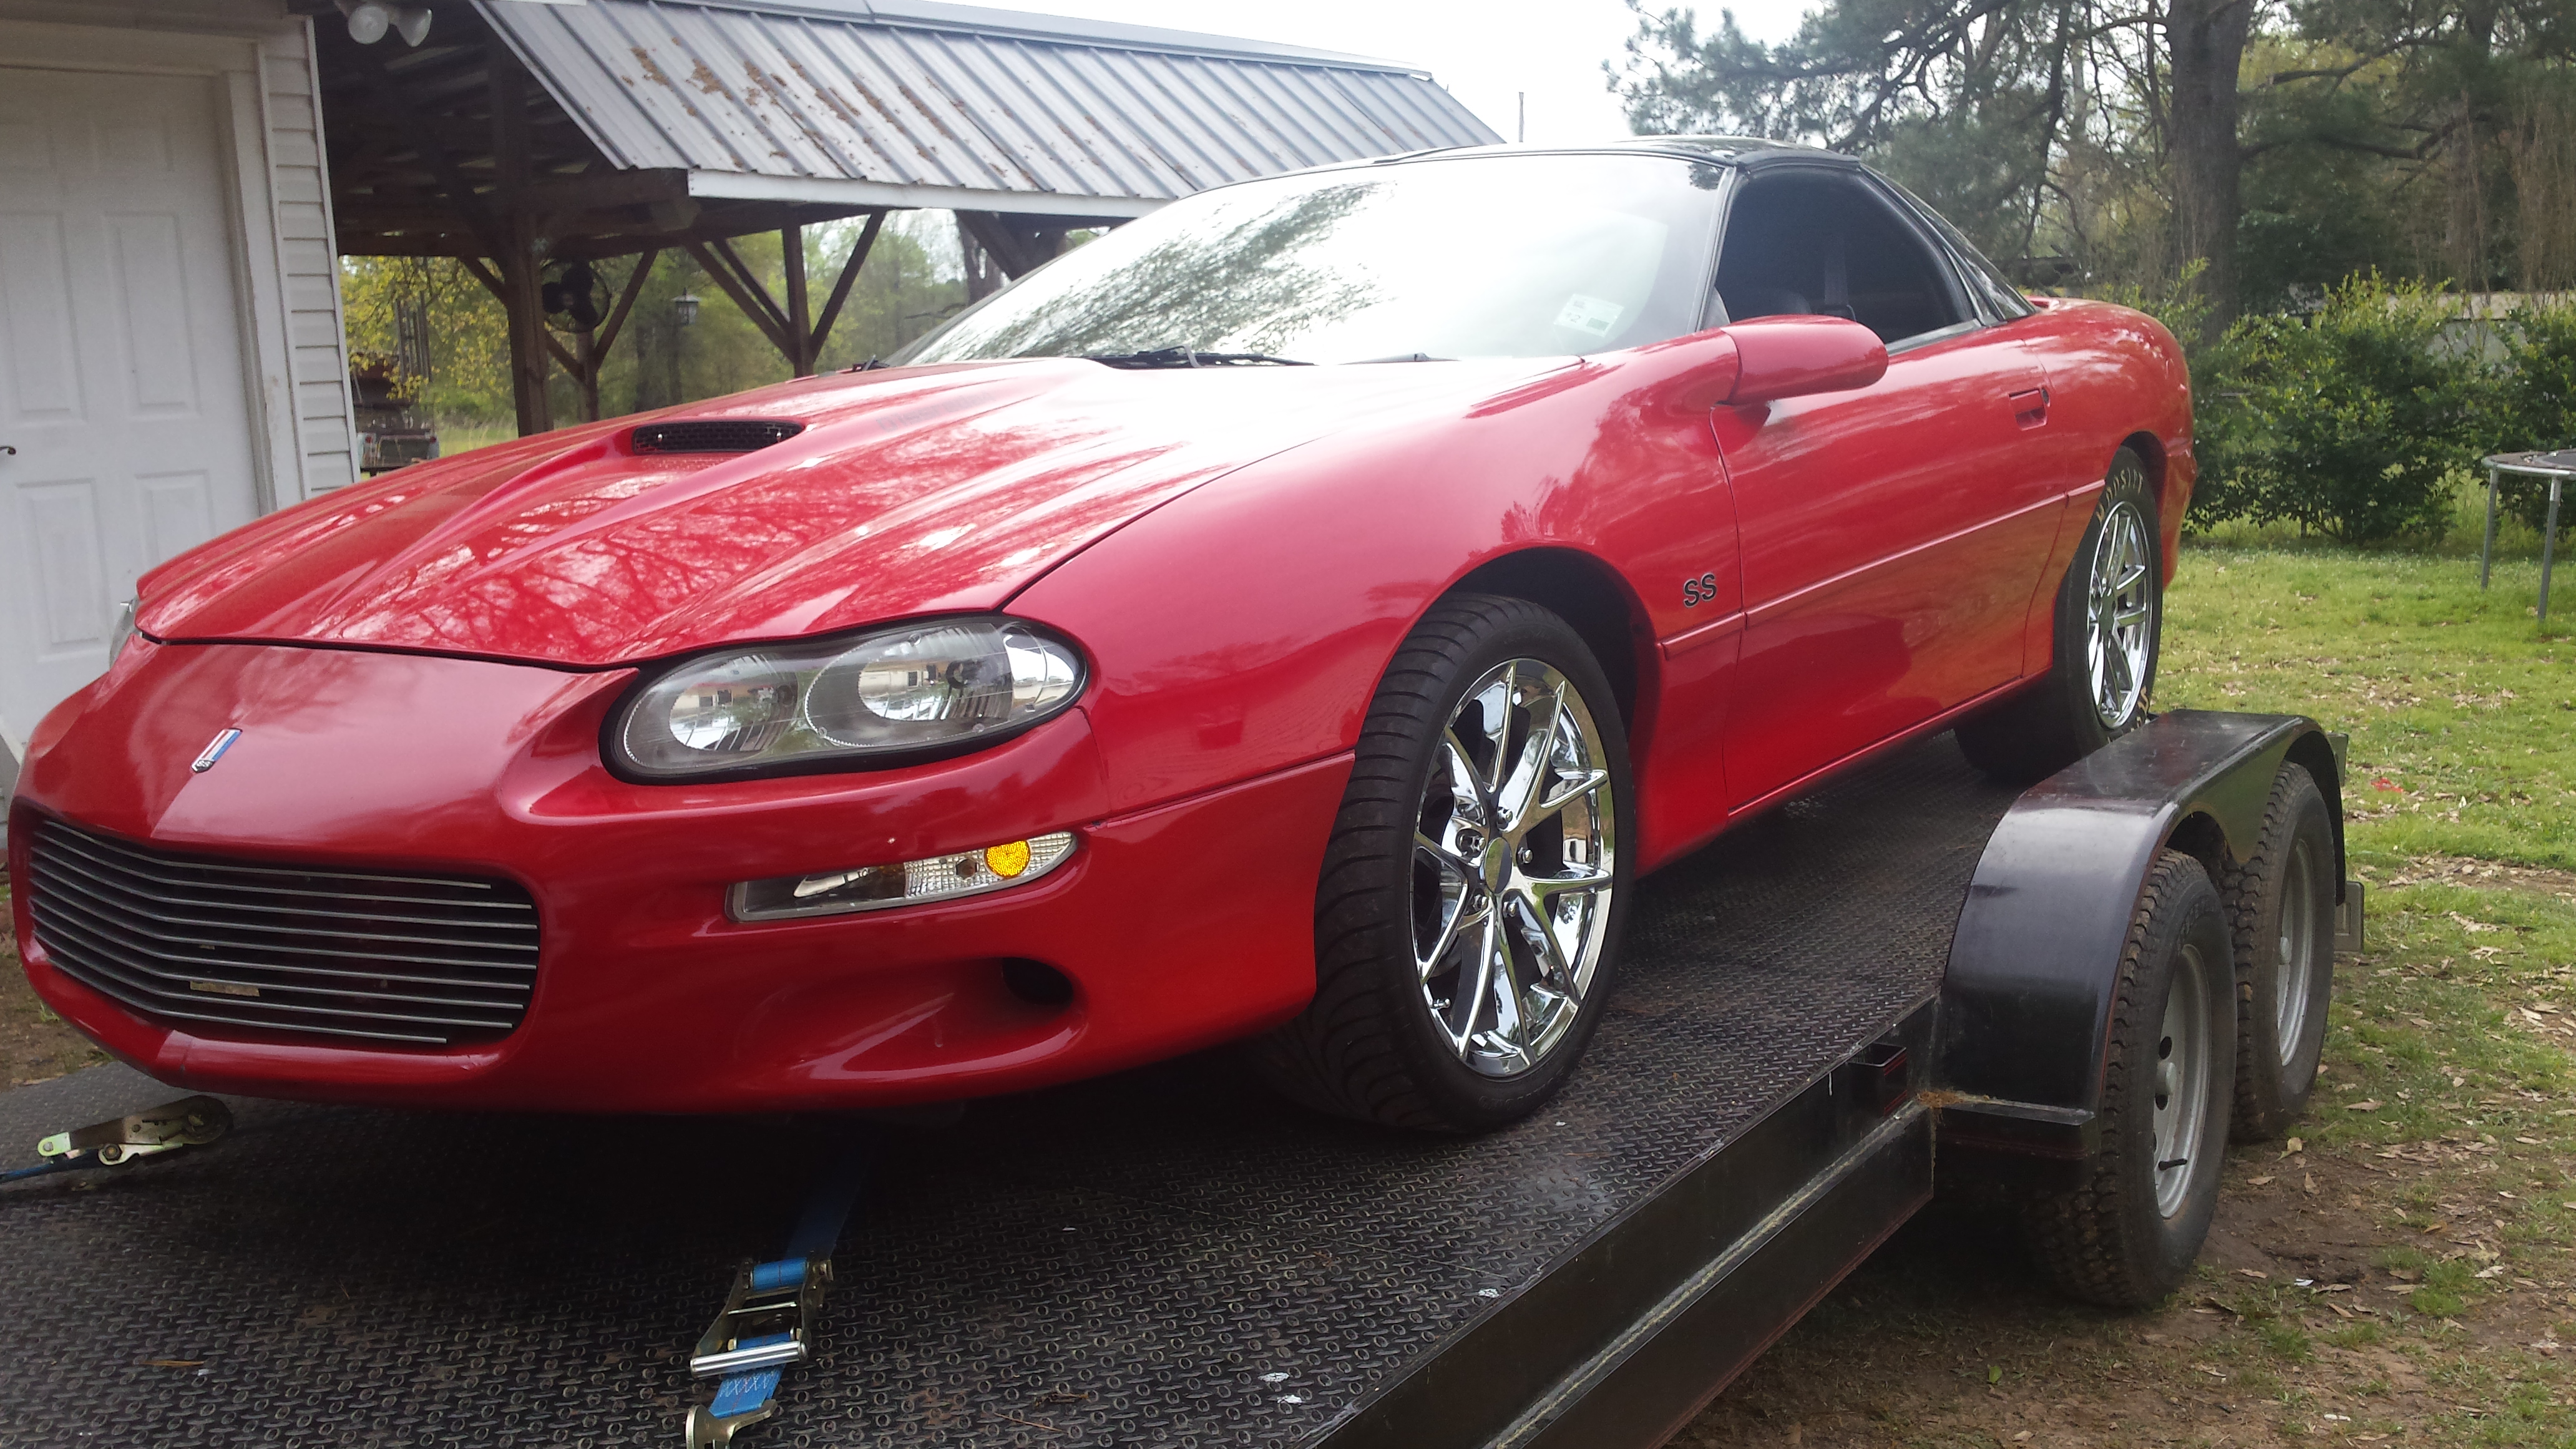
Making some good use out of a pair of old 10 spokes. I figure these will hit the lugs a little softer then the radial giving the lugs a chance to survive plus they are sticky as hell so traction shouldnt be a fight like it was with the 18s. This is a Hoosier full slick 28x10x17.
 [/QUOTE]
Kill mode!
----------------------------------------------------
 [/QUOTE]
Kill mode!


----------------------------------------------------
#16
11-21-2015, 02:47 PM
Join Date: Aug 2010
Posts: 230
Likes: 0
Received 0 Likes
on
0 Posts
I took off work for the race saturday, I had everything ready on the car. Car was washed, truck and trailer were washed and loaded.....and the weather just wouldn't cooperate. Friday night all cleaned up we sat in the garage hoping things would clear for the race the next morning....
They decided to postpone the race till the afternoon and around lunchtime when we thought the weather was going to break we headed to the track. That didn't work out and we ended up coming home dripping wet and the race postponed.
Around midnight the weather finally got moving and they had a fresh water logged track to prep for an early AM race day.
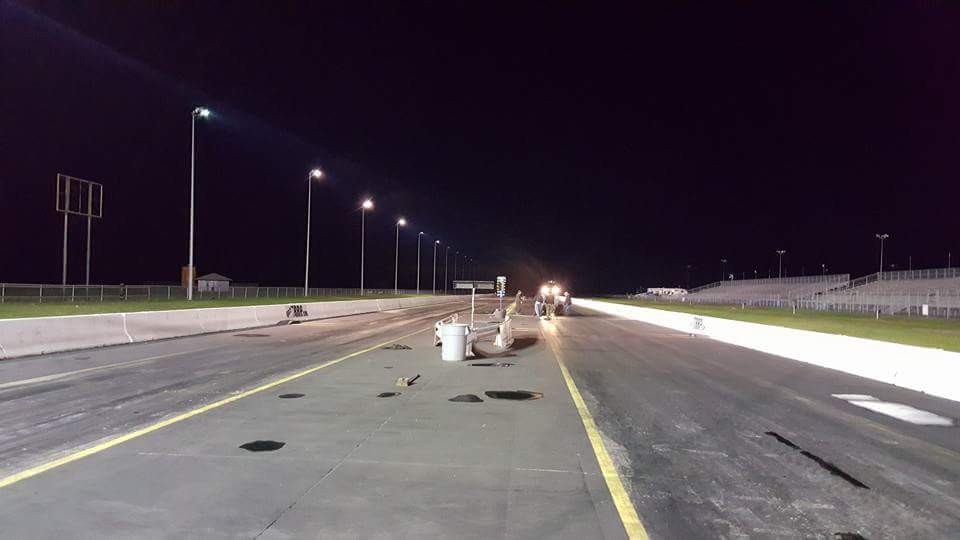
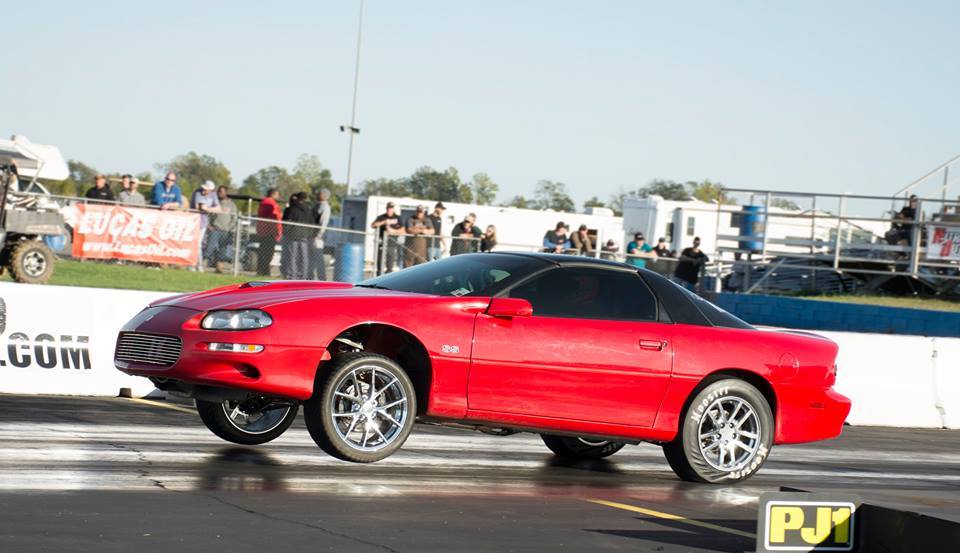
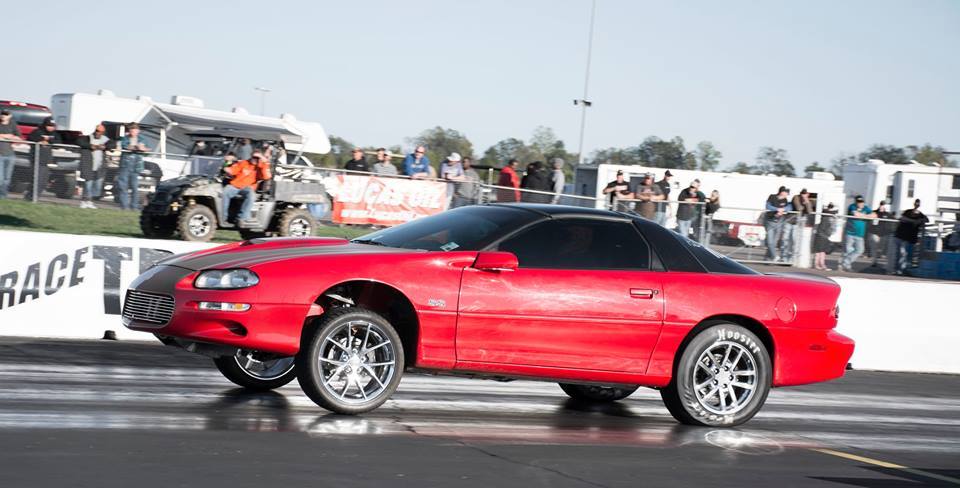
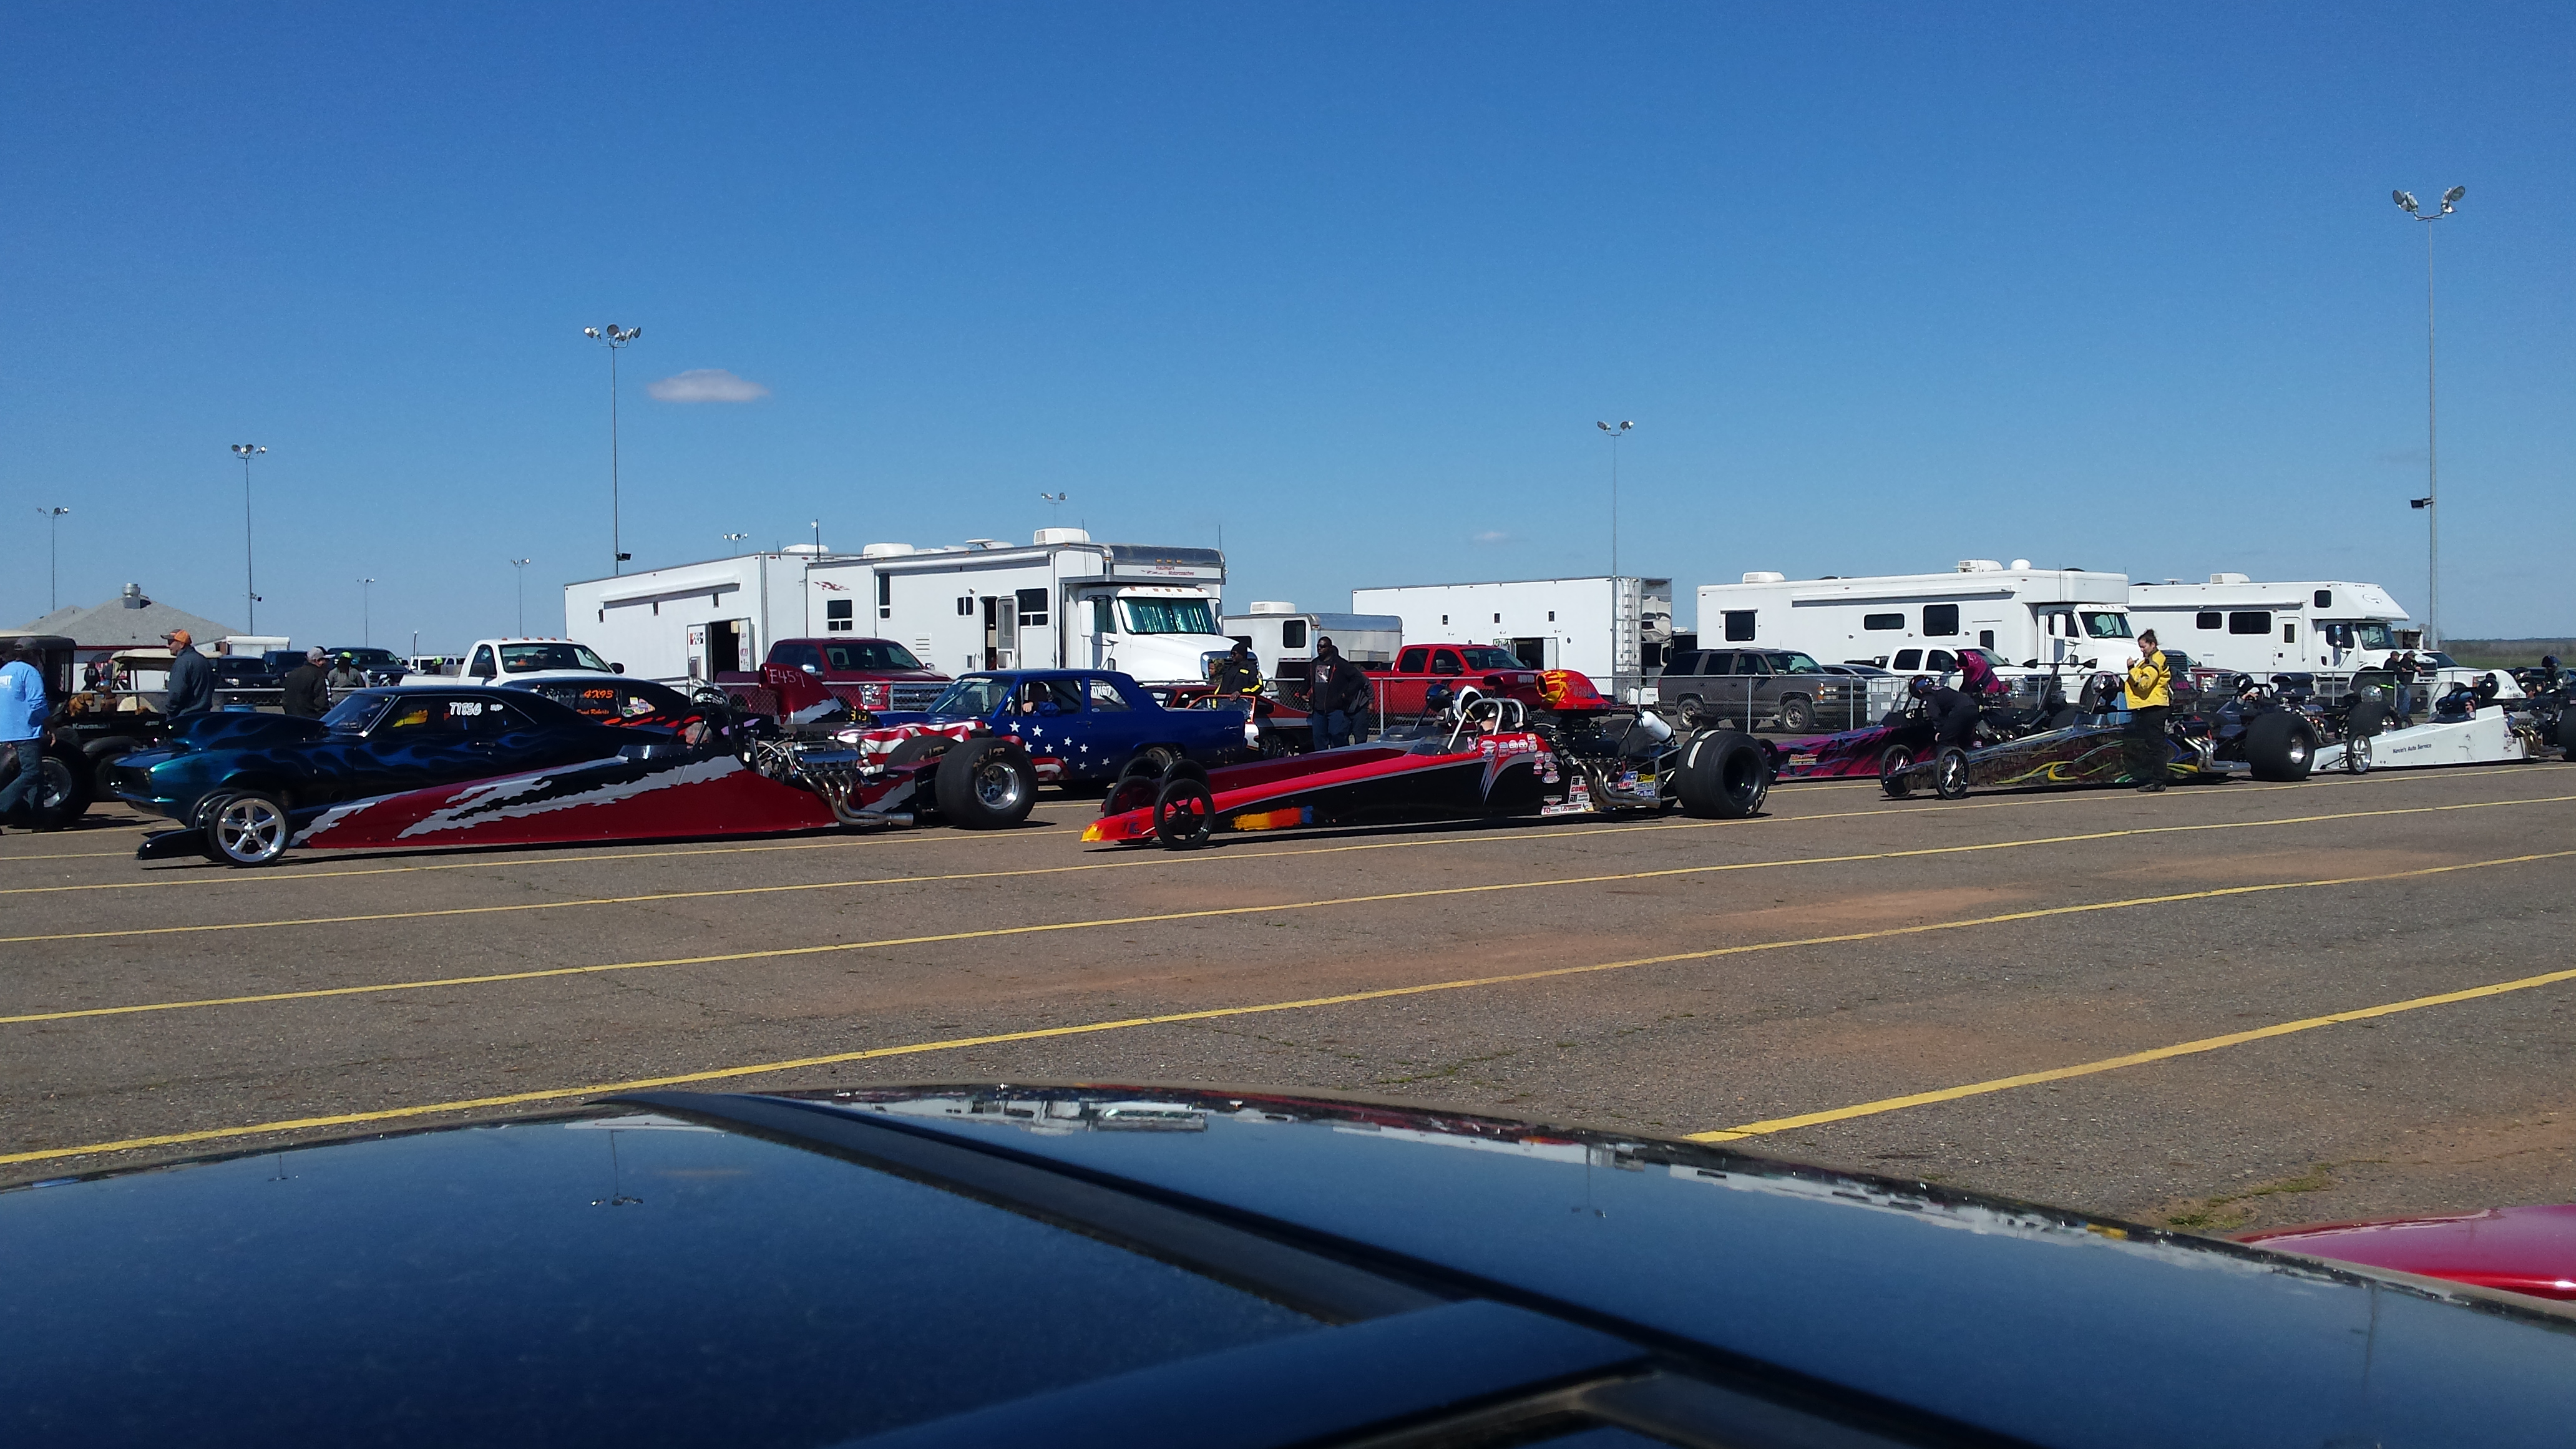
Sunday morning the weather was fantastic, temp in the 60s, and DA ranged from negative 400 or so to around 500 last time I checked.

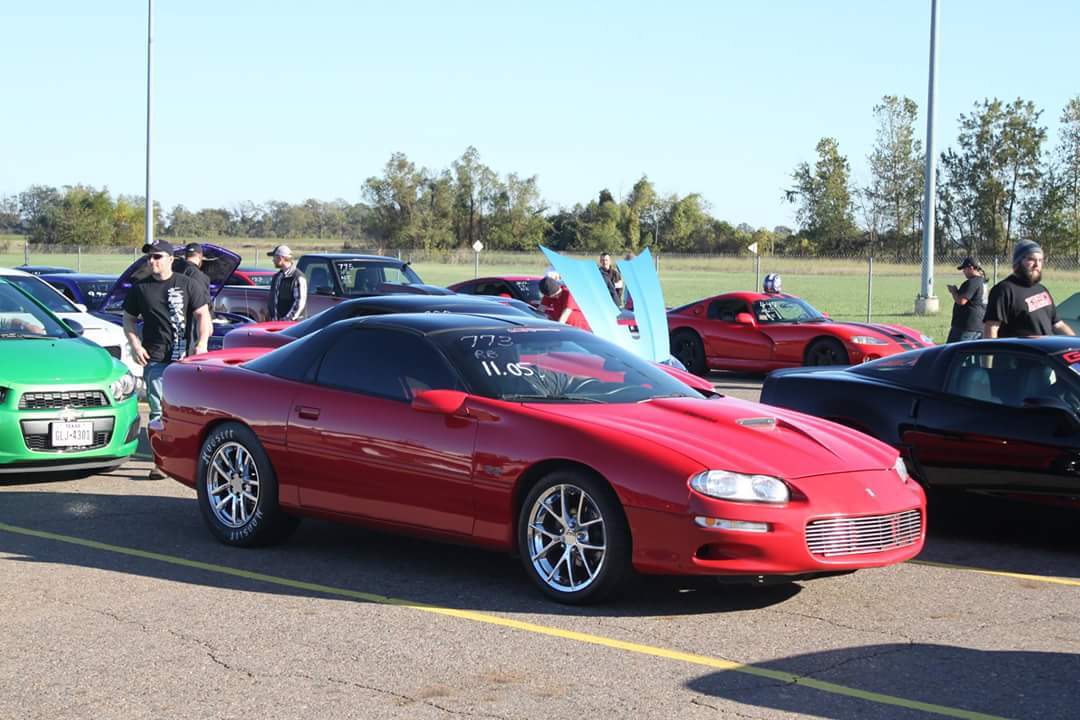
Couple of random staging lane pics:
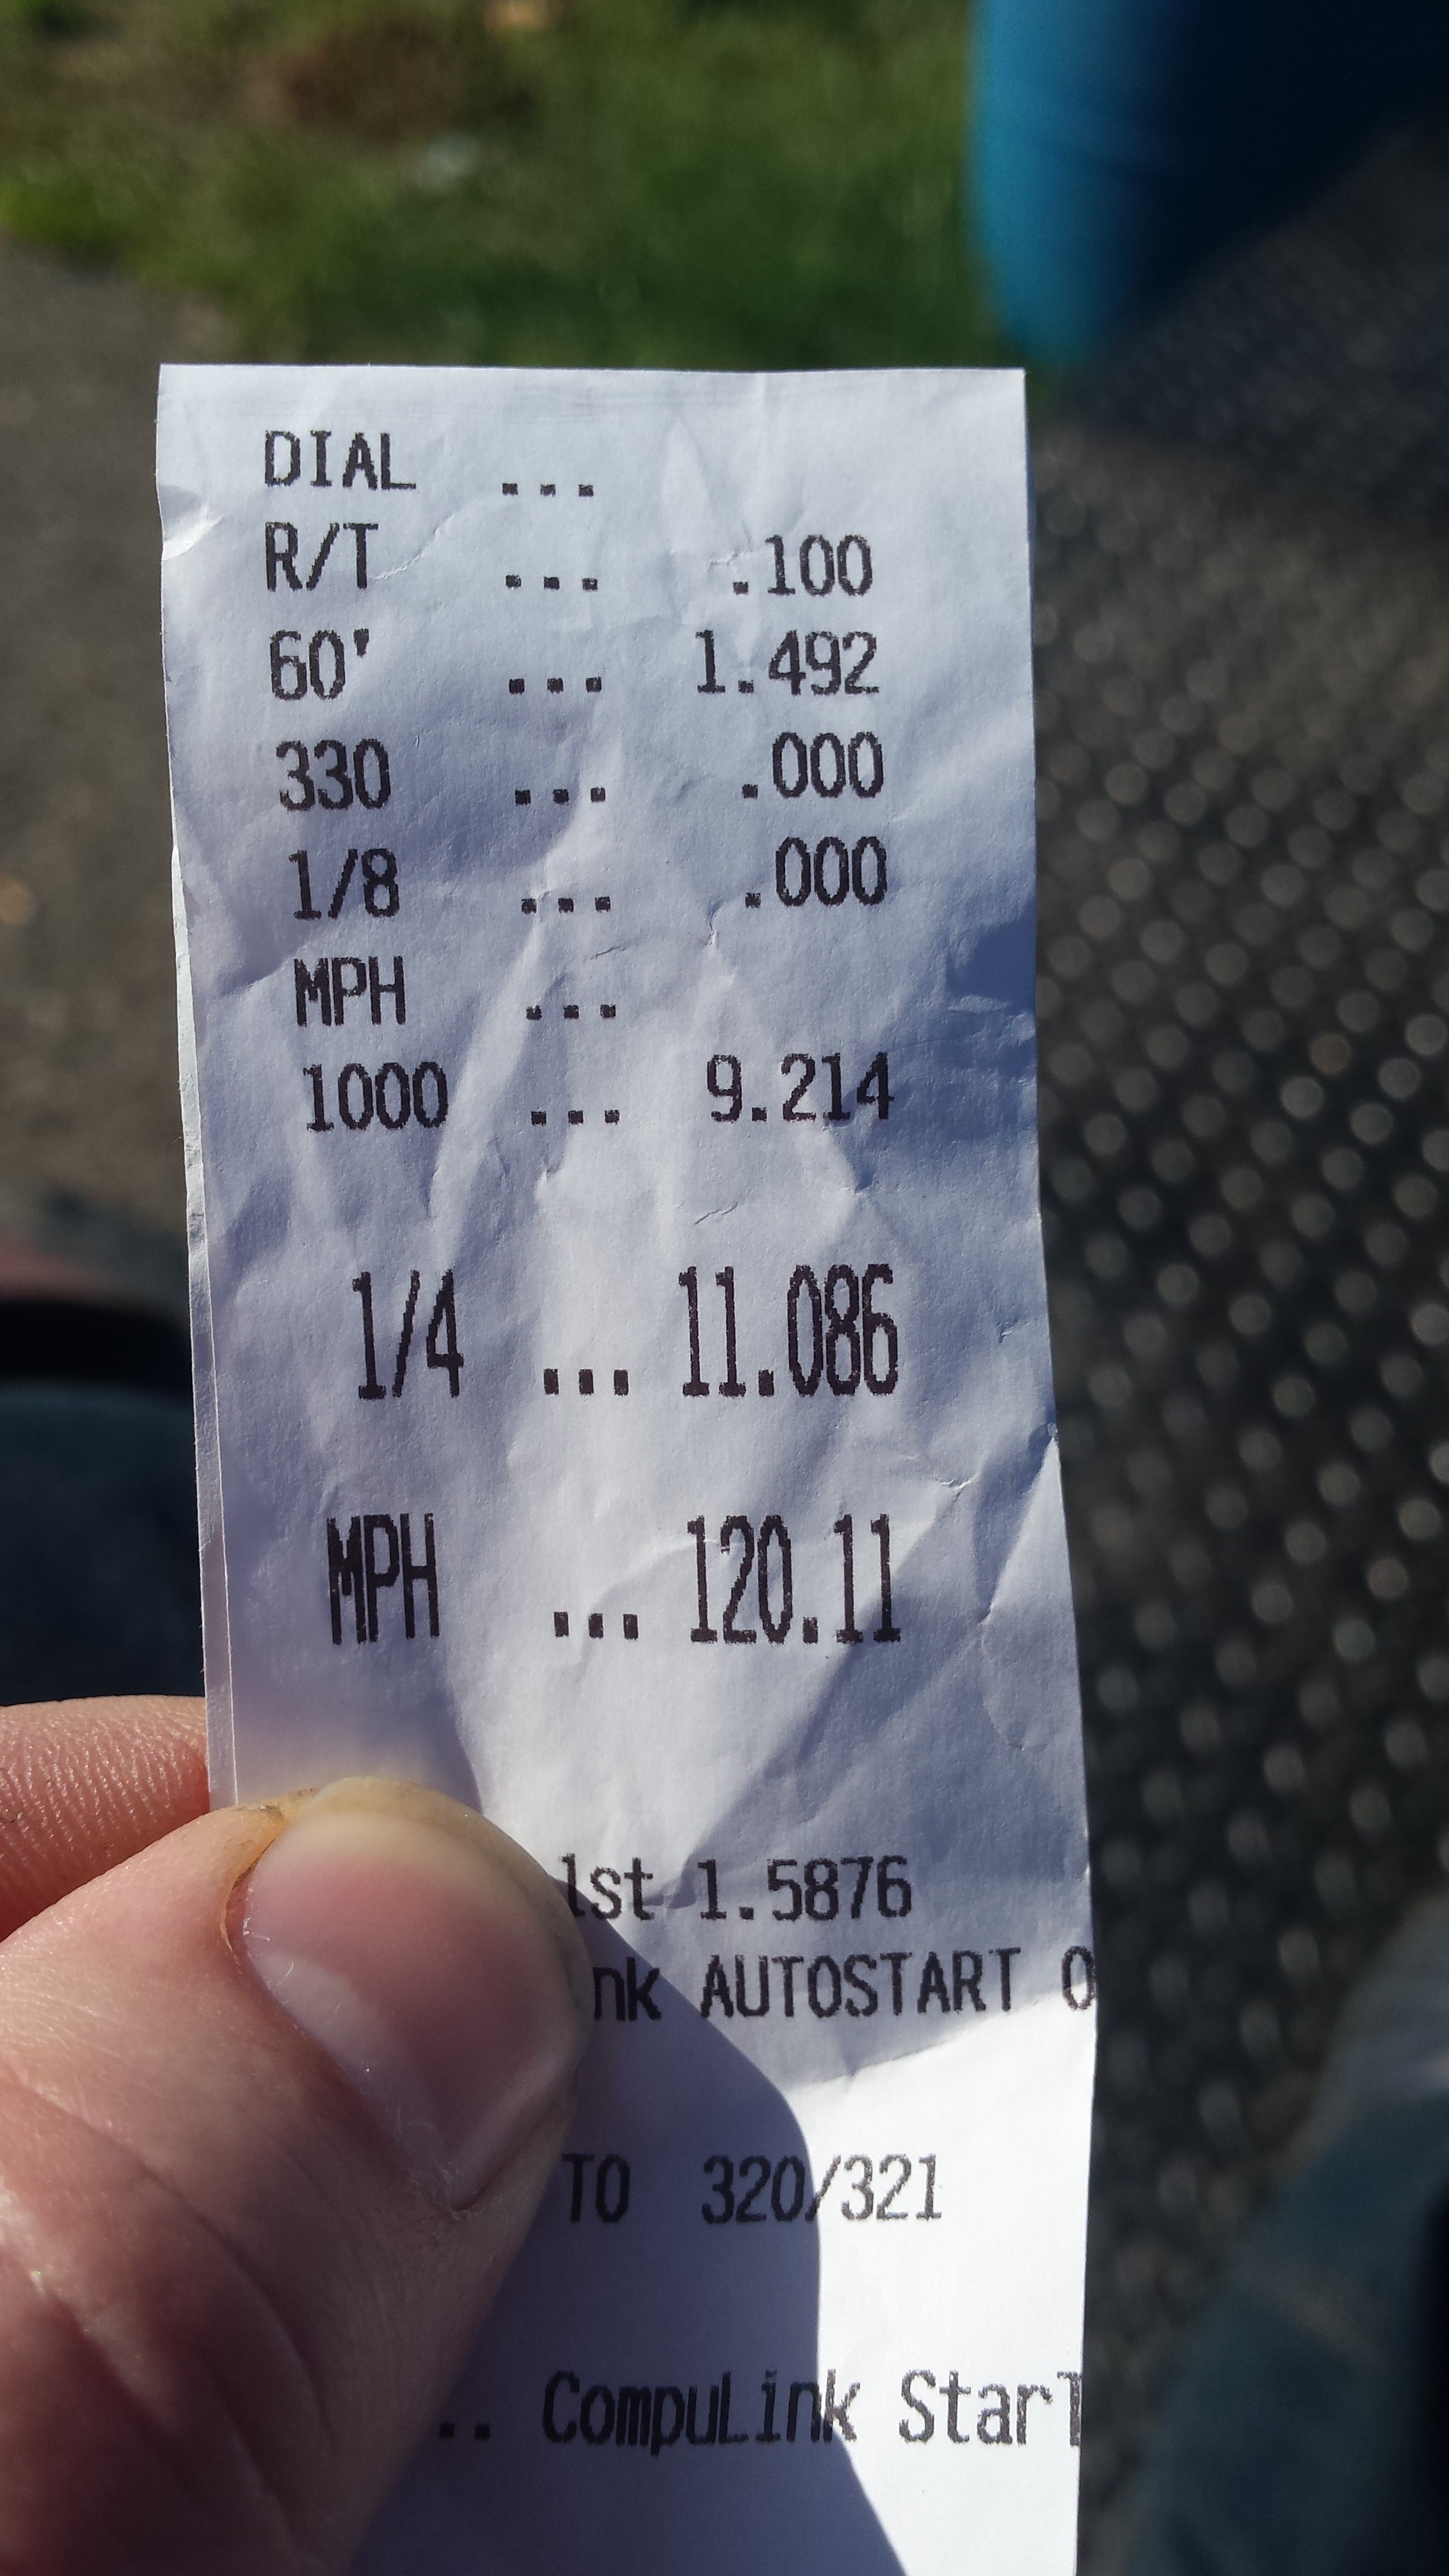
Fastest pass of the day, but I only ran 3 times. It went .08, .09, .08 in that order.

And finally some go pro footage:
I'm at 3:25 on XXX Motorsports footage:

They decided to postpone the race till the afternoon and around lunchtime when we thought the weather was going to break we headed to the track. That didn't work out and we ended up coming home dripping wet and the race postponed.

Around midnight the weather finally got moving and they had a fresh water logged track to prep for an early AM race day.

Sunday morning the weather was fantastic, temp in the 60s, and DA ranged from negative 400 or so to around 500 last time I checked.

Couple of random staging lane pics:


Fastest pass of the day, but I only ran 3 times. It went .08, .09, .08 in that order.


And finally some go pro footage:
I'm at 3:25 on XXX Motorsports footage:
#18
03-20-2016, 08:29 PM
Join Date: Aug 2010
Posts: 230
Likes: 0
Received 0 Likes
on
0 Posts
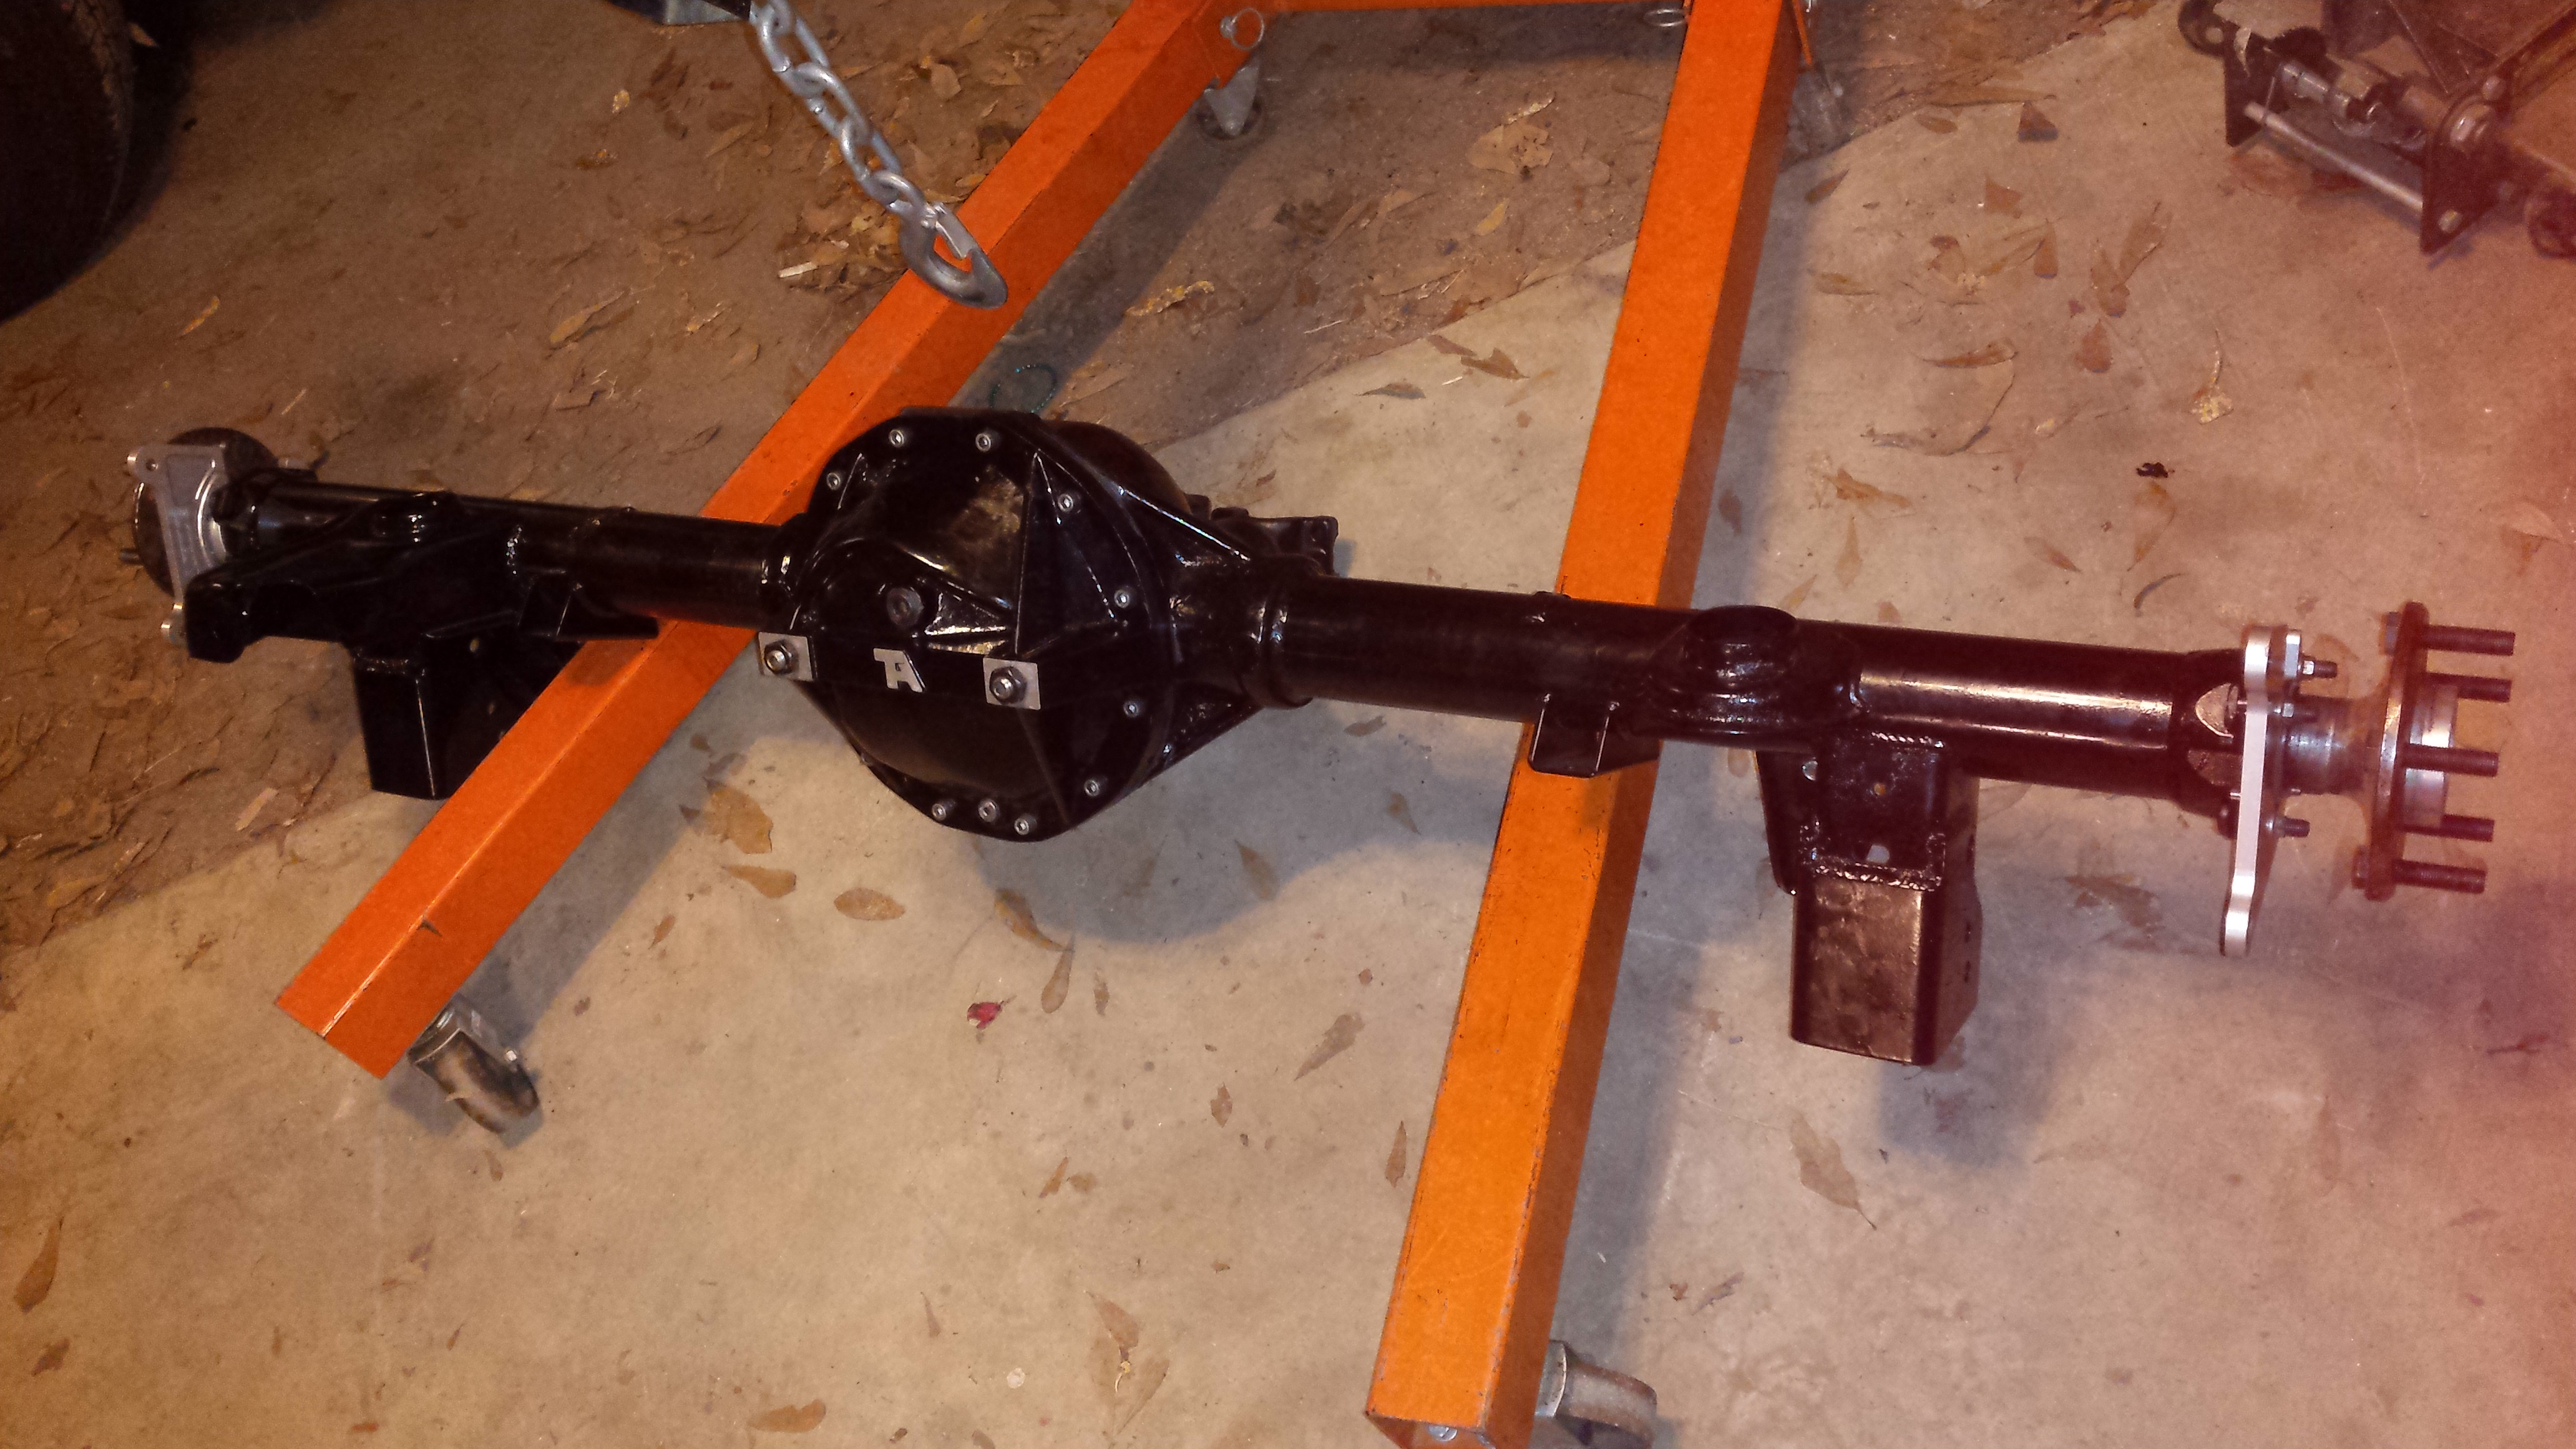
So I figured while I was doing a gear swap I'd freshen up a little bit. I've always hated the fact that I spray painted the rear end in this car. Money was tight when I ordered it so saving money was important, now I can go back and undue that mistake. So ordered up some Richmond 4.10s. Gonna hold onto the Motive 3.73s for now, they may end up going back in one day.

Got it pulled and hung up for full disassembly.
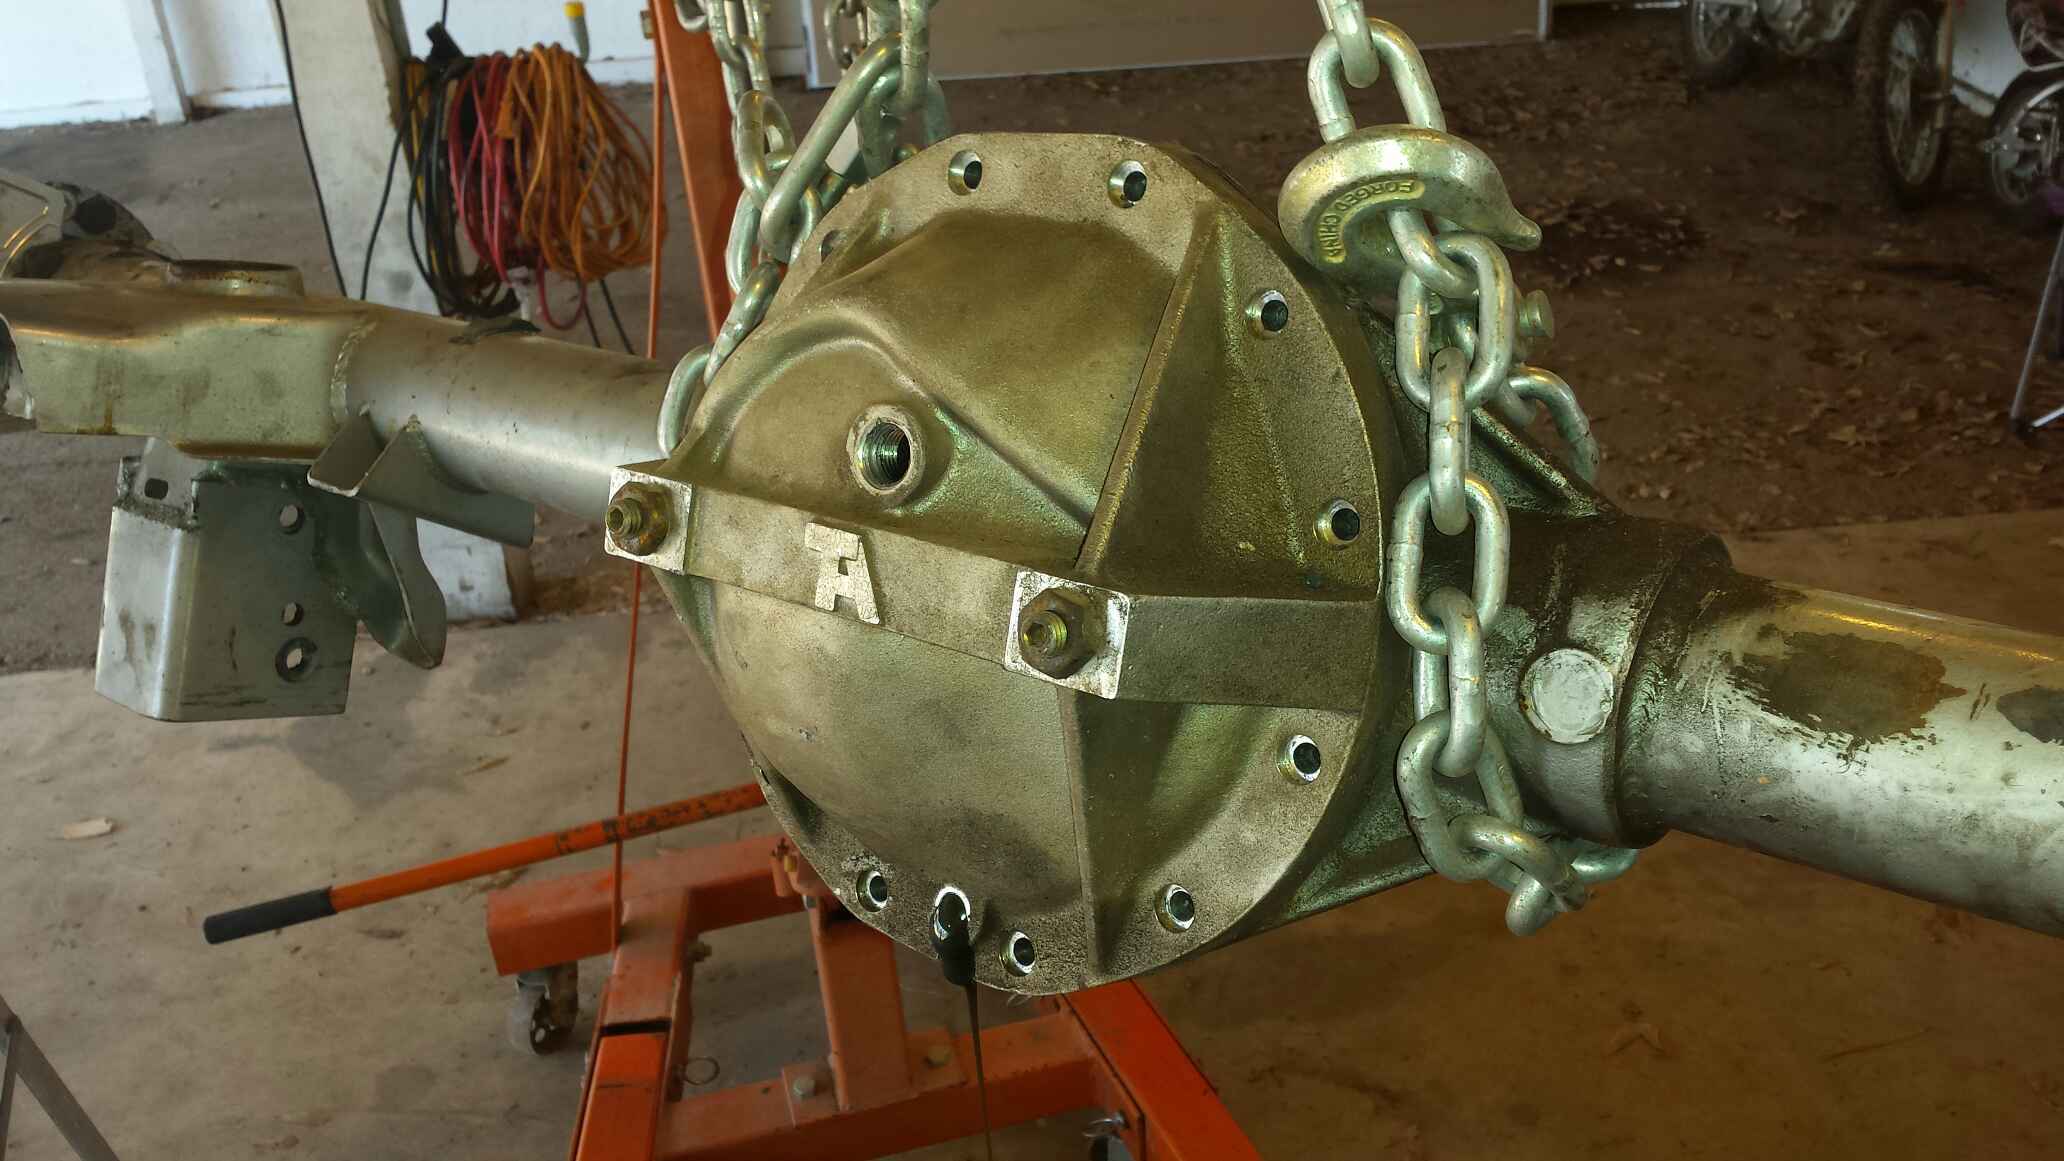
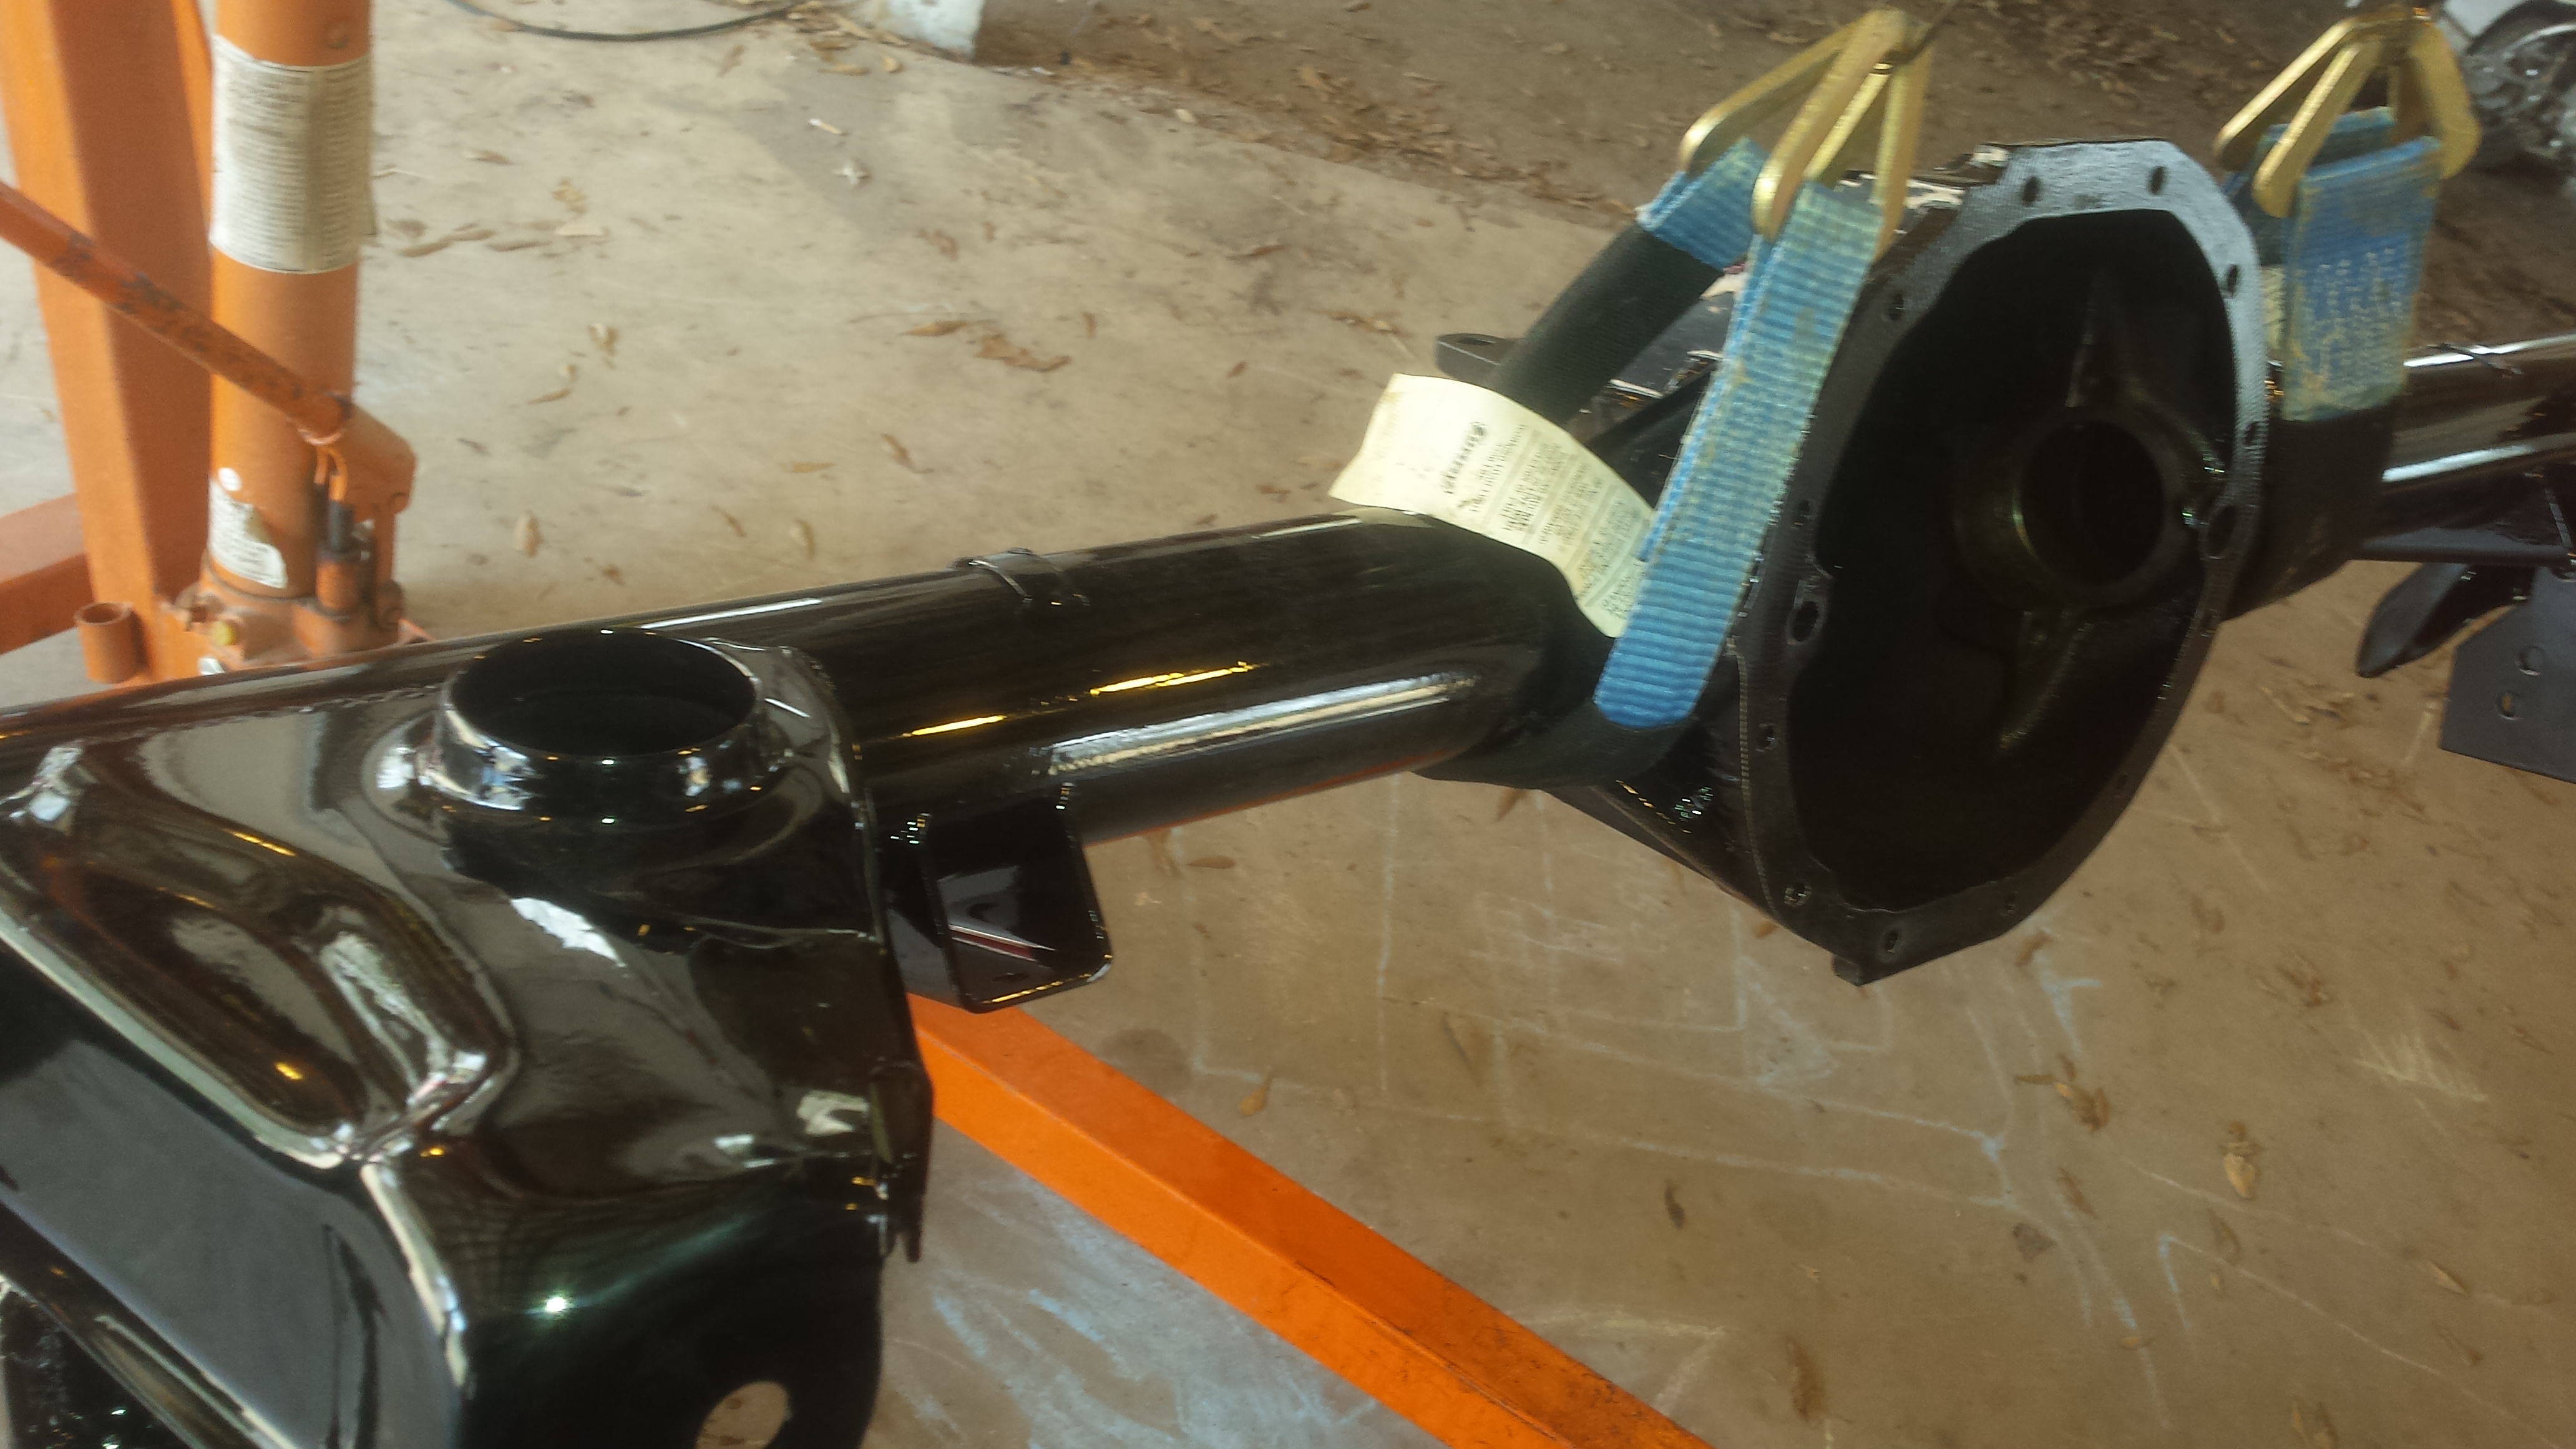
And off to the powder coat shop!
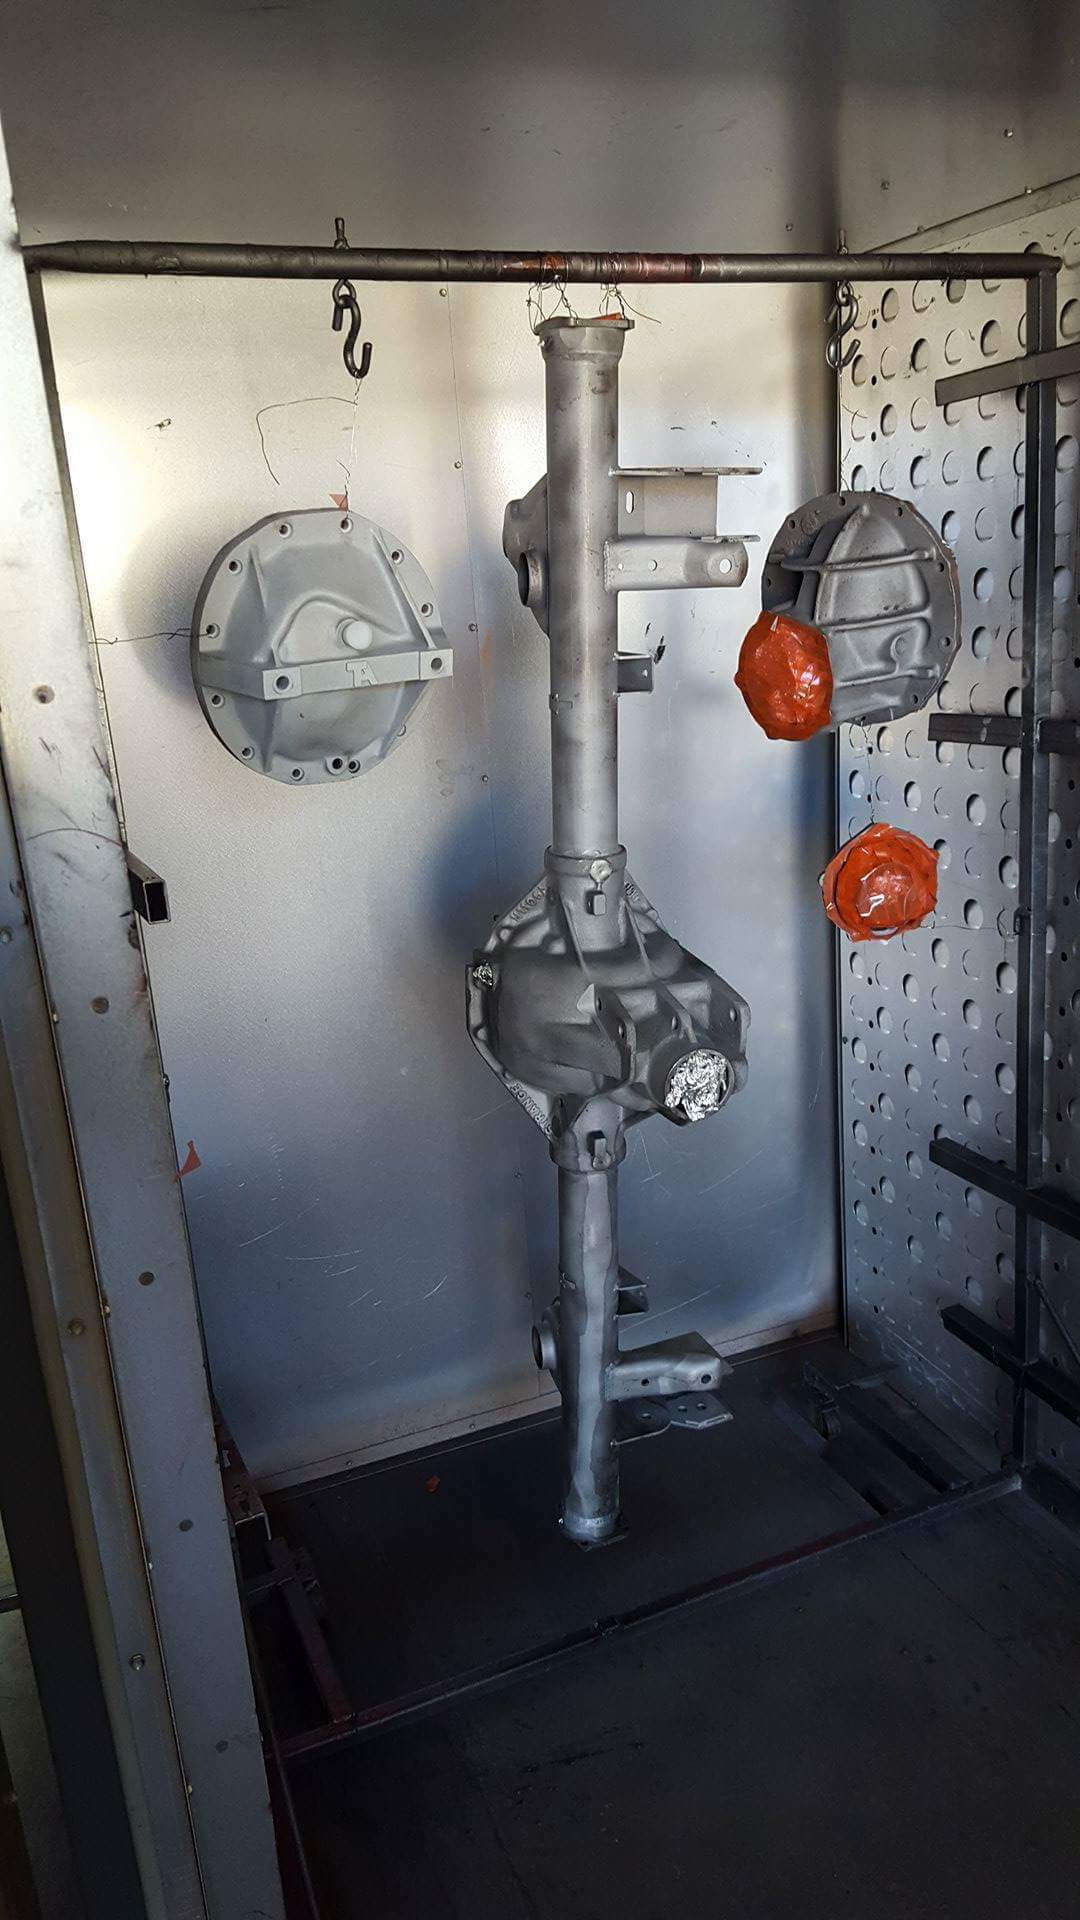
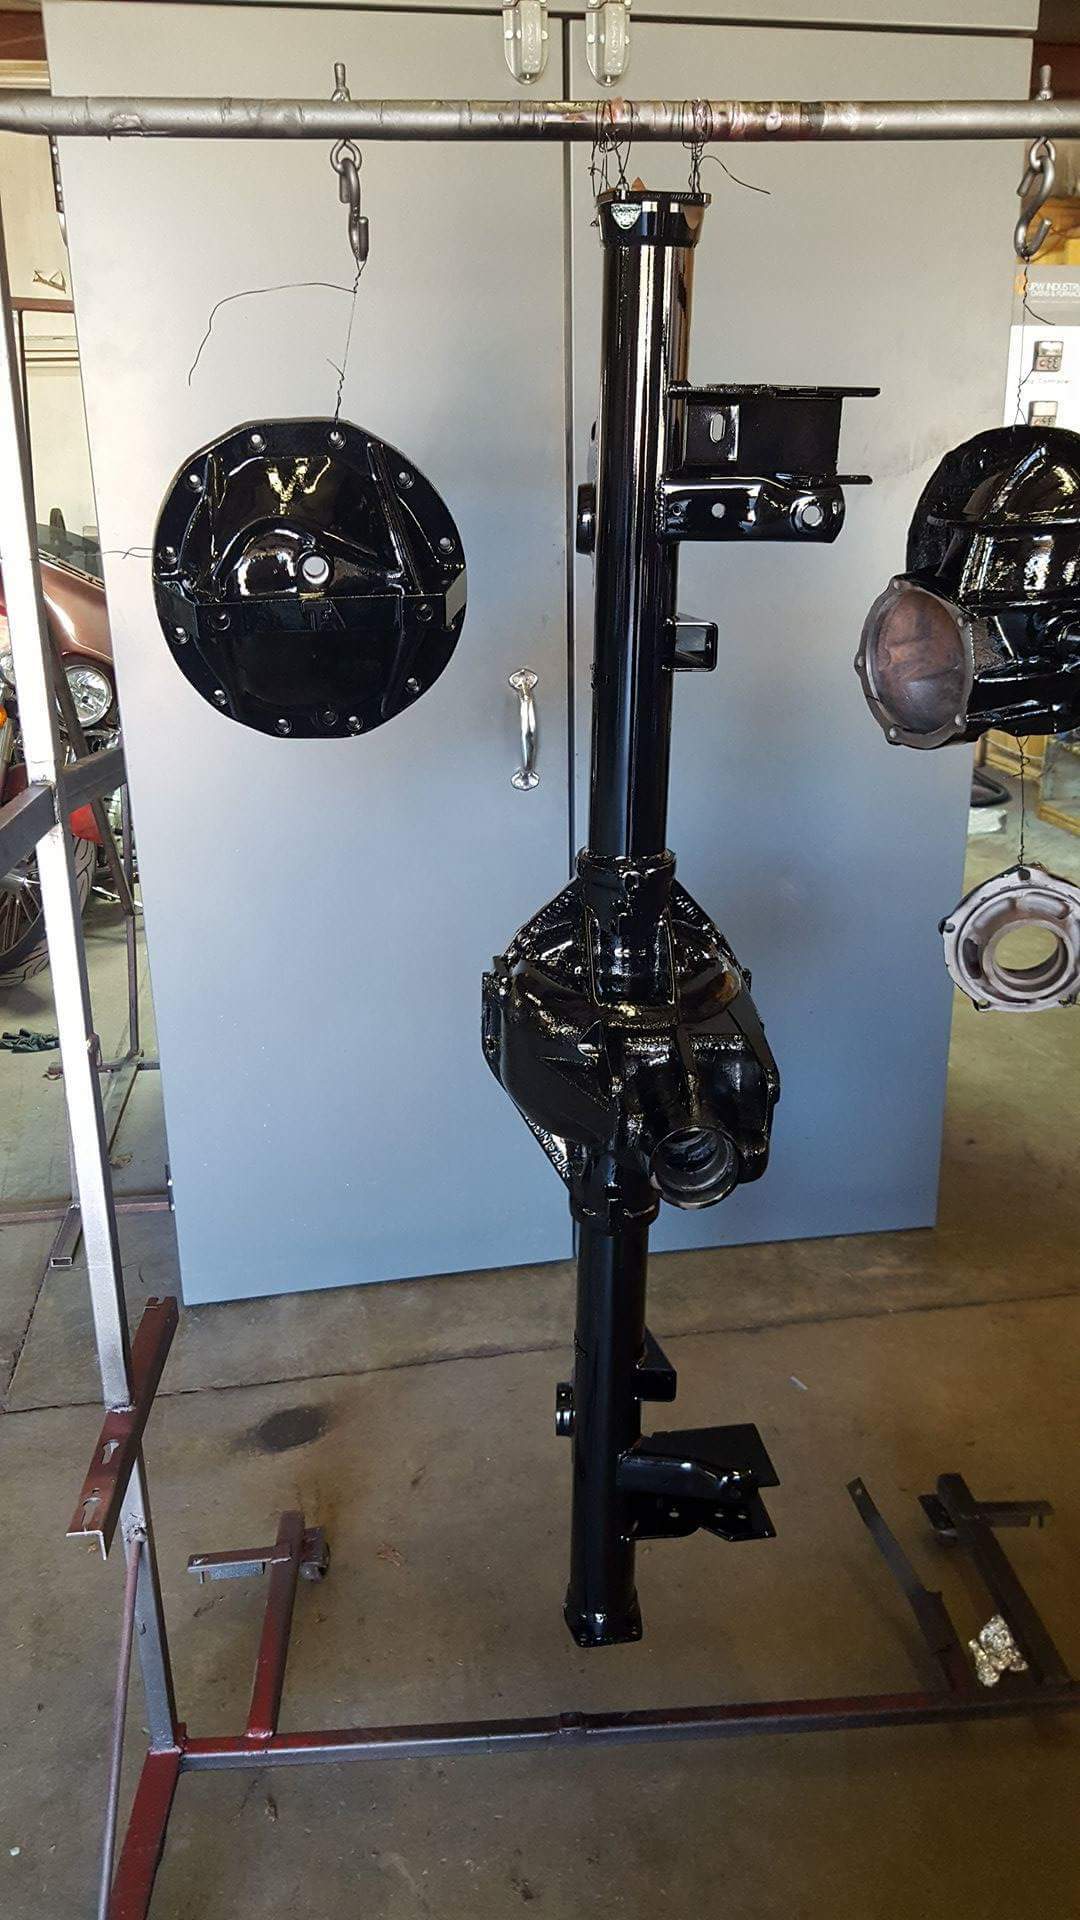
Going more low key this go round, went with gloss black.
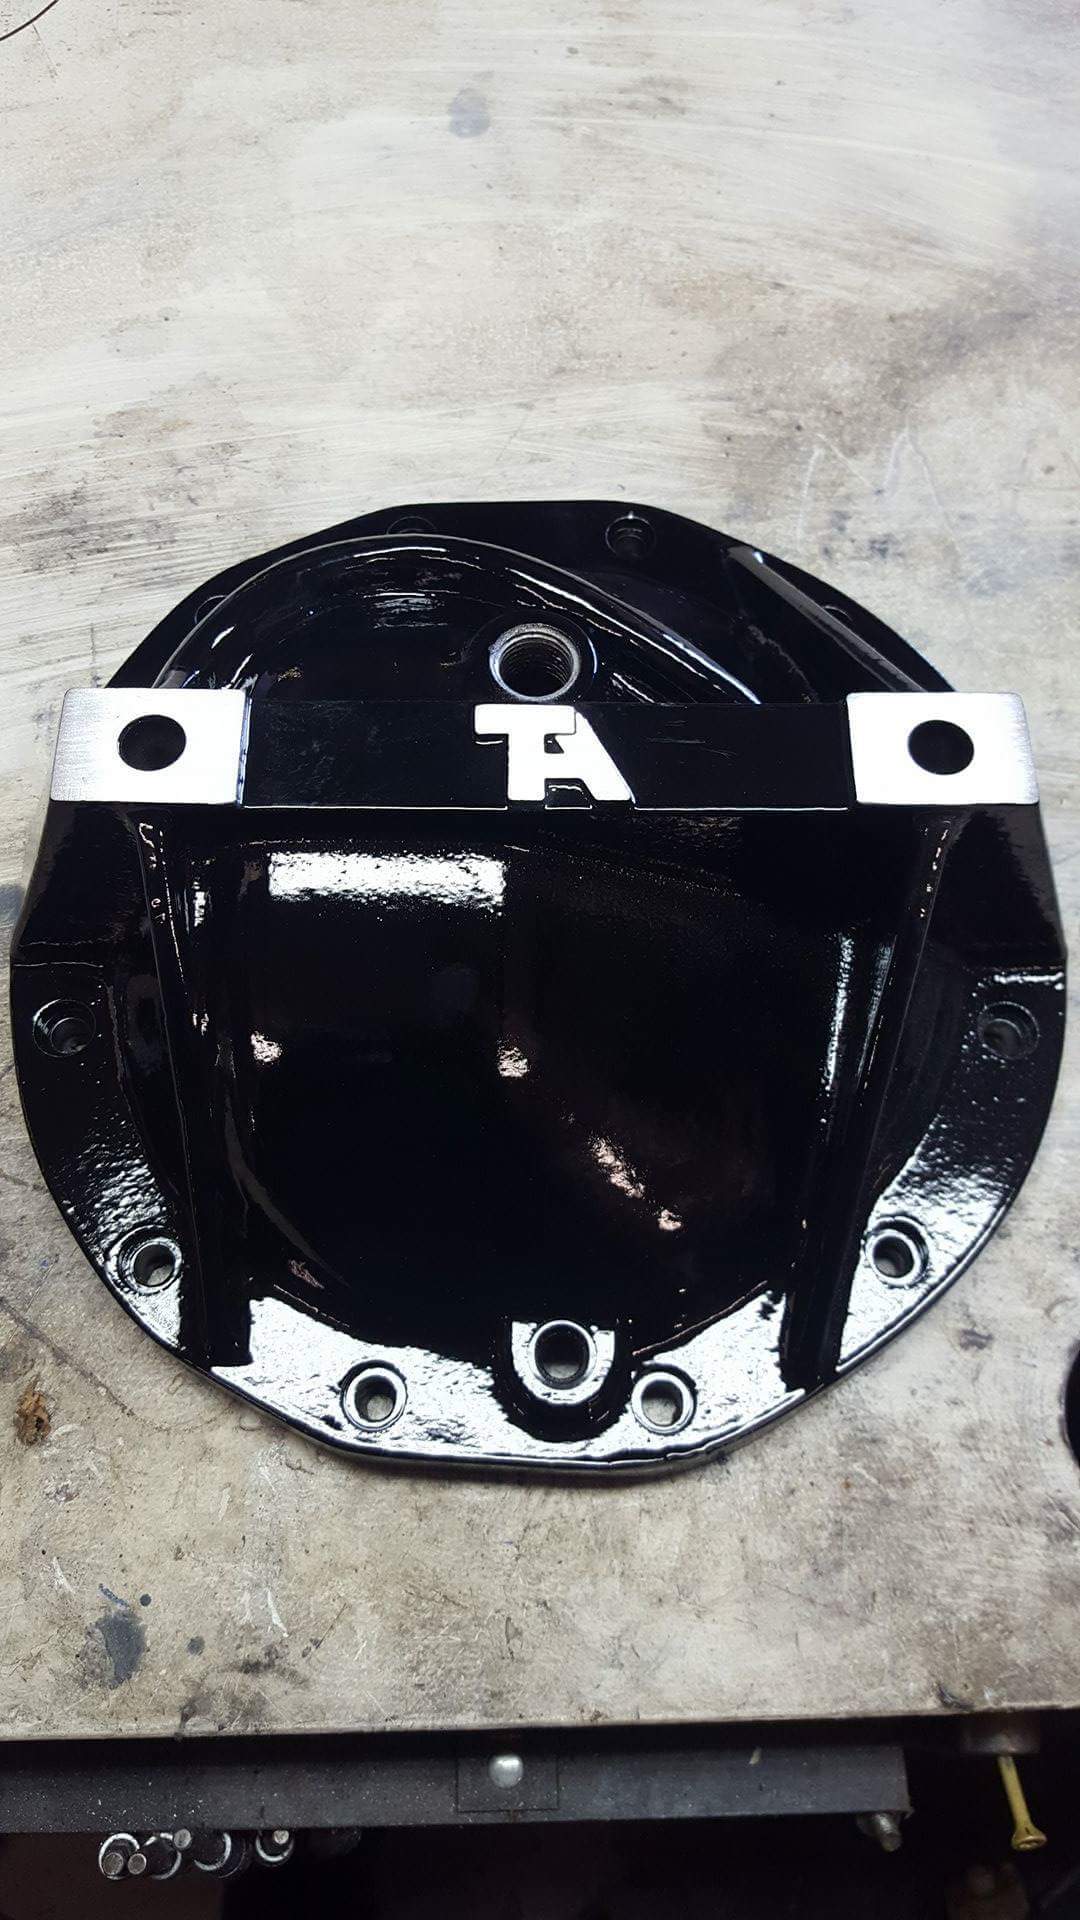
And that little custom touch that makes it your own and unique.
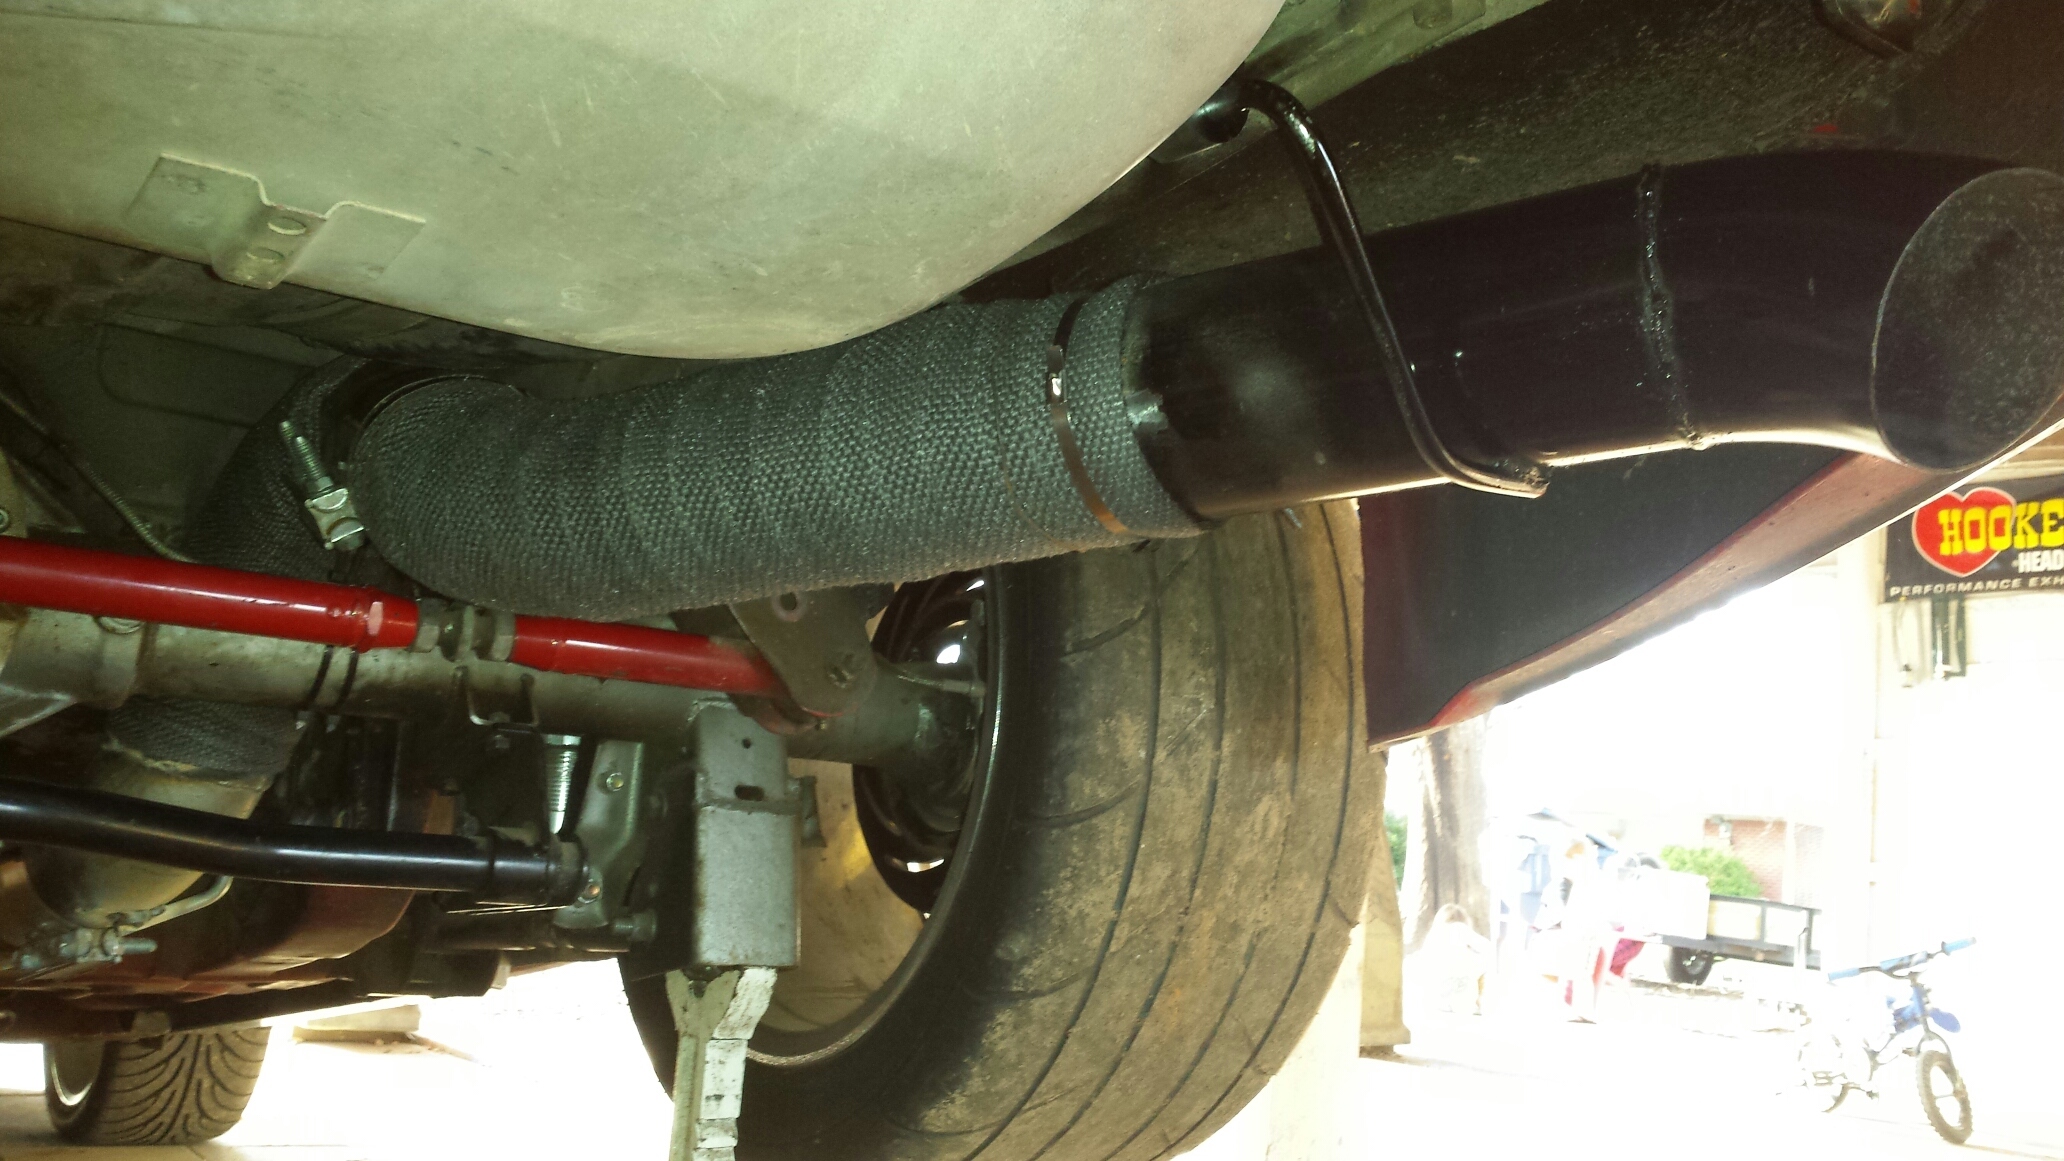
Been running a turn down for a while. I'm not about that life anymore. So I extended the 4" all the way out the back with a little heat wrap to help the gas tank.
All that hard work, lets relax by the BBQ grill with some LSX buddies.
Should have it reassembled this week, a few tuning tweaks, and off to the track March 11th weather permitting of course.

Got it pulled and hung up for full disassembly.

And off to the powder coat shop!

Going more low key this go round, went with gloss black.

And that little custom touch that makes it your own and unique.

Been running a turn down for a while. I'm not about that life anymore. So I extended the 4" all the way out the back with a little heat wrap to help the gas tank.

All that hard work, lets relax by the BBQ grill with some LSX buddies.

Should have it reassembled this week, a few tuning tweaks, and off to the track March 11th weather permitting of course.
#19
03-20-2016, 08:29 PM
Join Date: Aug 2010
Posts: 230
Likes: 0
Received 0 Likes
on
0 Posts
Got this thing back and it was an oily sandy mess inside. So I spent considerable time cleaning the inside. Now that it's clean it's ready to be reassembled.
Stopped at home depot and got some angle iron and some all thread. After all the rear ends ive built I'm finally building myself a case spreader.
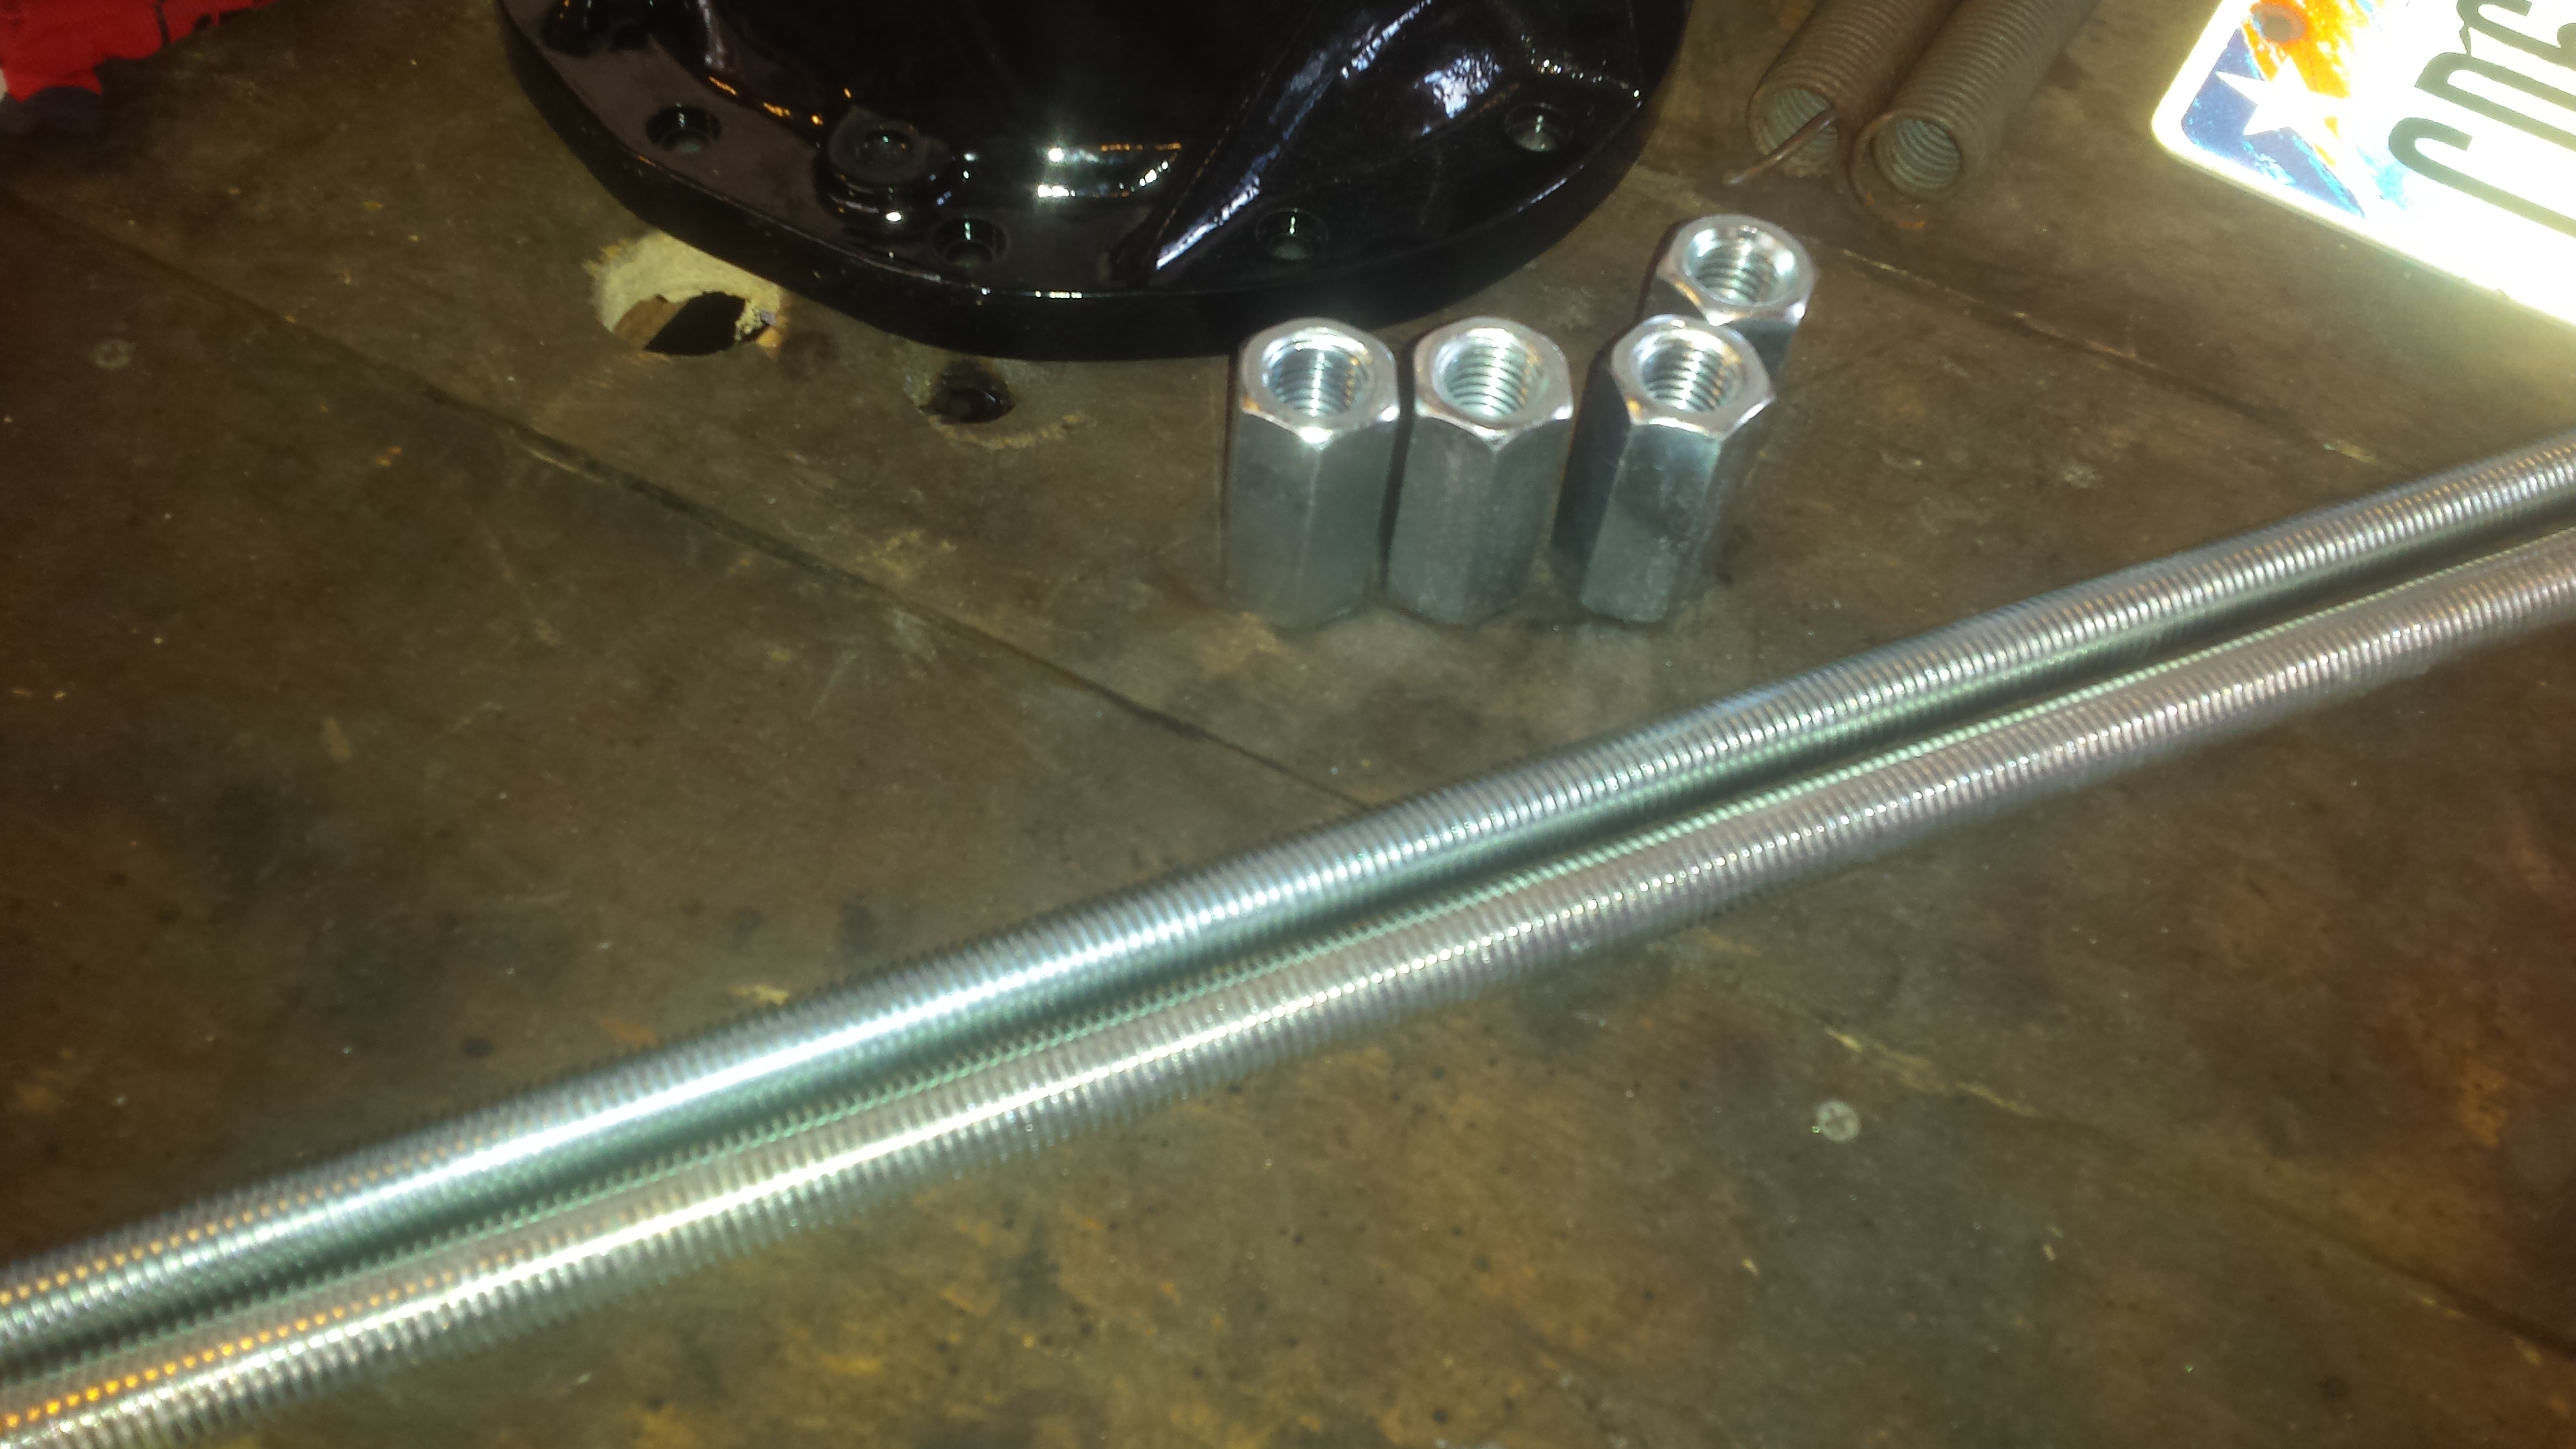
The case has one 3/4 and one 1/2 hole for the case spreader to attach to, so I found some scraps that fit those dimensions. I did have to revise this design as it was blocking the bearing caps from going in. No big deal, we are learning.
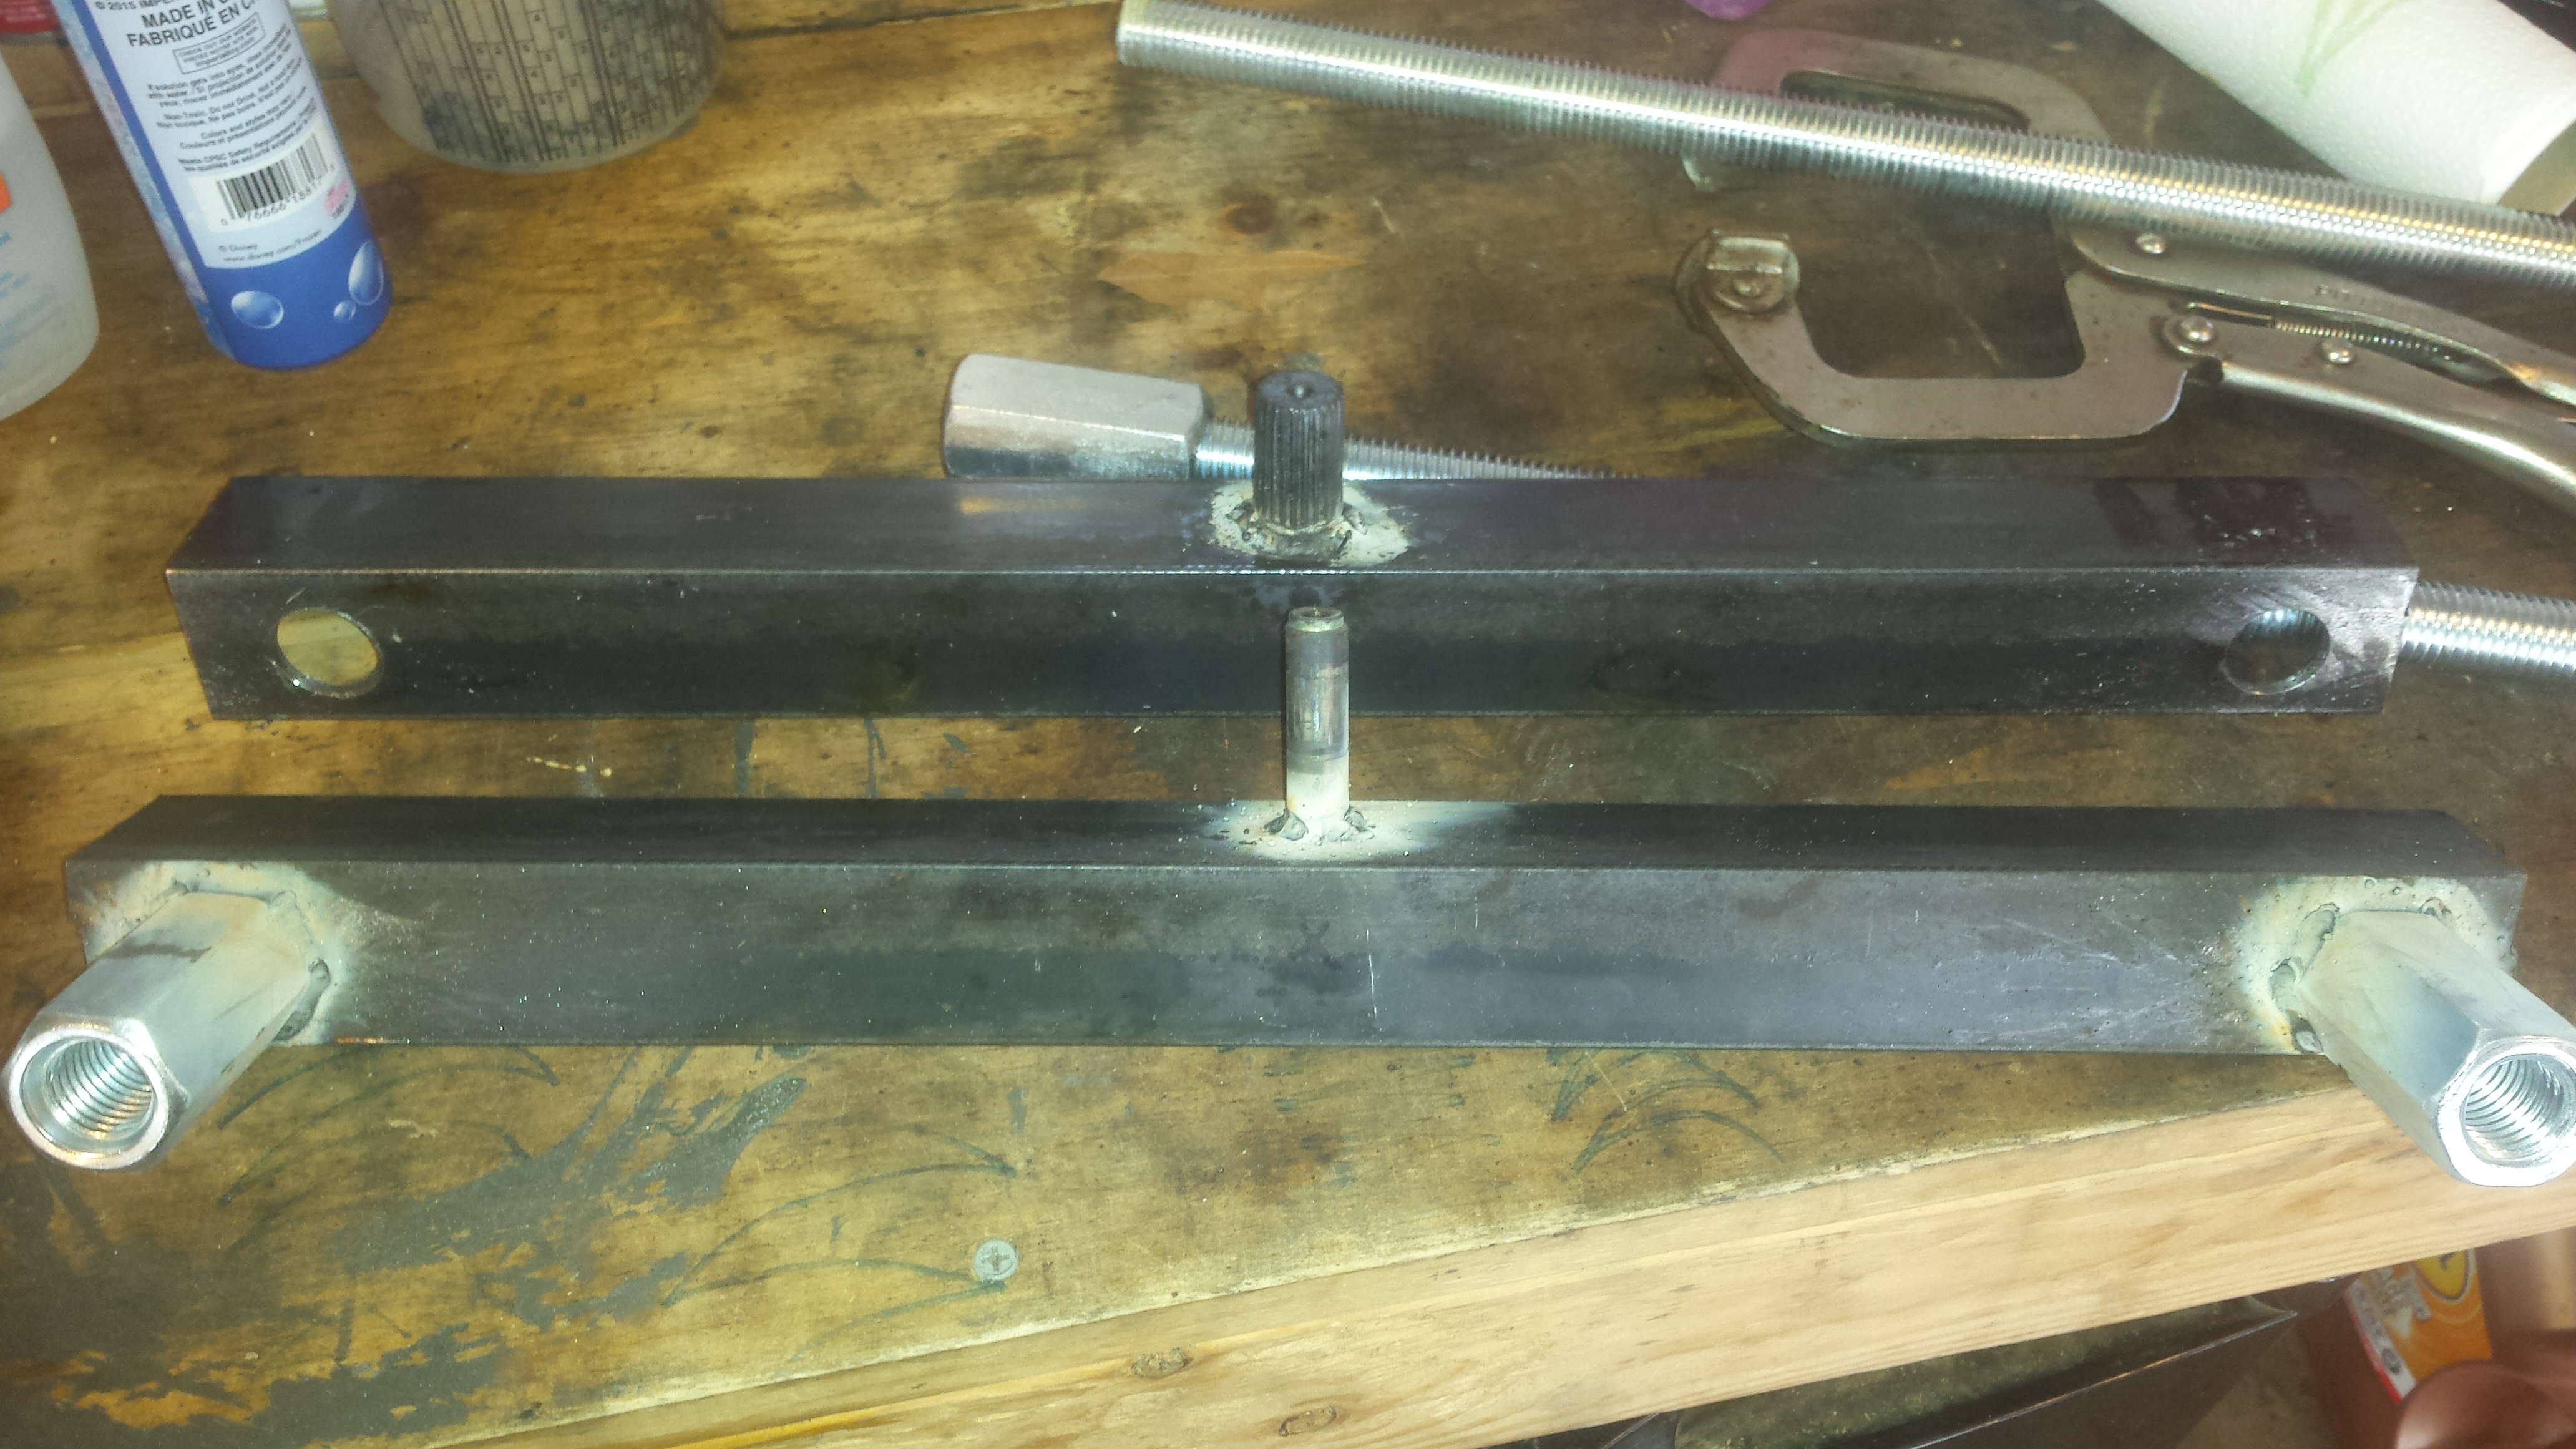
Here it is set in place. You turn the buckles and the case spreads. Easy as pie.
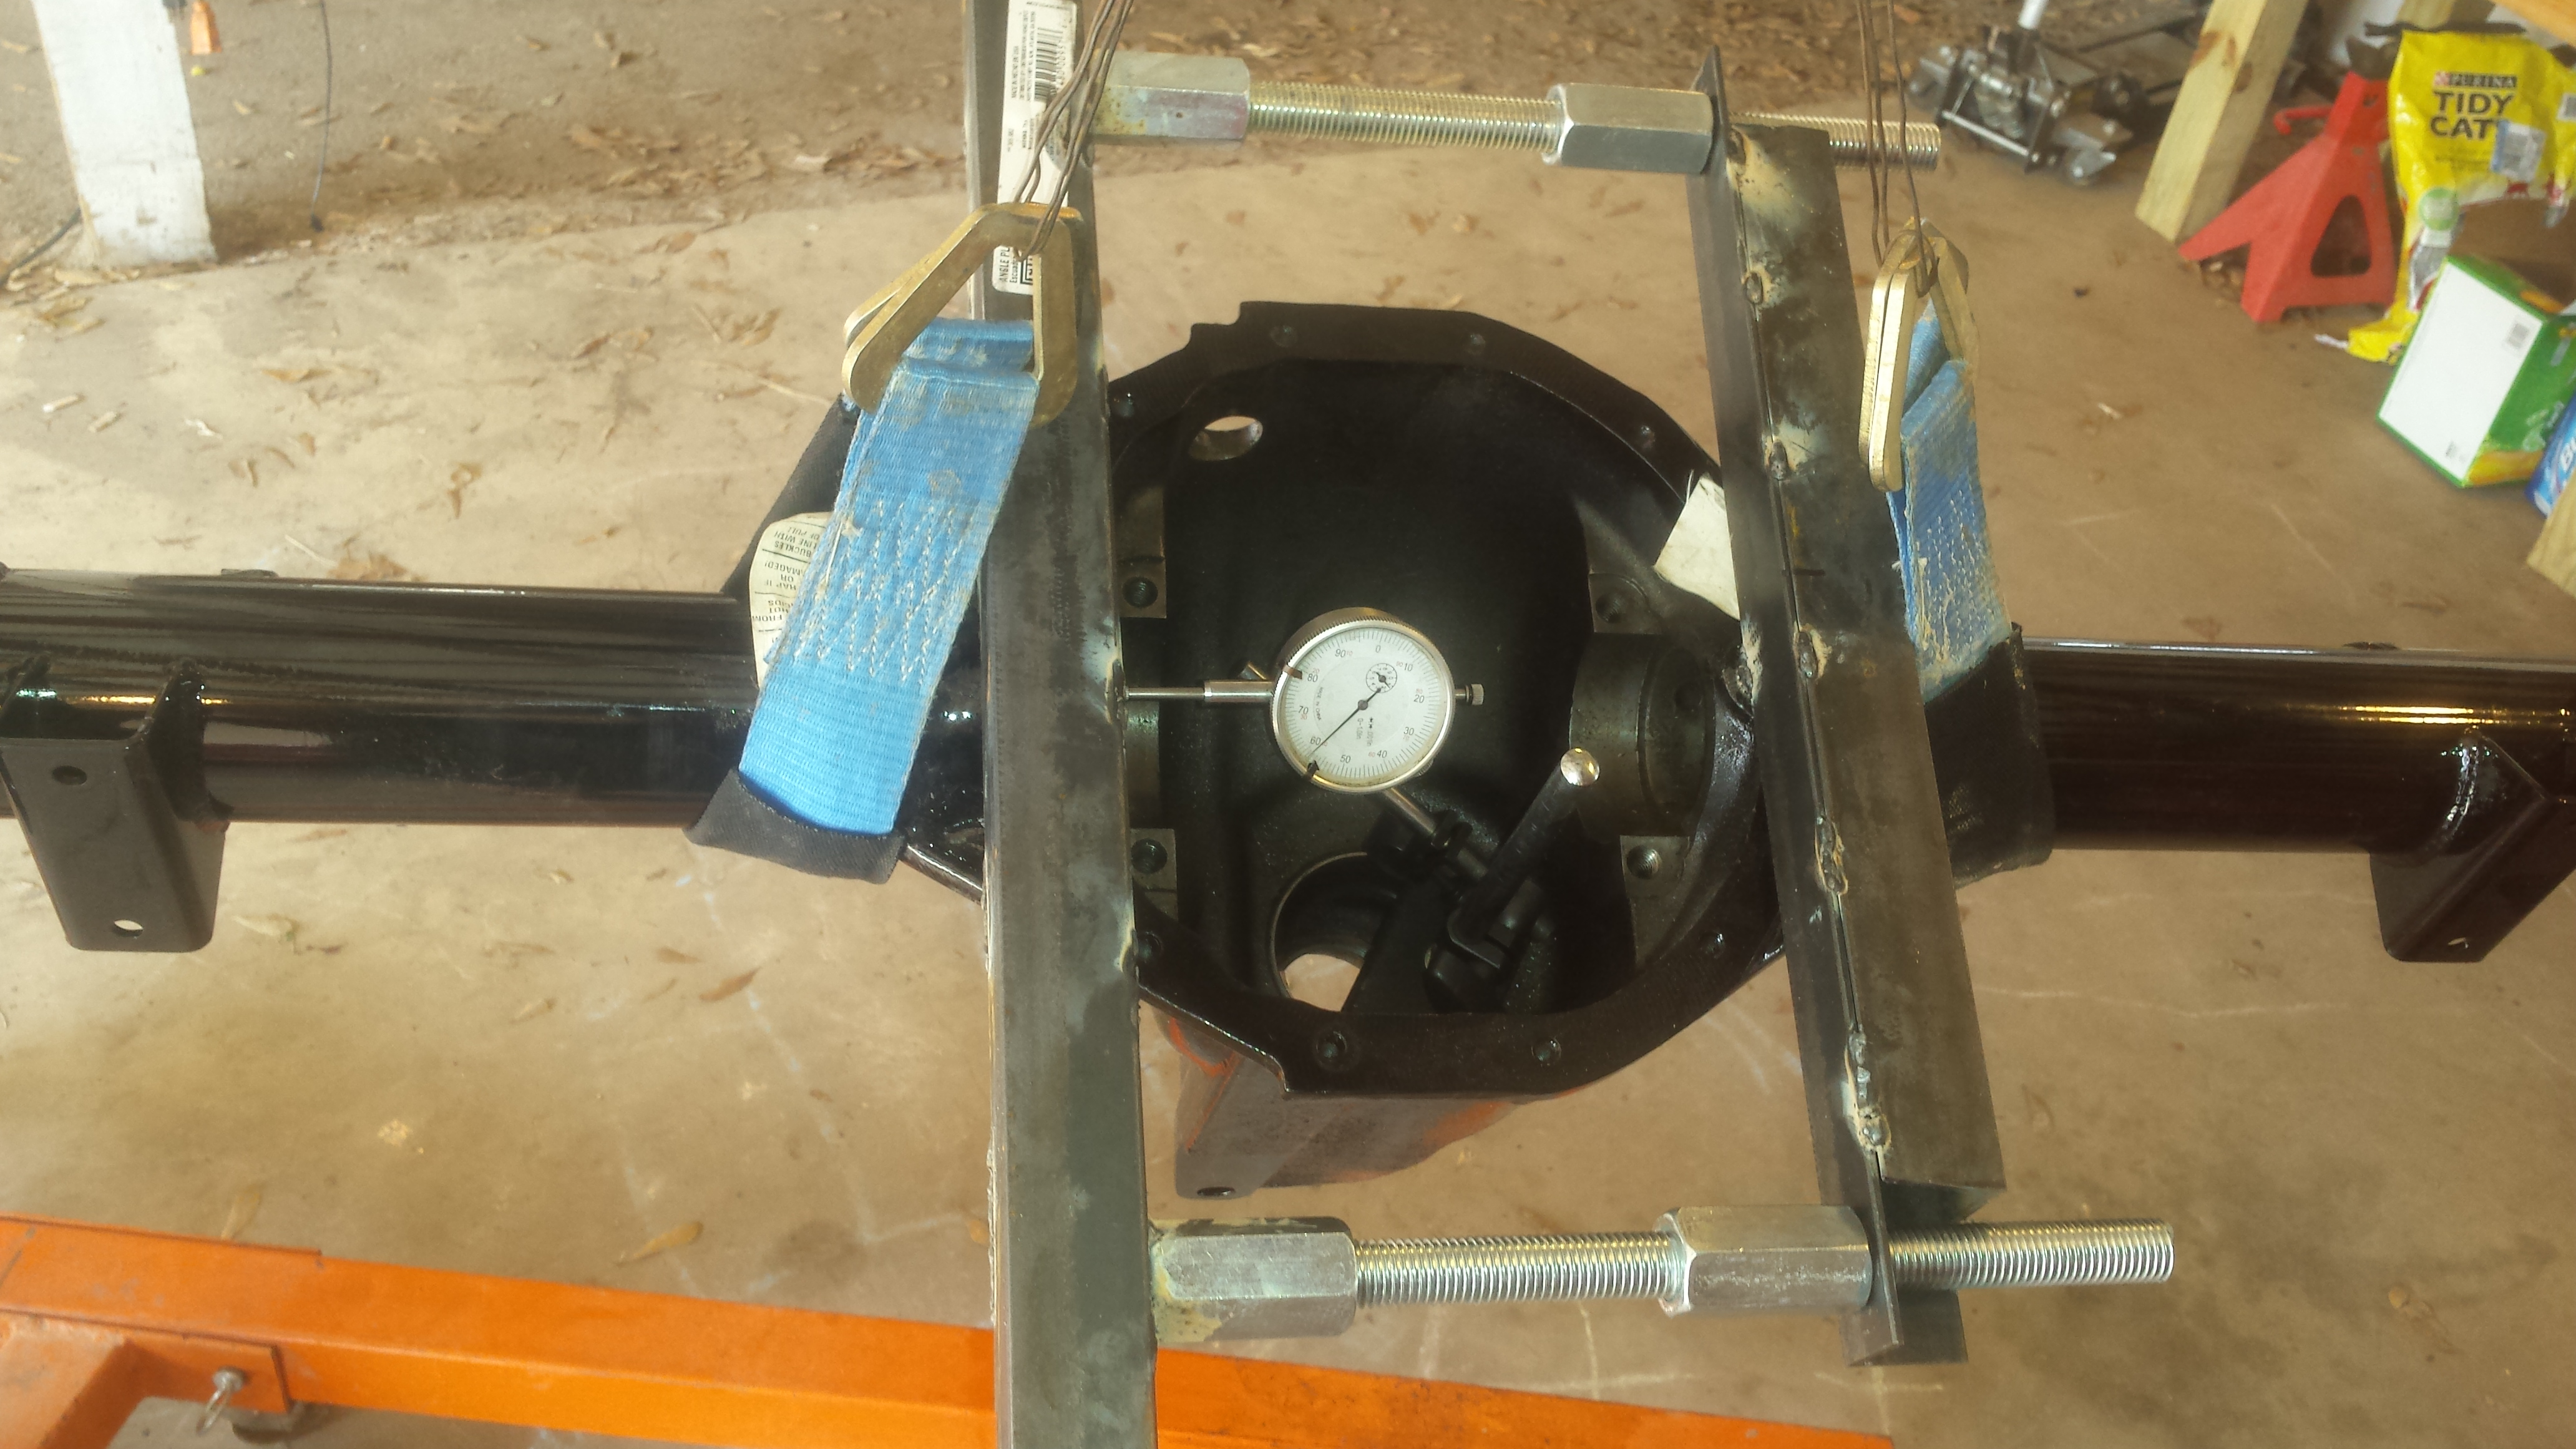
And this is why you need a case spreader. I pulled this out during disassembly. No doubt it got bent during final carrier preloading last time when I swapped the spool in.
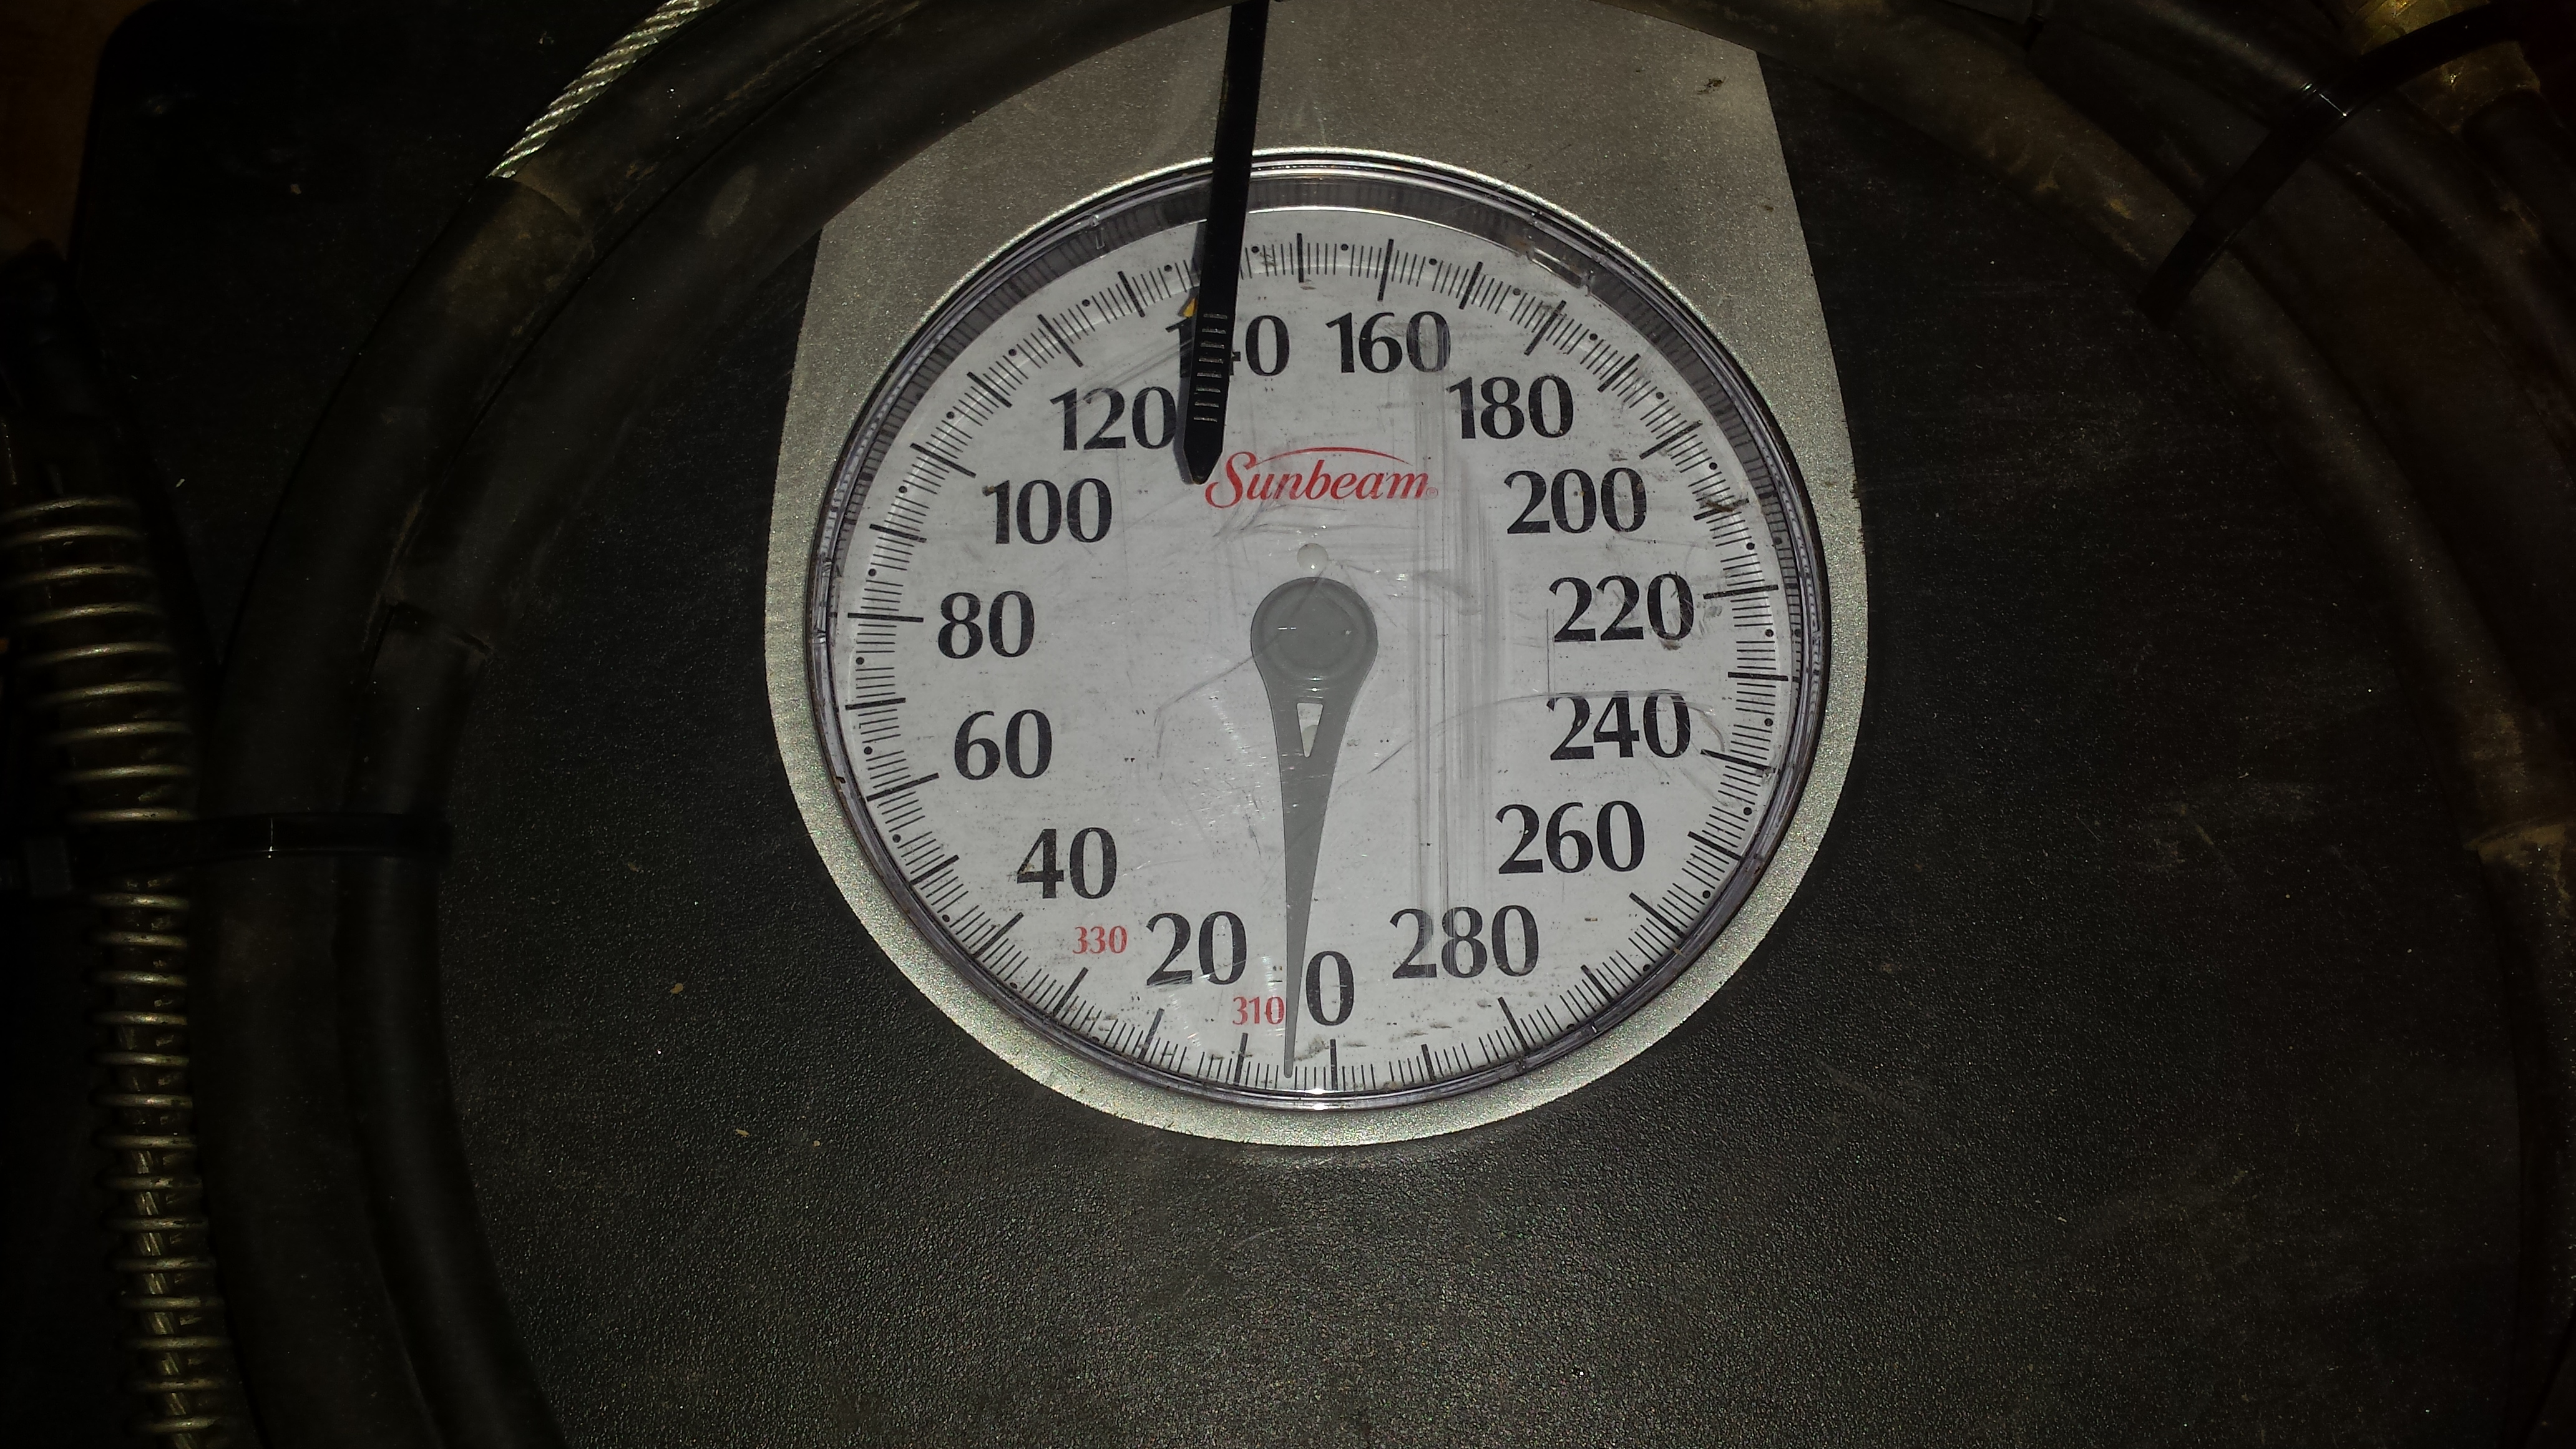
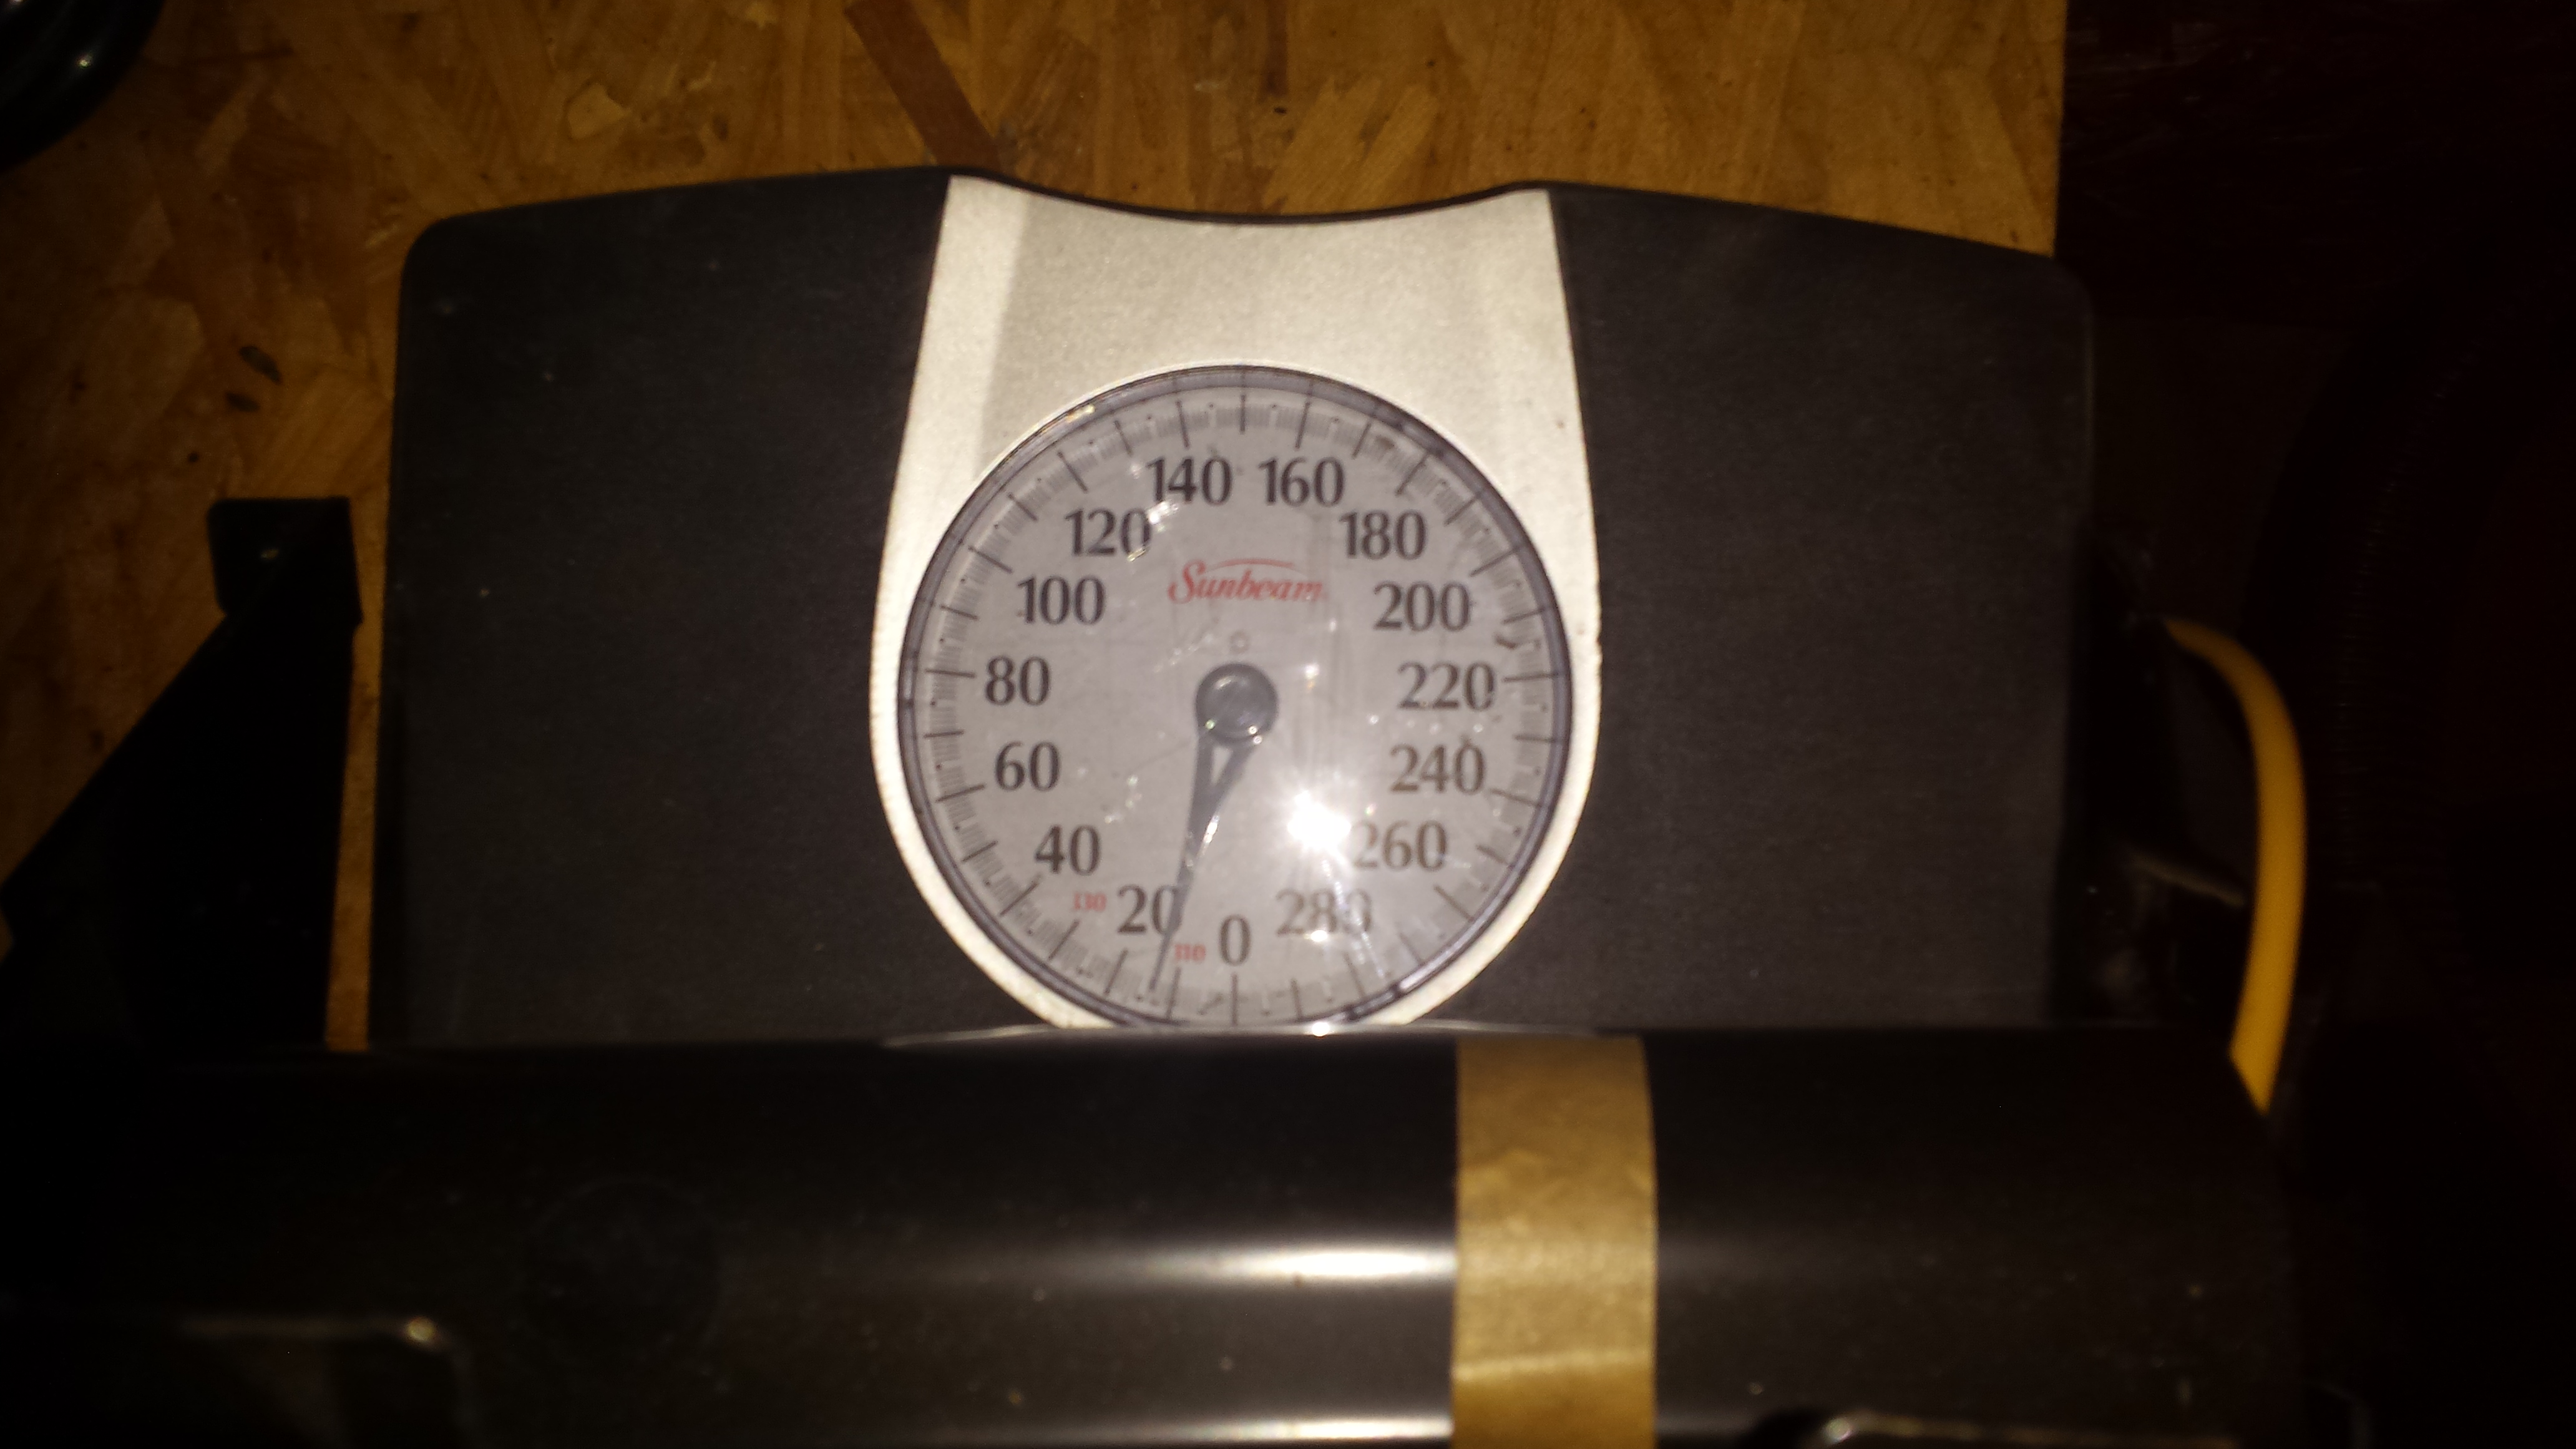
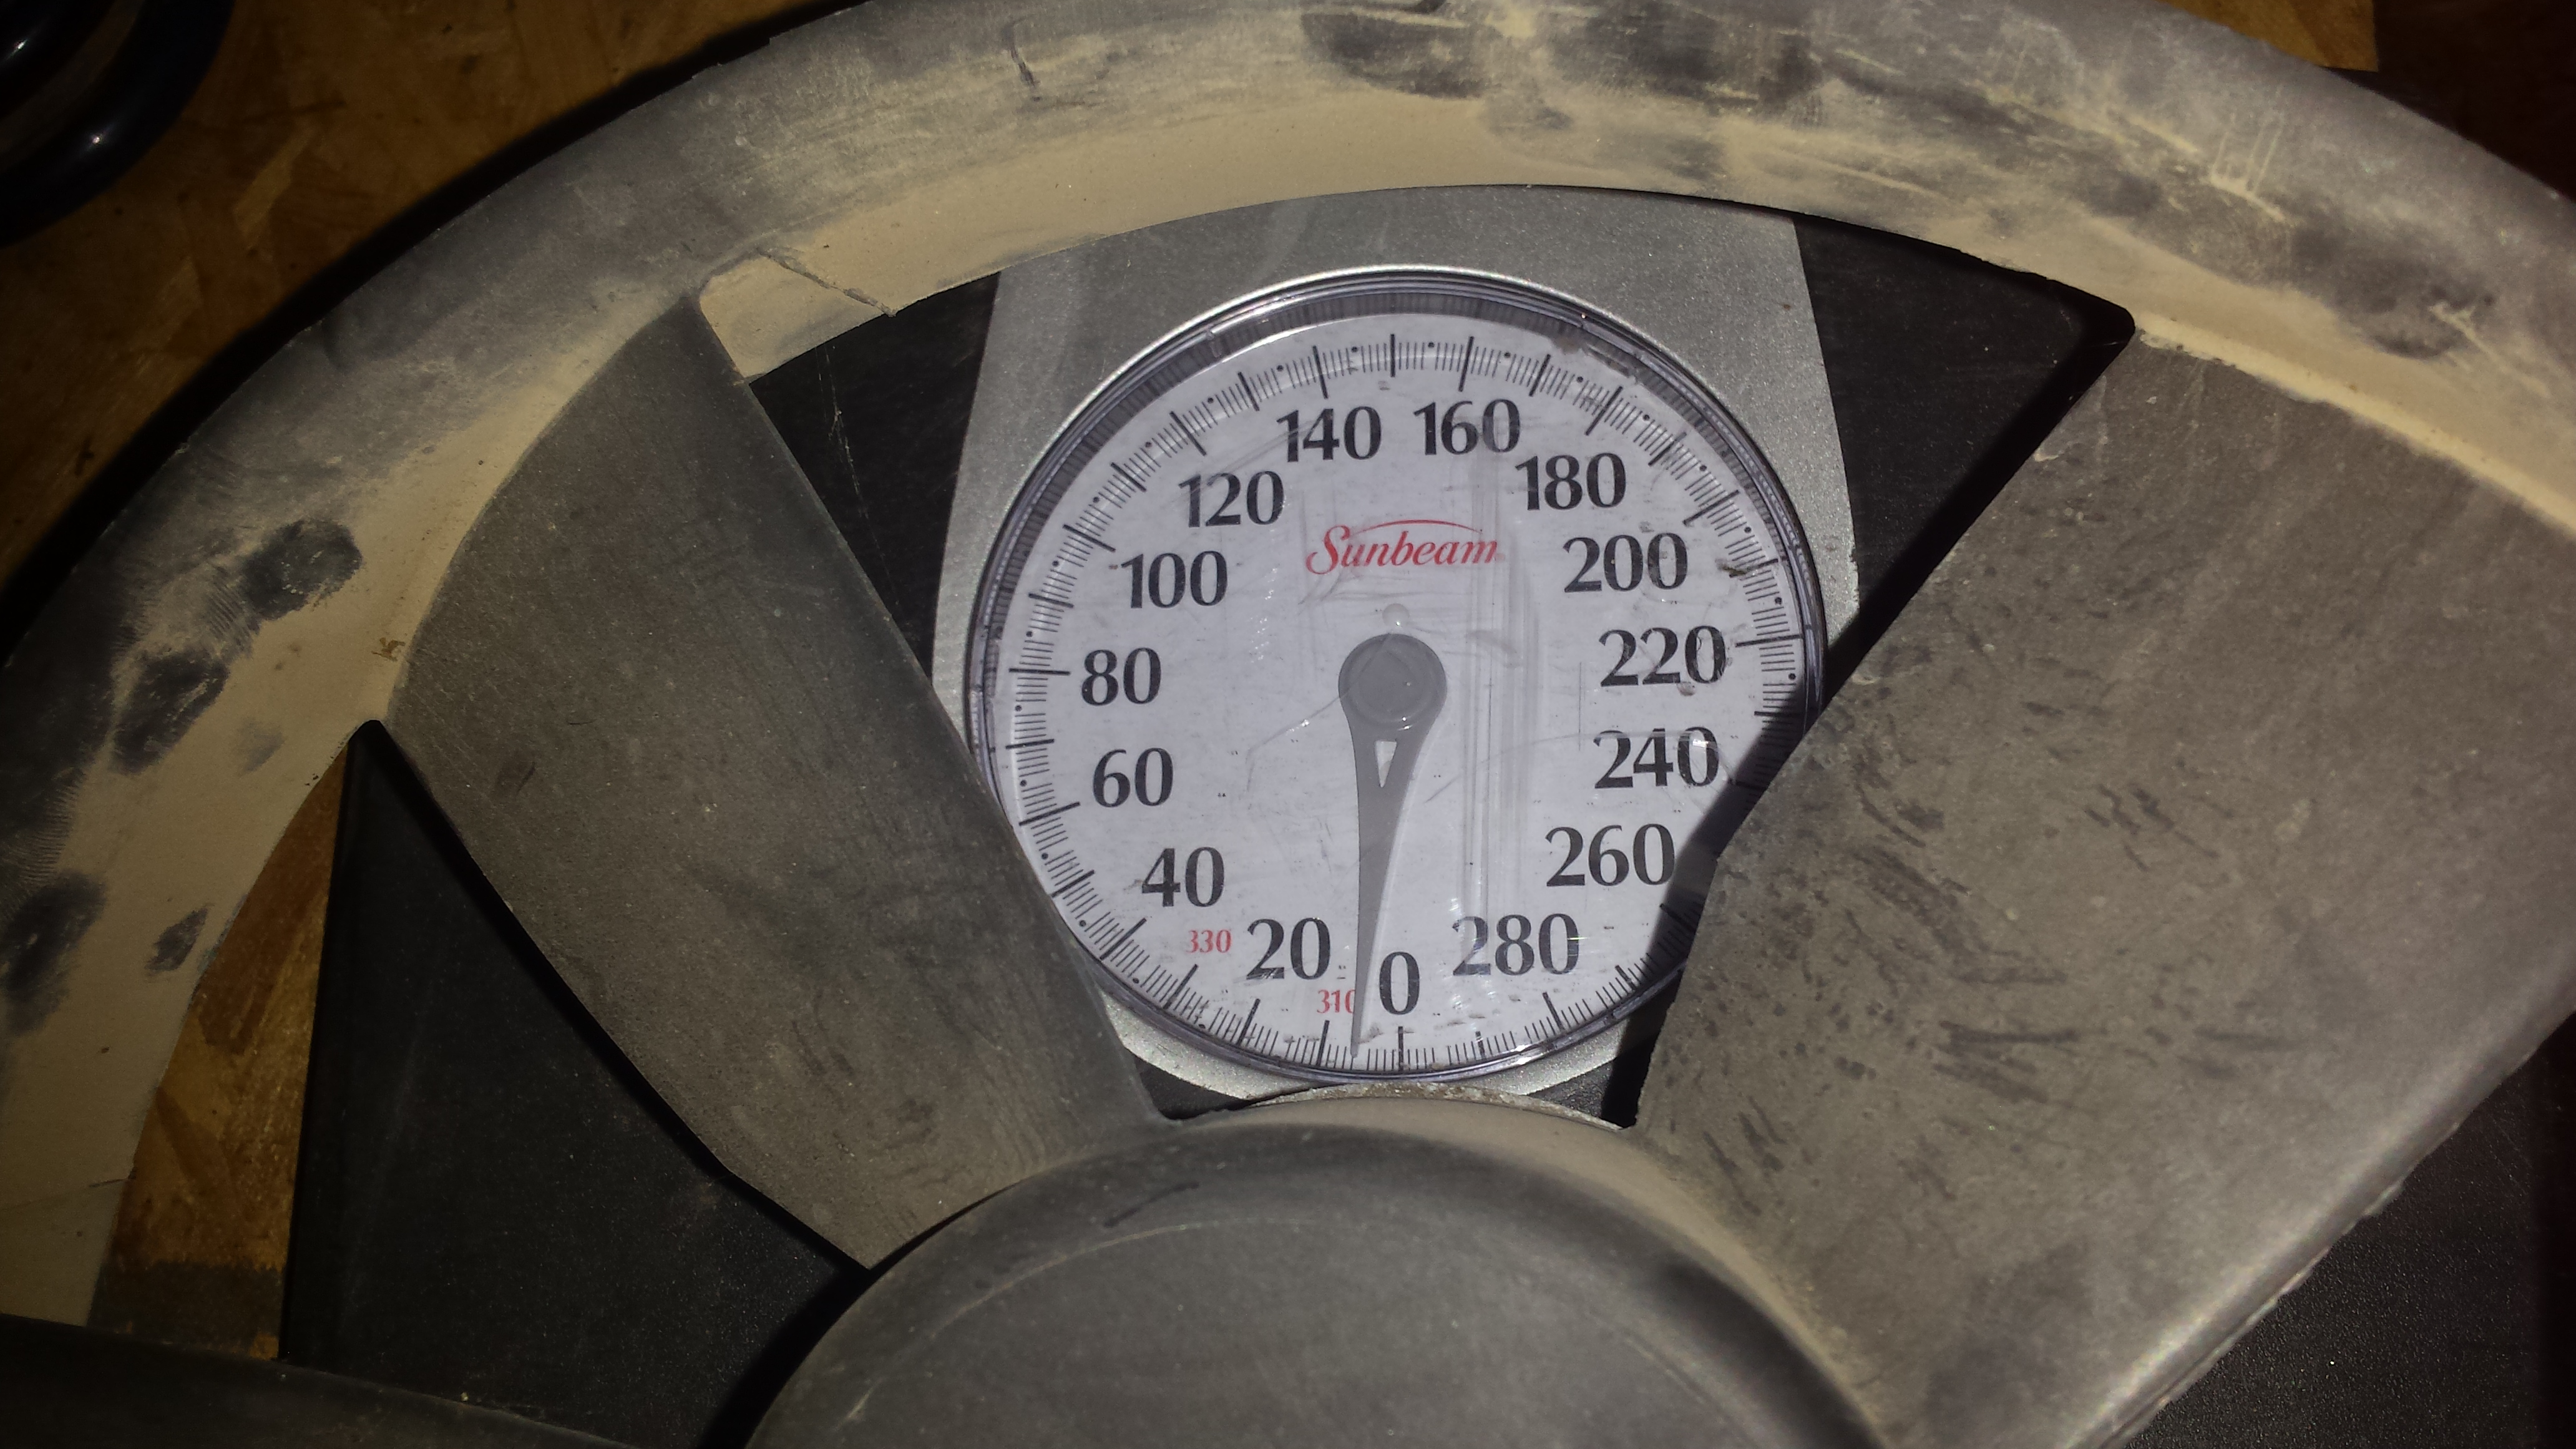
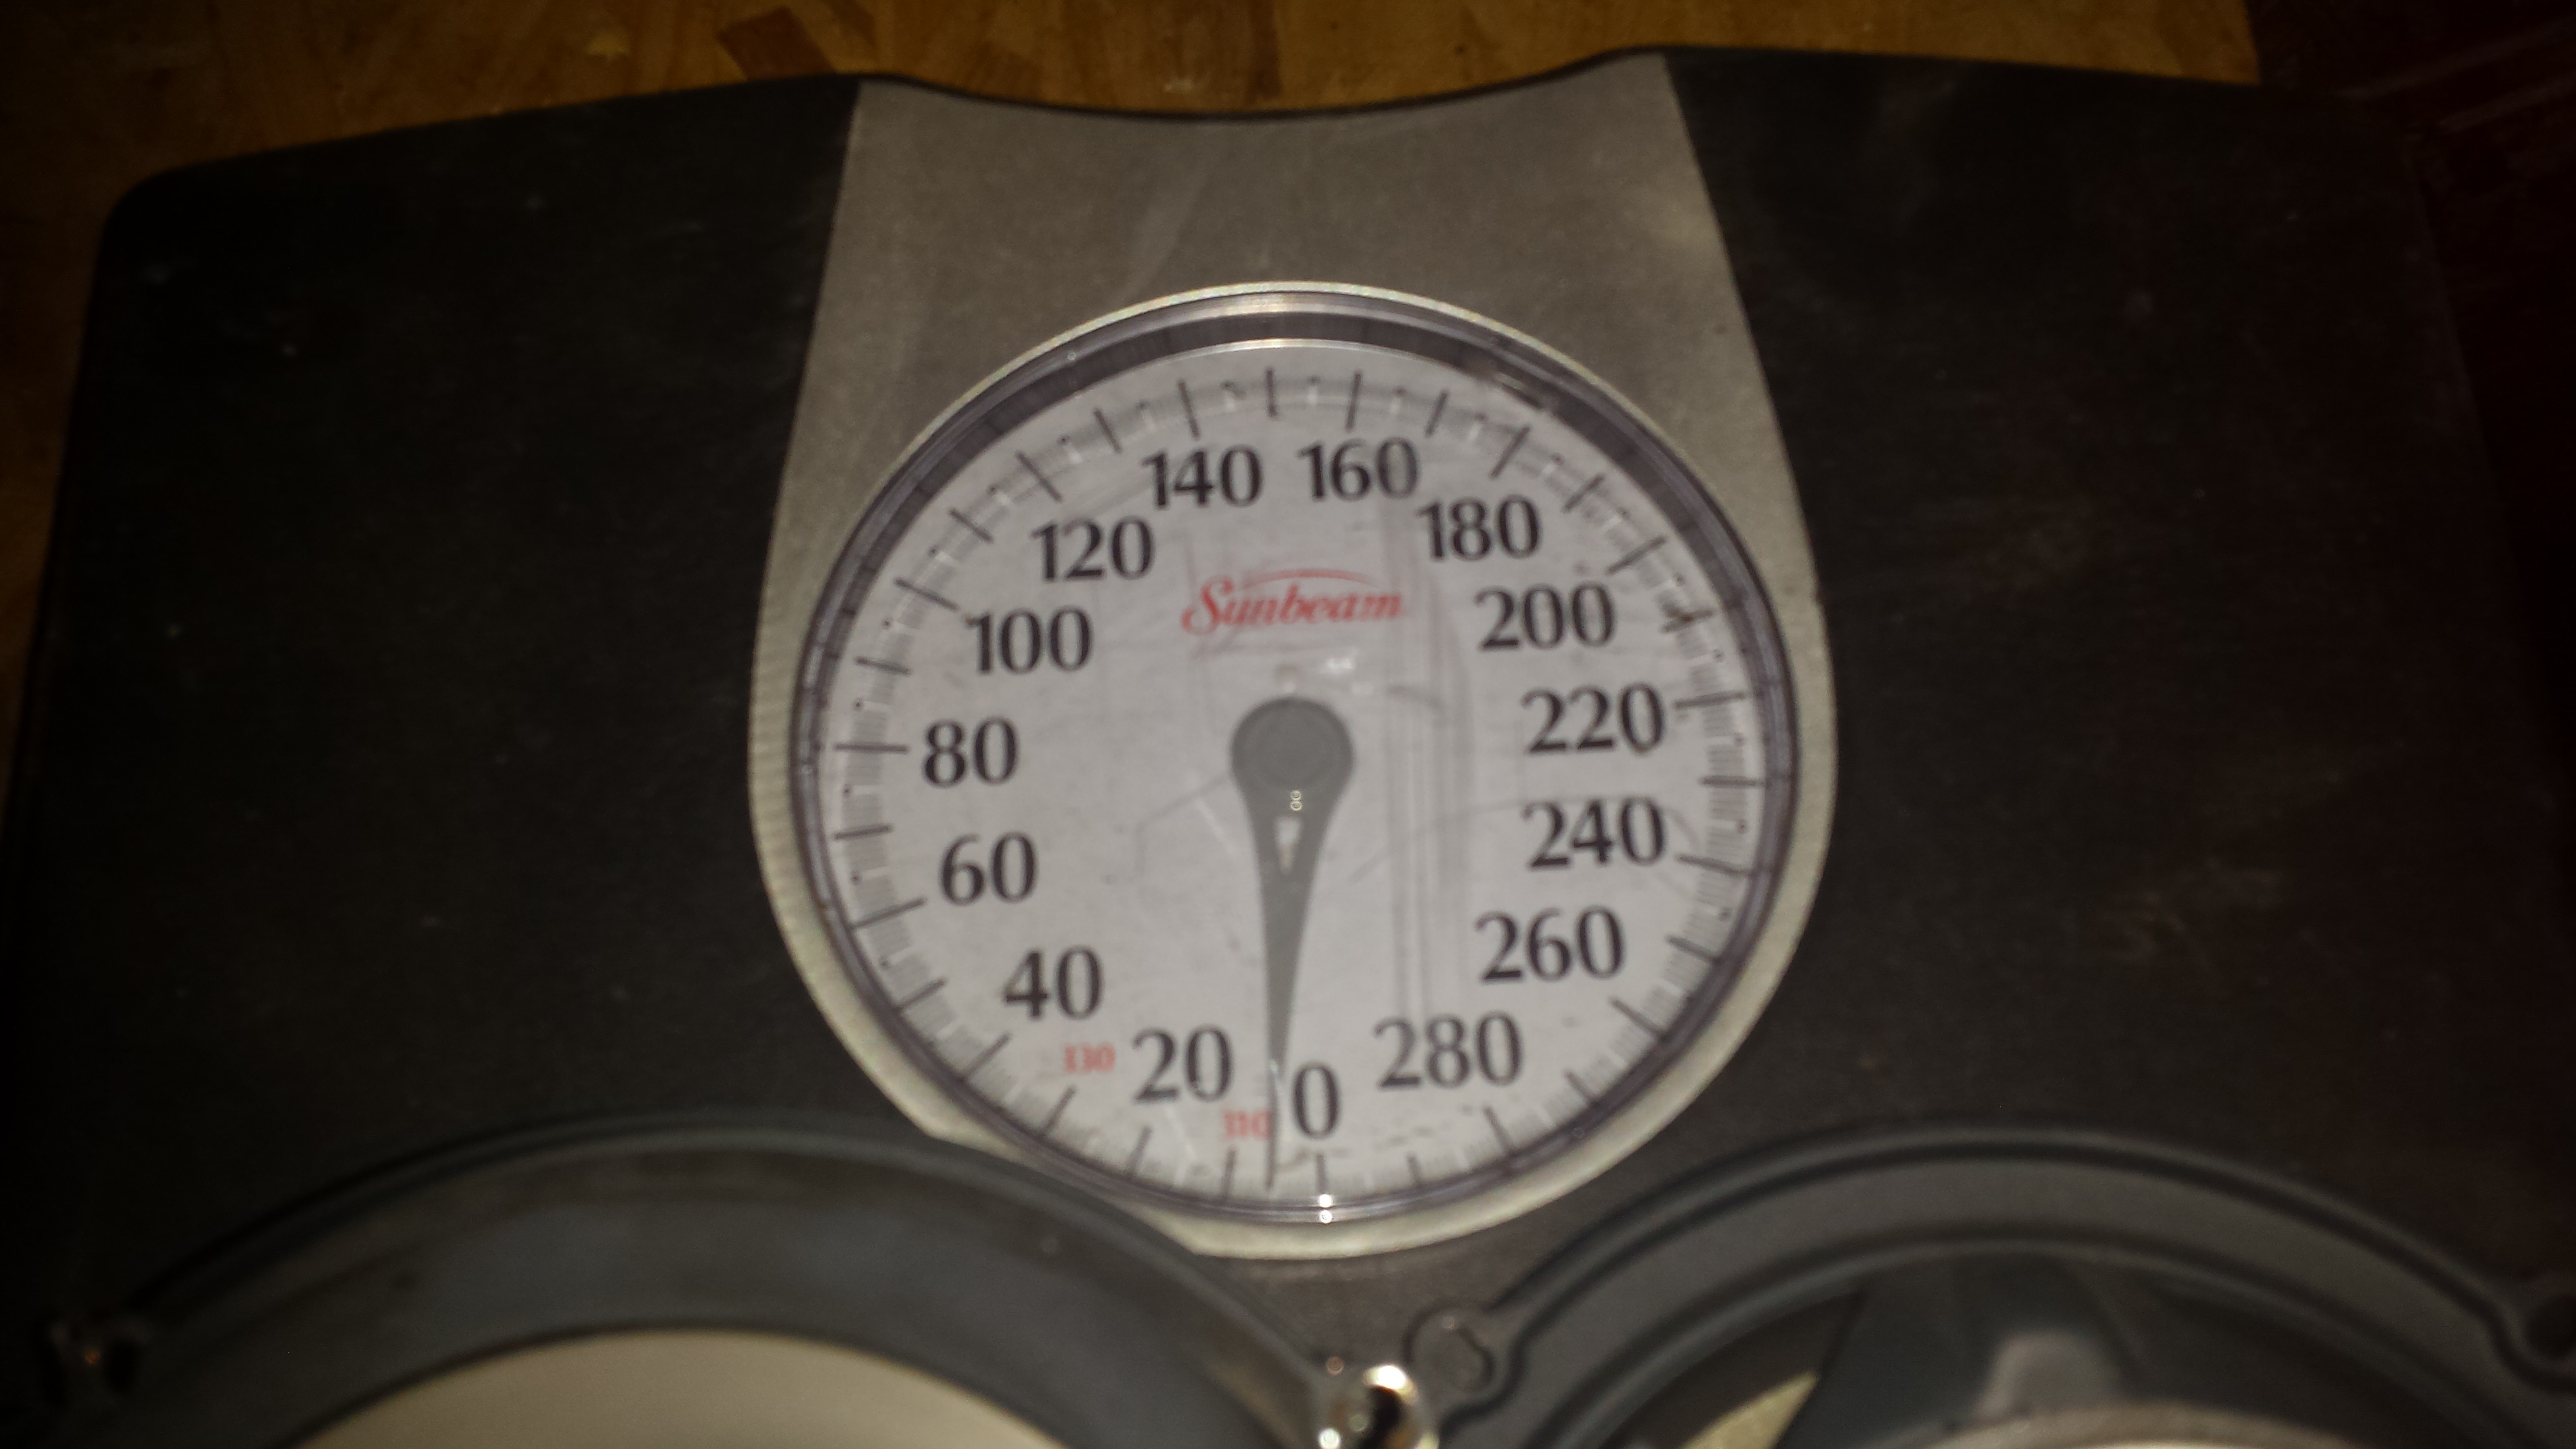
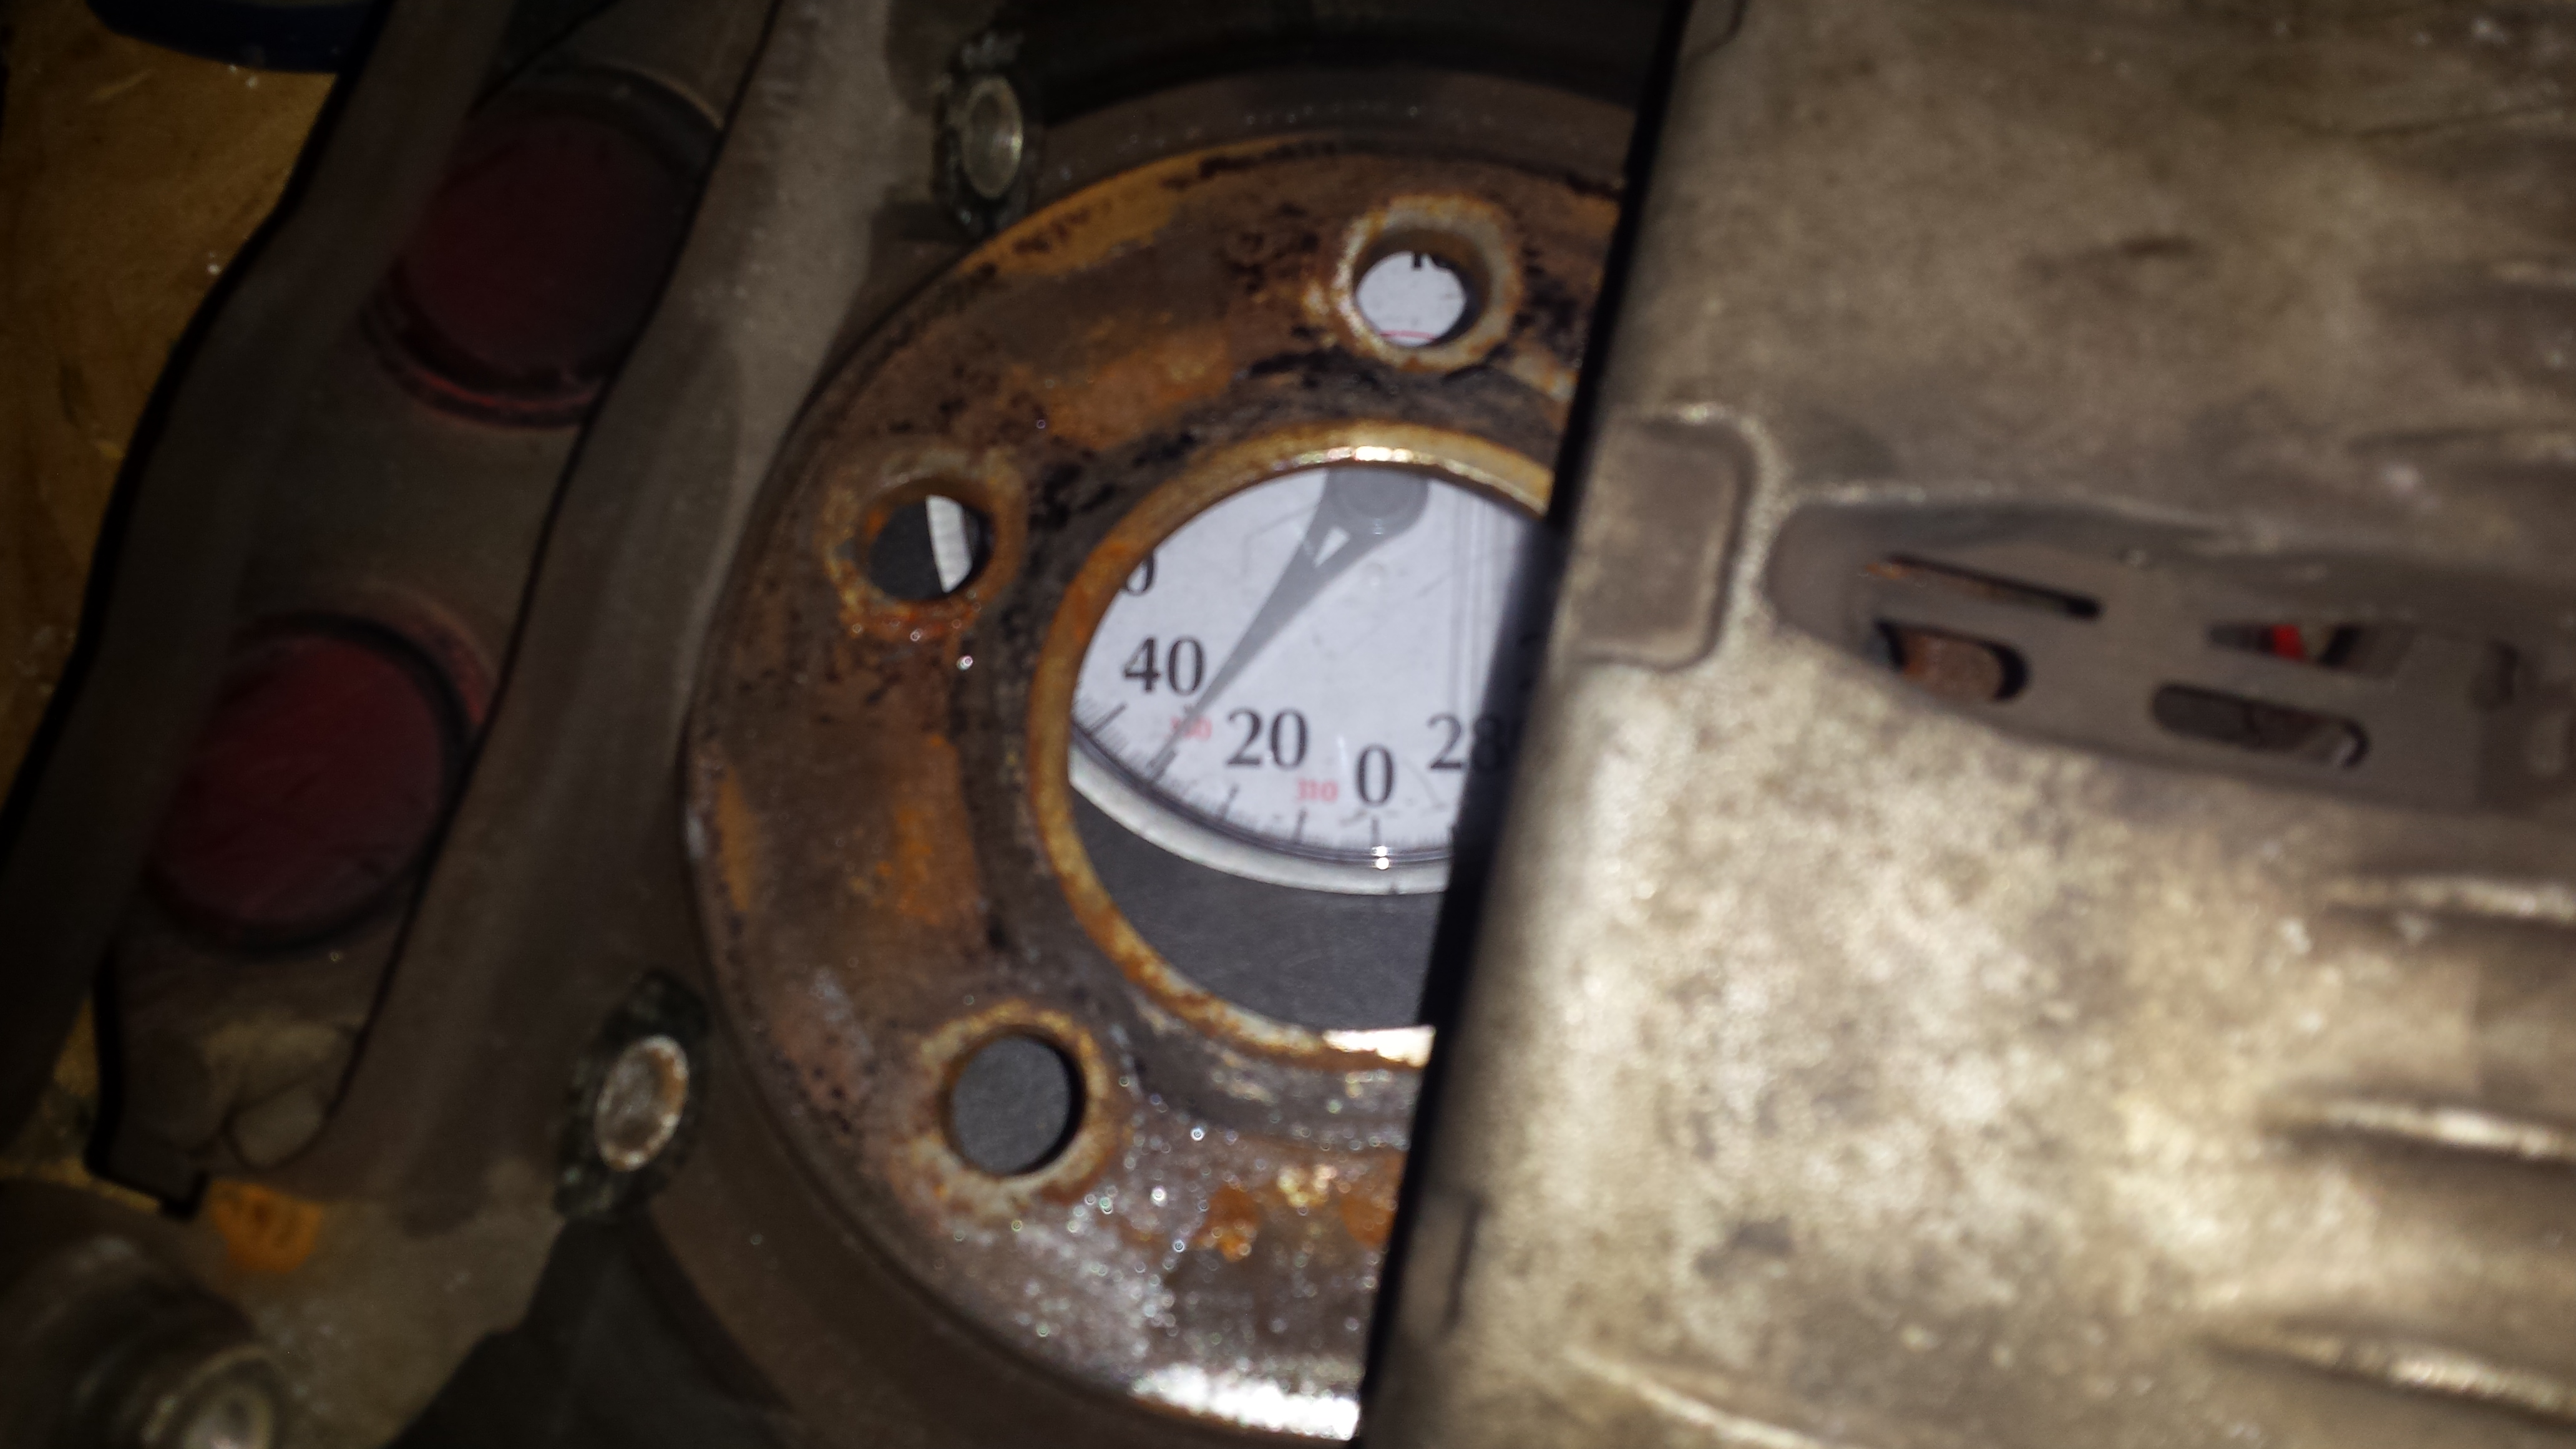
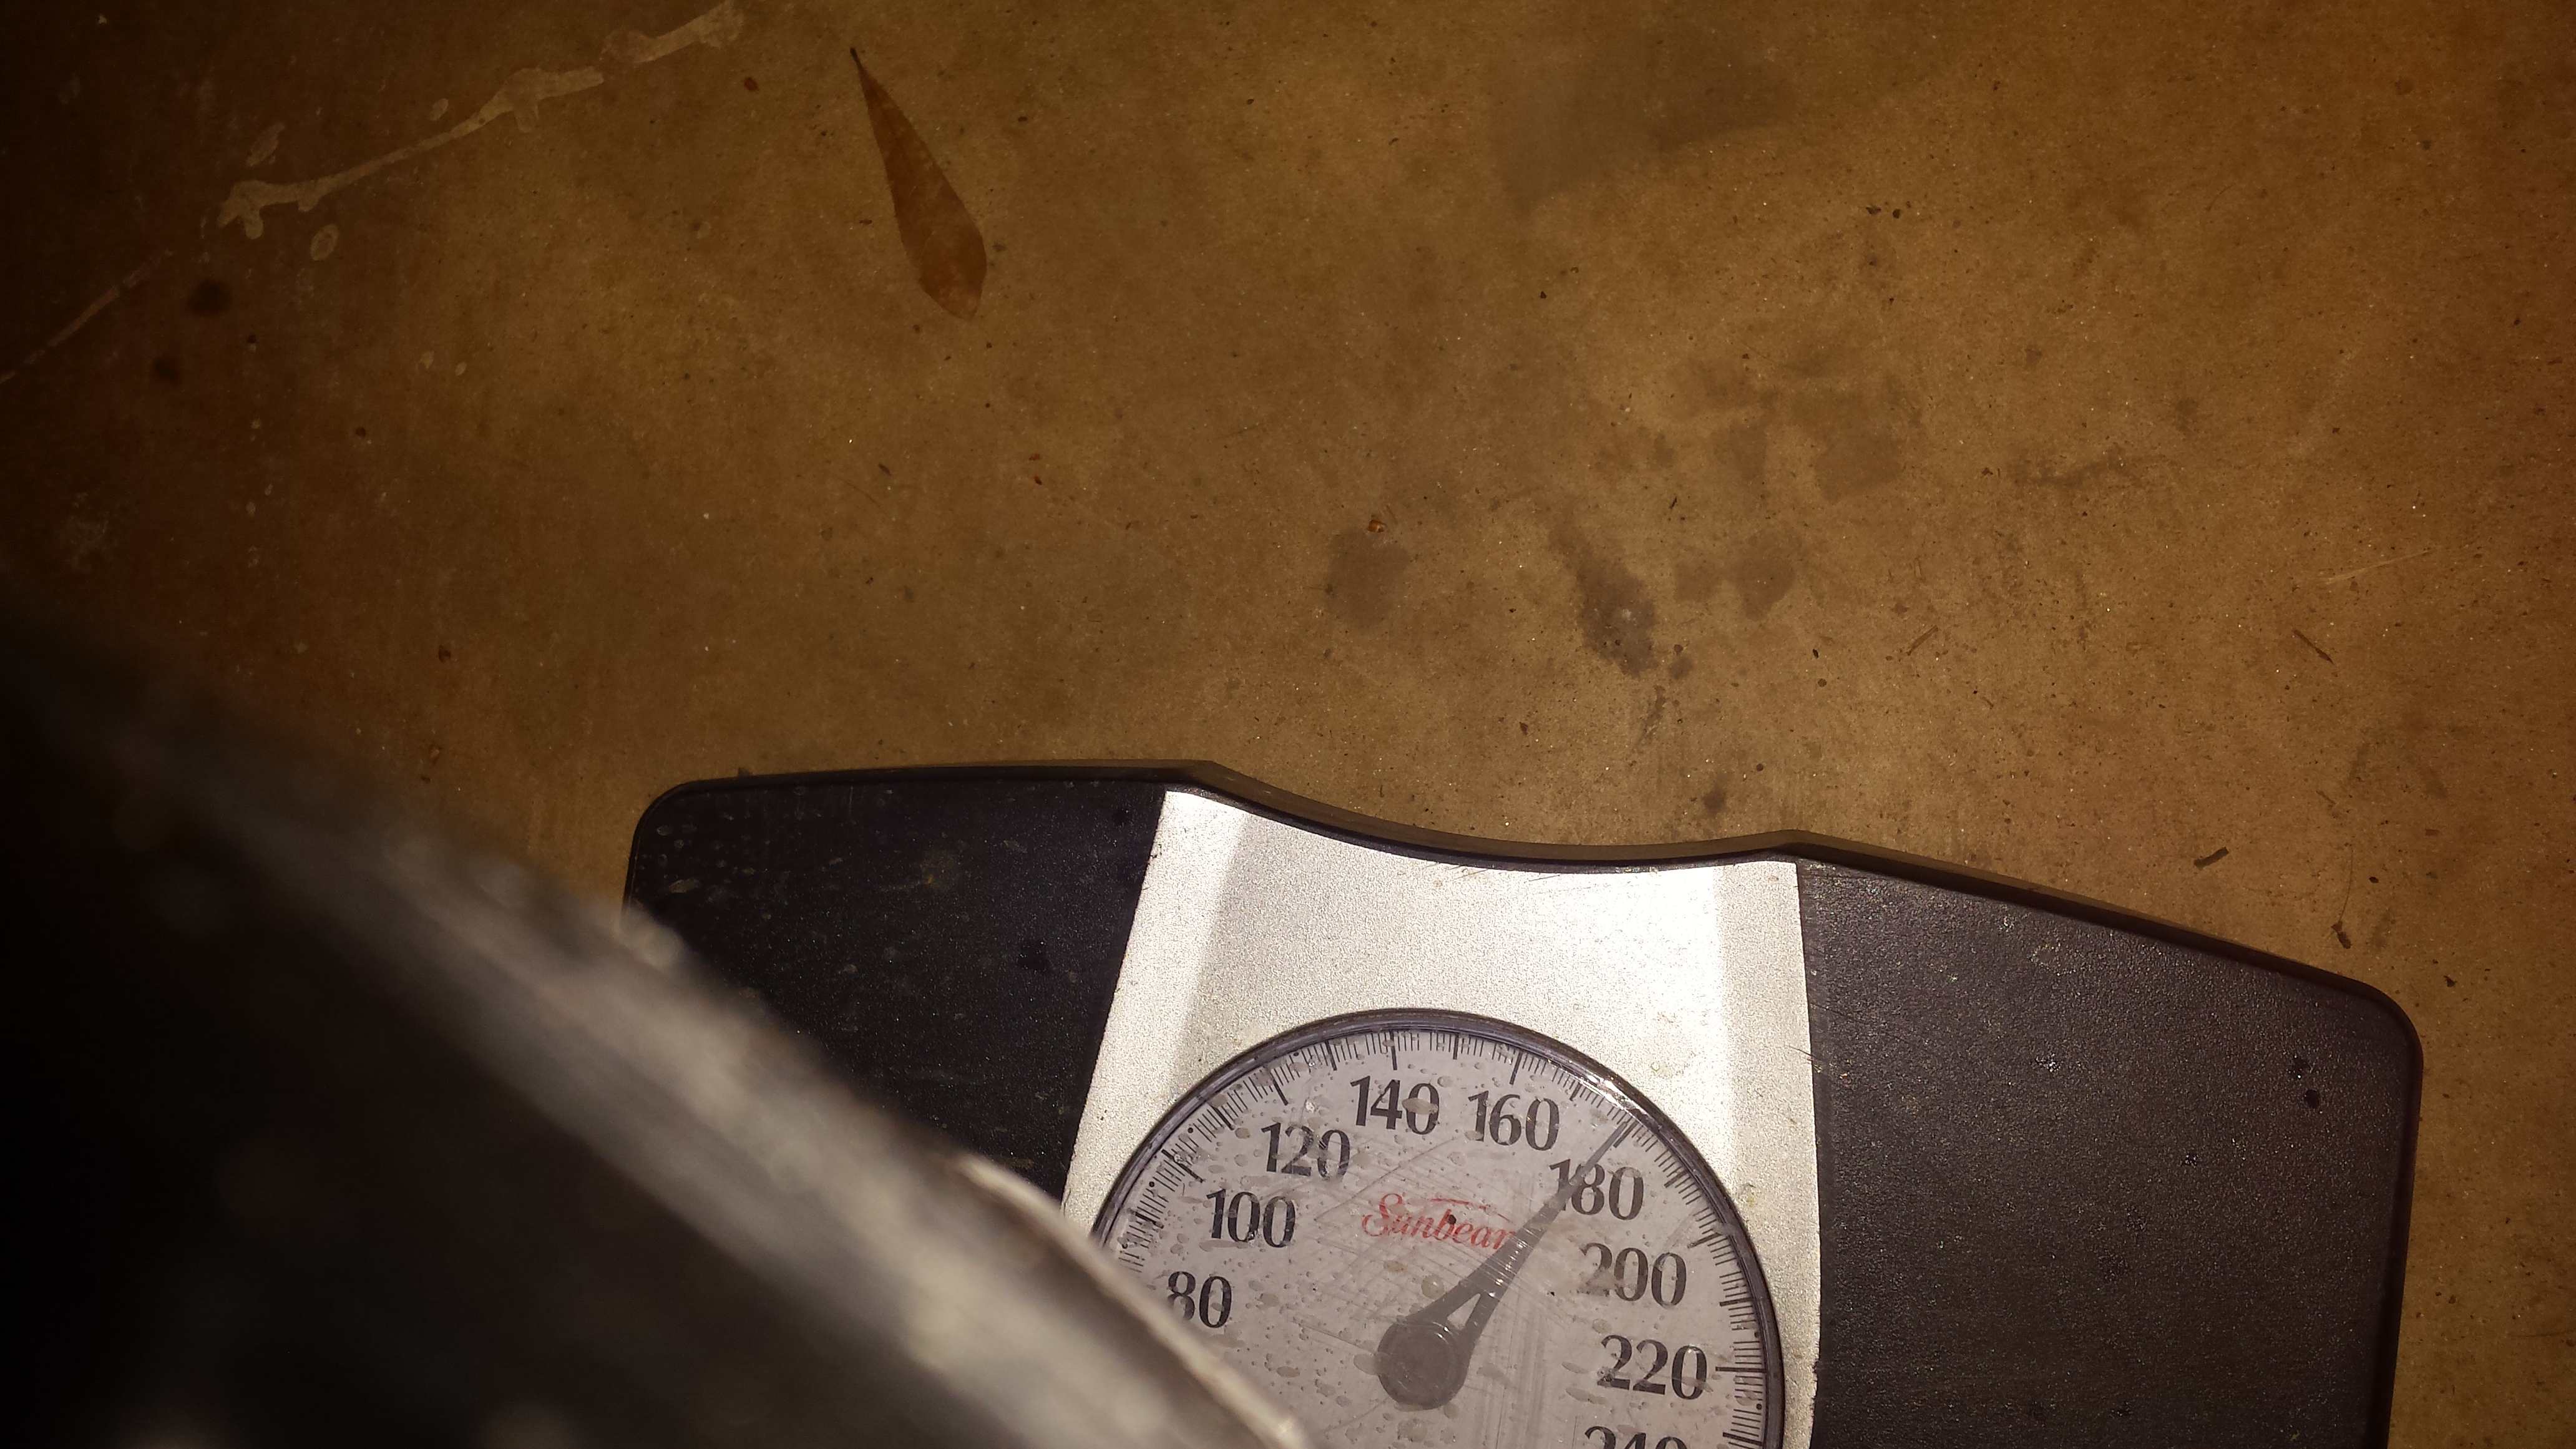
May not have this out again for a while so I decided to take some weights. This is the empty housing weight.
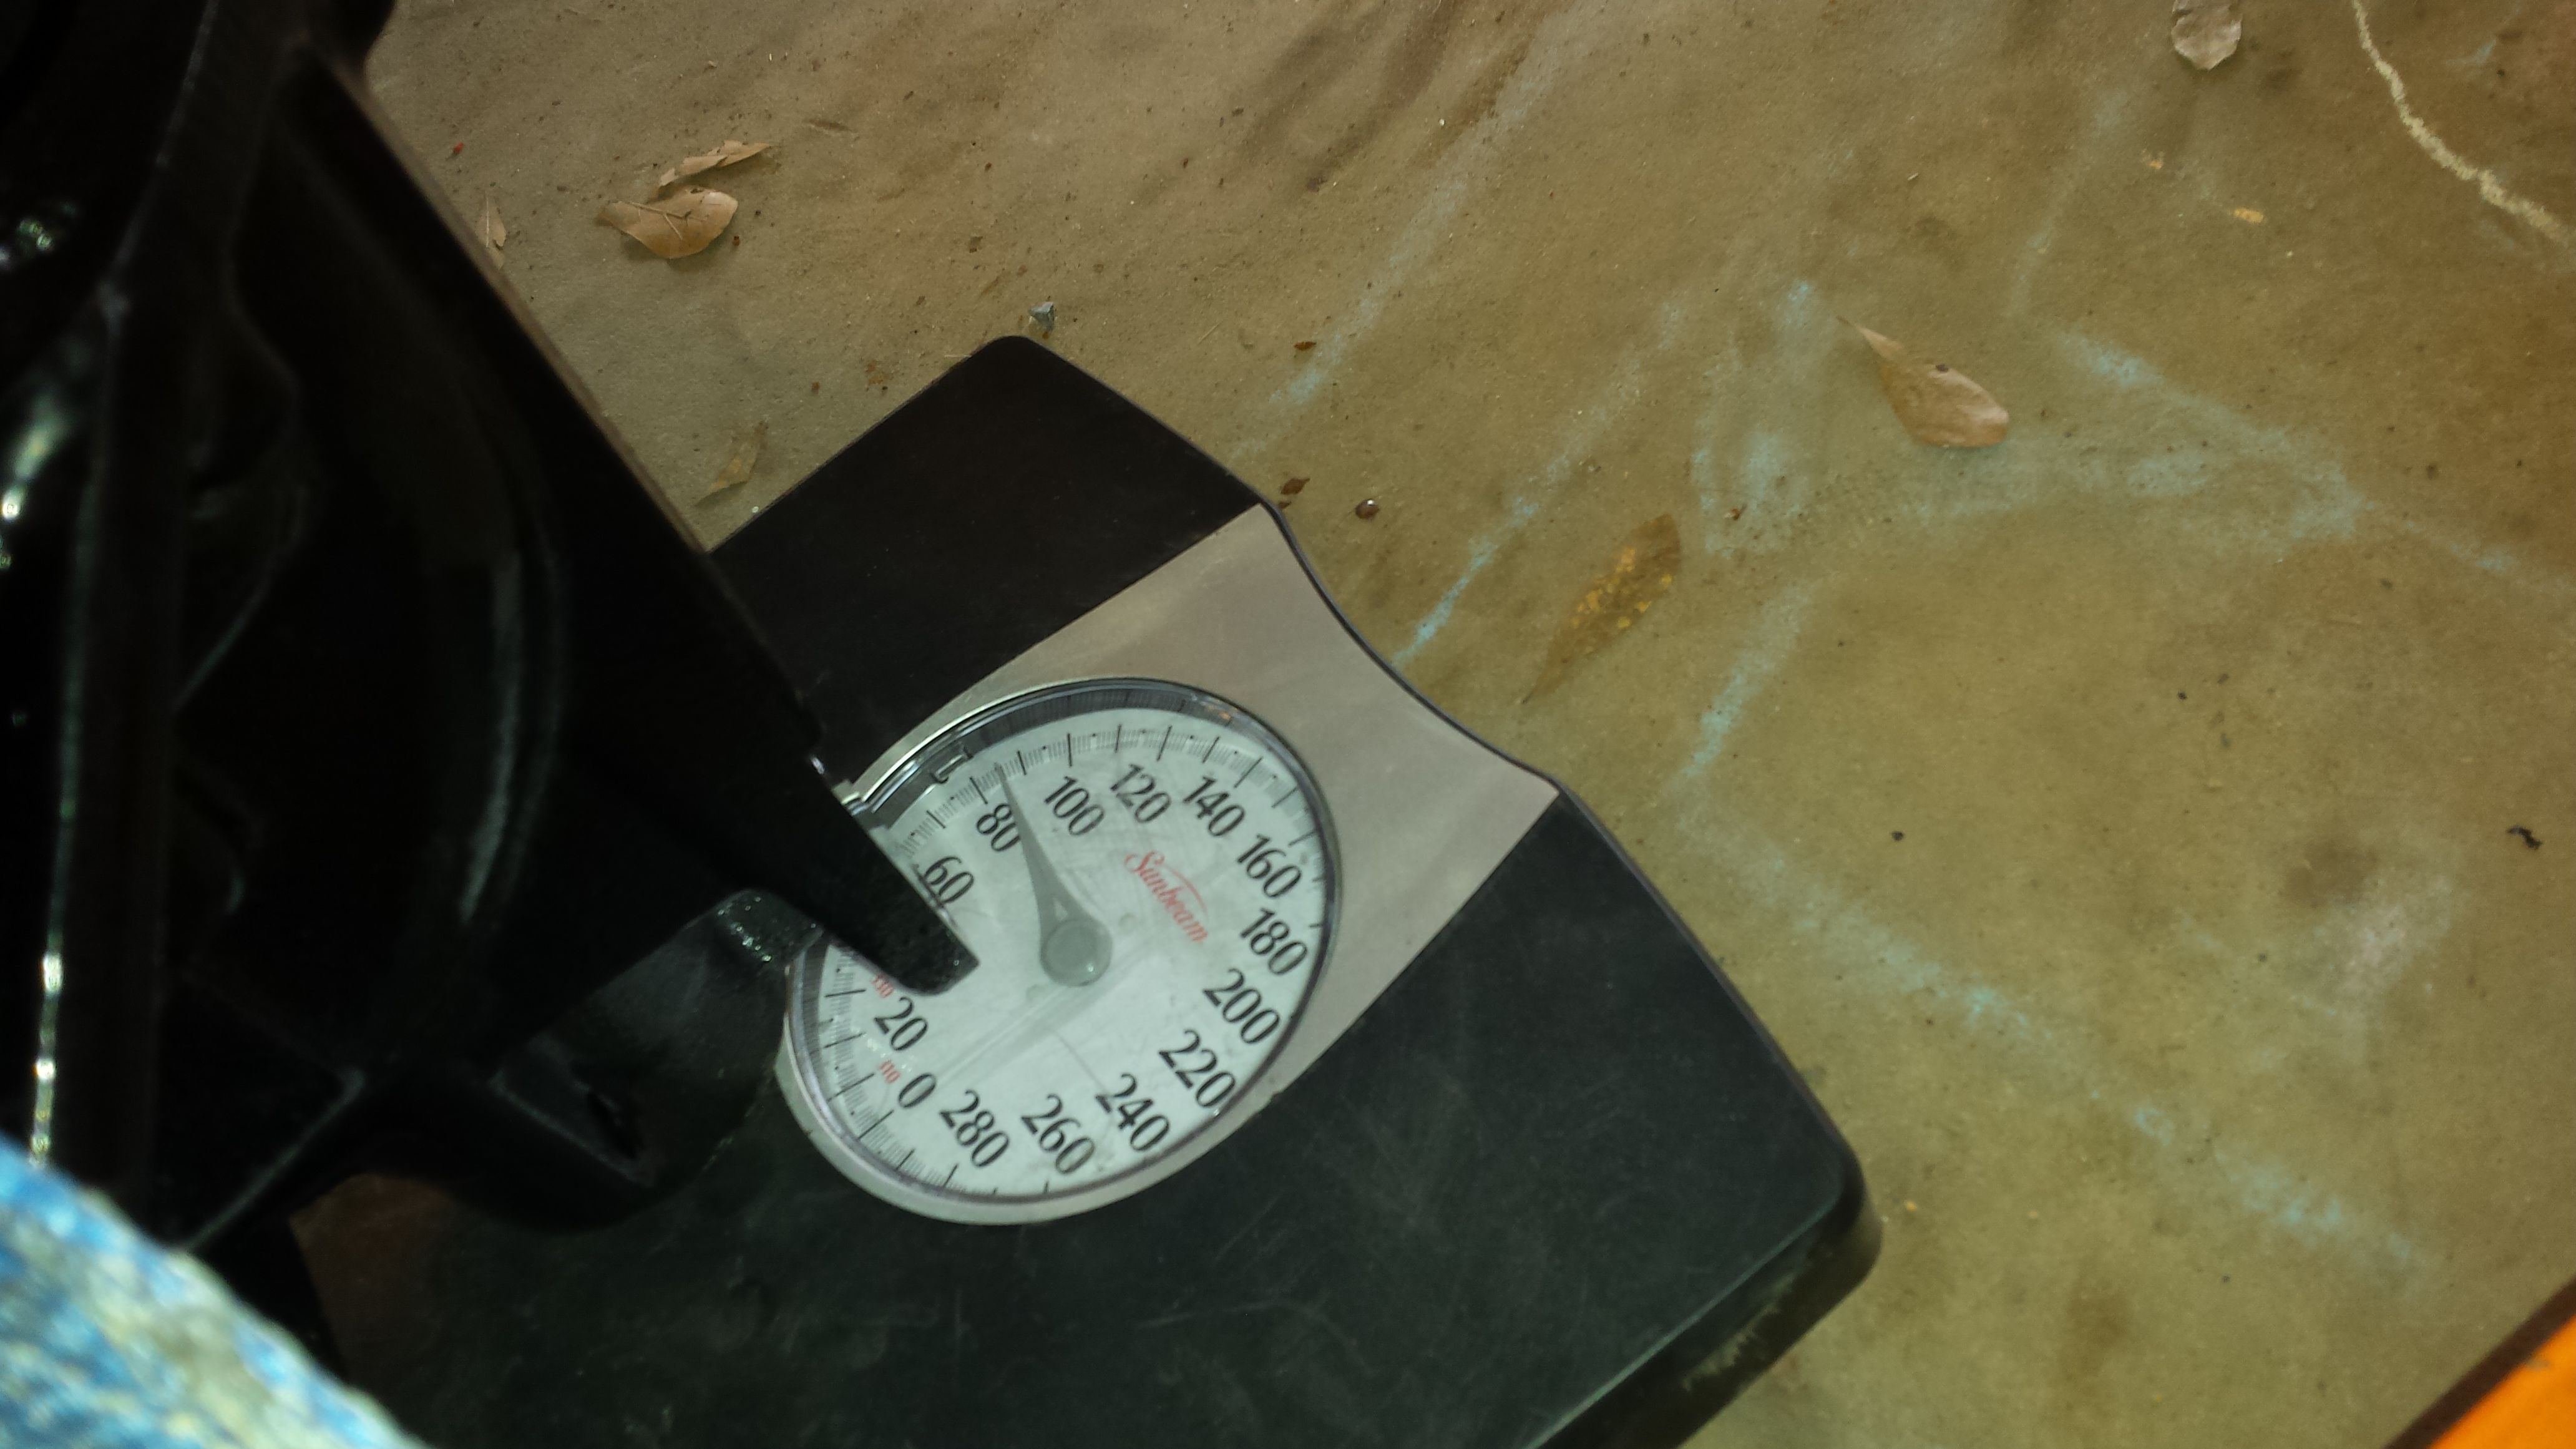
This is fully dressed weight. It has a spool, no brakes, aluminum rear cover.
I was an idiot to not powder coat this thing sooner. It looks very pimp now. Will reinstall this weekend. Stay tuned.

Stopped at home depot and got some angle iron and some all thread. After all the rear ends ive built I'm finally building myself a case spreader.

The case has one 3/4 and one 1/2 hole for the case spreader to attach to, so I found some scraps that fit those dimensions. I did have to revise this design as it was blocking the bearing caps from going in. No big deal, we are learning.

Here it is set in place. You turn the buckles and the case spreads. Easy as pie.

And this is why you need a case spreader. I pulled this out during disassembly. No doubt it got bent during final carrier preloading last time when I swapped the spool in.

May not have this out again for a while so I decided to take some weights. This is the empty housing weight.

This is fully dressed weight. It has a spool, no brakes, aluminum rear cover.

I was an idiot to not powder coat this thing sooner. It looks very pimp now. Will reinstall this weekend. Stay tuned.

#20
03-20-2016, 08:30 PM
Join Date: Aug 2010
Posts: 230
Likes: 0
Received 0 Likes
on
0 Posts
Well the track strikes again.....or more bad luck. We had a test and tune planned for friday night. It got rained out. So saturday there was a big bracket race planned, so we decided to go then to get a few passes in. Rain was gone, car was pretty clean, and loaded.
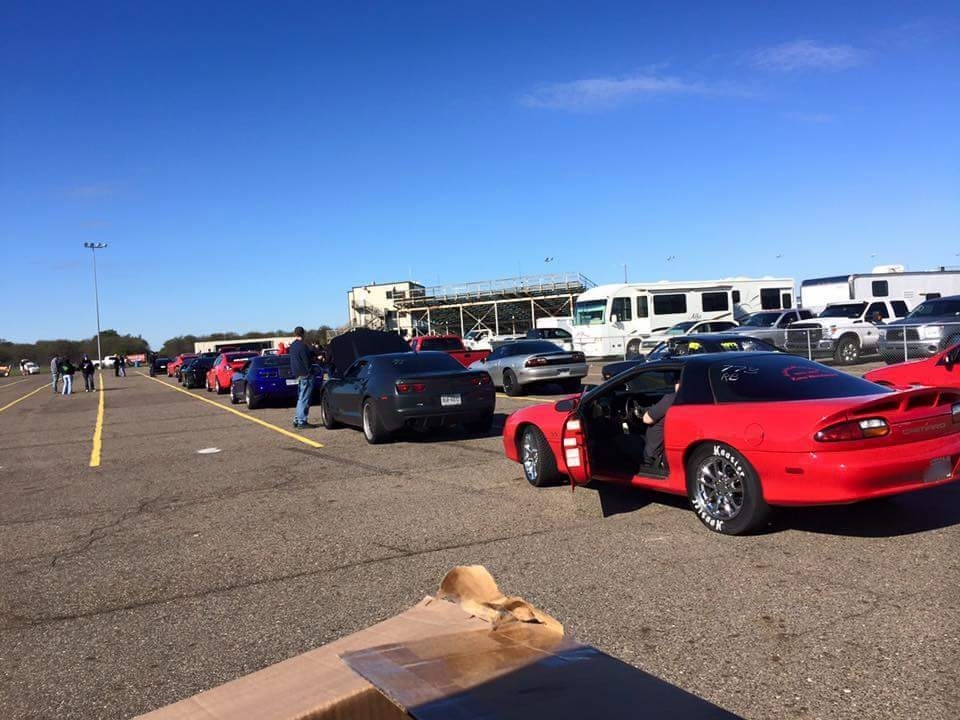
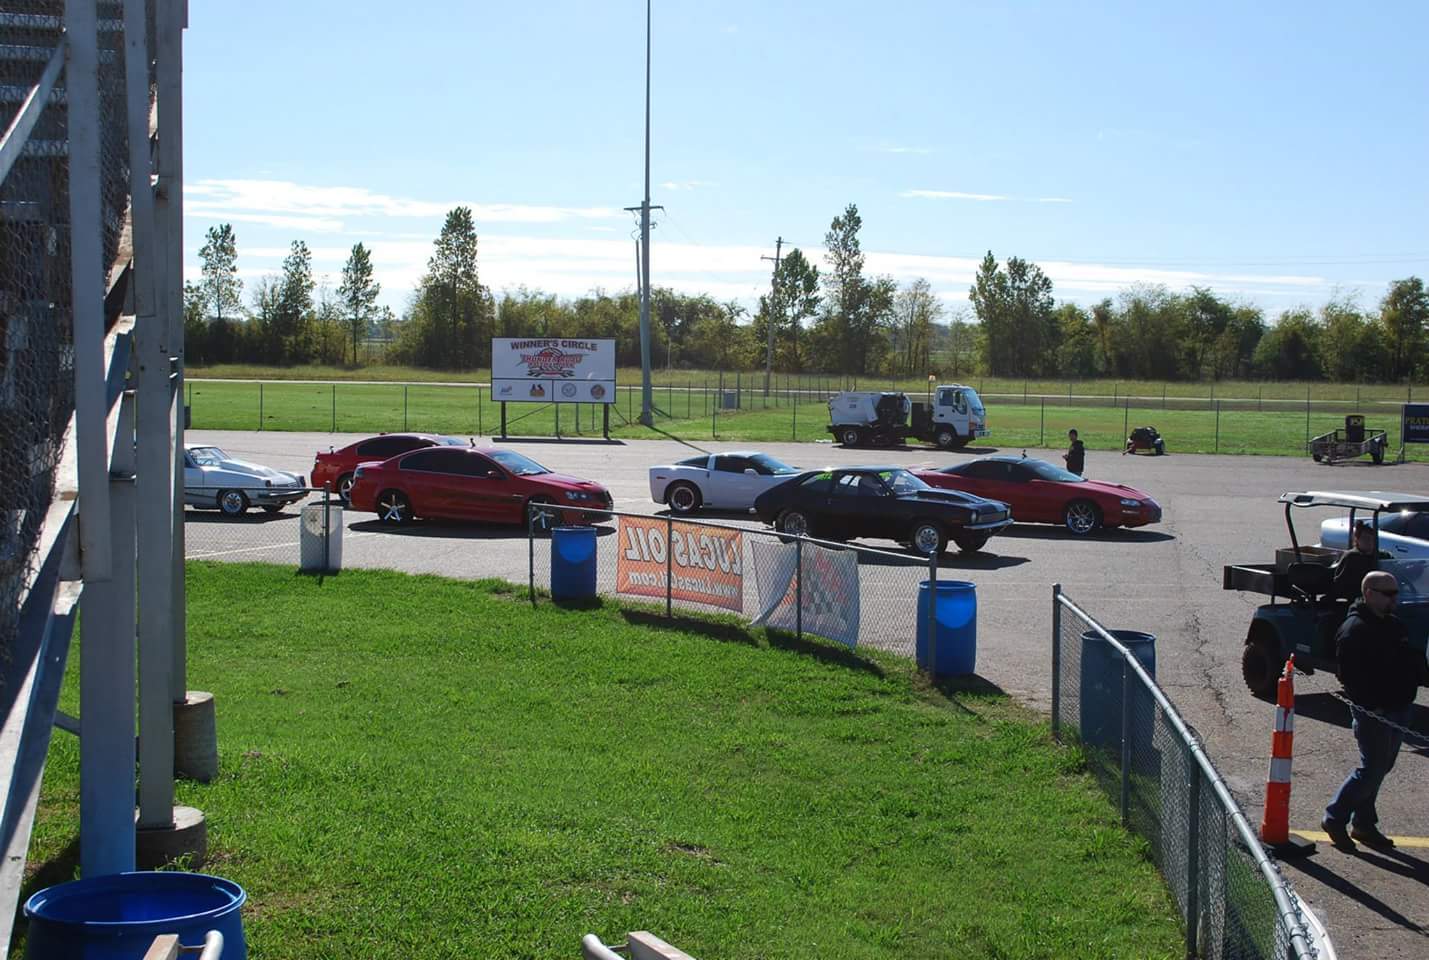
This place was packed. Big money trucks and trailers everywhere.
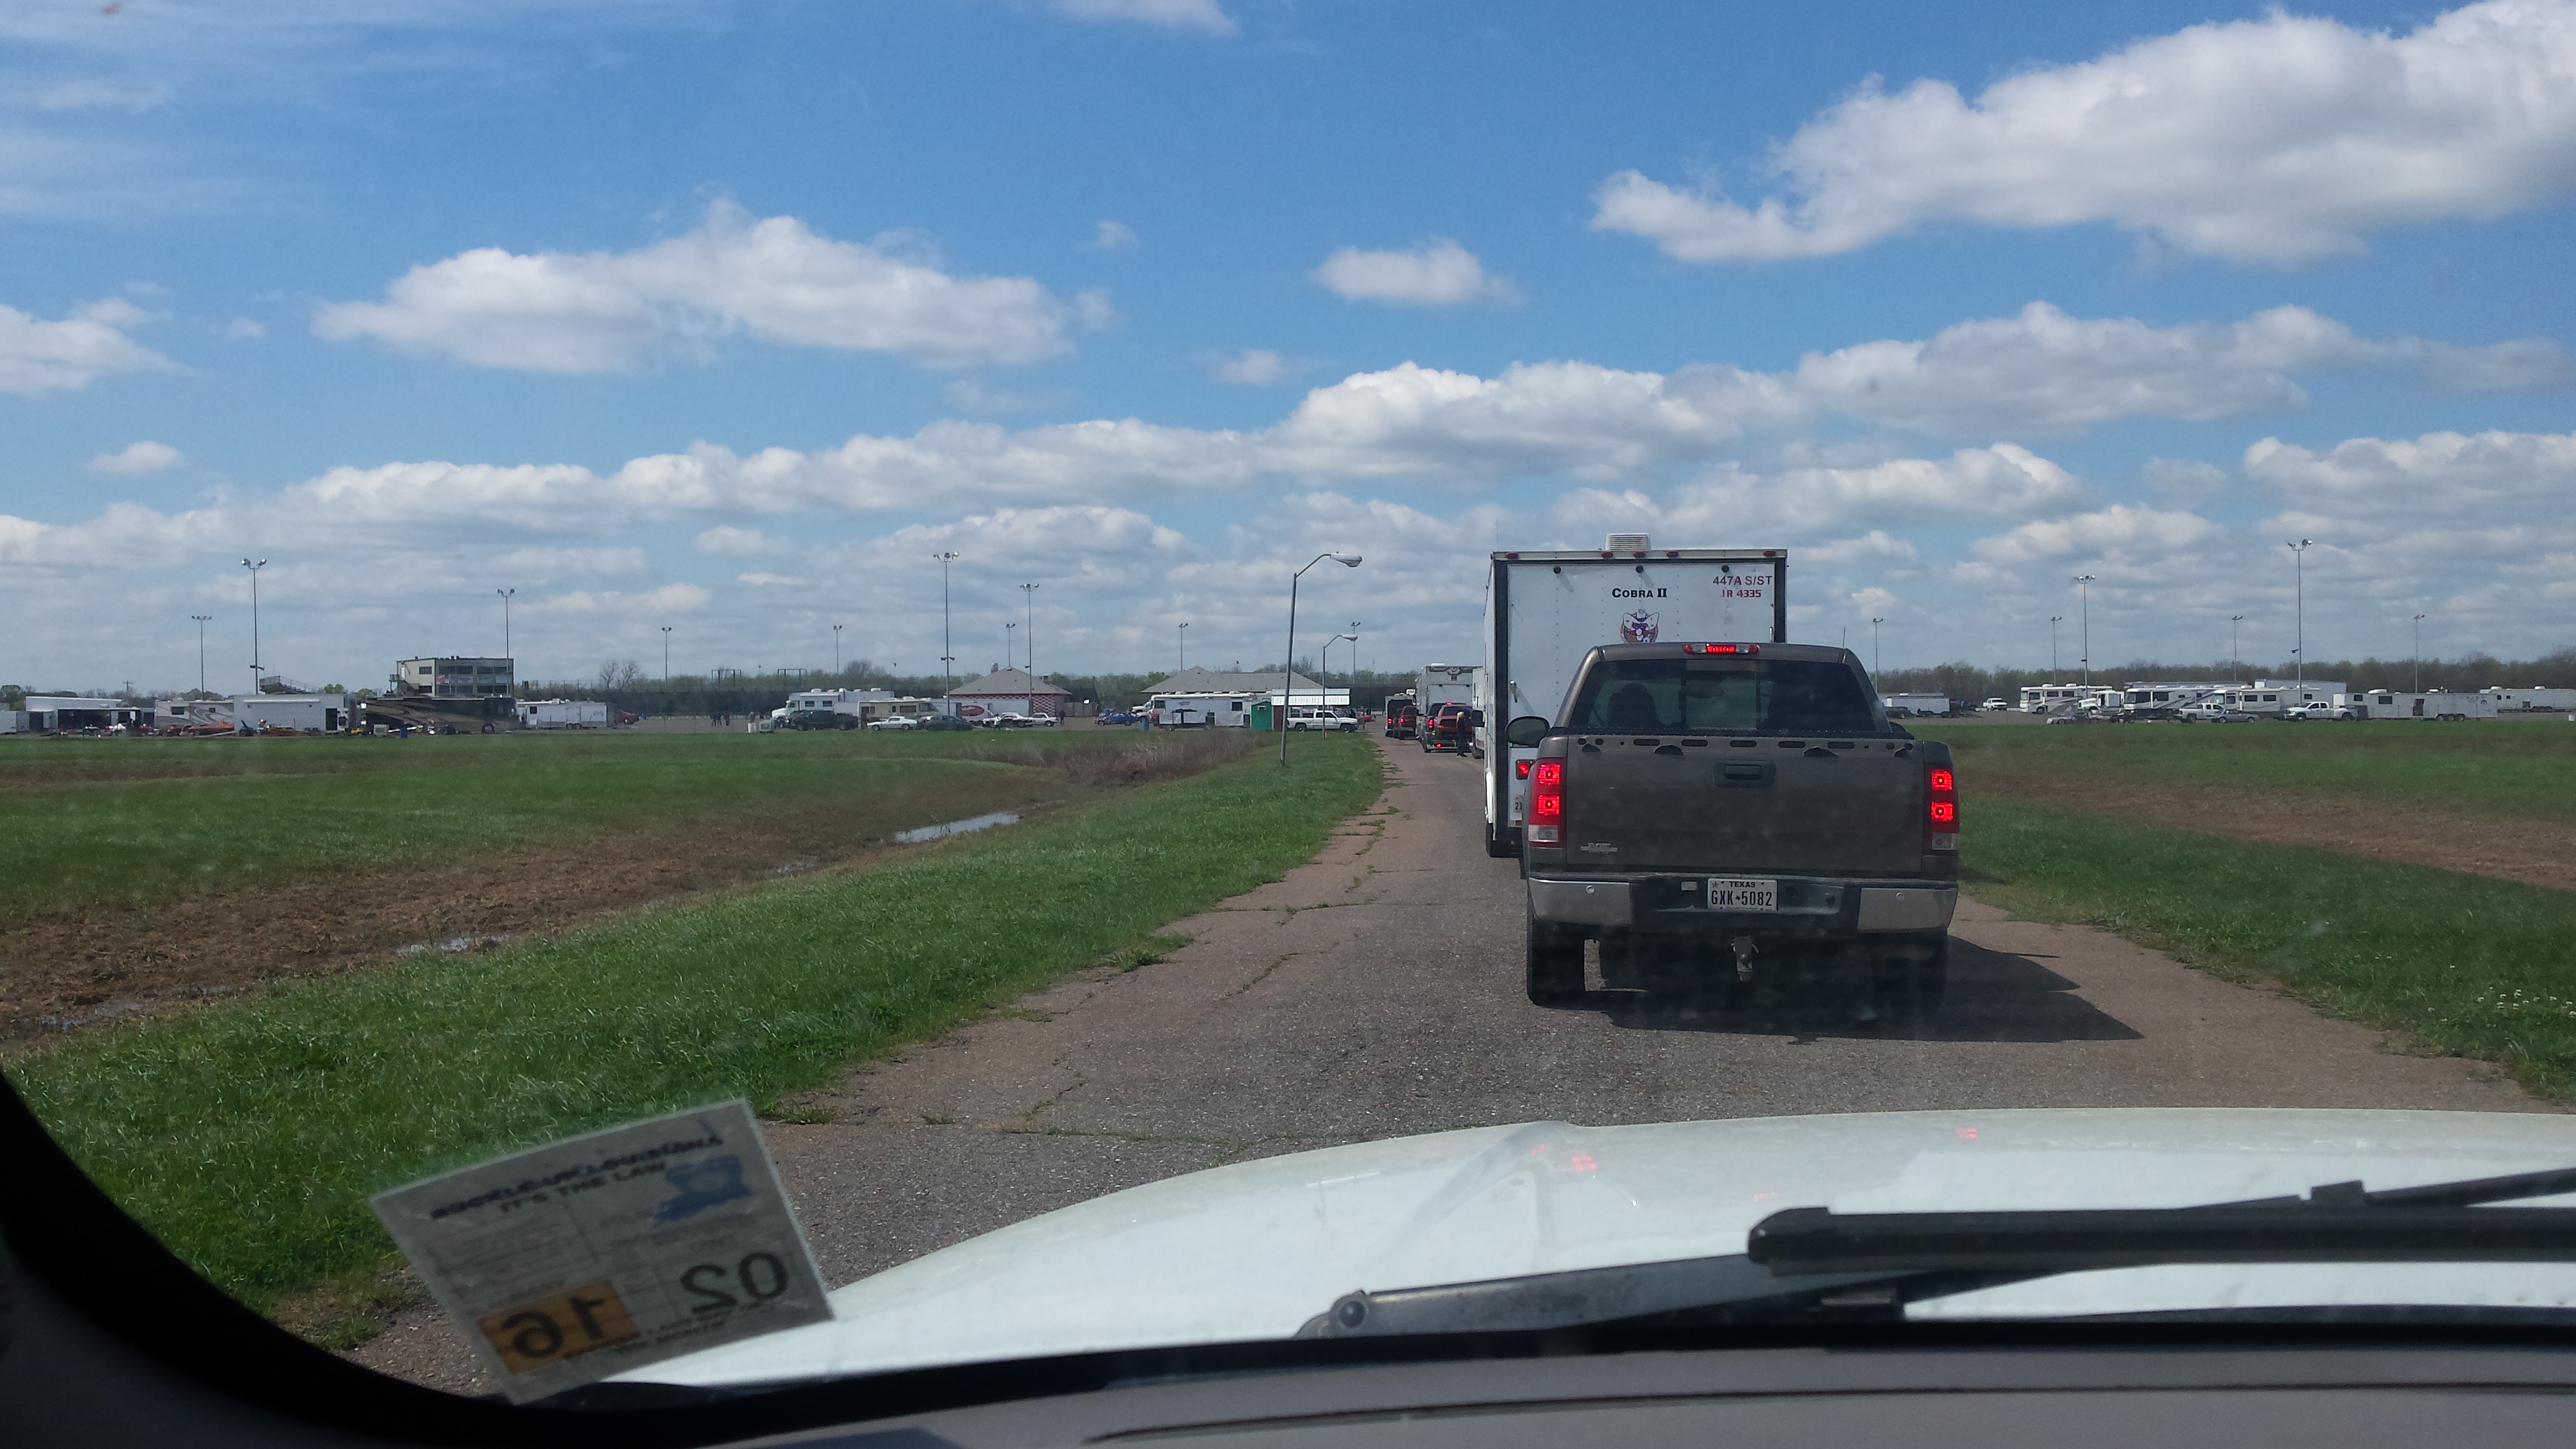
And this is where I sat most of the day.....waiting....and waiting.
I got a total of two passes in, two really bad passes. First pass was 11.19 @ 118. 60ft was slow, 1/8, 1/4, trap speed. Wasn't sure what the issue was, it was a clean pass. I decided to reset the fuel trims since it was unusually cool that day and I'm running a SD tune. It should be noted the car was acting a little funky the whole day, idle surging, hanging high idle, etc. Well with no trims and another pass I ran 11.8x @ 110mph. That was WOT through the whole pass. I confirmed then that something was wrong. I did a quick scan of the car with HPTuners and saw a 10%+ driver trim and a 25%+ passenger trim. That would explain the terrible pass. There was nothing obvious wrong underhood so I will have to dig a little deeper another day when I get more time to see what the issue is!

This place was packed. Big money trucks and trailers everywhere.

And this is where I sat most of the day.....waiting....and waiting.

I got a total of two passes in, two really bad passes. First pass was 11.19 @ 118. 60ft was slow, 1/8, 1/4, trap speed. Wasn't sure what the issue was, it was a clean pass. I decided to reset the fuel trims since it was unusually cool that day and I'm running a SD tune. It should be noted the car was acting a little funky the whole day, idle surging, hanging high idle, etc. Well with no trims and another pass I ran 11.8x @ 110mph. That was WOT through the whole pass. I confirmed then that something was wrong. I did a quick scan of the car with HPTuners and saw a 10%+ driver trim and a 25%+ passenger trim. That would explain the terrible pass. There was nothing obvious wrong underhood so I will have to dig a little deeper another day when I get more time to see what the issue is!