SS Camaro - Track trips, build pics etc.
#21
 10-12-2016, 10:00 PM

Join Date: Aug 2010
Posts: 230
Likes: 0
Received 0 Likes
on
0 Posts
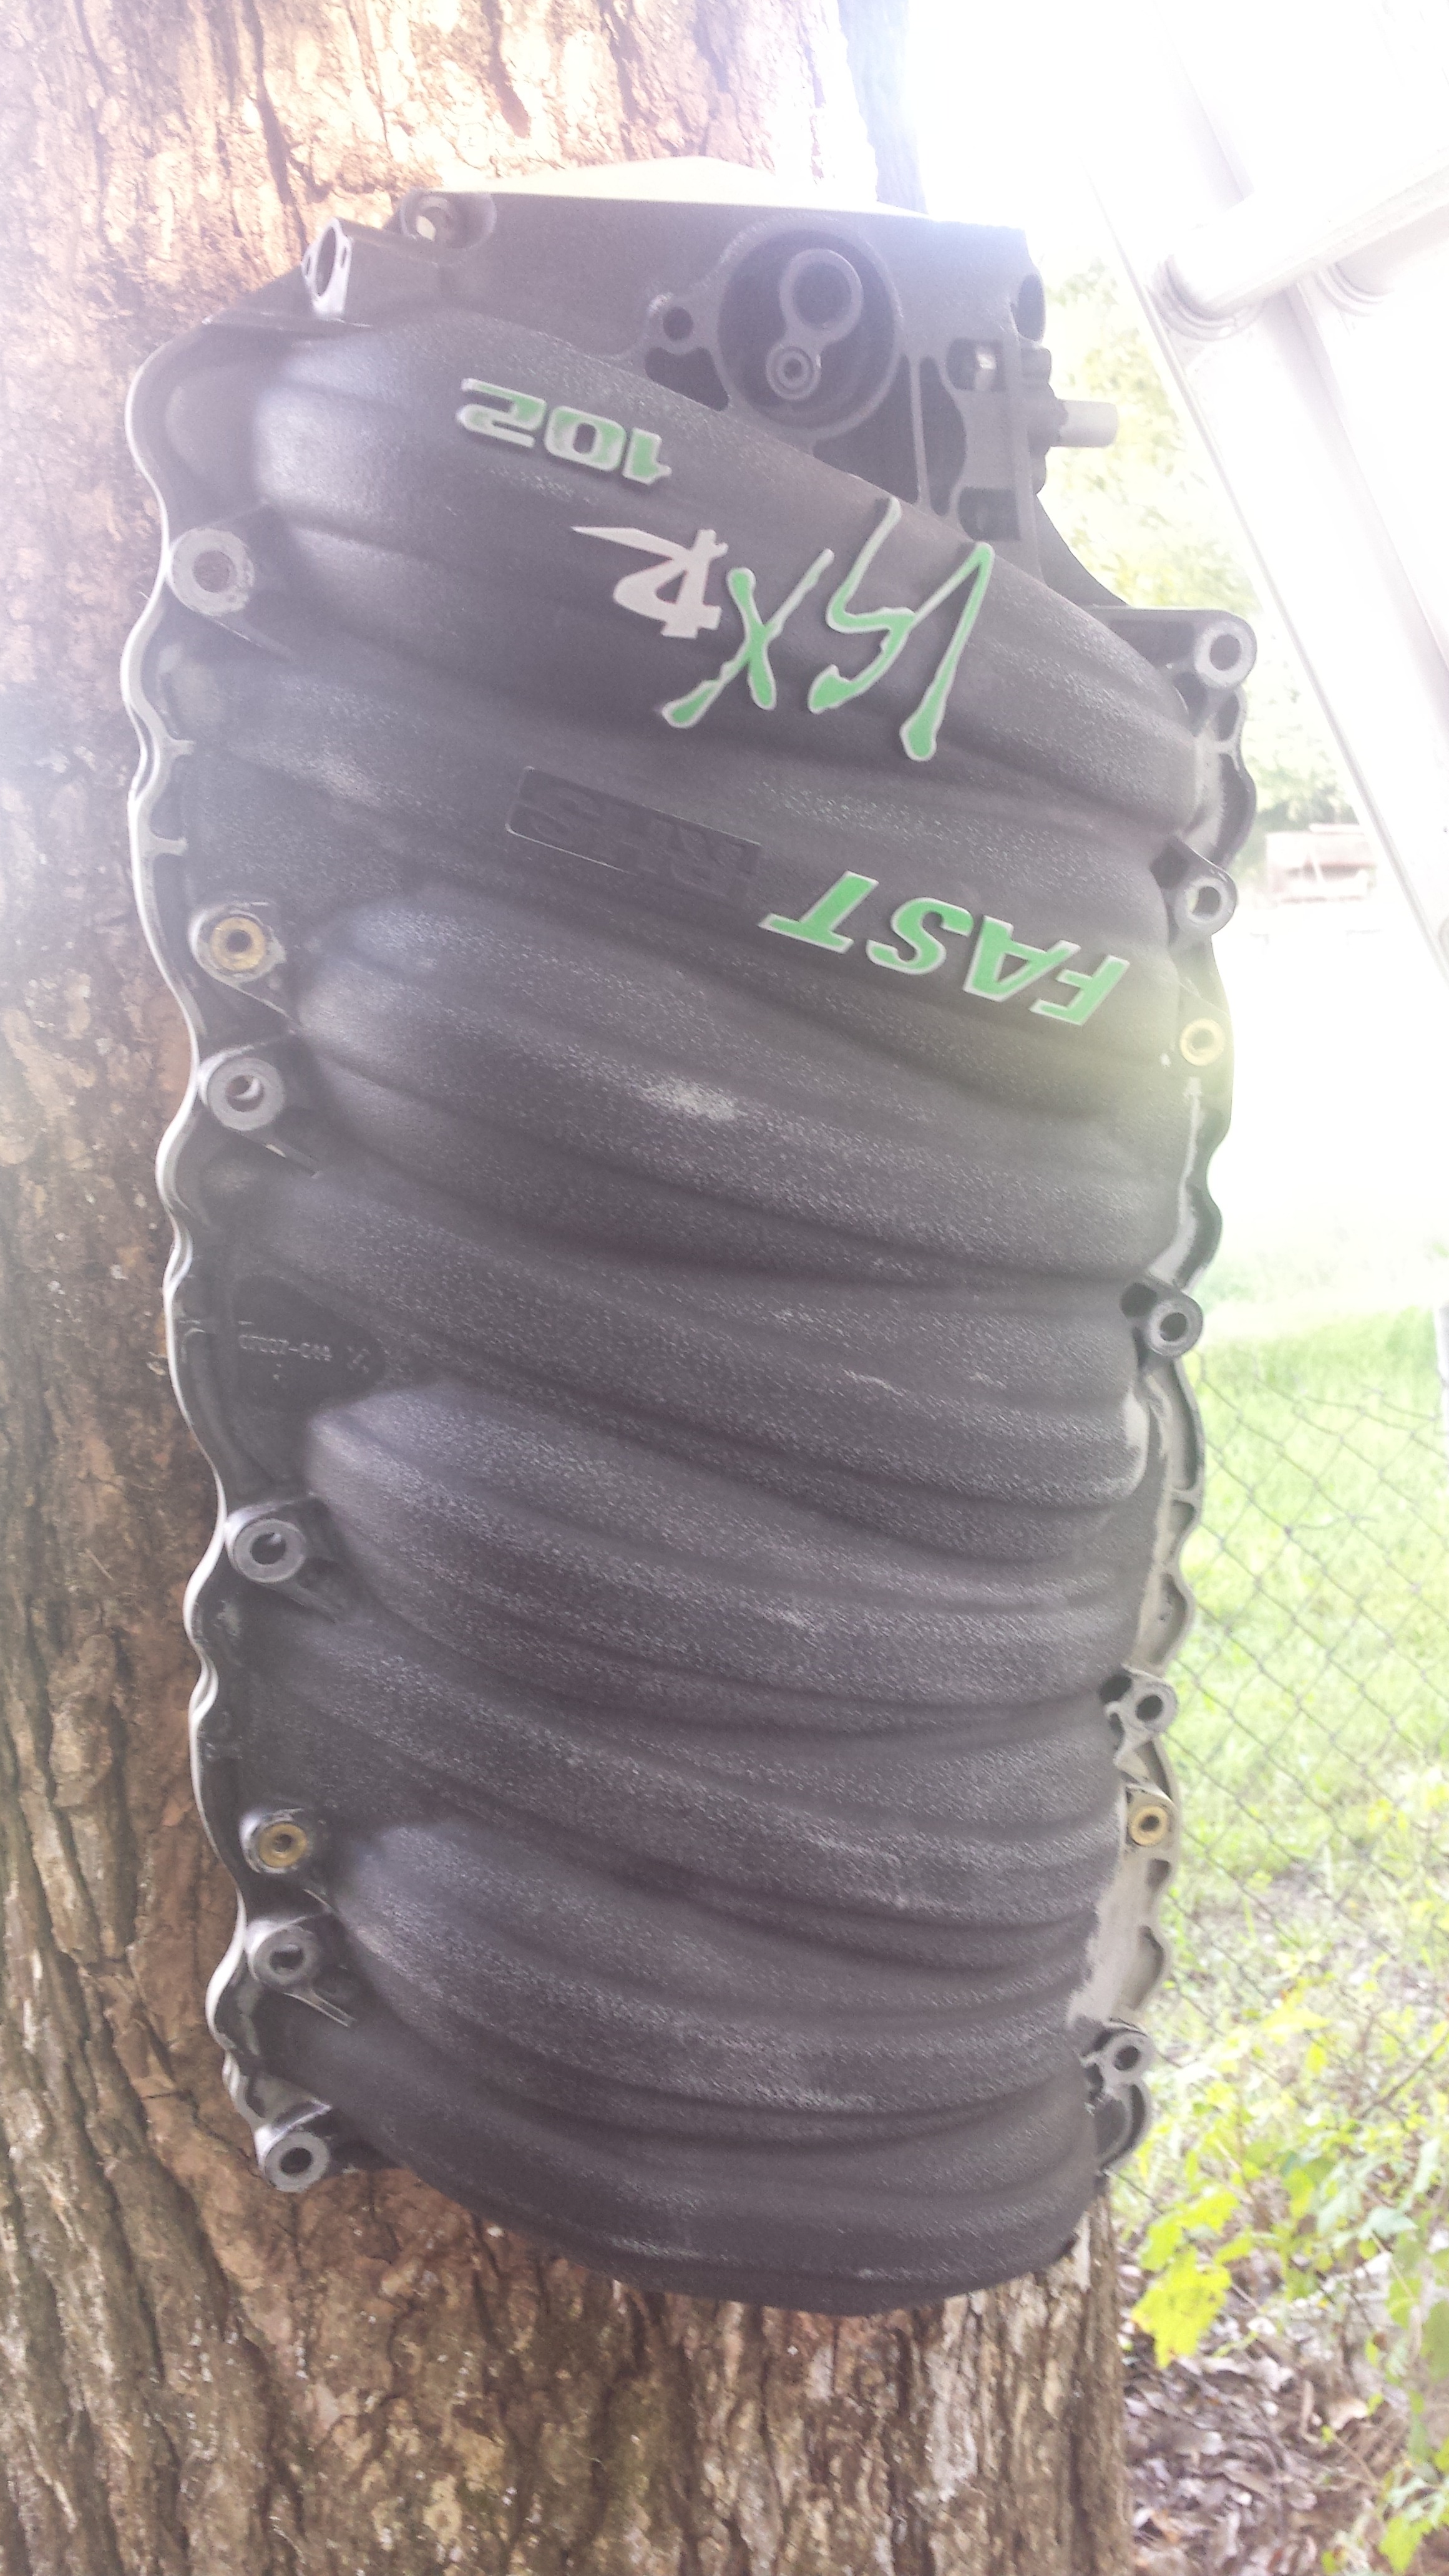
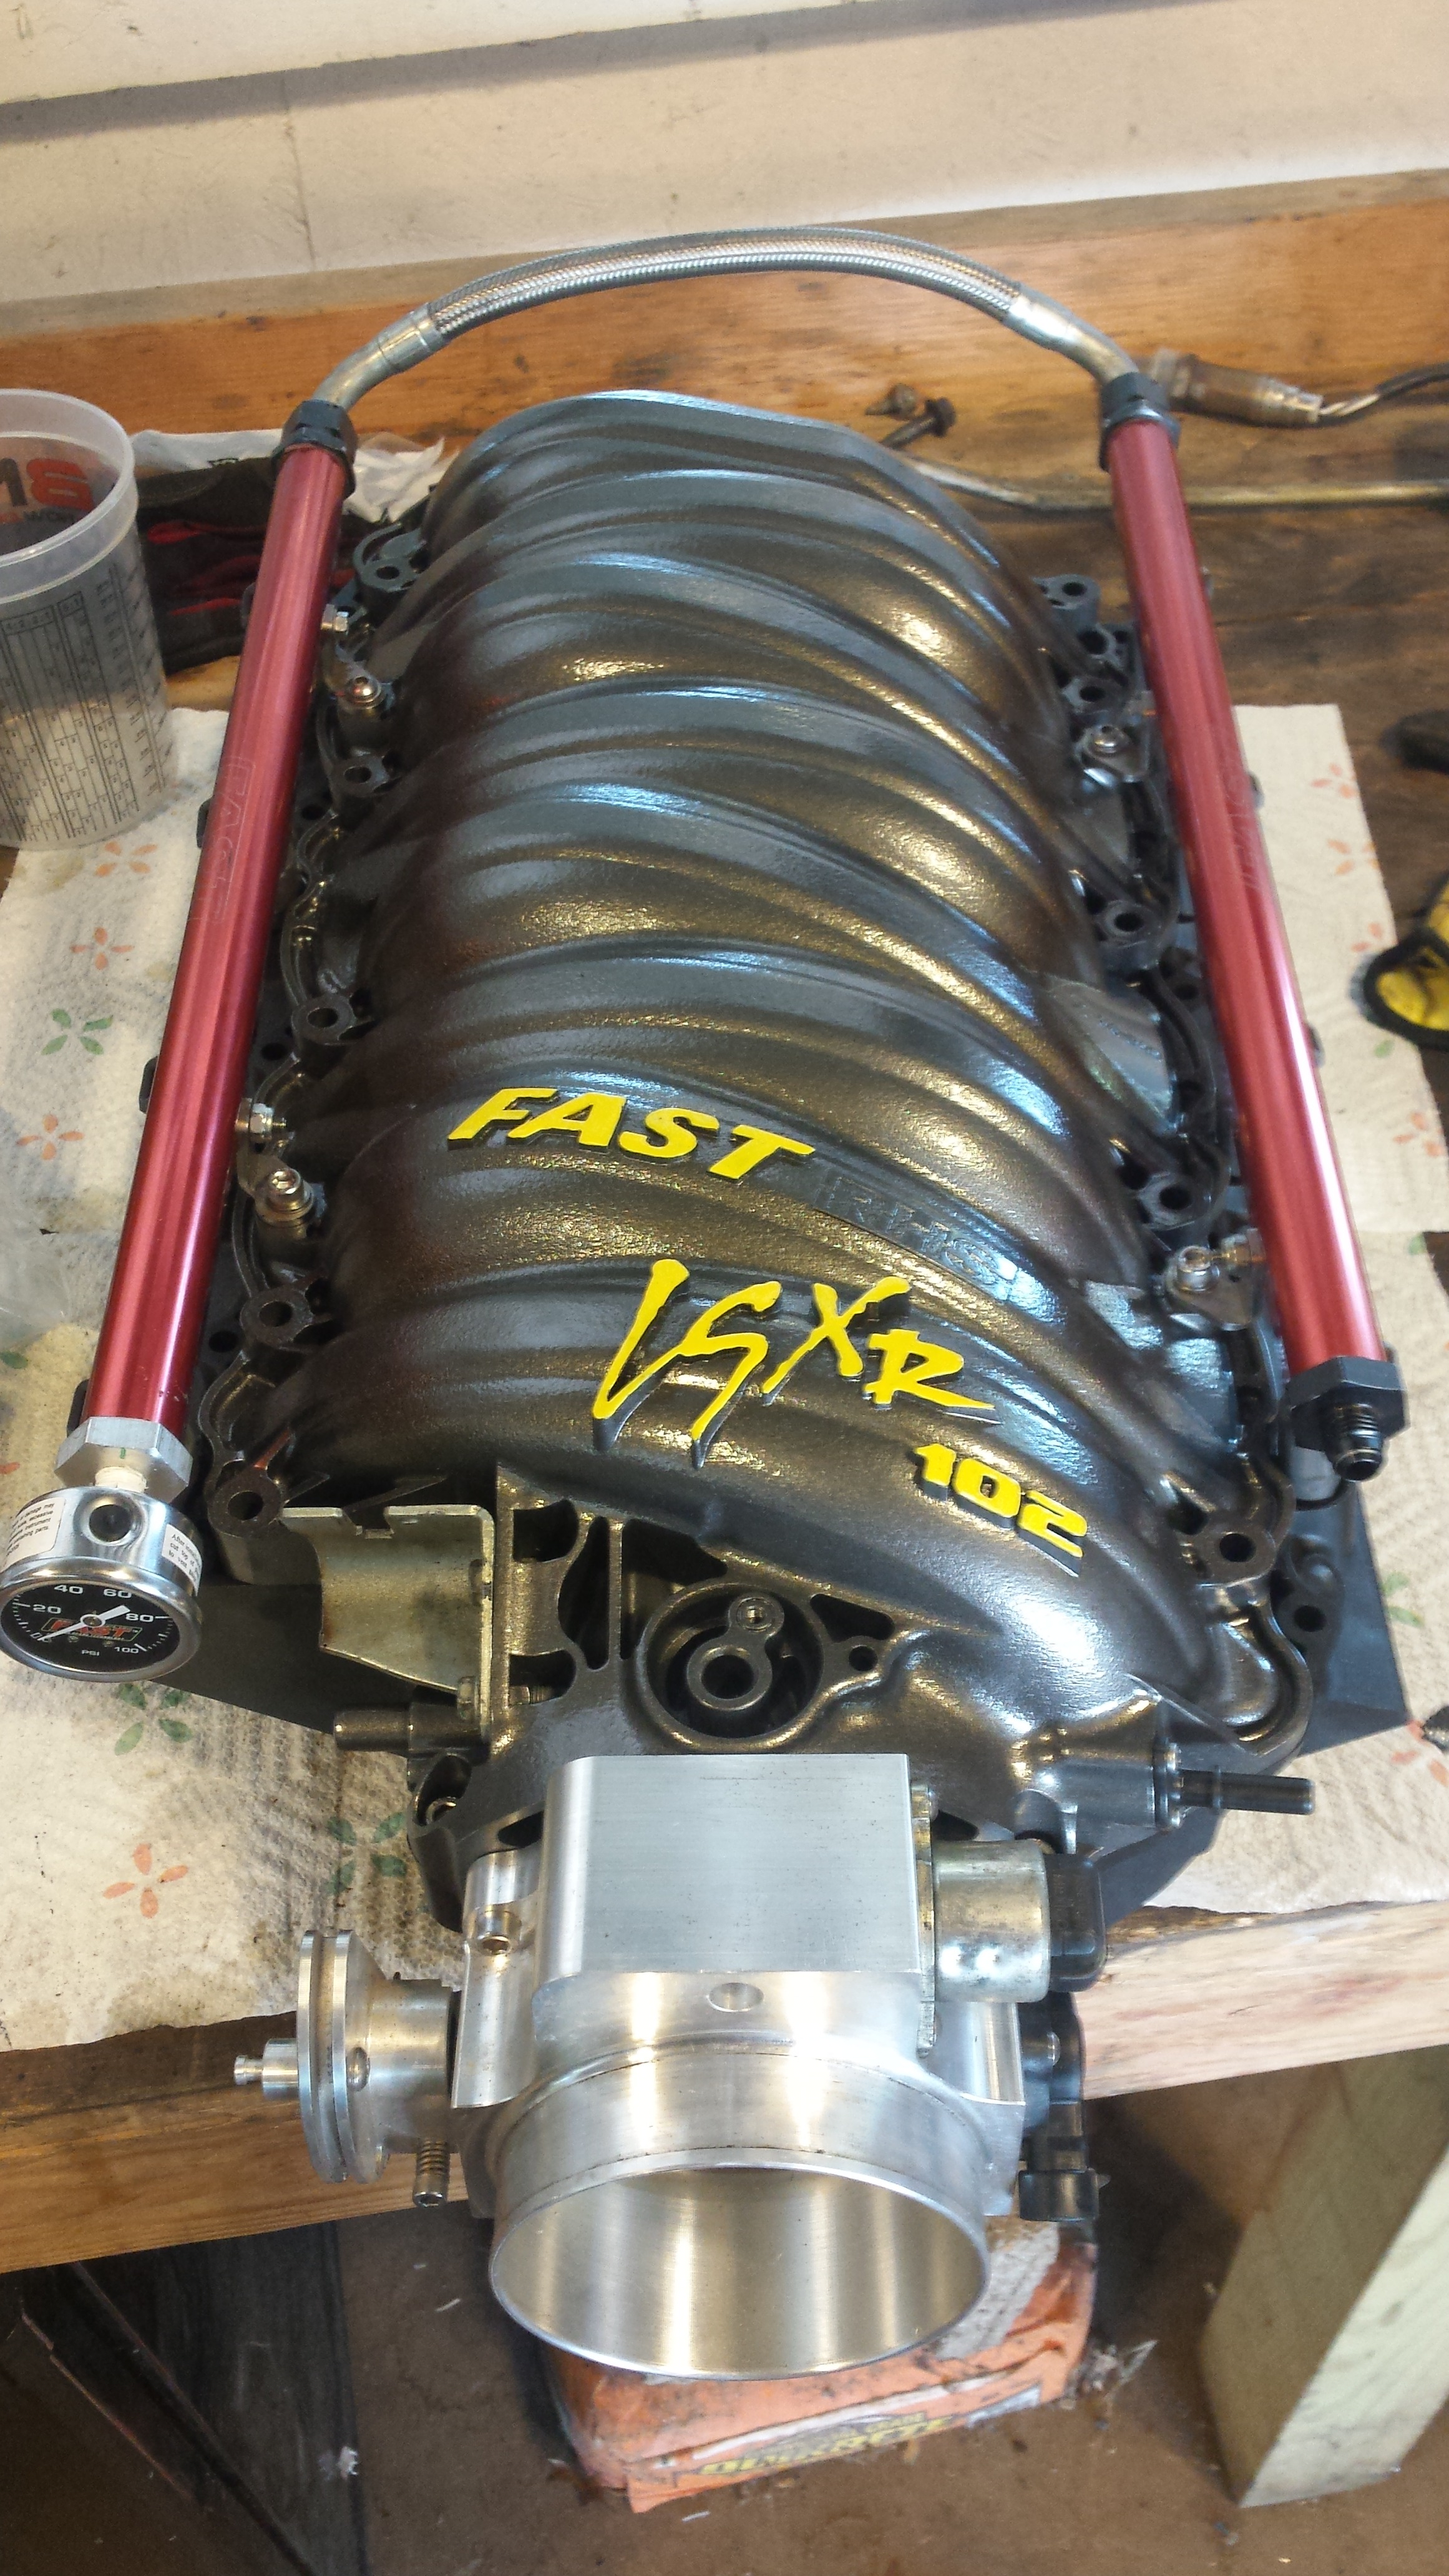
Havent updated this in a while but im still on my NA quest for tens. I think ive got it figured out with spending some money but I'm trying to not make any major changes to the car so for now im changing parts that I can grow into later when I change the build up. Ive been running a FAST 92/PTM 95 combo for a while. I bought the black fast 92 when they re-released it a few years back. I always wondered if I gave up anything not going to a 102 version. I came across a unique opportunity to swap intake for intake with a buddy who had a c5 and would prefer the better fitment of the 92. The back story behind this intake was it was on a motor with bad oil blow by and was installed by a hackjob shop. Once I looked it over I realized I needed to order some parts. I ordered a new inner seal, new fuel pressure gauge, new thicker lower injector o rings (146020COR), and a fuel line adapter (640940). This was originally a grey intake somebody painted black. After I cleaned it up, installed the new stuff, and fixed a broken vacuum nipple on the back, I sand blasted and hand sanded it. Here it is ready for paint.
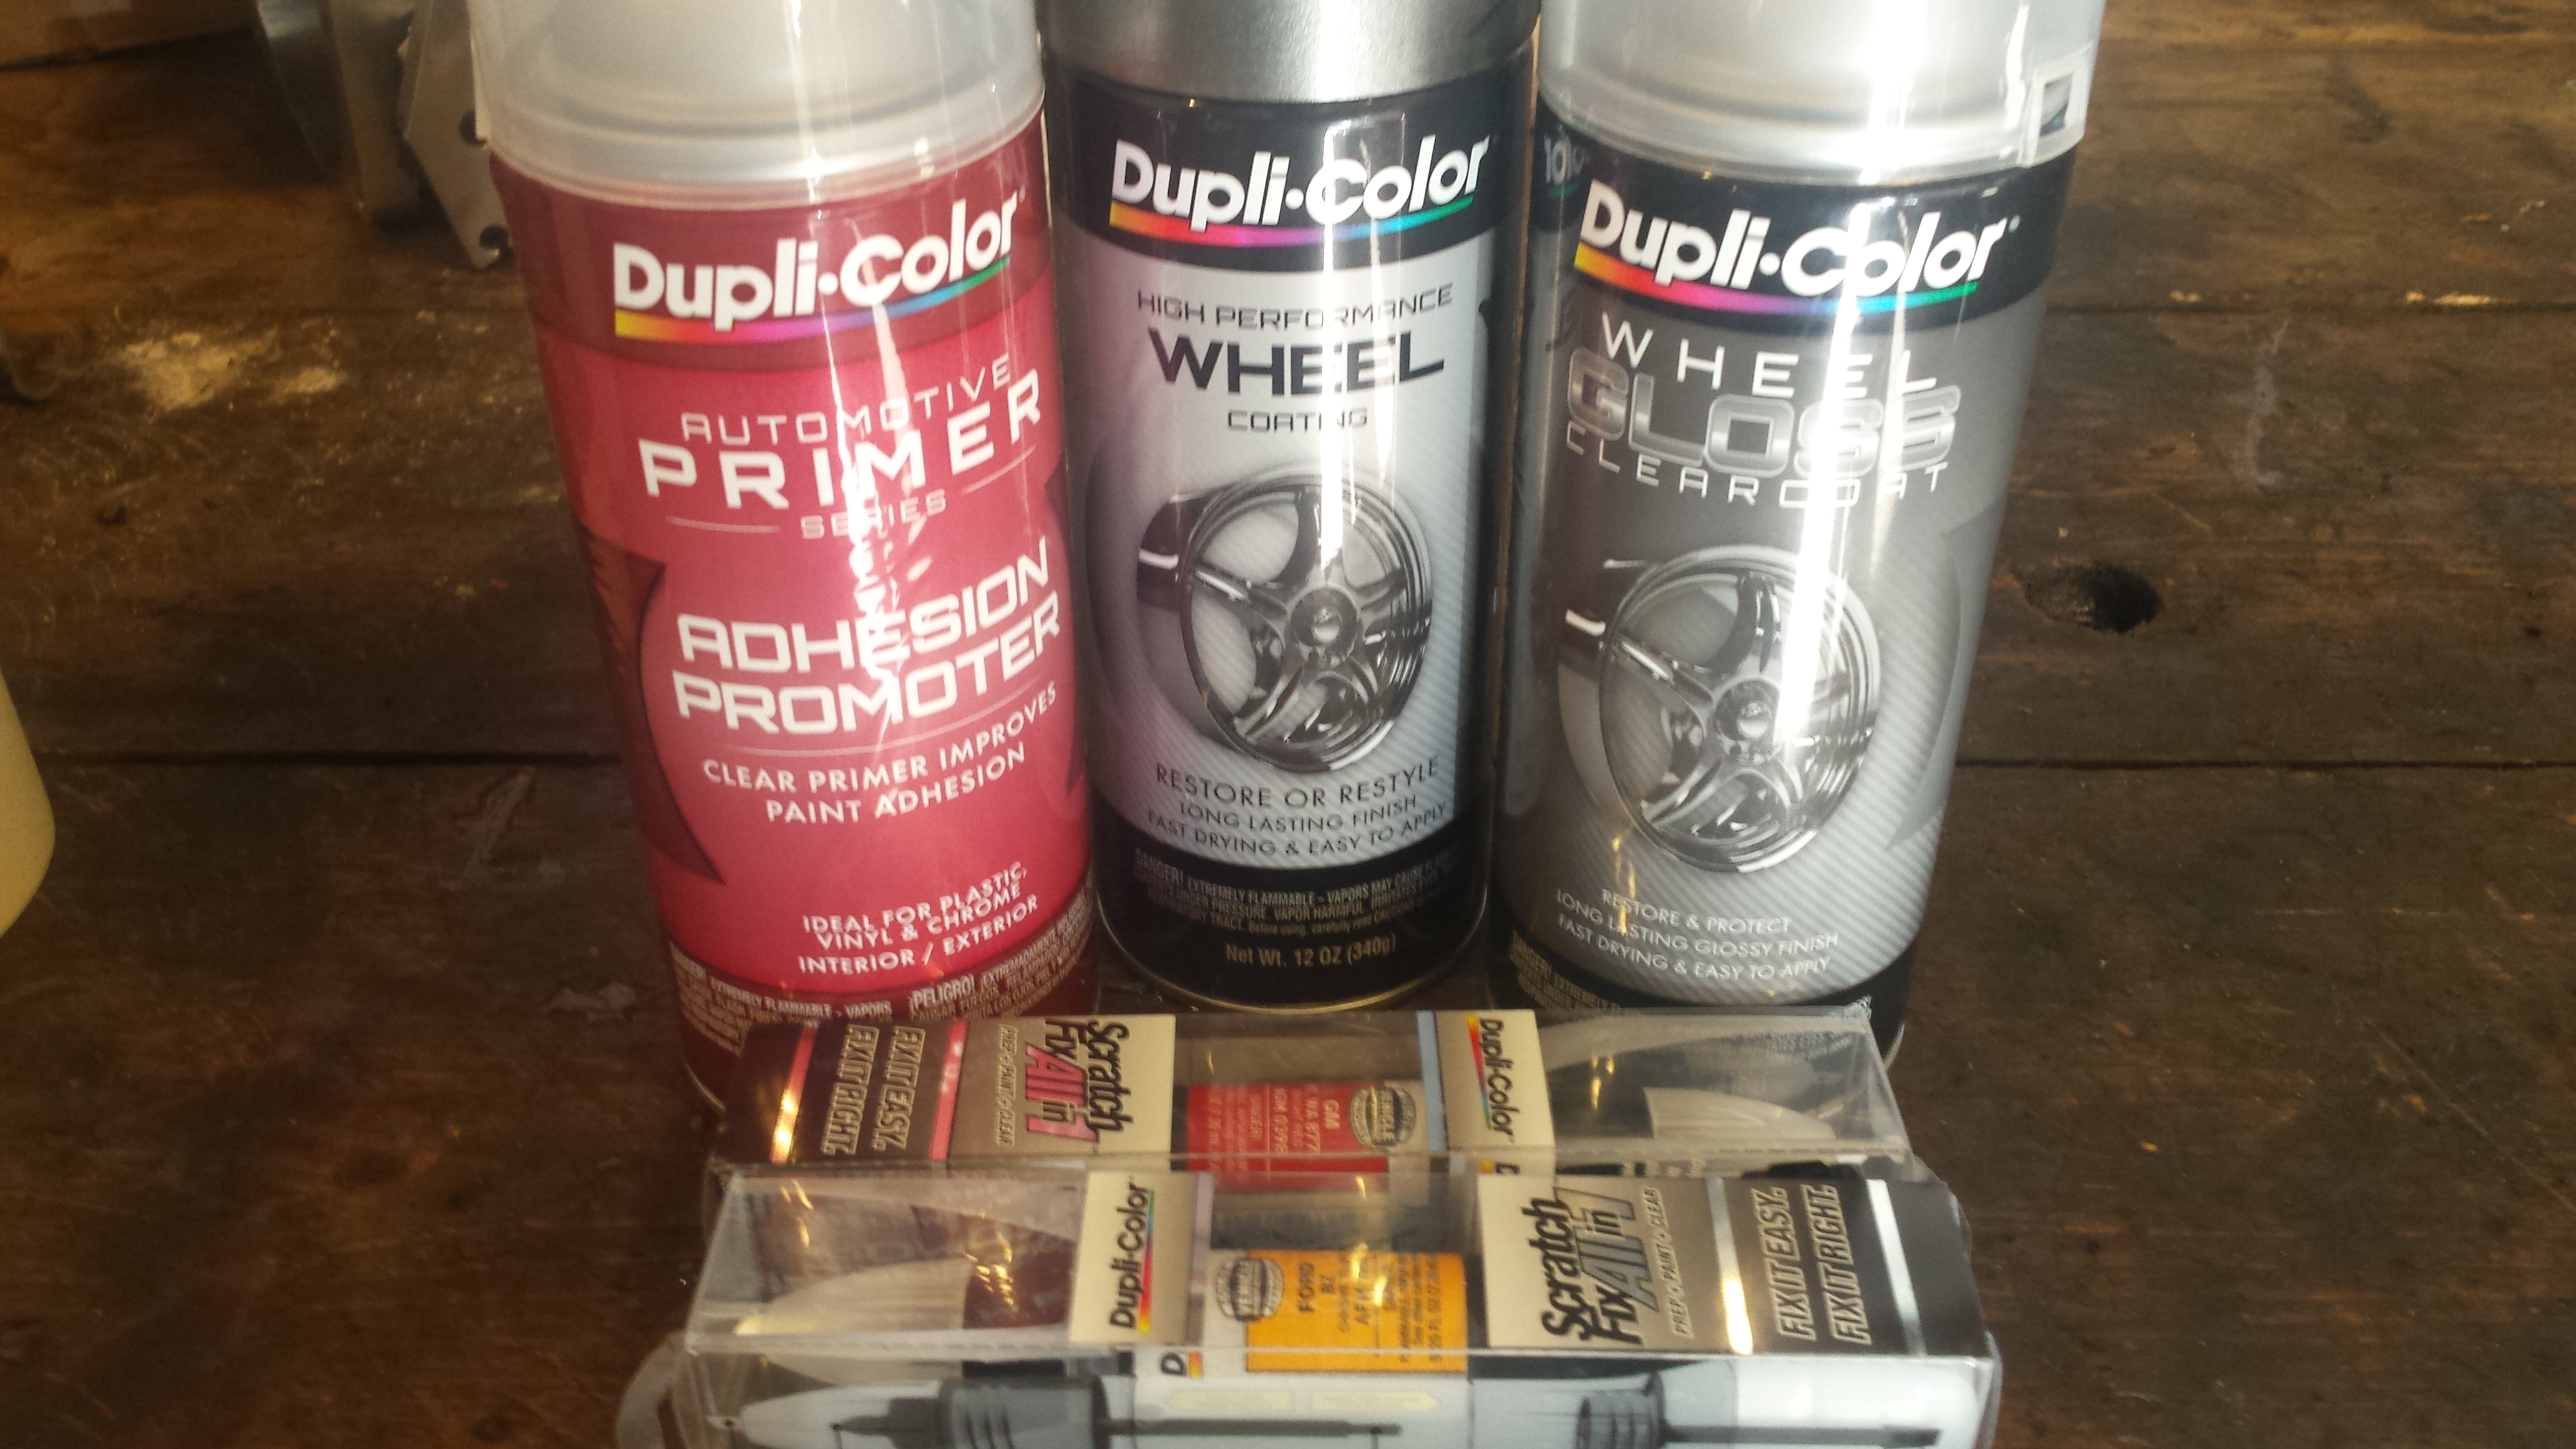
Looked around for something silver. Thought hey lets go a little darker then go bright on the lettering.
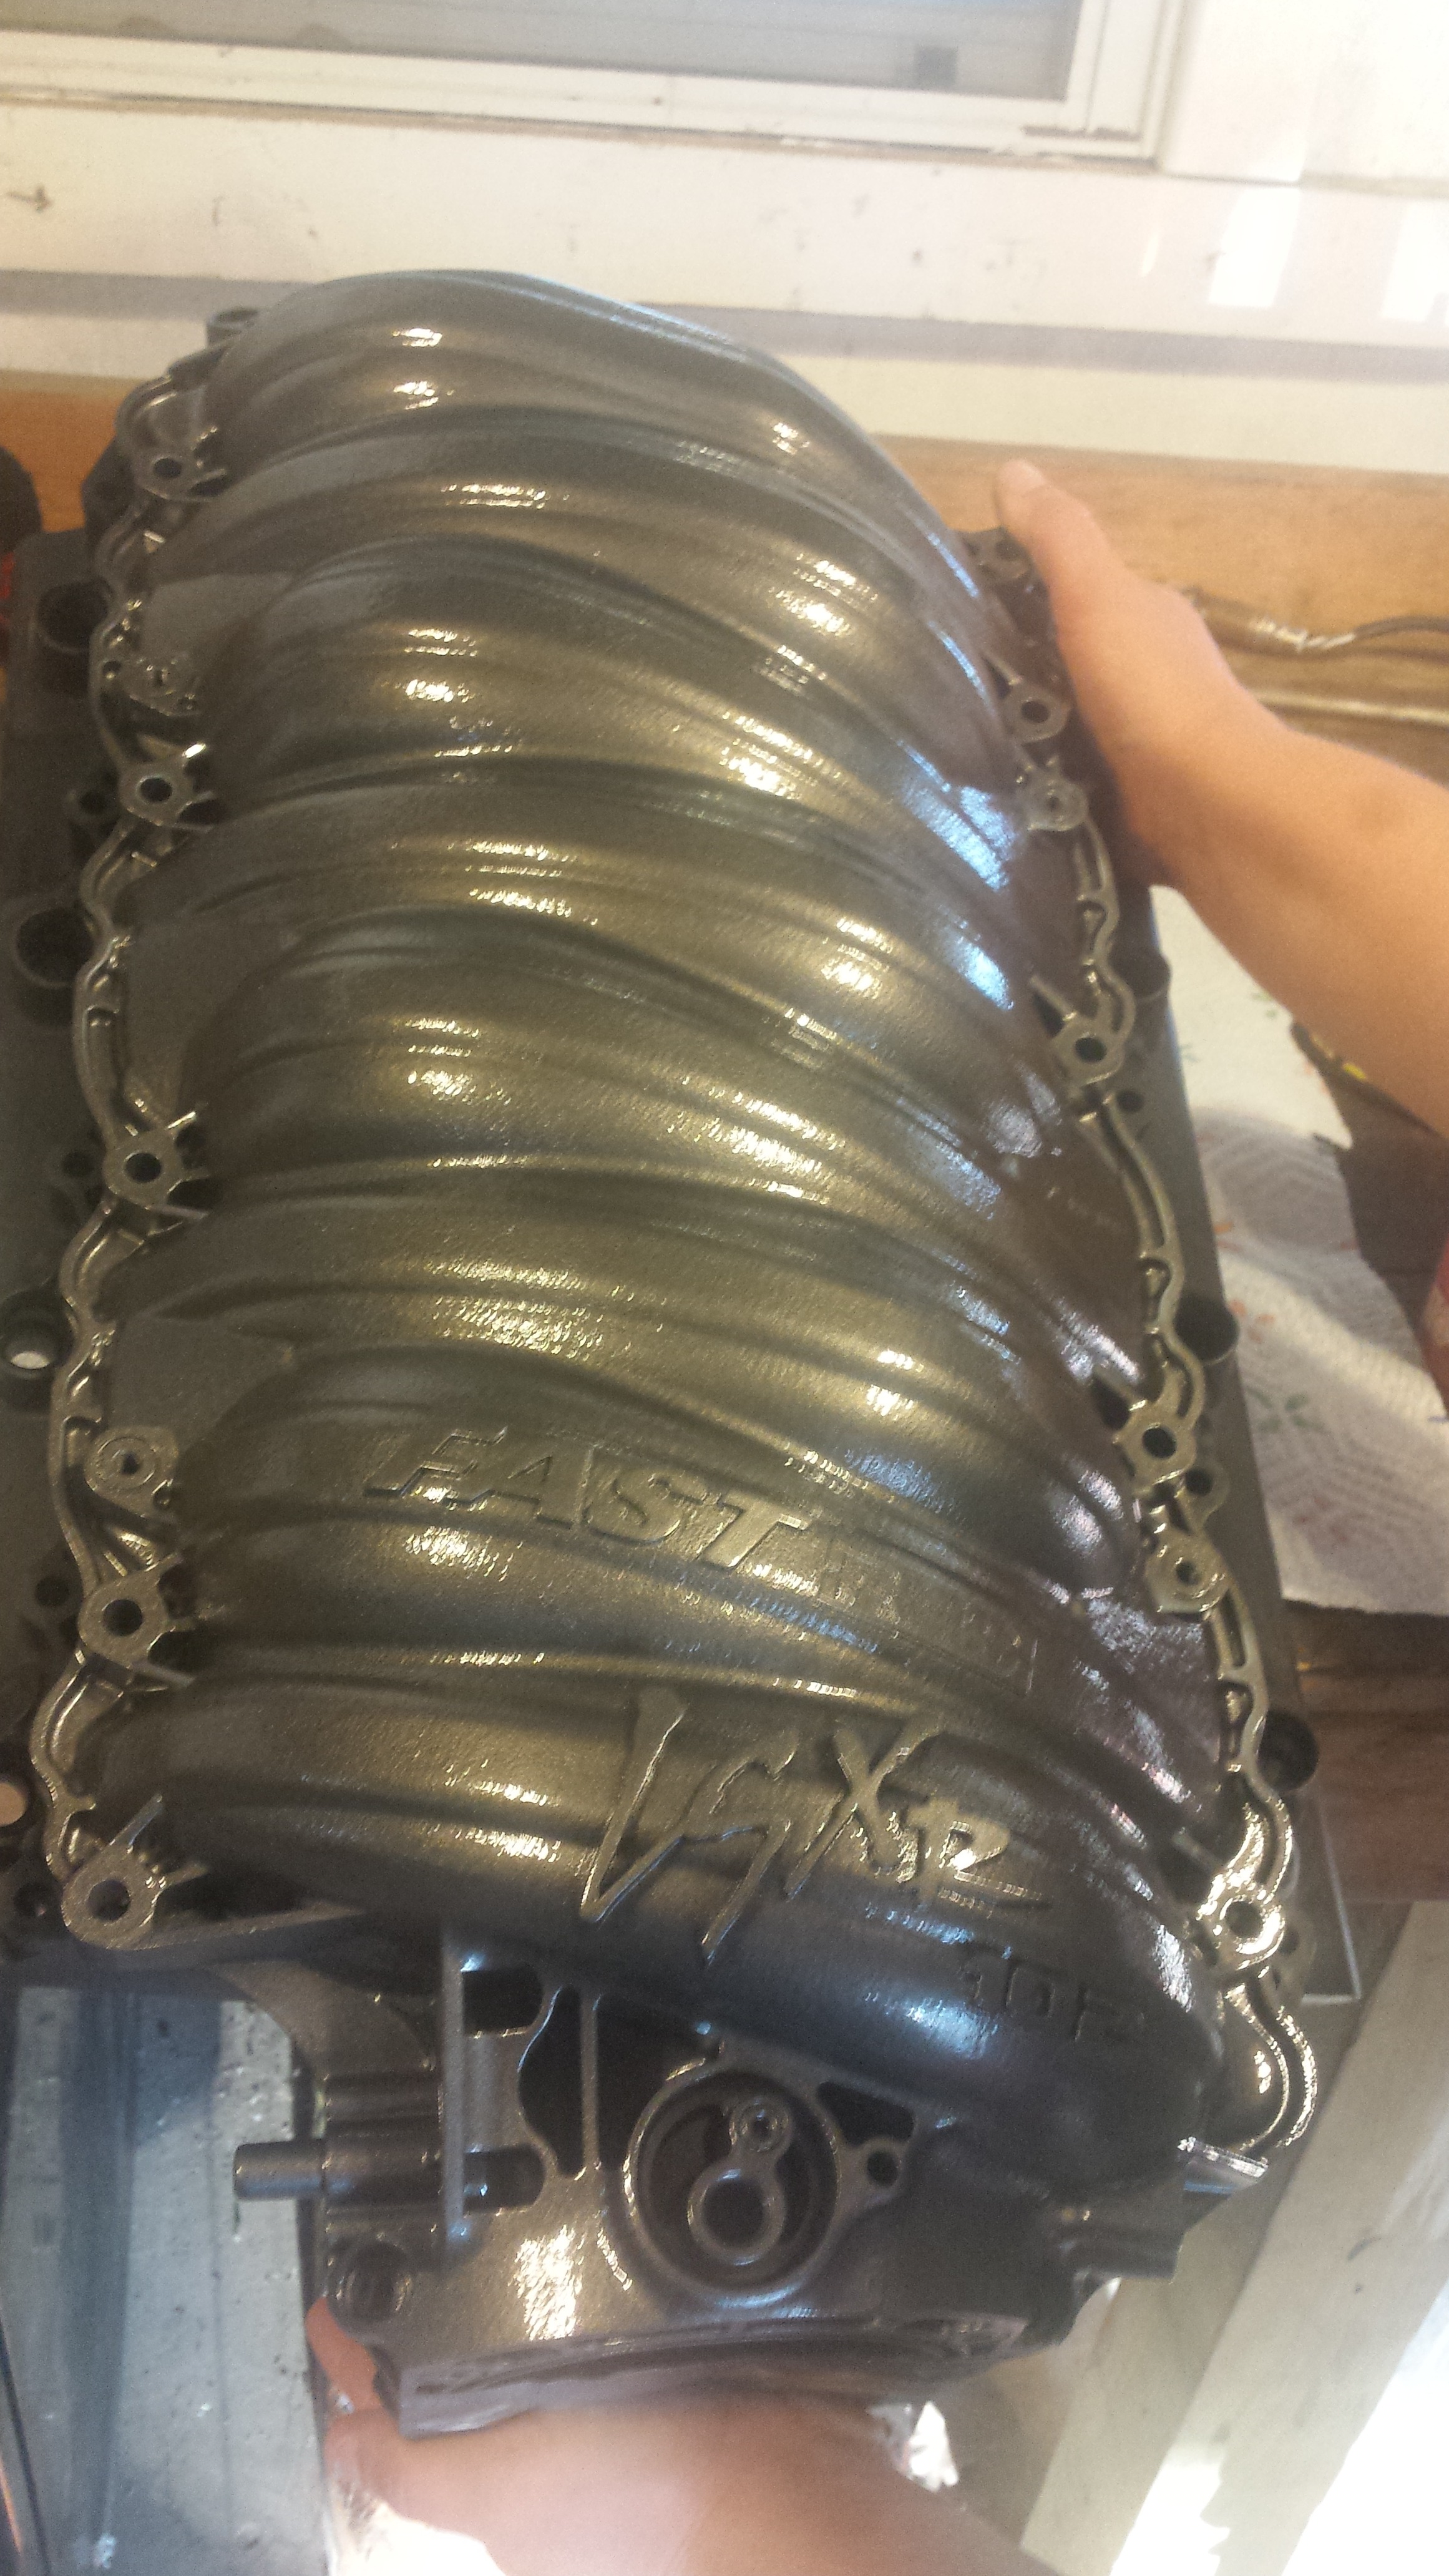
Got about 3 color coats on it.
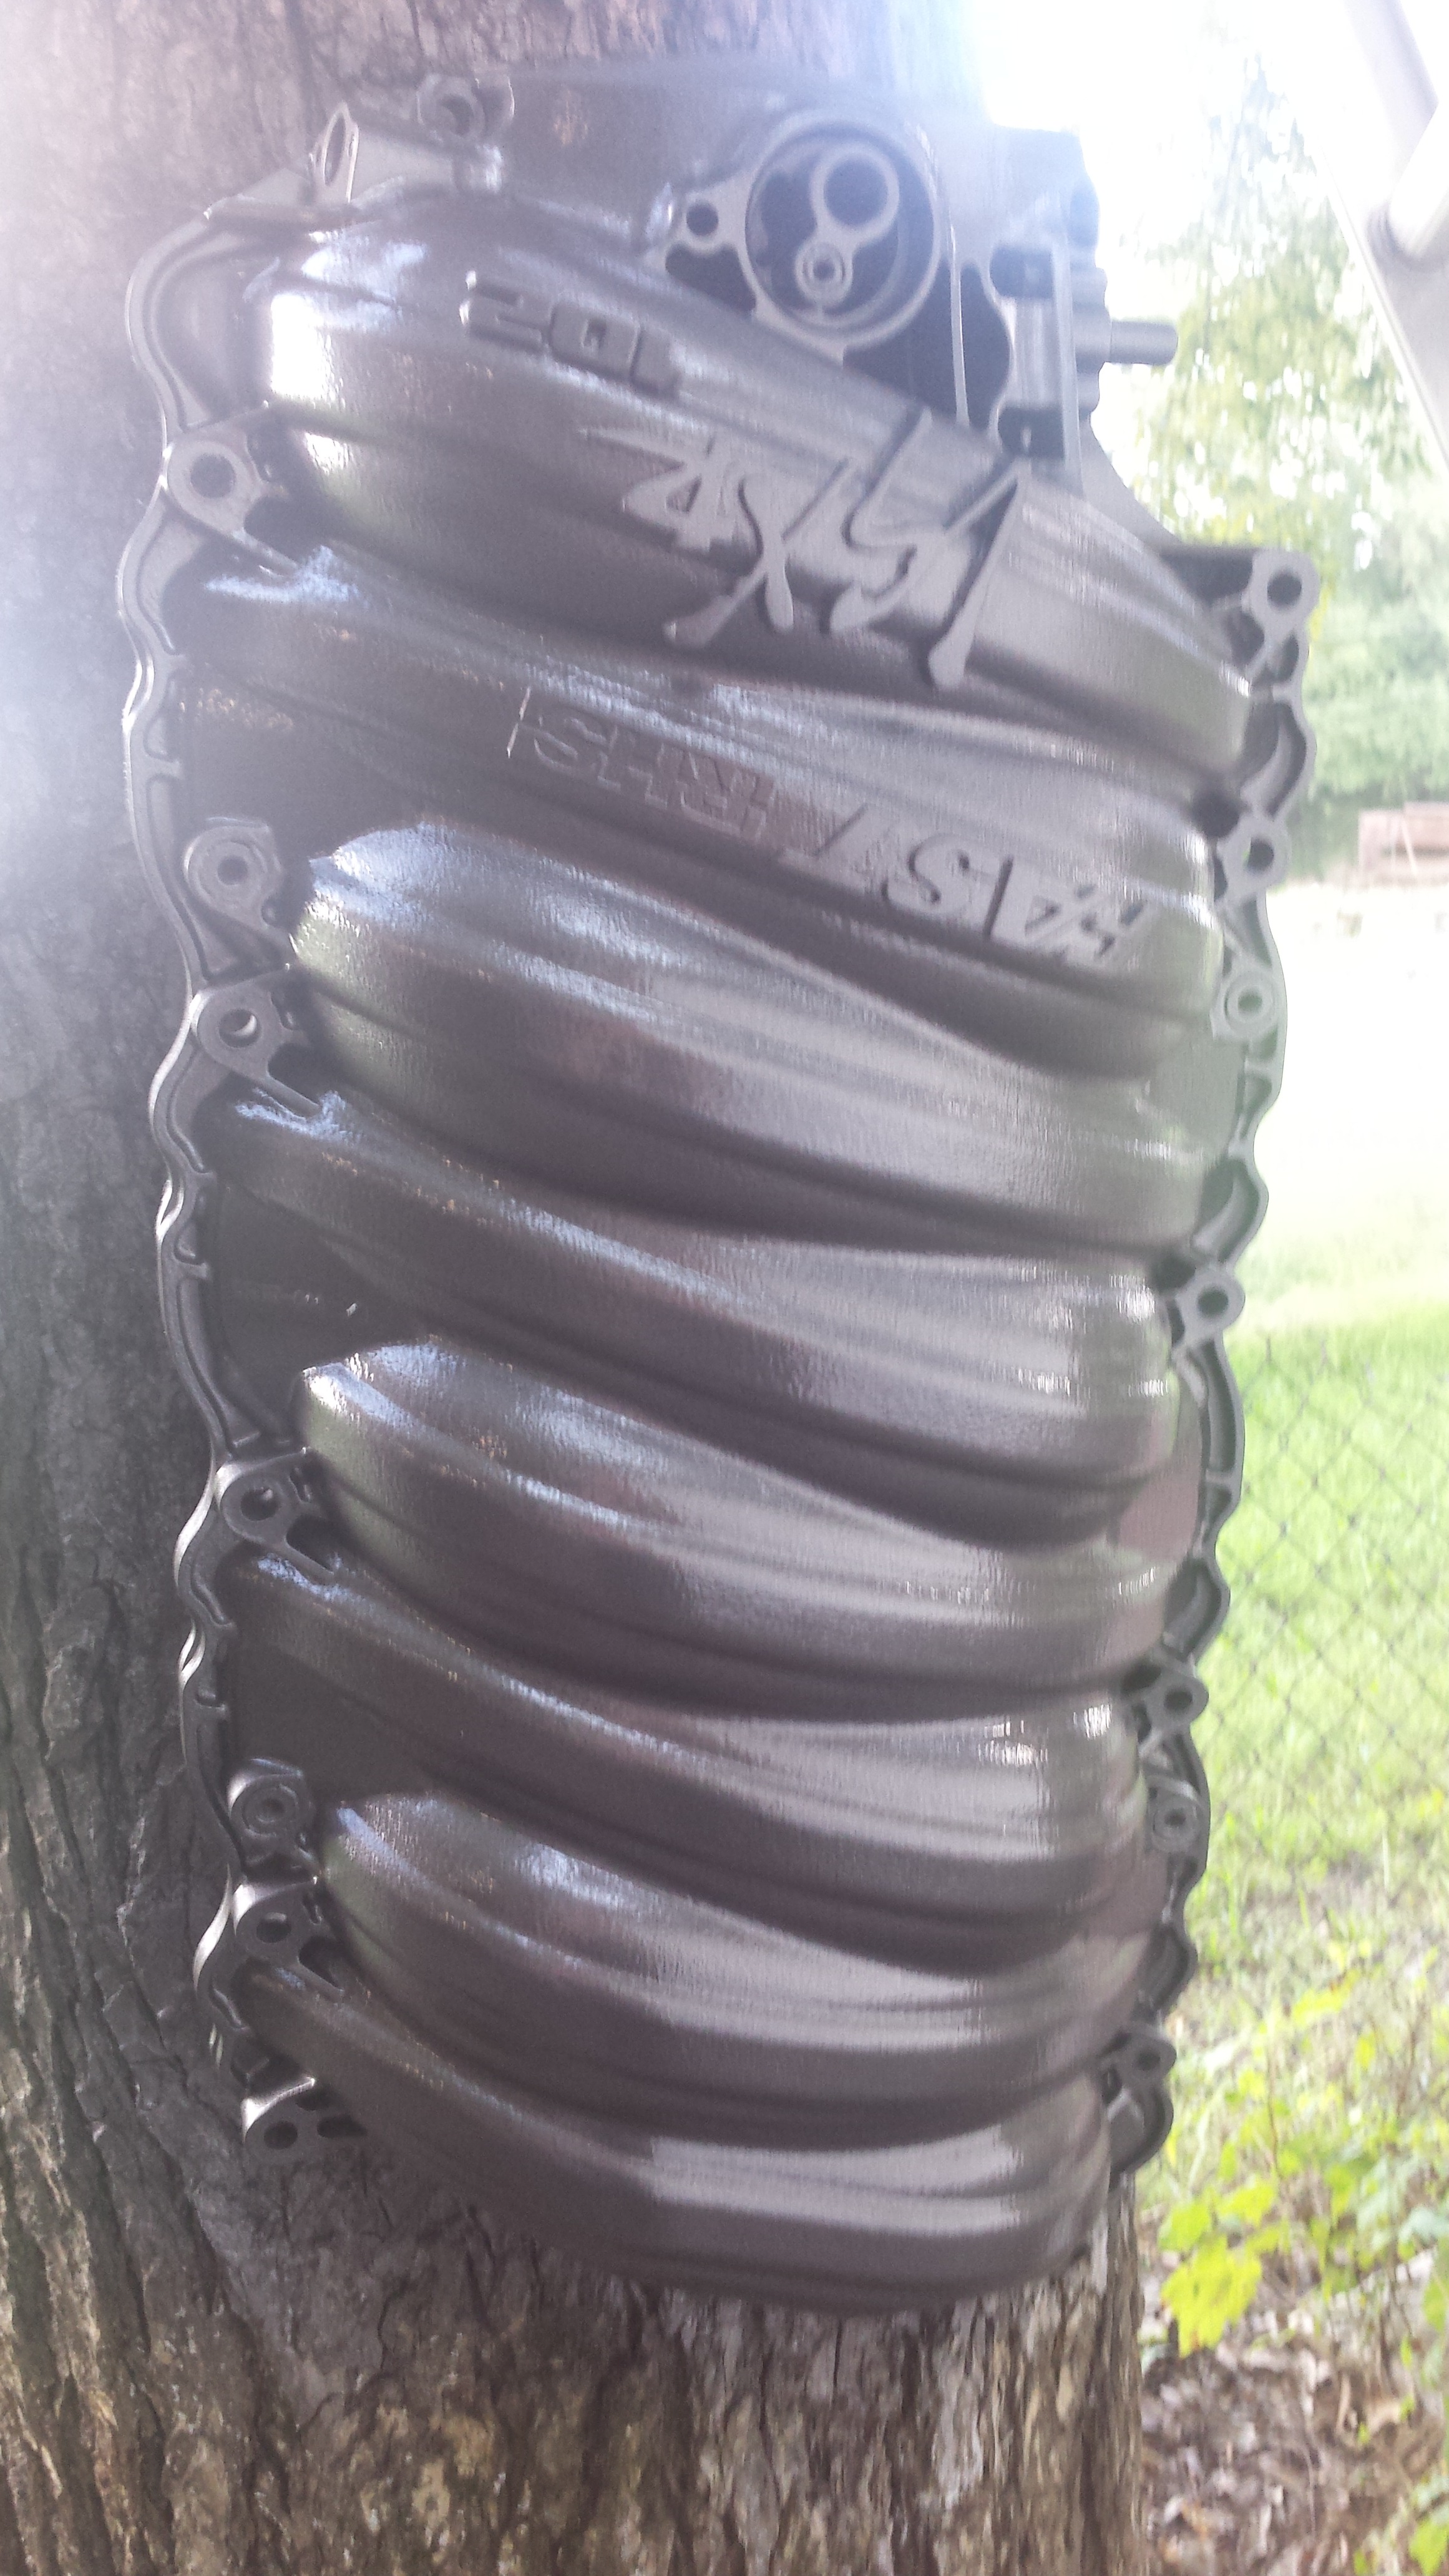
Then about 3 coats of clear
Then dressed it out with injector, rails, tb, and yellow lettering
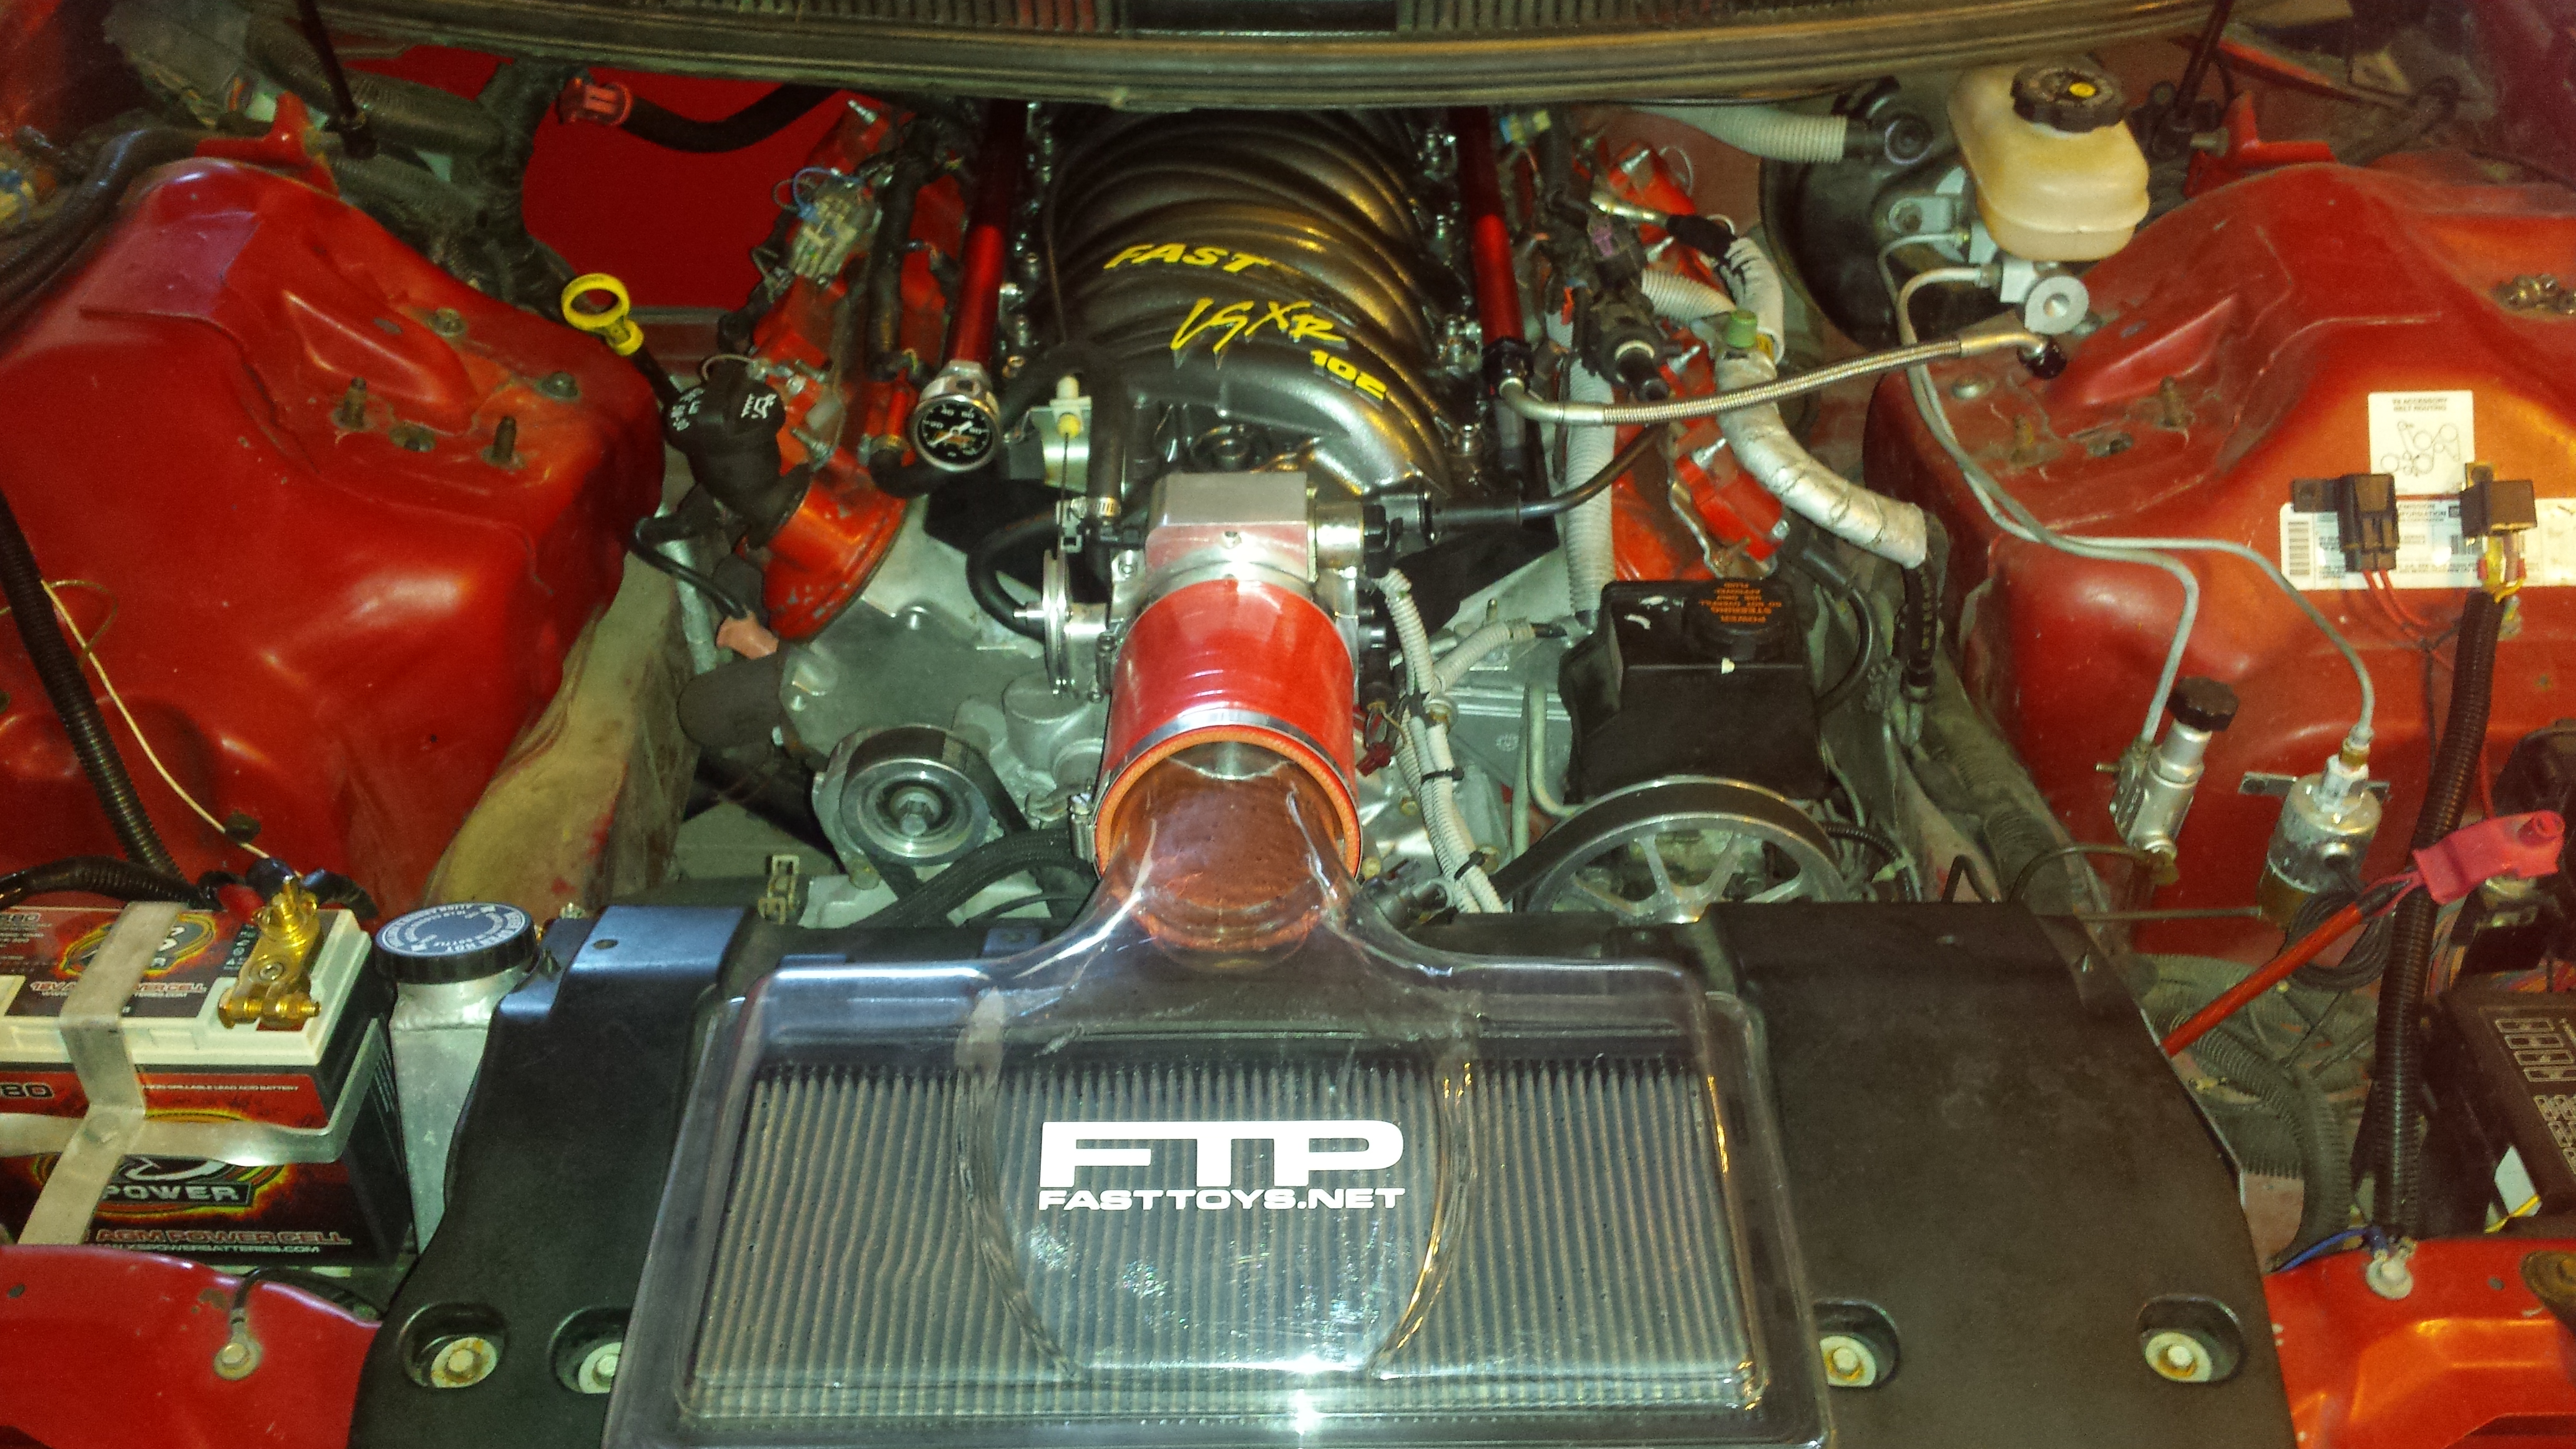
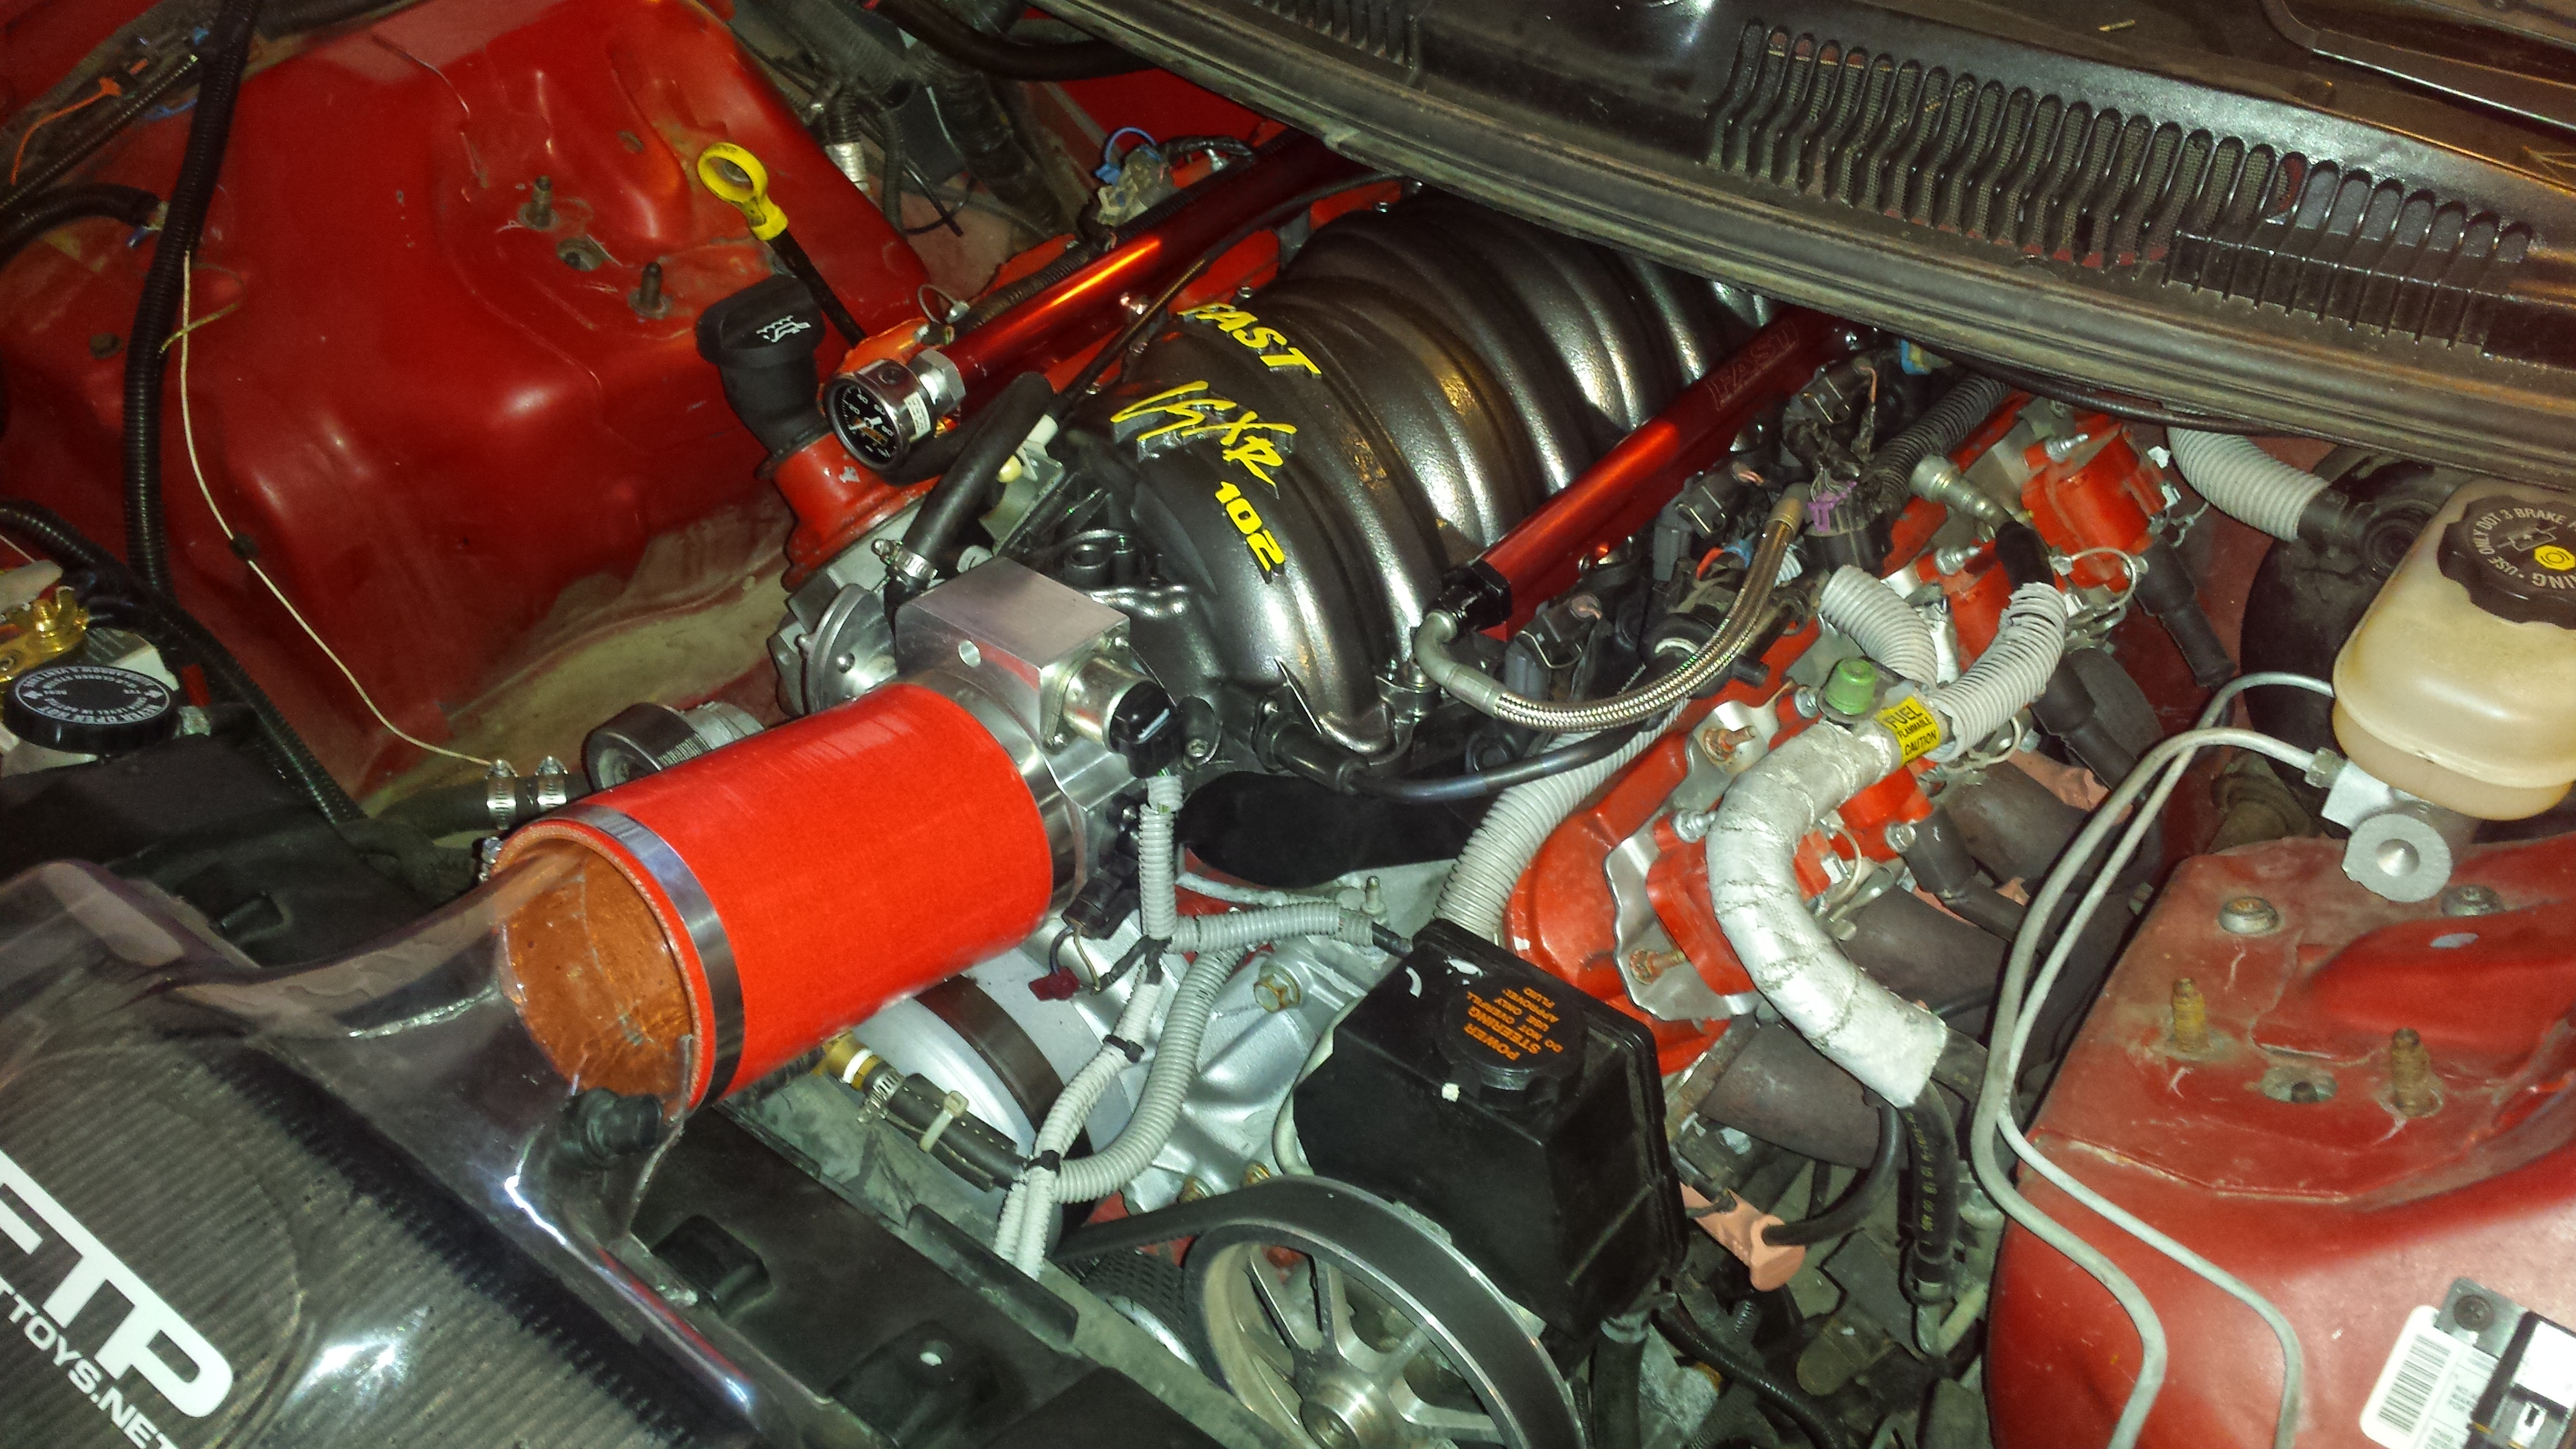
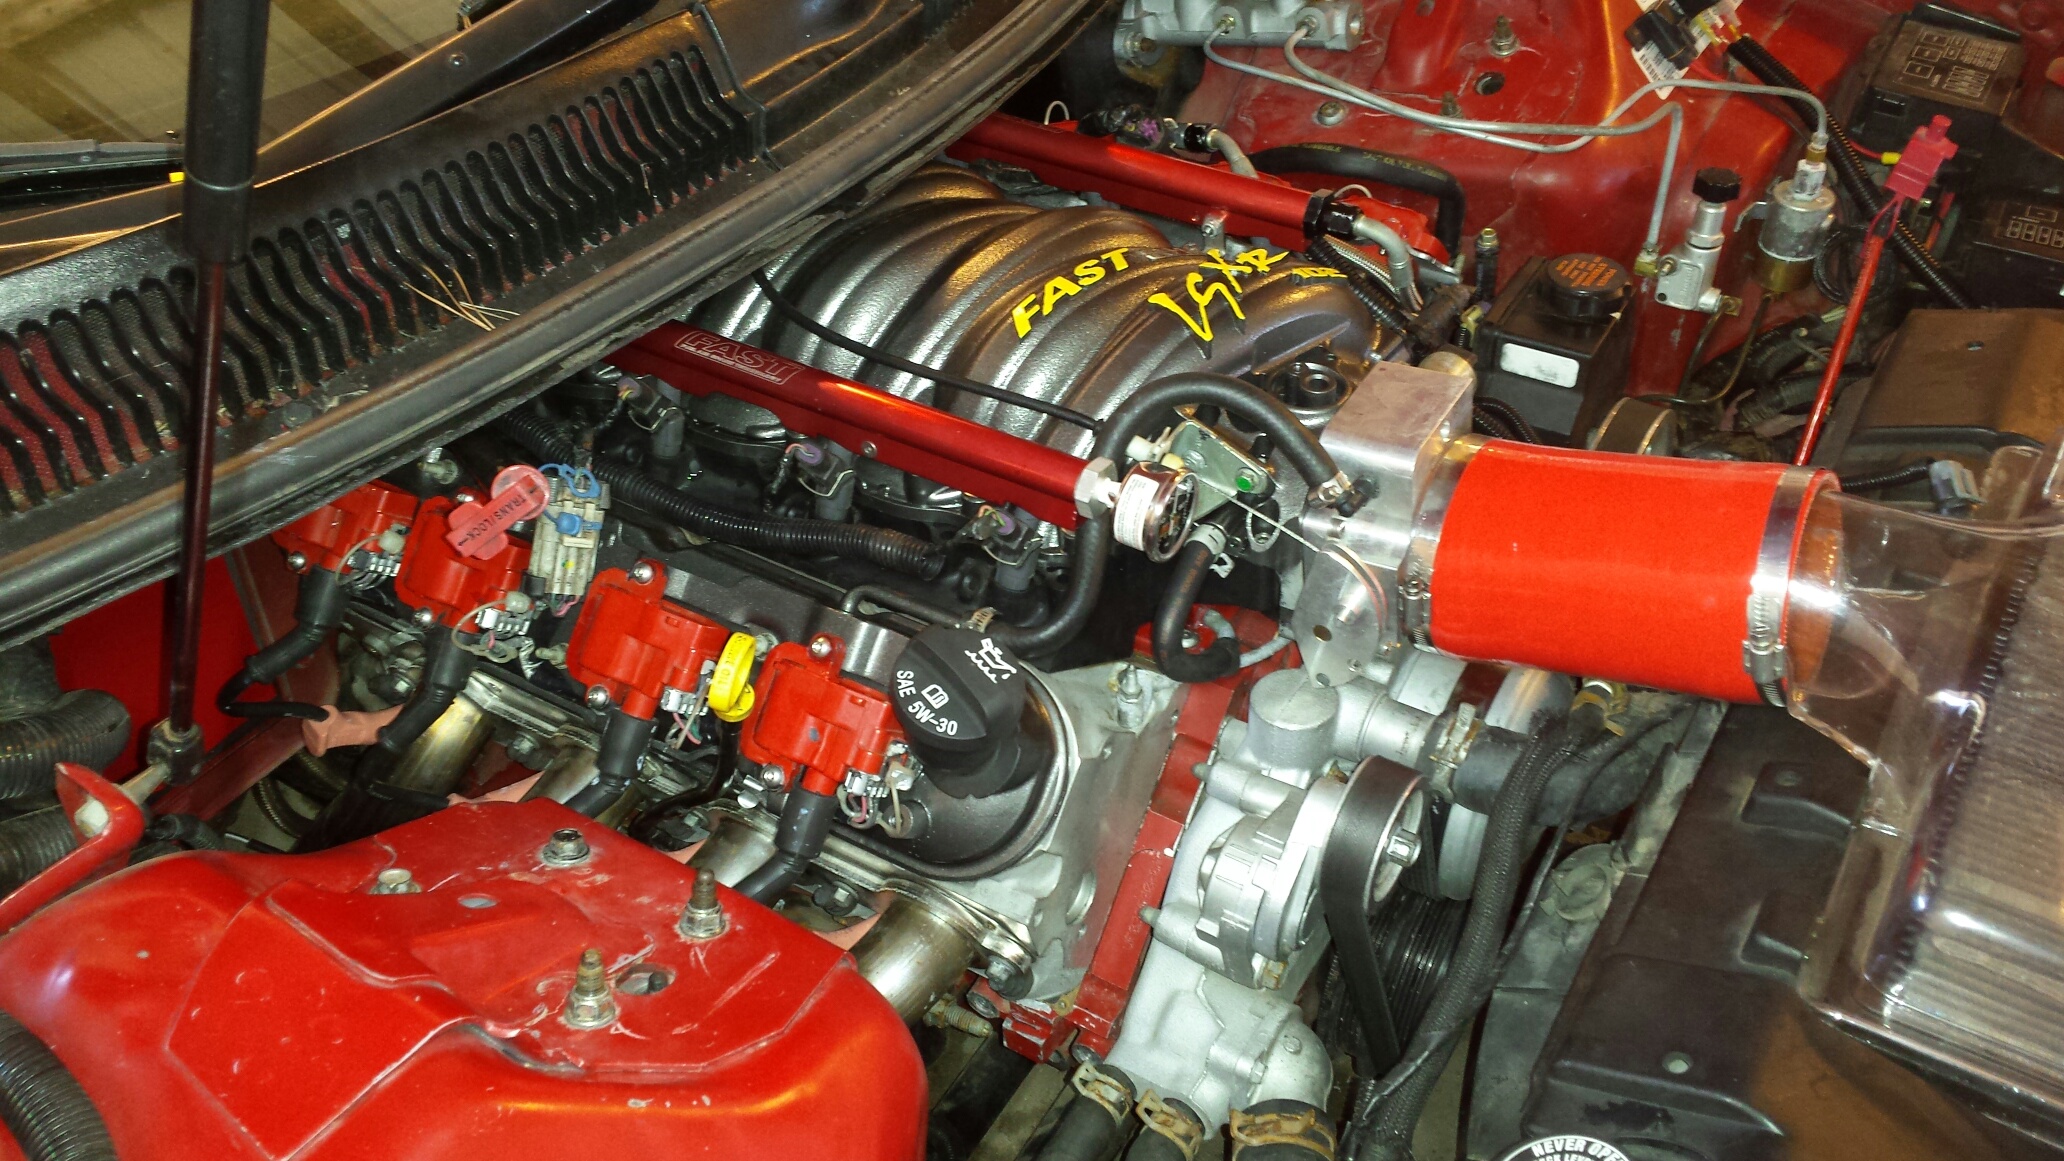
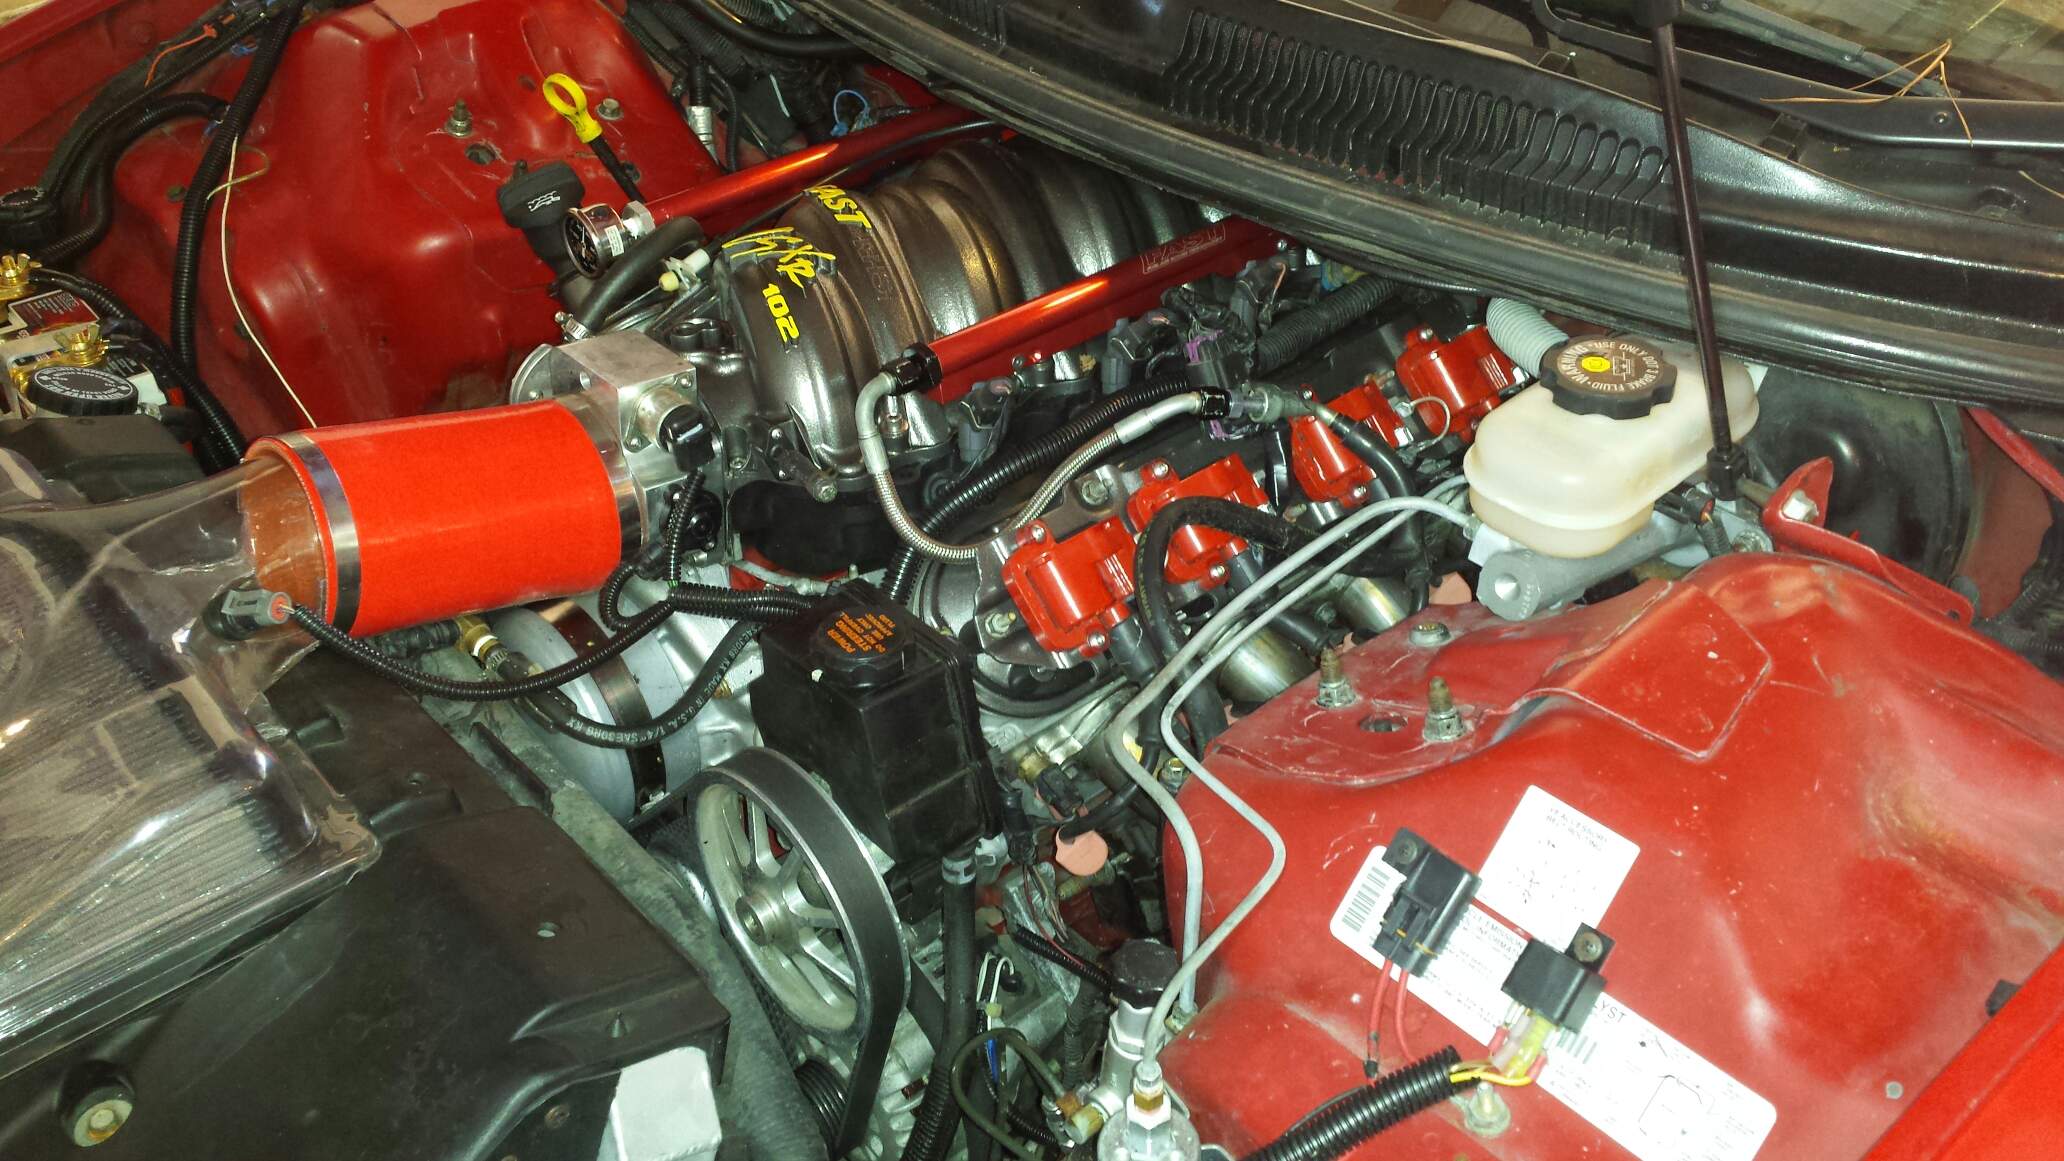
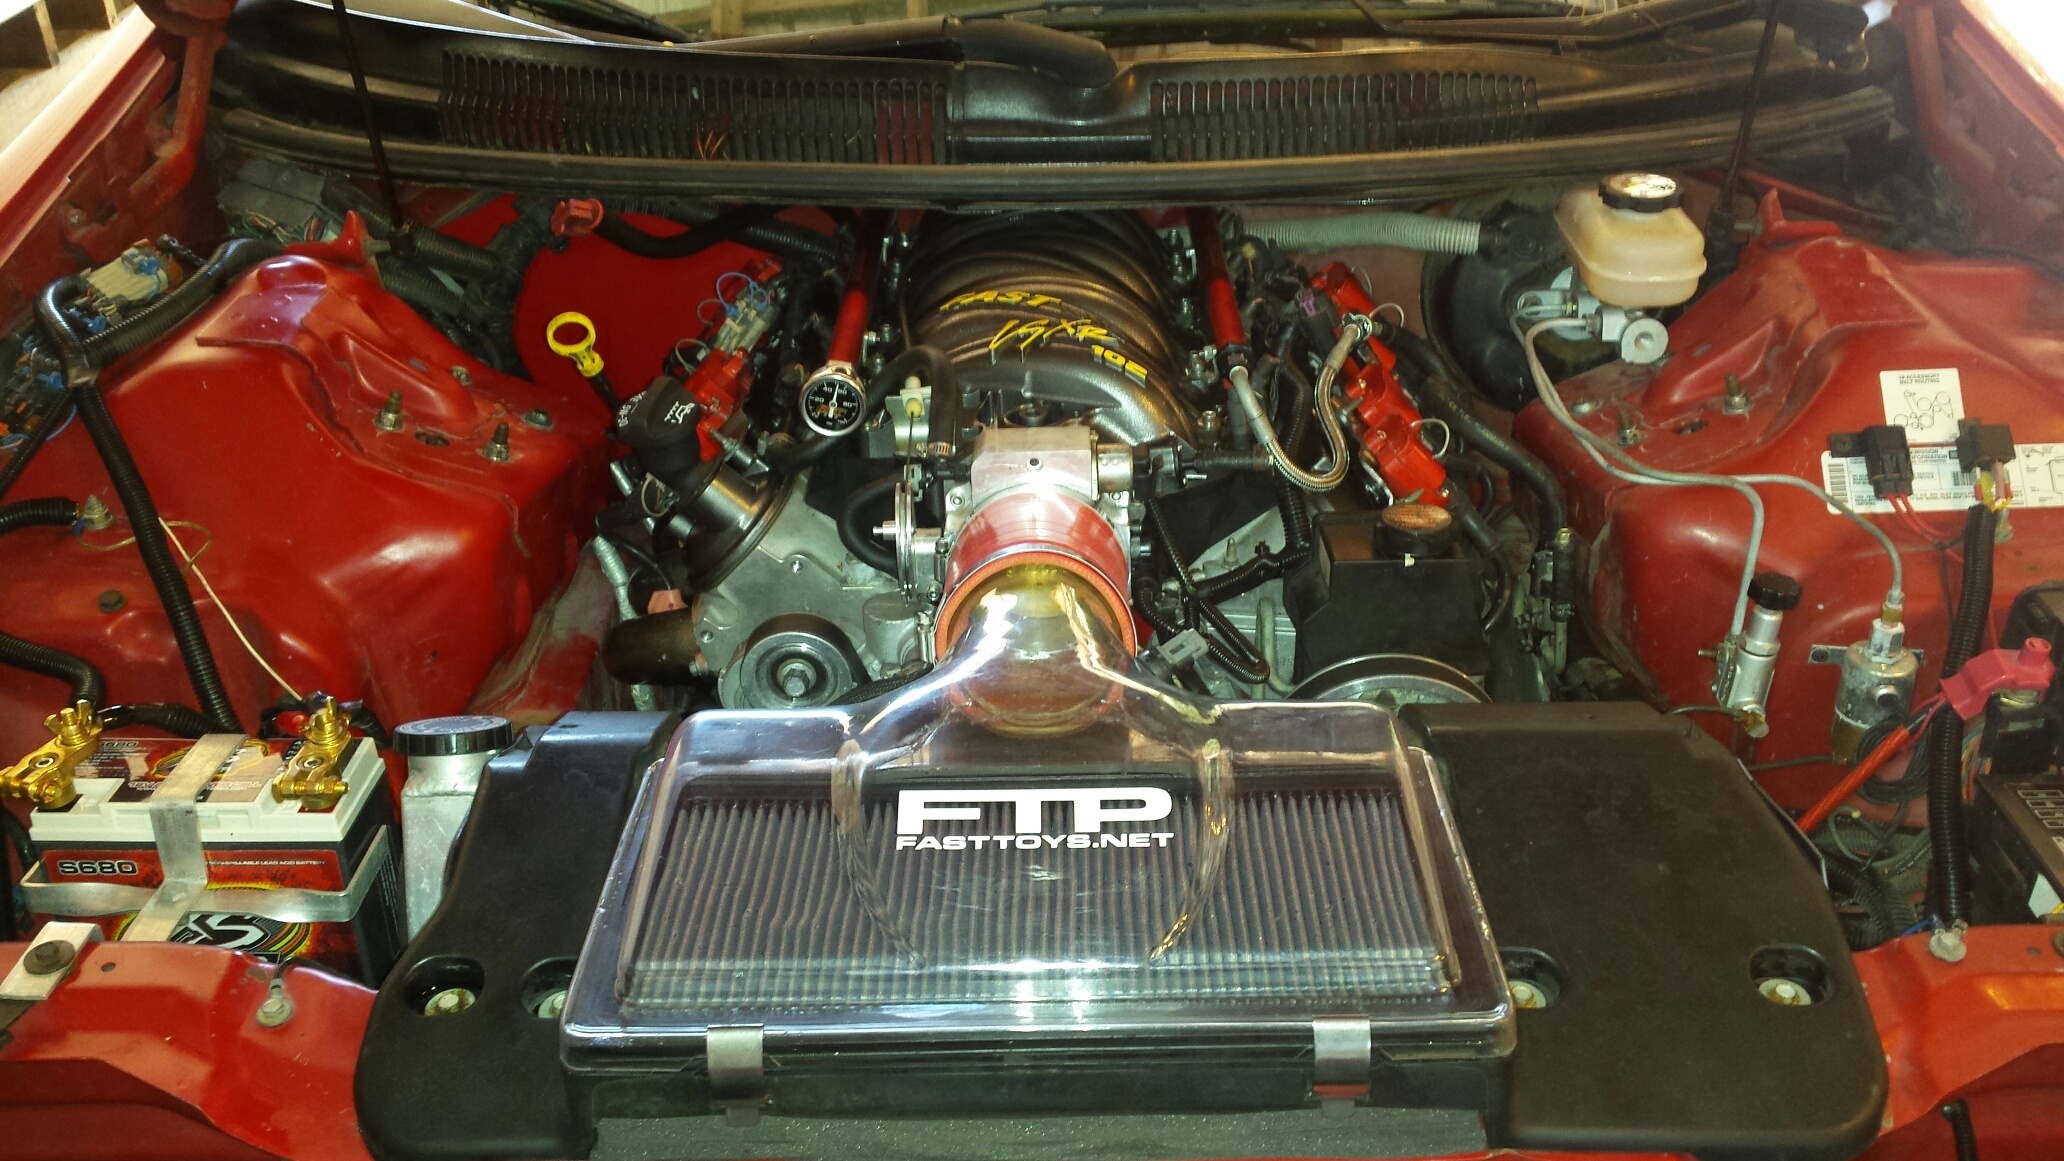
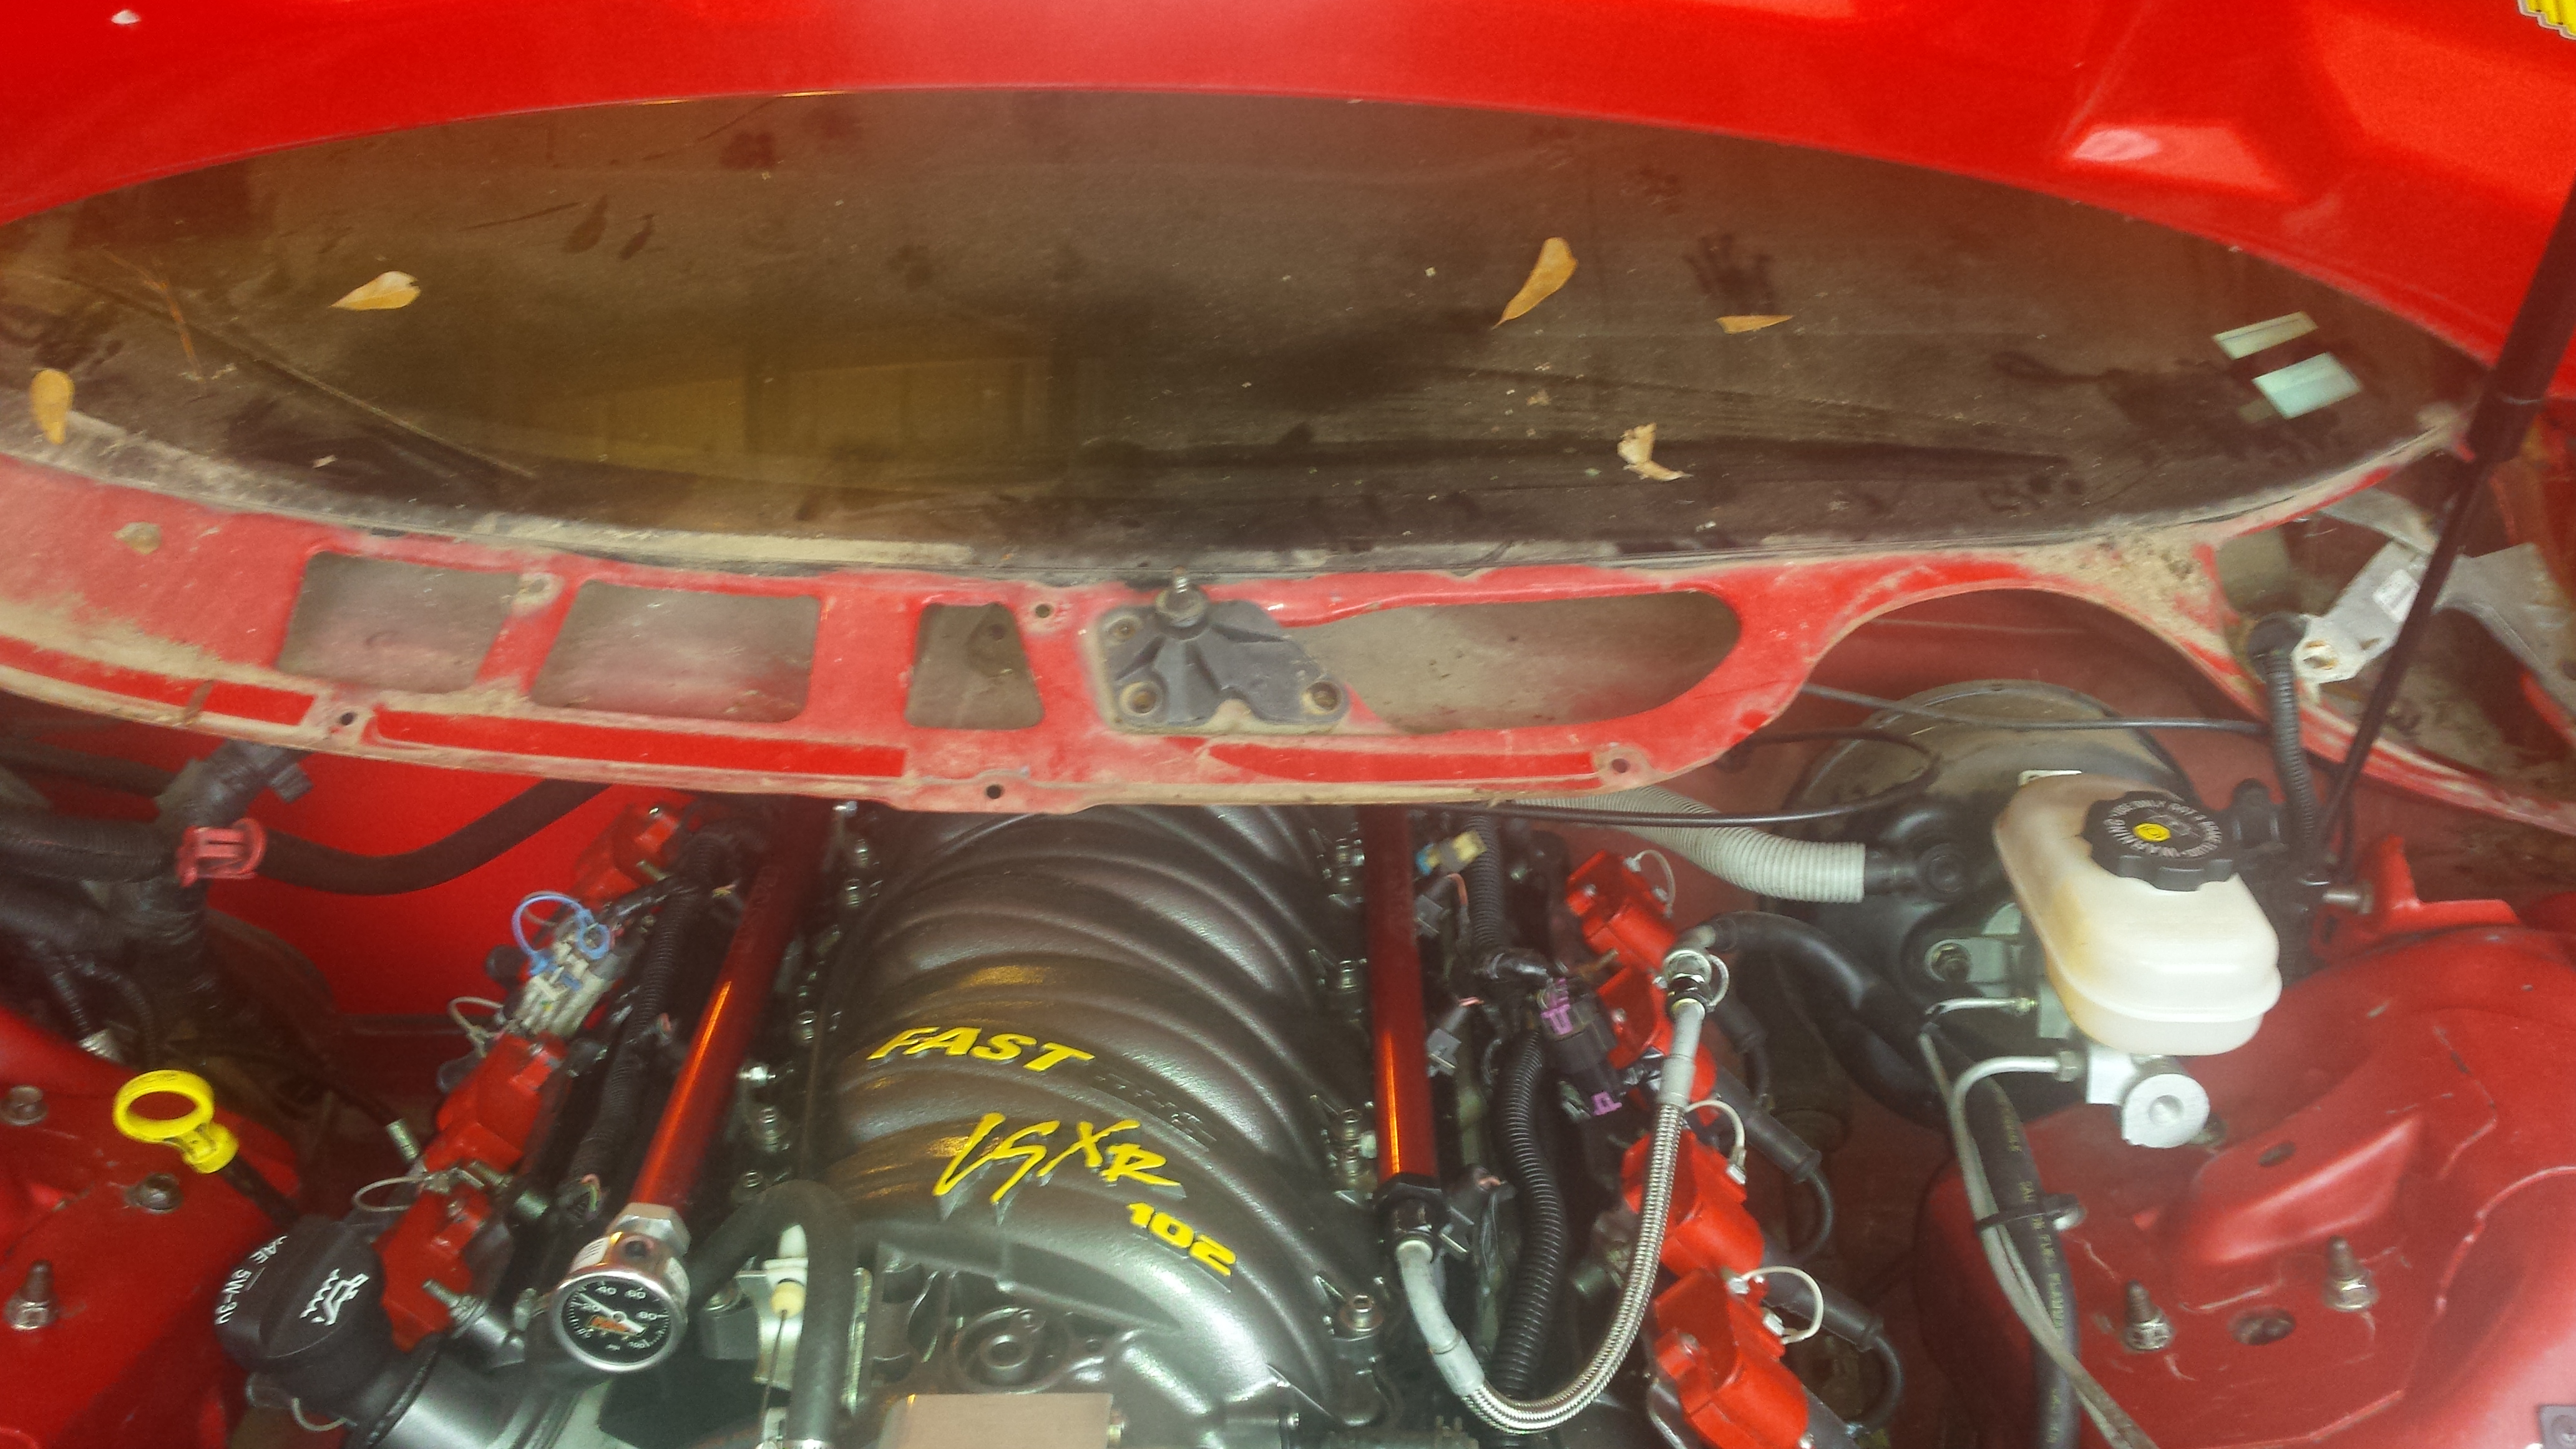
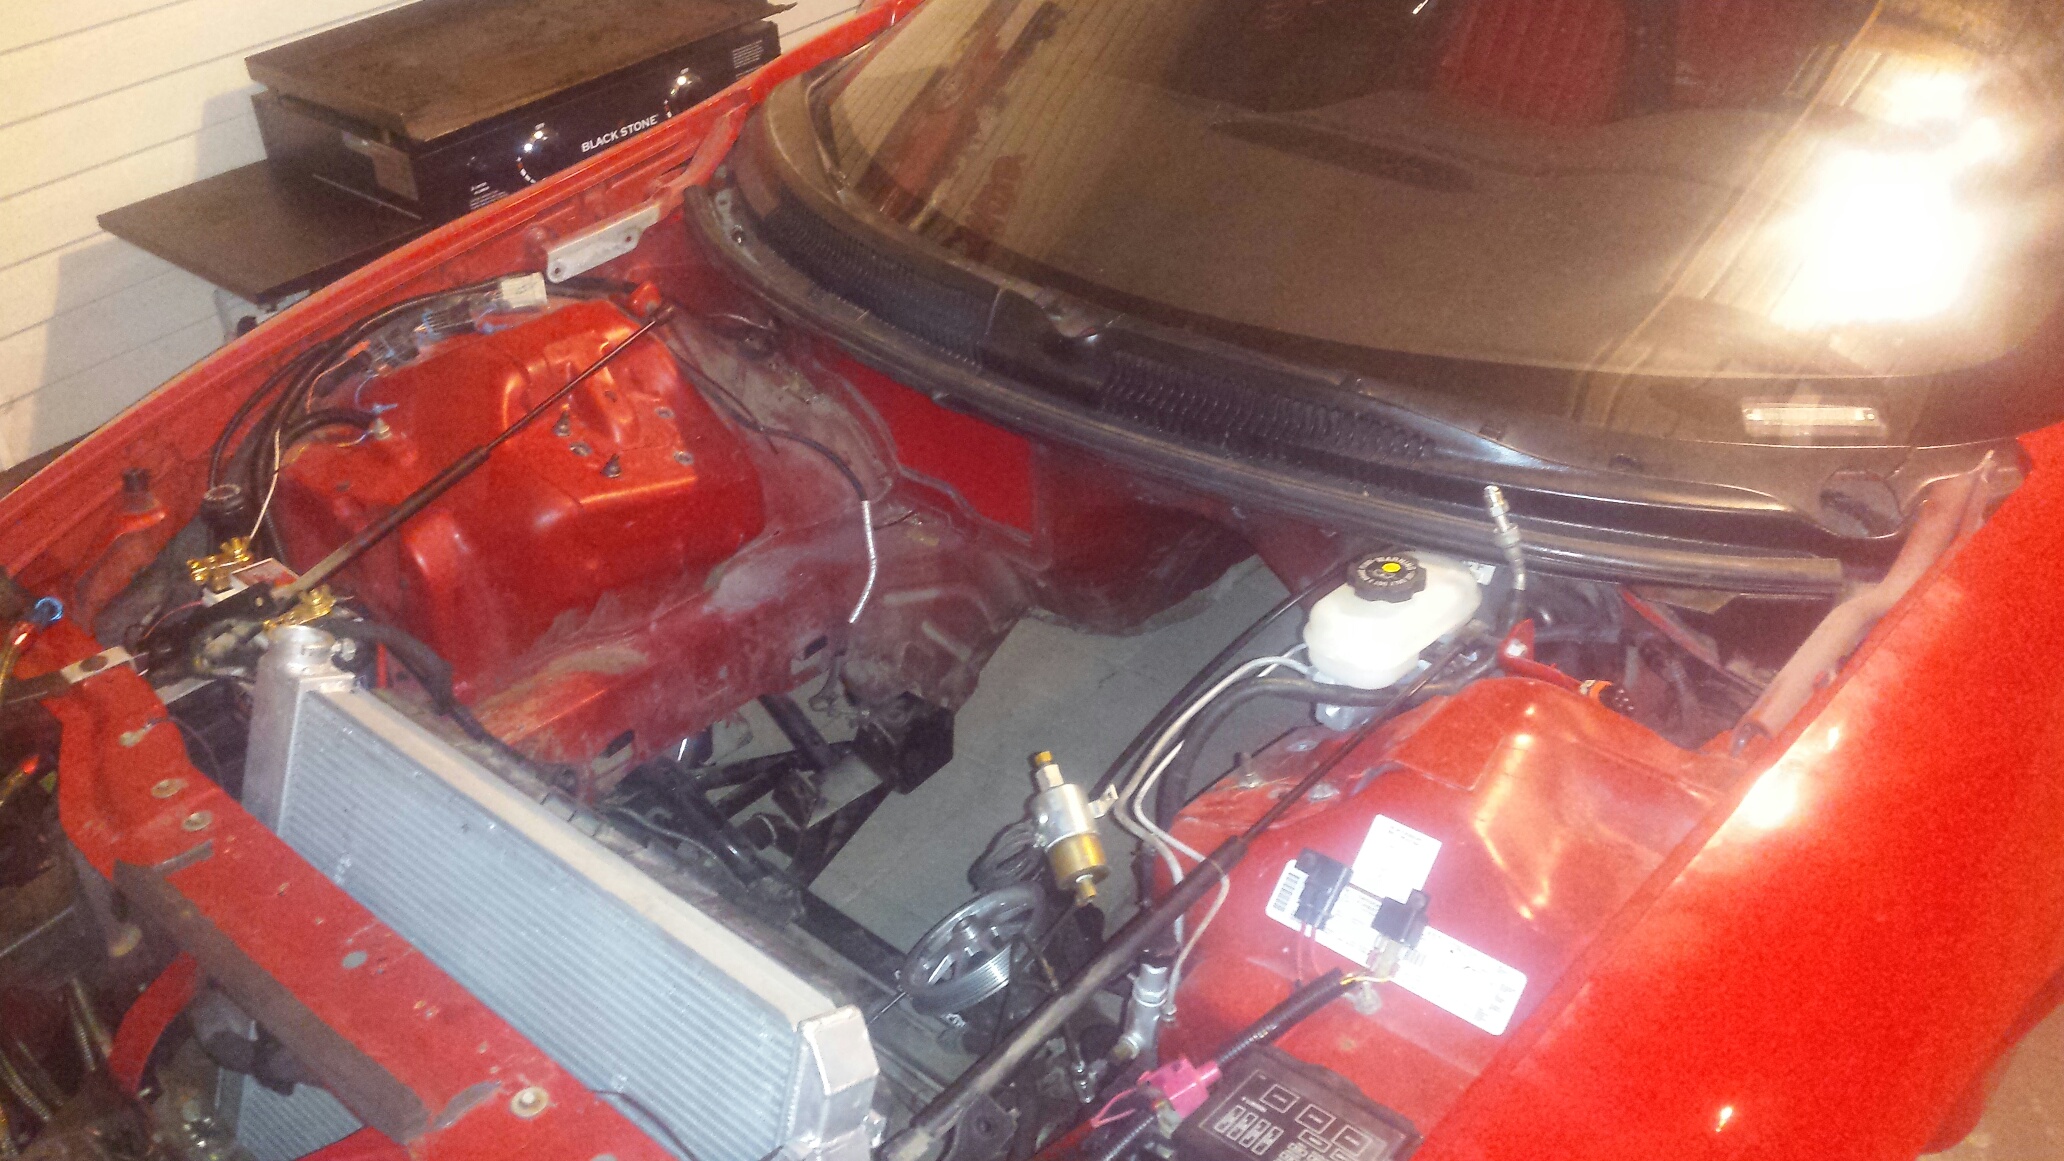
Then the install, man this thing barely fits. I removed the located dowels from the bottom of the intake and bent the pvc line. No grinding on the pump. Added a new silicone SD hose also. Excuse the dirty engine bay.
Track times to come!

Looked around for something silver. Thought hey lets go a little darker then go bright on the lettering.

Got about 3 color coats on it.

Then about 3 coats of clear

Then dressed it out with injector, rails, tb, and yellow lettering

Then the install, man this thing barely fits. I removed the located dowels from the bottom of the intake and bent the pvc line. No grinding on the pump. Added a new silicone SD hose also. Excuse the dirty engine bay.


Track times to come!
#22
10-12-2016, 10:01 PM
Join Date: Aug 2010
Posts: 230
Likes: 0
Received 0 Likes
on
0 Posts
Another day, a little more accomplished. Pulled the old Hooker 1 7/8ths headers off. Slapped some paint on them and sold them locally.
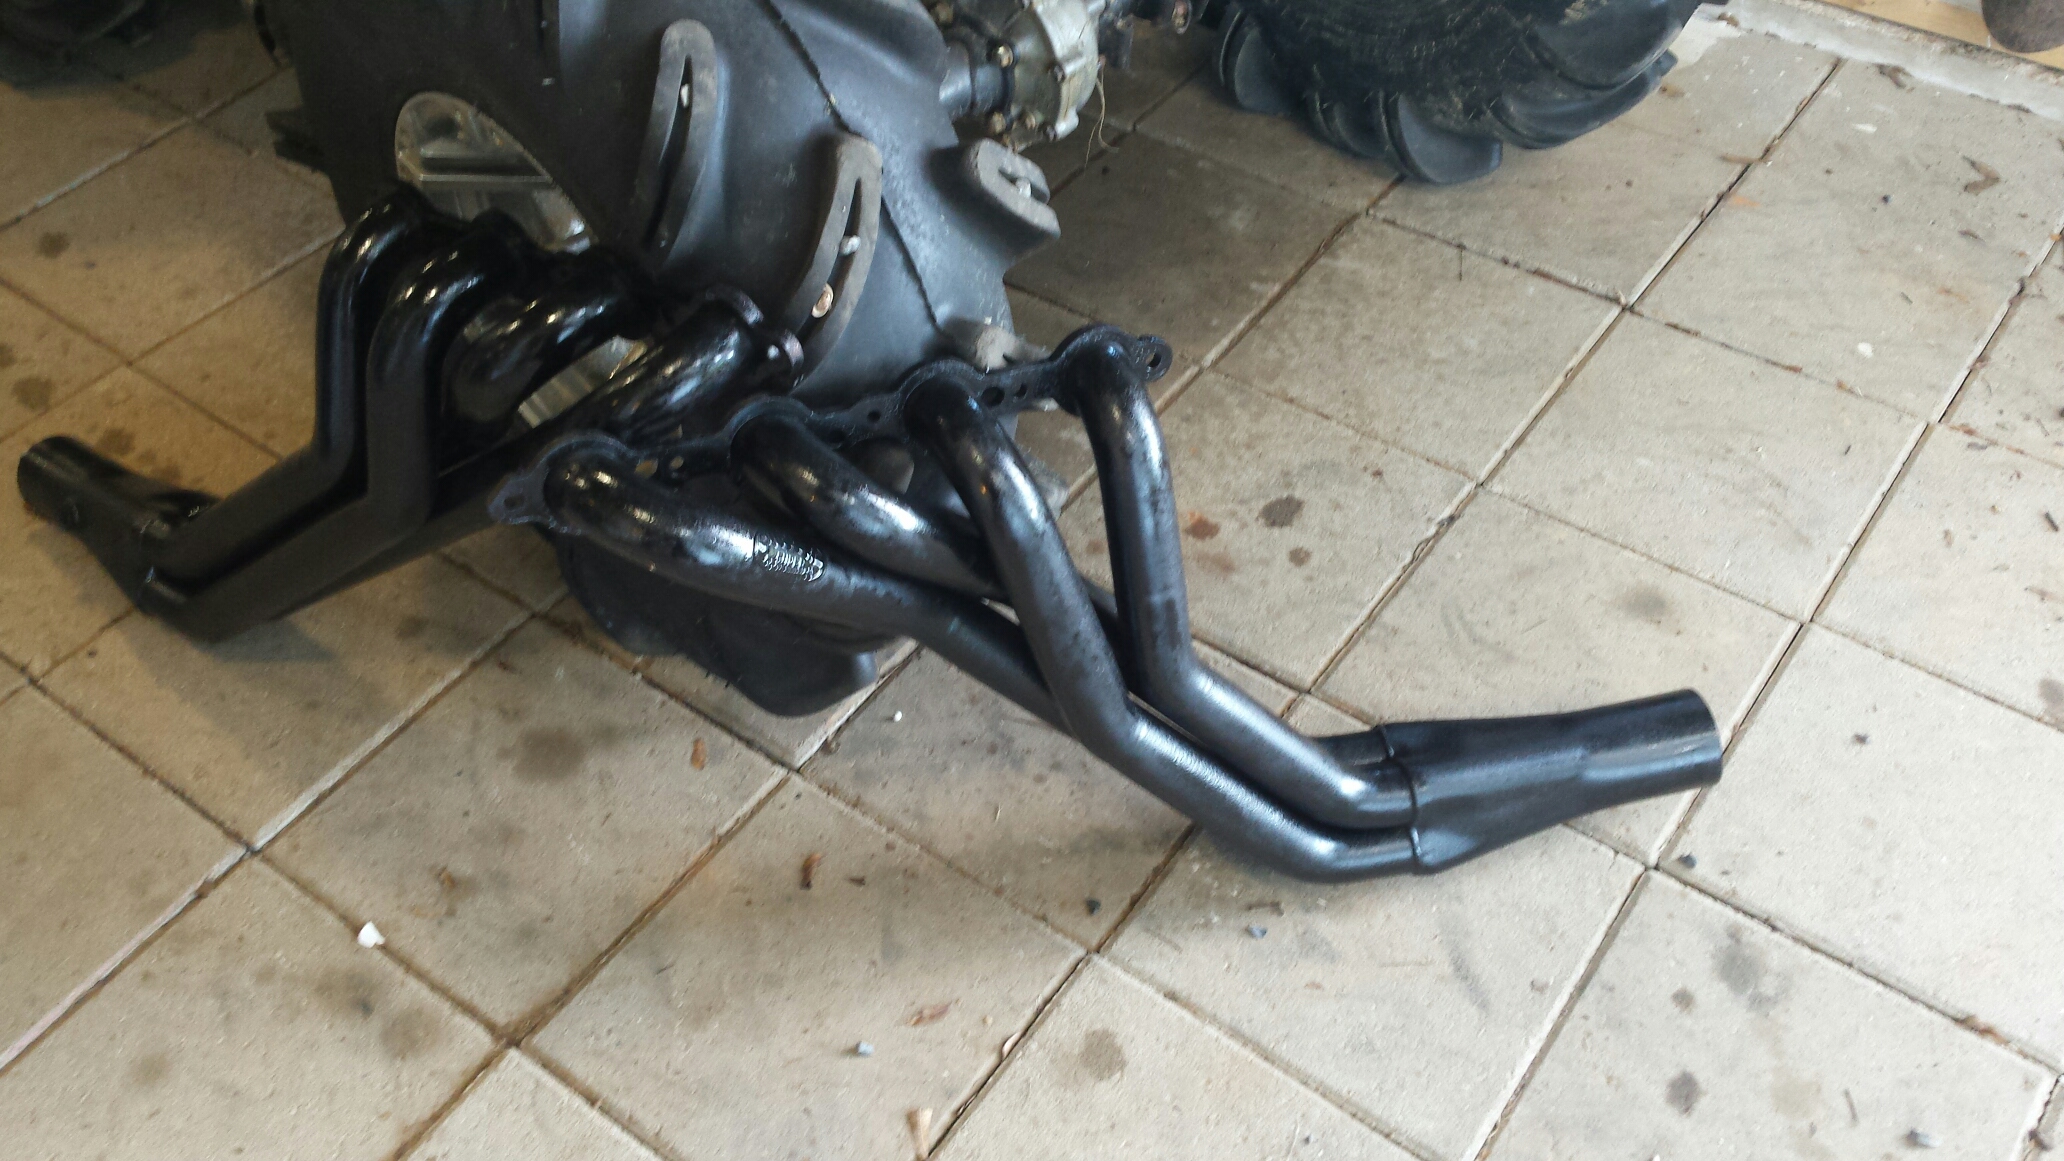
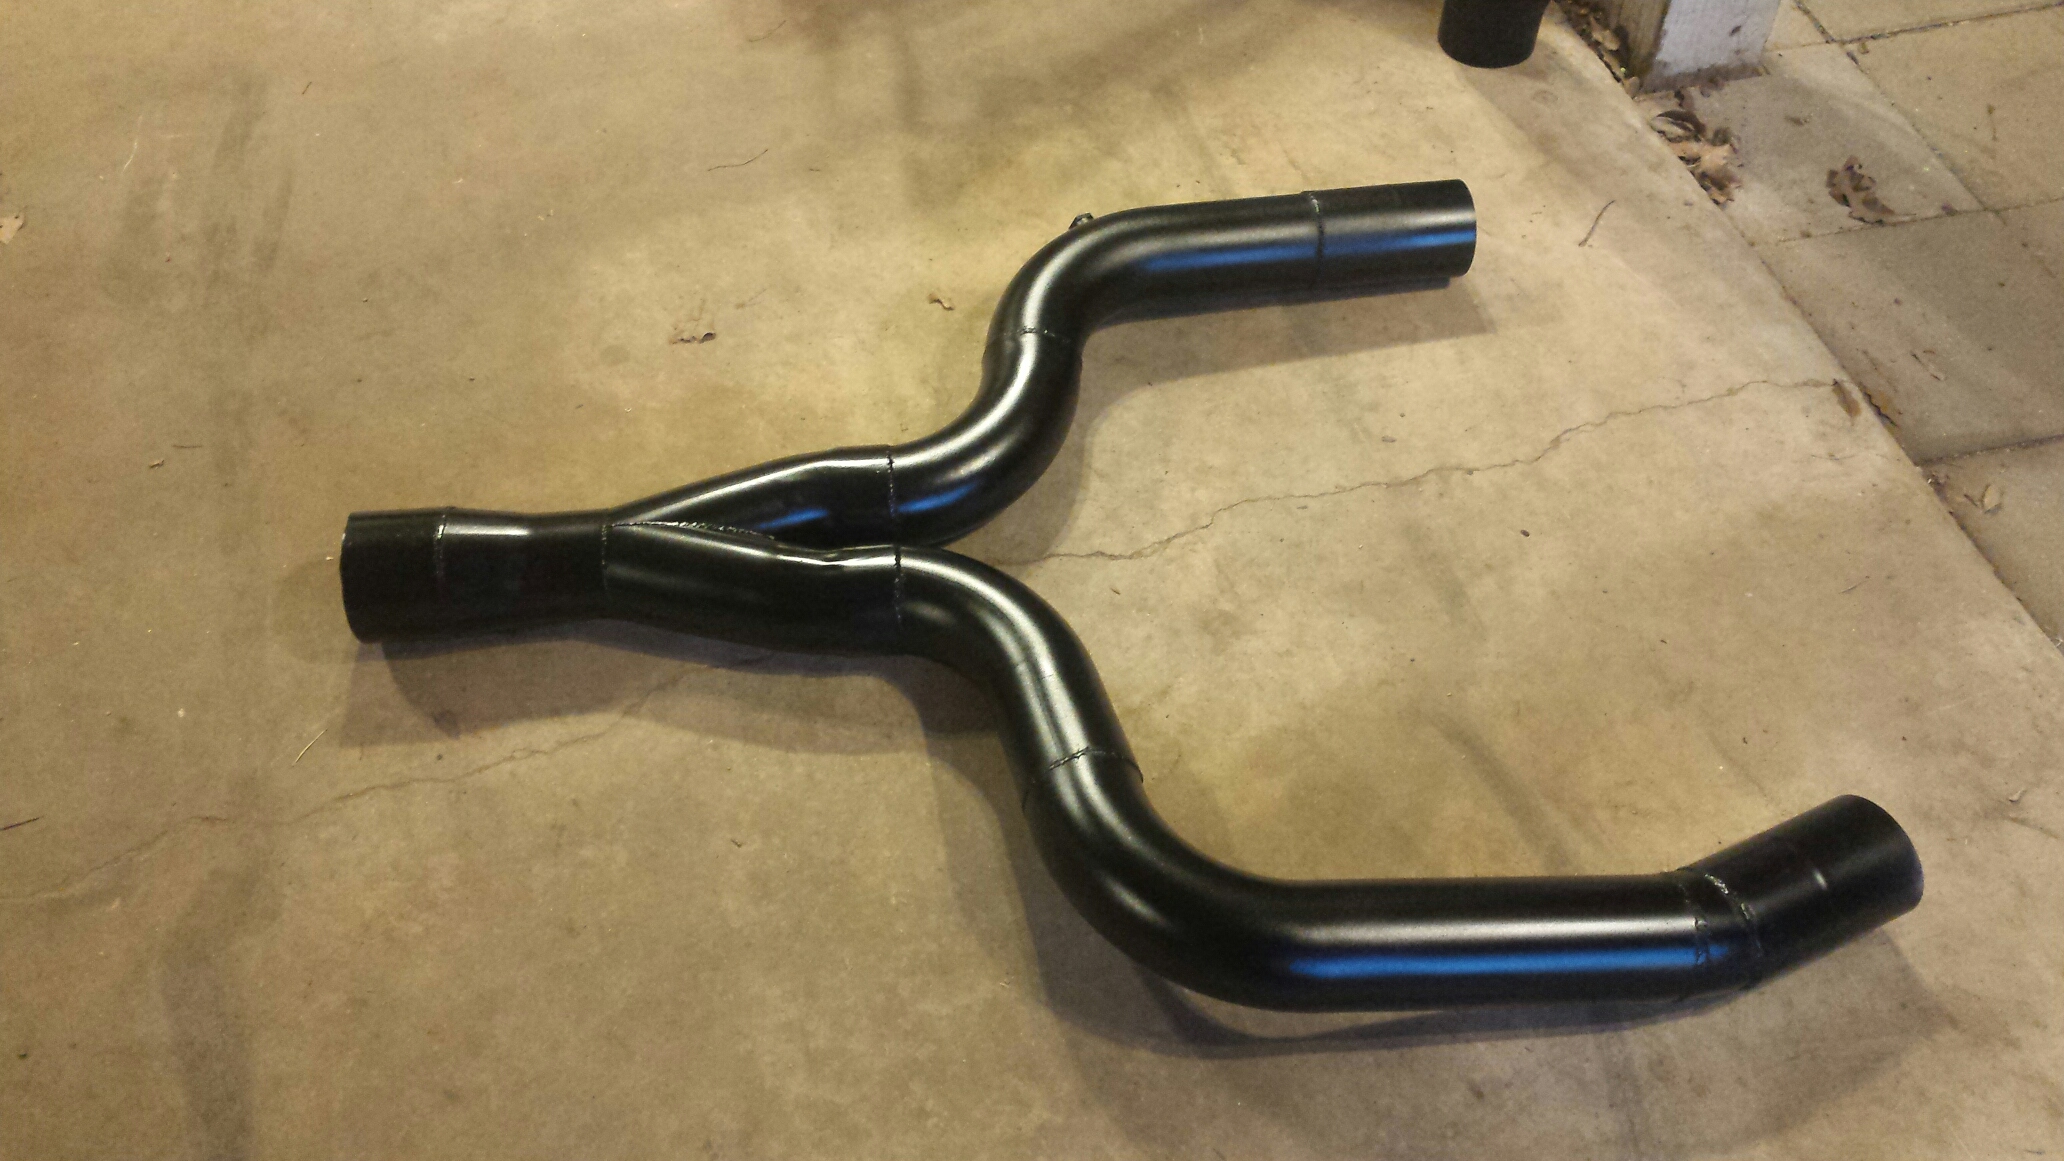
The new TSP setup, 2" header with a 3.5" collector. That means I'm making a new Y pipe.

Ordered up some random pipe pieces and clamps.
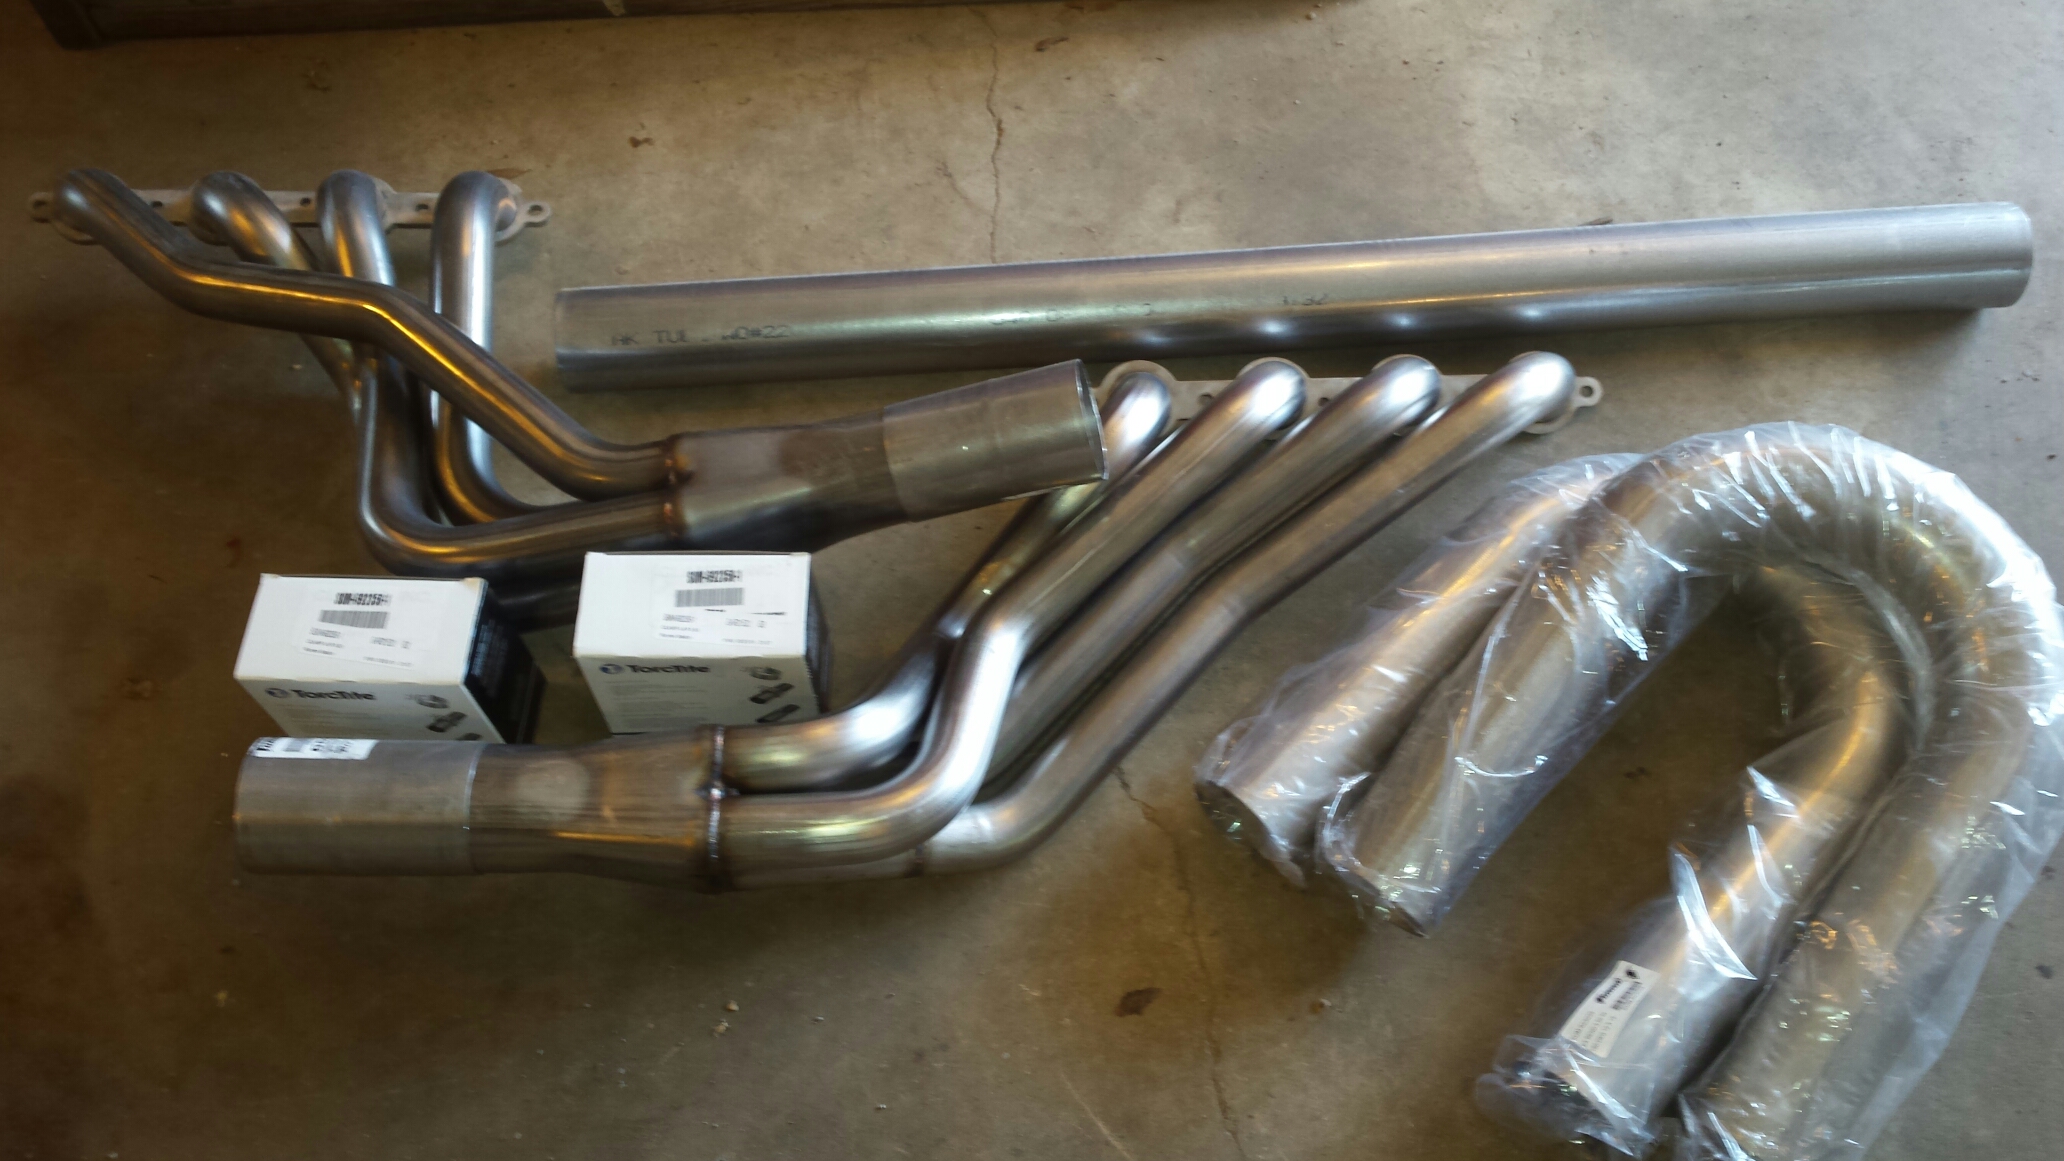
In this picture you can see the Howe racing merge, 3.5 to 5 inch, and my old 4" bullet muffler I plan on reinstalling.
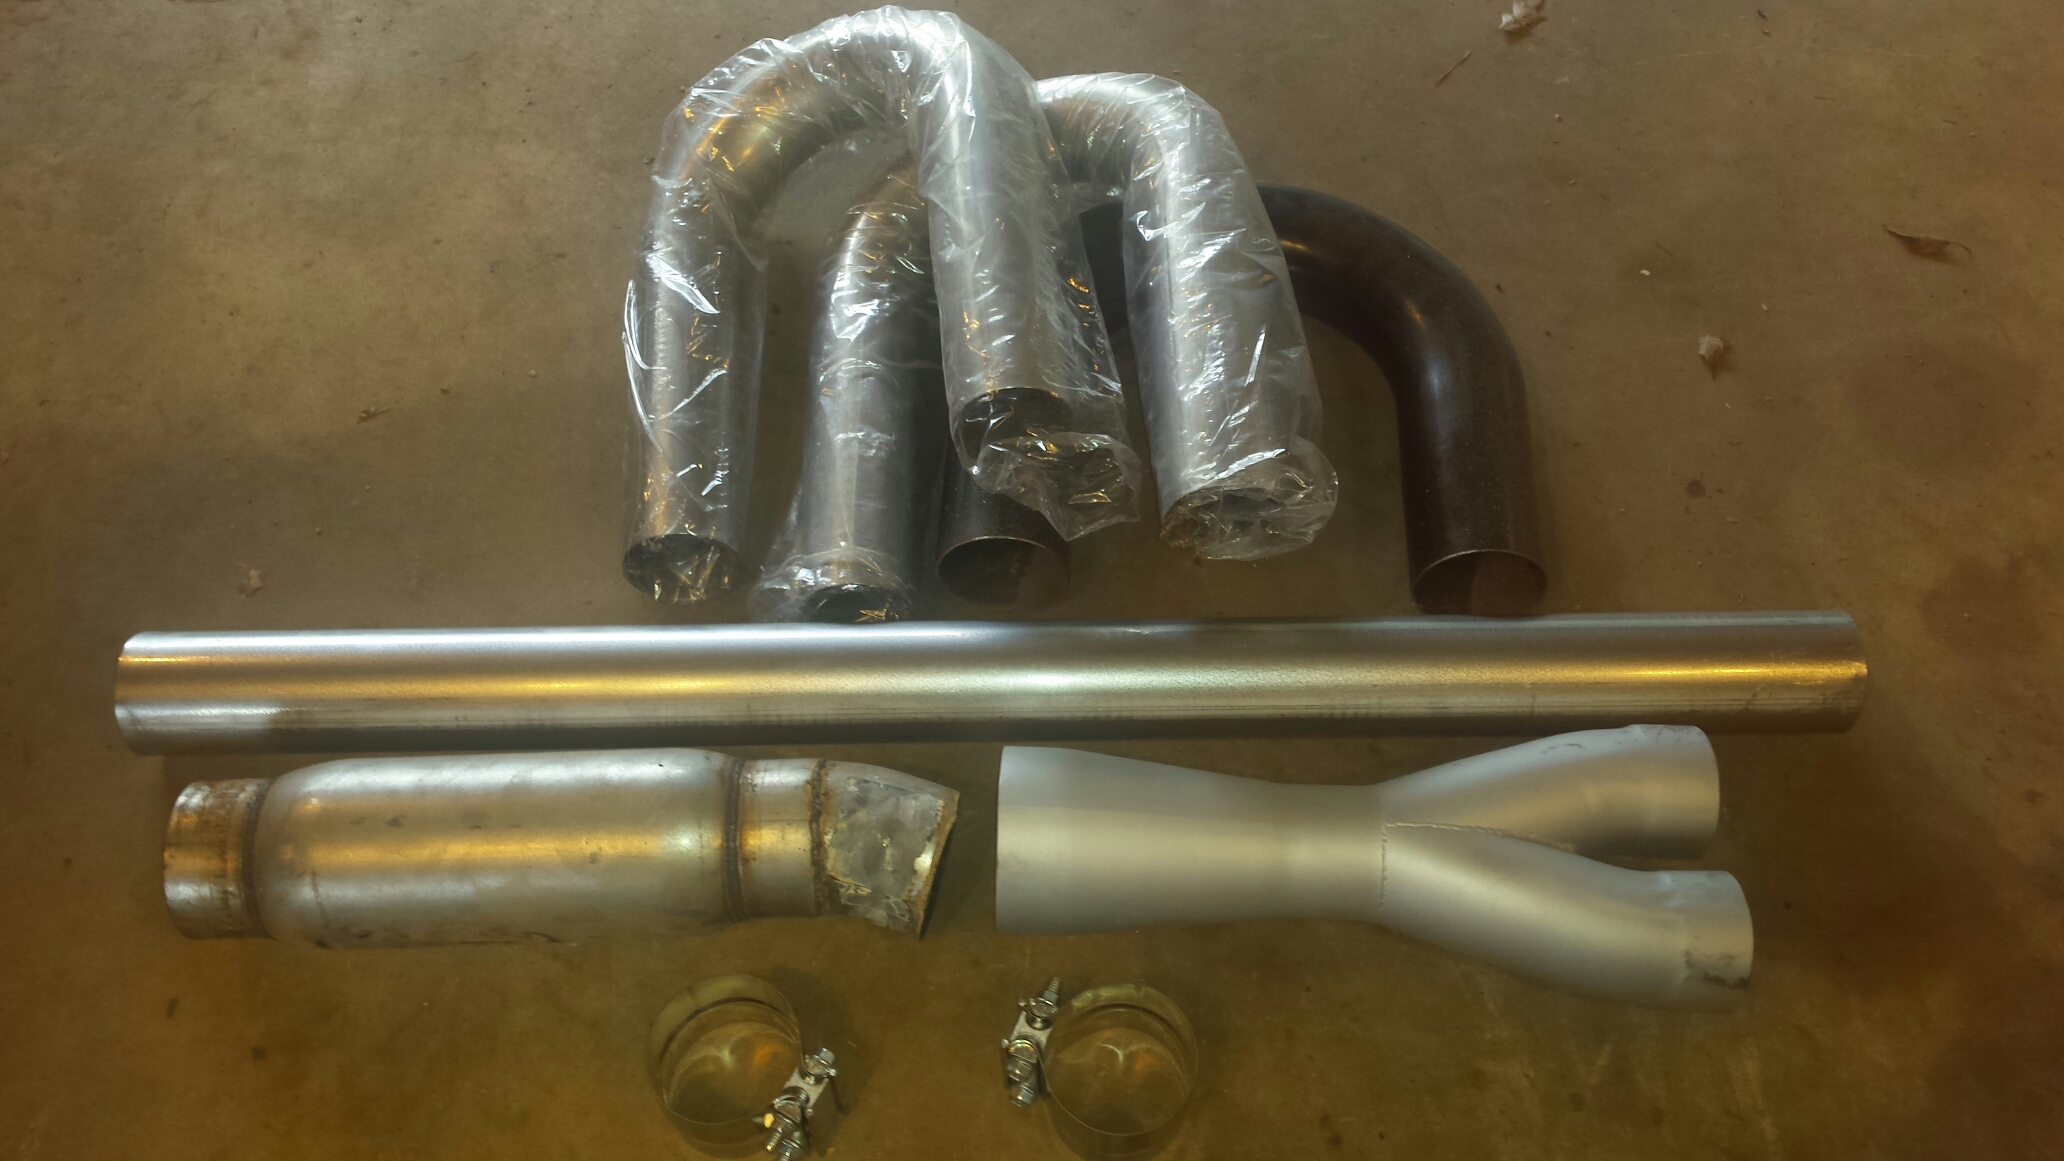
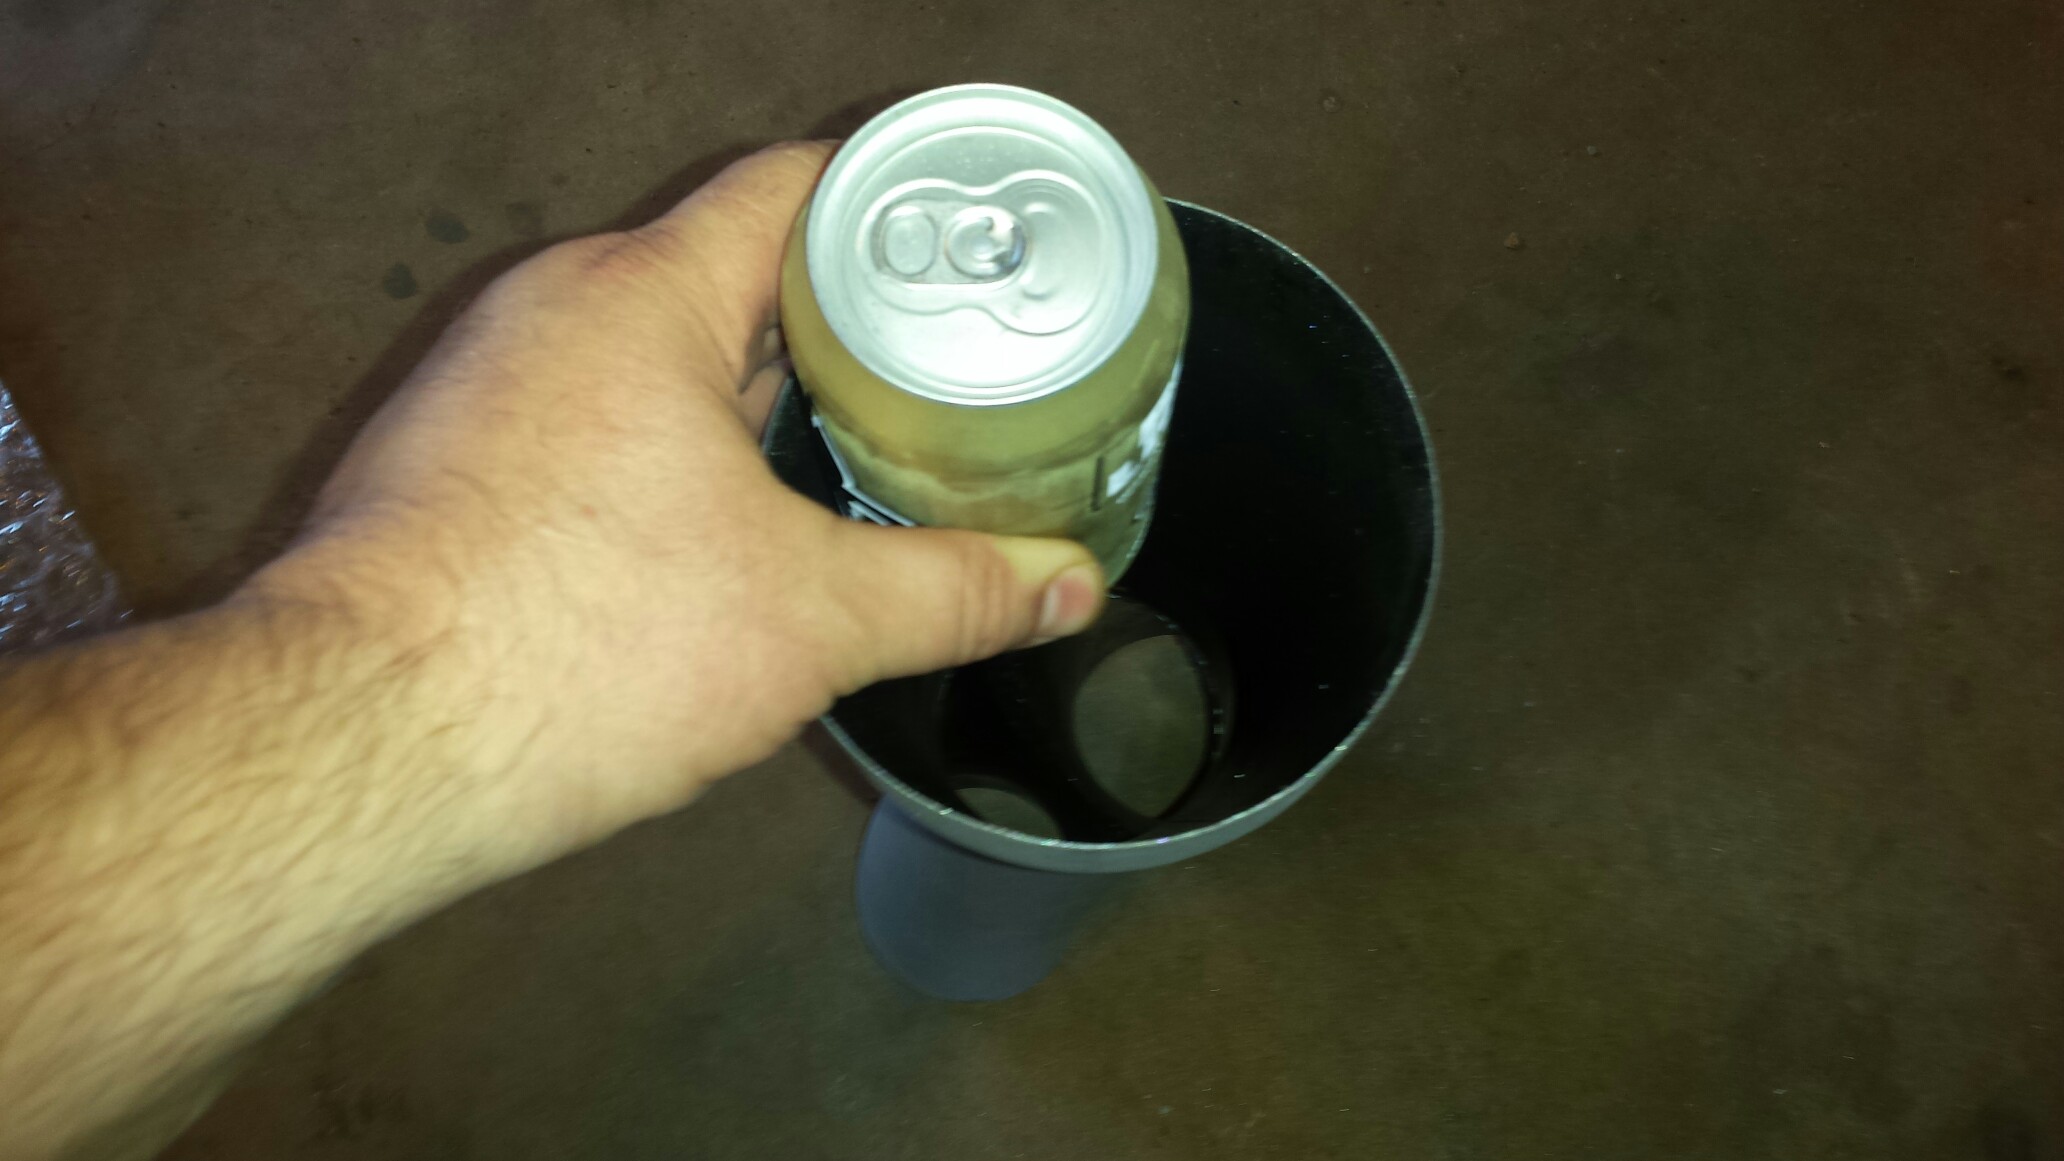
This merge obviously was too big so I ended up cutting it back about 3 inches so it would mate up with 4 inch pipe.
Here is the completed Y pipe and merge.
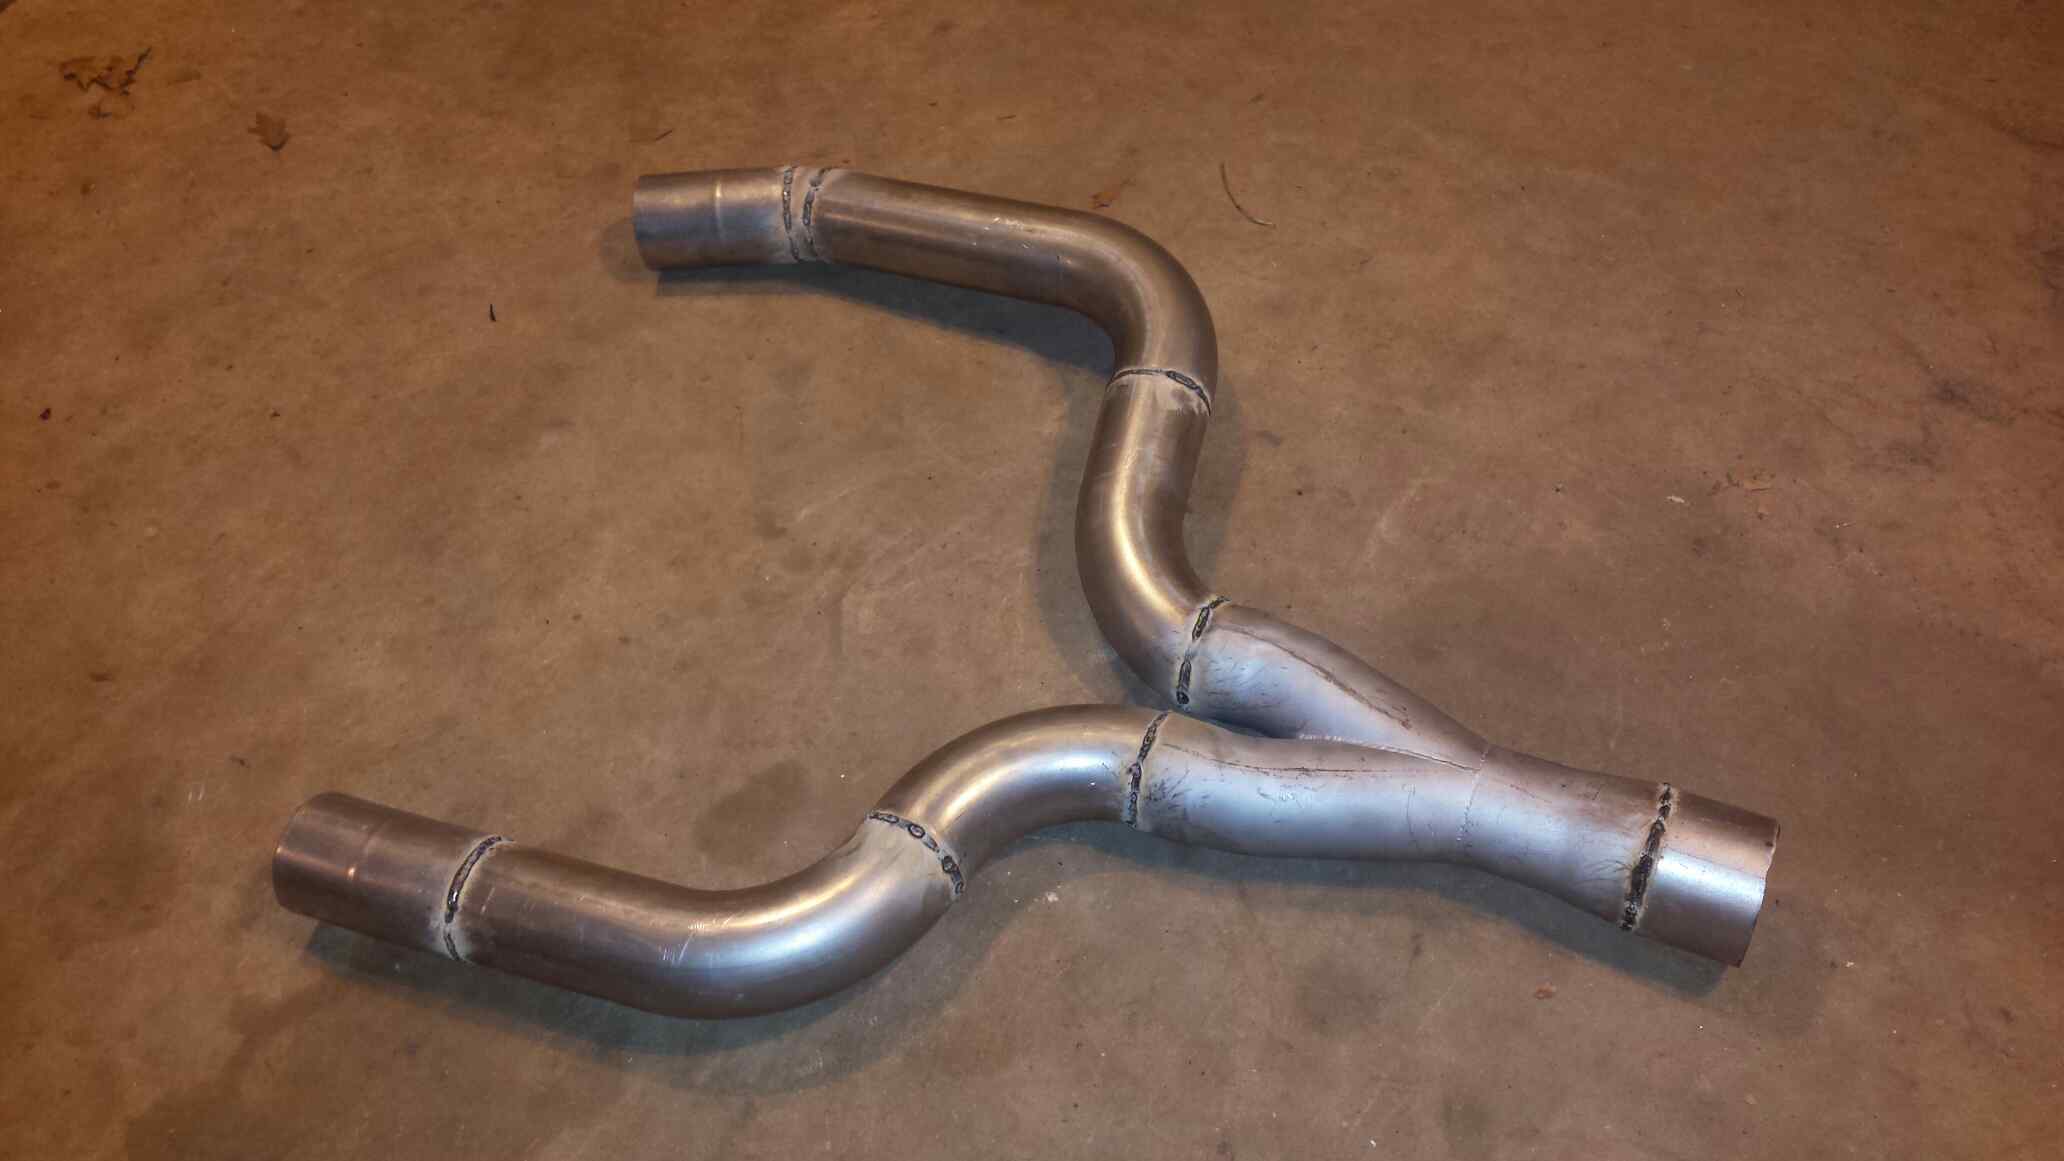
Had it coated with high temp powder.
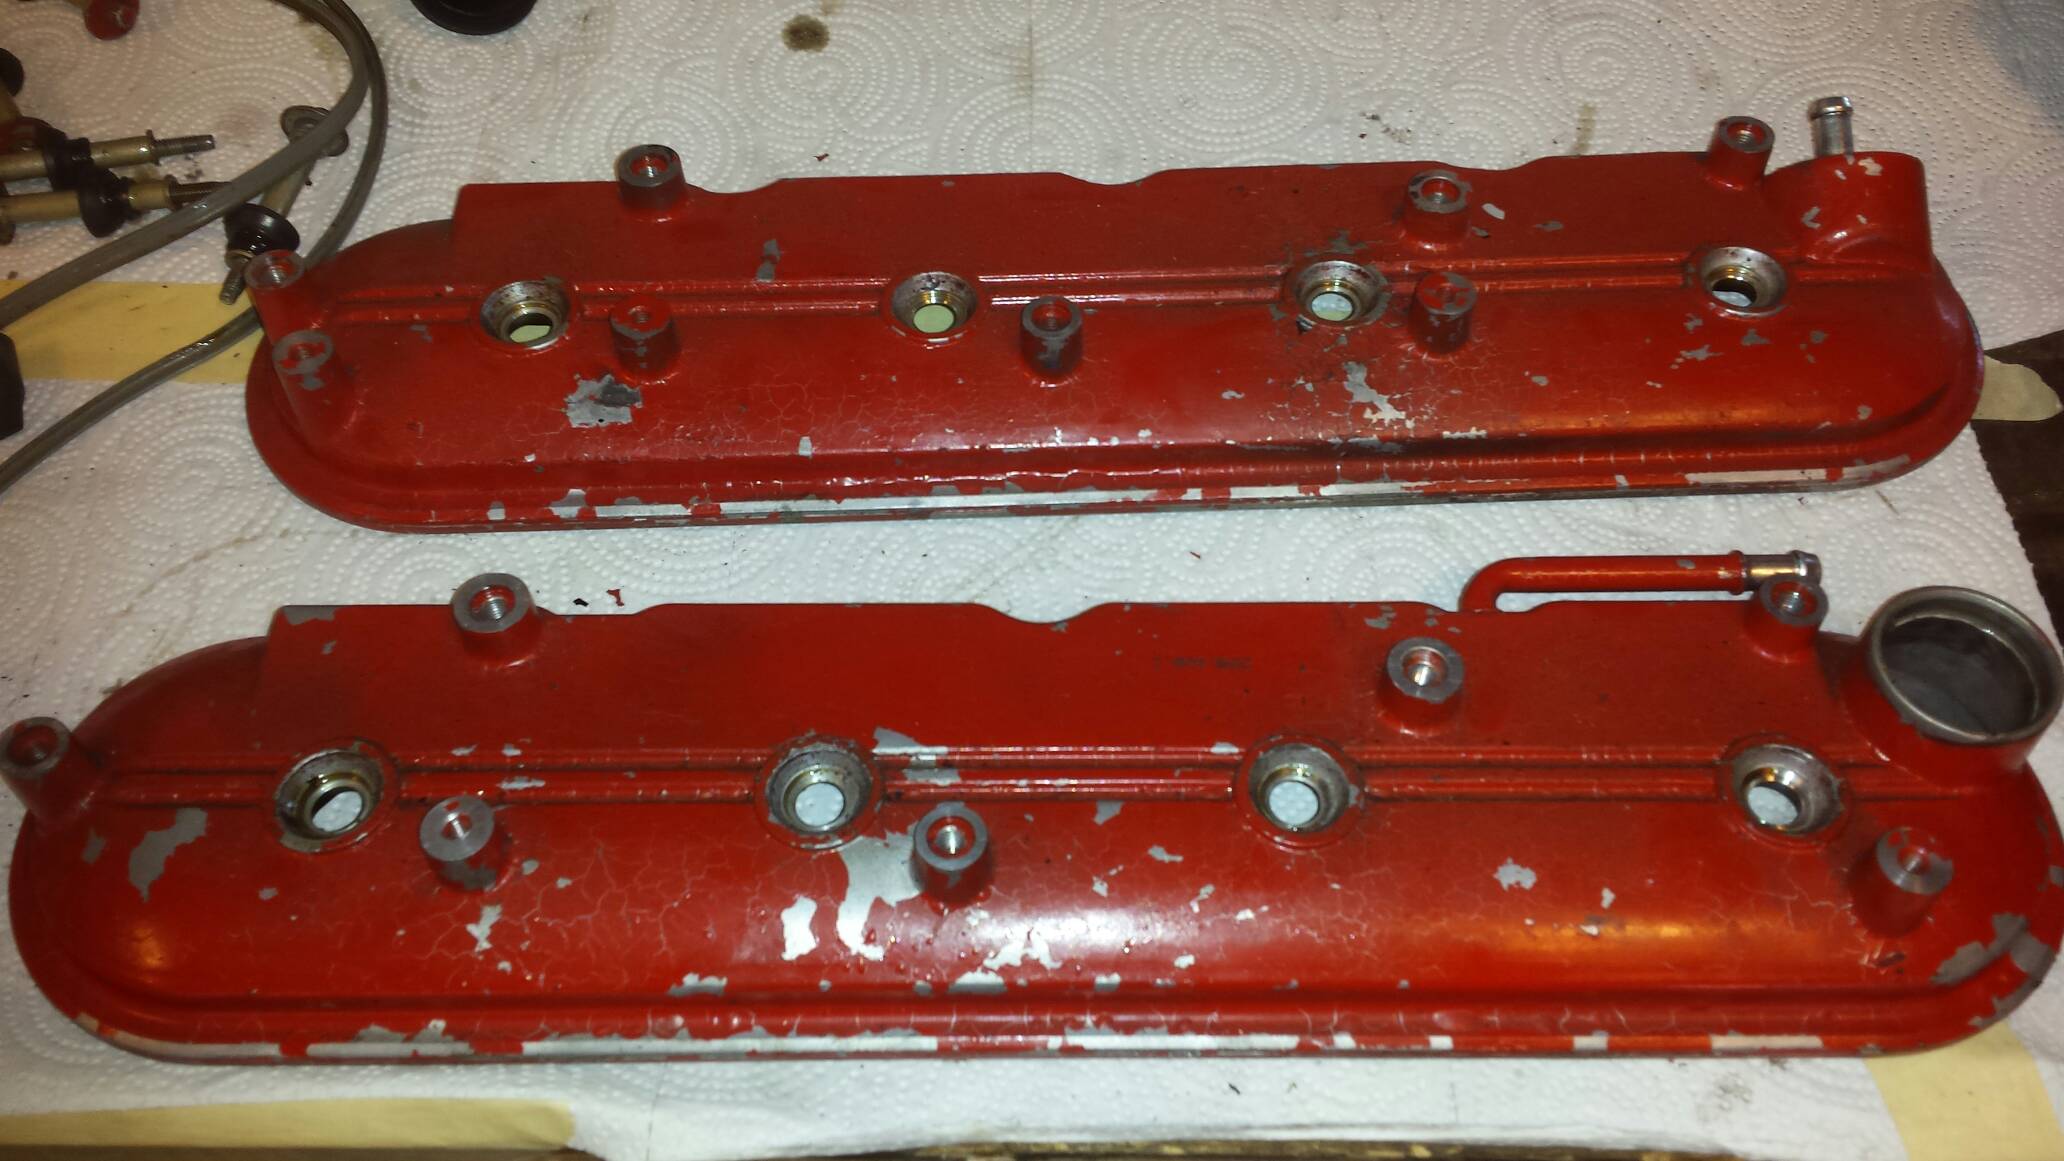
The red valve covers had seen better days so I decided to change the color scheme up some on the top side.
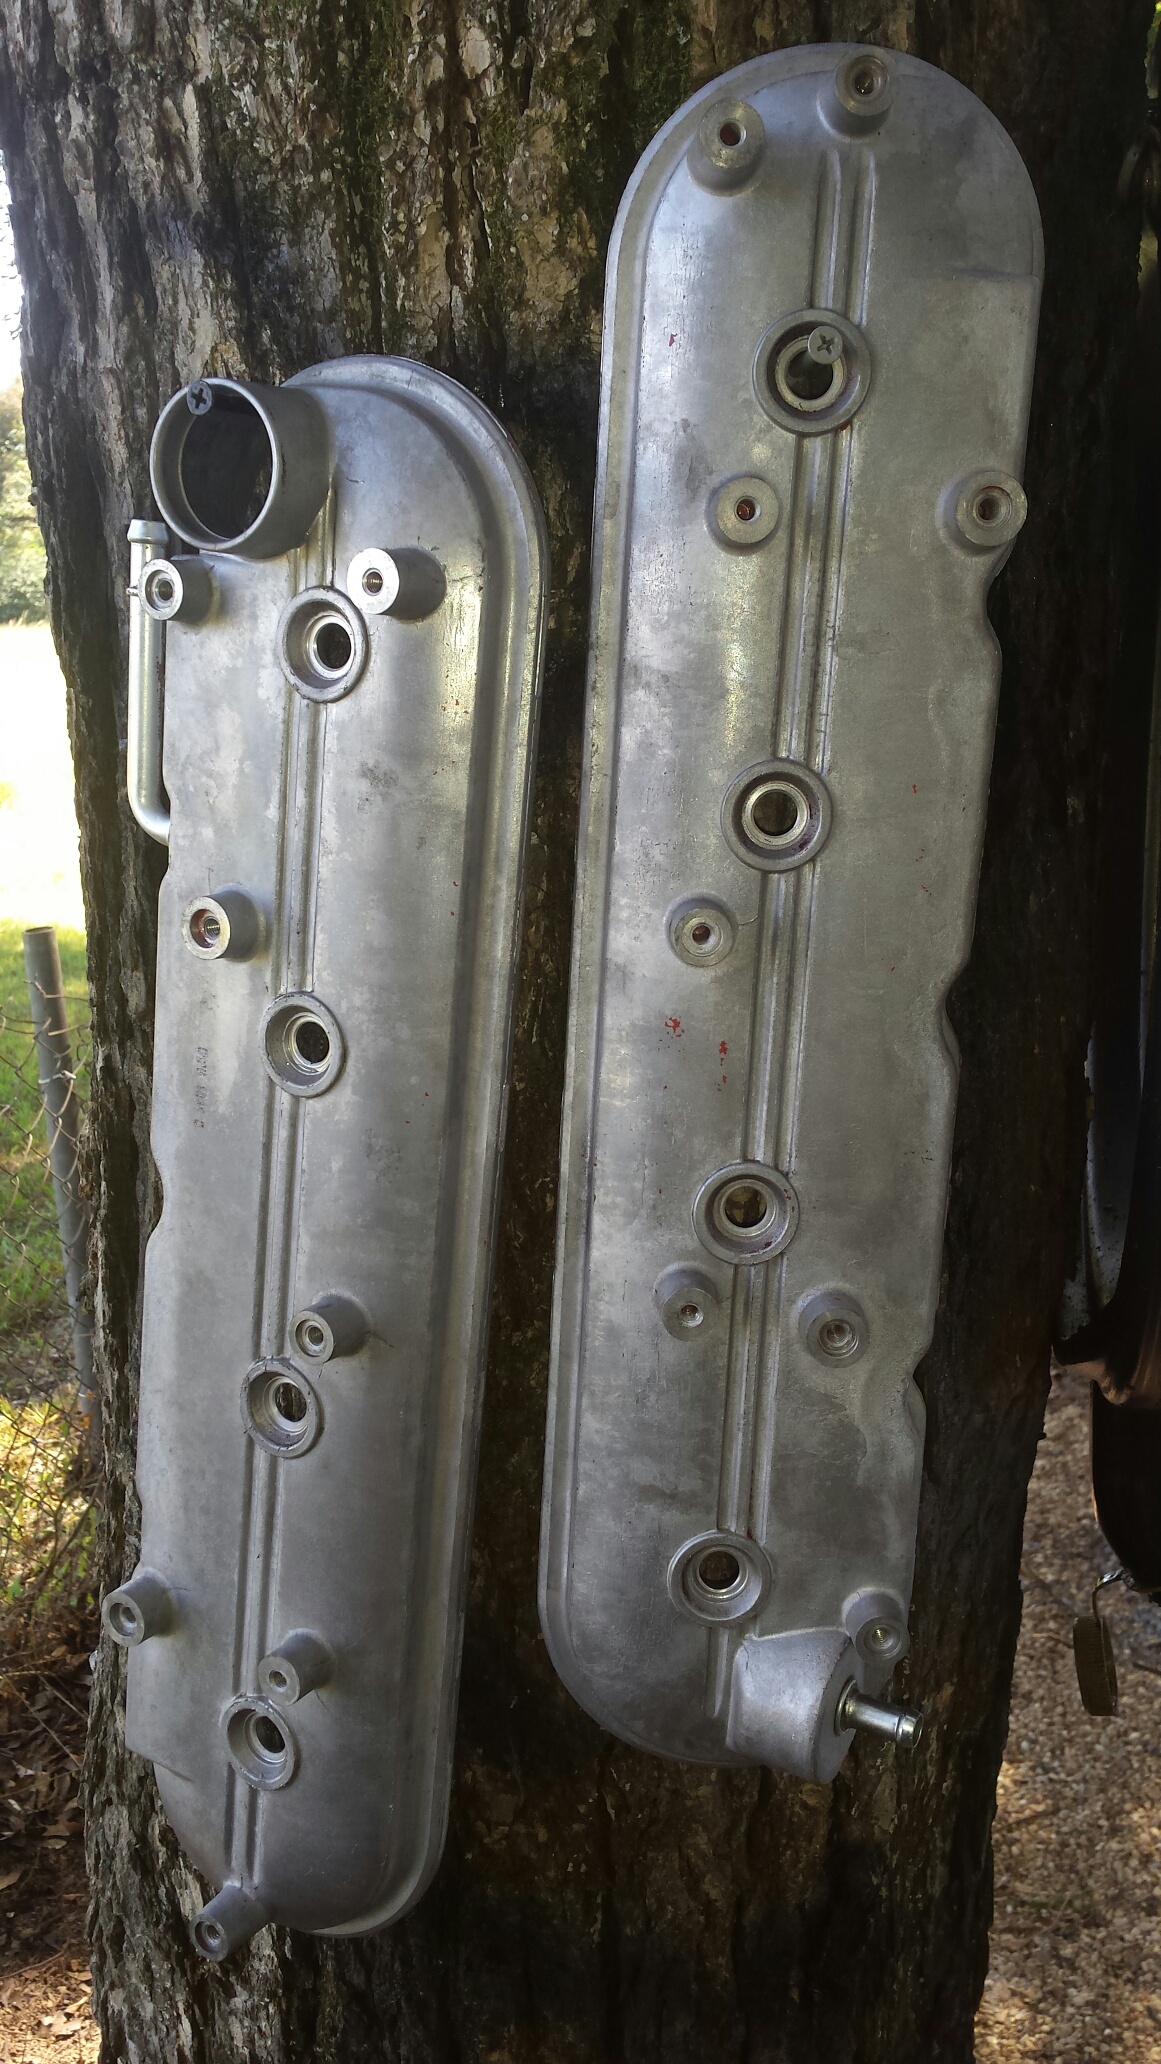
Blasted them in the cabinet.
Same wheel graphite color that went on the intake.

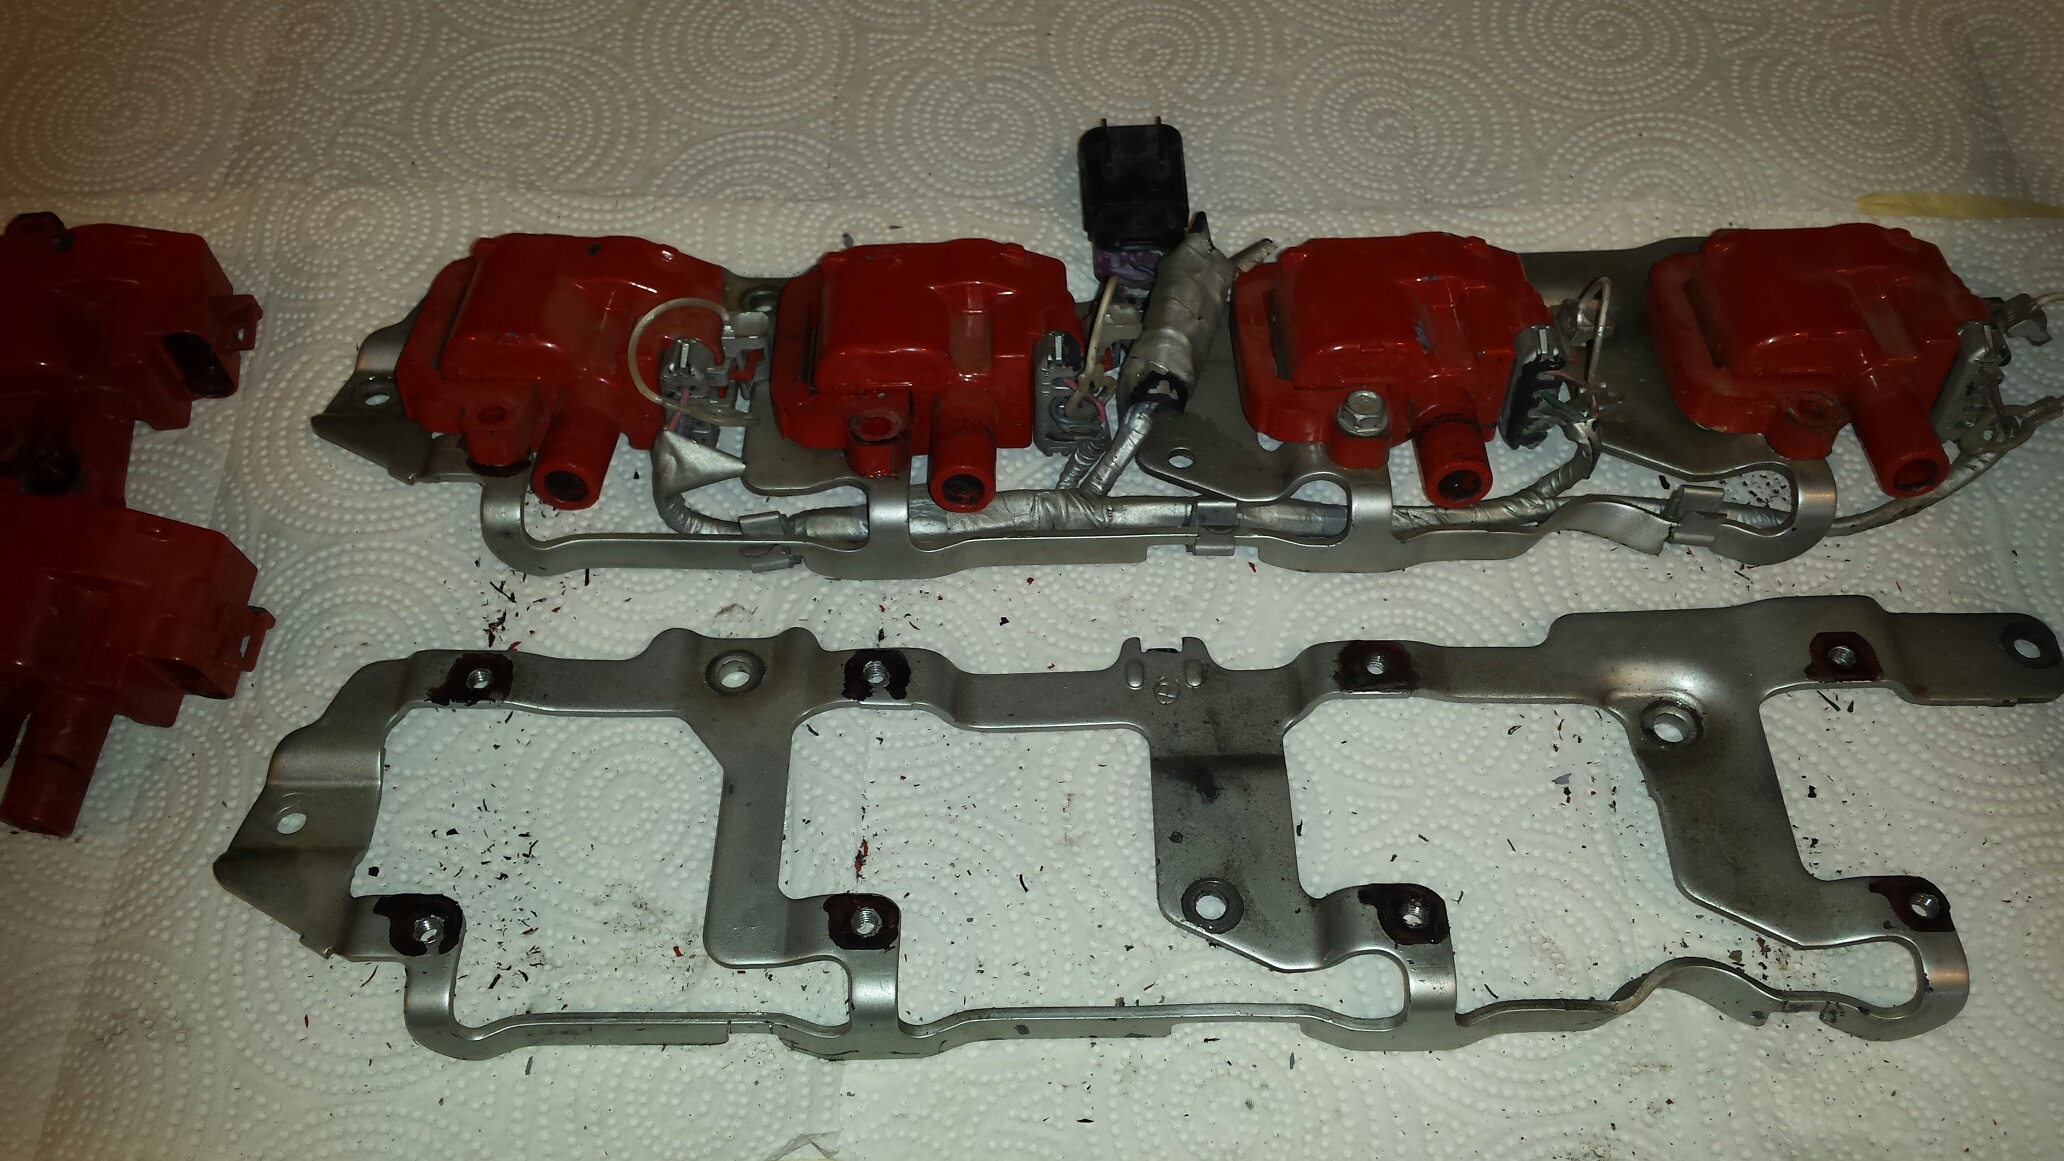
Here are the packs and brackets. I touched up the red on the coils, blasted and painted the brackets graphite, and added stainless allen head bolts to hold the coils down. I also re-wrapped the tape around the harness.
Much better.
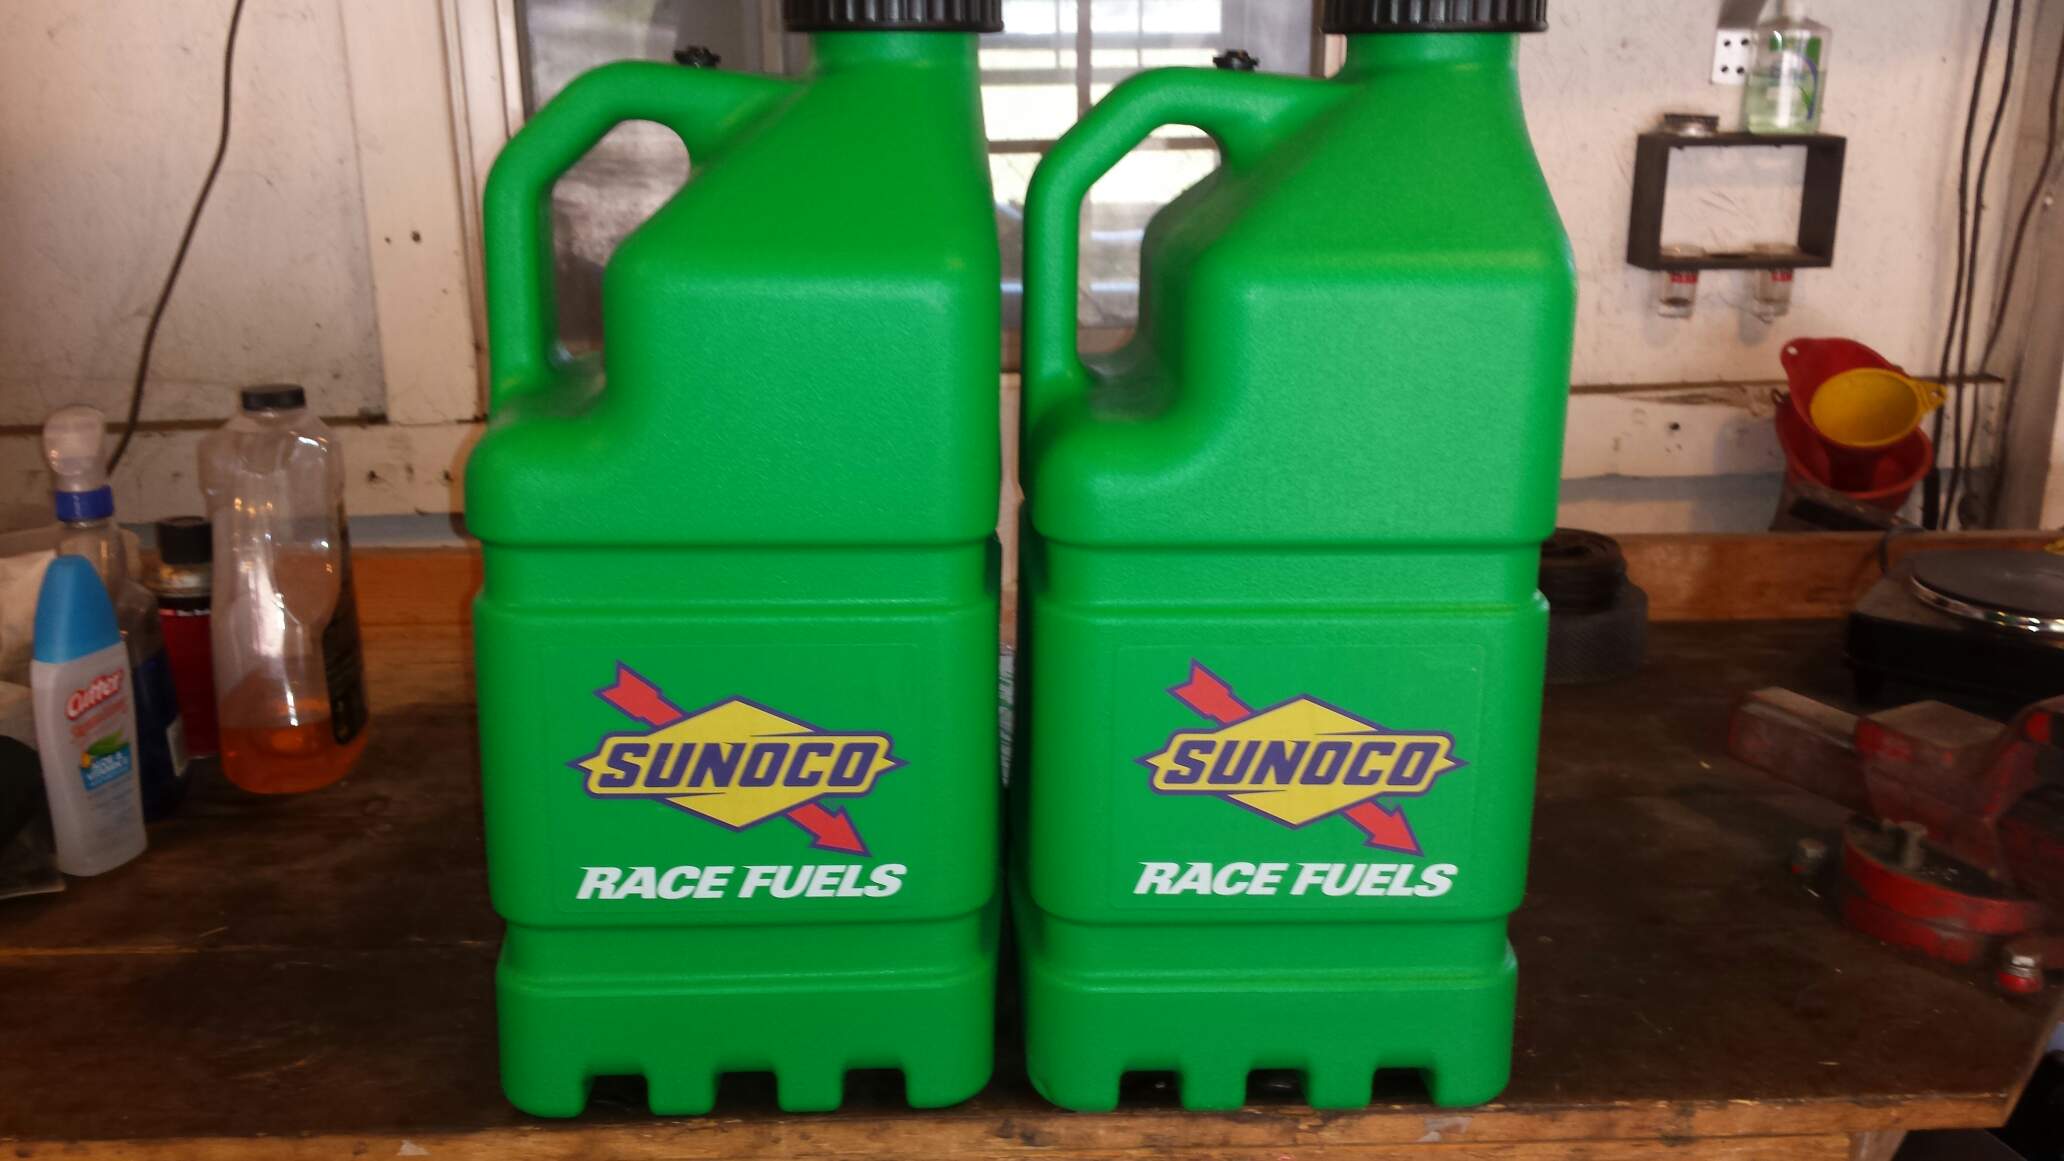
And my final surprise, 10 gallons of MS109. Gonna see if it picks up anything after being retuned for this fuel. Results soon!.

The new TSP setup, 2" header with a 3.5" collector. That means I'm making a new Y pipe.

Ordered up some random pipe pieces and clamps.

In this picture you can see the Howe racing merge, 3.5 to 5 inch, and my old 4" bullet muffler I plan on reinstalling.

This merge obviously was too big so I ended up cutting it back about 3 inches so it would mate up with 4 inch pipe.

Here is the completed Y pipe and merge.

Had it coated with high temp powder.

The red valve covers had seen better days so I decided to change the color scheme up some on the top side.

Blasted them in the cabinet.

Same wheel graphite color that went on the intake.

Here are the packs and brackets. I touched up the red on the coils, blasted and painted the brackets graphite, and added stainless allen head bolts to hold the coils down. I also re-wrapped the tape around the harness.

Much better.


And my final surprise, 10 gallons of MS109. Gonna see if it picks up anything after being retuned for this fuel. Results soon!.


#25
01-11-2017, 10:29 AM
Join Date: Aug 2010
Posts: 230
Likes: 0
Received 0 Likes
on
0 Posts
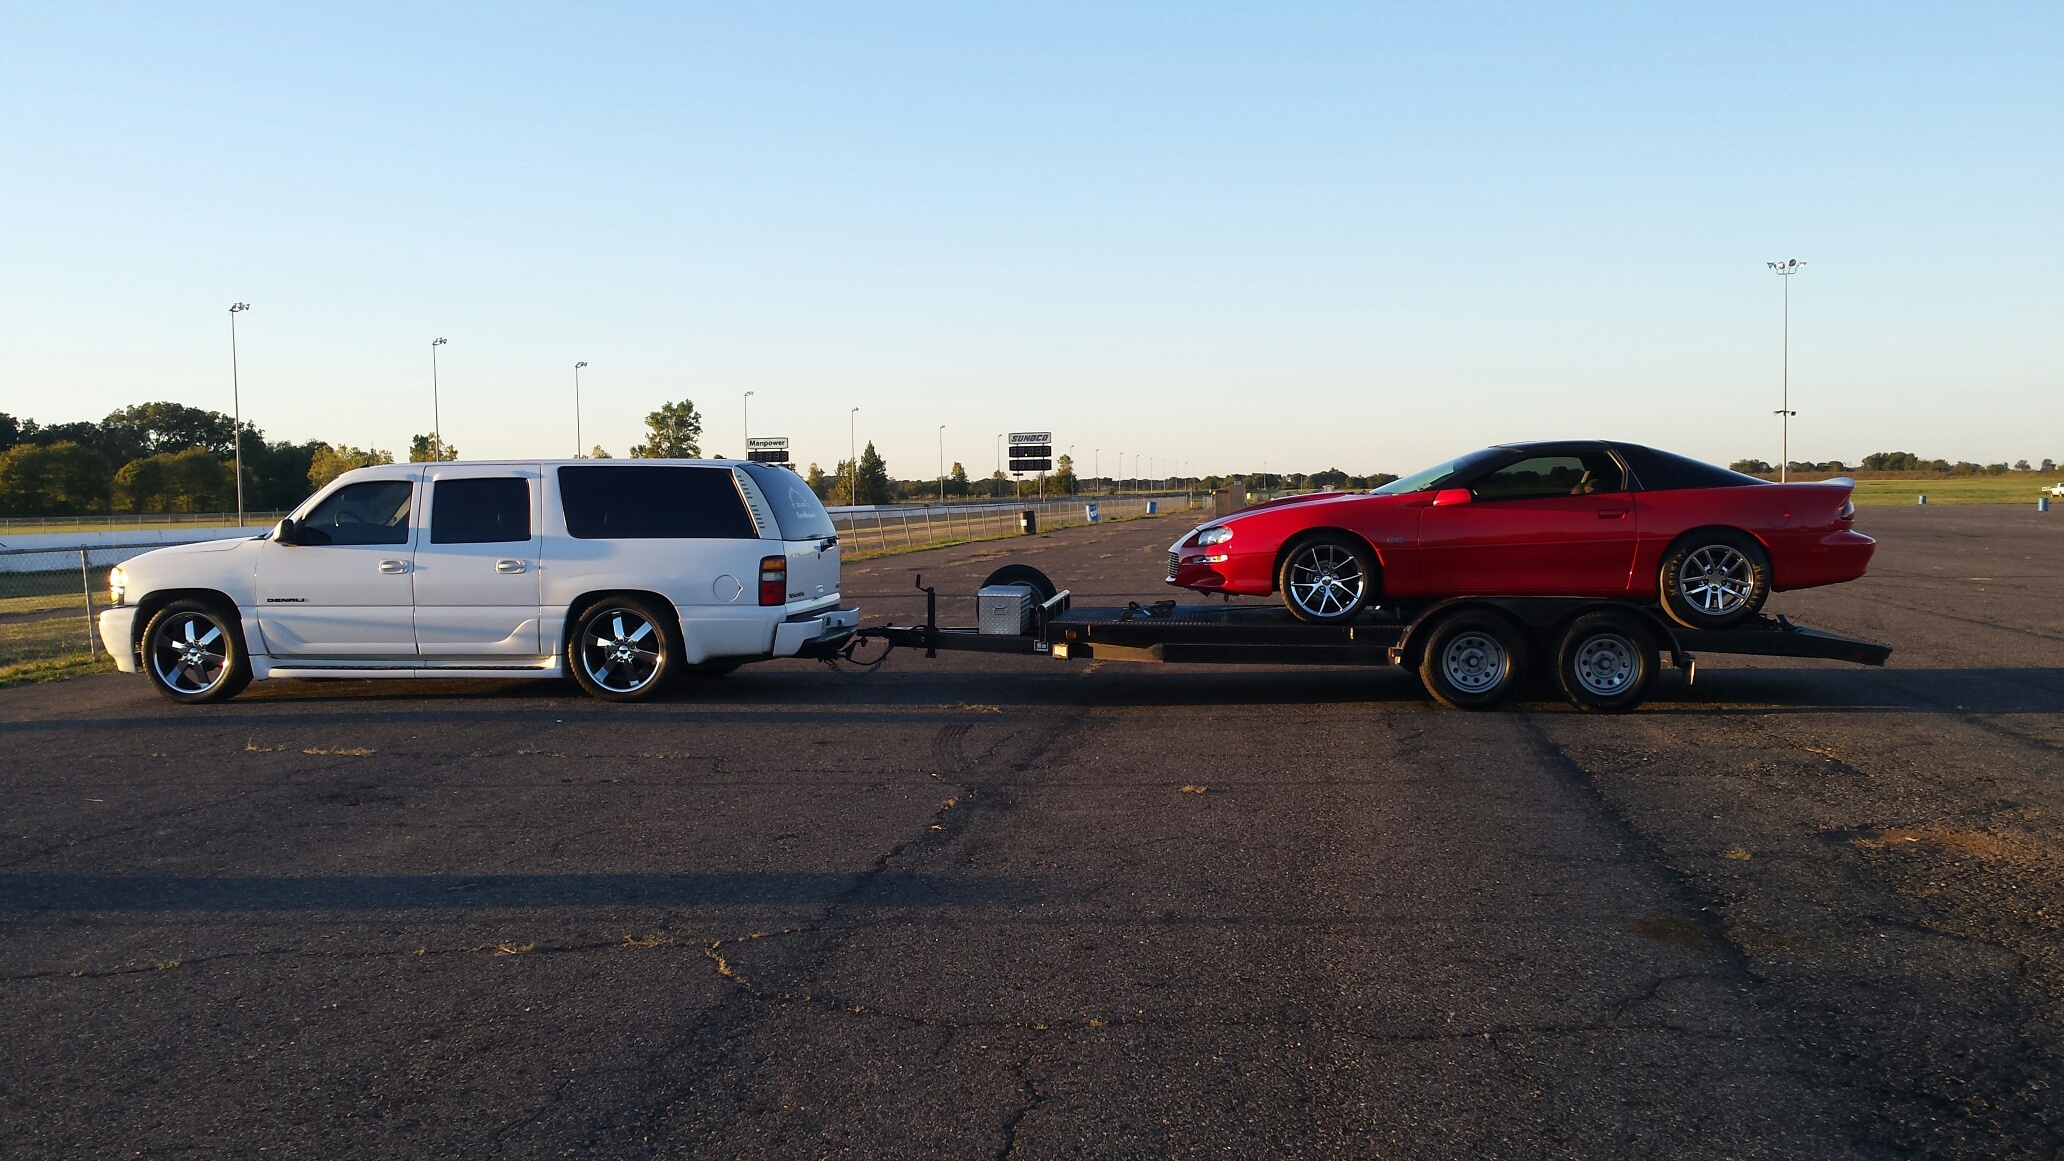
Hit up Test And Tune Friday night. The truck actually towed decently with the lowering kit (trailer properly loaded of course), and the new found power (headers, tune, awd delete) was really noticeable.
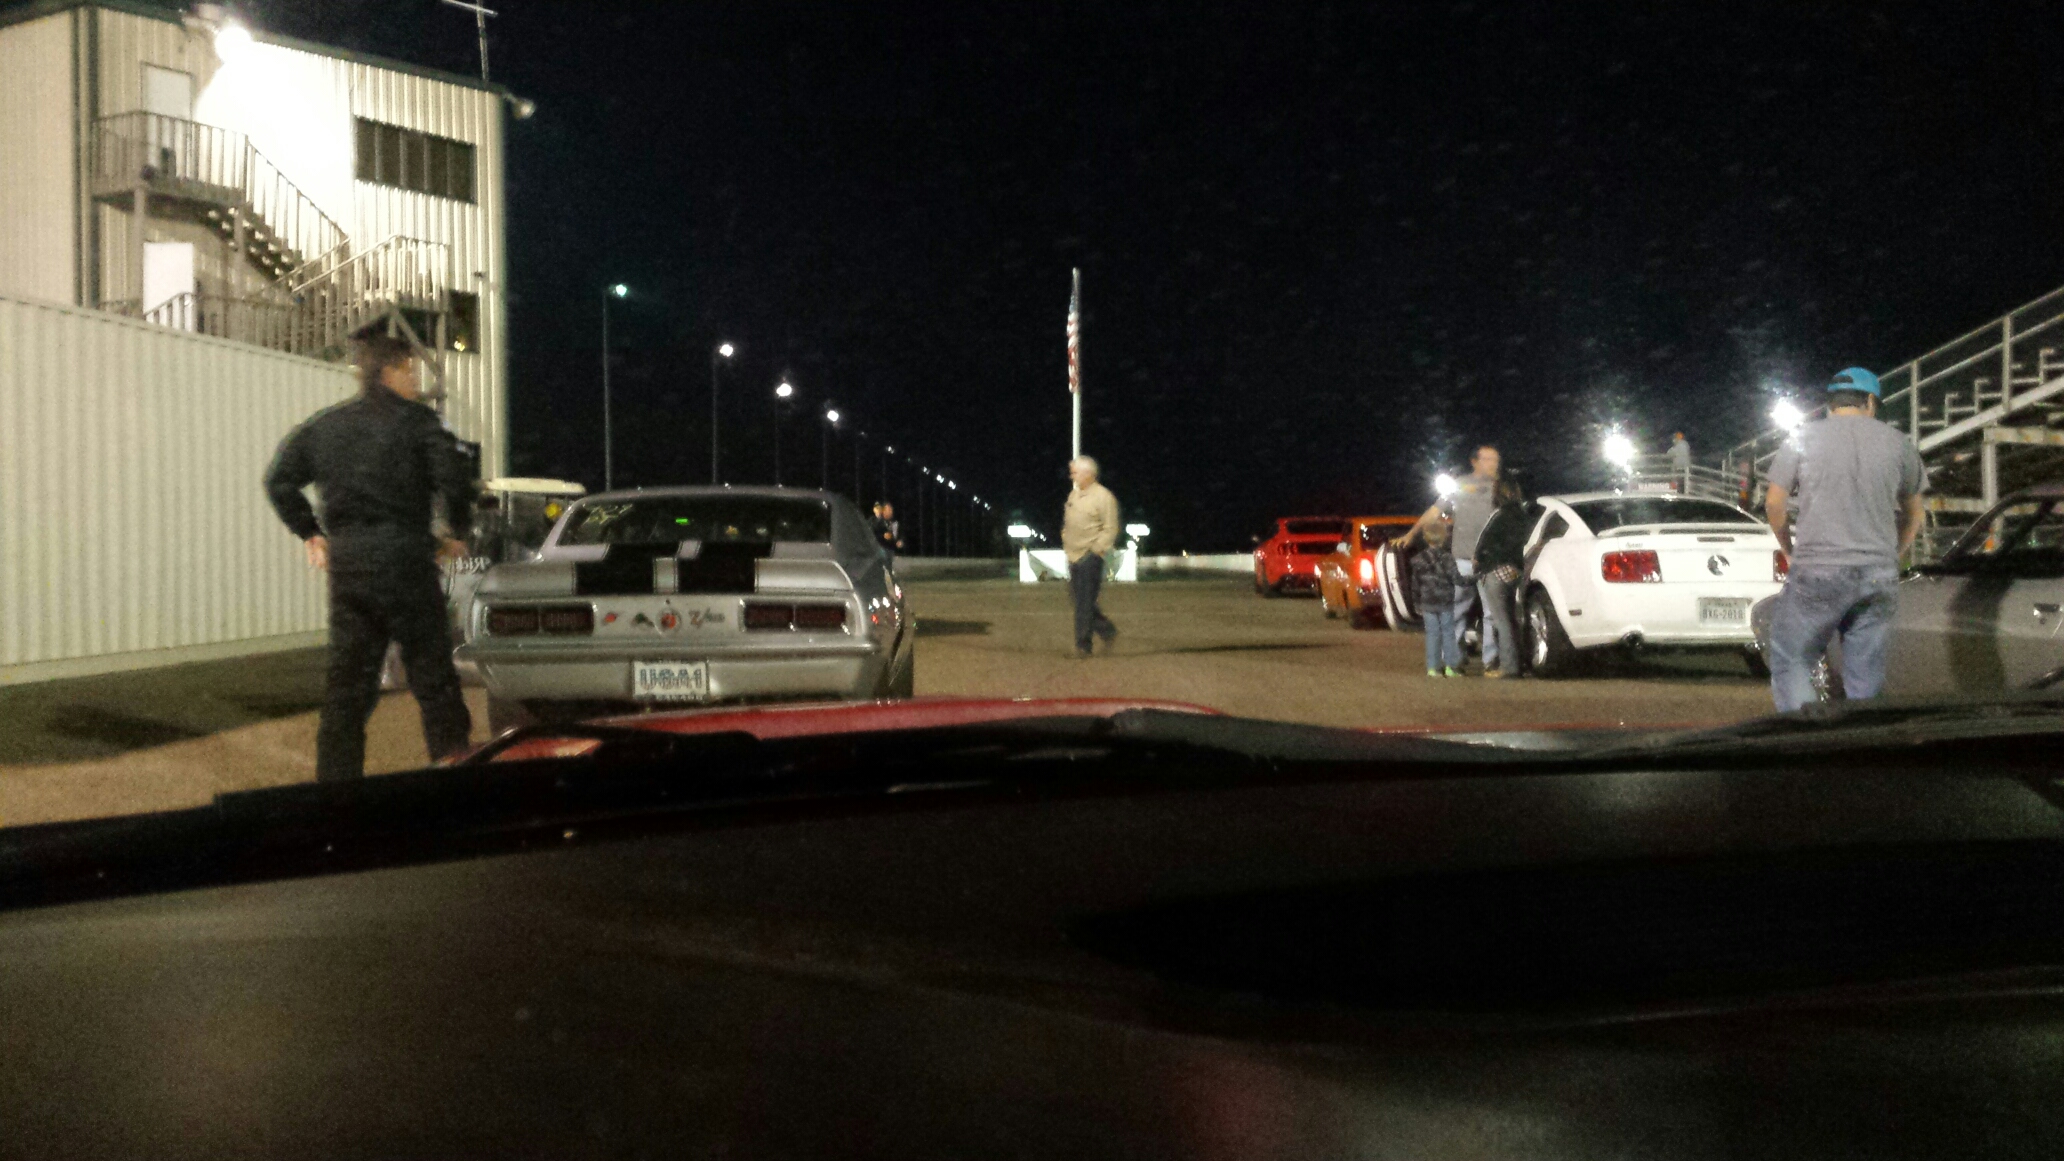
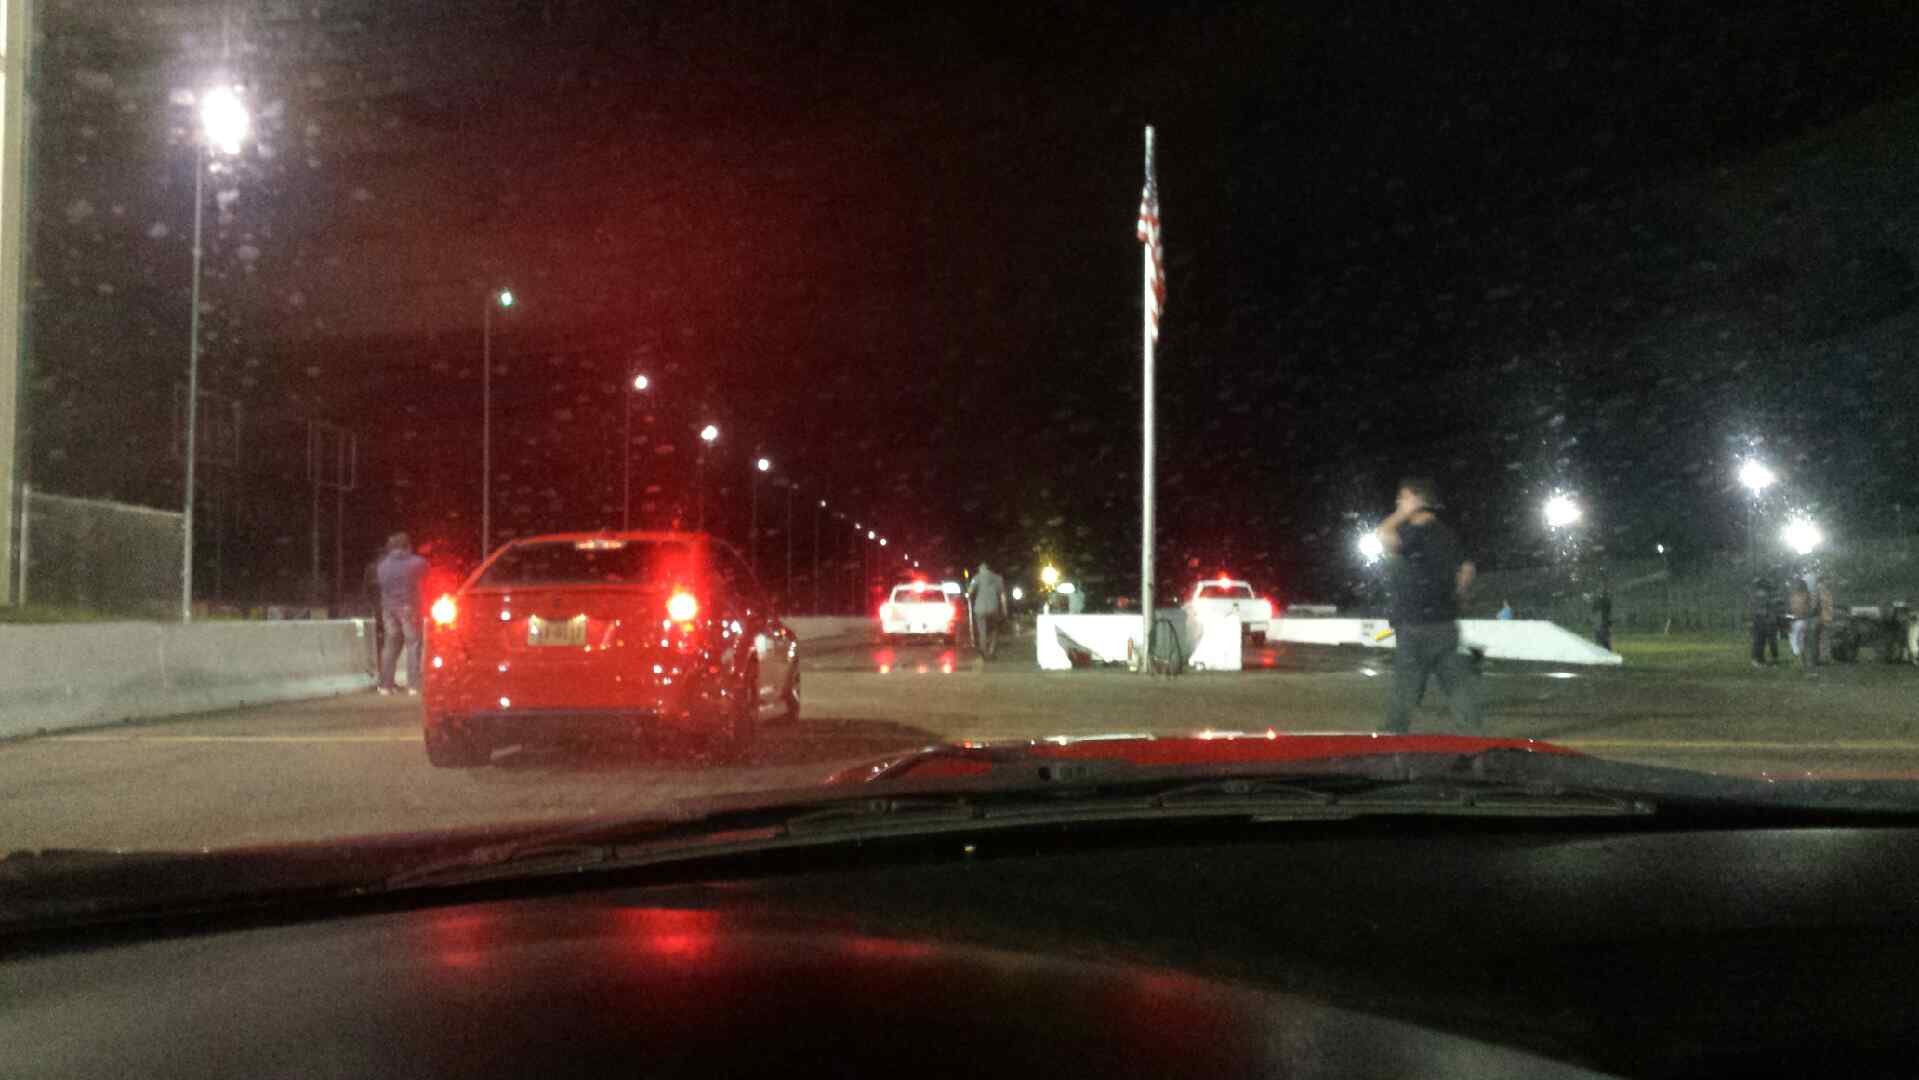
Random staging lane pics.
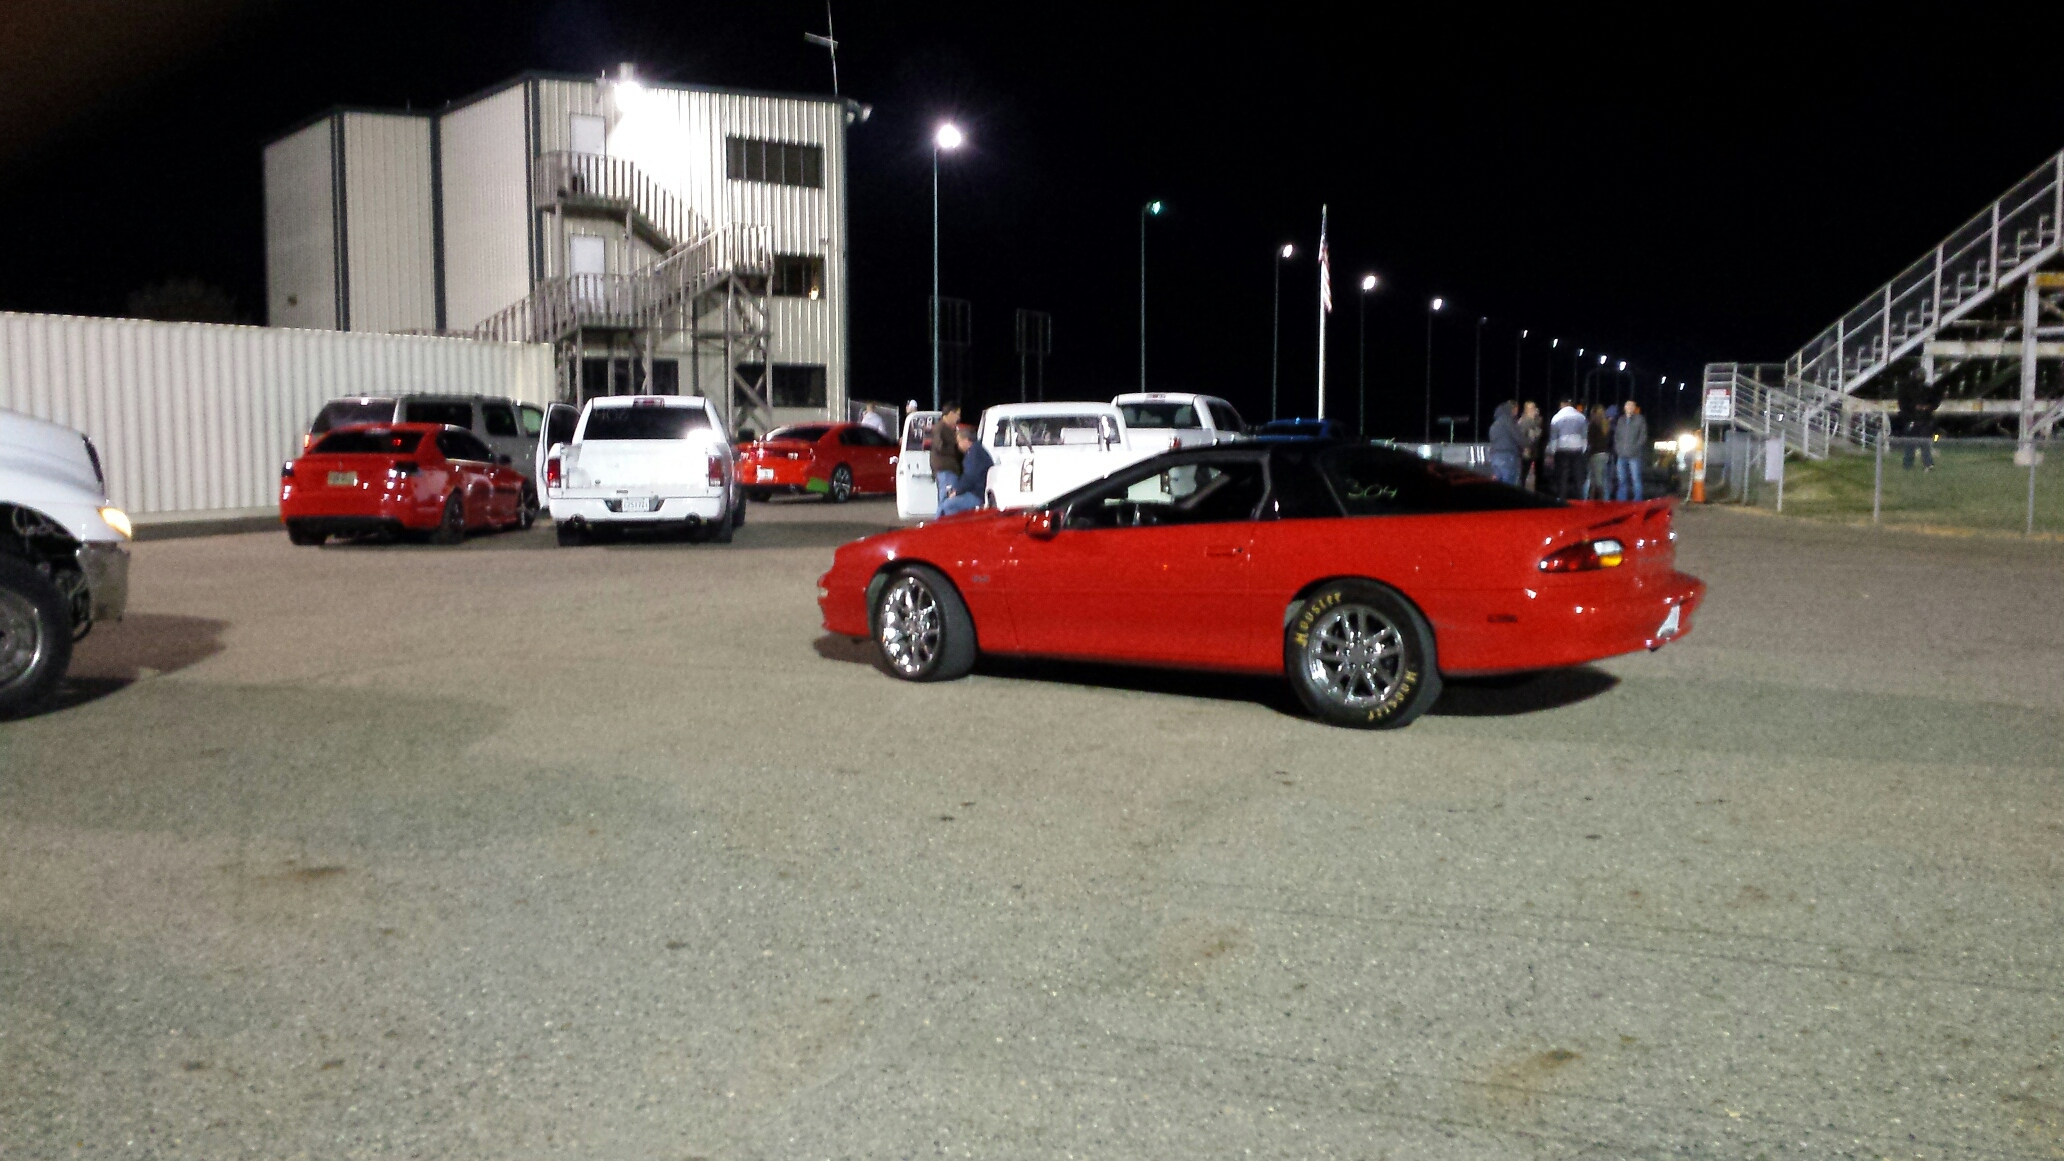
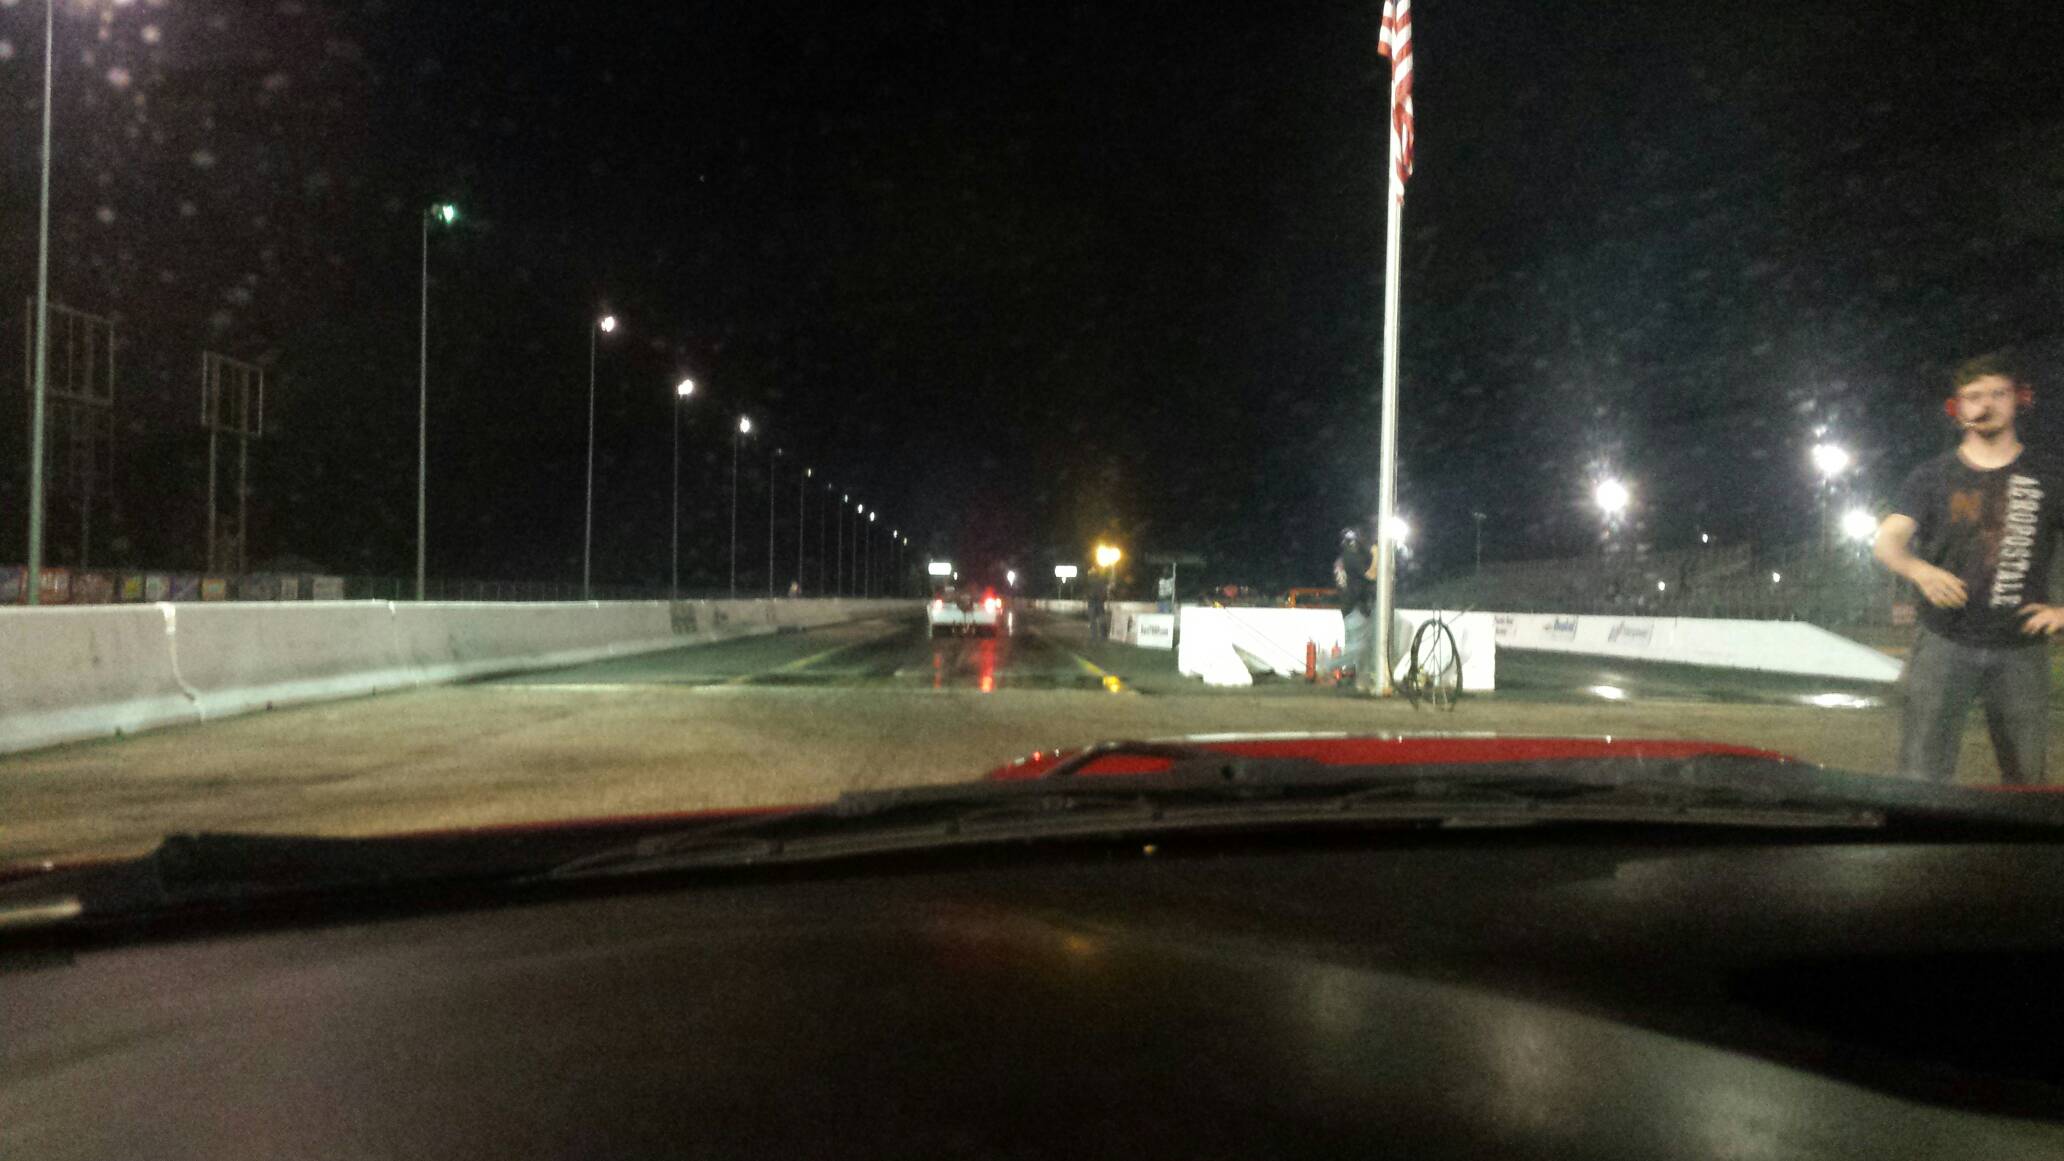
At the end of the day it cut a best (random passes) 60ft of 1.45, best 1/8 mile of 6.9x @ 97mph, and quarter 10.99 @ 121. The mph on the 1/4 tells me its not pulling like it should on the backend, it definitely needs more tuning, which I plan to do soon.
And at the end of the night I made it through a Whataburger drive through and only scuffed the curbed and grazed a bush.
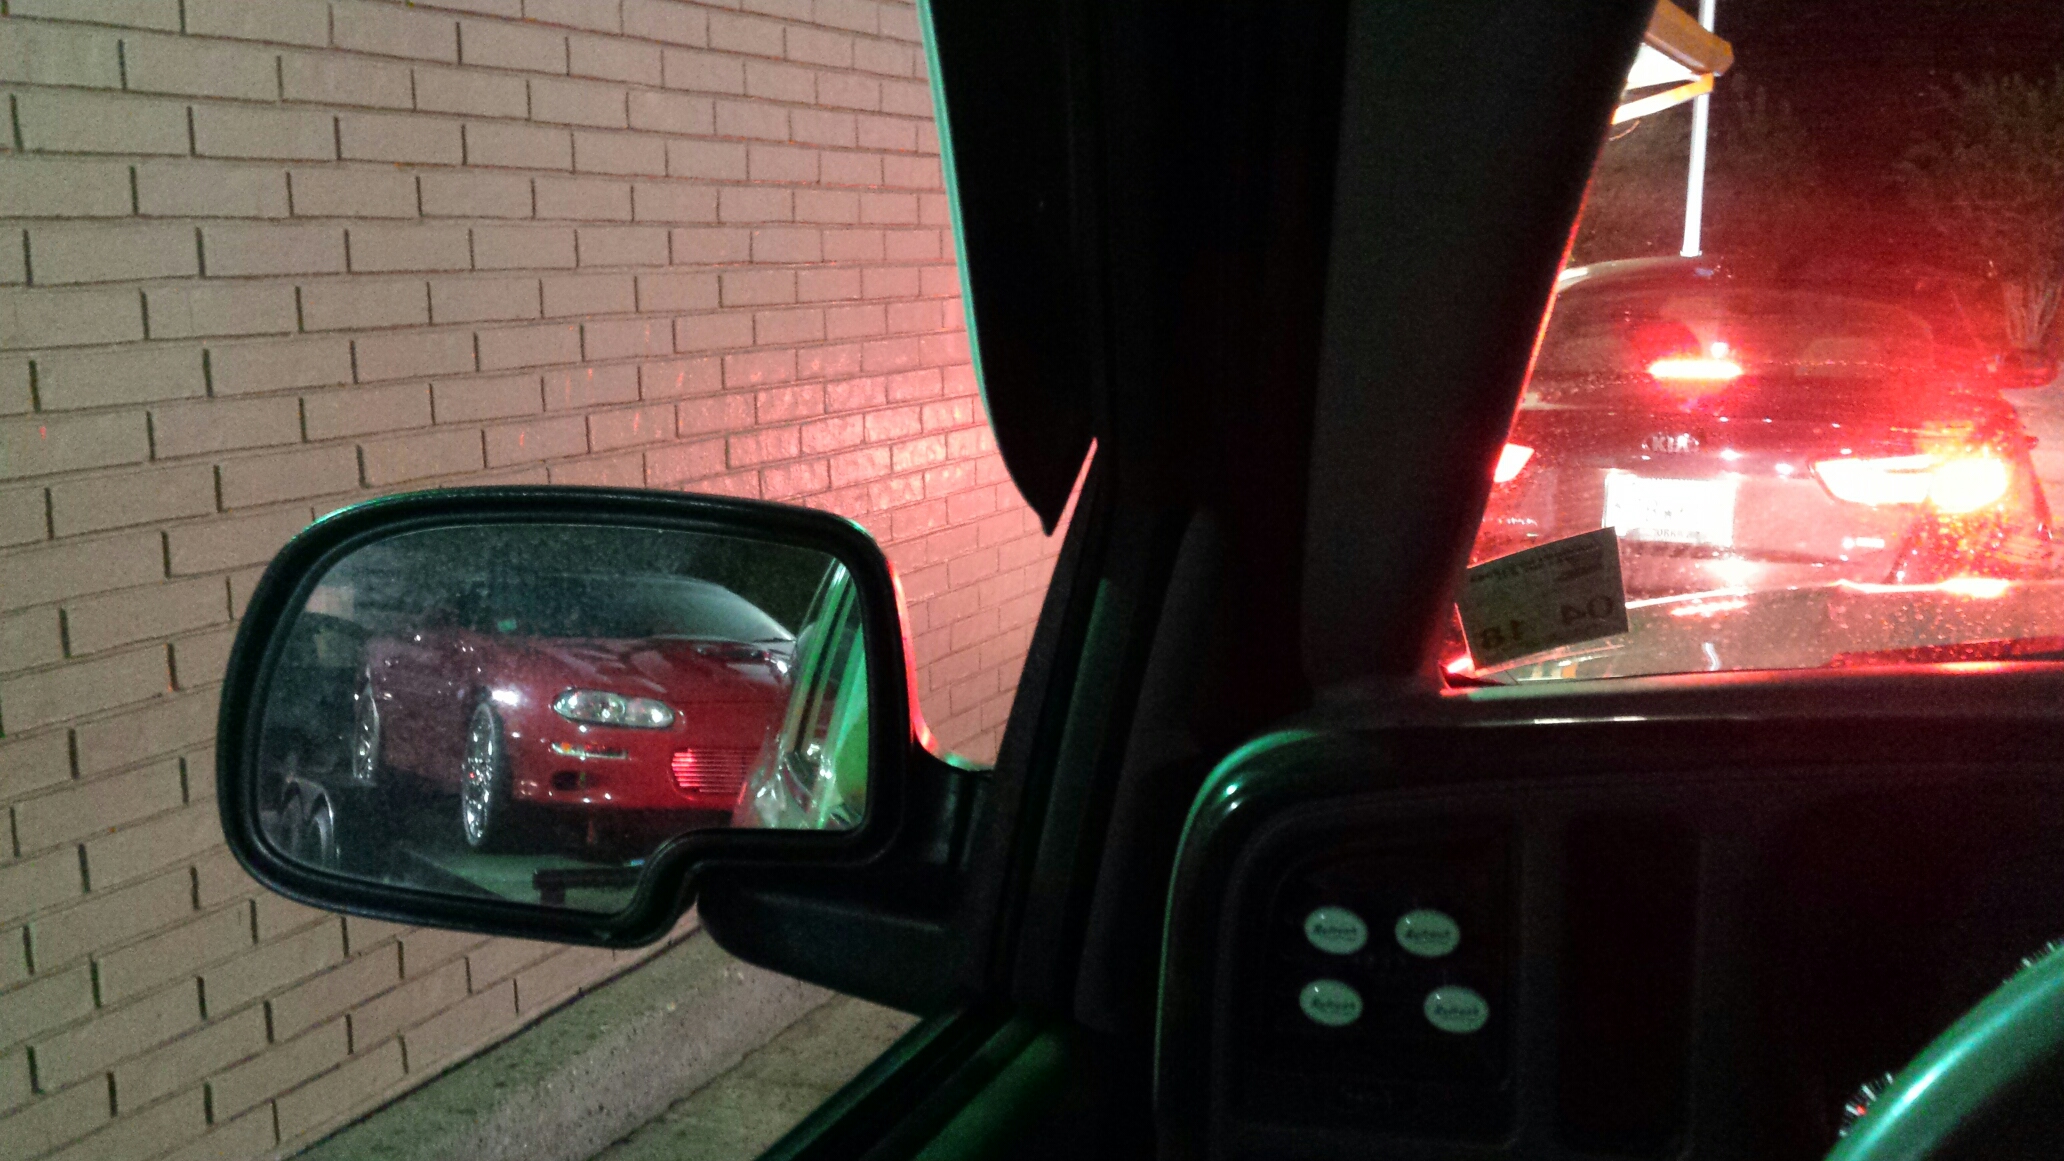
Ordered a set of MWC aluminum lower arms and matching panhard to replace the poly bushing stuff i had on the car before. More on that later, plus she is still trimming down....
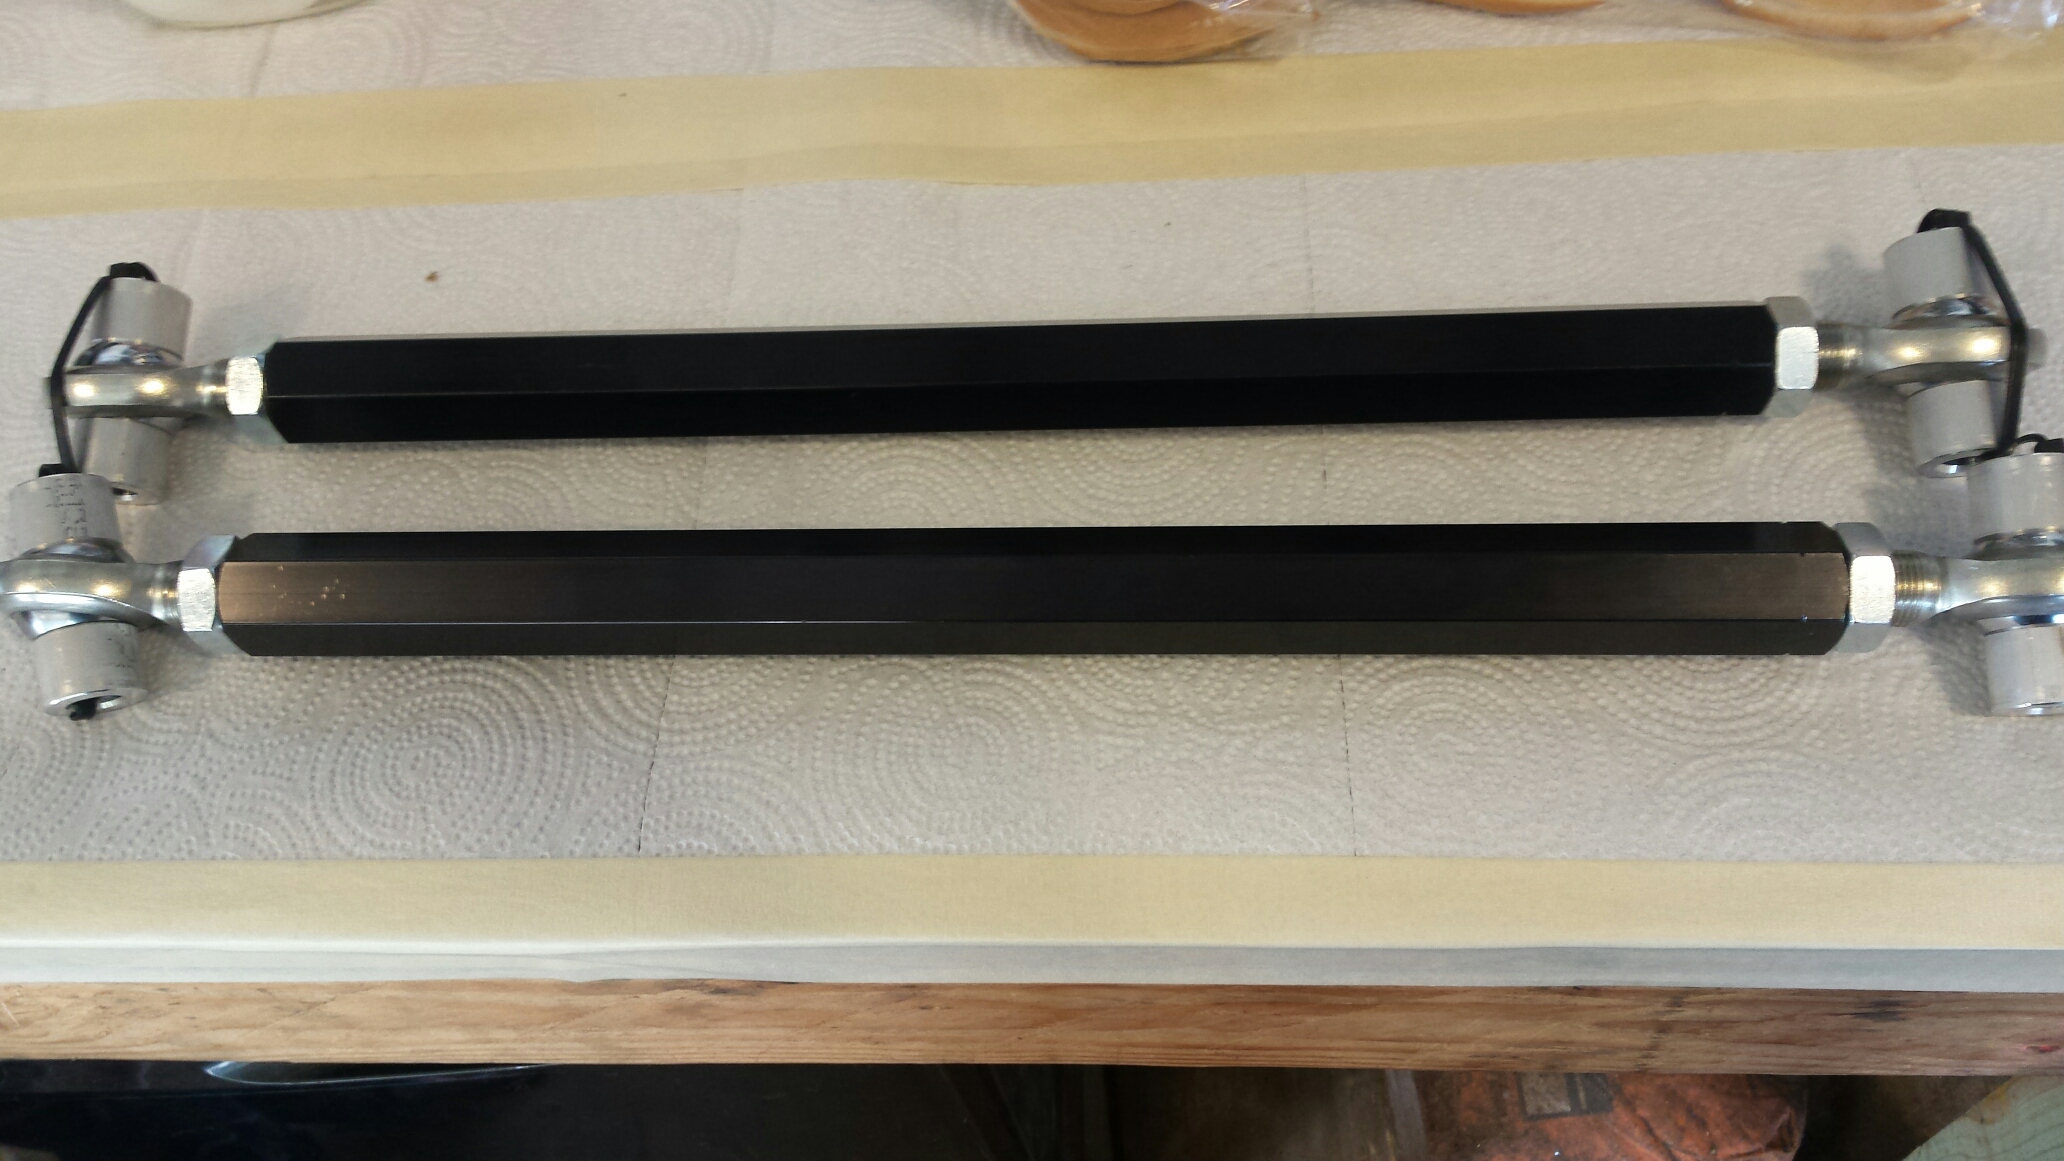
Cant wait to get these babies installed and maybe make another trip to the scales. I think the front is the 3/16ths and the rear is 1/4 with the dark tint.

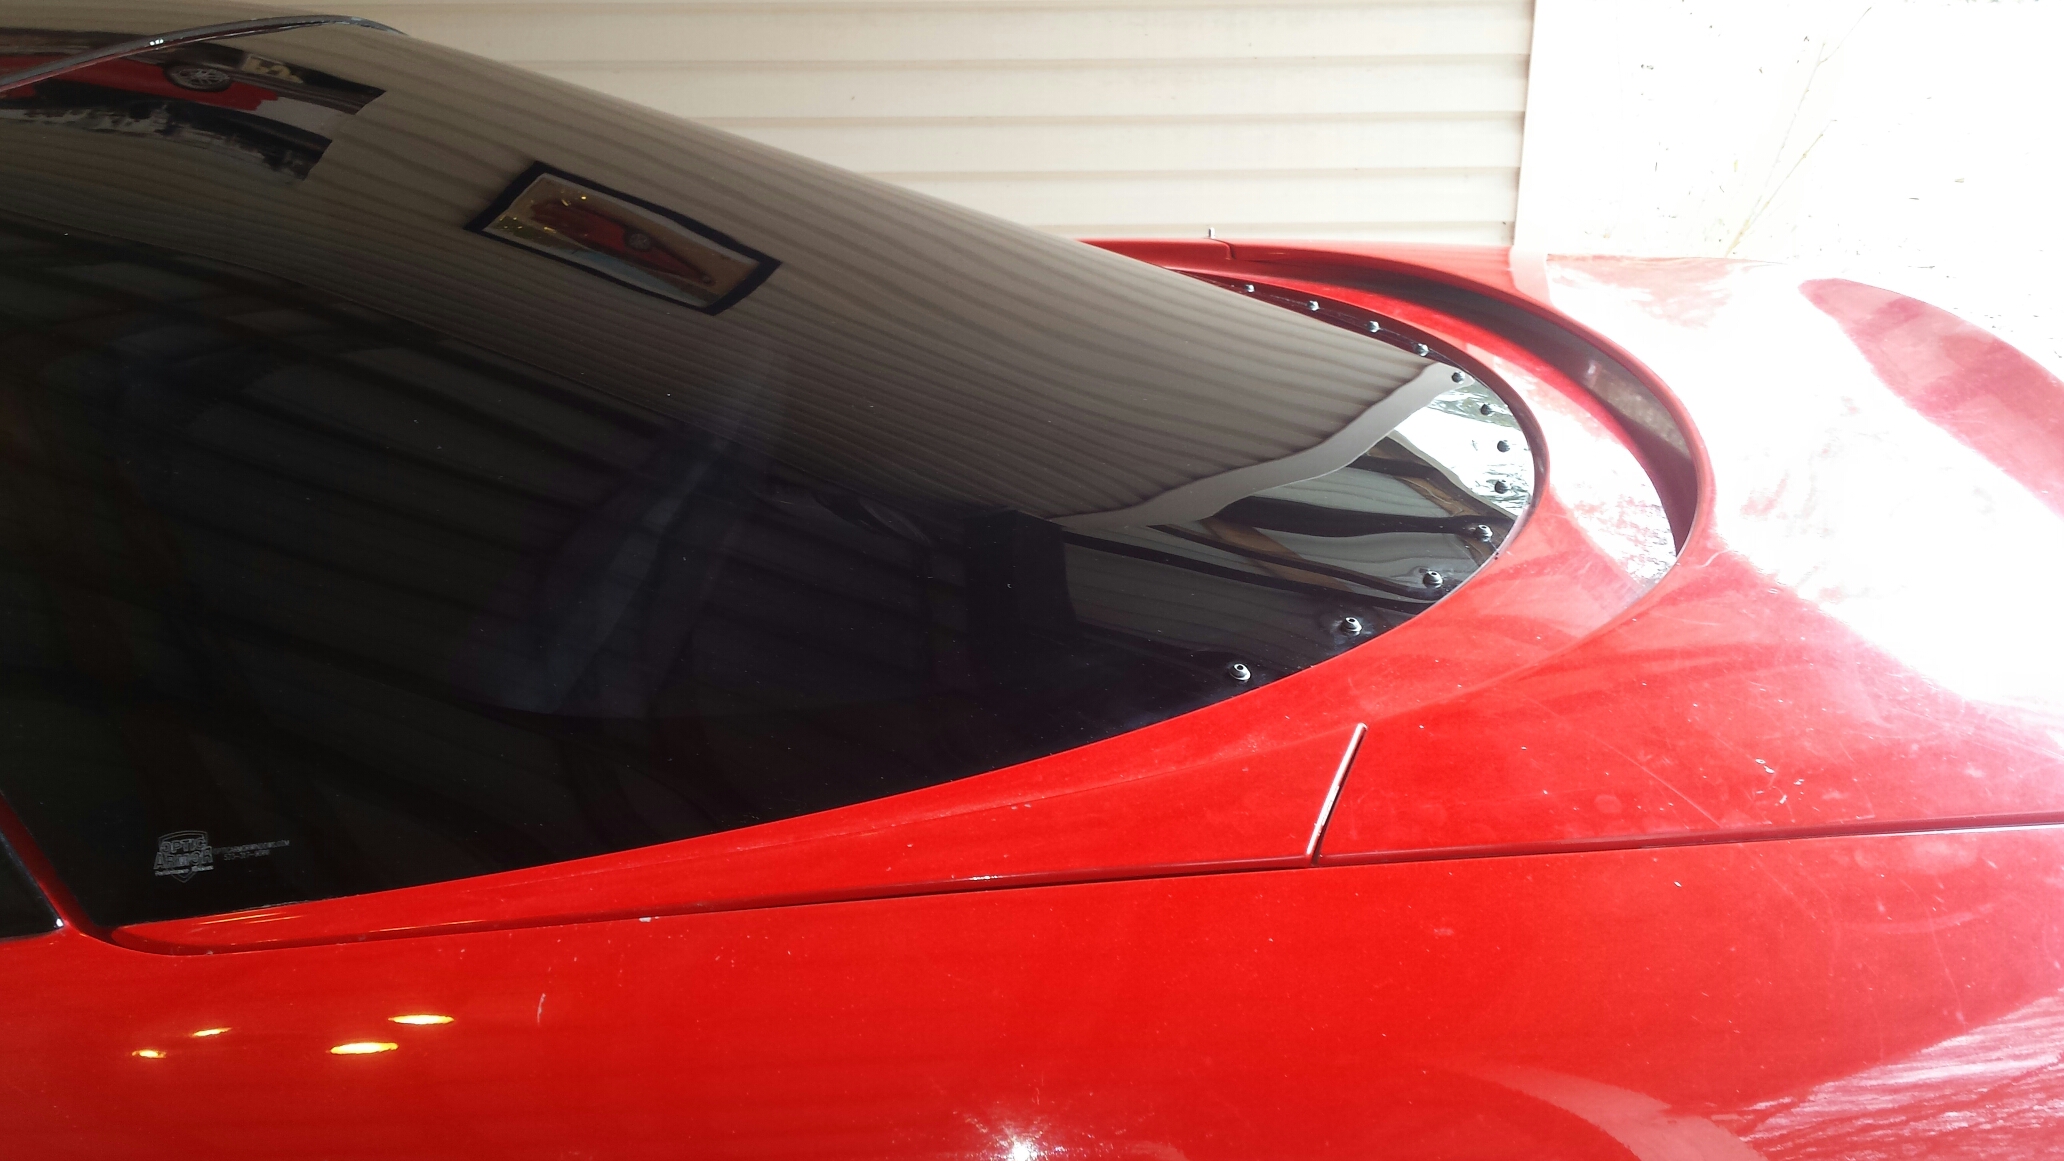
Couple of teaser pics, I plan on fully detailing the install, with all the install info, weights, for anyone wanting to try the install themselves. So far I can tell you the rear glass is difficult to remove, and the optic armor fits soooo nice.
 [/URL]

Random staging lane pics.


At the end of the day it cut a best (random passes) 60ft of 1.45, best 1/8 mile of 6.9x @ 97mph, and quarter 10.99 @ 121. The mph on the 1/4 tells me its not pulling like it should on the backend, it definitely needs more tuning, which I plan to do soon.
And at the end of the night I made it through a Whataburger drive through and only scuffed the curbed and grazed a bush.

Ordered a set of MWC aluminum lower arms and matching panhard to replace the poly bushing stuff i had on the car before. More on that later, plus she is still trimming down....

Cant wait to get these babies installed and maybe make another trip to the scales. I think the front is the 3/16ths and the rear is 1/4 with the dark tint.

Couple of teaser pics, I plan on fully detailing the install, with all the install info, weights, for anyone wanting to try the install themselves. So far I can tell you the rear glass is difficult to remove, and the optic armor fits soooo nice.
[/URL]
#26
04-03-2017, 09:21 AM
Join Date: Aug 2010
Posts: 230
Likes: 0
Received 0 Likes
on
0 Posts
So on my quest to get under the 3k lbs mark I placed an order through Midwest Chassis for 1/4" front clear, and 3/16th rear in dark tint. My original plan was to pay someone to do this but ended up changing my mind and deciding to tackle it on my own. I have zero glass experience of this kind, so I just had to wing it. I'm gonna give you all the tips that I learned along the way in case you want to try it yourself one day.
Here is when they arrived. The box was kinda beat up....I'm actually surprised they weren't damaged somehow.

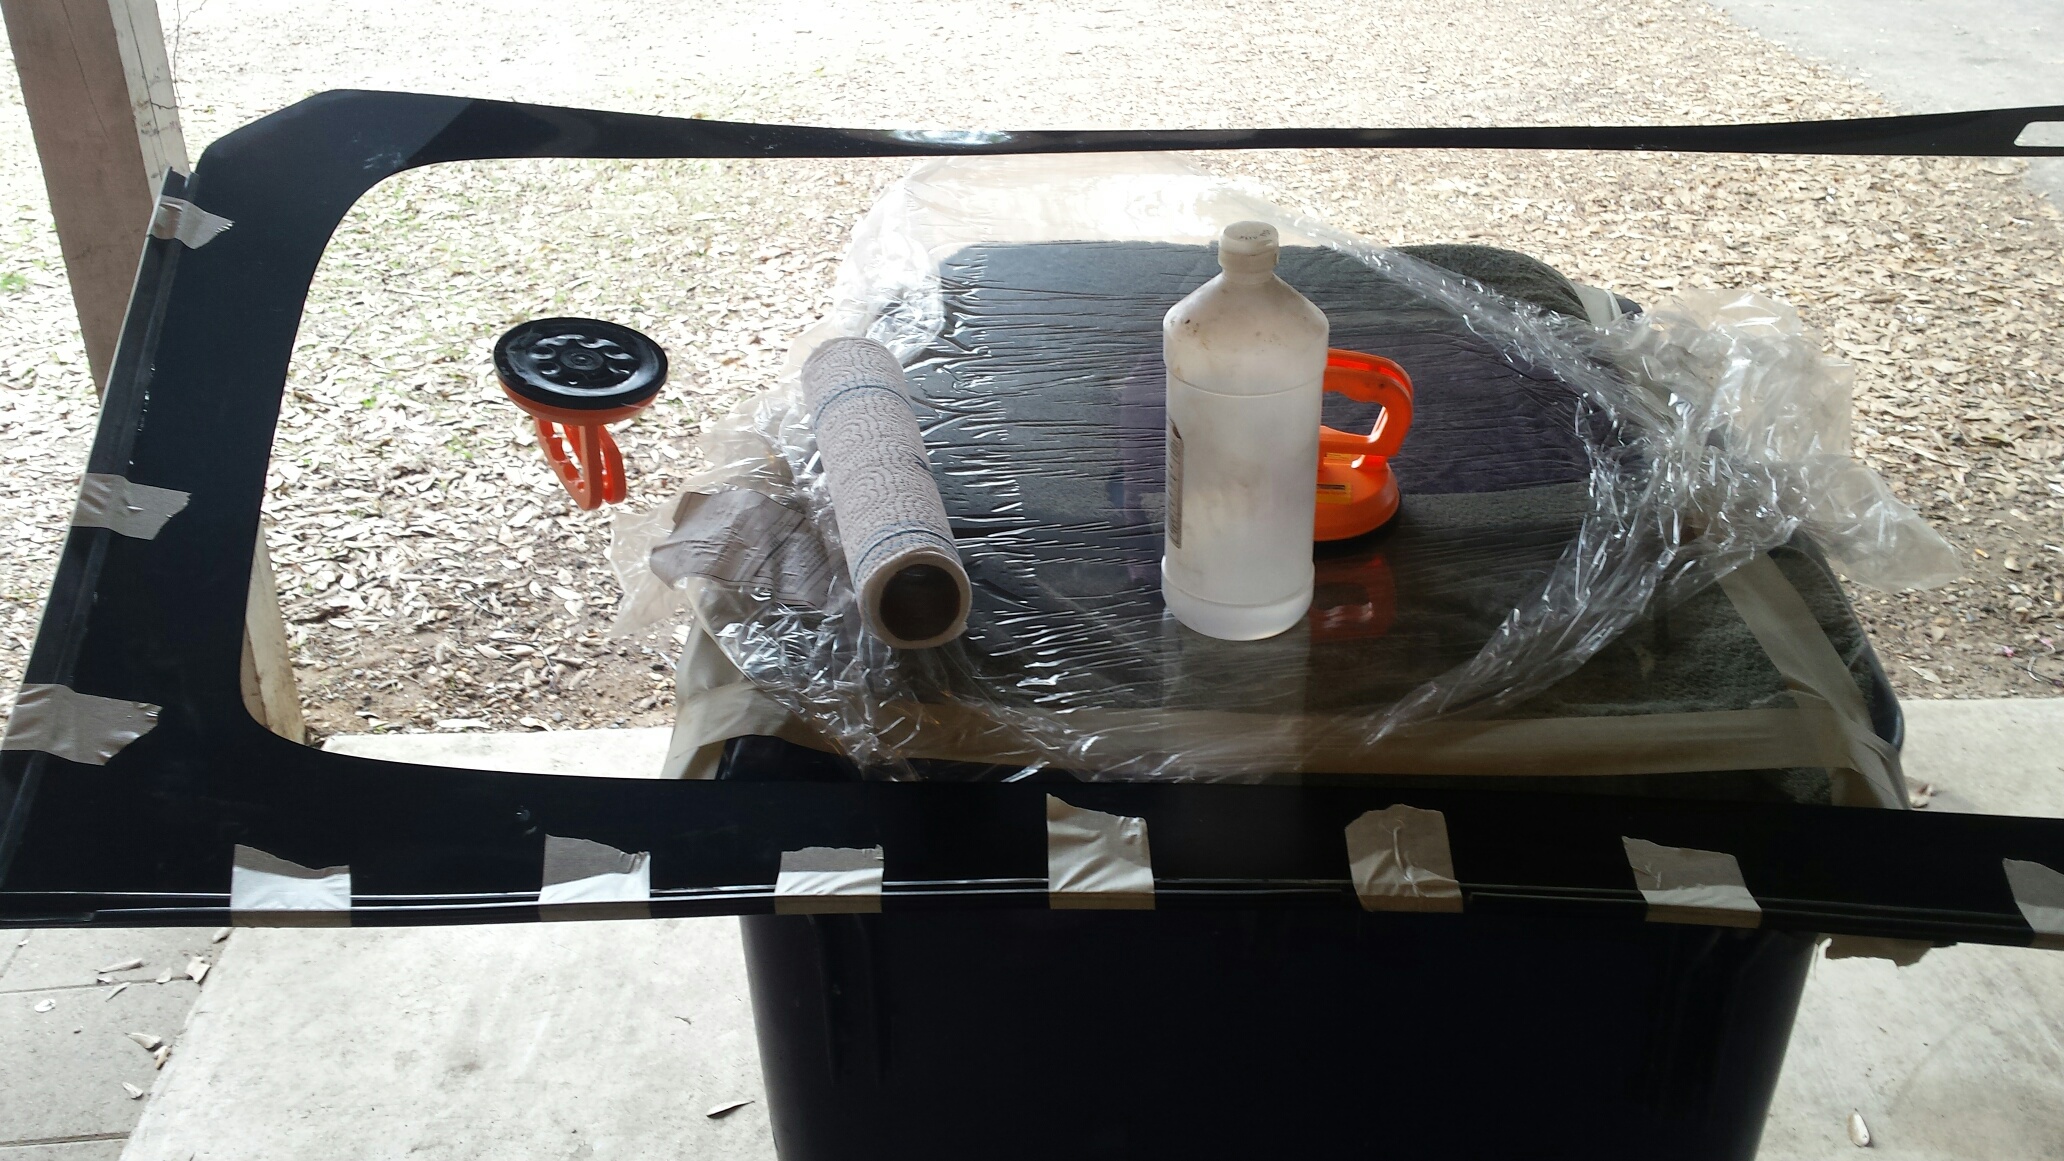
Made a trip to harbor freight to pick up some windshield specific tools:
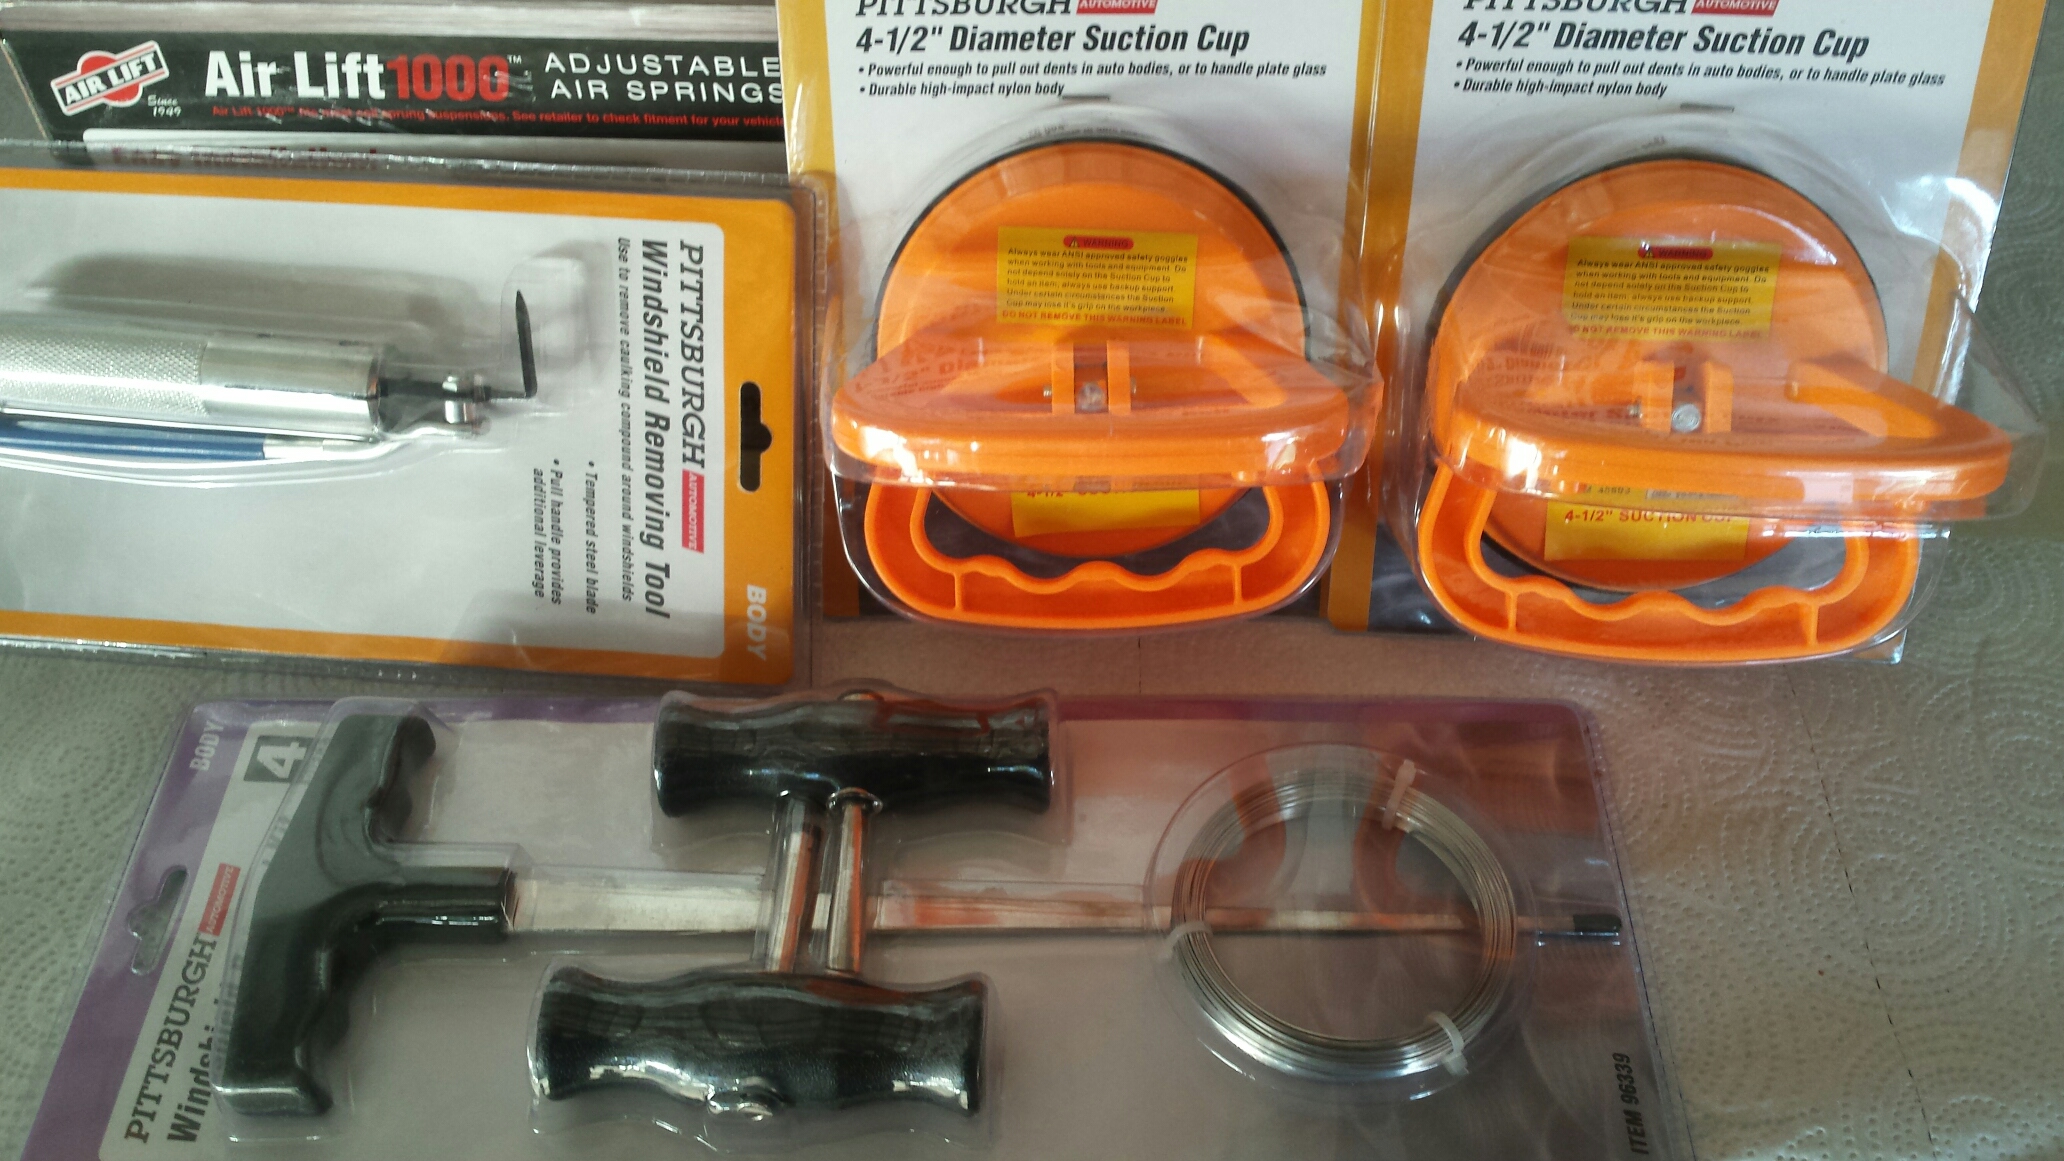
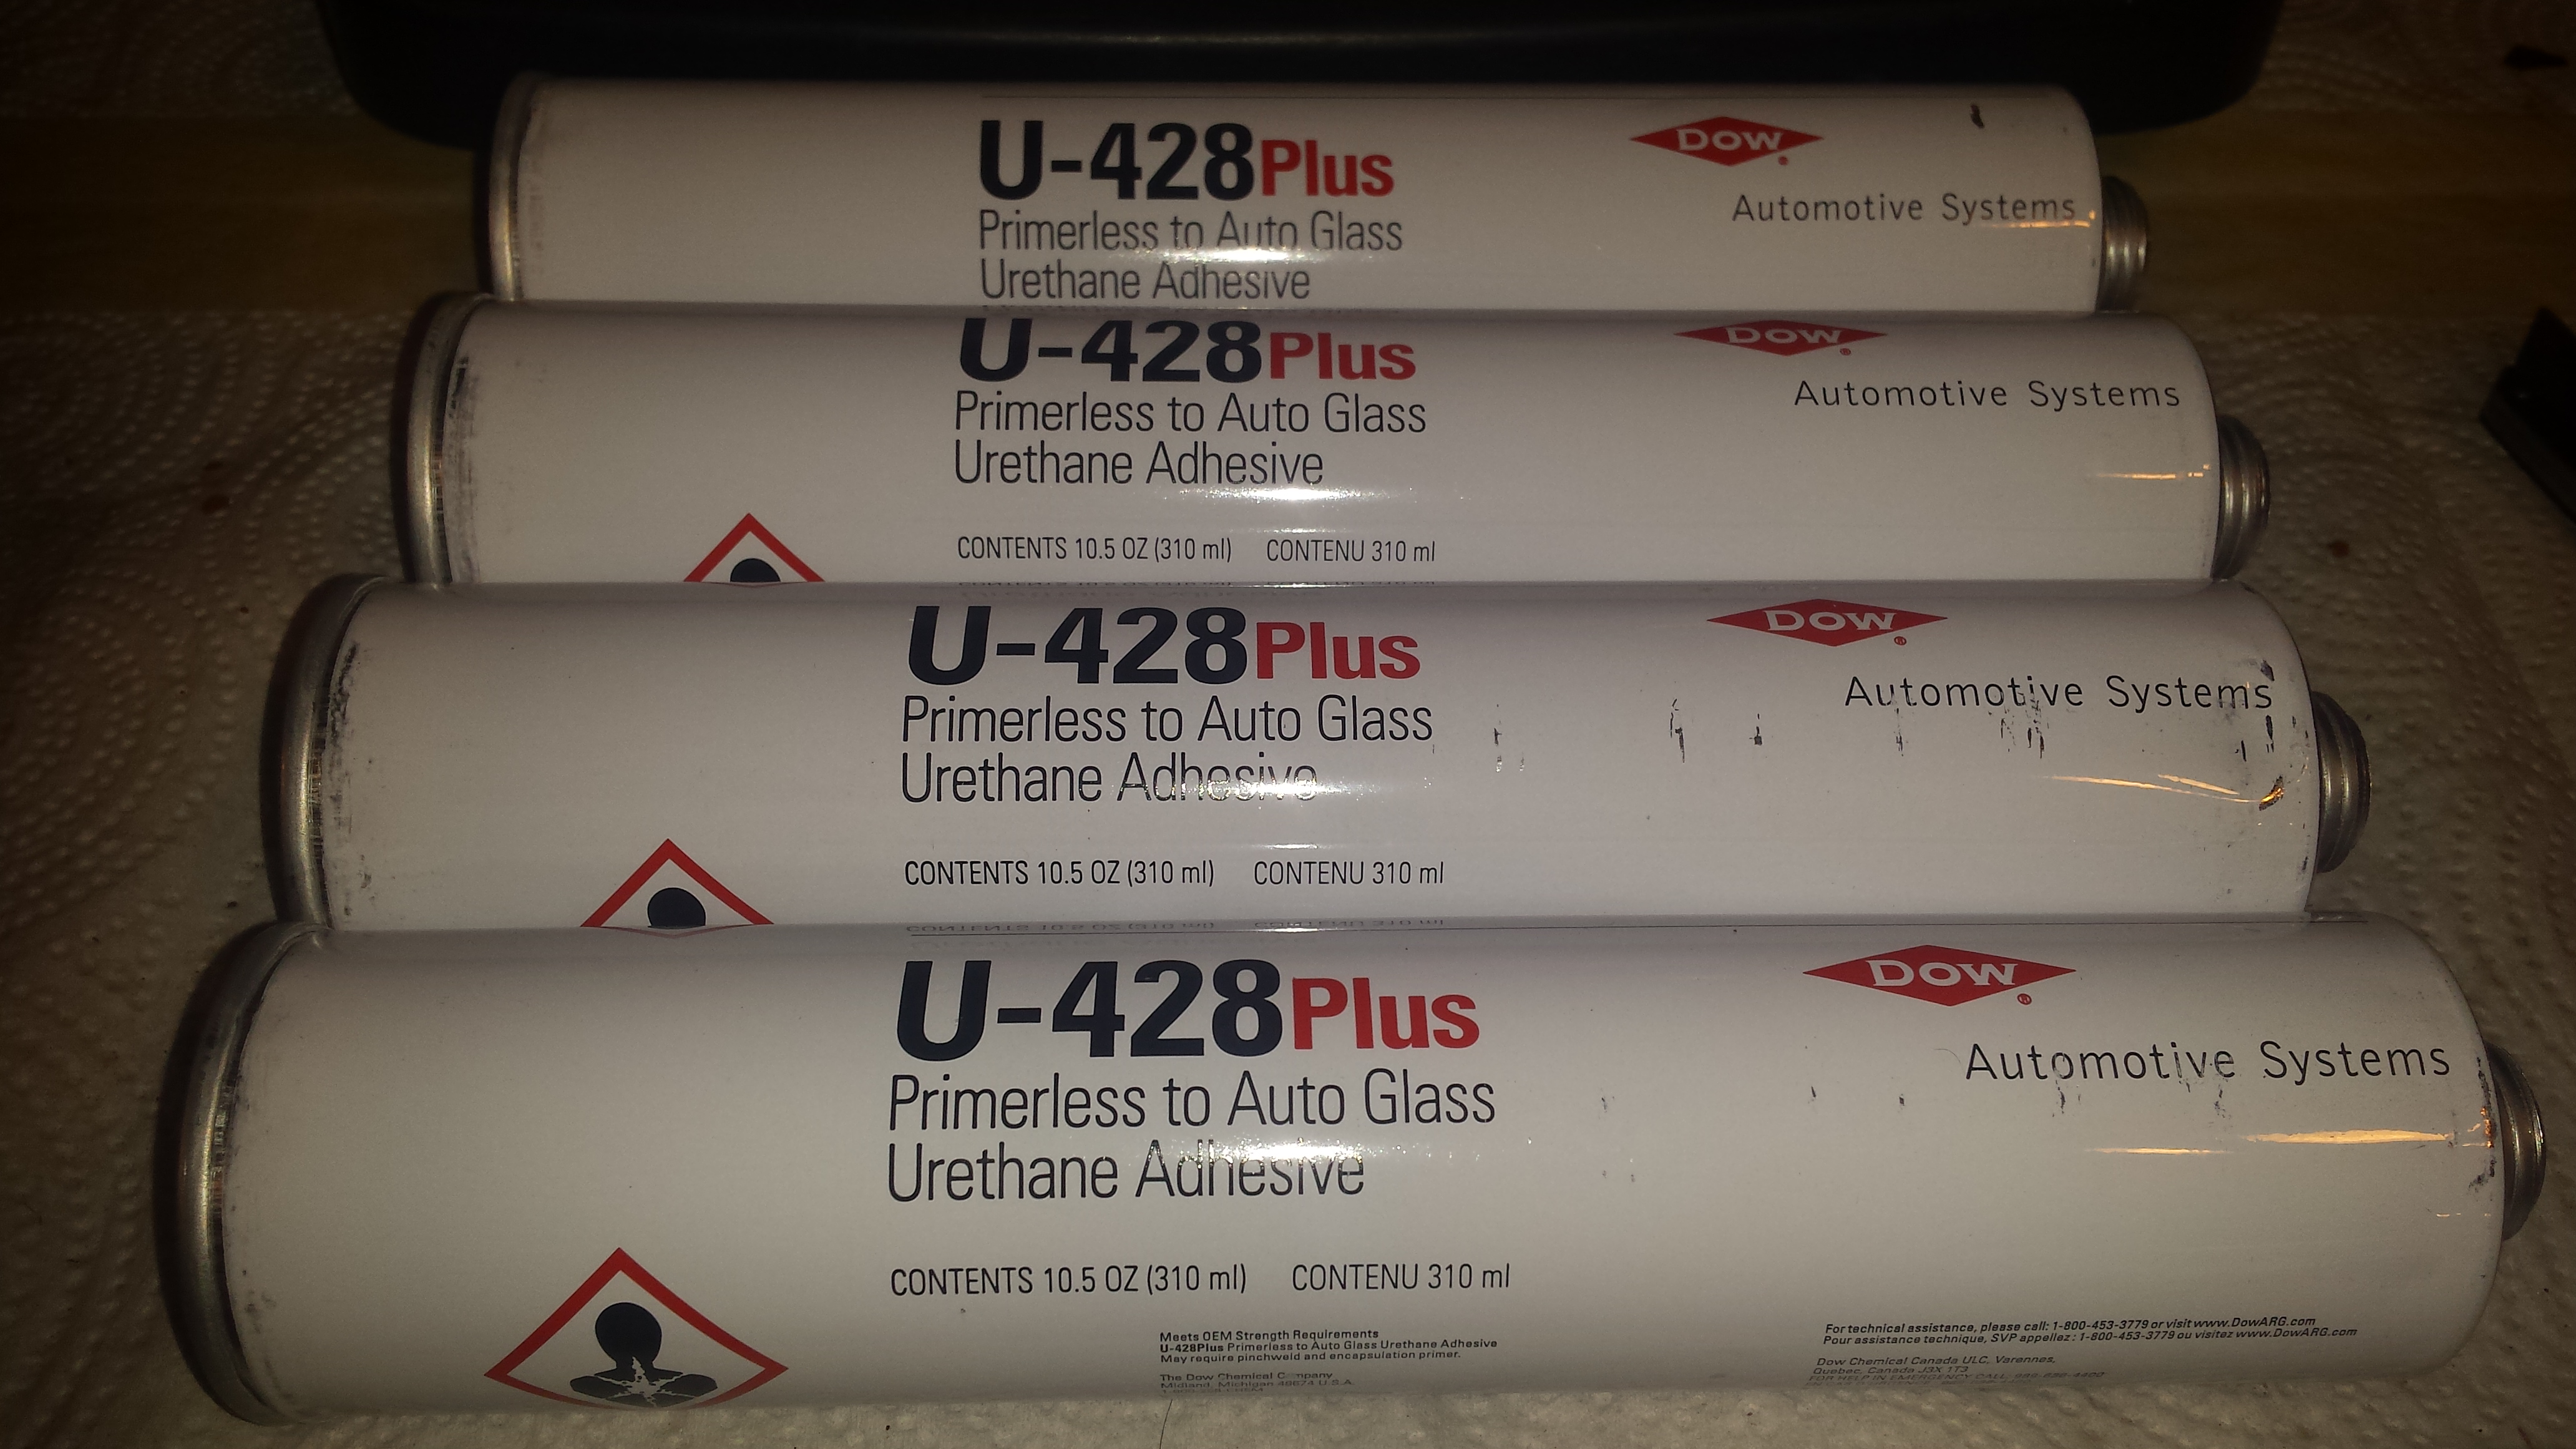
This is the urethane glue I chose. No particular reason, I purchased it on ebay for about $10 per tube. You'll need about 2 per window.
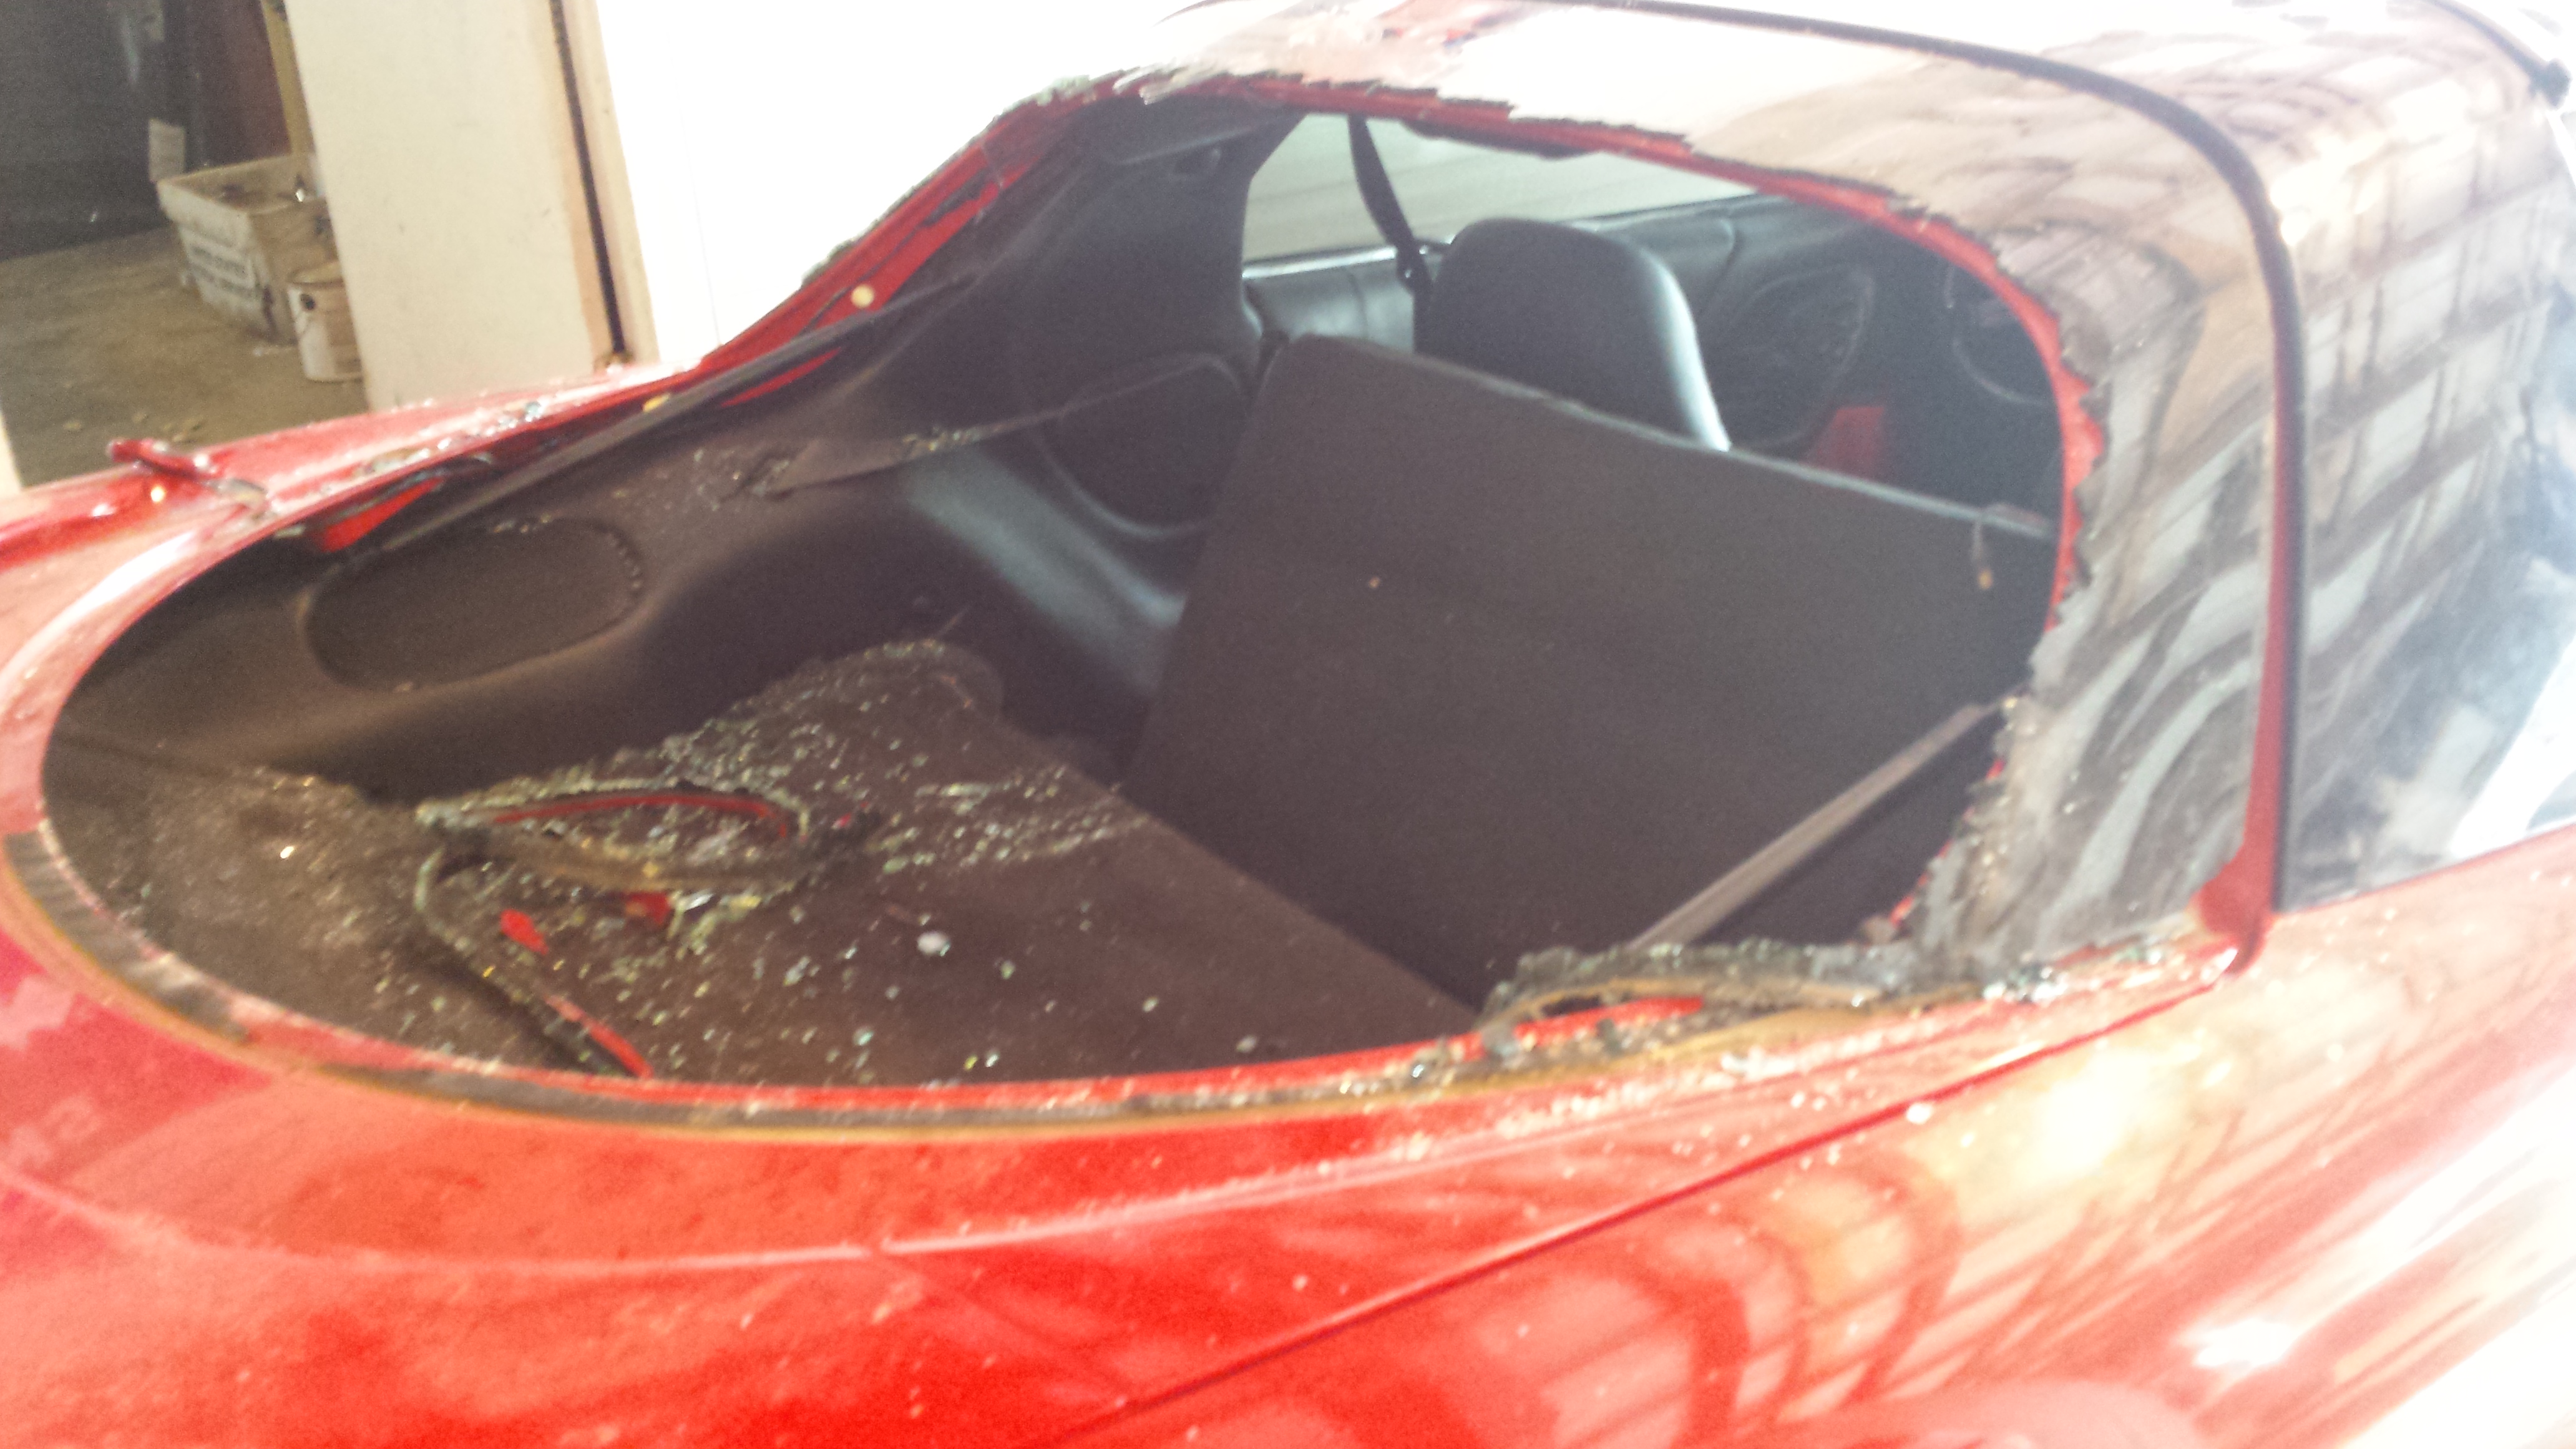
You may want to hire someone to remove the glass, I chose to give it a whirl. I started on the back first. Its tougher then the Youtube videos make it out, especially without scratching the car. You need to remove the perimeter molding first thing and the inside panels then use your various tools to separate the glass from the car. I finally decided **** this.
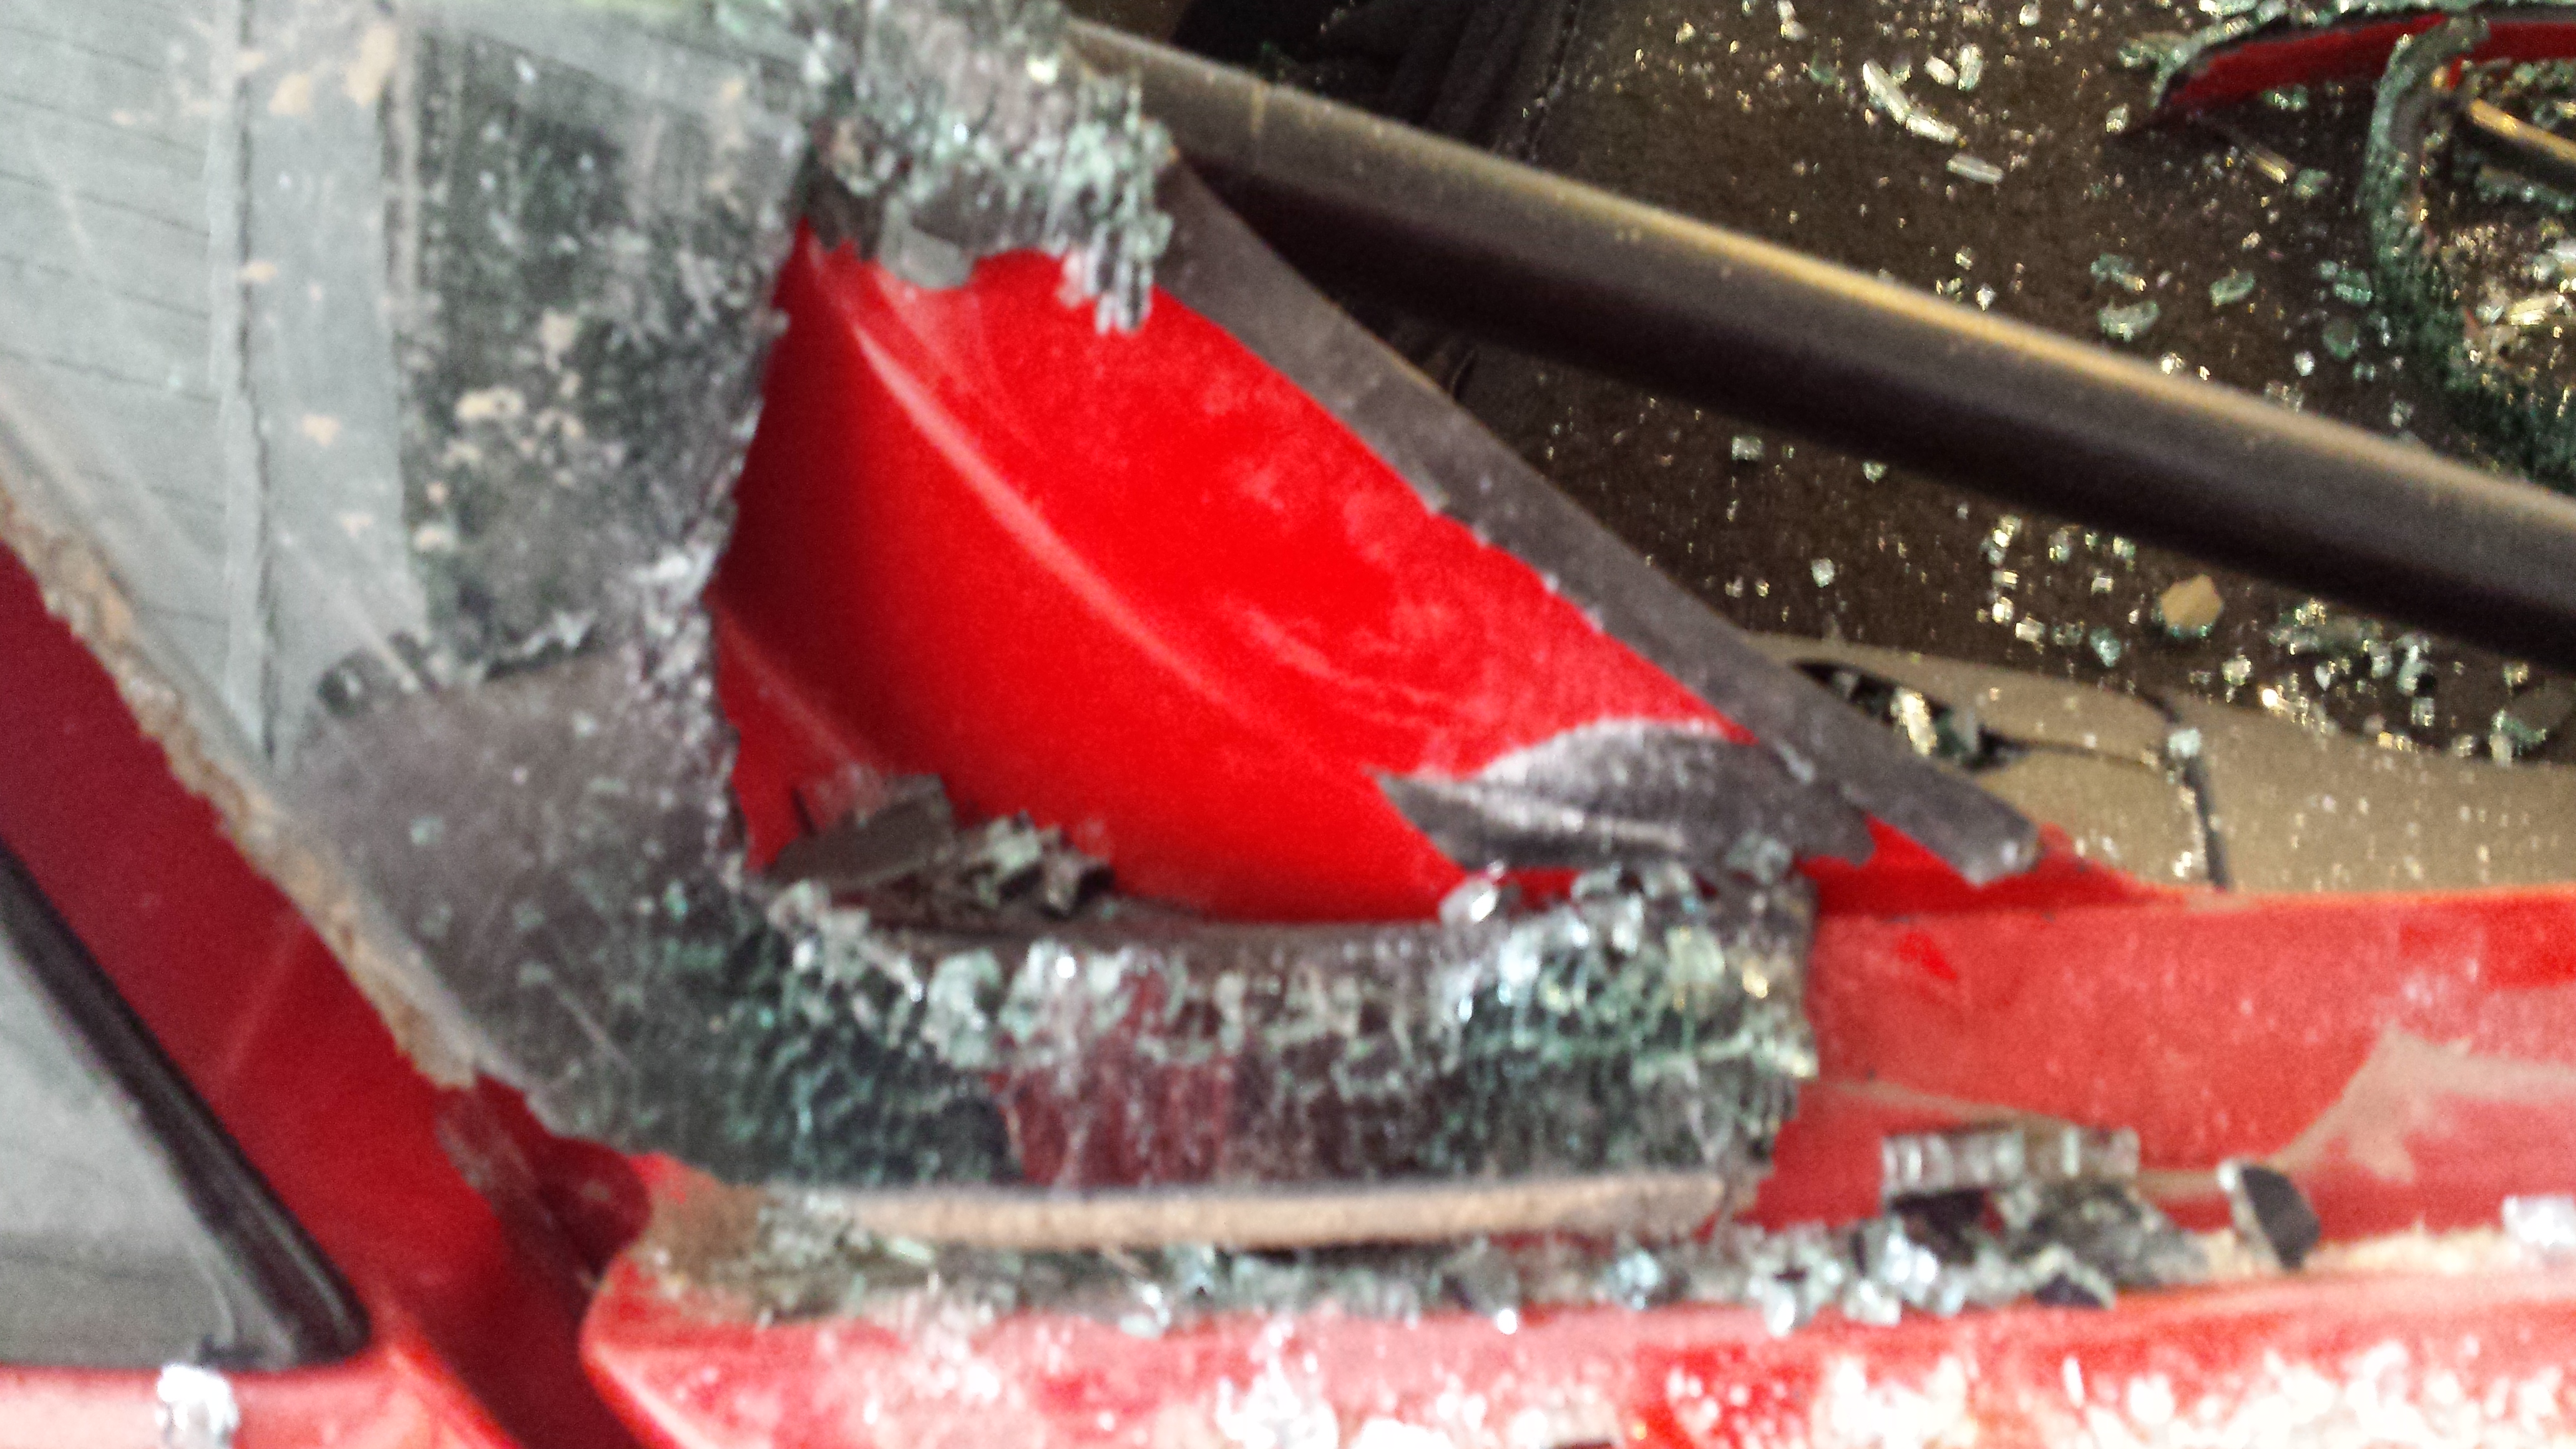
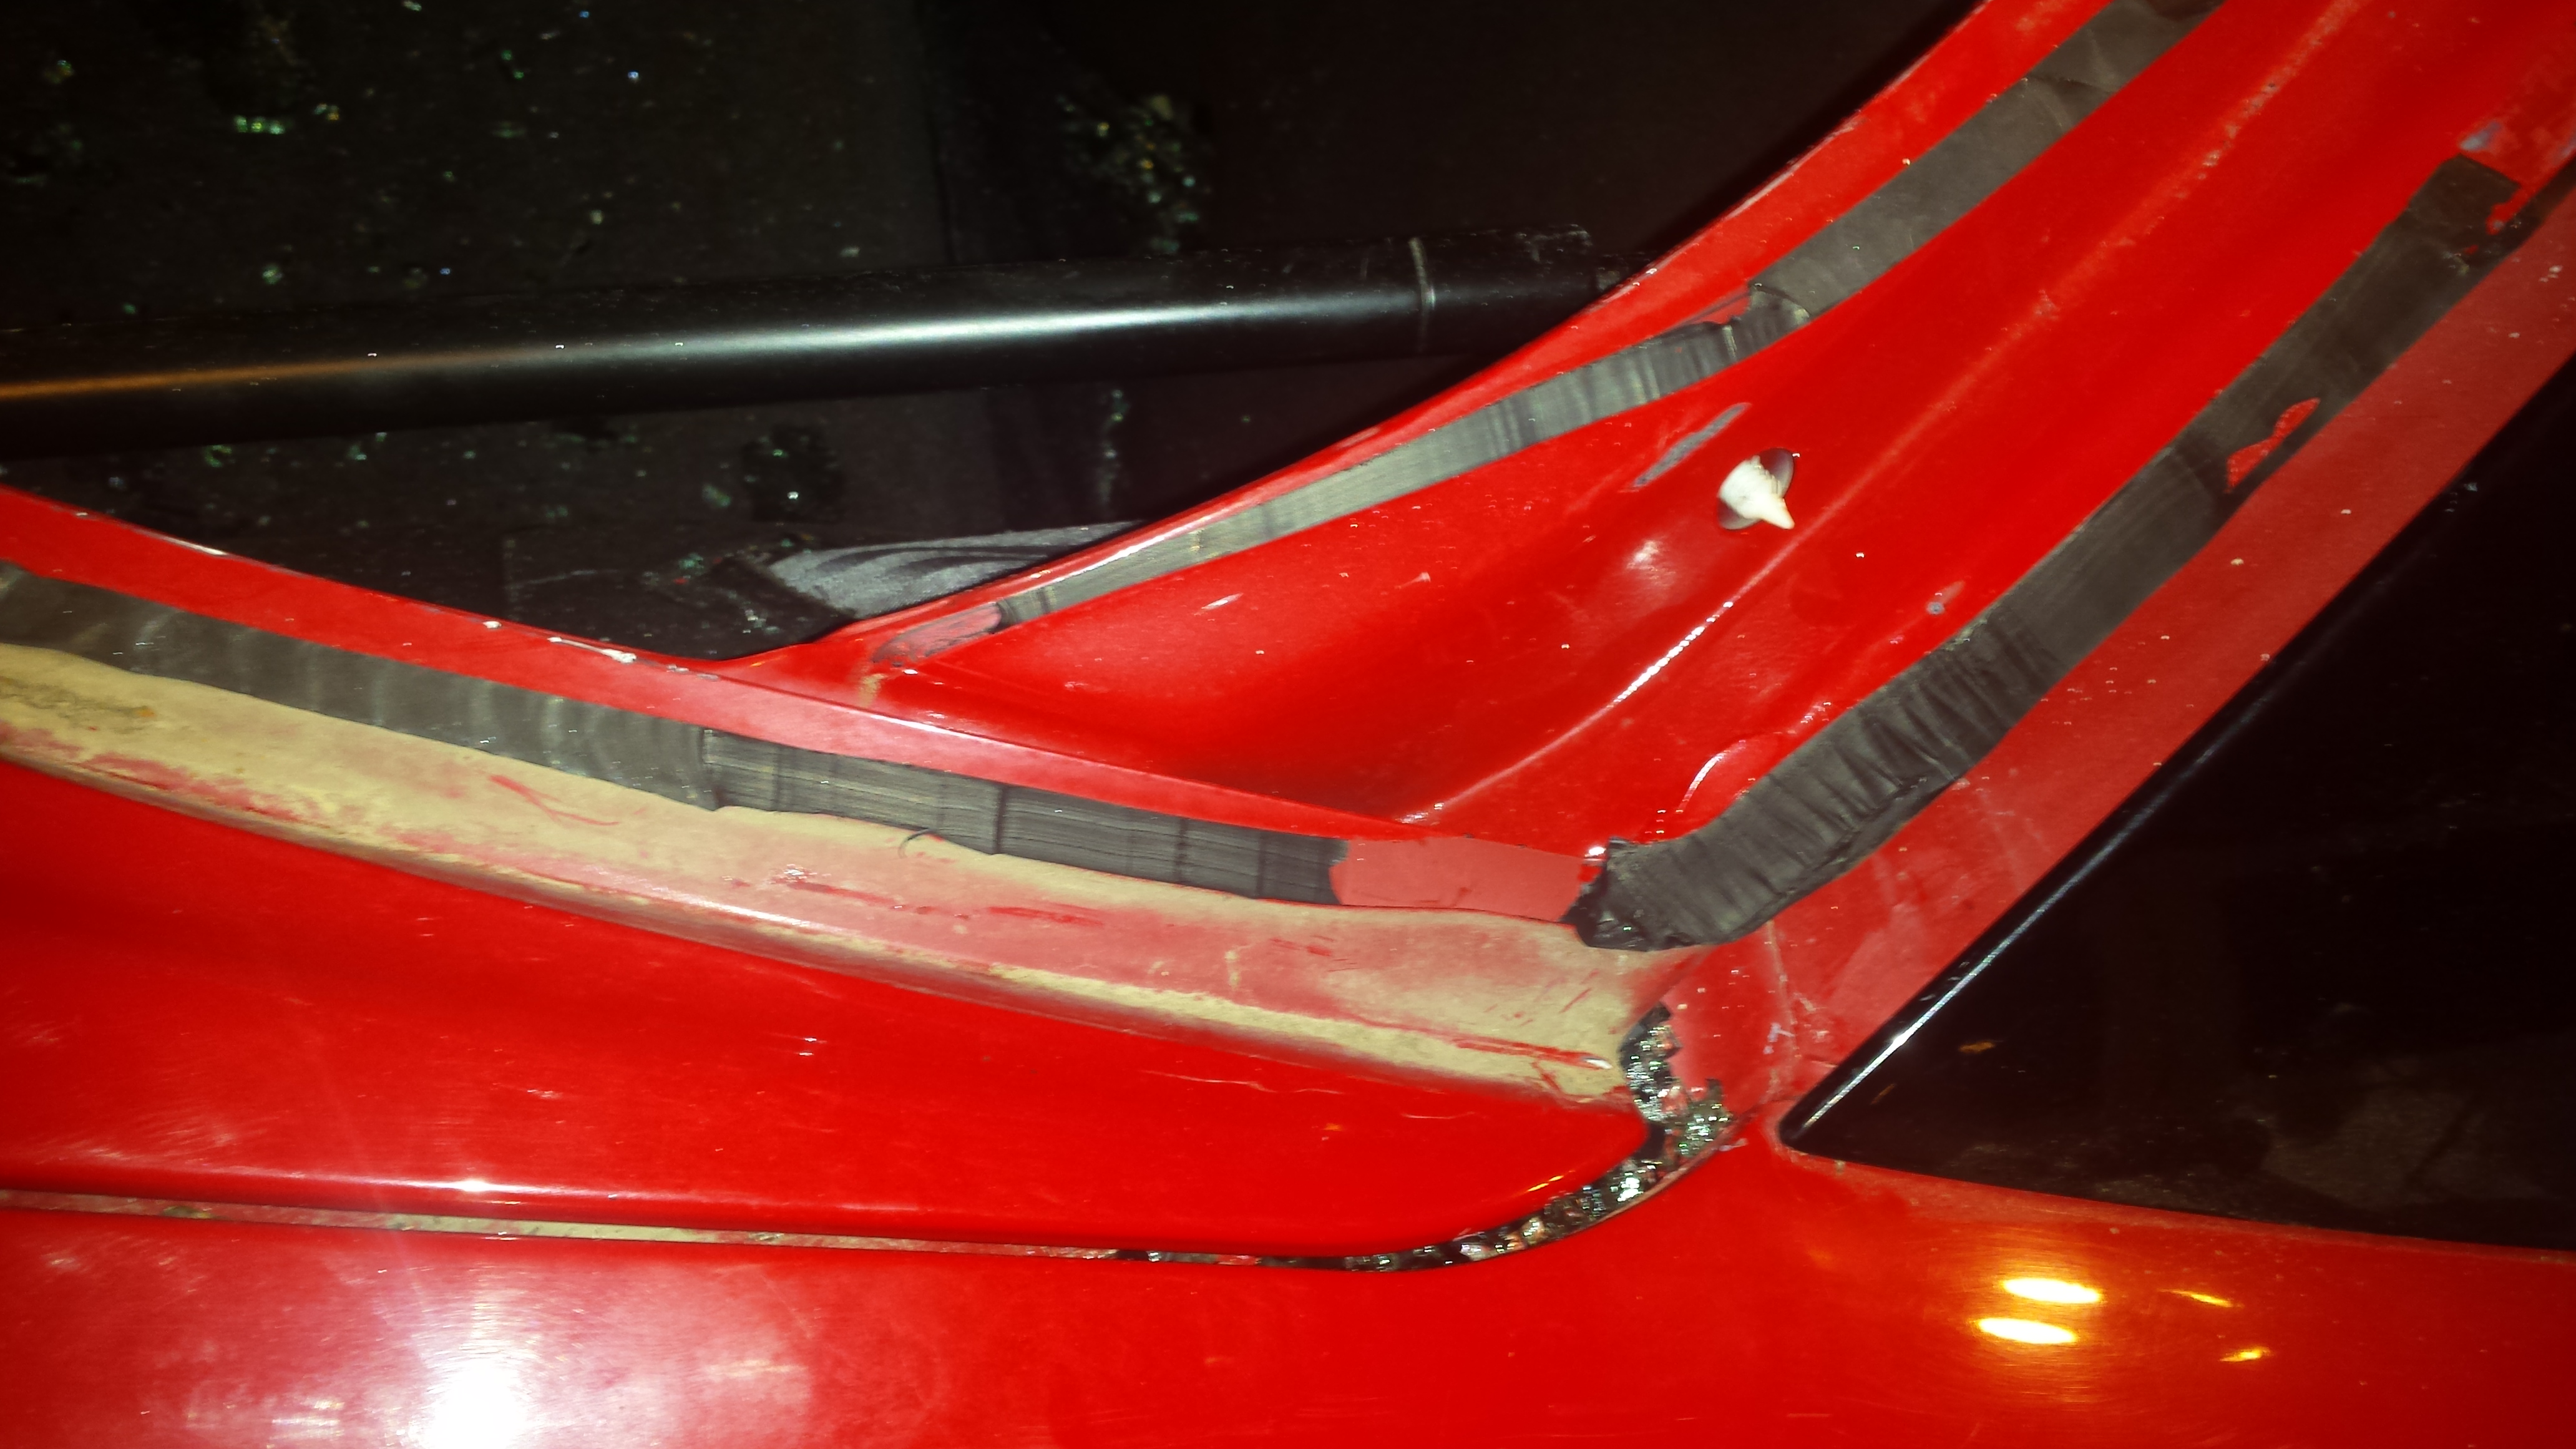
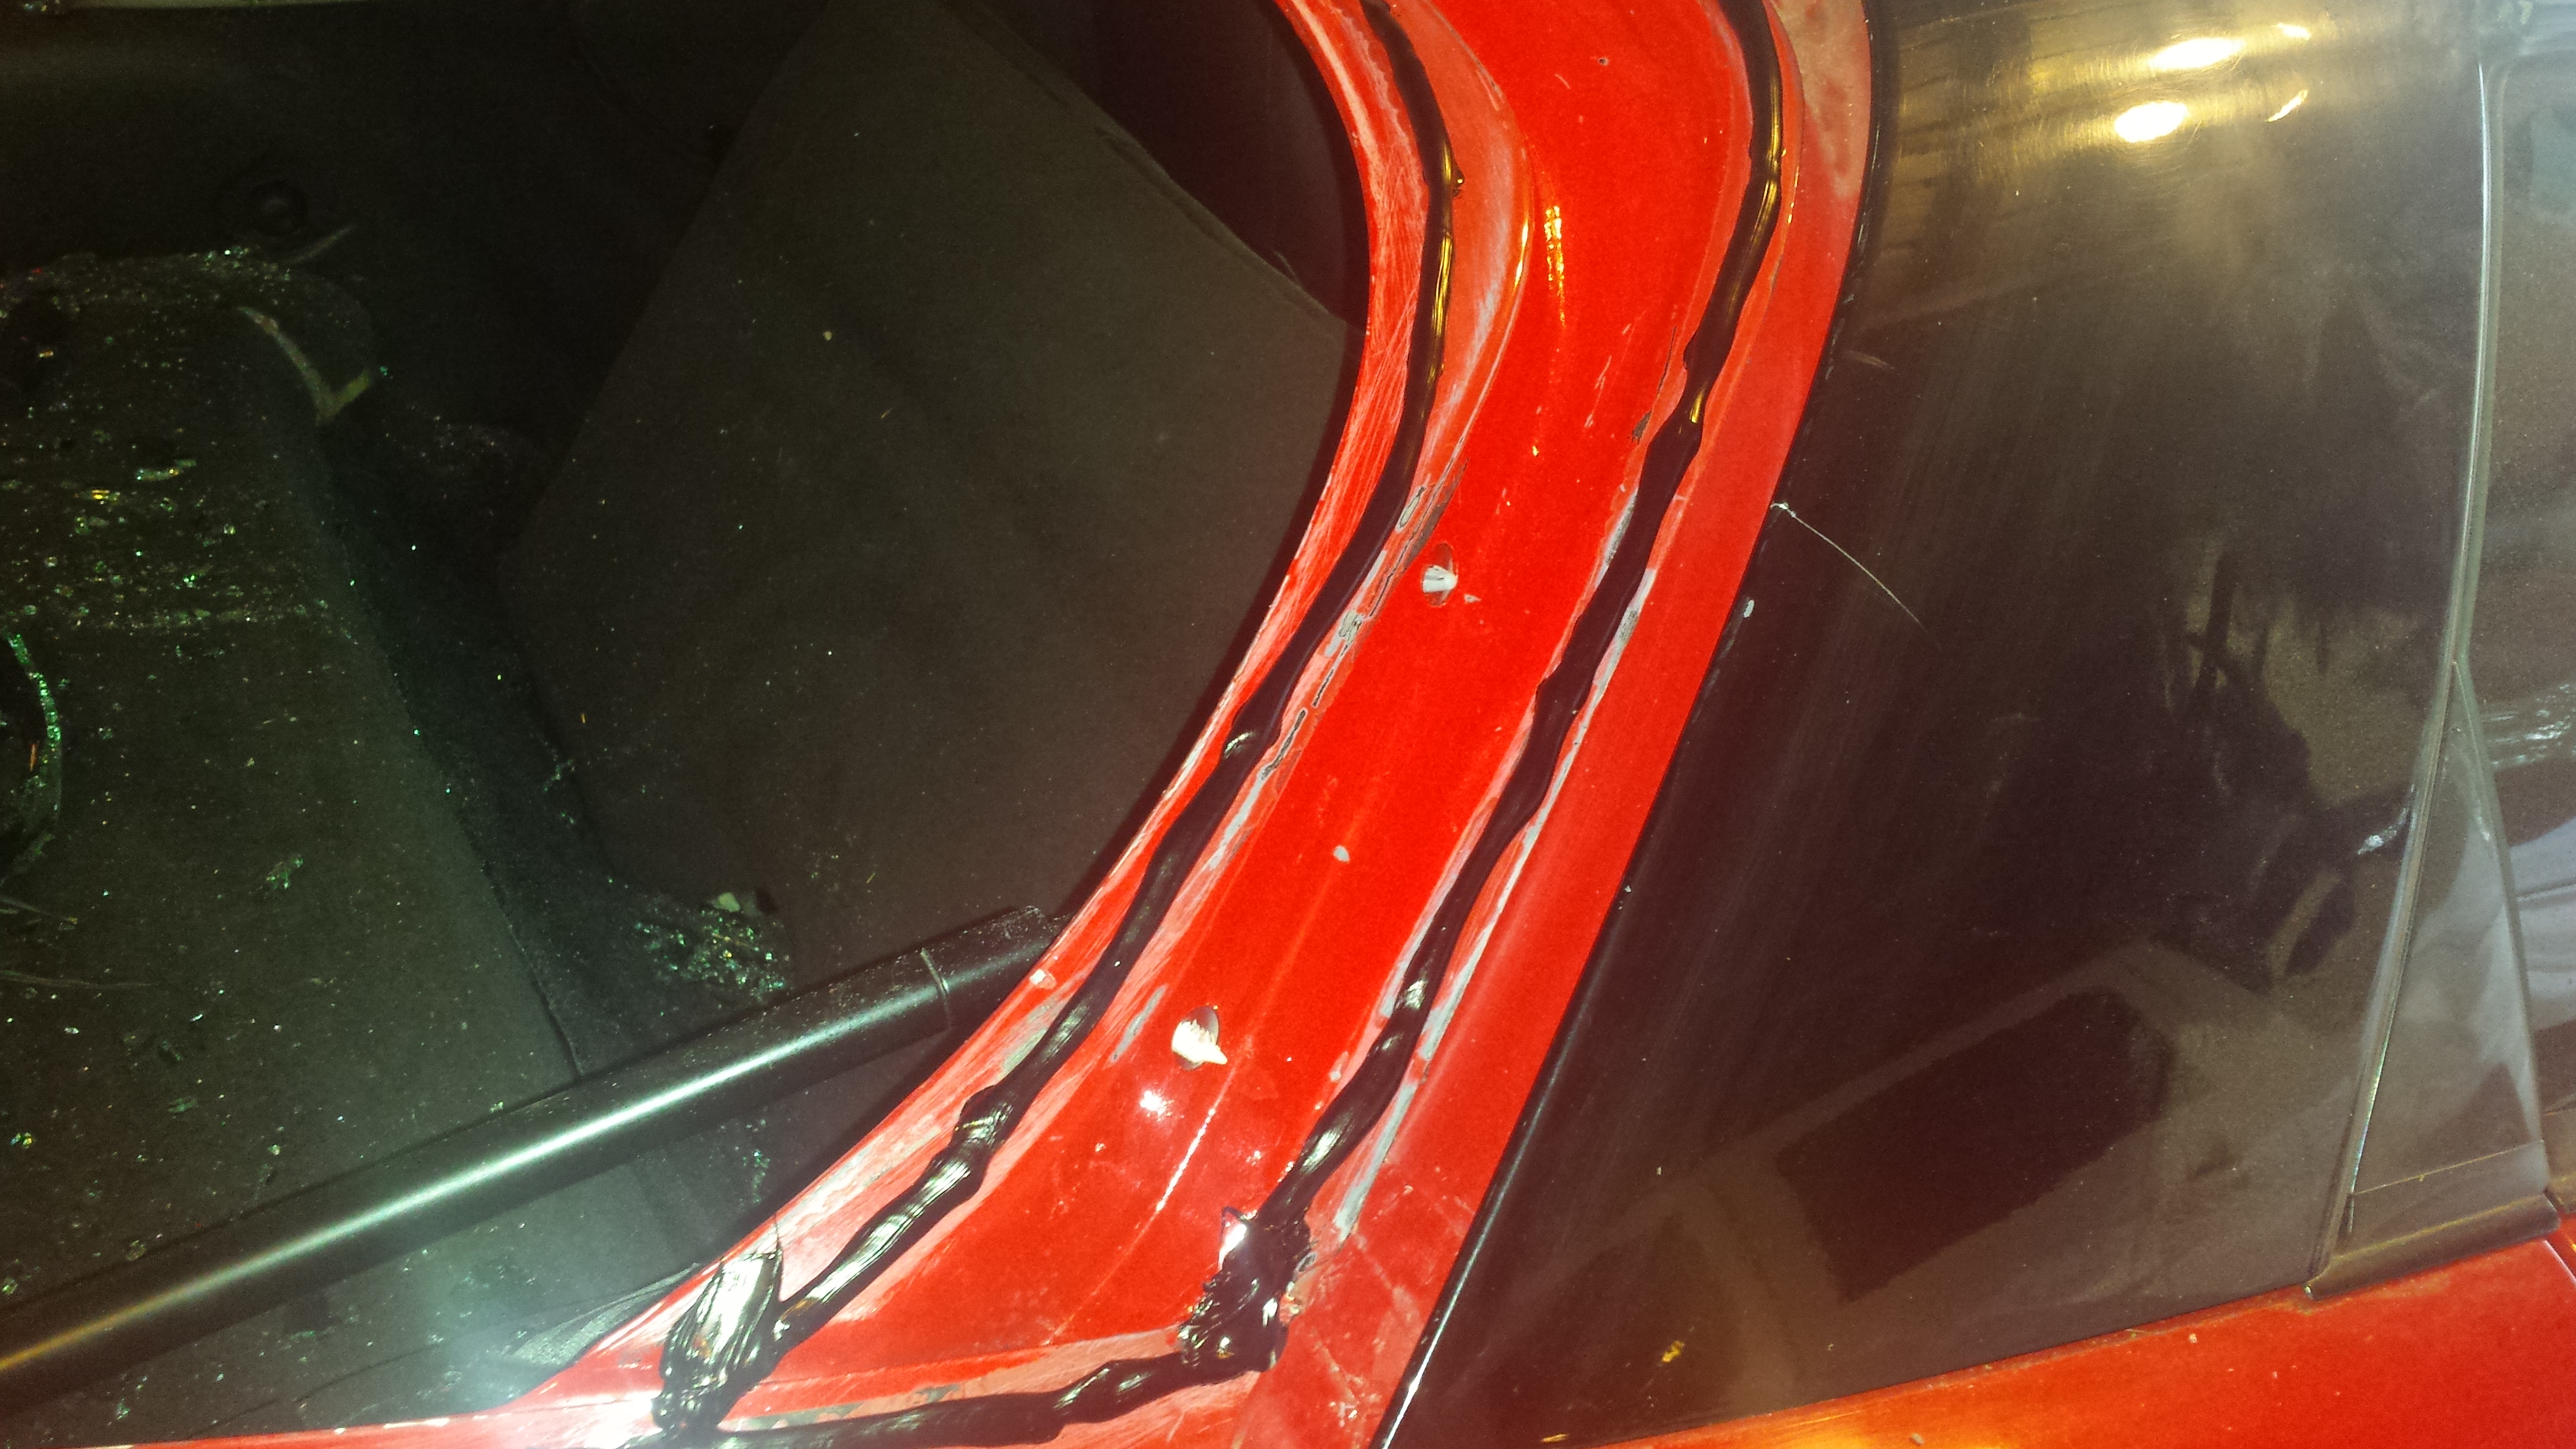
One of the things that makes the rear glass a real pain is in the corners there is two separate lines of urethane, which makes getting through that part super difficult to a beginning installer. You can see here, where the glass makes the curve at the bottom is a thick bead, then toward the upper edge there is another thin line.
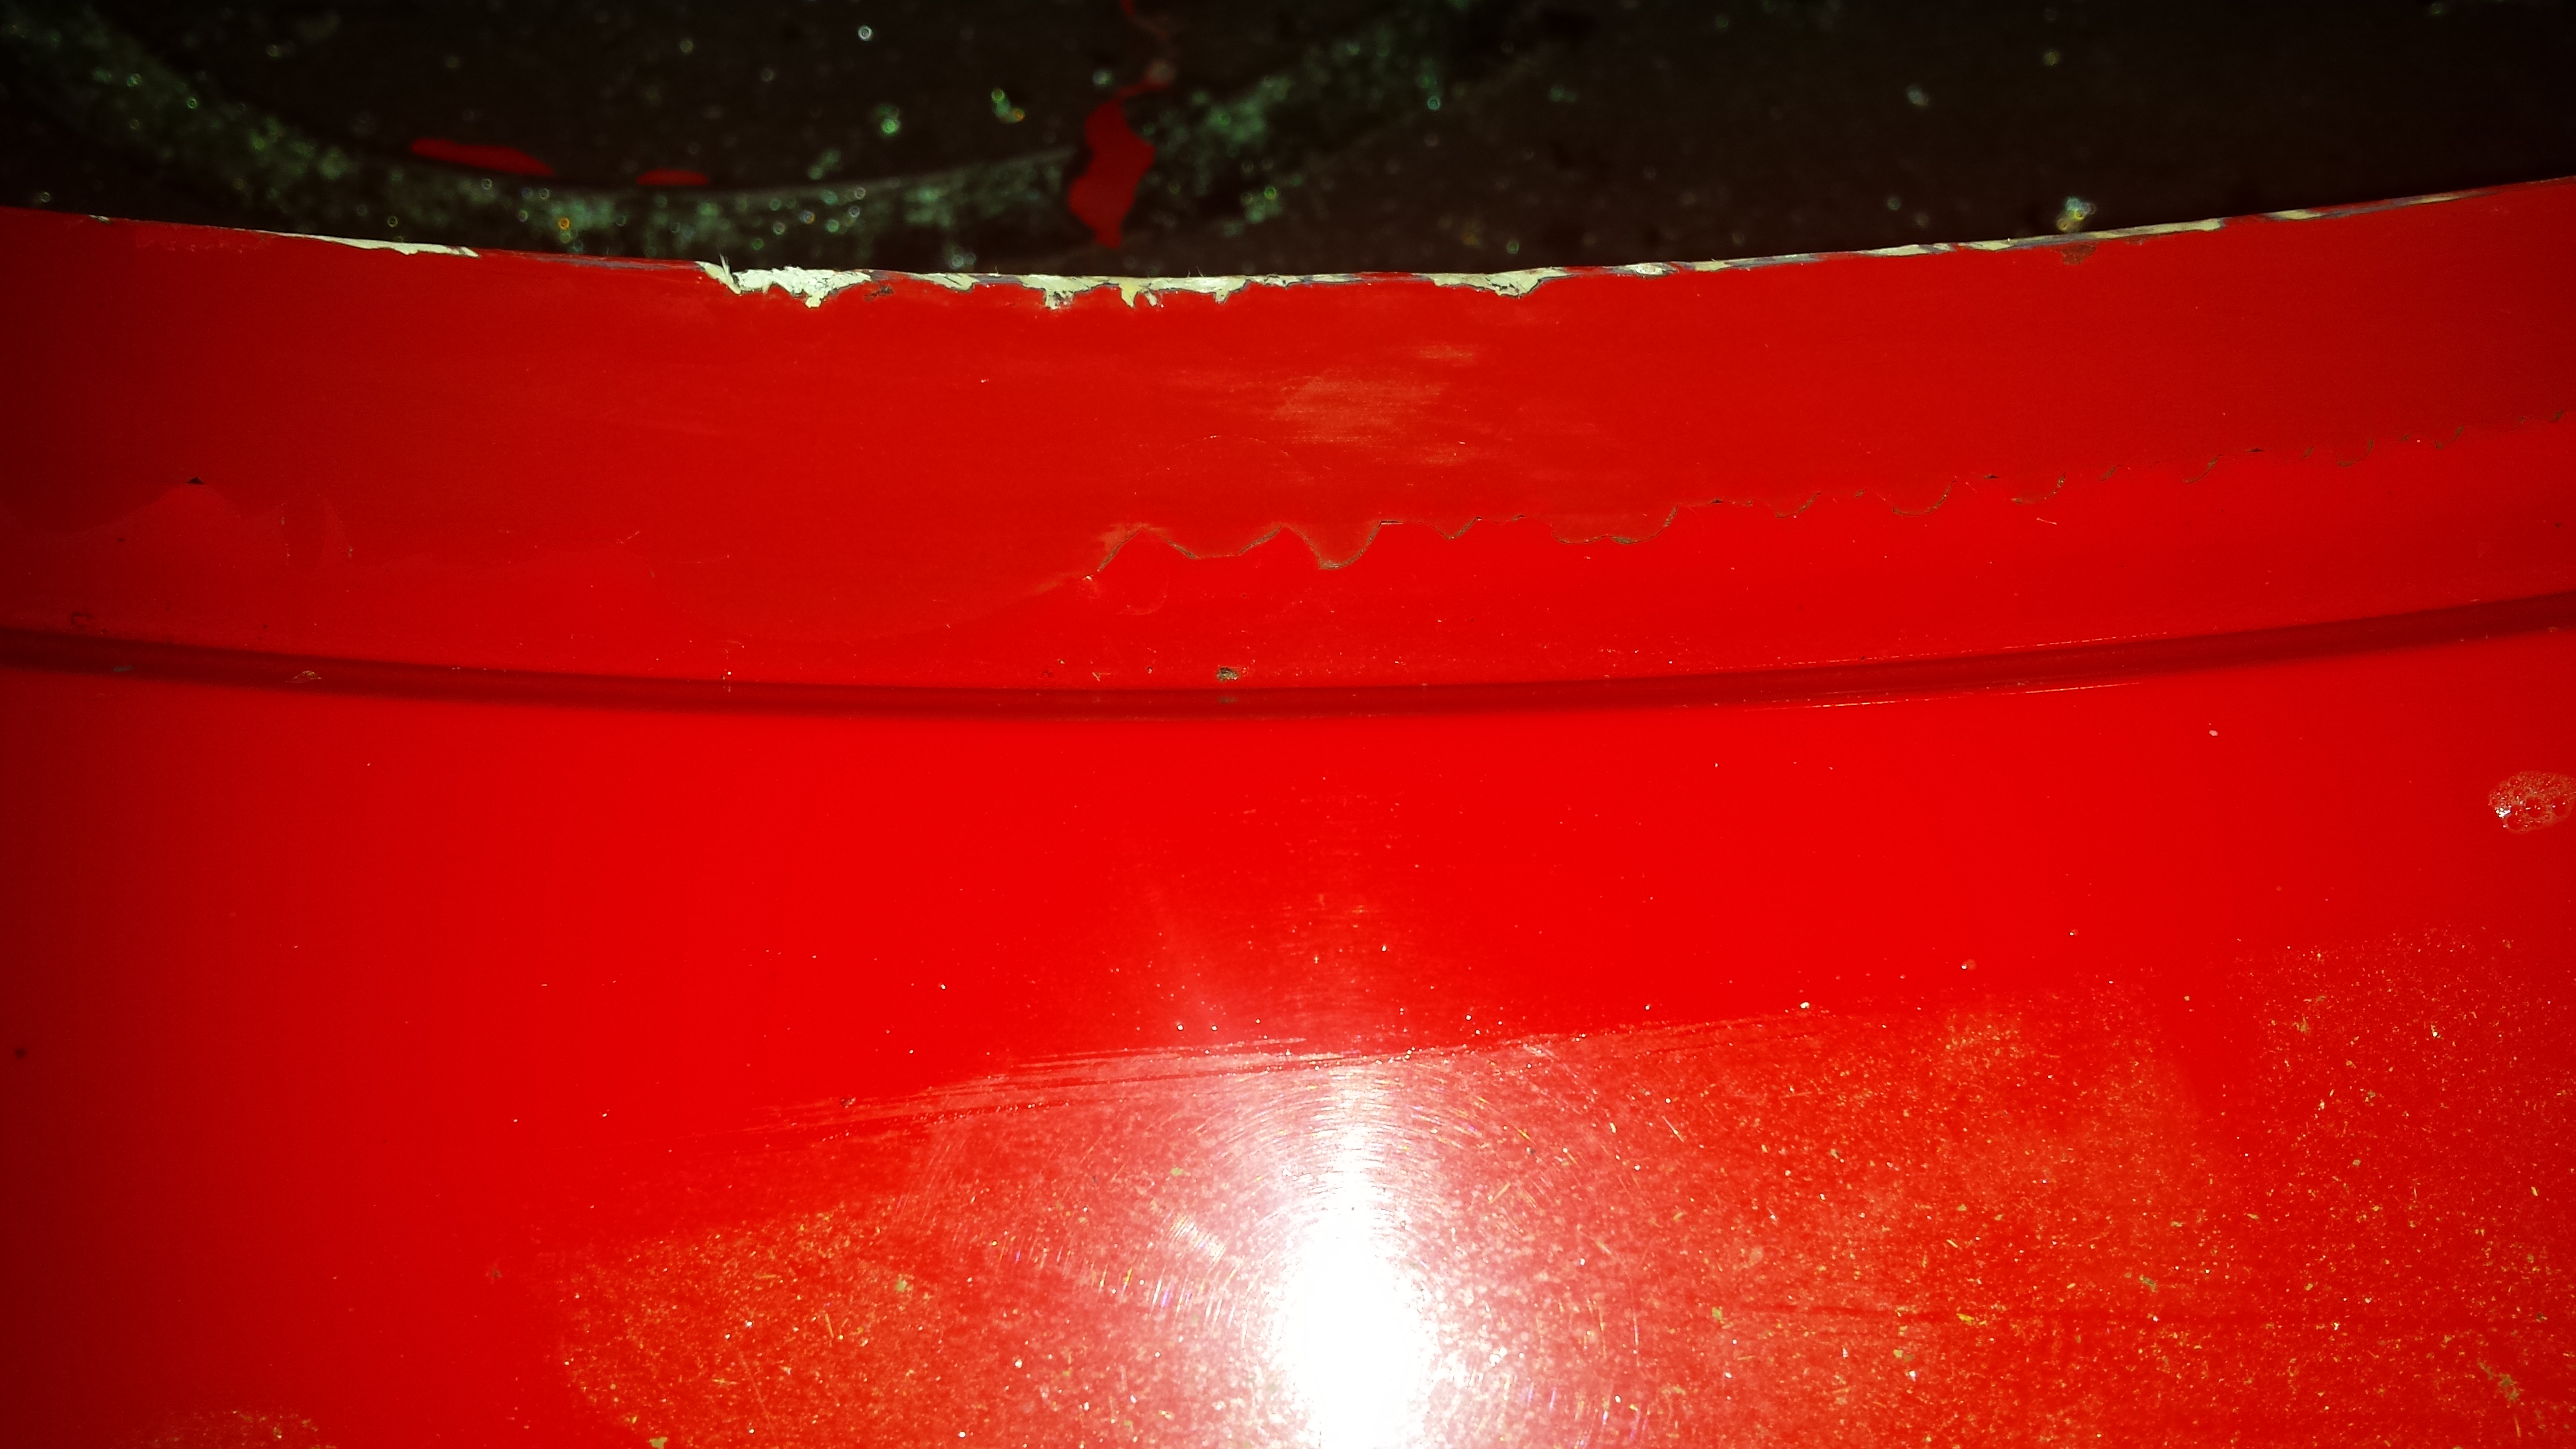
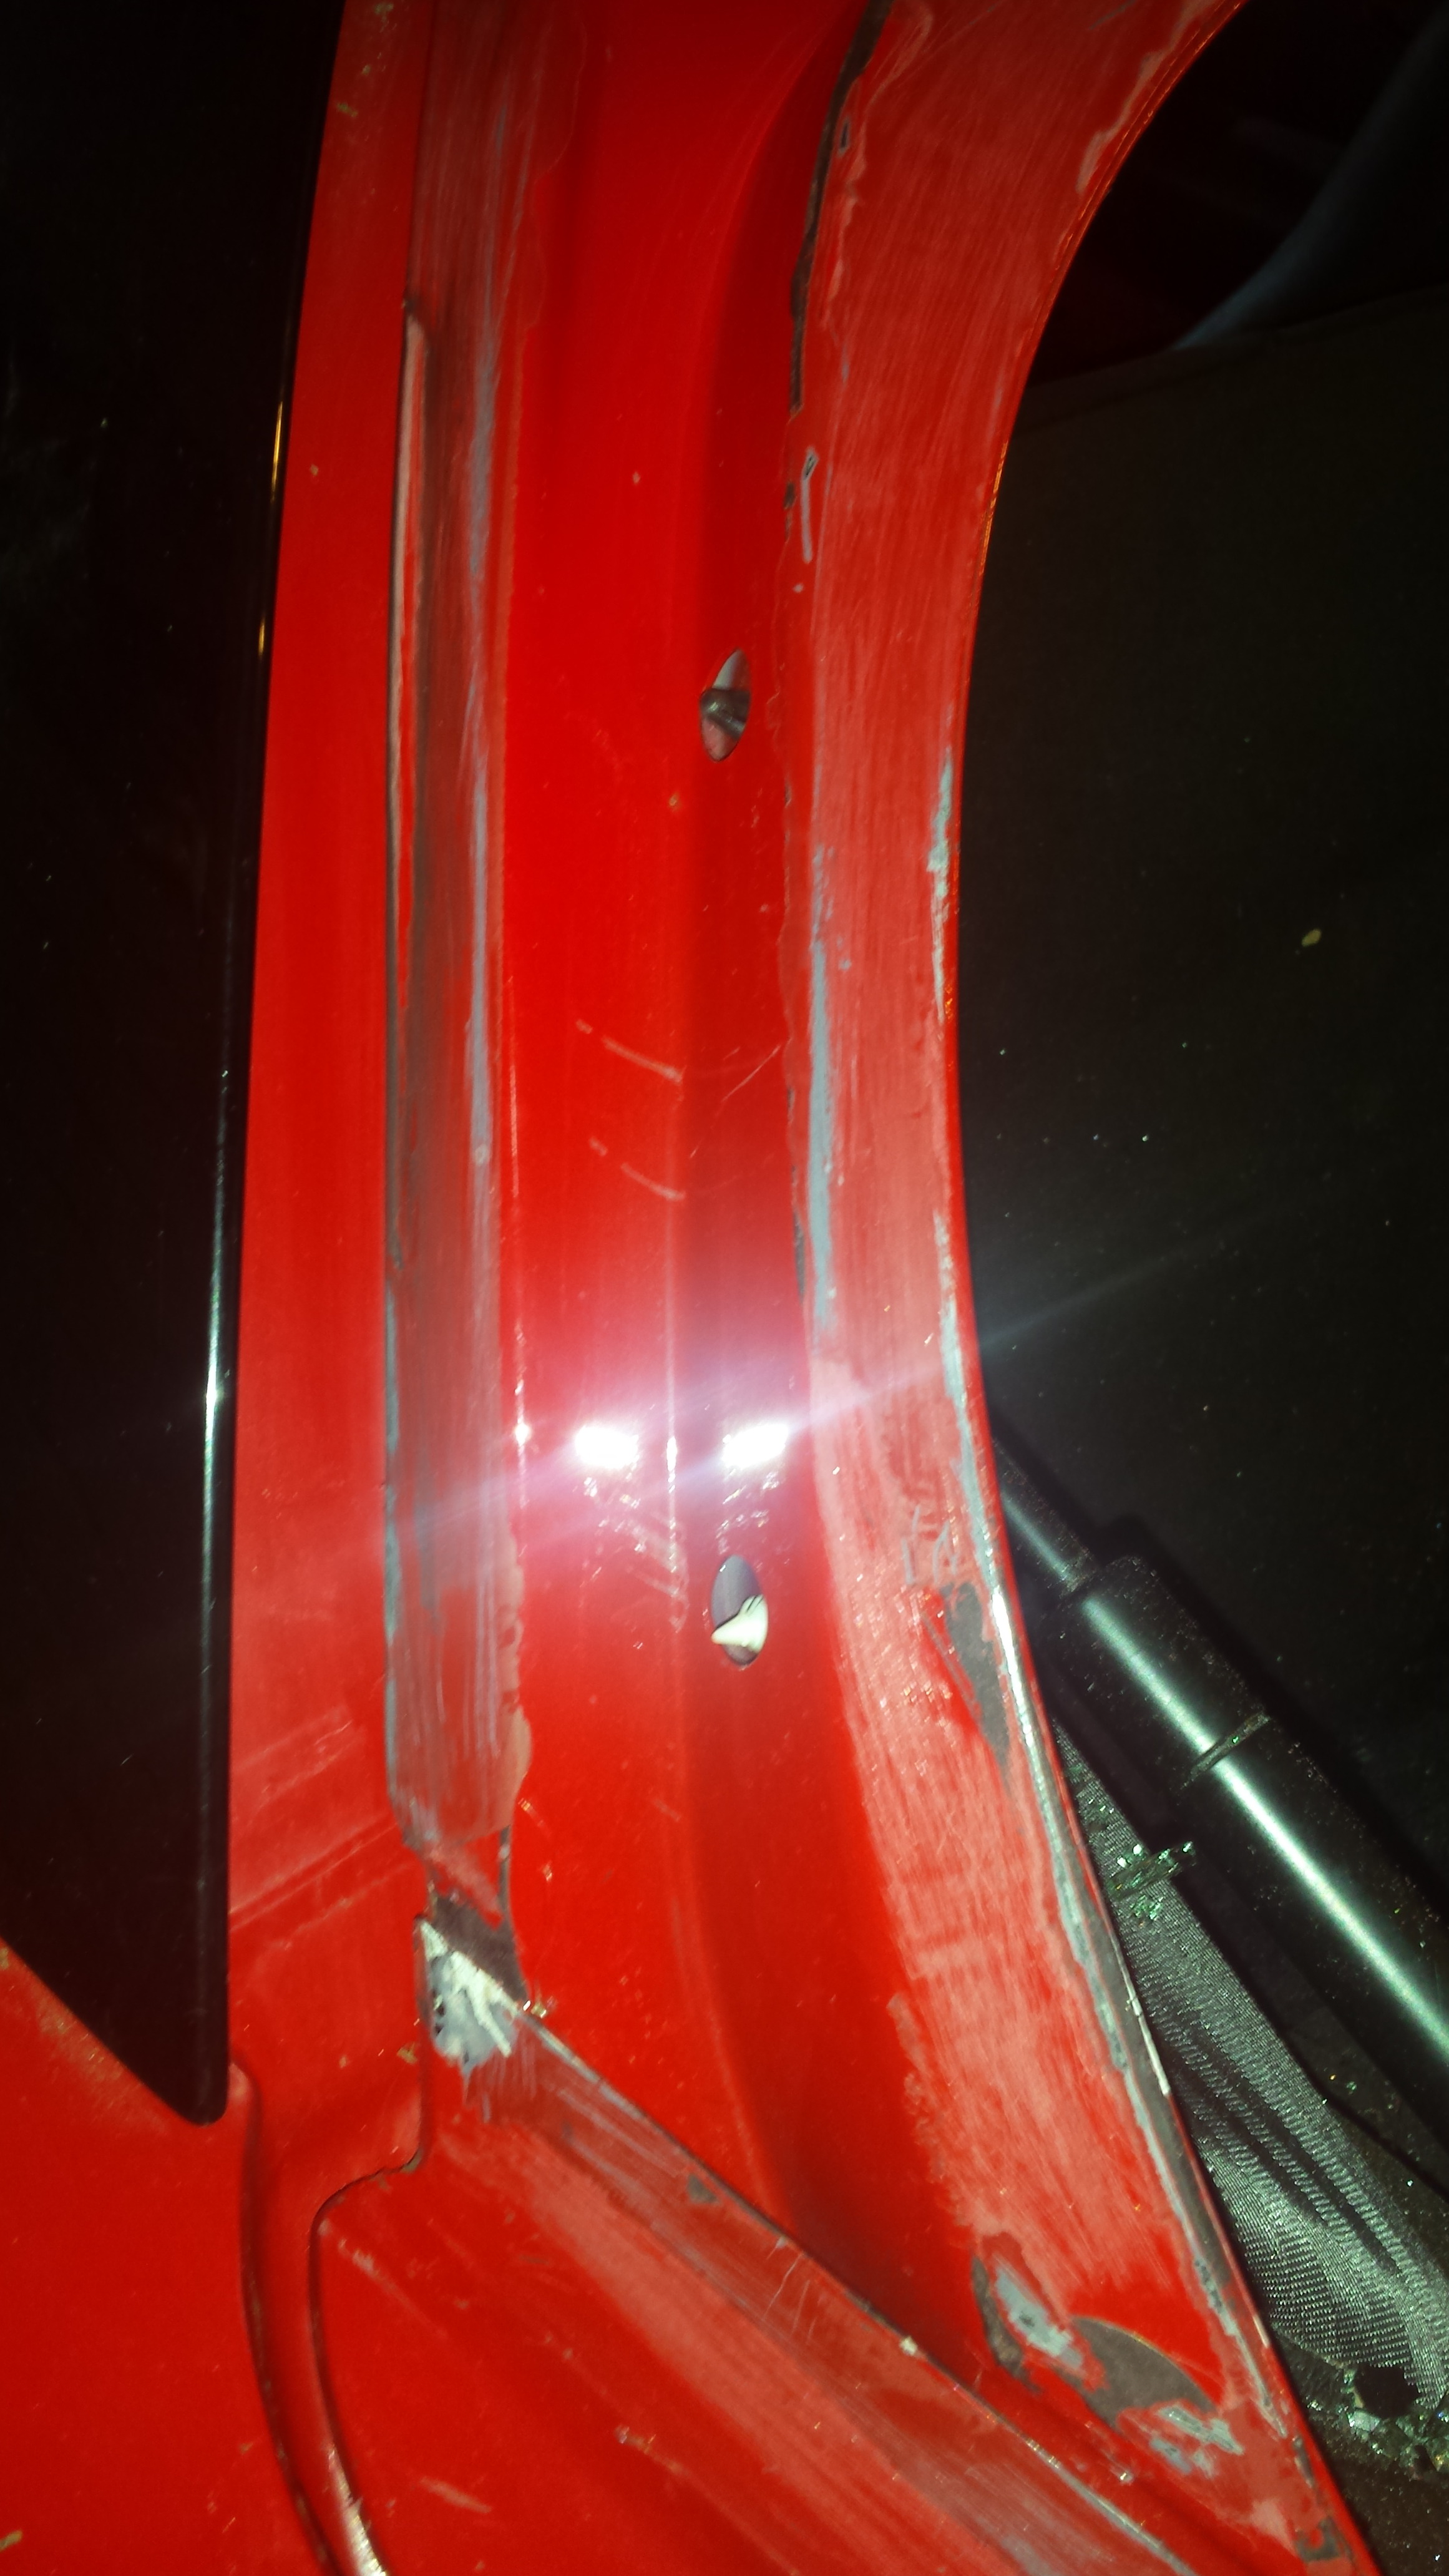
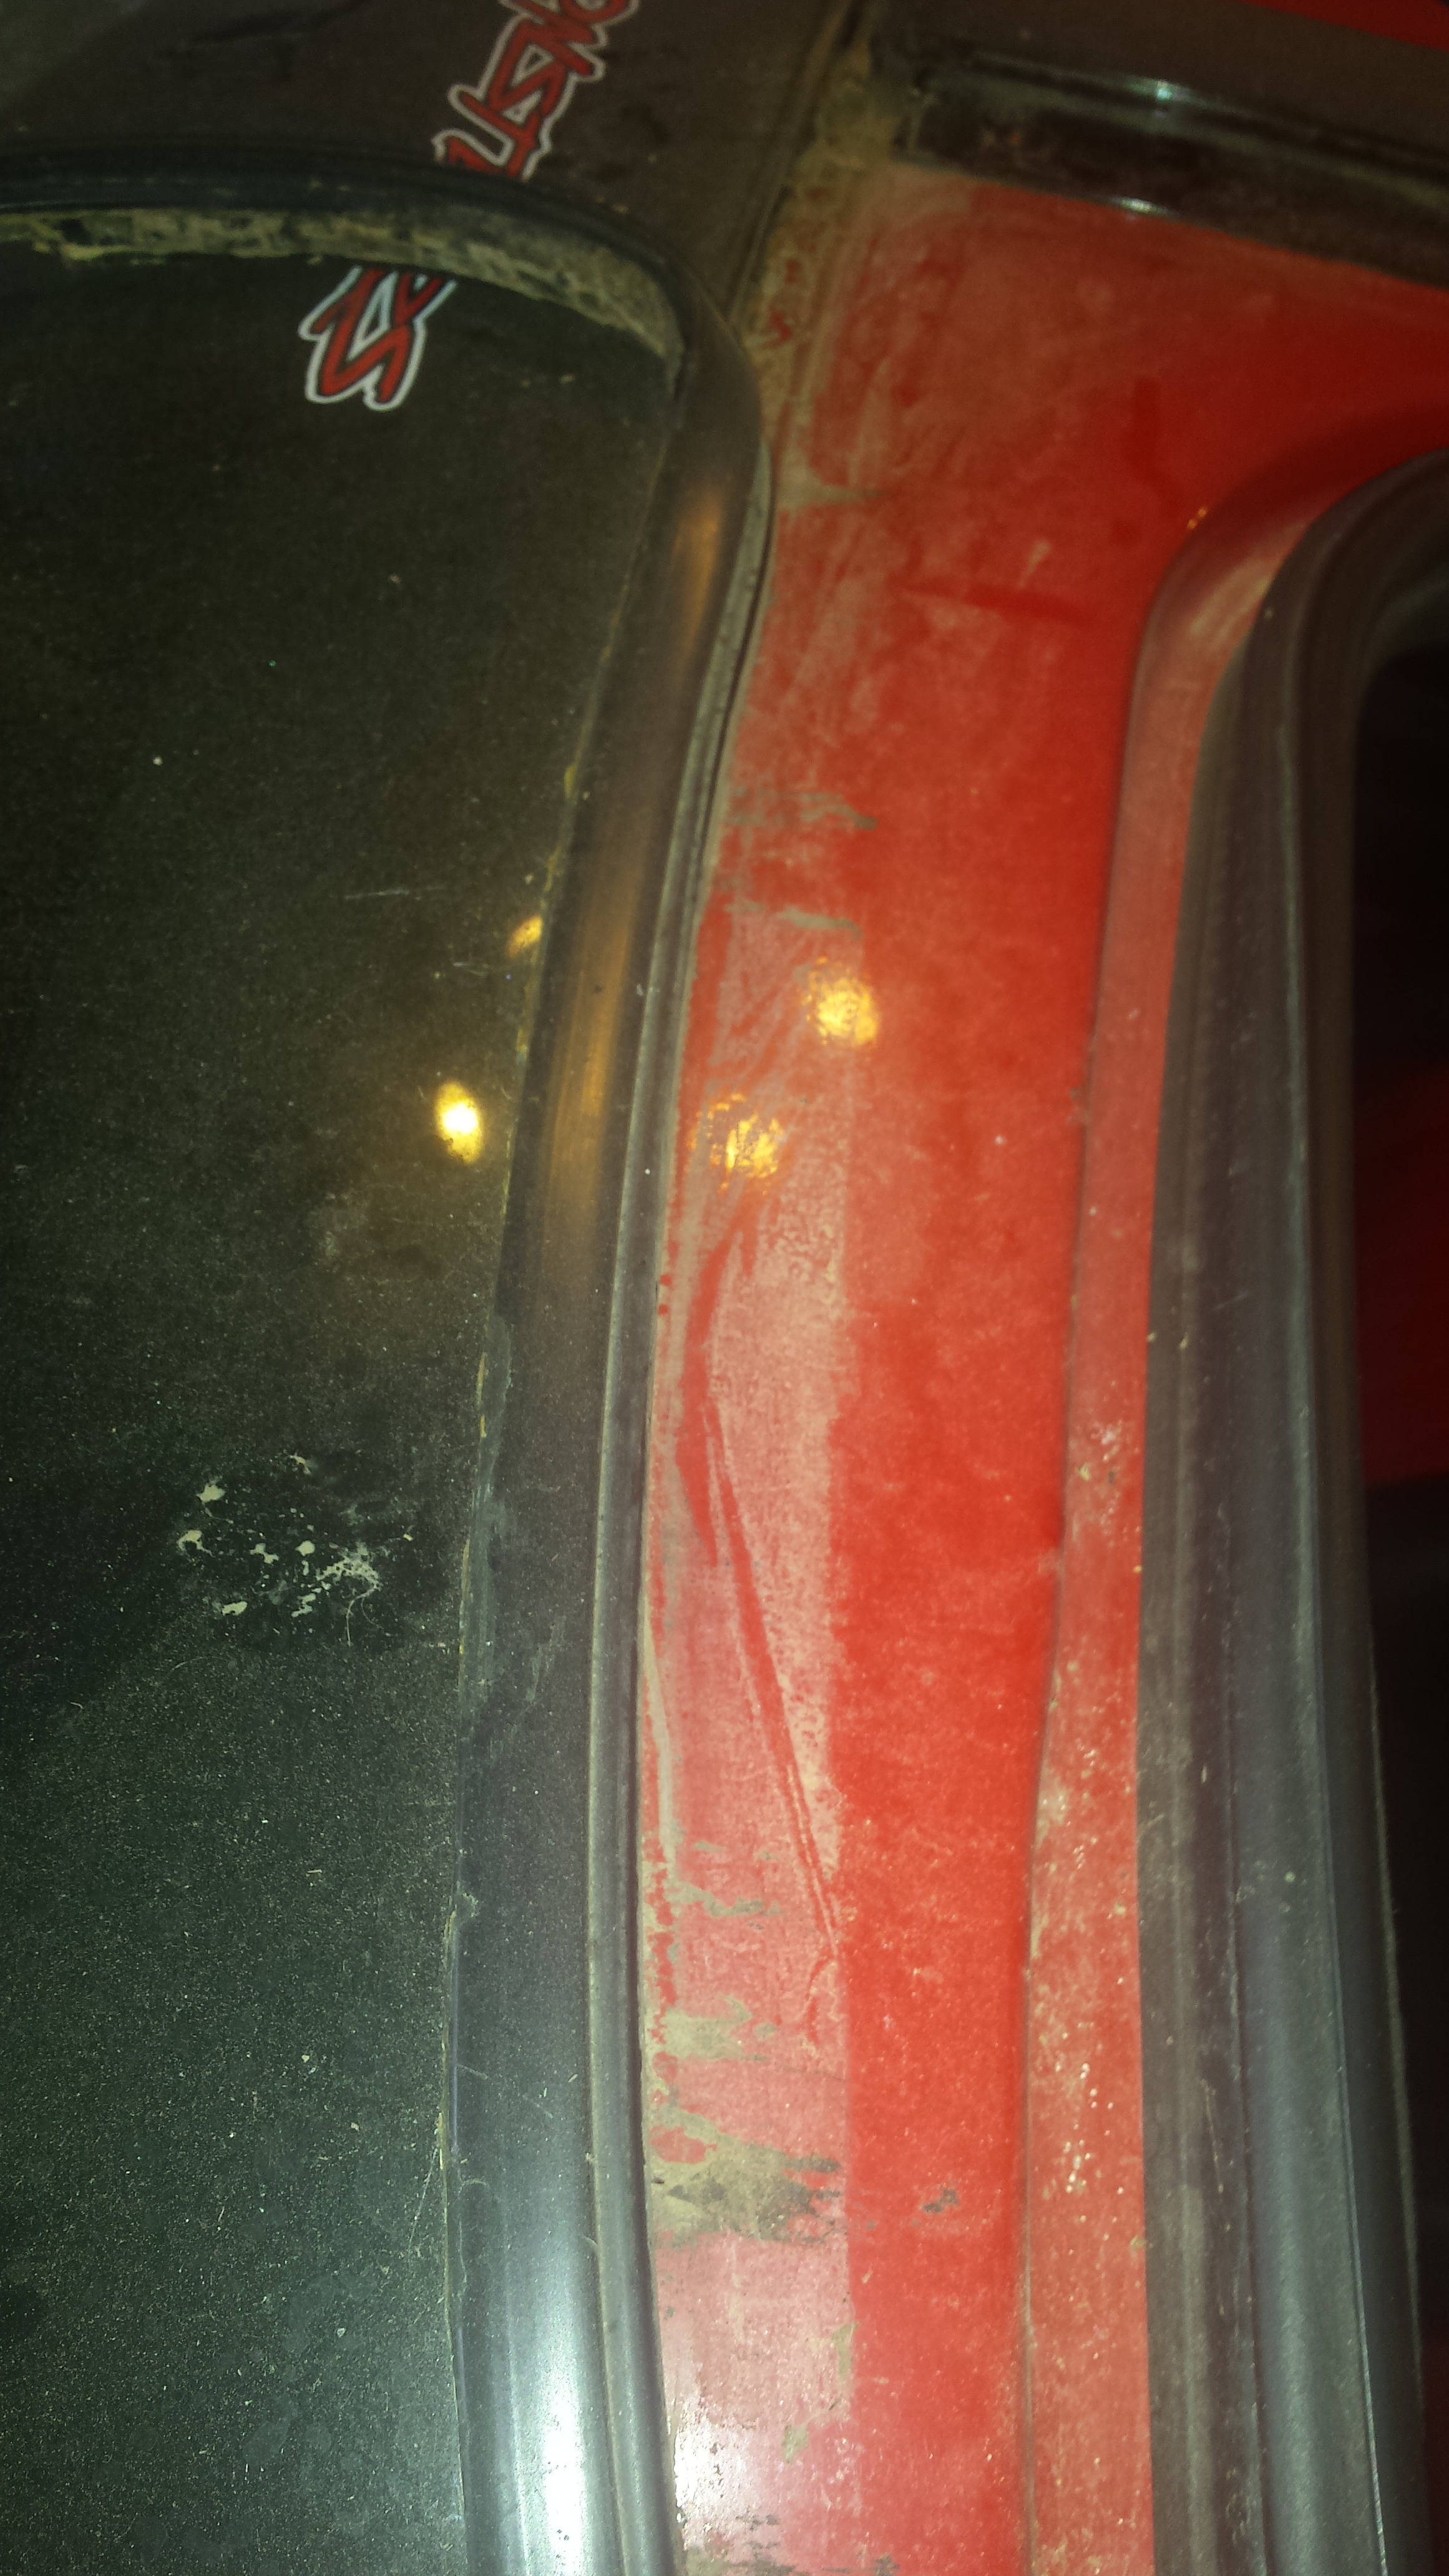
This is the edge of the fiberglass lip at the rear (basically right in front of the spoiler). You can see the wire tool was actually chipping away at the fiberglass. Grrrrrr
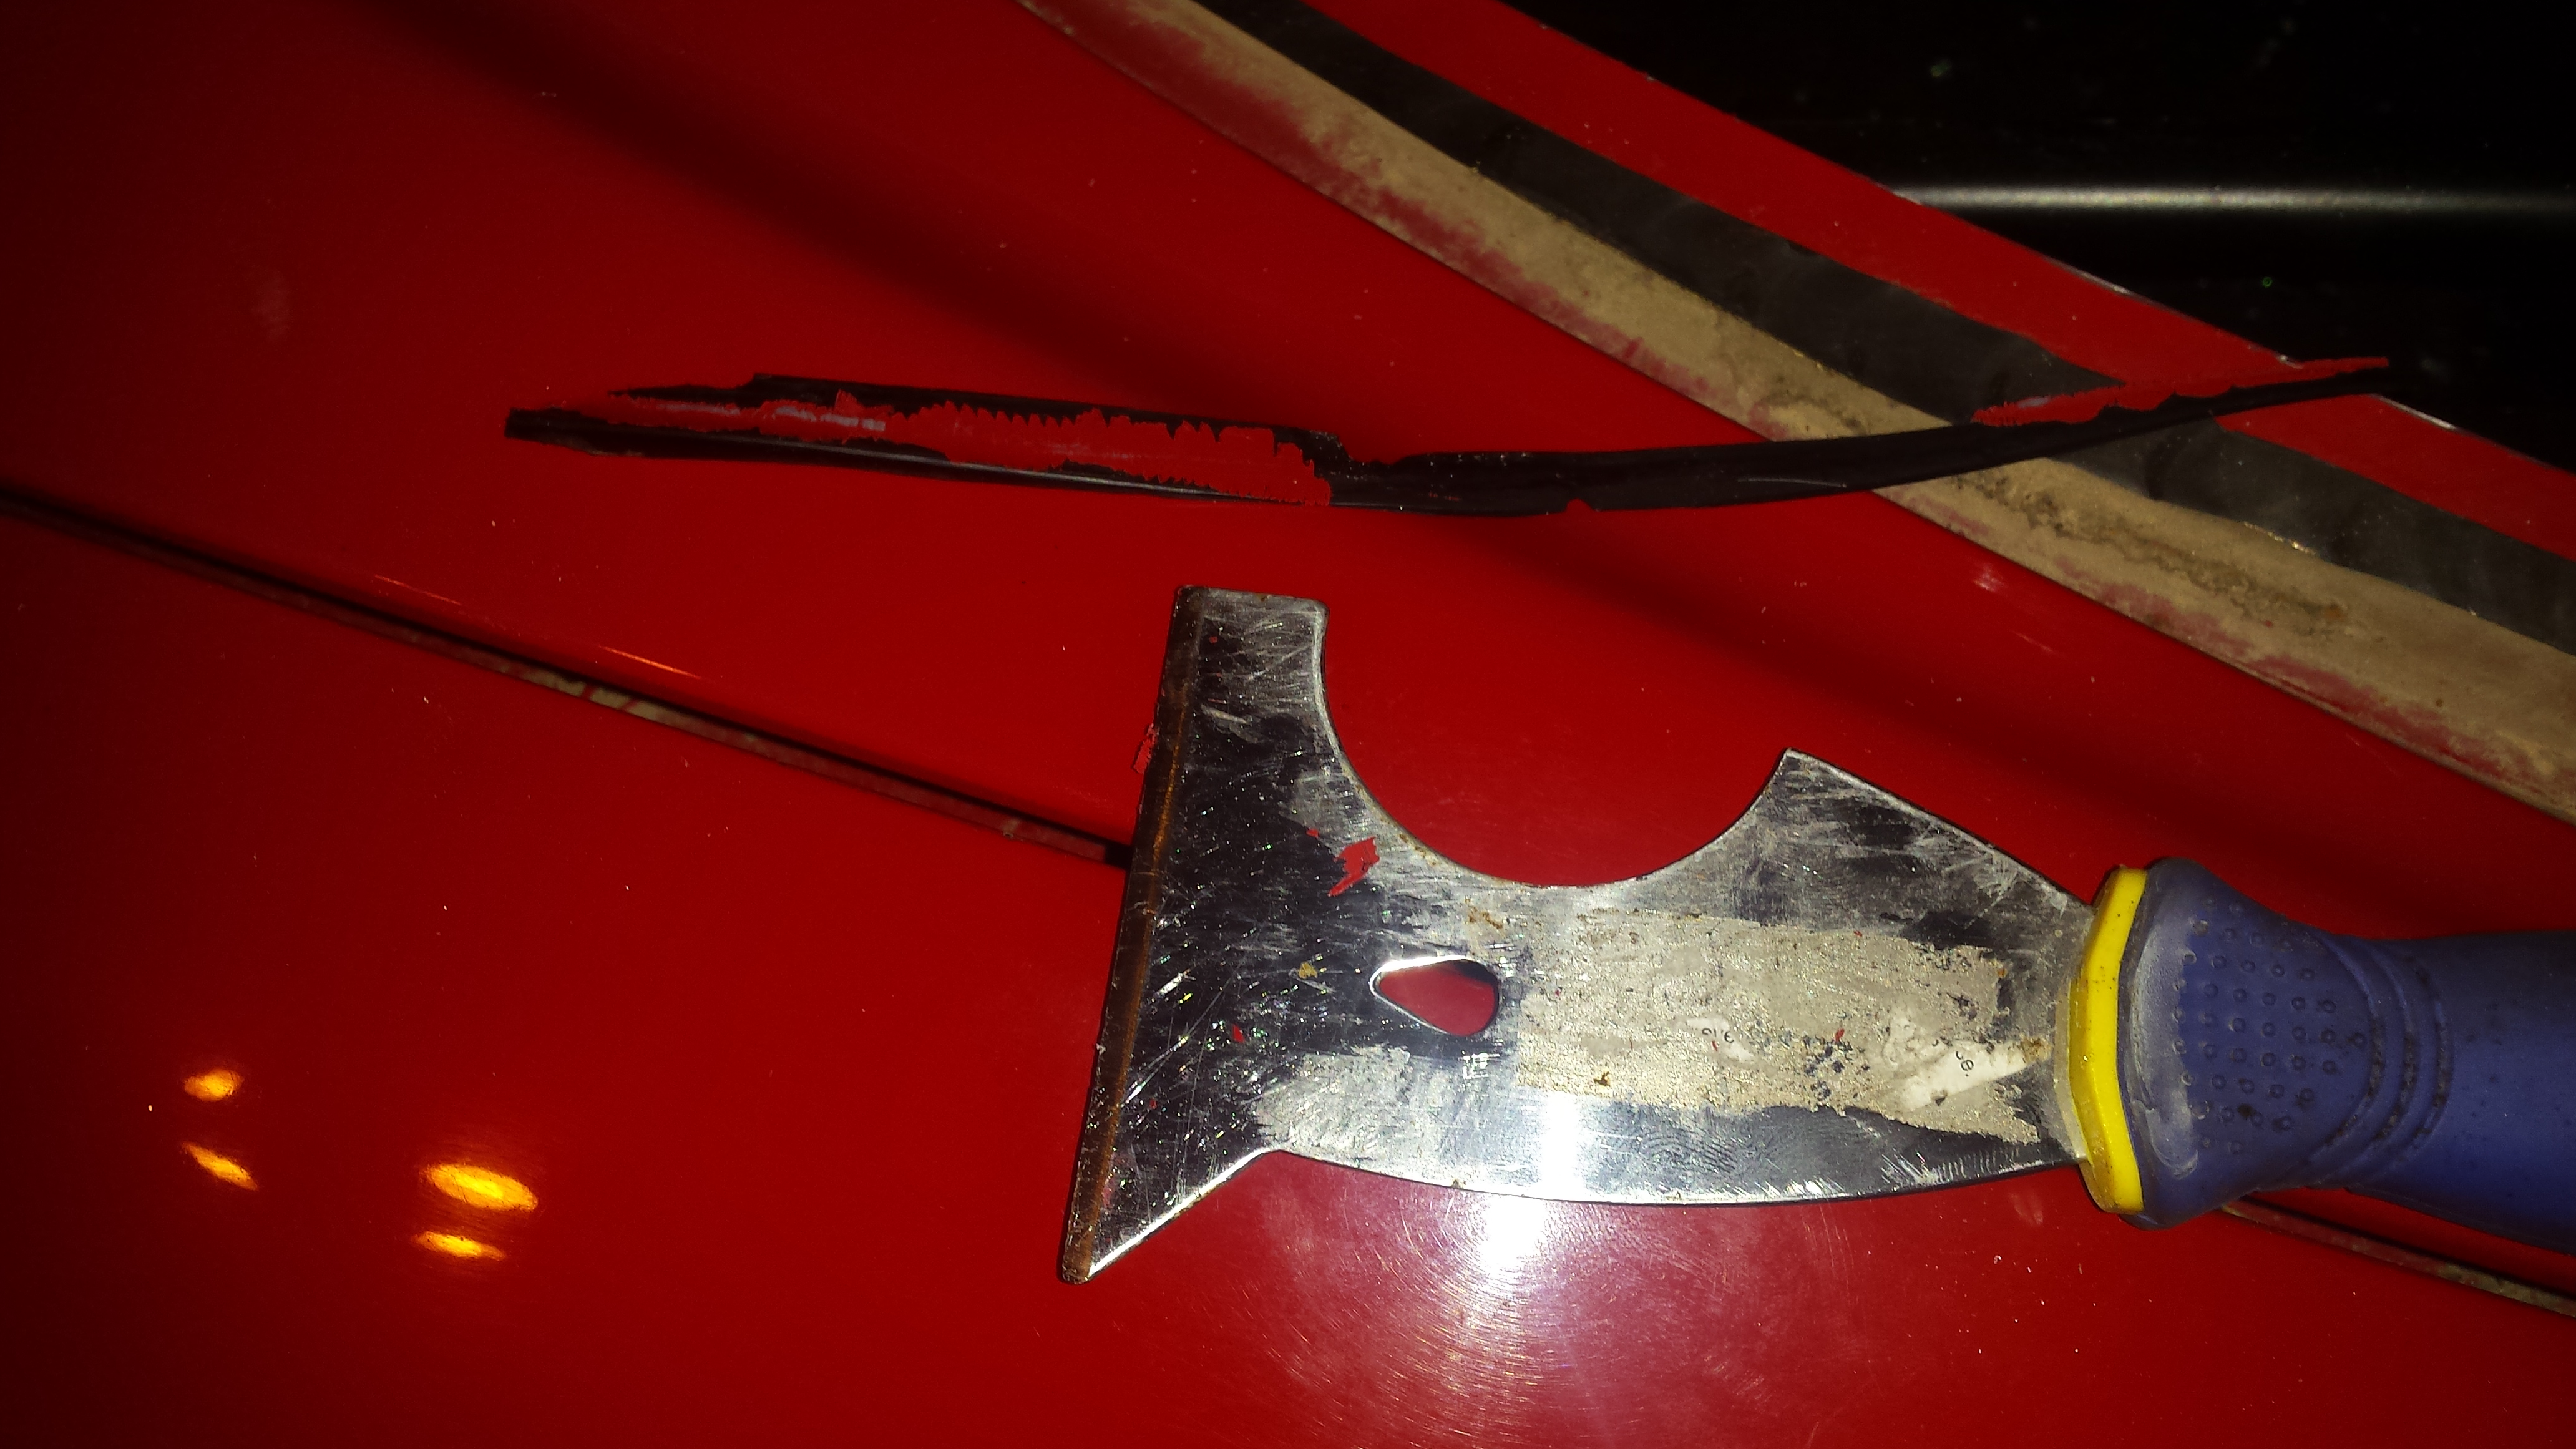
This was the tool I selected to remove the urethane from the car to prep for install. I sharpened it first. Also, new urethane sticks to old urethane so there is no reason to remove every single bit. The most important thing is the surface is smooth and there is no excess old urethane left.
Here is a better picture where you can see the double spread line that traces the corners of the glass.
Here's the surface, prepped, sanded, and cleaned. I went over the entire flange with maybe 220 grit just so I knew it had some bite. The fiberglass seemed awfully slick and I was nervous about the urethane bonding.
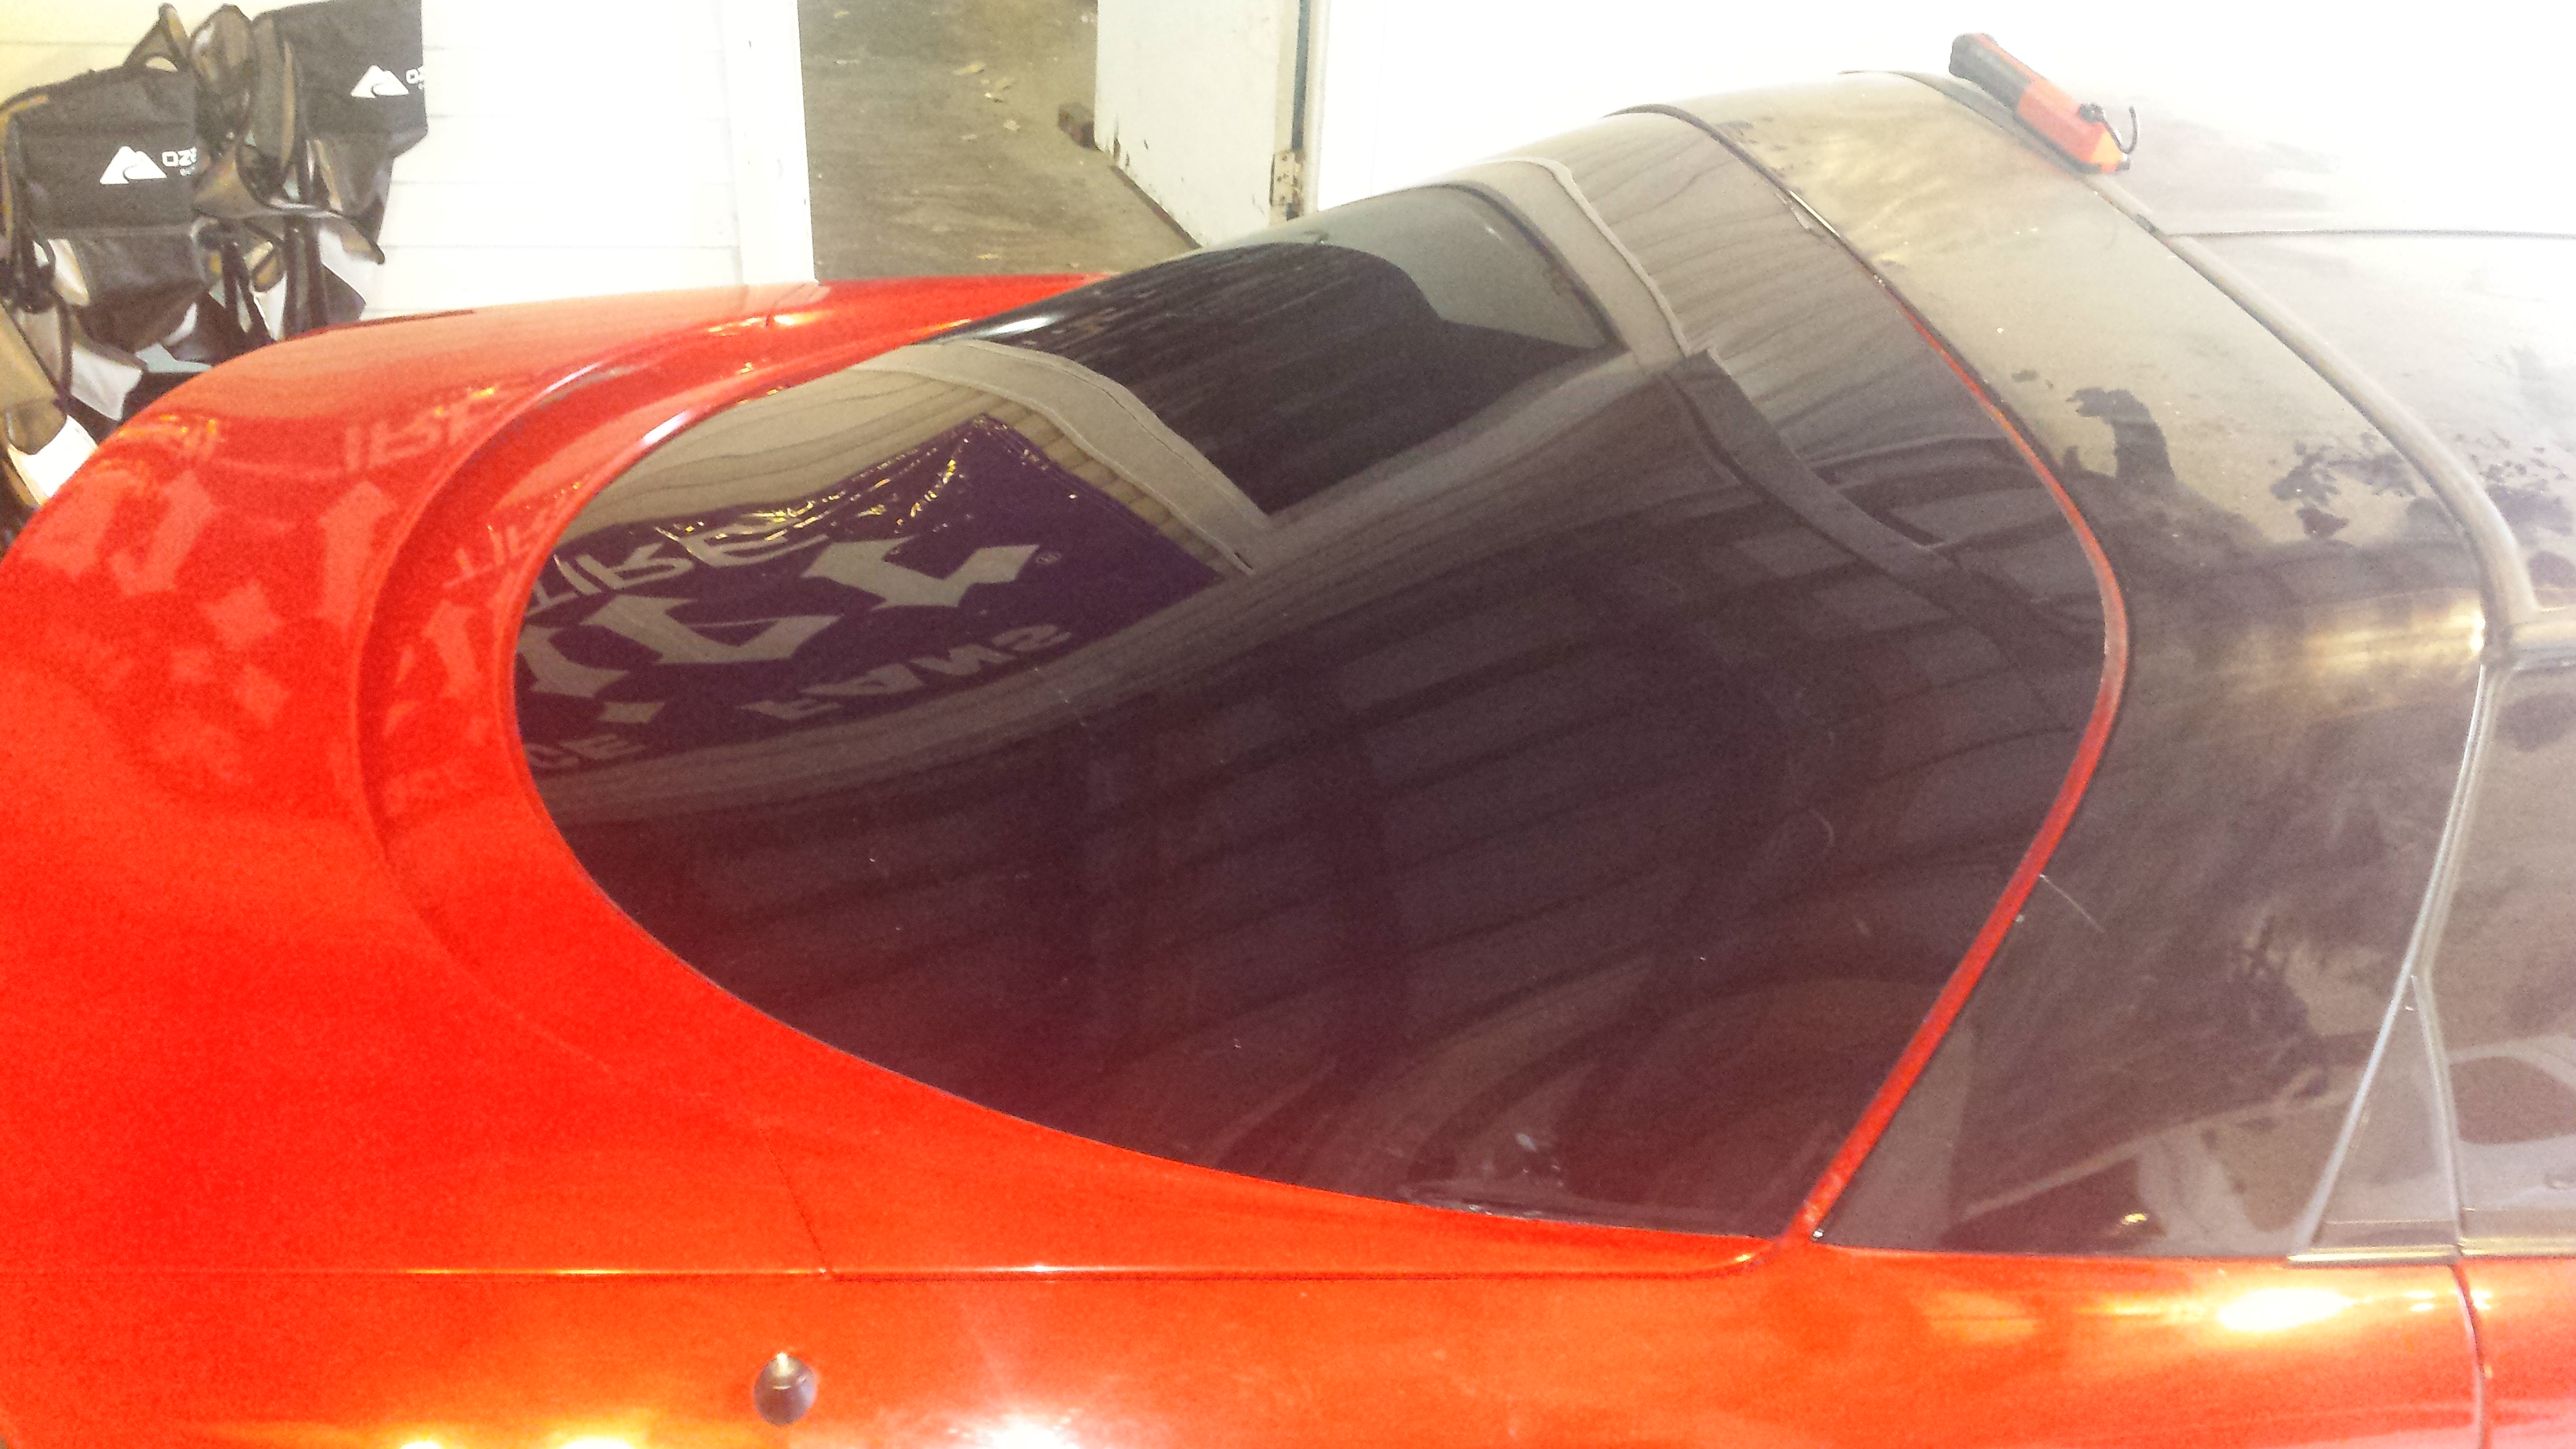
Make sure you test fit first before you commit to the final install. I was also curious about whether it needed the stock molding back on it (it is no longer available for purchase). It looked fine with nothing, so that's what I ended up with.

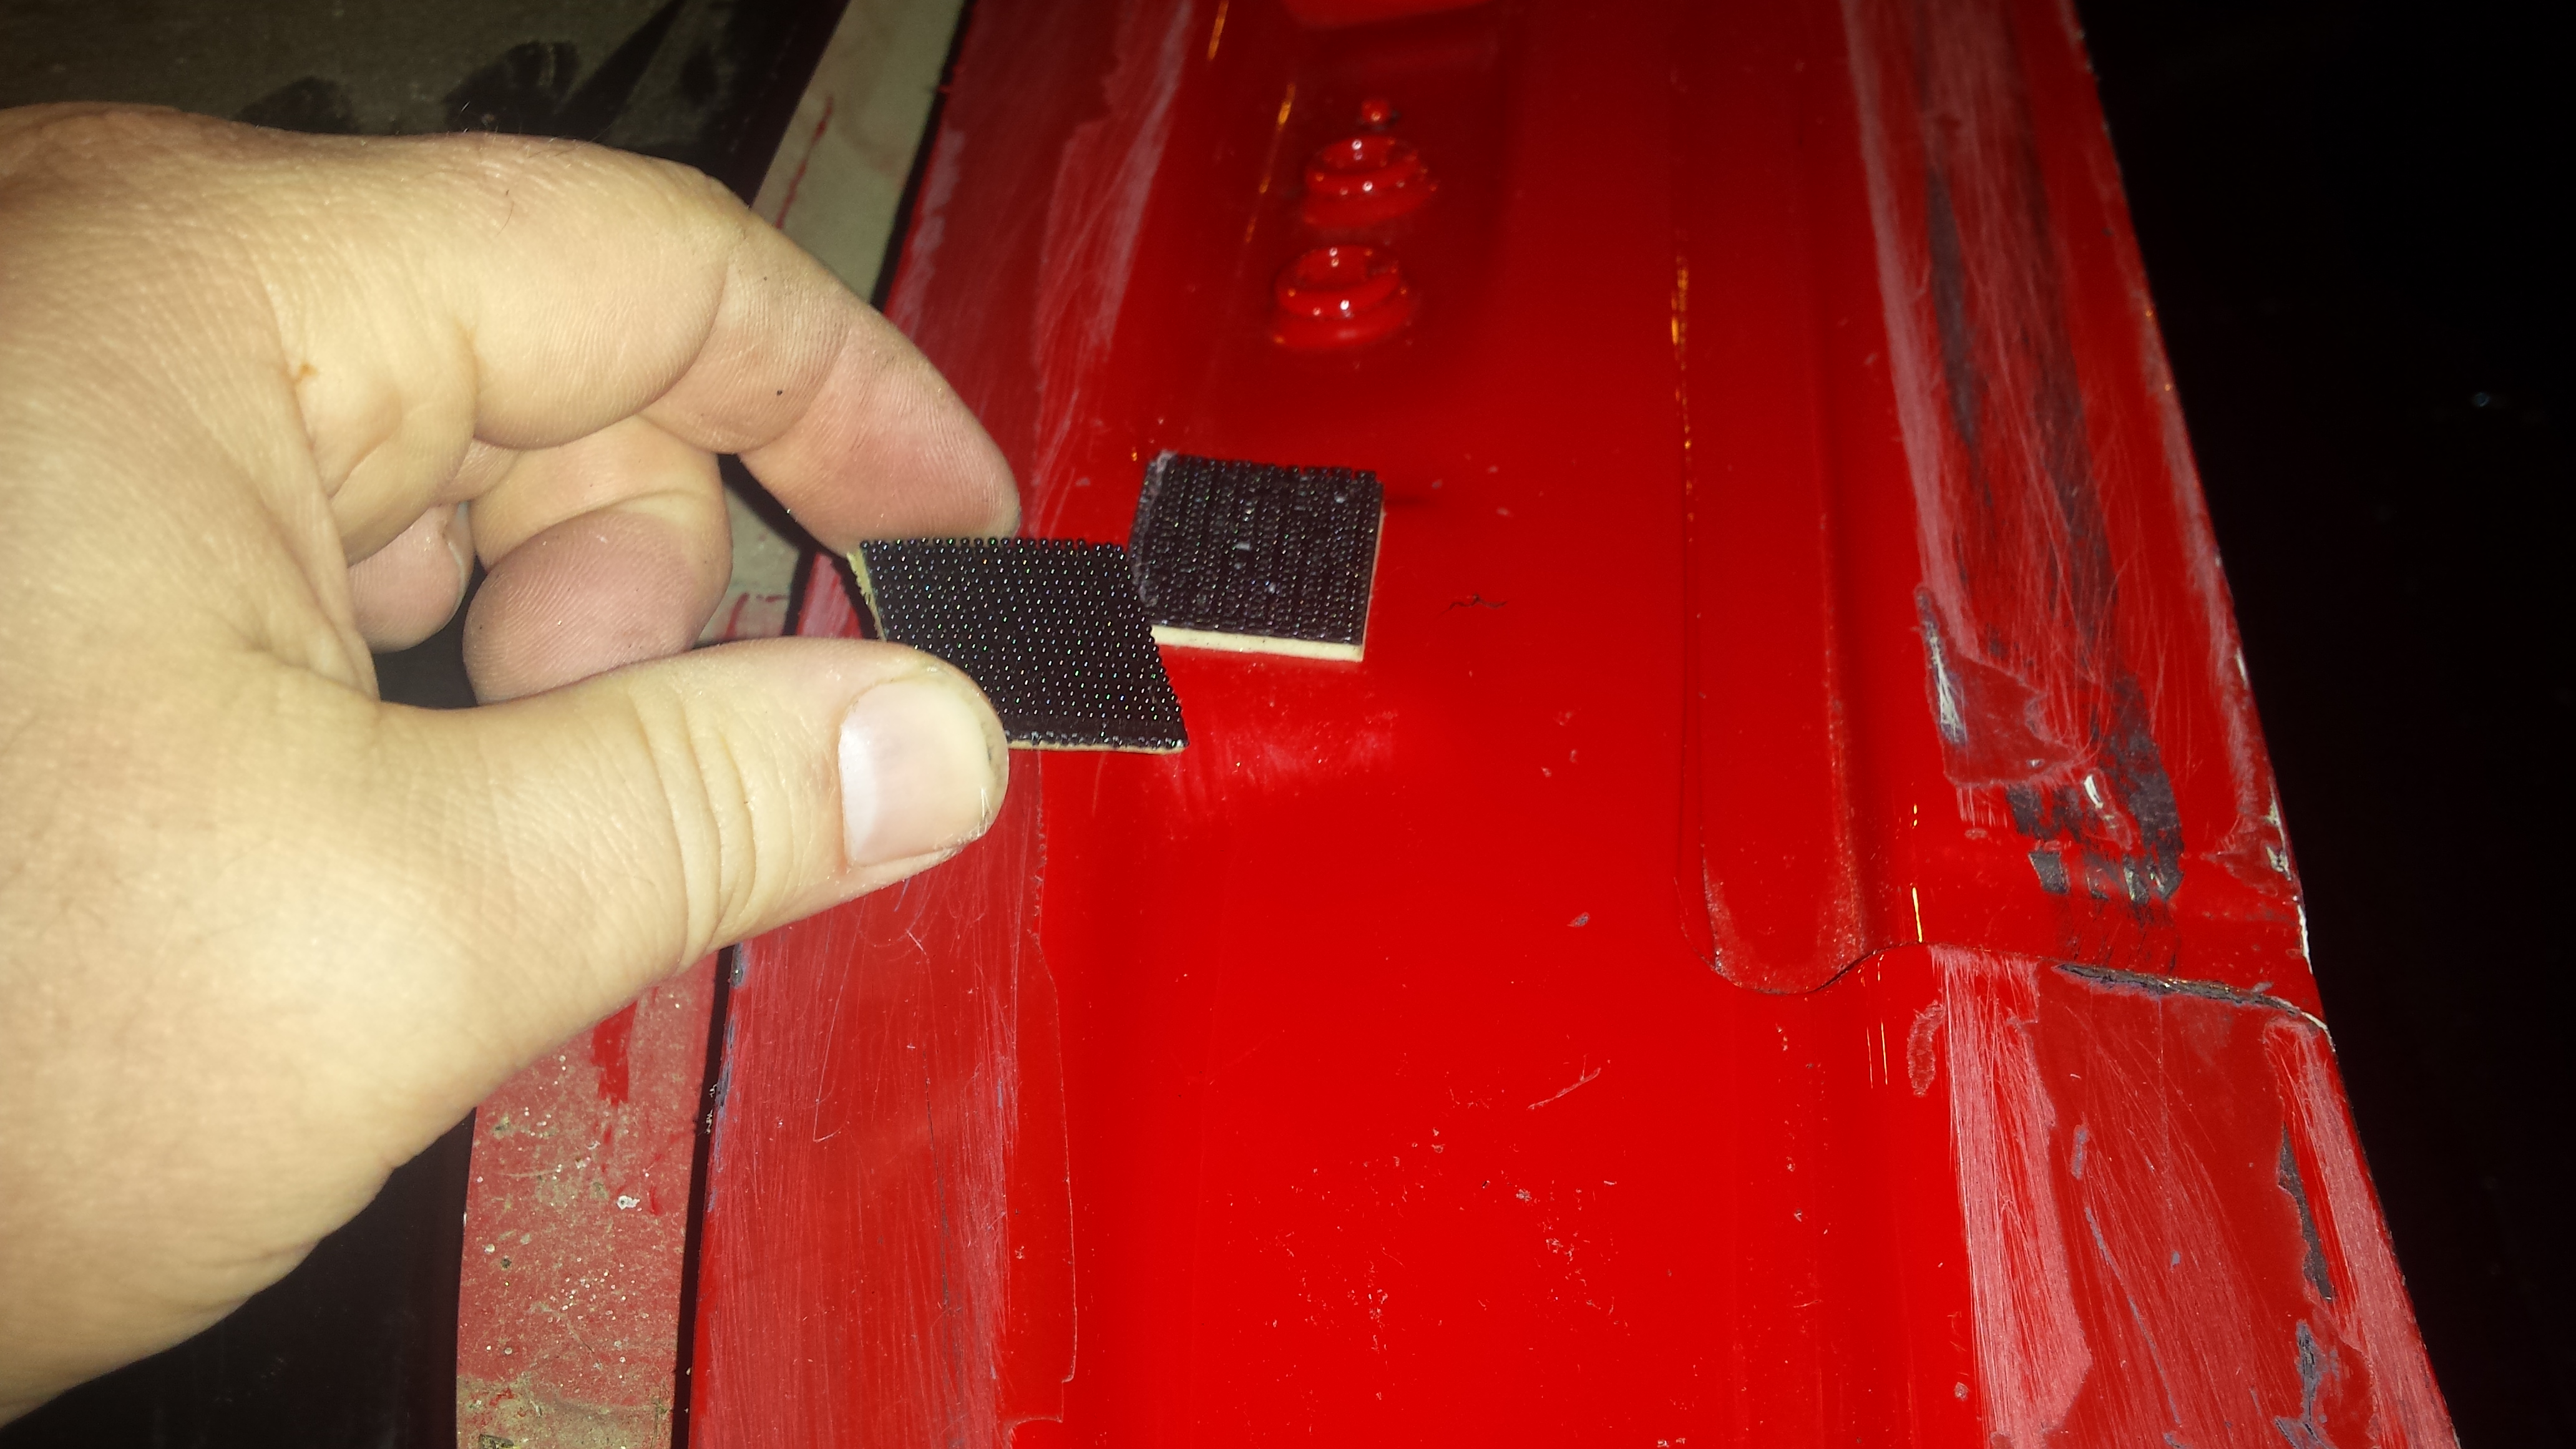
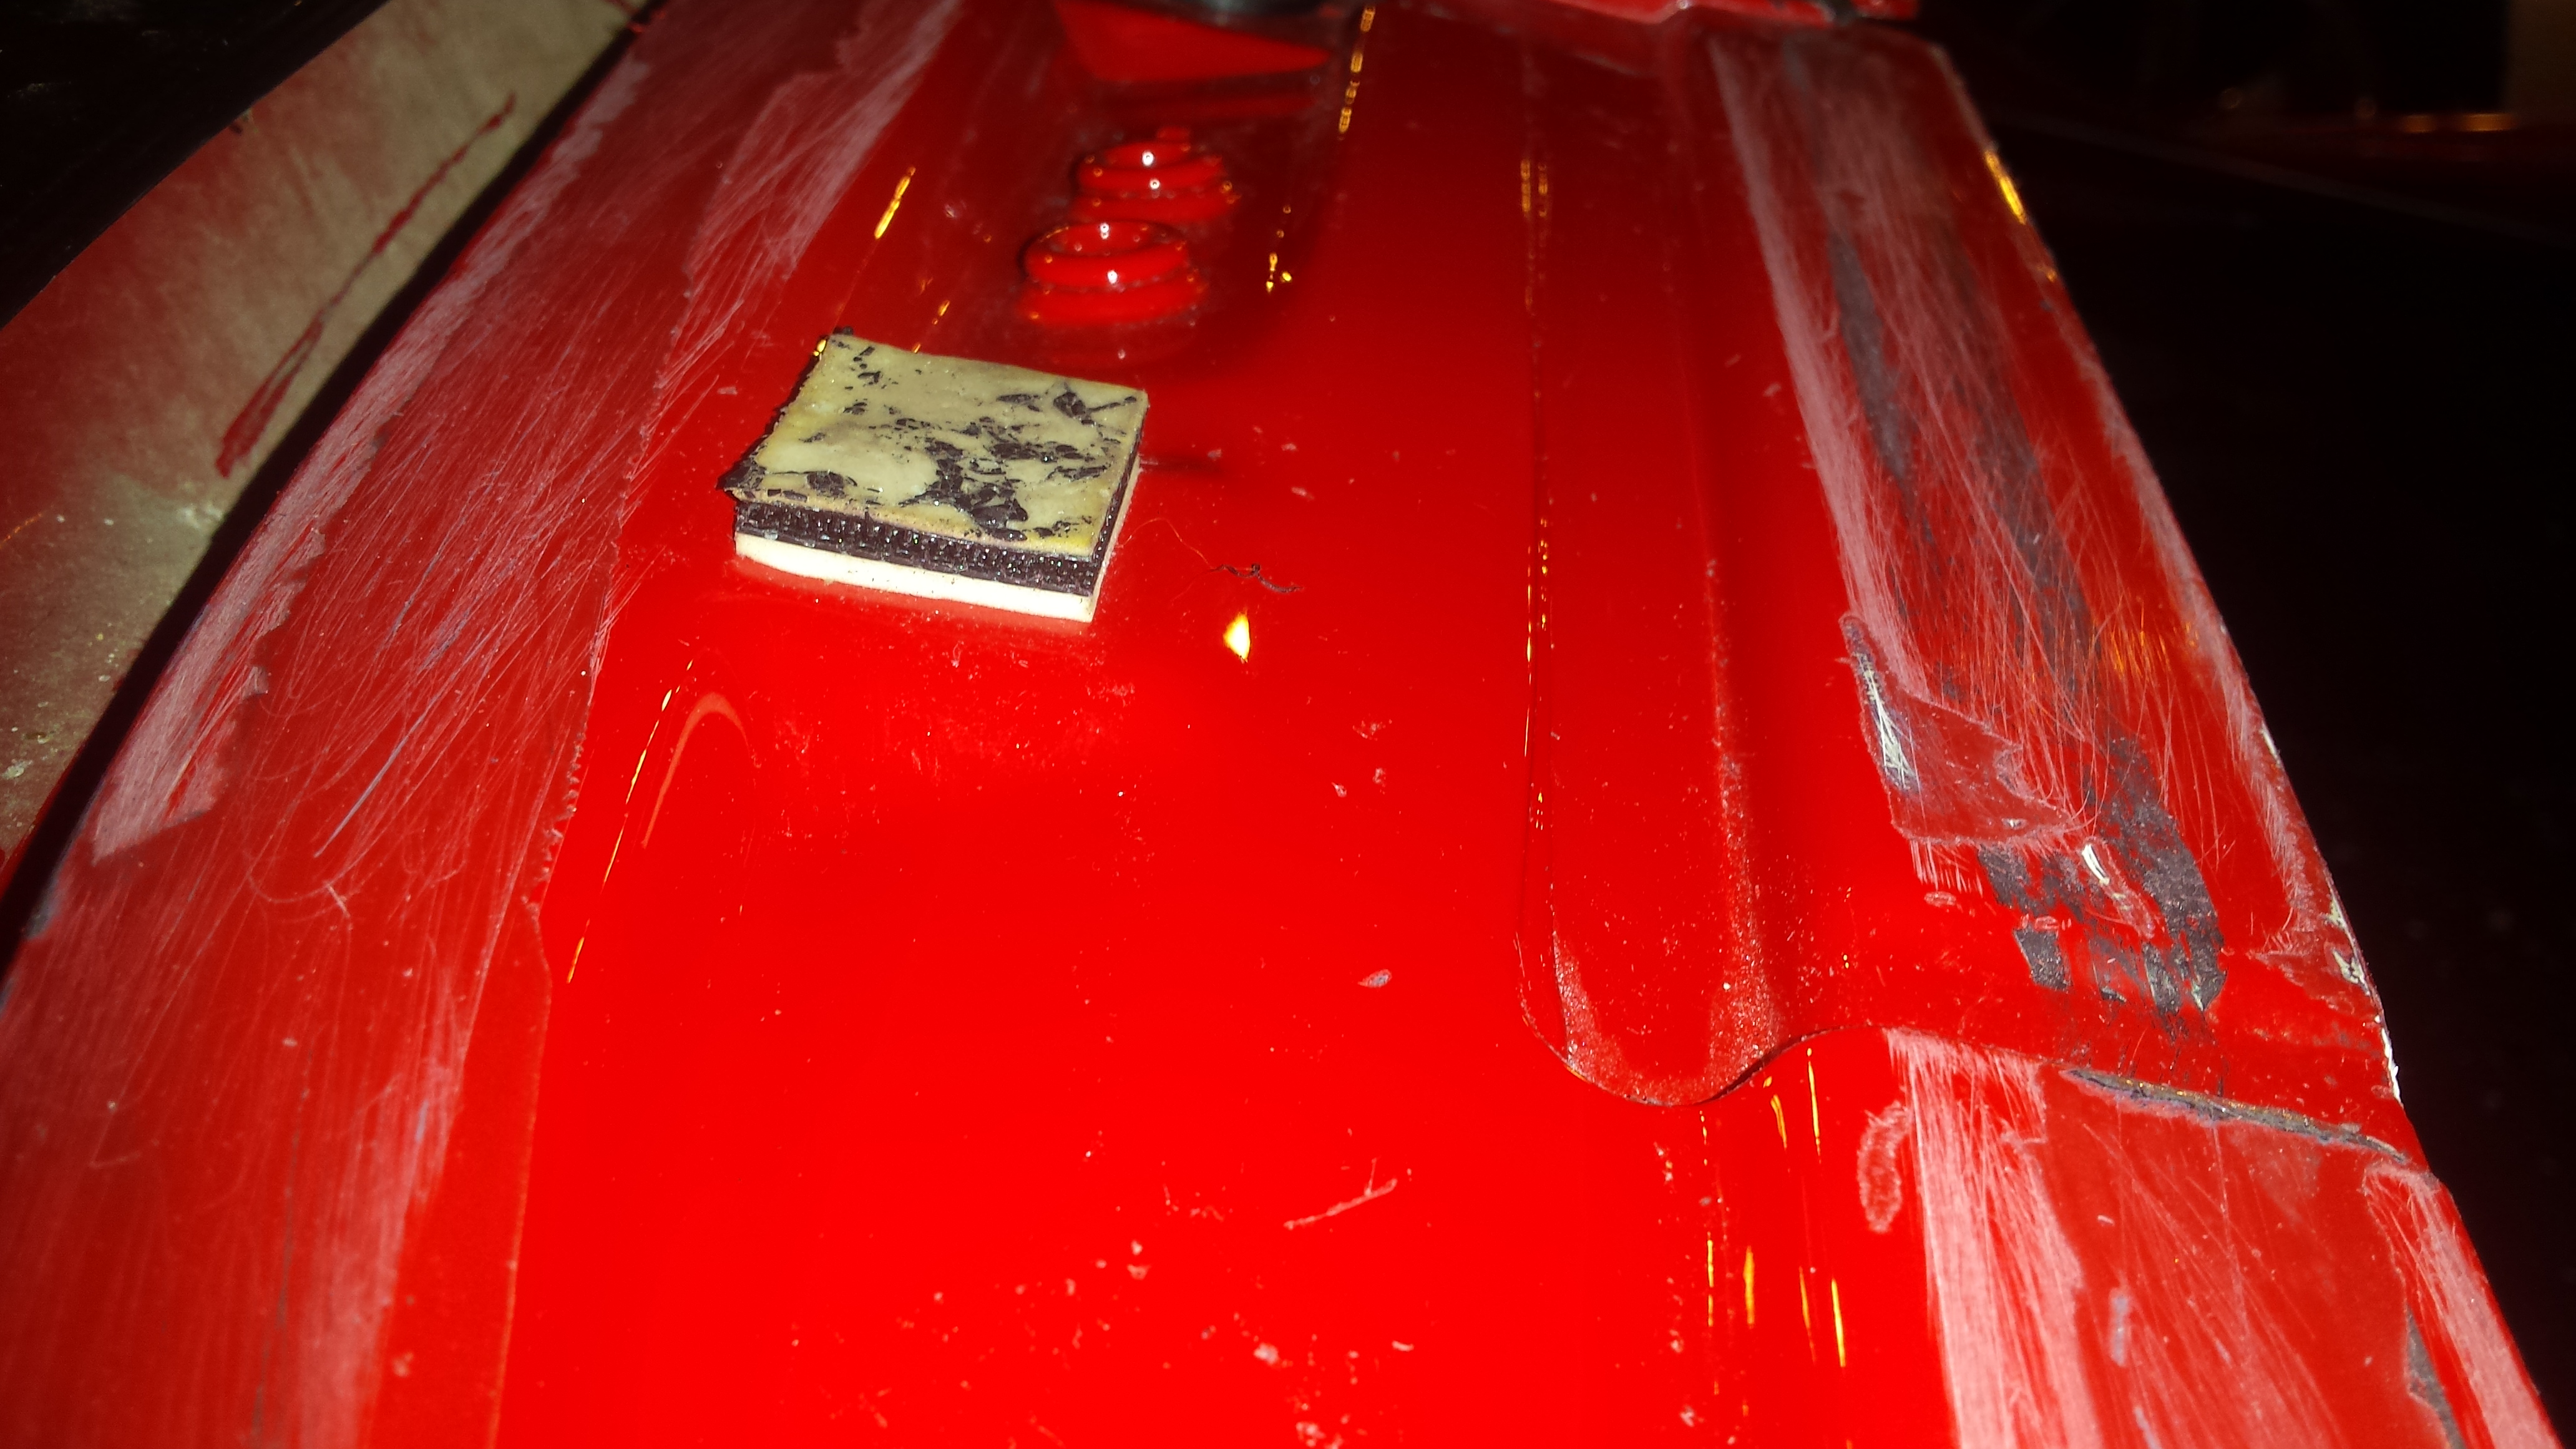
These are velcro spacers x2 at the top of the window, I reinstalled them.
Lay your beads down following the factory lines.
I dropped the rear in by myself. Bottom is basically resting on the car with no room for molding, the top leading edge would be your preference. I think I'm going to leave it bare.
For the front, remove the molding that runs along both sides and the top.

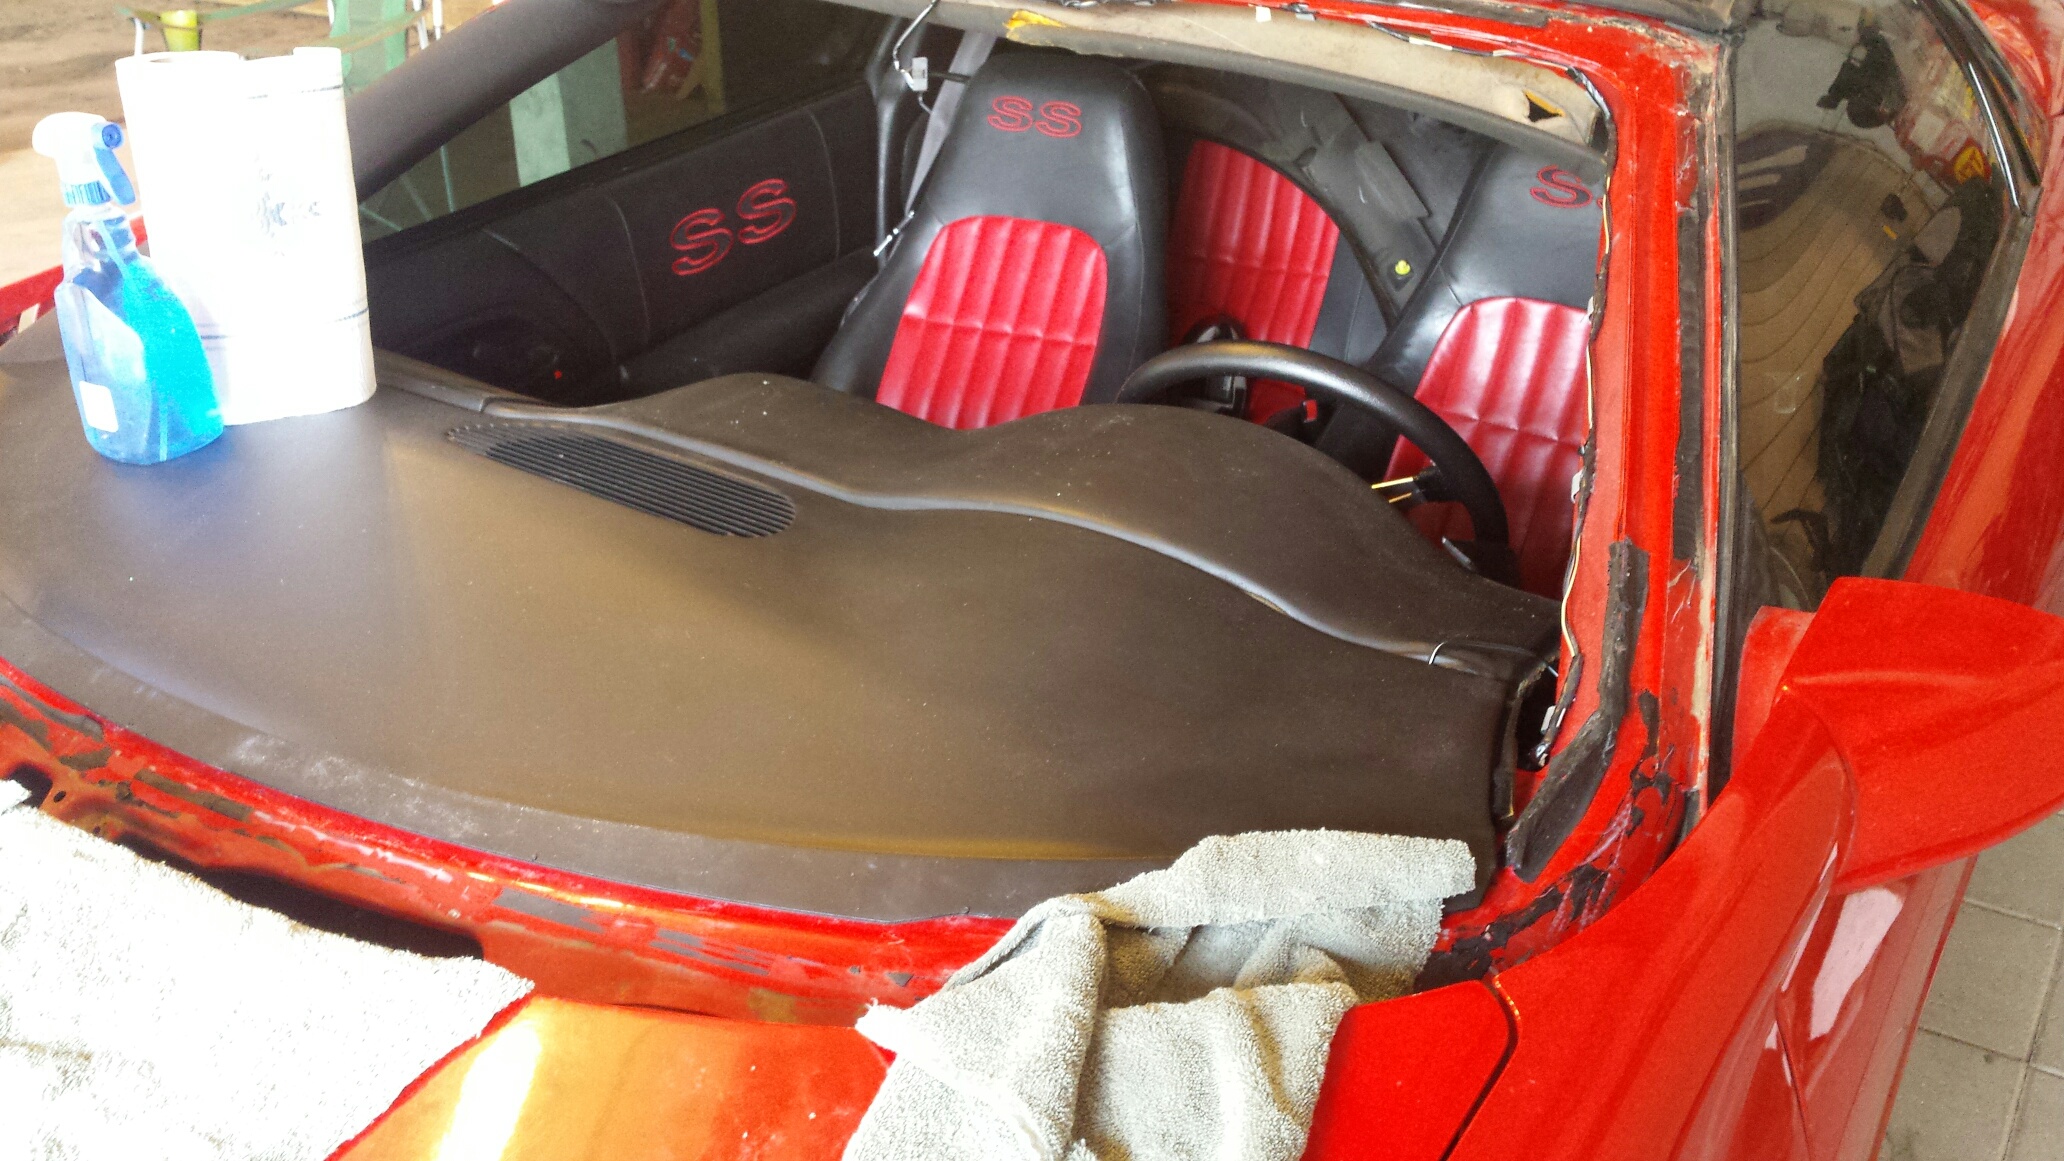
Remove the cowl cover. Im also deleting the windshield wipers.
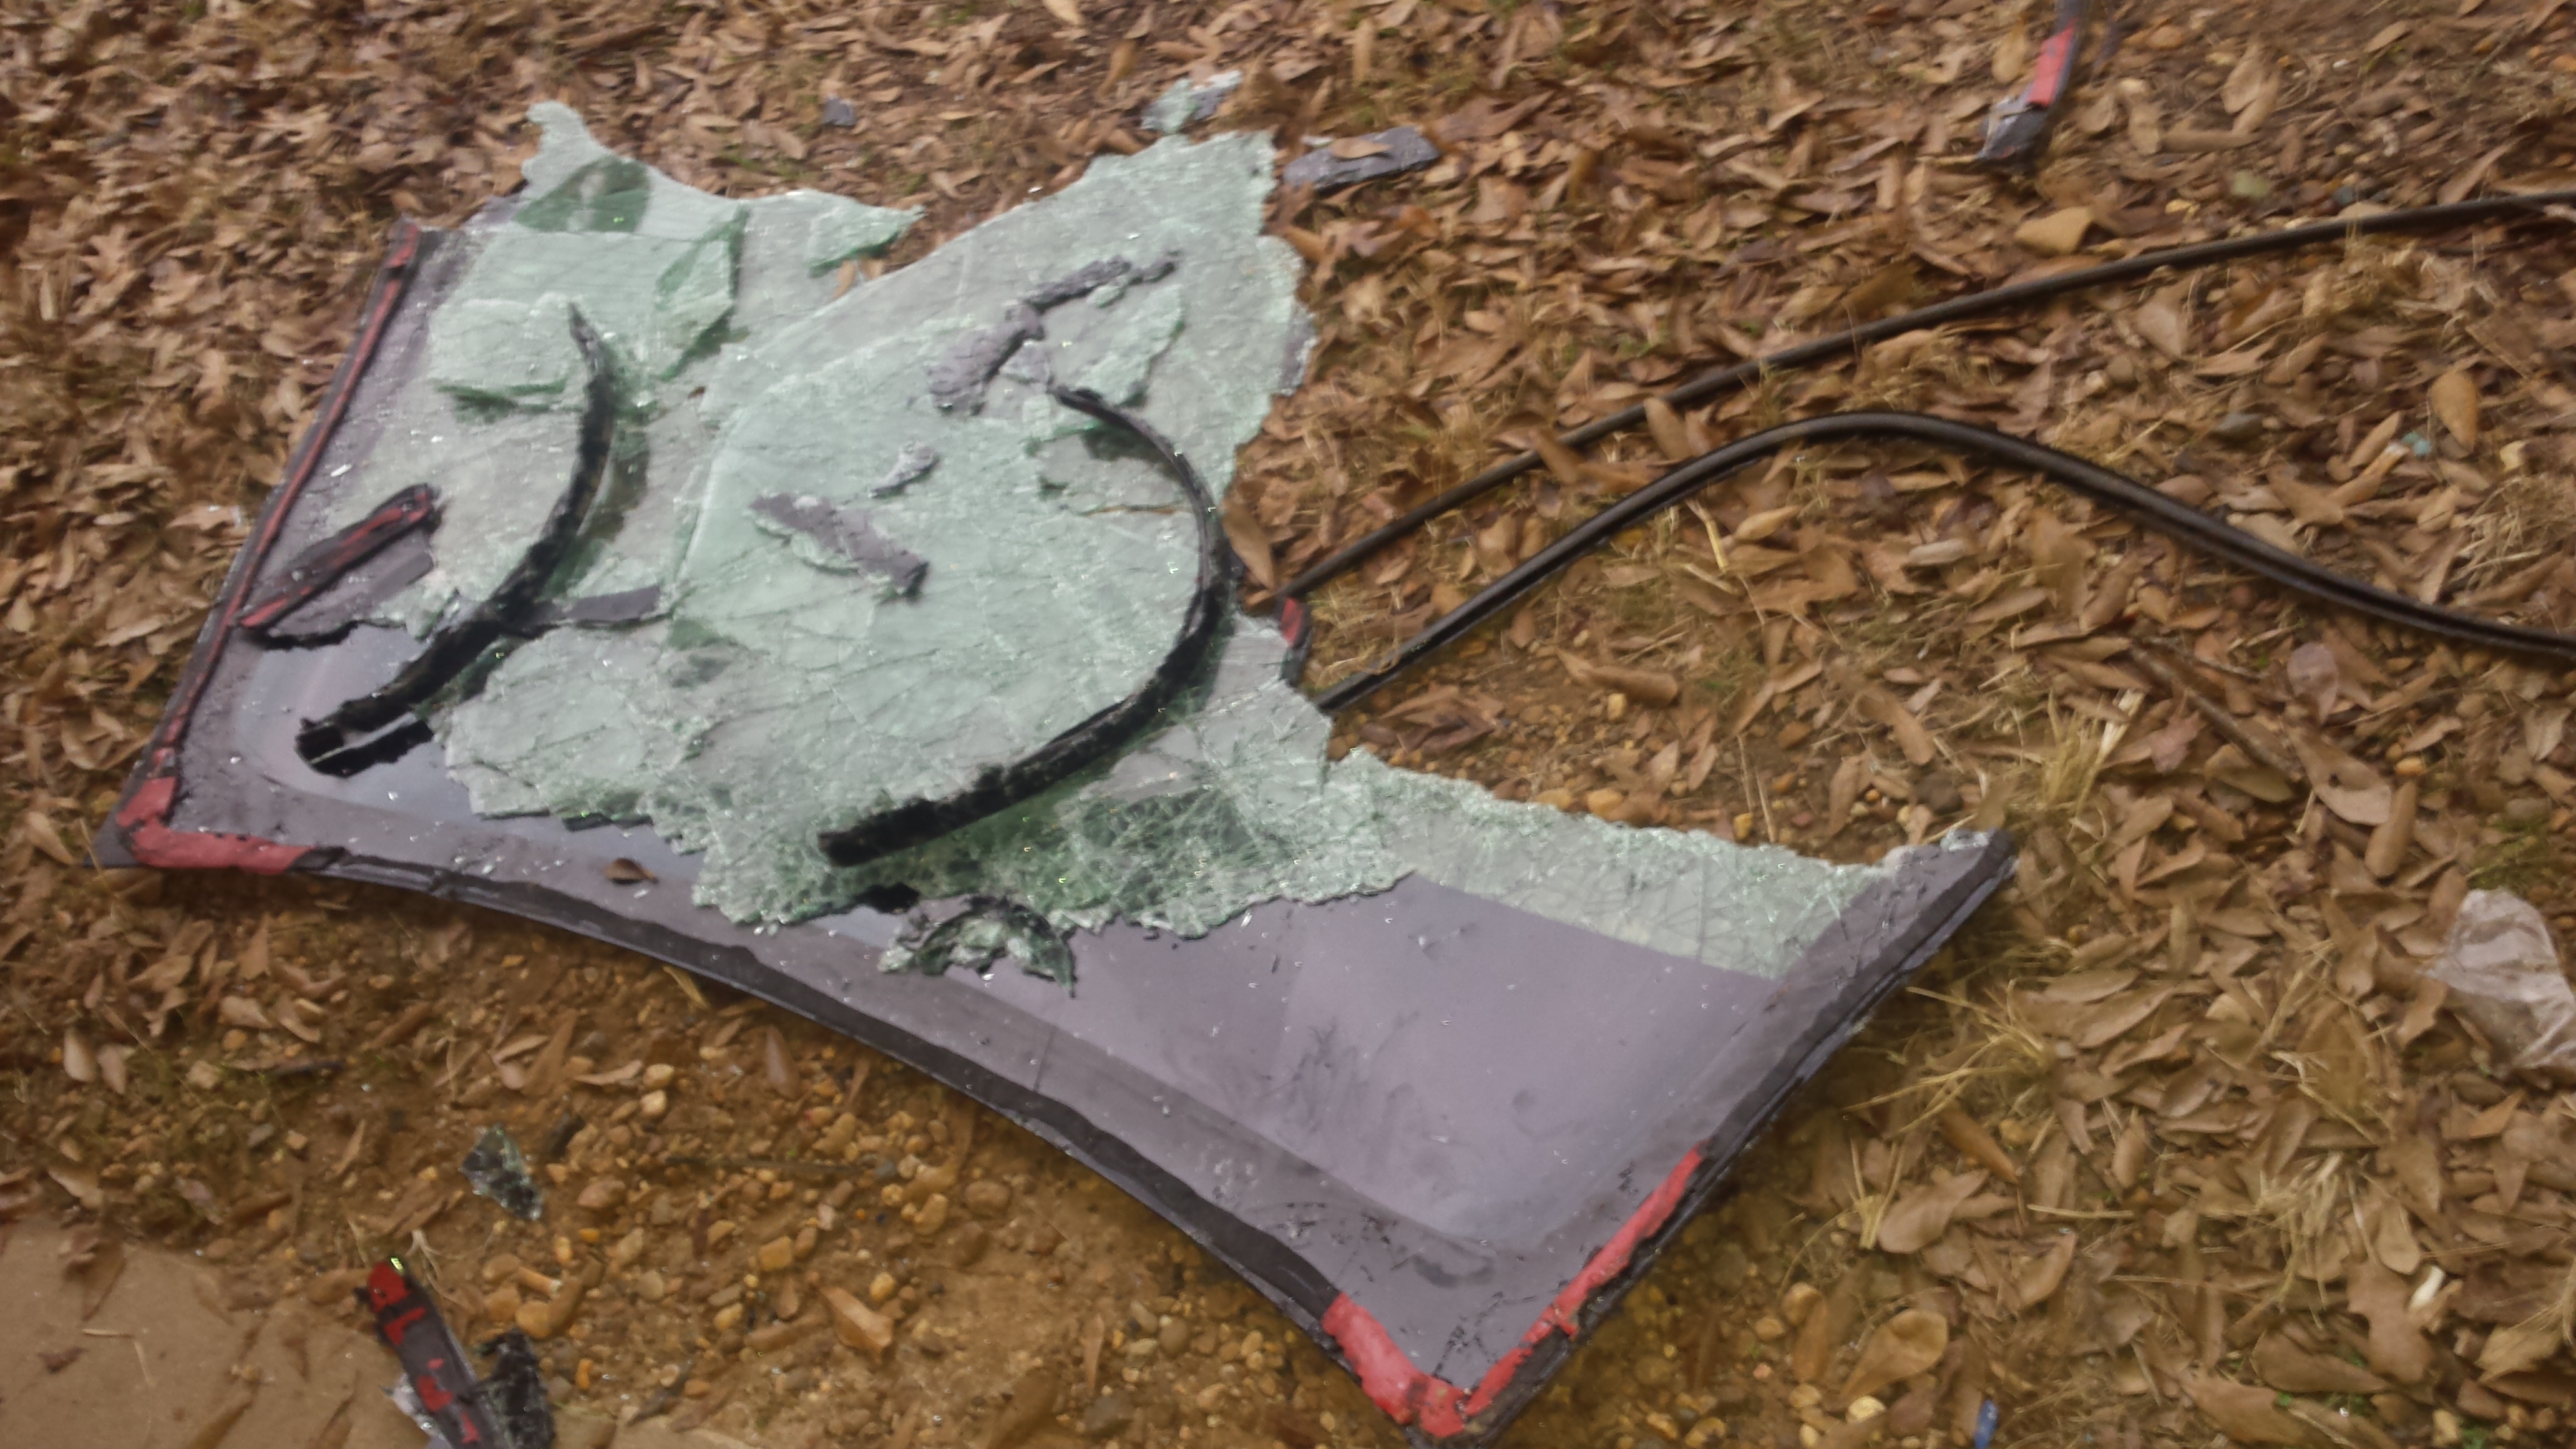
Remove the glass......
Whoops!
Same as the rear, nothing tricky up front. Prep and clean.
Make sure you test fit before you commit.
Find a work station, clean your stock molding, and reglue it to the lexan, tape it, and allow the glue to dry. I used black silicone. It is available new for about $75 if you want to replace it.
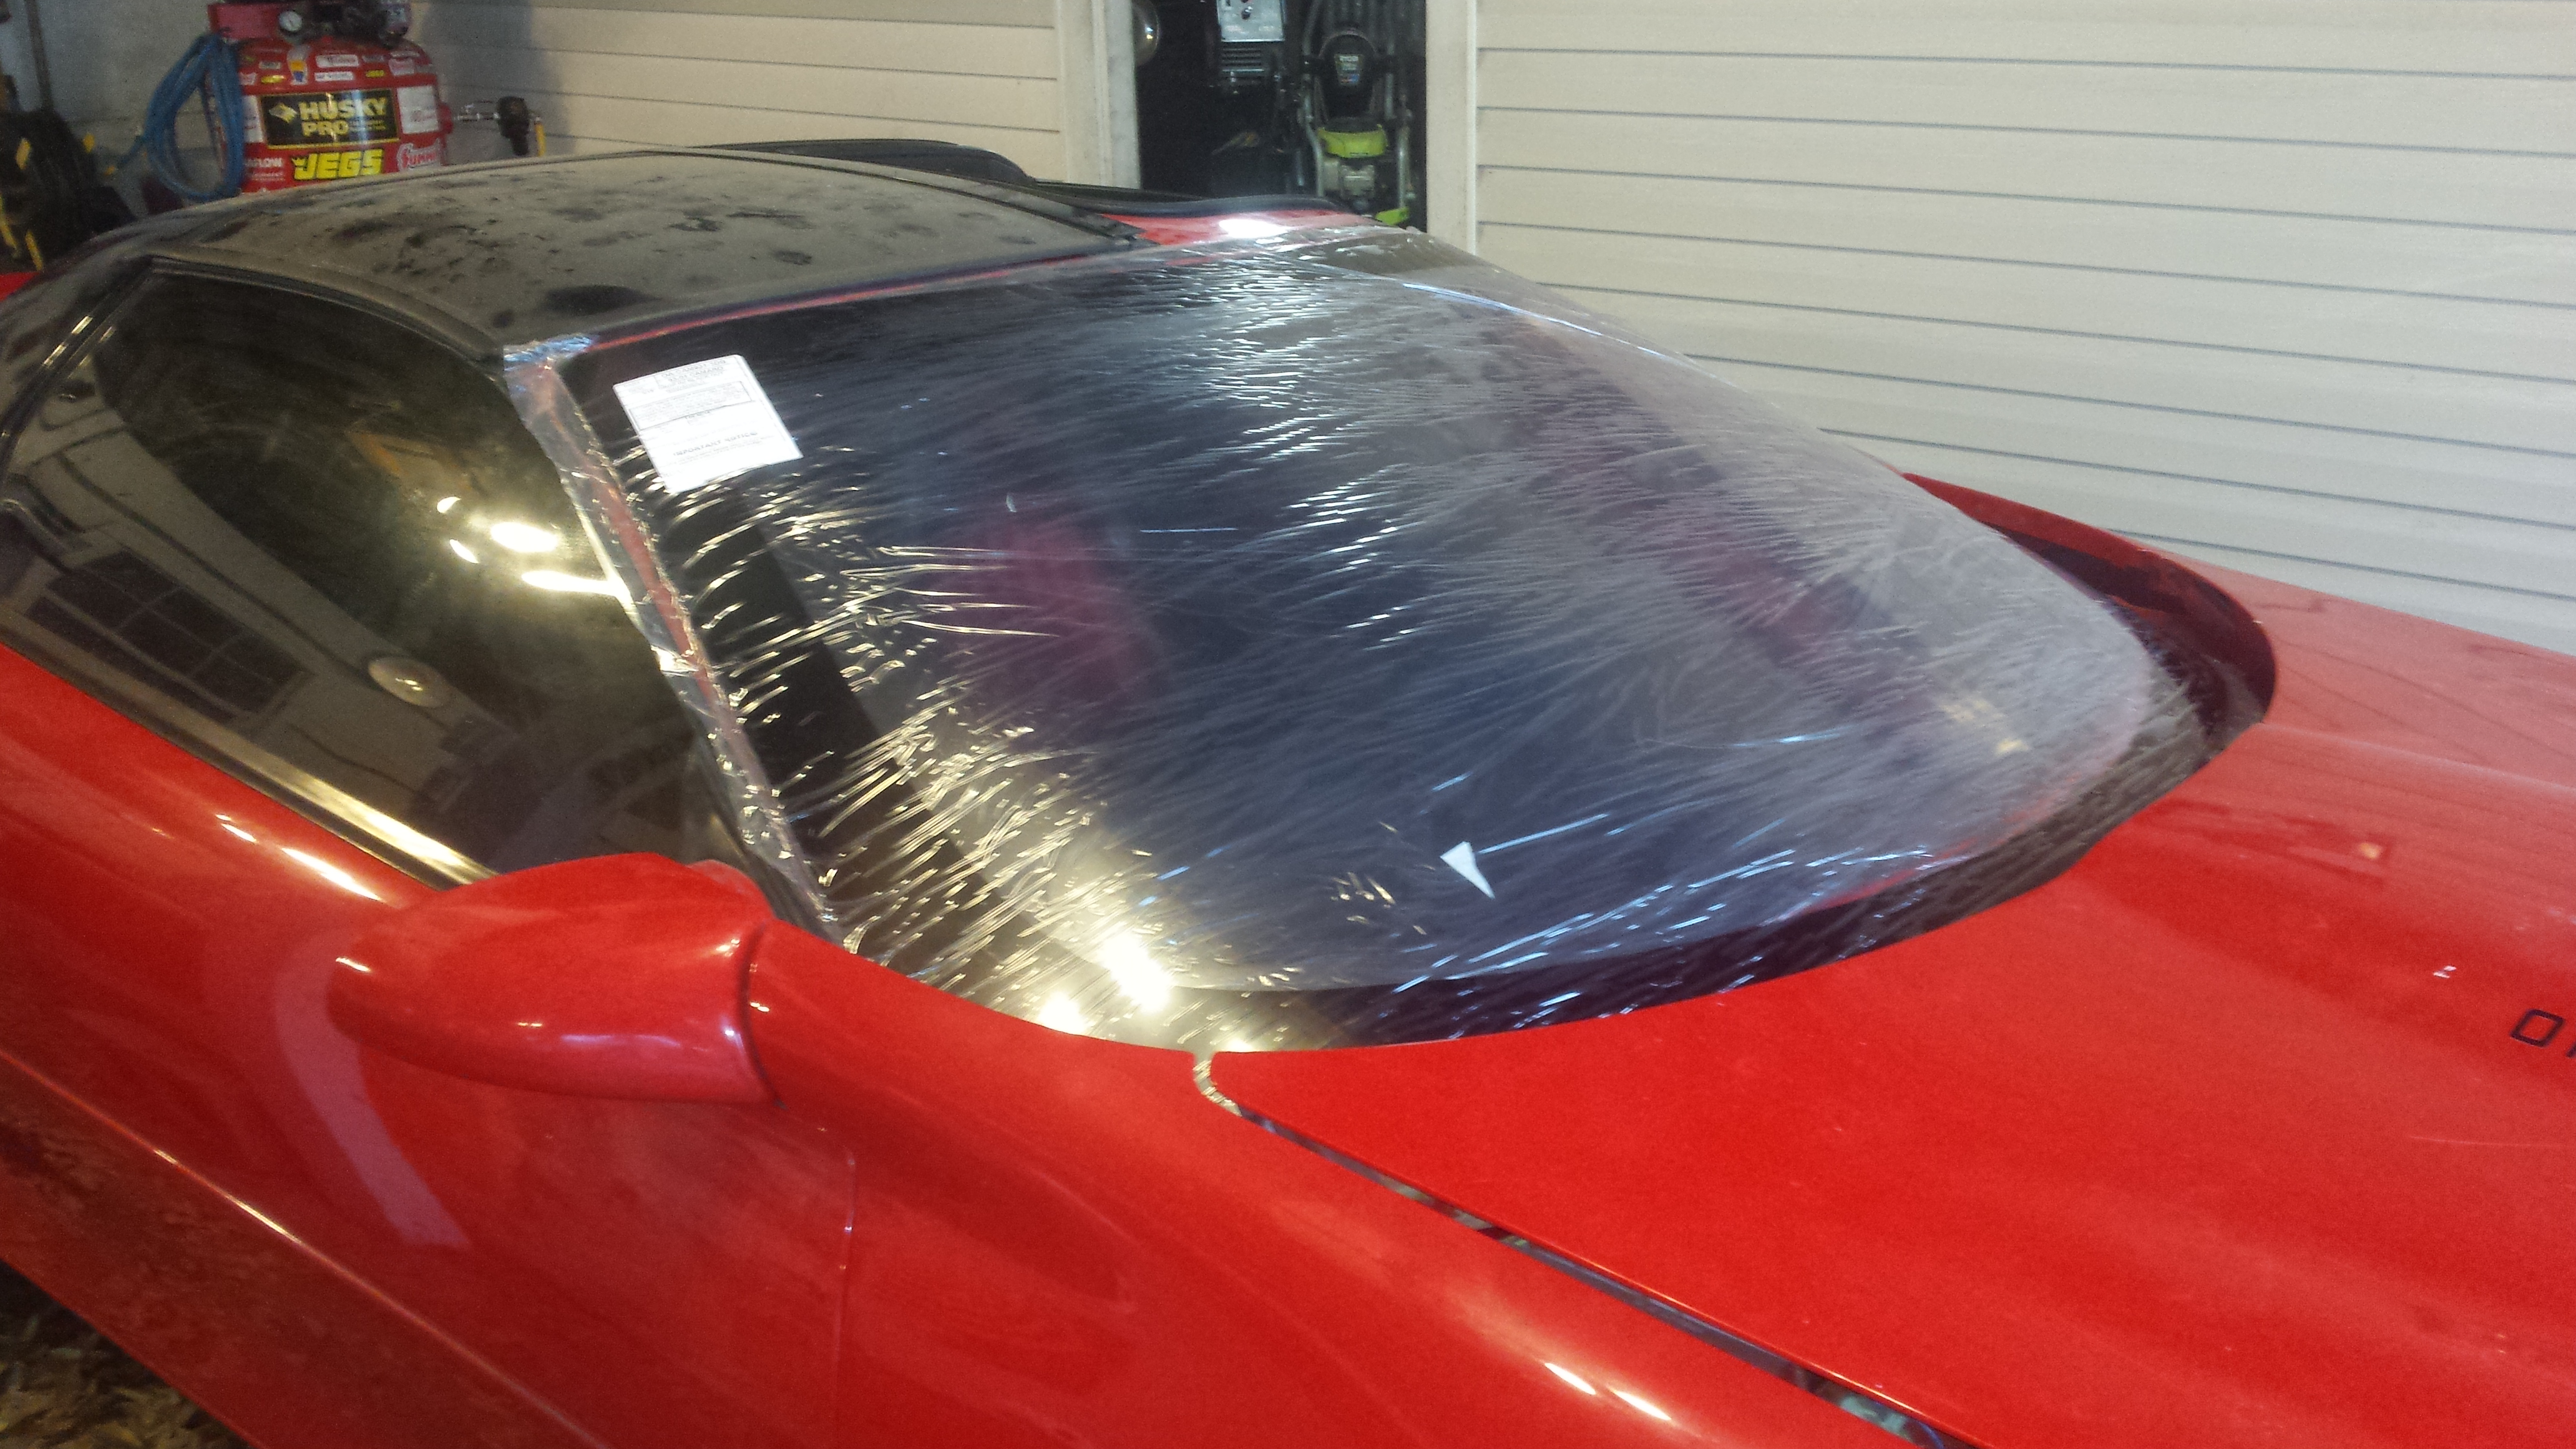
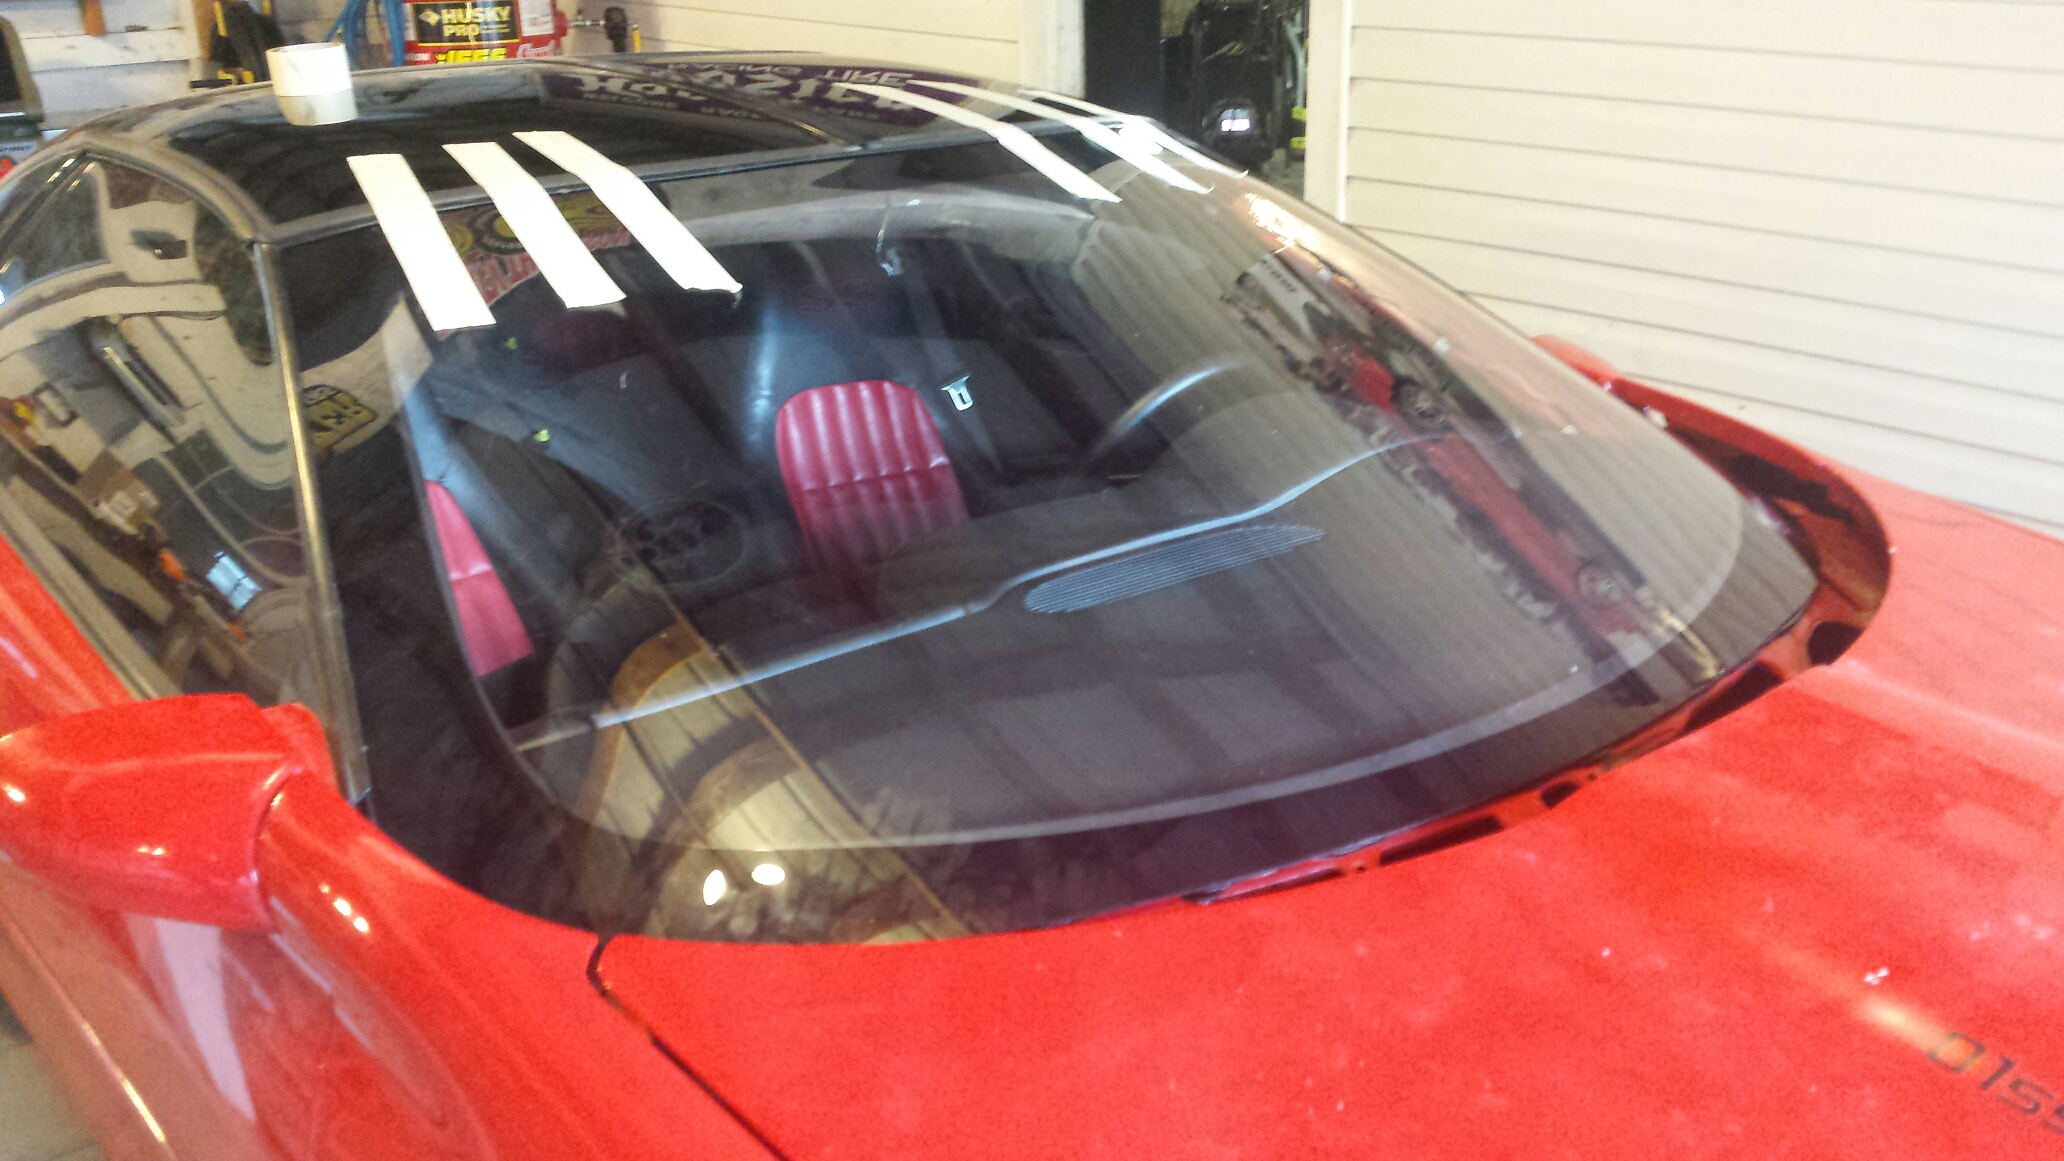
Run your beads just like the back, and drop in place, remember to have a friend help, and tape up top to keep it from sliding down while it cures.
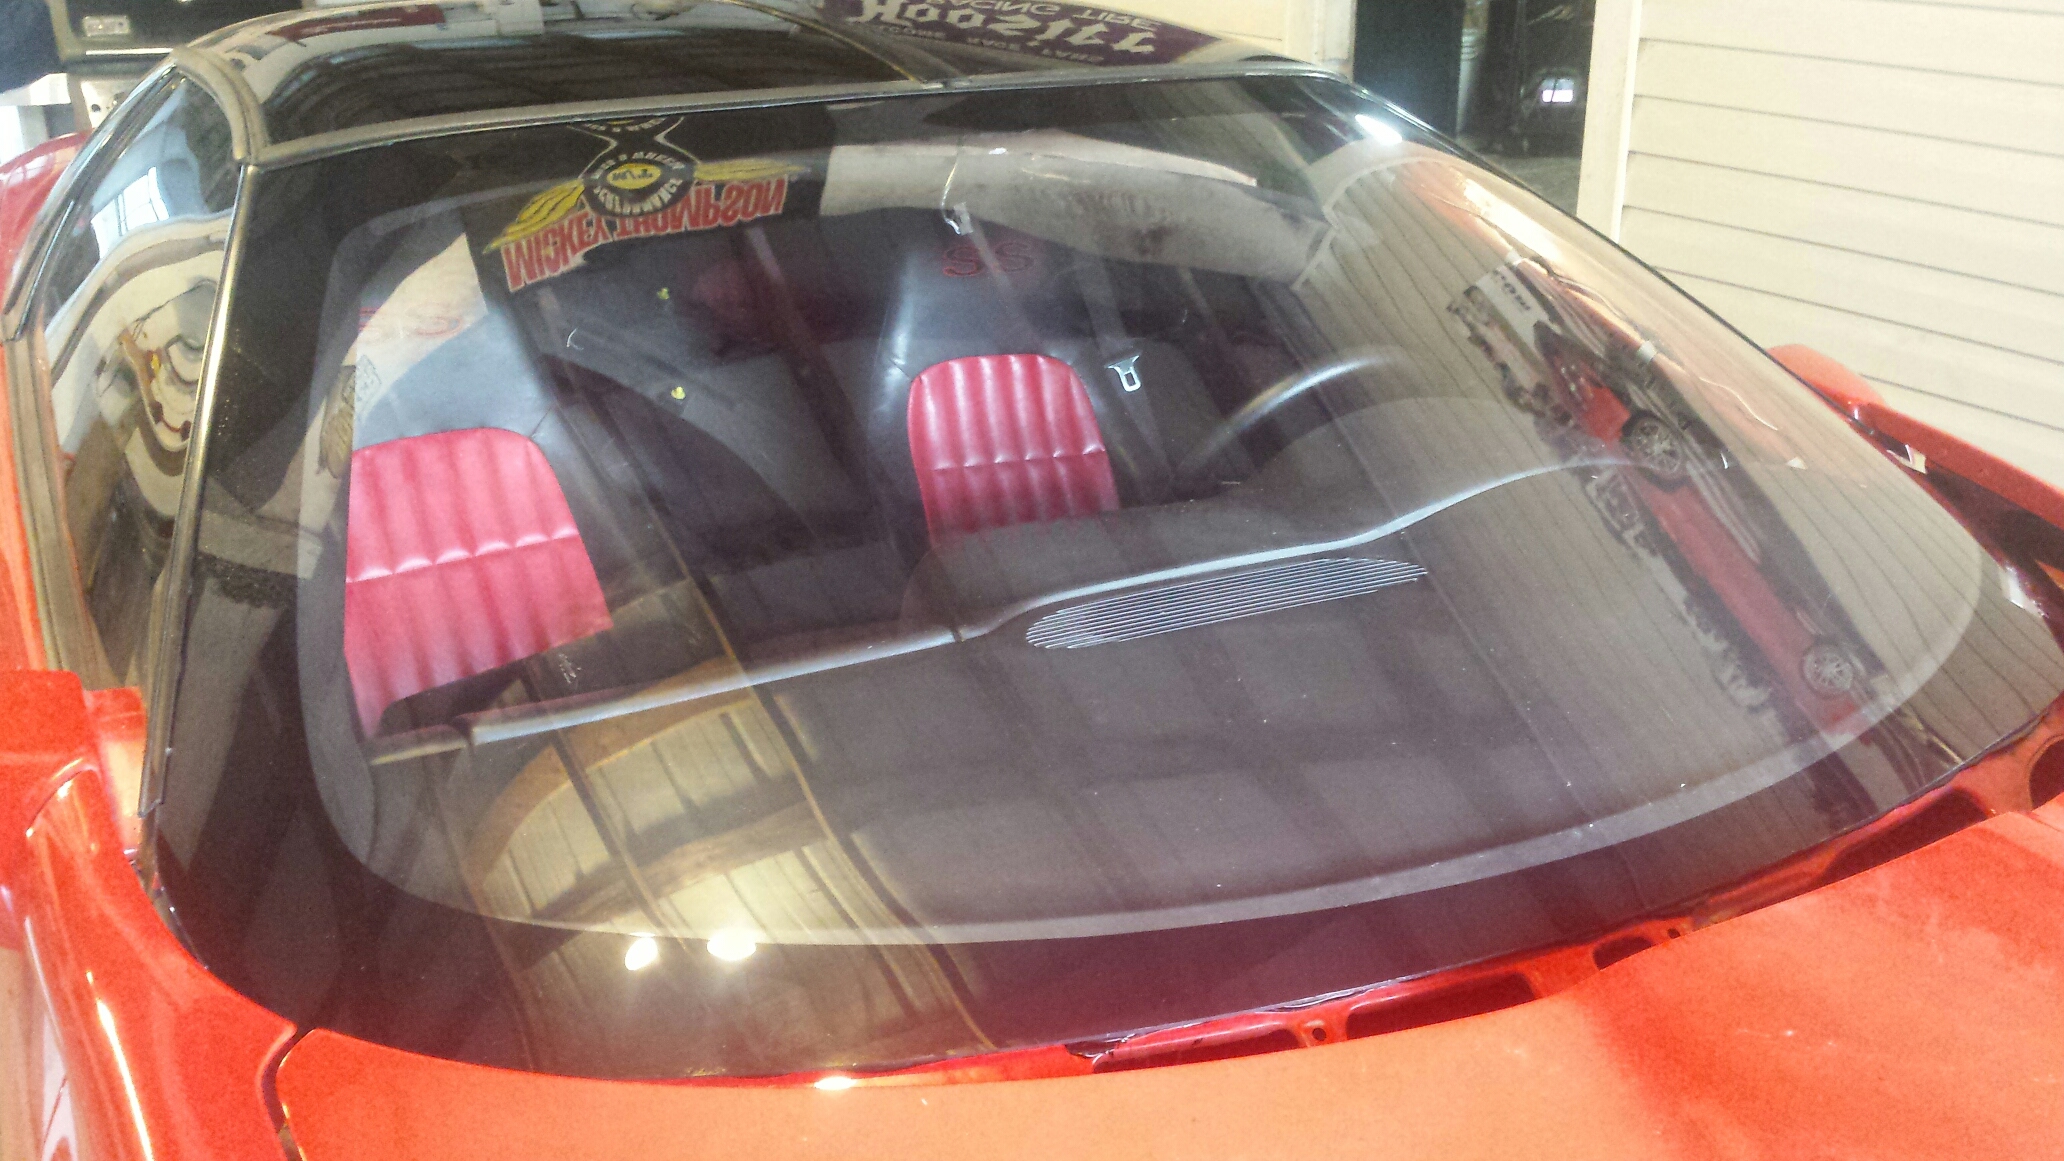
A couple hours later it looks like stock.
The windows weighed roughly 10lbs rear, and probably 17/18 for the front. They are supposed to save about 50/55lbs for the pair. My car should weigh, after the wiper delete, somewhere around 2970 or so. Overall they look really nice and fit really well. Im pleased with them.
Here is when they arrived. The box was kinda beat up....I'm actually surprised they weren't damaged somehow.
Made a trip to harbor freight to pick up some windshield specific tools:

This is the urethane glue I chose. No particular reason, I purchased it on ebay for about $10 per tube. You'll need about 2 per window.

You may want to hire someone to remove the glass, I chose to give it a whirl. I started on the back first. Its tougher then the Youtube videos make it out, especially without scratching the car. You need to remove the perimeter molding first thing and the inside panels then use your various tools to separate the glass from the car. I finally decided **** this.

One of the things that makes the rear glass a real pain is in the corners there is two separate lines of urethane, which makes getting through that part super difficult to a beginning installer. You can see here, where the glass makes the curve at the bottom is a thick bead, then toward the upper edge there is another thin line.

This is the edge of the fiberglass lip at the rear (basically right in front of the spoiler). You can see the wire tool was actually chipping away at the fiberglass. Grrrrrr

This was the tool I selected to remove the urethane from the car to prep for install. I sharpened it first. Also, new urethane sticks to old urethane so there is no reason to remove every single bit. The most important thing is the surface is smooth and there is no excess old urethane left.

Here is a better picture where you can see the double spread line that traces the corners of the glass.

Here's the surface, prepped, sanded, and cleaned. I went over the entire flange with maybe 220 grit just so I knew it had some bite. The fiberglass seemed awfully slick and I was nervous about the urethane bonding.

Make sure you test fit first before you commit to the final install. I was also curious about whether it needed the stock molding back on it (it is no longer available for purchase). It looked fine with nothing, so that's what I ended up with.
These are velcro spacers x2 at the top of the window, I reinstalled them.


Lay your beads down following the factory lines.

I dropped the rear in by myself. Bottom is basically resting on the car with no room for molding, the top leading edge would be your preference. I think I'm going to leave it bare.

For the front, remove the molding that runs along both sides and the top.


Remove the cowl cover. Im also deleting the windshield wipers.

Remove the glass......
Whoops!

Same as the rear, nothing tricky up front. Prep and clean.

Make sure you test fit before you commit.

Find a work station, clean your stock molding, and reglue it to the lexan, tape it, and allow the glue to dry. I used black silicone. It is available new for about $75 if you want to replace it.

Run your beads just like the back, and drop in place, remember to have a friend help, and tape up top to keep it from sliding down while it cures.

A couple hours later it looks like stock.

The windows weighed roughly 10lbs rear, and probably 17/18 for the front. They are supposed to save about 50/55lbs for the pair. My car should weigh, after the wiper delete, somewhere around 2970 or so. Overall they look really nice and fit really well. Im pleased with them.

#28
04-03-2017, 09:28 AM
Join Date: Aug 2010
Posts: 230
Likes: 0
Received 0 Likes
on
0 Posts
The rear ended up wanting to lift along the lower lip, the adhesion wasnt great for whatever reason. It either didnt stick to the car, didnt stick to the lexan, or I didnt use enough urethane. At any rate, I had to improvise to ensure it didnt cause damage later down the road.
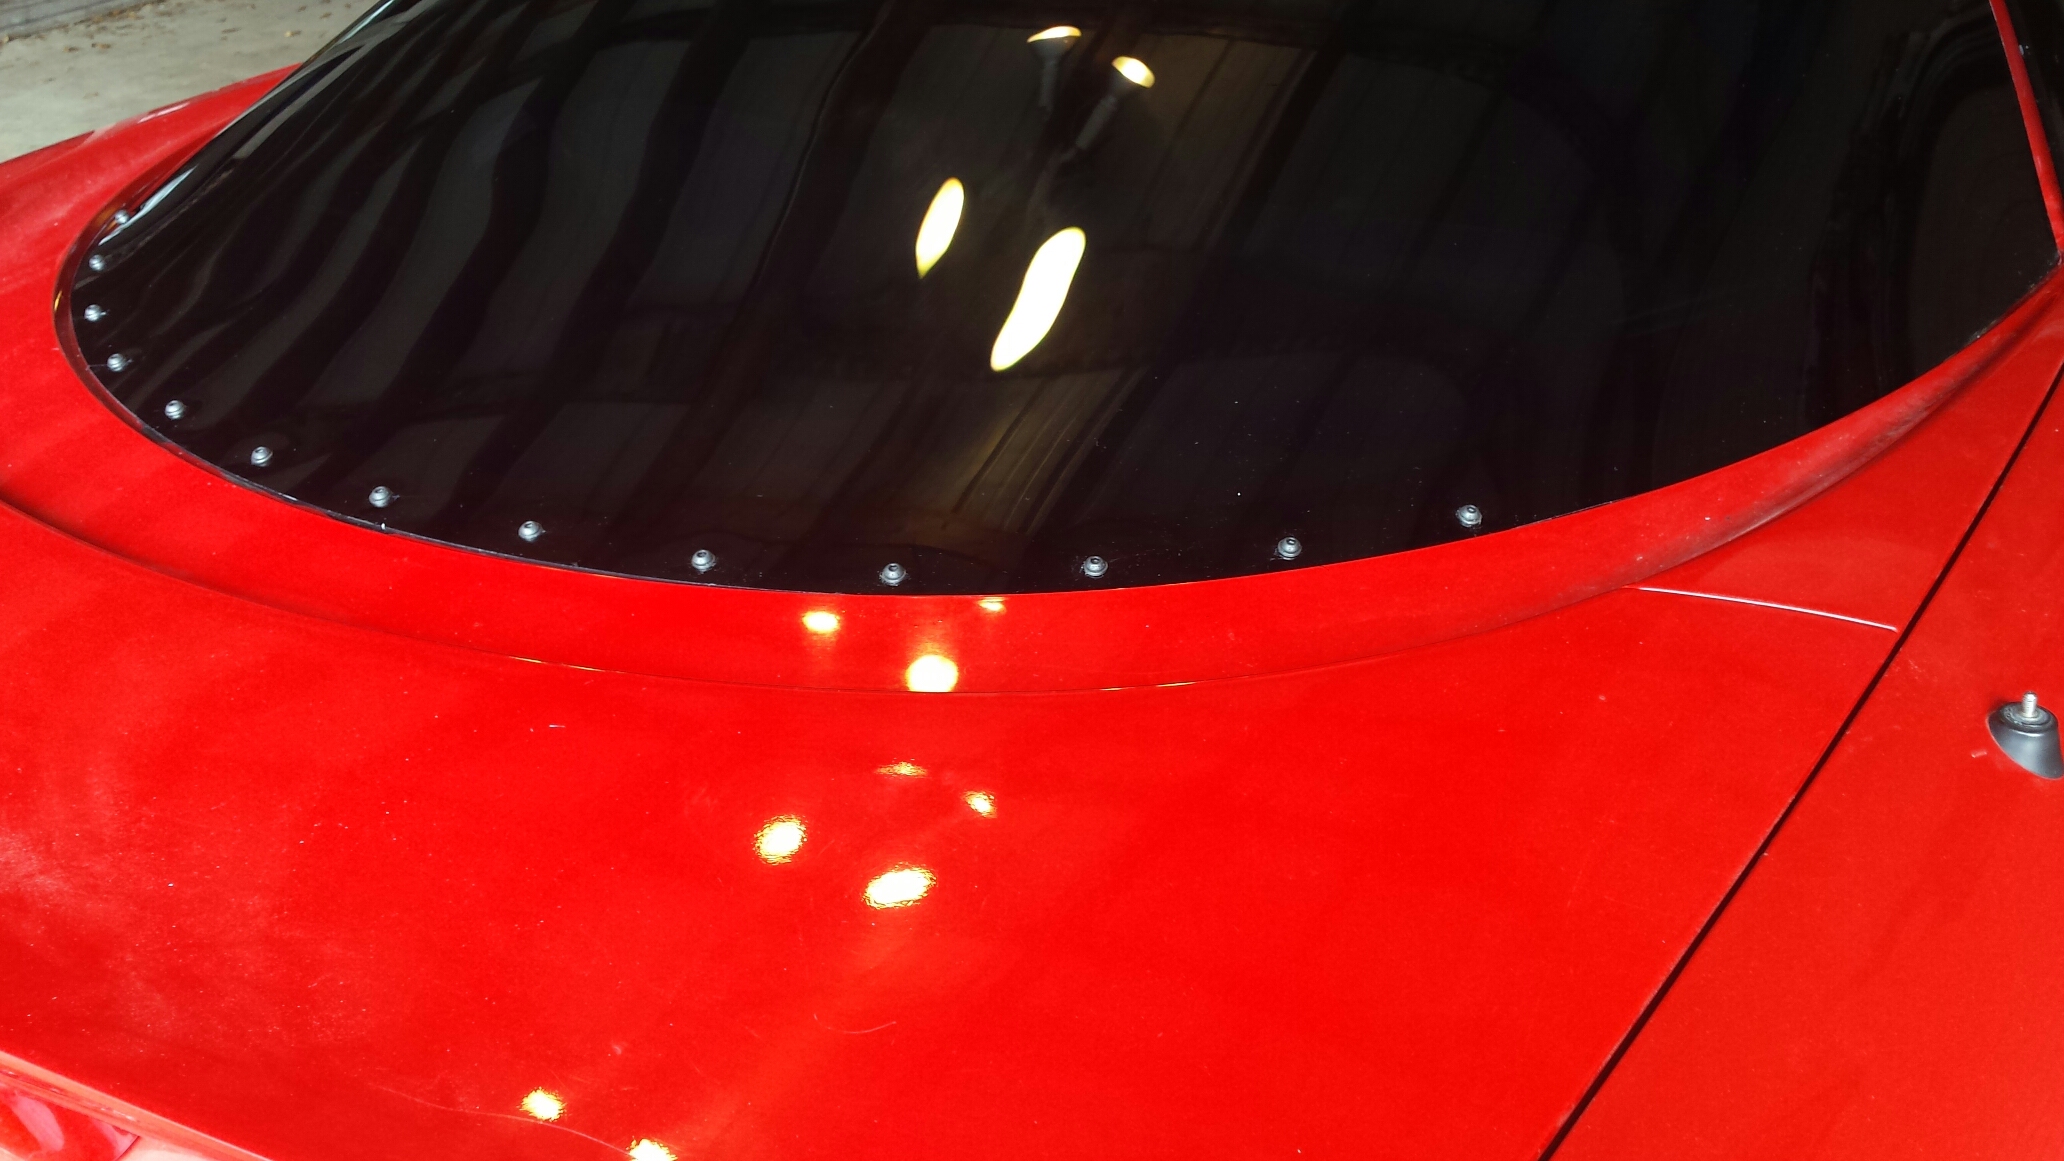
I also trimmed the cowl, mostly for ease of intake removal, and added a couple screws in the front glass just for good measure. You can see I left enough material for the stock plastic to be reinstalled and look pretty much as it came from the factory. I had to trim the cowl in multiple pieces (about 10) because I did it while the intake was still installed. It wasn't much fun.
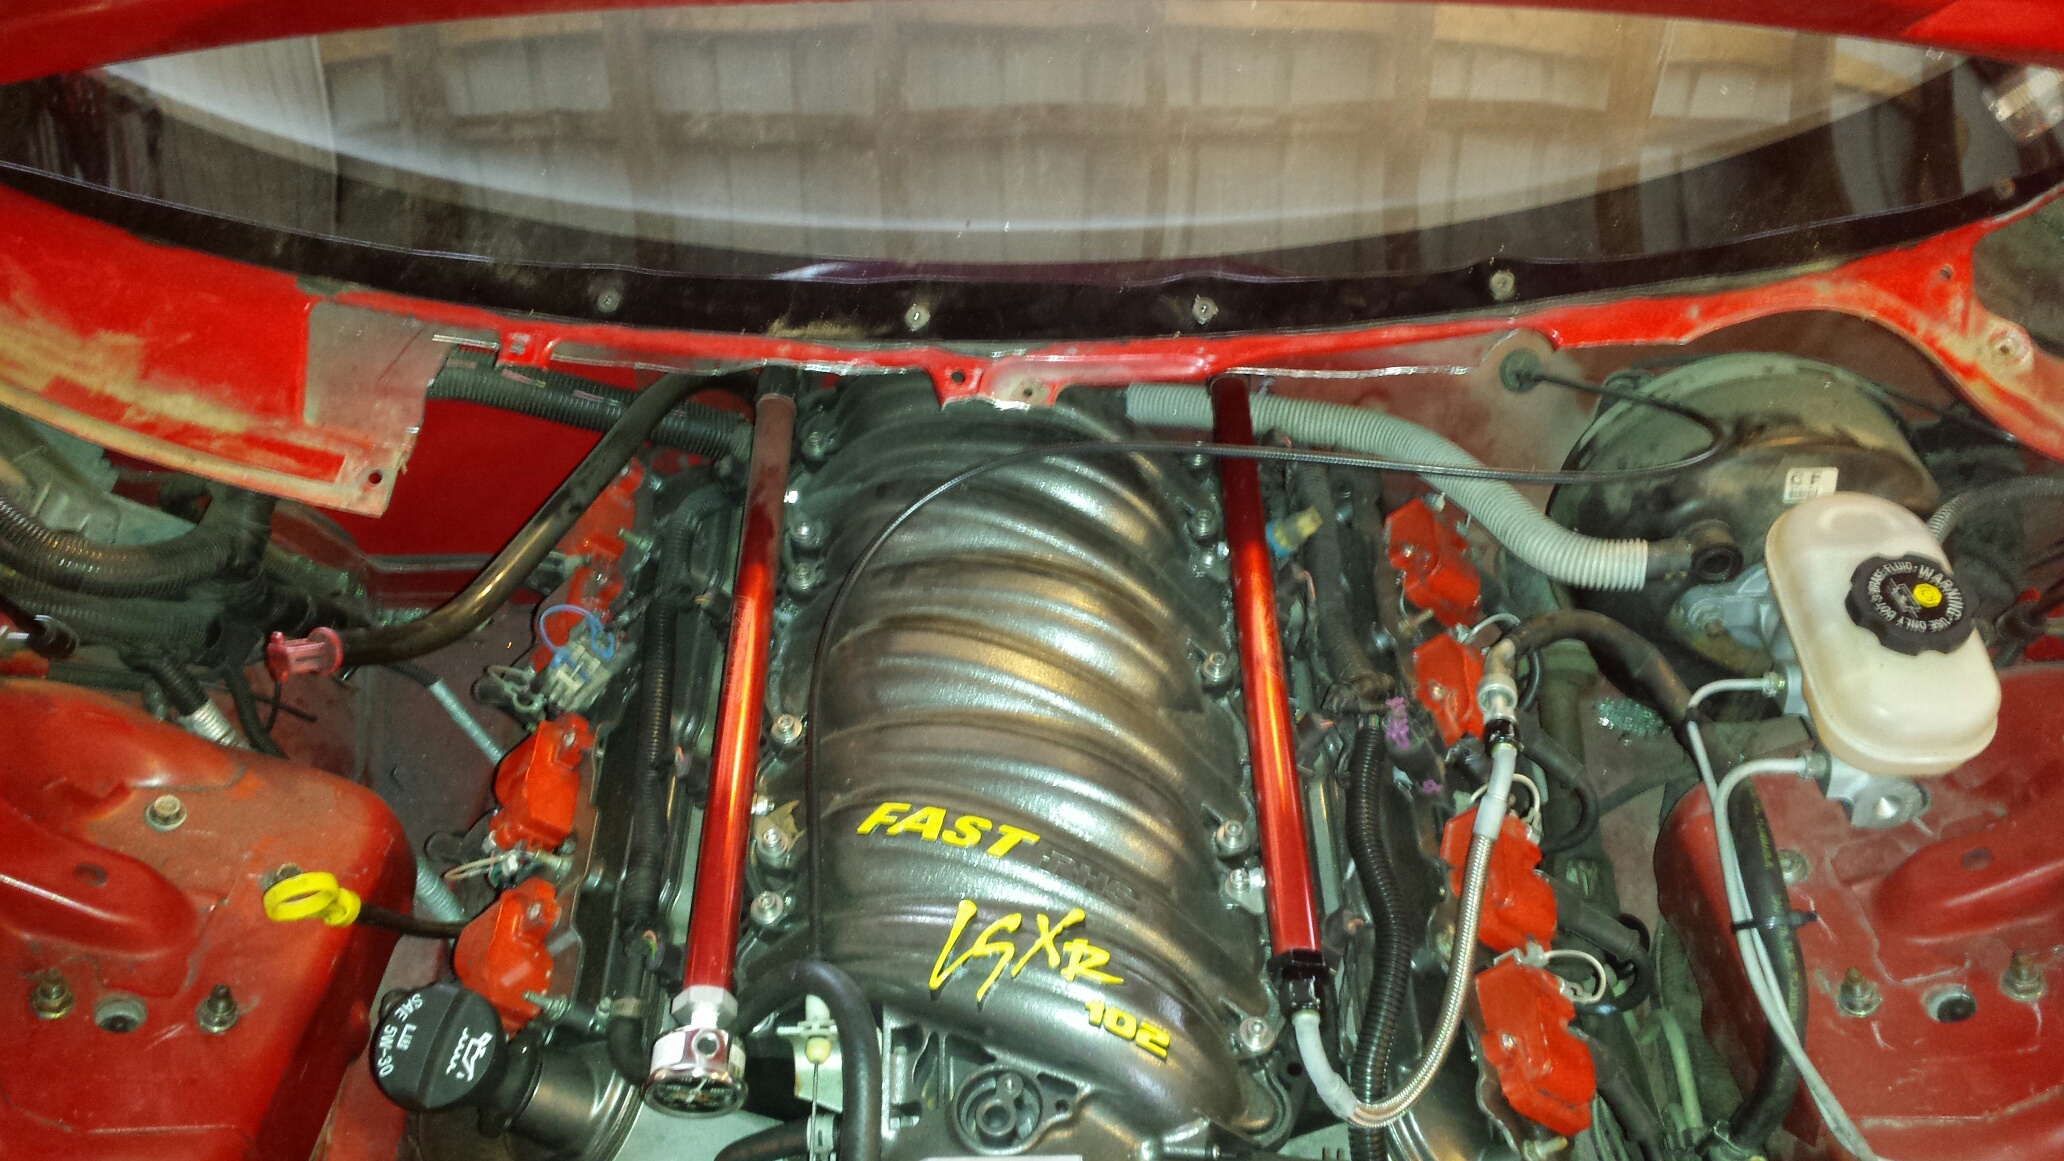
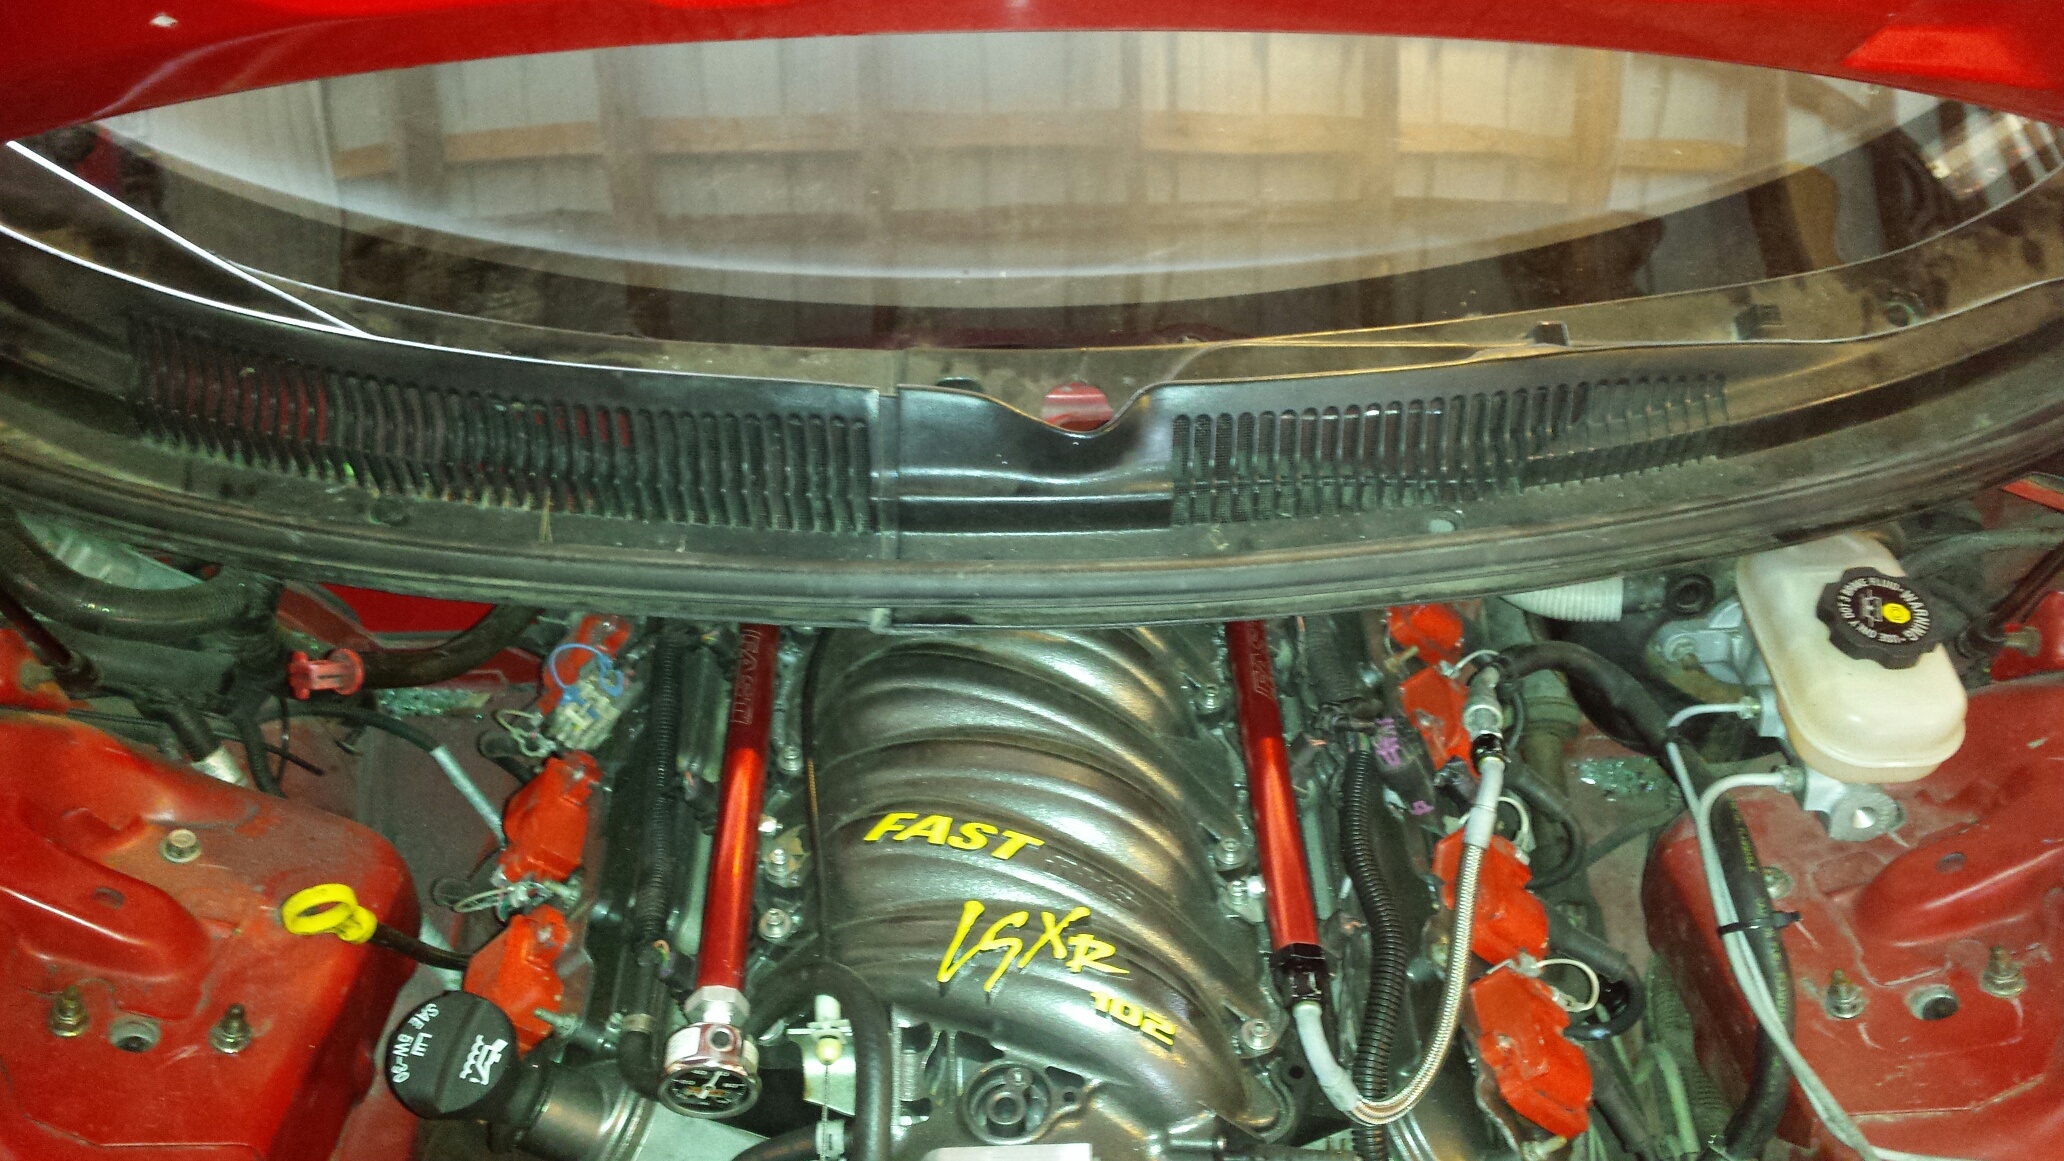


I also trimmed the cowl, mostly for ease of intake removal, and added a couple screws in the front glass just for good measure. You can see I left enough material for the stock plastic to be reinstalled and look pretty much as it came from the factory. I had to trim the cowl in multiple pieces (about 10) because I did it while the intake was still installed. It wasn't much fun.


#30
06-22-2017, 10:20 AM
Join Date: Aug 2010
Posts: 230
Likes: 0
Received 0 Likes
on
0 Posts
Not yet, but soon......
Well sort of changed directions......REALLY changed directions. Long story short I just hadn't 100% bought into the nitrous idea, for several reasons. I made a comment to a buddy what if i sold everything i have and started over. He mentioned that to his boss who has a GTO that needs a drivetrain and 2 weeks later I have a roller. I sold the complete motor, intake, converter, and trans.
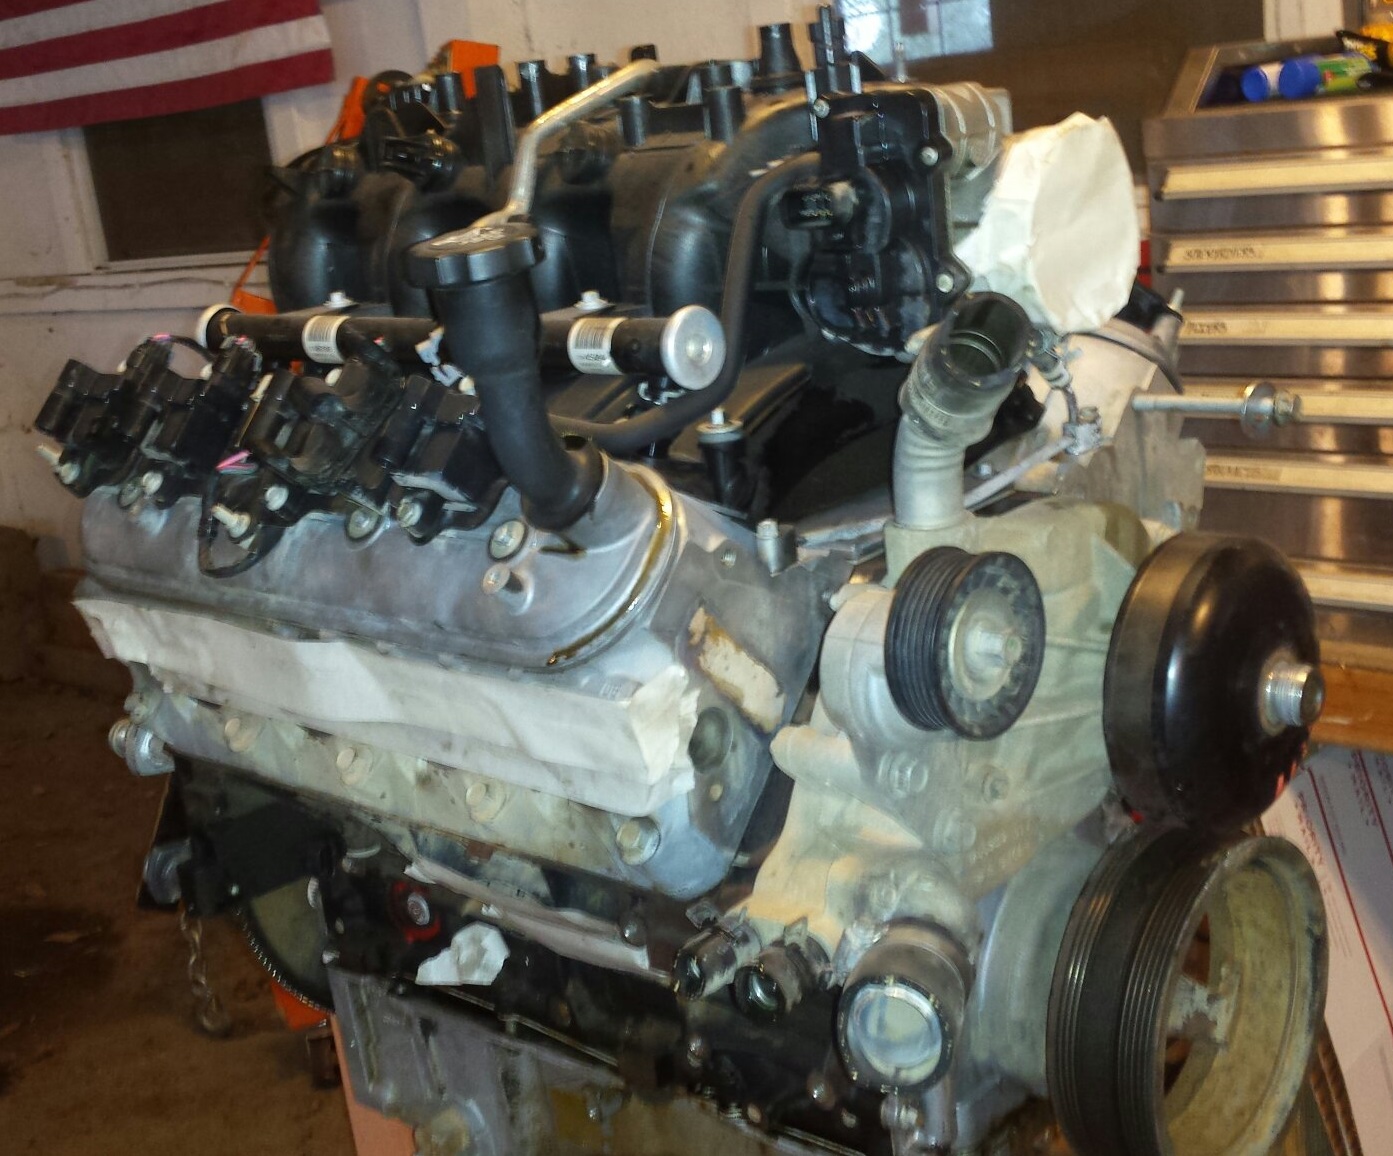
As of right now I have purchased (with the above money), an 05 Gen3 5.3 (gen4 rods) complete engine, Isky turbo cam, head studs, LS9 gaskets, Melling pump, LS2 timing set, LS7 lifters, dual springs, -10AN catch can, Huron speed turbo kit with their billet 78/75 turbo, bumper exit trim ring, Bosch 127lb injectors, billet fuel rails, and Im basically out of money. So I'm gonna start the build, save some dough for my fuel system, new trans and converter. Goal is 15 to 20 psi on e85. Complete teardown and pics of parts coming soon. Stay tuned.
