*Rappy!* Raptor 660 Build Thread
#1
 09-14-2015, 02:17 PM

Join Date: Jan 2001
Location: TN
Posts: 370
Likes: 0
Received 0 Likes
on
0 Posts
Hello all! I'm getting back into riding quads and tinkering with them. Thought that I would use this thread as mostly a motivator and log of efforts for myself. Hopefully you all will enjoy and feel free to let me know what you think of the build. Thanks.
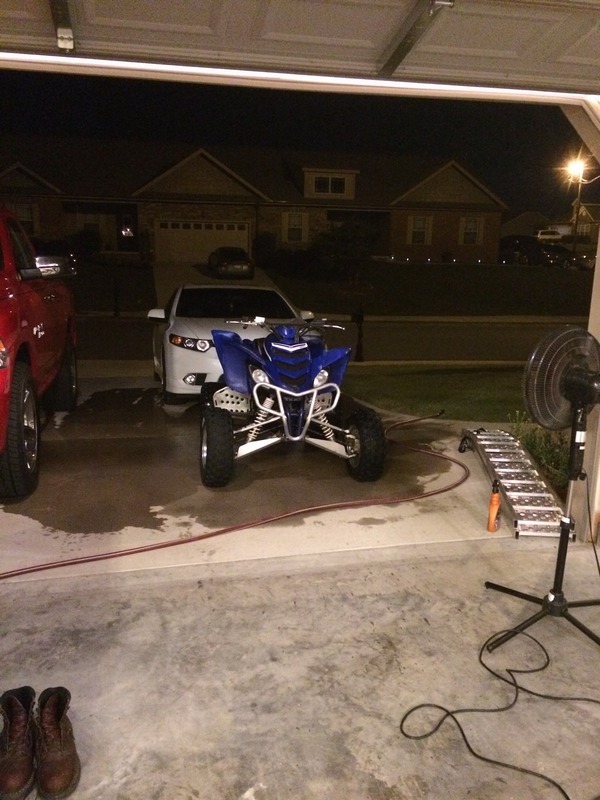
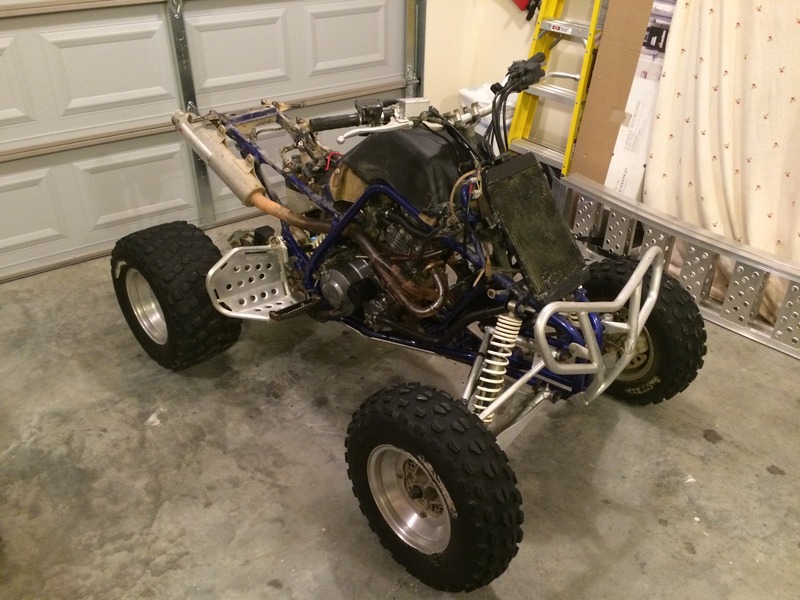
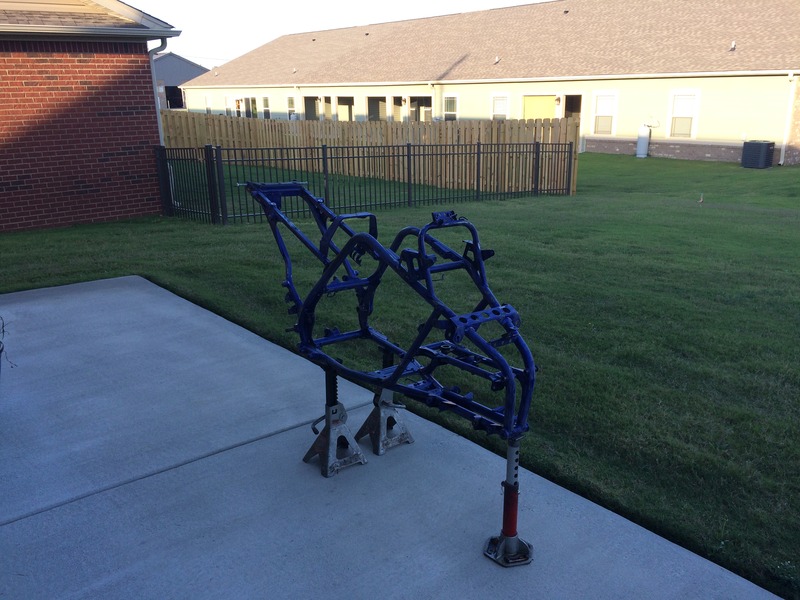
Ok, so I picked up a pretty sweet deal on this 2001 Raptor 660 from my good friend and thought that I'd do a frame off rebuild on it.
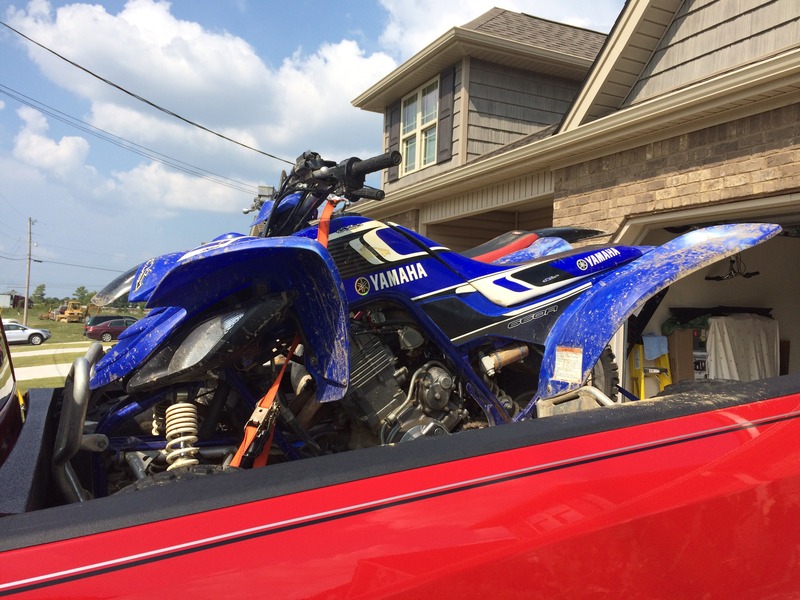
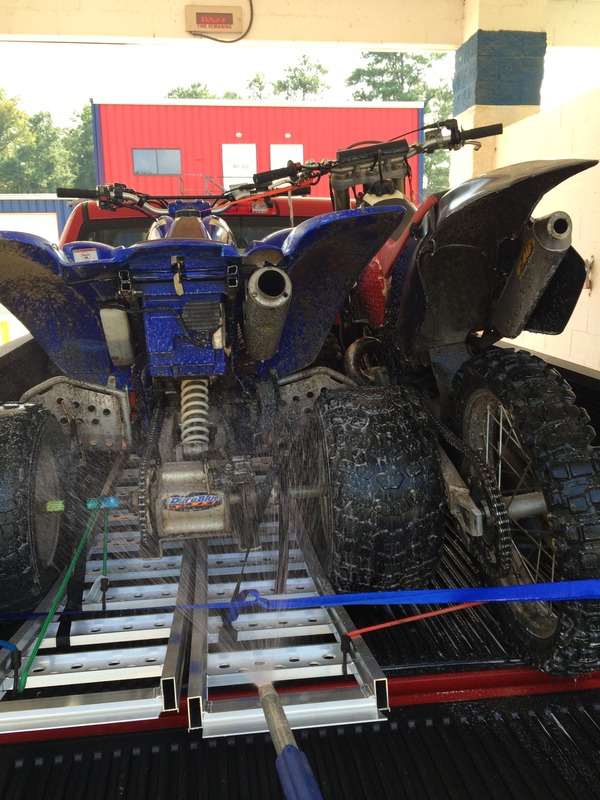
Got her home and started cleaning up what the pressure washer left behind. It's a solid "ten footer" quad. It needs a LOT of small things to be 100% again. The only major thing wrong with this quad, that I know of, is some play in the steering.

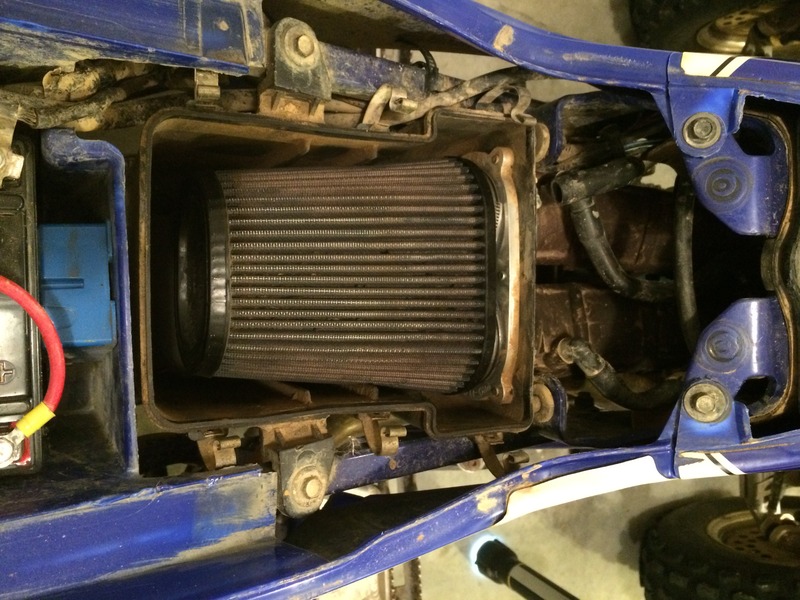
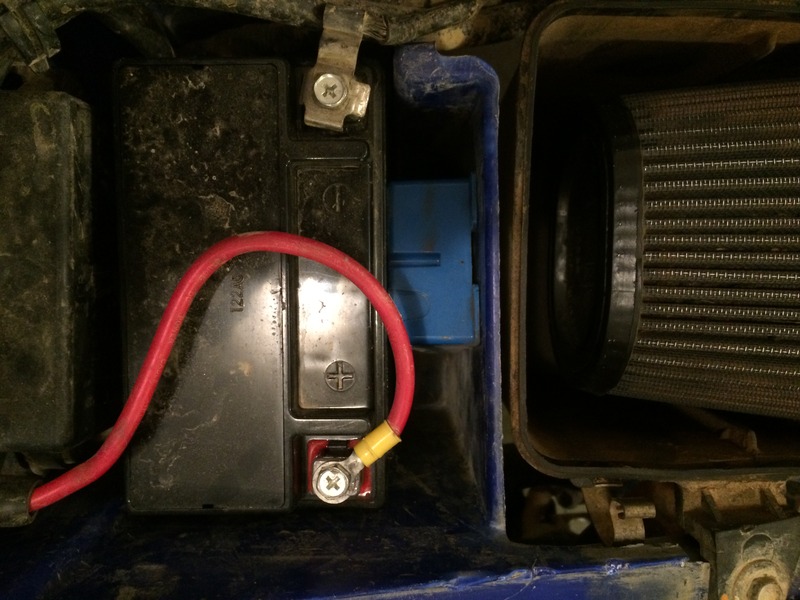
Pulled the seat off and noticed it is already outfitted with a K&N air filter and a nice electrical box holding the battery in all snug, lol.
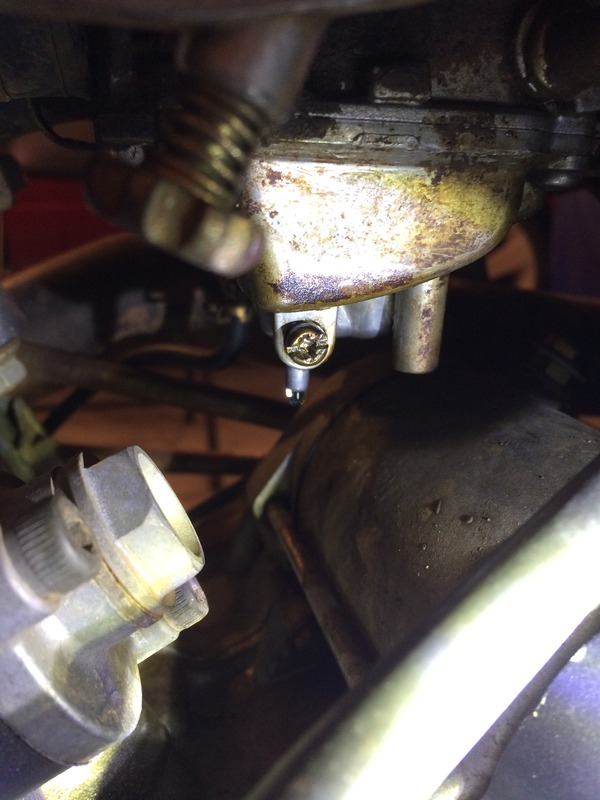
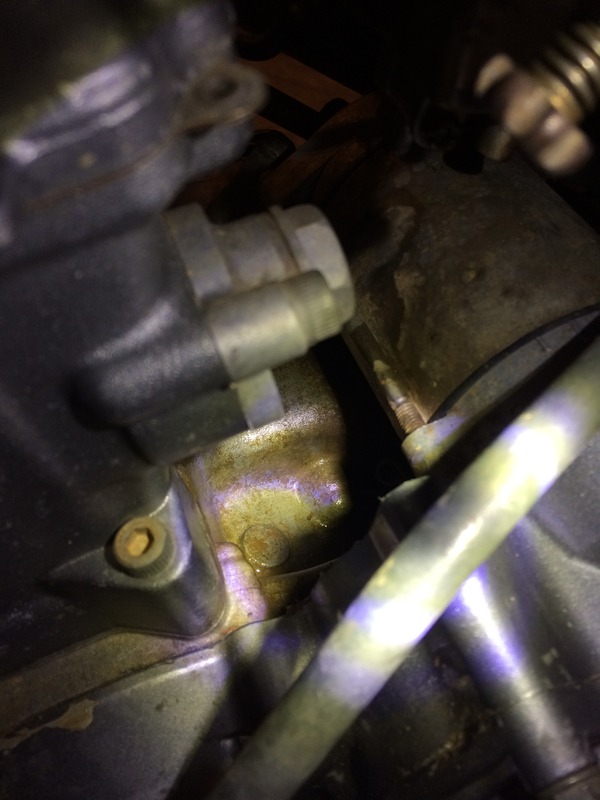
Also, the floats in the left carb seem to be a bit high as it has a slow drip of gas onto the motor, and it also dies occasionally after coming to a stop.
Got the plastics off and most of the big items still seem to be in good shape mechanically.

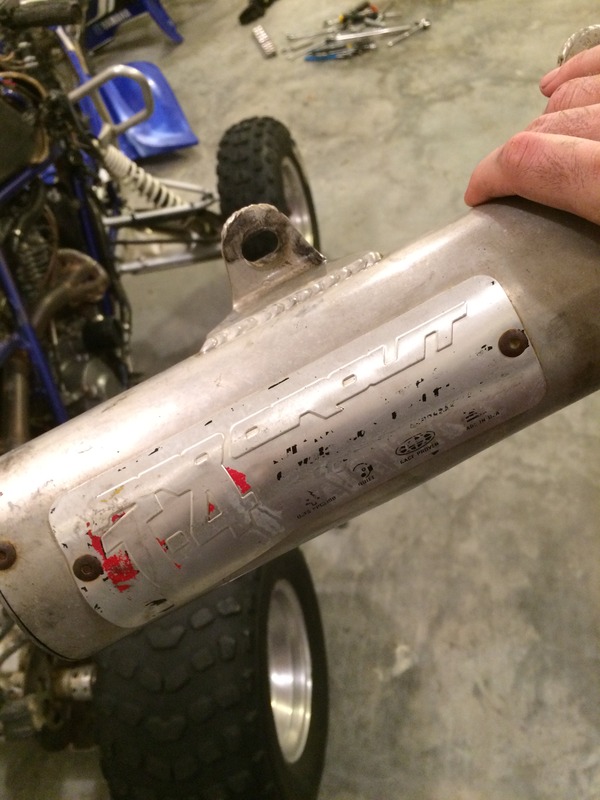
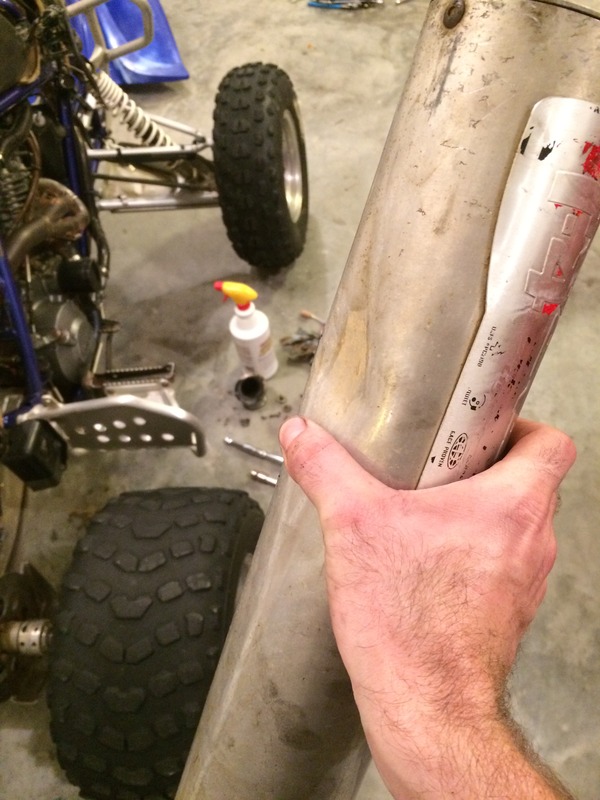
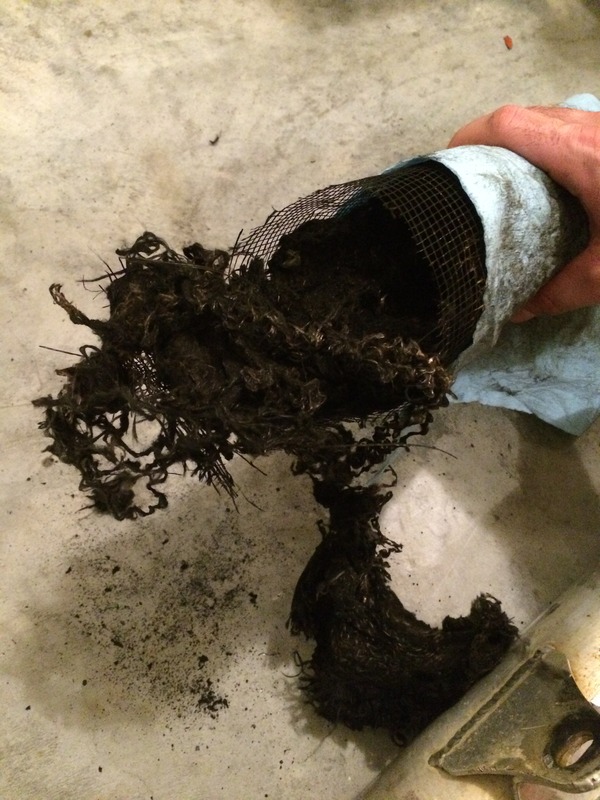
Pulled the somewhat dented Pro-Circuit T4, which is loud as $hit!, and noticed that some of the packing is blown out and probably has never been repacked.
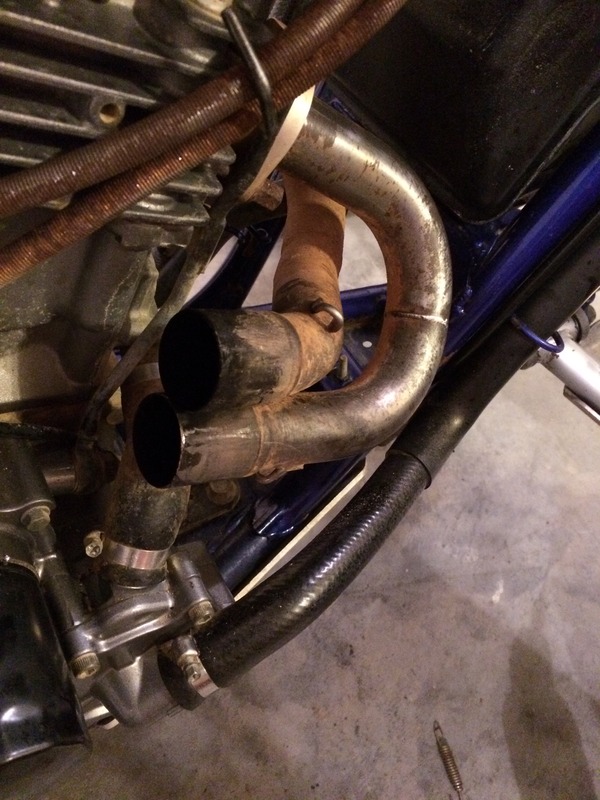
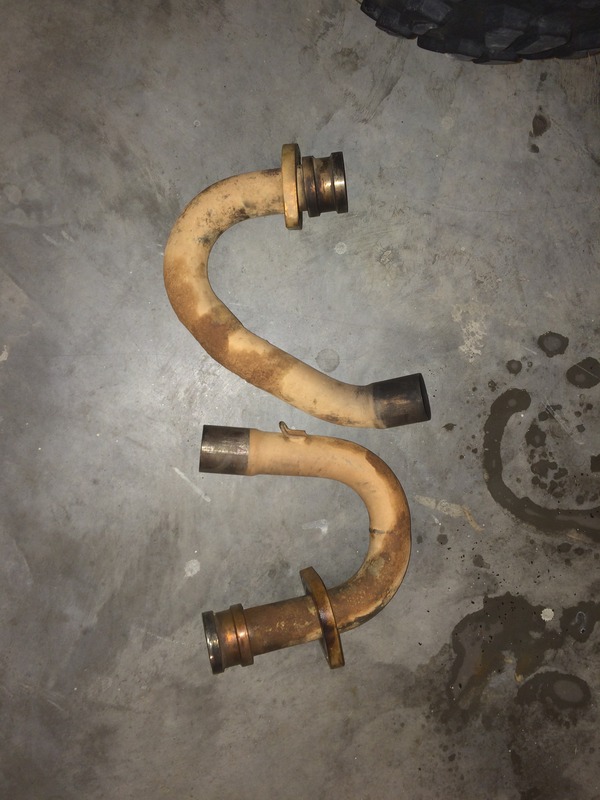
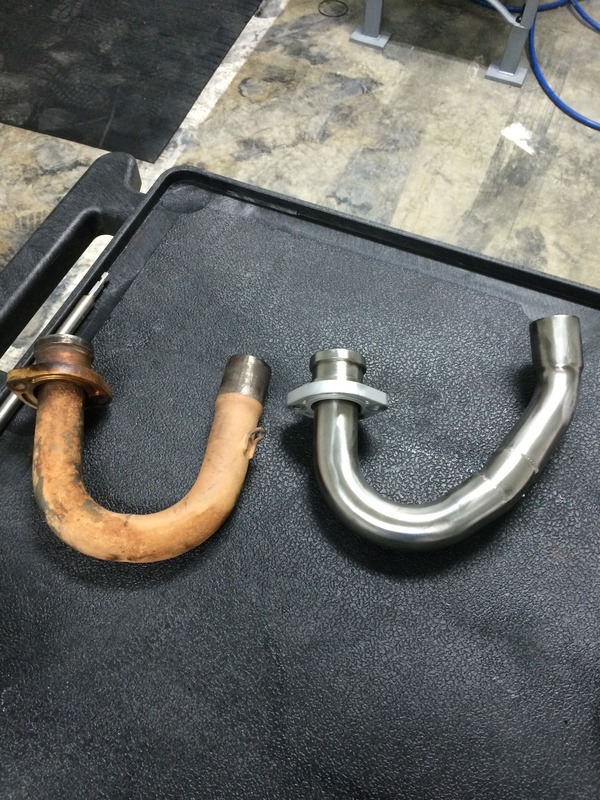
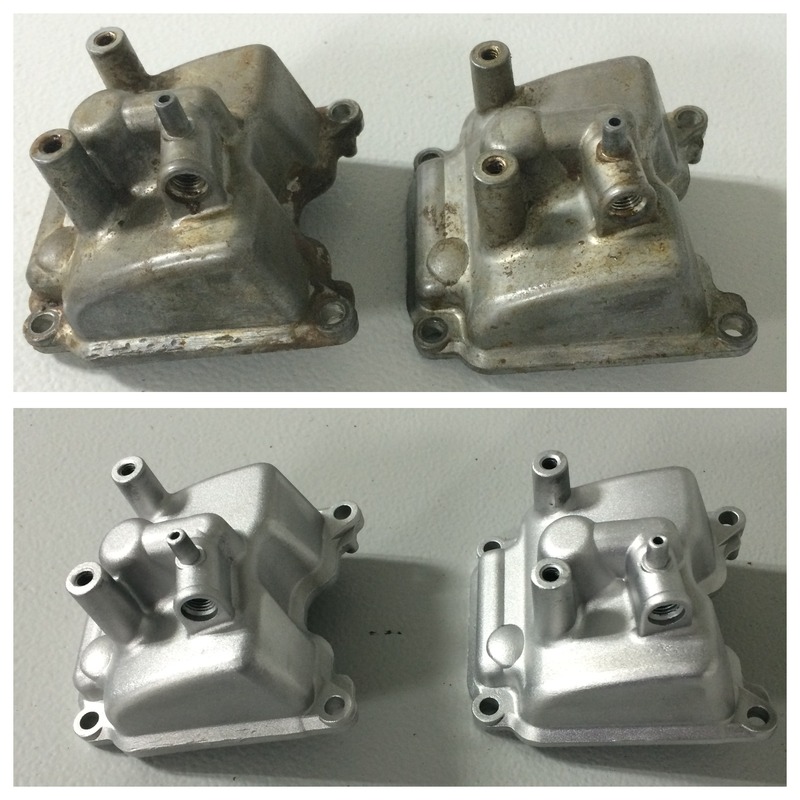
Pulled the manifolds and bead blasted them. Stainless always cleans up well!
Ok, so I picked up a pretty sweet deal on this 2001 Raptor 660 from my good friend and thought that I'd do a frame off rebuild on it.


Got her home and started cleaning up what the pressure washer left behind. It's a solid "ten footer" quad. It needs a LOT of small things to be 100% again. The only major thing wrong with this quad, that I know of, is some play in the steering.


Pulled the seat off and noticed it is already outfitted with a K&N air filter and a nice electrical box holding the battery in all snug, lol.


Also, the floats in the left carb seem to be a bit high as it has a slow drip of gas onto the motor, and it also dies occasionally after coming to a stop.


Got the plastics off and most of the big items still seem to be in good shape mechanically.


Pulled the somewhat dented Pro-Circuit T4, which is loud as $hit!, and noticed that some of the packing is blown out and probably has never been repacked.


Pulled the manifolds and bead blasted them. Stainless always cleans up well!


#2
09-15-2015, 01:44 PM
Join Date: Jan 2001
Location: TN
Posts: 370
Likes: 0
Received 0 Likes
on
0 Posts
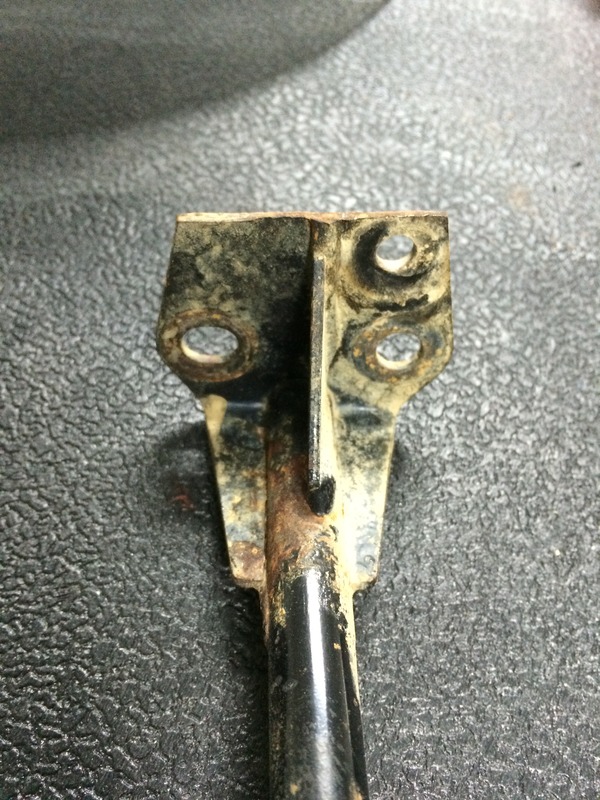
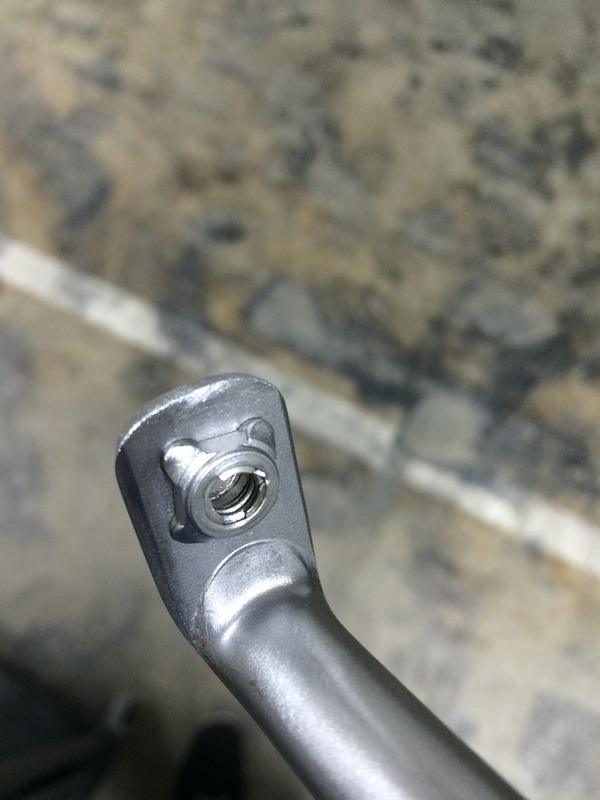
Fender brackets bent and filthy.
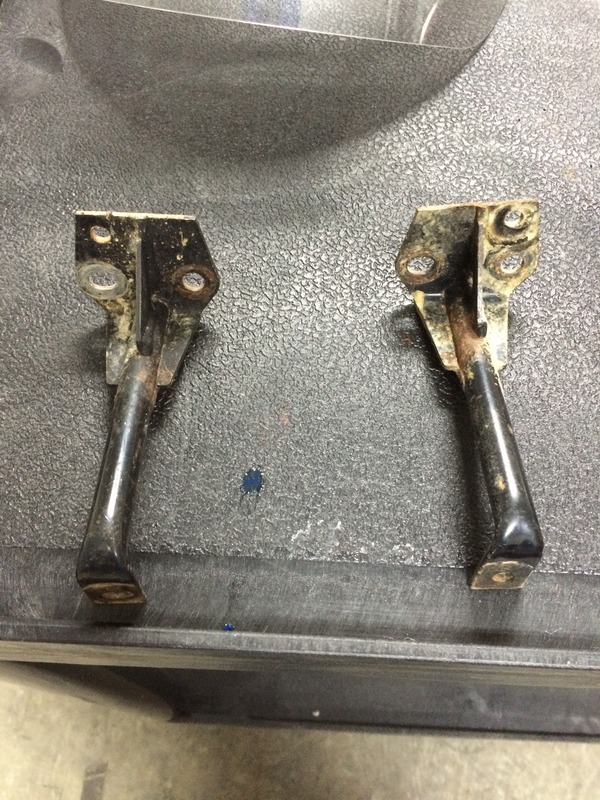
All cleaned up, corners rounded, straightened. These should look a lot better.
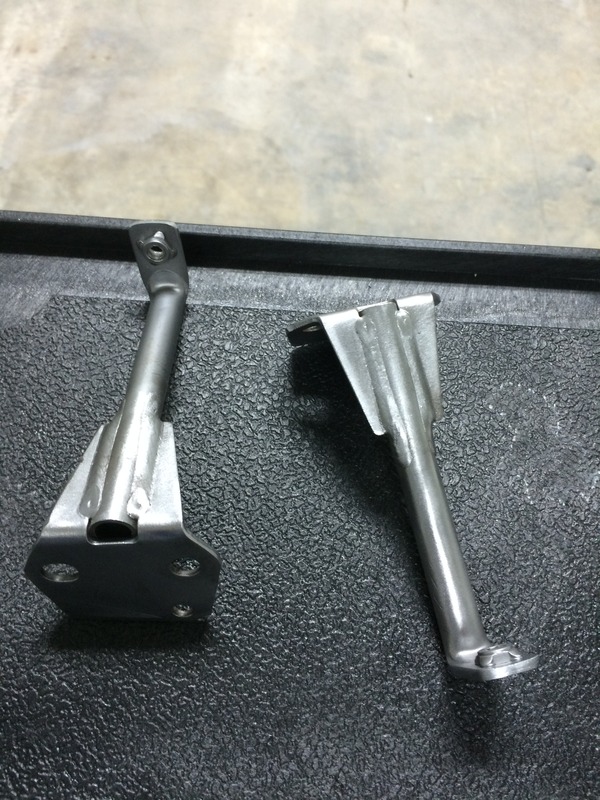
I have noticed that the rear fenders don't have the best support from these tiny brackets. Has anyone else done anything different to help support these big fenders? Has anyone made extended brackets or extra brackets?


All cleaned up, corners rounded, straightened. These should look a lot better.


I have noticed that the rear fenders don't have the best support from these tiny brackets. Has anyone else done anything different to help support these big fenders? Has anyone made extended brackets or extra brackets?
#3
09-16-2015, 11:47 AM
Join Date: Jan 2001
Location: TN
Posts: 370
Likes: 0
Received 0 Likes
on
0 Posts


#4
09-17-2015, 07:57 AM

#5
09-18-2015, 11:14 AM
Join Date: Jan 2001
Location: TN
Posts: 370
Likes: 0
Received 0 Likes
on
0 Posts
#6
10-20-2015, 03:29 PM

Range Rover
Join Date: Apr 2008
Location: Houston, Texas
Posts: 113
Likes: 0
Received 0 Likes
on
0 Posts
For support on the rear fenders, I actually fabricated something out of 1/2 steel conduit. the lil tabs that bolt to the brackets broke on both sides. No flapping since I made the new brace.
The bead blasted parts look awesome! What type of glass bead are you using?
Since this is an 2001, does it have the tranny mod? Might be a good time to correct that issue while you have it apart.
The bead blasted parts look awesome! What type of glass bead are you using?
Since this is an 2001, does it have the tranny mod? Might be a good time to correct that issue while you have it apart.
#7
10-20-2015, 09:38 PM
Join Date: Jan 2001
Location: TN
Posts: 370
Likes: 0
Received 0 Likes
on
0 Posts
Thanks for the conduit idea. I might have to do something similar.
I'm just using glass bead media, that's all I know, lol.
I'm not sure if this quad has the "tranny mod" done to it or not. But it runs and shifts excellent and has for a long time so I have no worries. I will not be tearing into it.
I'm just using glass bead media, that's all I know, lol.
I'm not sure if this quad has the "tranny mod" done to it or not. But it runs and shifts excellent and has for a long time so I have no worries. I will not be tearing into it.
Trending Topics
#8
10-21-2015, 10:32 AM
Range Rover
Join Date: Apr 2008
Location: Houston, Texas
Posts: 113
Likes: 0
Received 0 Likes
on
0 Posts
#9
11-11-2015, 01:50 PM
Join Date: Jan 2001
Location: TN
Posts: 370
Likes: 0
Received 0 Likes
on
0 Posts
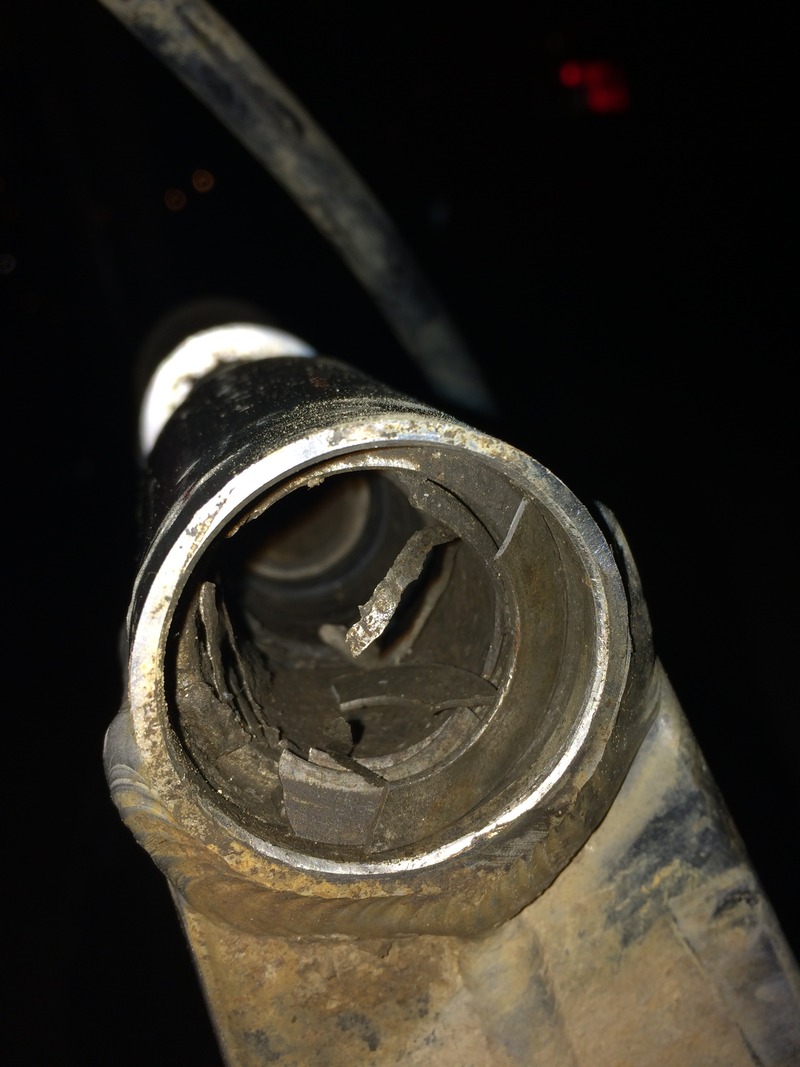
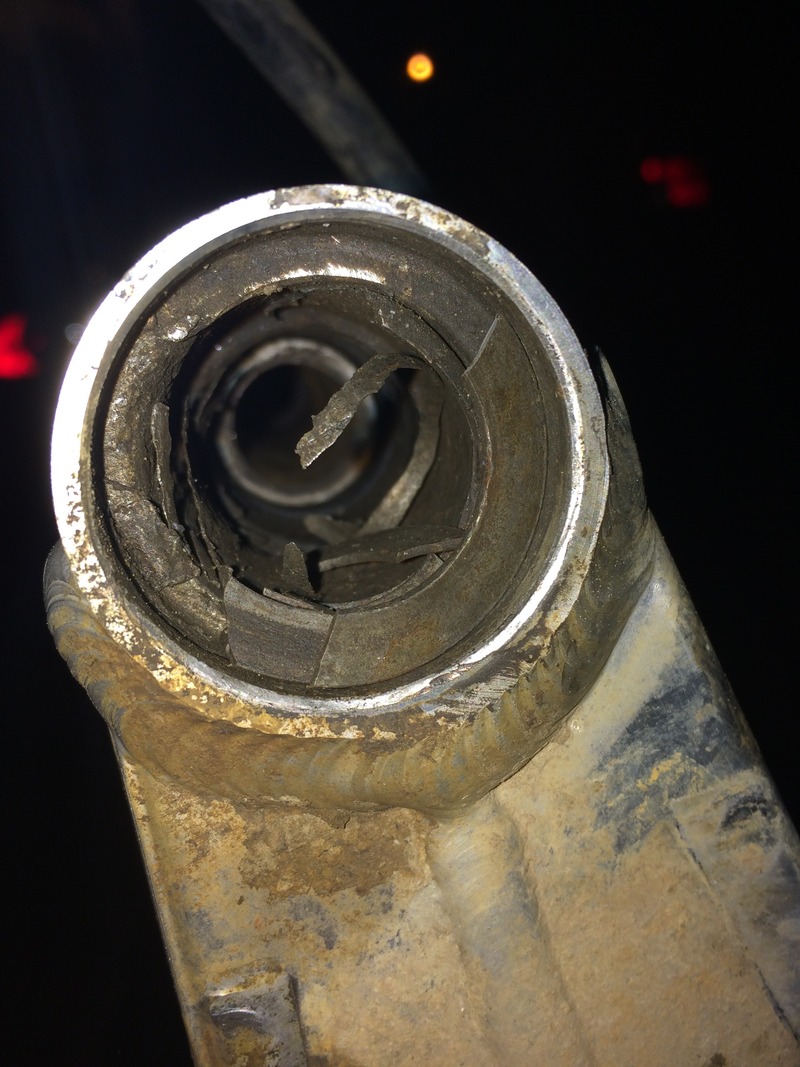
Swingarm is off and I found some bushing problems!
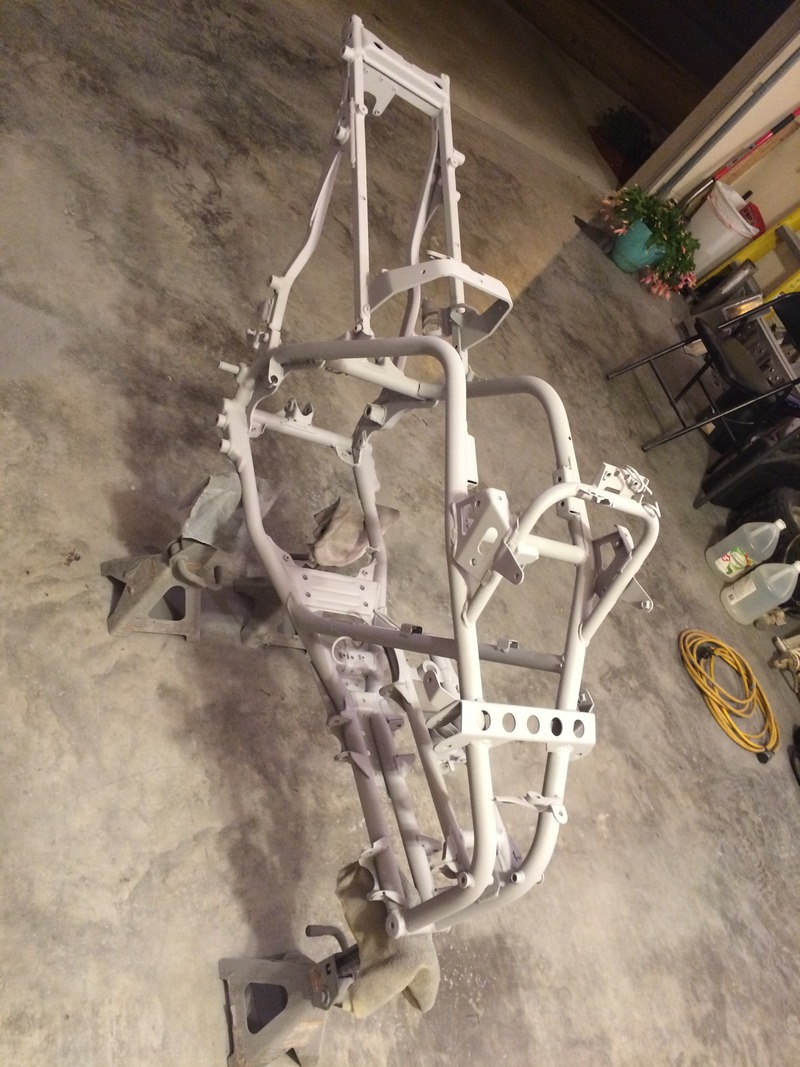
Stripping...
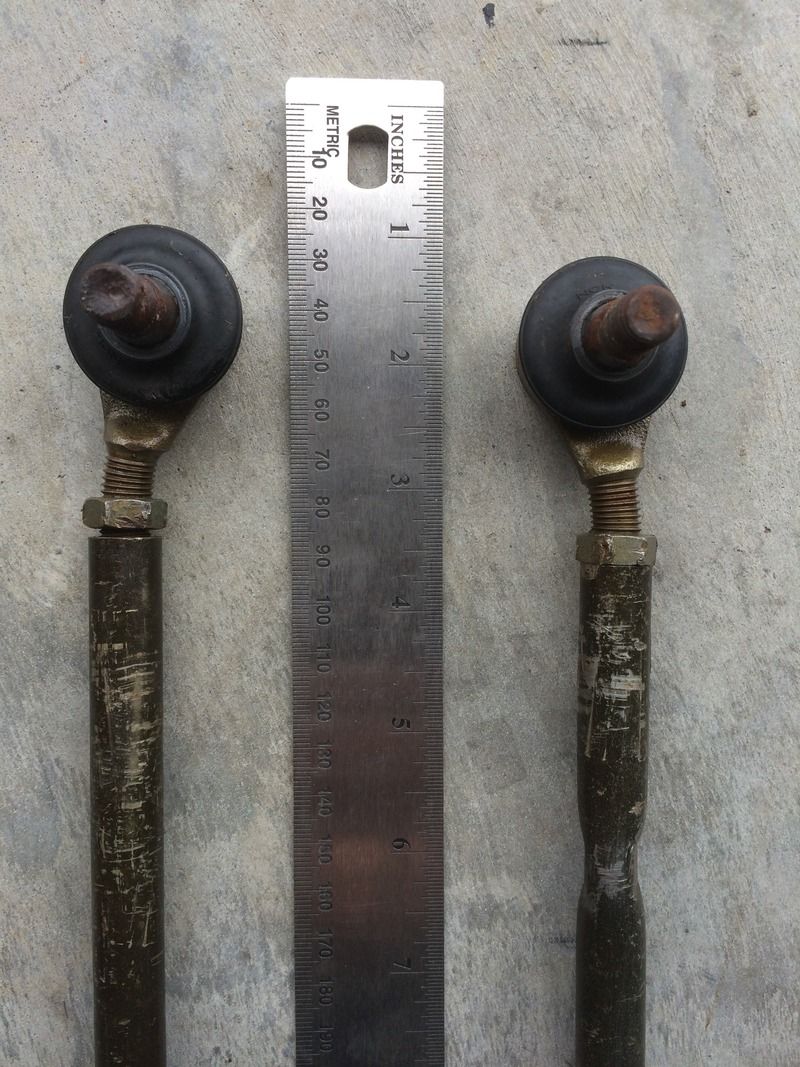
Tie rod ends are bent to hell.
Moar blasting!
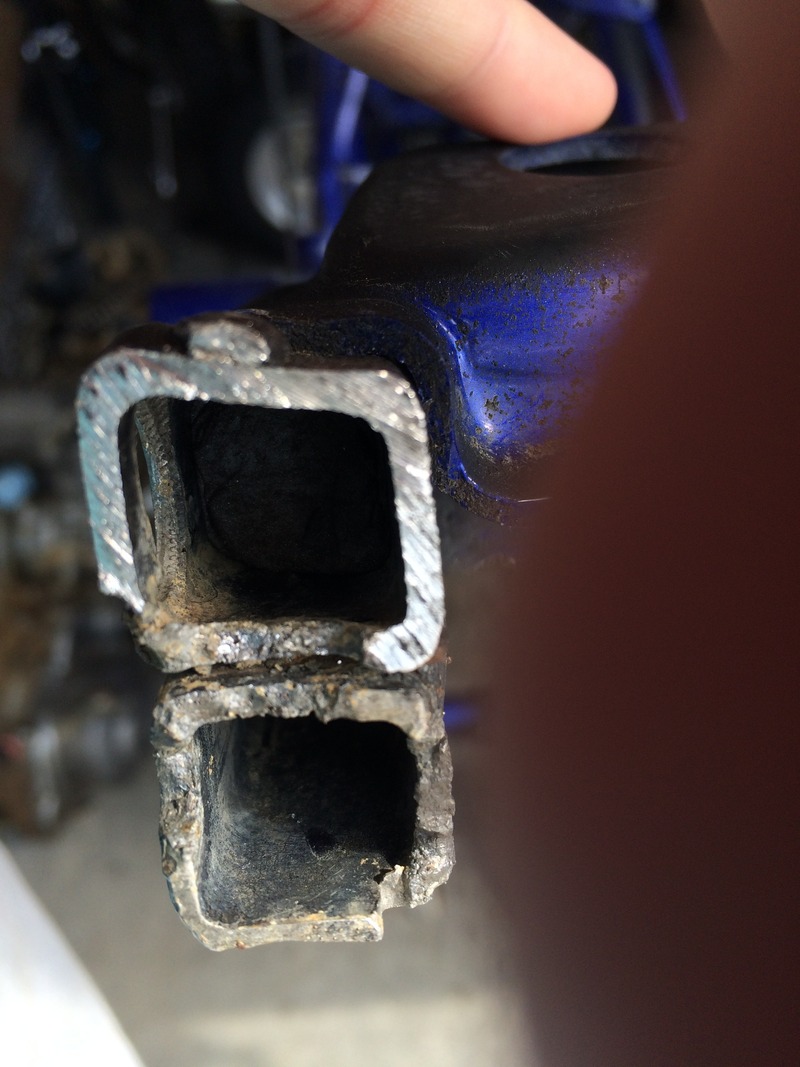
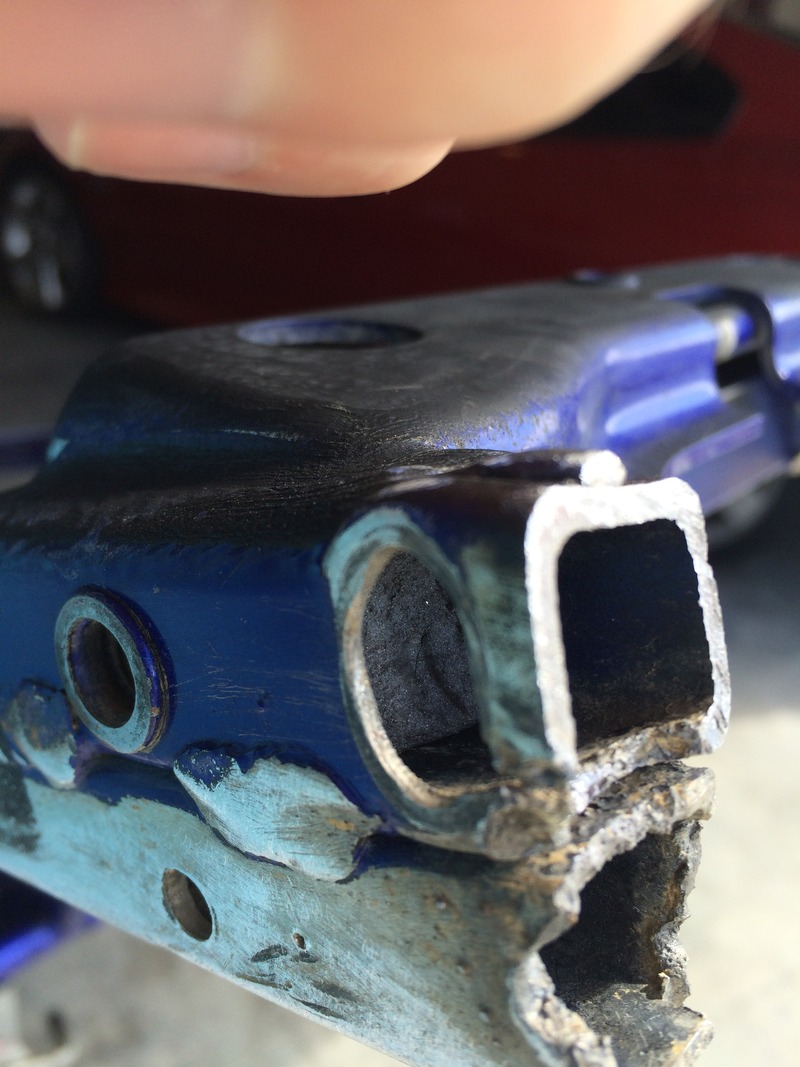
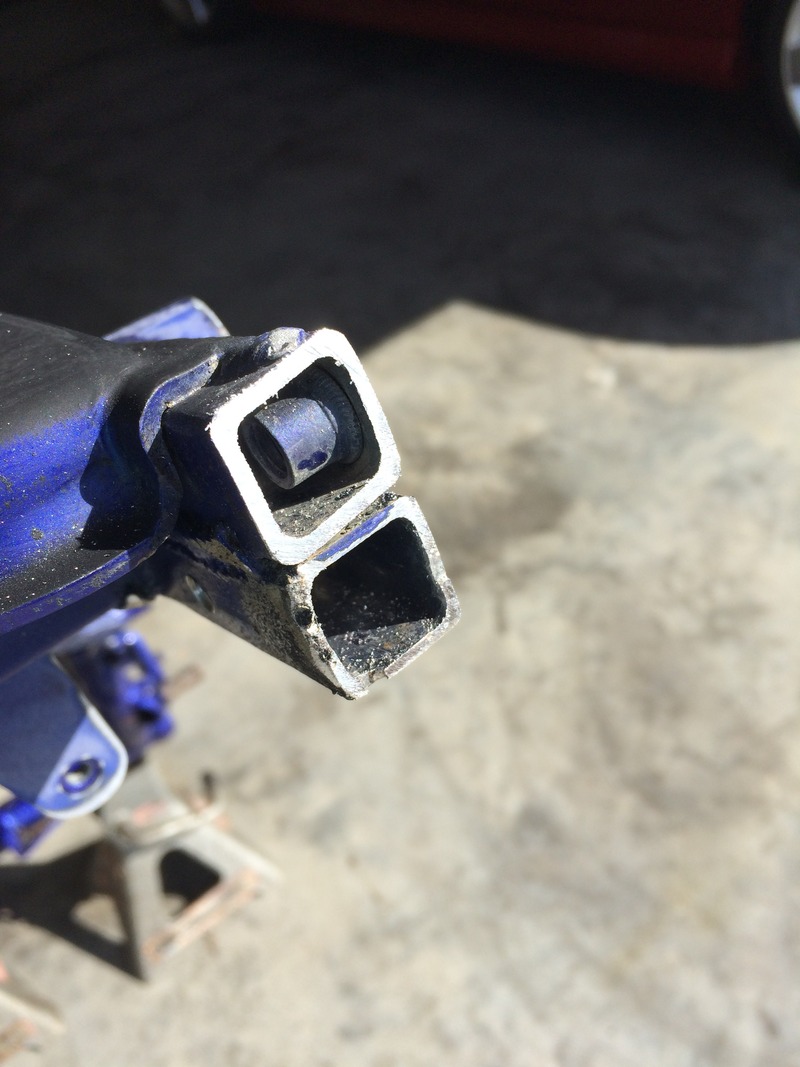
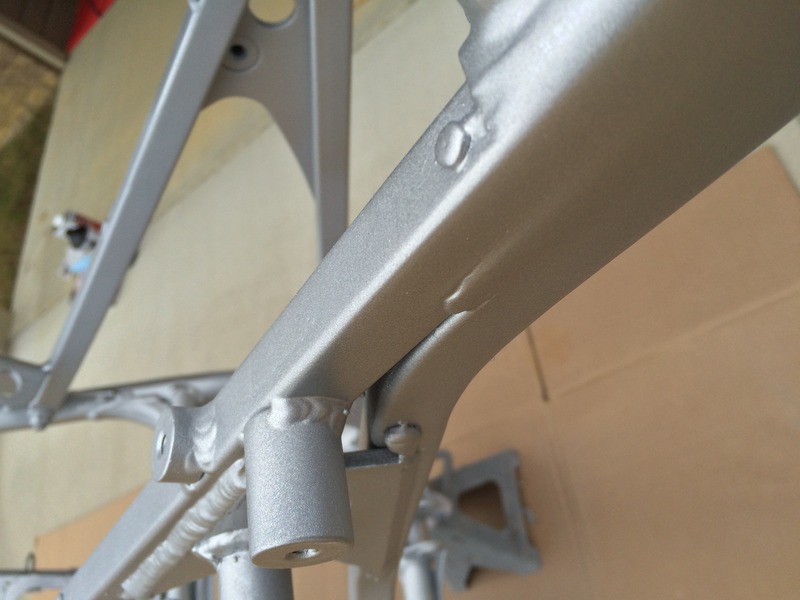
At some point, someone has wheelied the **** out of this quad and bent up the subframe a bit as well as ripped off the grab bar.
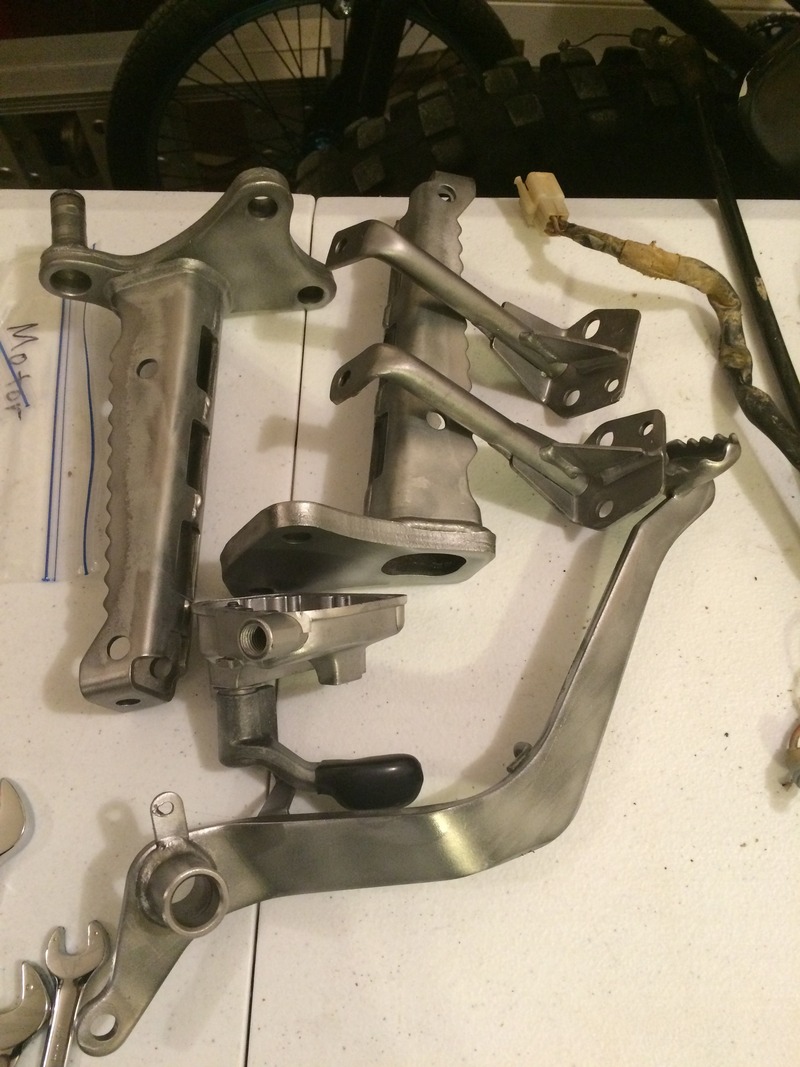
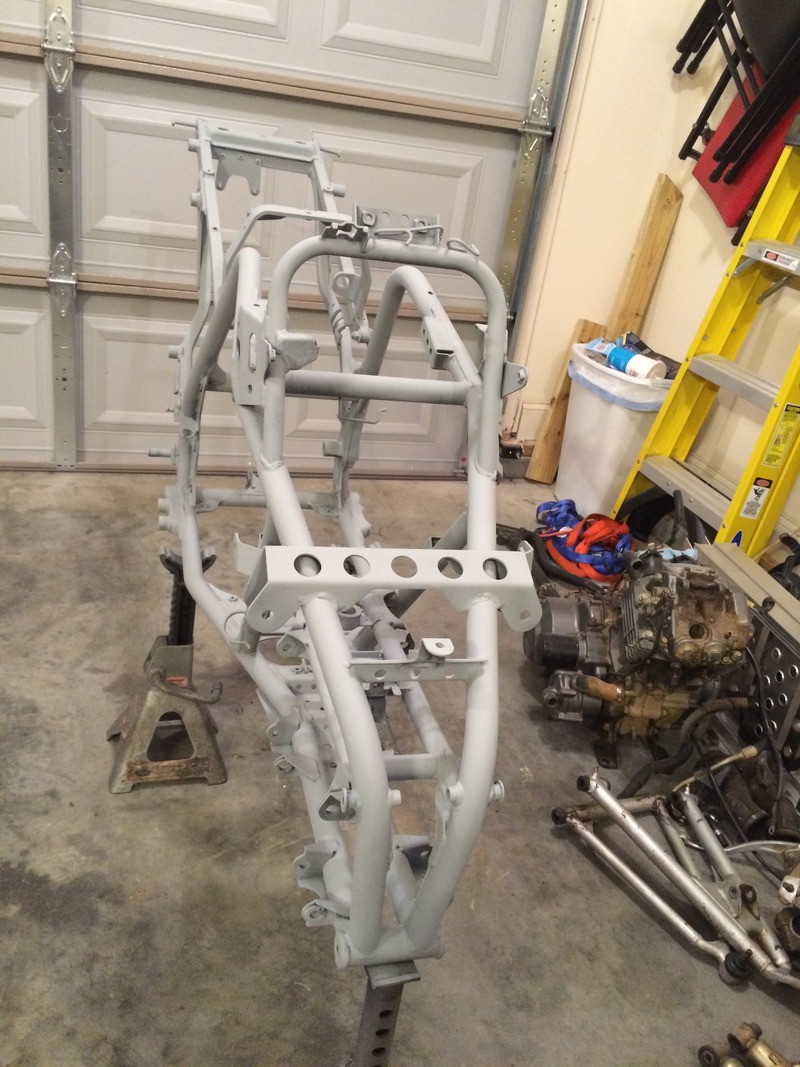
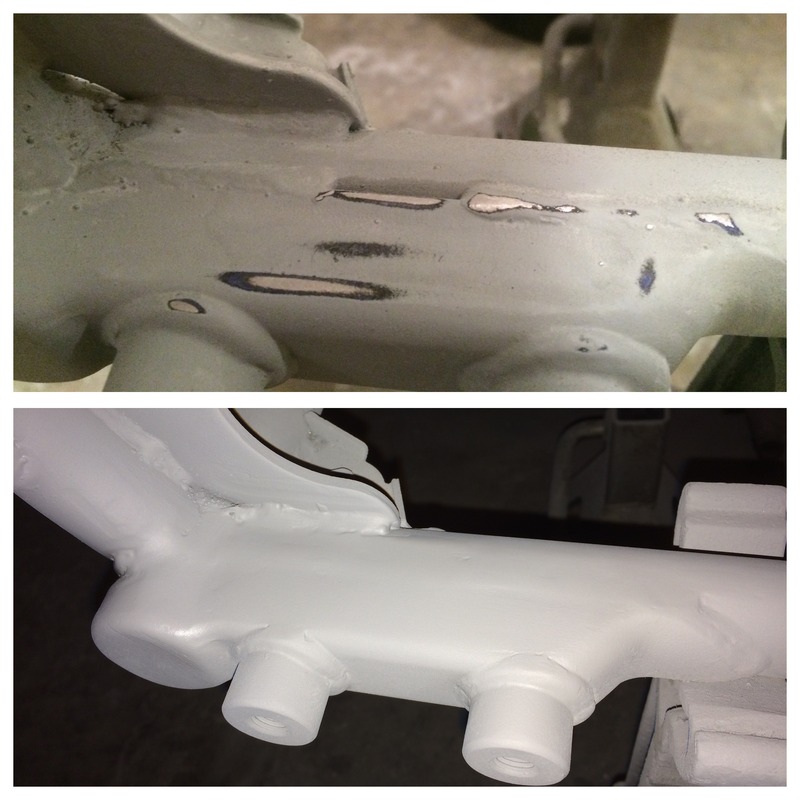
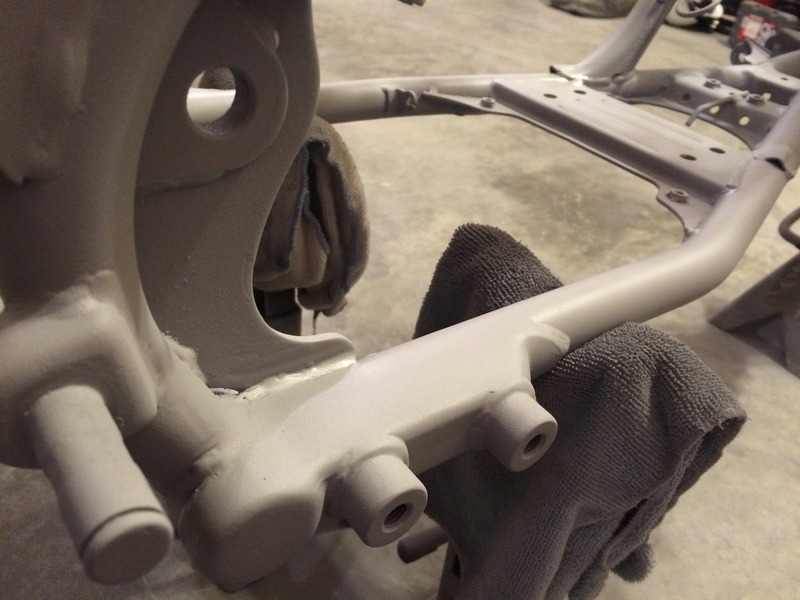
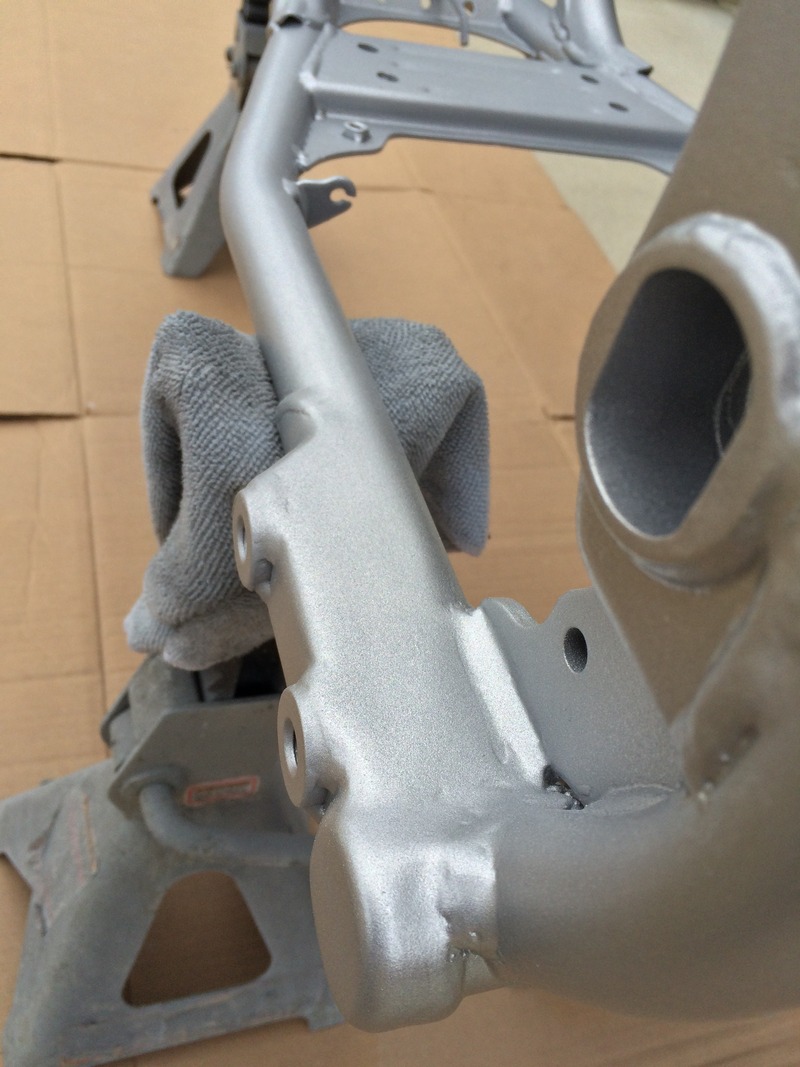
Cleaned, deburred, and primed.
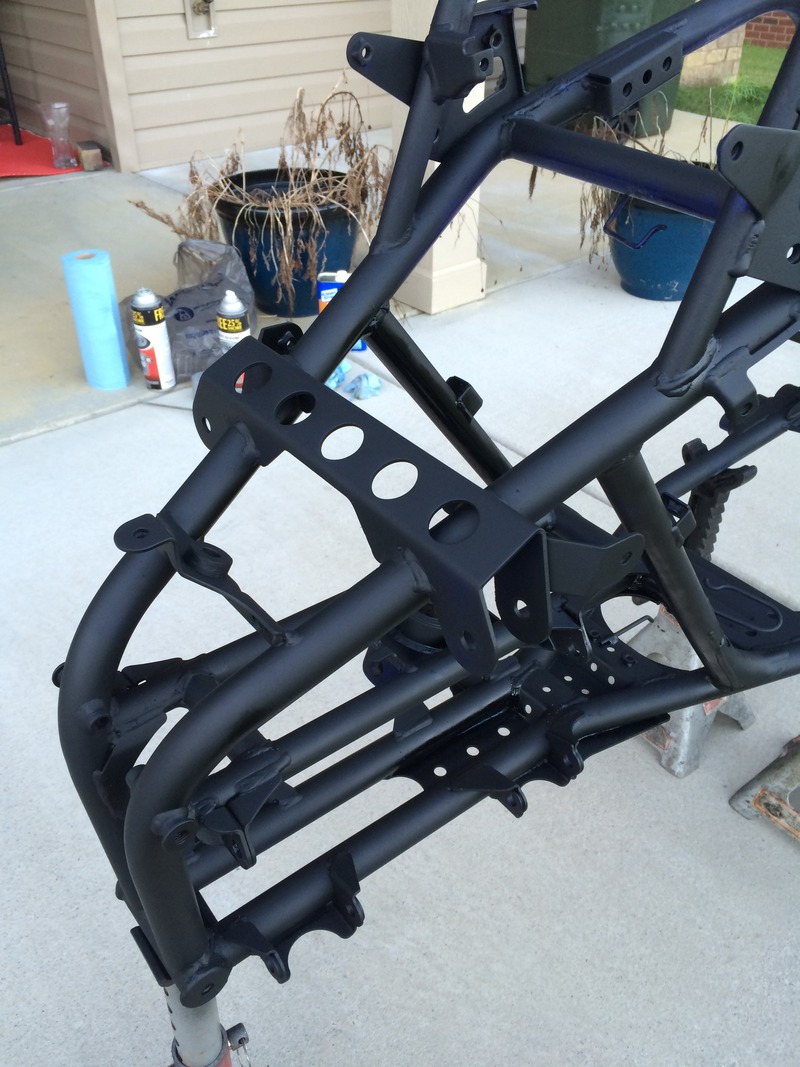
Cleaned up and smoothed the area near the footpegs.
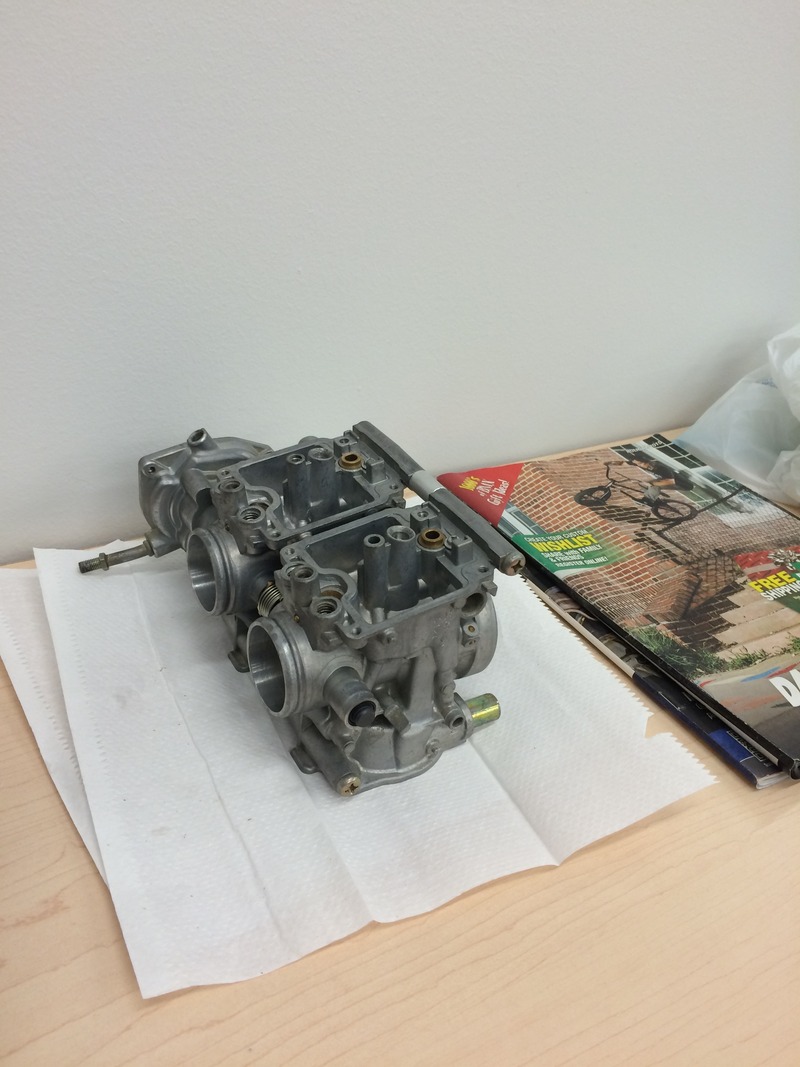
Finally, today I've been concentrating on some carb cleaning.


Stripping...
Tie rod ends are bent to hell.

Moar blasting!

At some point, someone has wheelied the **** out of this quad and bent up the subframe a bit as well as ripped off the grab bar.


Cleaned, deburred, and primed.


Cleaned up and smoothed the area near the footpegs.

Finally, today I've been concentrating on some carb cleaning.


#10
01-04-2016, 12:48 PM
Join Date: Jan 2001
Location: TN
Posts: 370
Likes: 0
Received 0 Likes
on
0 Posts
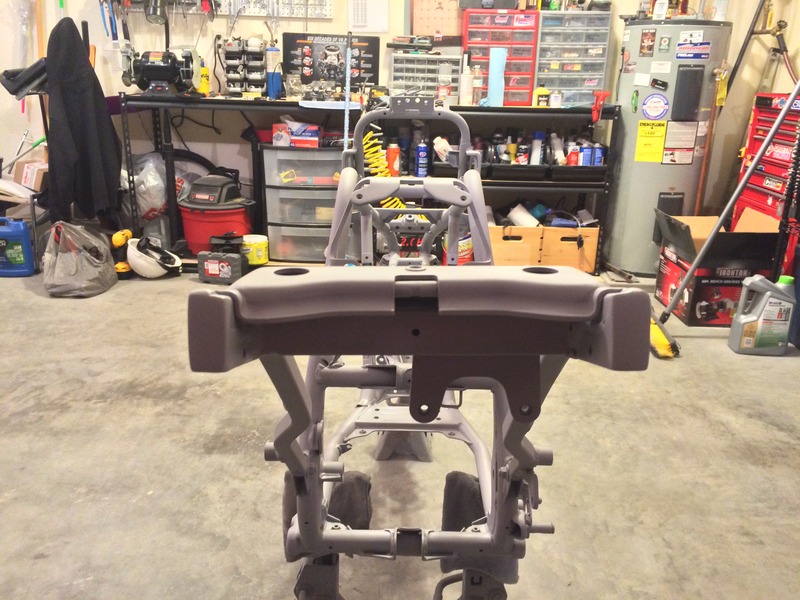
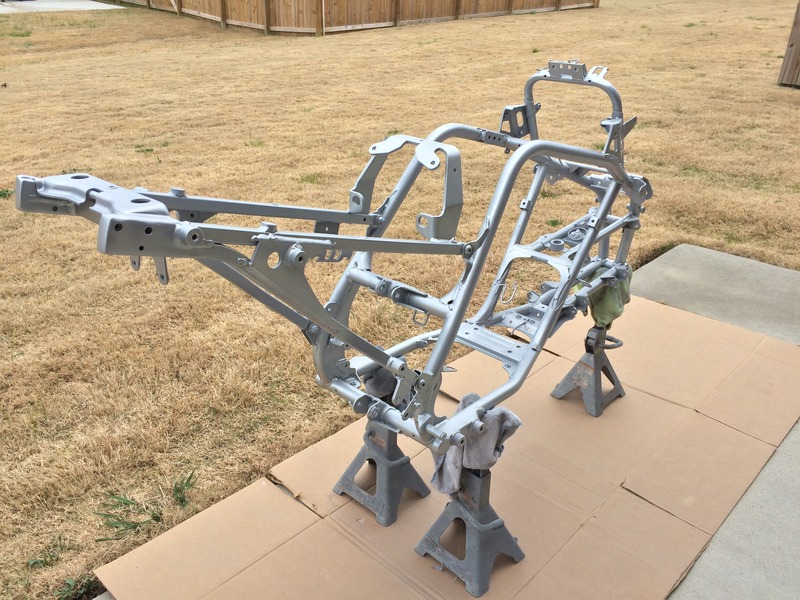
I finished smoothing and finishing a few parts of the frame and got the primer sealed.
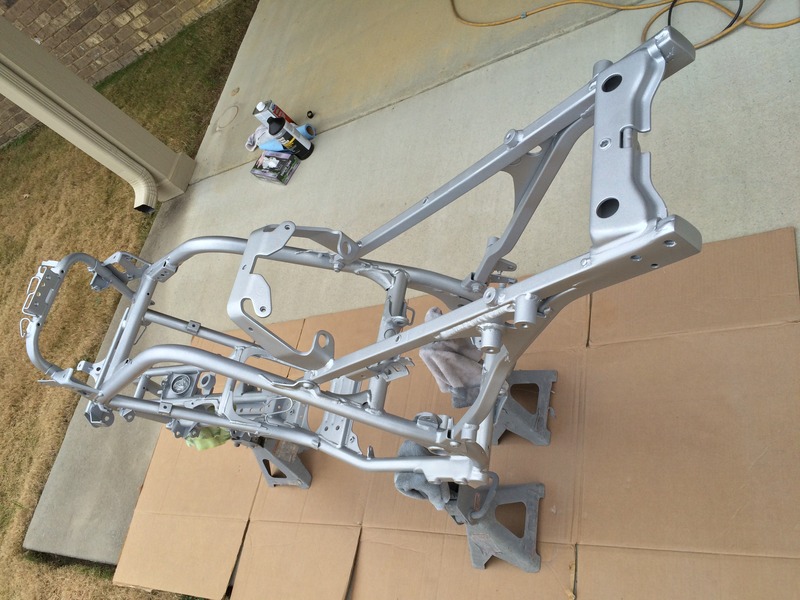
Basecoat:
Red Metalcast:
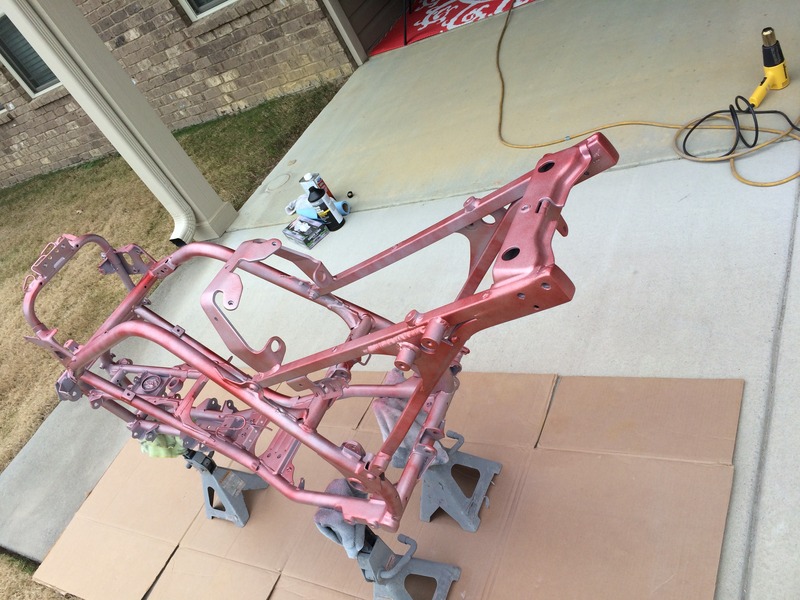
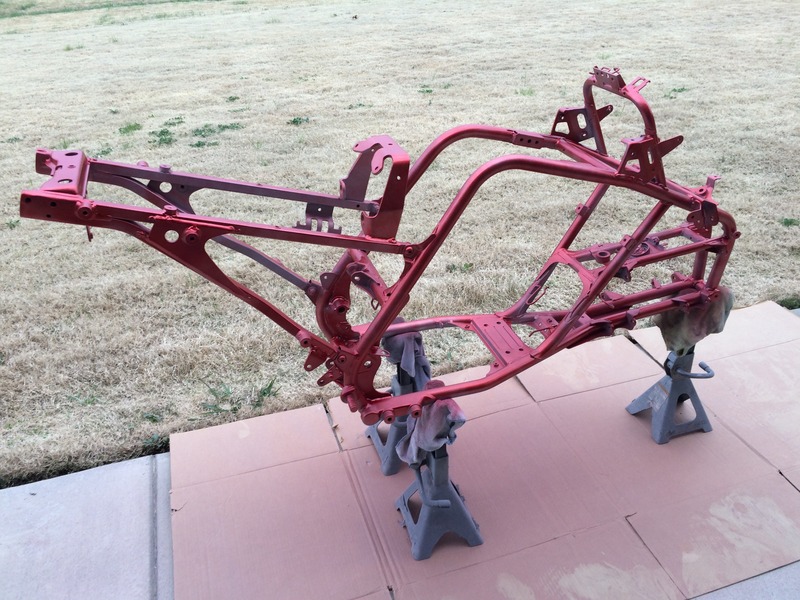
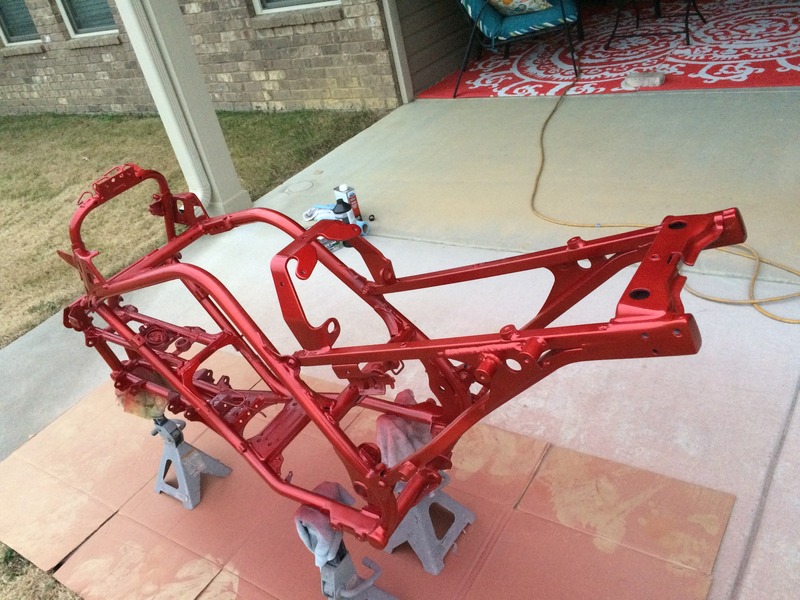
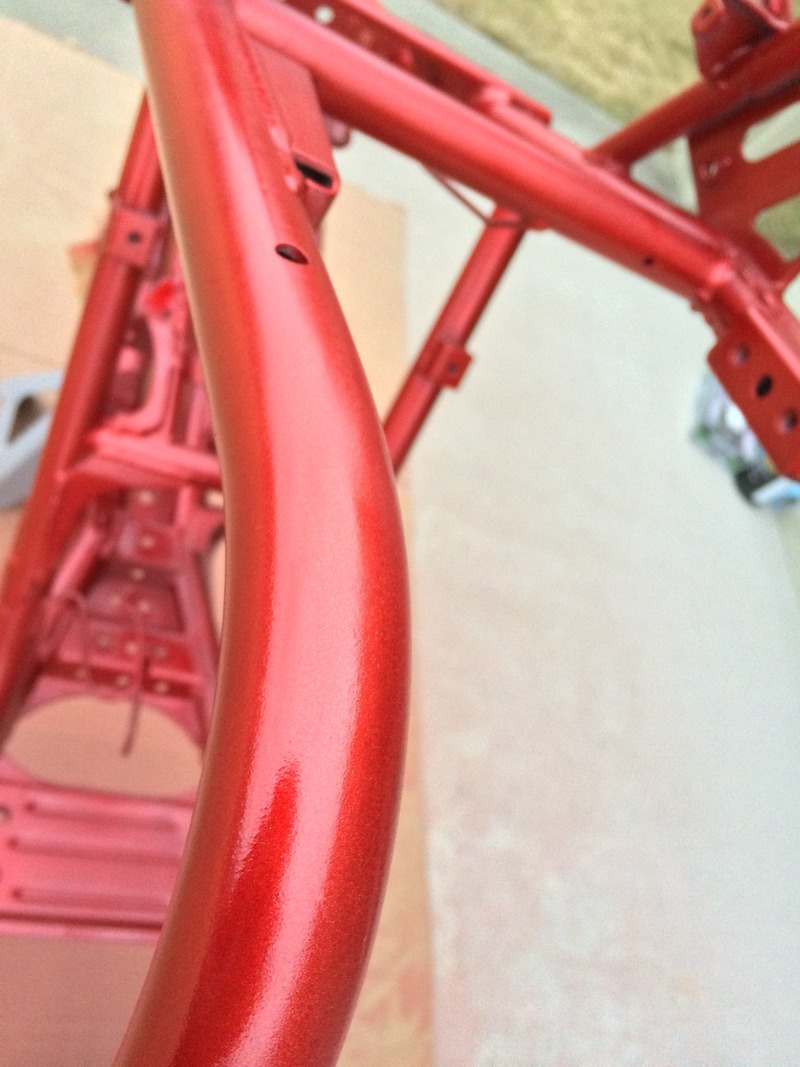
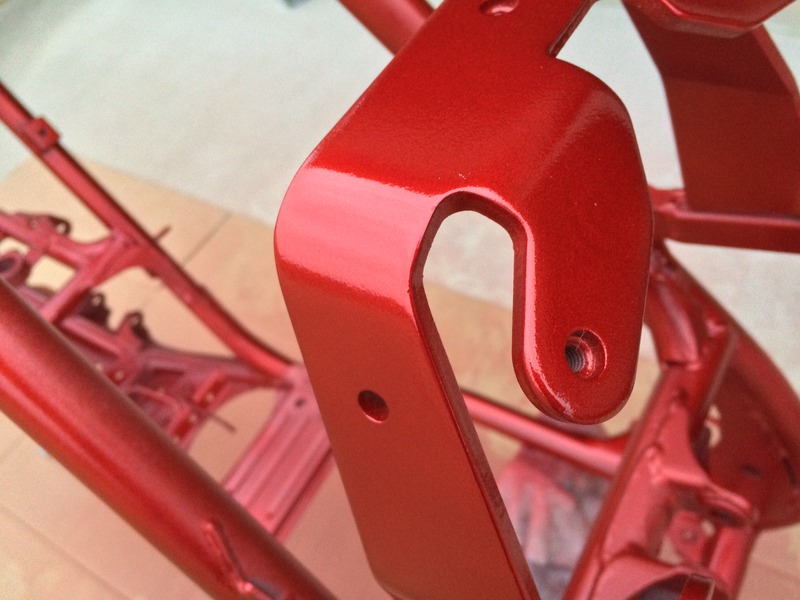

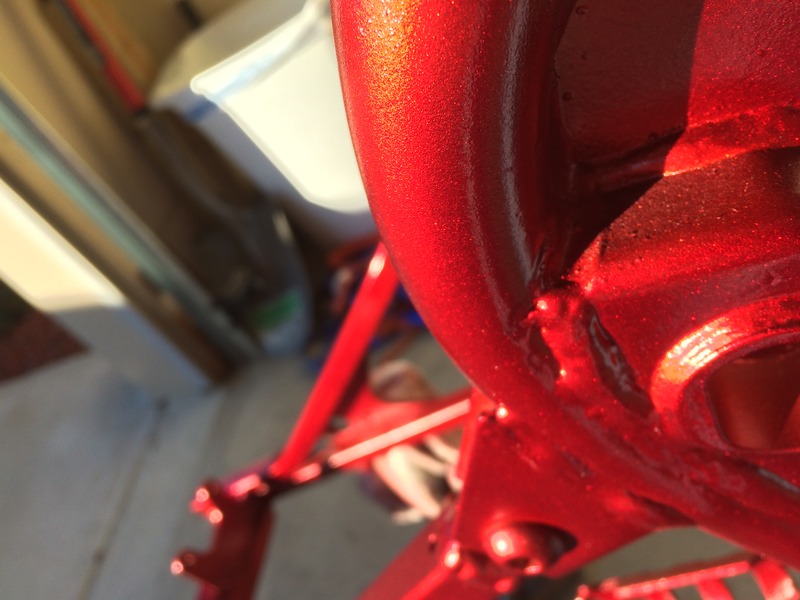
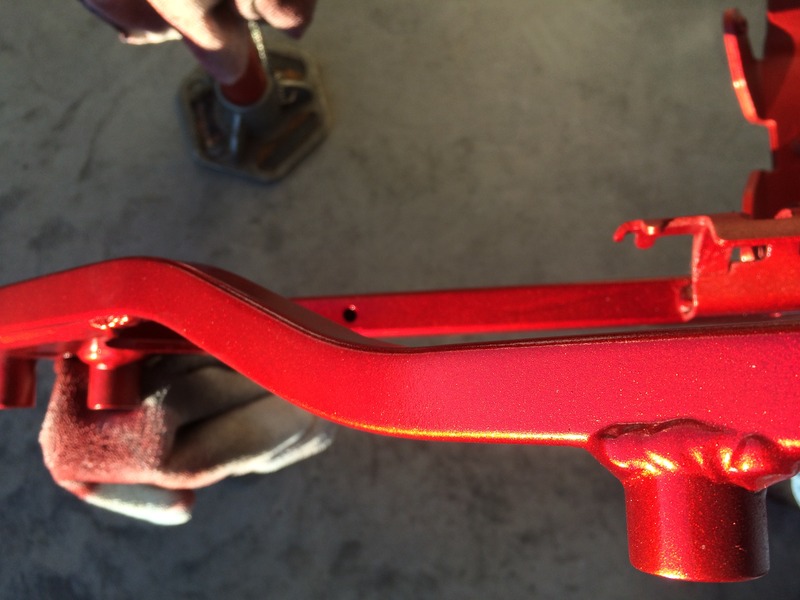
It really needs one final wet coat to be "complete." IMO
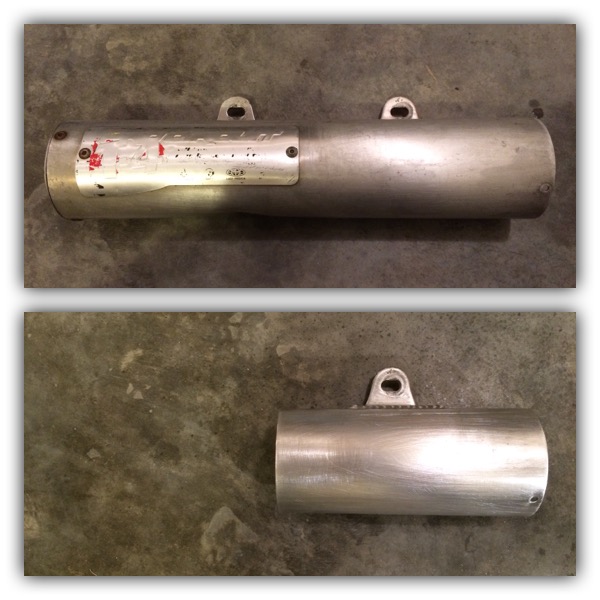
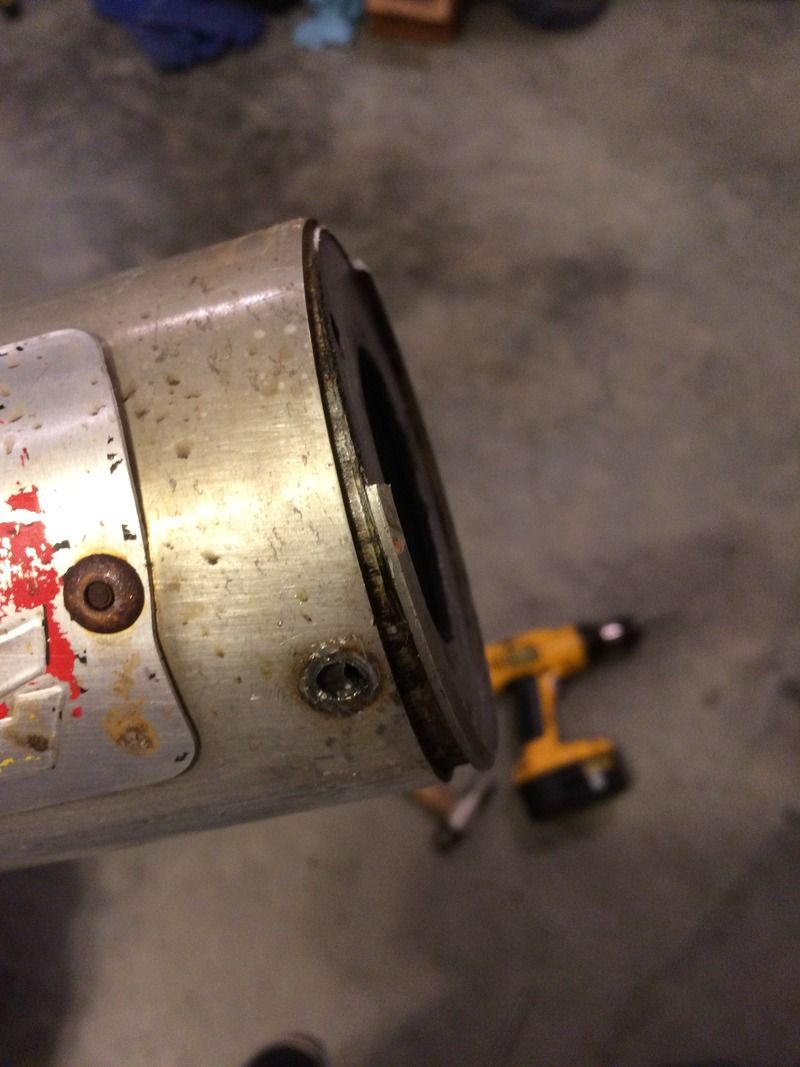
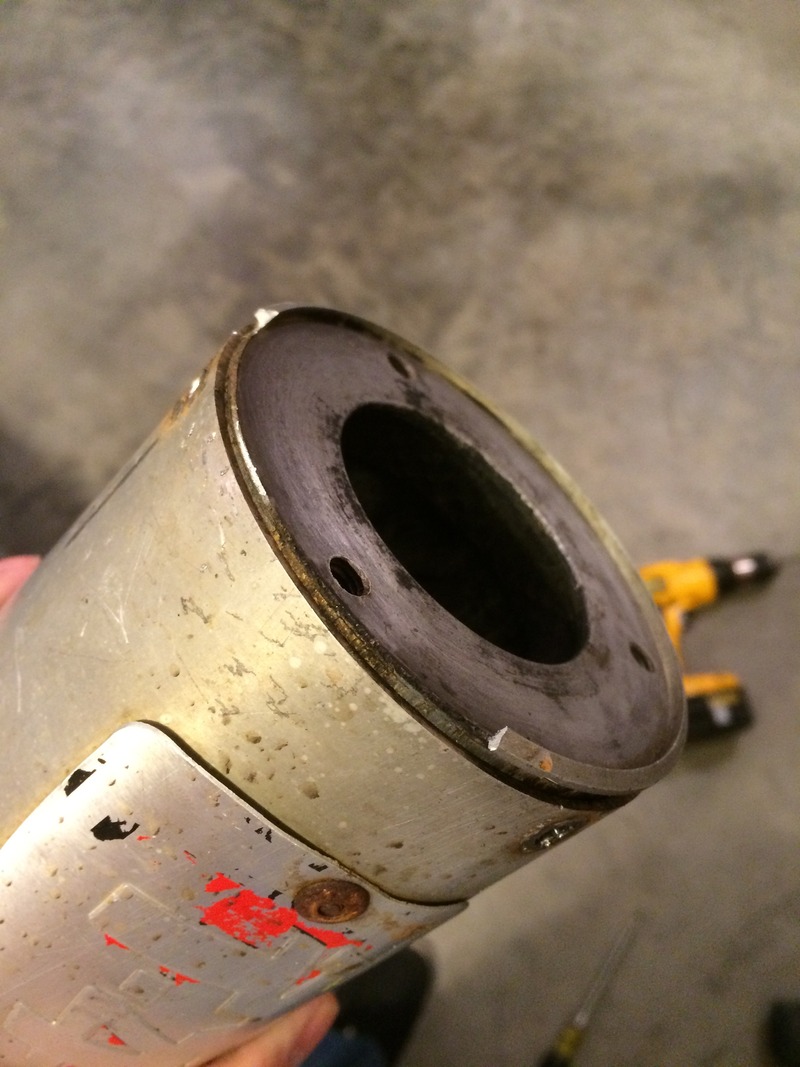
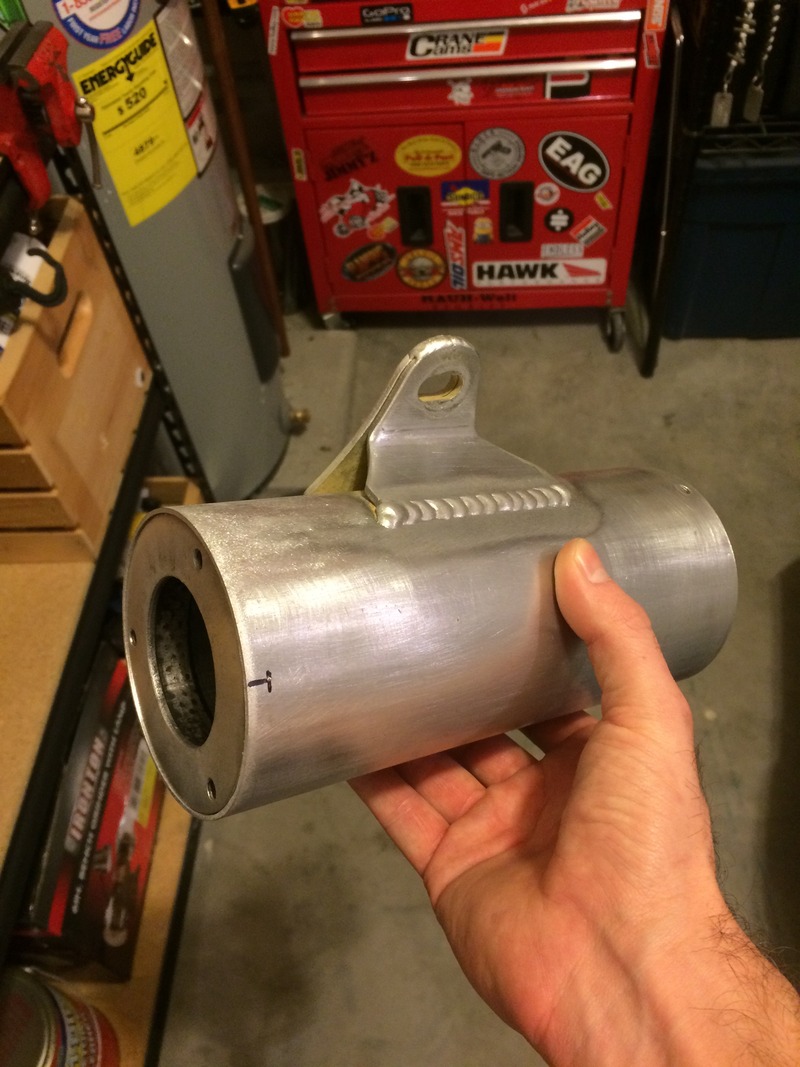
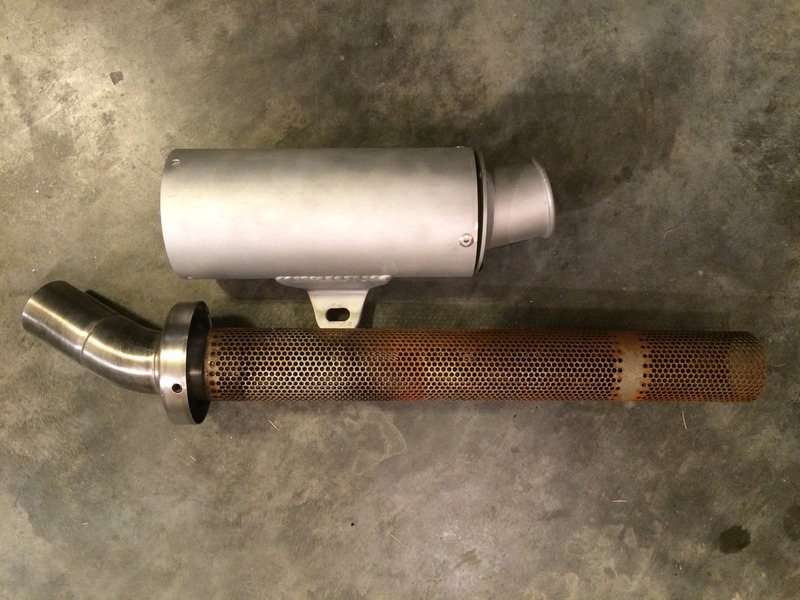
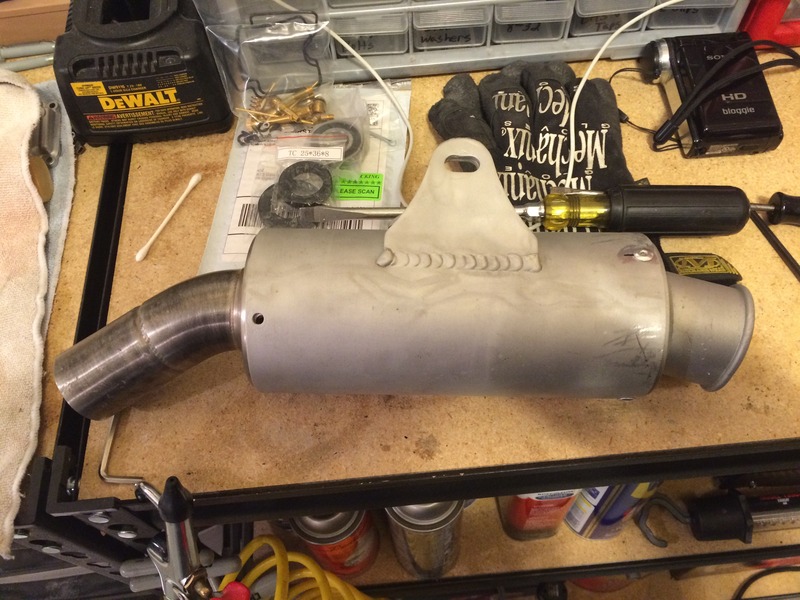
Pro-Circuit T4 Mods: The silencer originally had a huge dent in it, so I hacked it off behind the dent and just made a shorty silencer, a: because I thought it would look cool and different, b: because I doubt that anyone else has one, and c: because who cares! And, yes.....I do realize that it will be loud as ****!! No surprise there.
I have collected some parts recently to begin rebuilding the quad, so that should be under way very soon! Stay tuned!


Basecoat:


Red Metalcast:


It really needs one final wet coat to be "complete." IMO
Pro-Circuit T4 Mods: The silencer originally had a huge dent in it, so I hacked it off behind the dent and just made a shorty silencer, a: because I thought it would look cool and different, b: because I doubt that anyone else has one, and c: because who cares! And, yes.....I do realize that it will be loud as ****!! No surprise there.


I have collected some parts recently to begin rebuilding the quad, so that should be under way very soon! Stay tuned!