ATV Tech: What To Look For When Going Used
Almost like something out of a Discovery Channel documentary, ATV enthusiasts exhibit a strange but unmistakable ancient partnership ritual each year in the spring. It usually begins with a tax return, continues with searches on Criagslist and ultimately ends in the acquisition of a new (to them) machine.
This is fine and well, not to mention usually a good way to save some bucks over buying new, but we all know what kind of warranty we can expect from a private seller. Fortunately a lot of future headaches can be averted instantly by taking a simple walk-around inspection of the vehicle in question before handing over that pile of cash. Of course do keep in mind that the more thorough the inspection, the better your odds of coming home with a sound ATV/ UTV but we’re narrowing down these tips to items that are easy to check, don’t require a hydraulic lift and can be performed without making you look like a total fool in some guy on Craiglist’s front lawn.
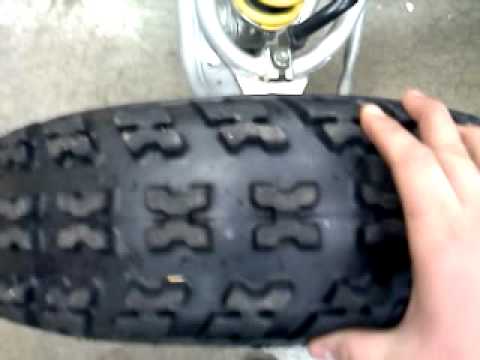
Tip 1) Feel the Tire Tread
Oh sure, we all know that this technique is good for determining if the vehicle in question is due for new tires but it can also speak volumes on the type of riding most often done on it by its current owner. Gouges in the lugs or carcass usually happen by rock crawling as do excessive deformities in the rim itself. If the center knobs are worn down to near-slick status but the shoulder tread looks perfect, you can be sure the vehicle was used for a lot of road riding. Cracks or signs of dry rot usually indicate long periods of inactivity as do flat spots. Specific-use tires also say a lot about the type of conditions for which the quad was used: paddles for sand, deep lugs for mud and water crossings etc.
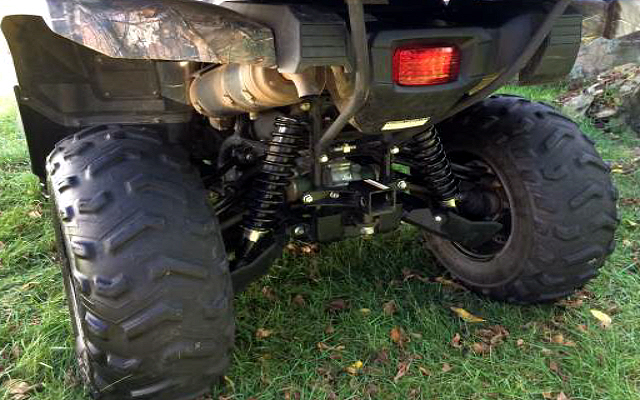
Tip 2) Go Side to Side
While you’re checking out the tire tread, grab a hold of the tire and try wiggling it, rim and all, from side to side. Play here (usually accompanied by a clicking noise) is a good indicator of bearing health. It isn’t uncommon for older models or those that have seen heavy use to develop play here/ require fresh bearings but if that’s the case, keep cost in mind as you may wish to try and deduct it from your final offer.
Tip 3) Listen to the Fluids
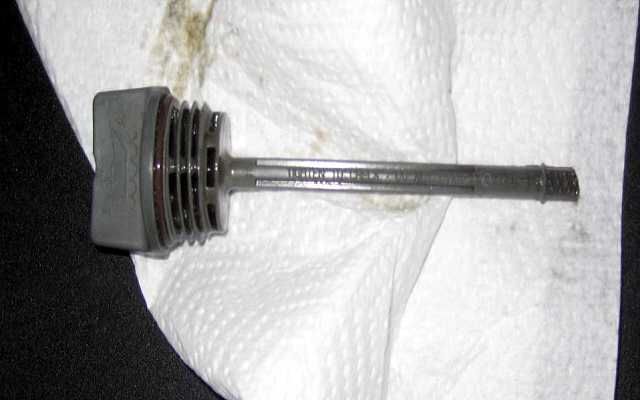
Any vehicle’s true health and service history can be found within its fluids so be sure to take a moment to listen to what they have to say. Pop open the gas tank and shine a flashlight inside. If the tank is metal, look for excessive rust and corrosion, not only where the cap mates to the tank but on the inner-walls and of course in the fuel itself. Smell the gas; it should have the familiar odor of fresh fuel not unlike your truck fill-up on your way to the guy’s house. If it smells like turpentine or is particularly “weak”, there’s a good chance it has sat for a while. This is less of a concern for a fuel injected model but something to consider on a carbureted one as clogged jets can be a hassle to properly clean.
Pull the dip stick (or check the sight glass) to clue in on the engine oil’s status. If it’s black and runny, it’s been well-used and likely has not been changed on regular intervals. If it’s nearly clear, there’s a very good chance it was just changed, possibly even for the purpose of selling. If it looks brown like chocolate milk, there is a blown seal between the cooling system and the engine block and finally if you notice any metal filings or fragments suspended within the oil, there is a very good possibility there are bigger issues at hand internally.
Tip 4) Put it into Gear
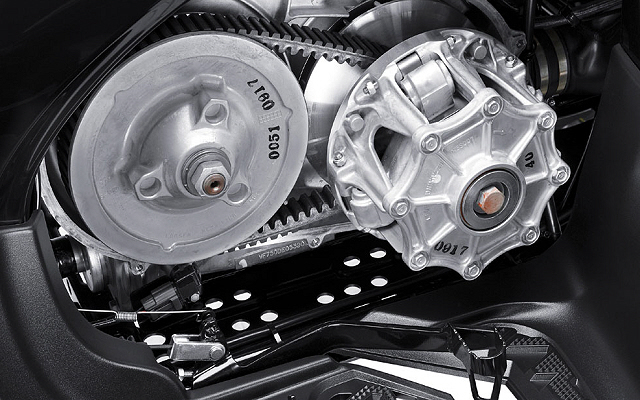
Transmission concerns are always paramount but fortunately, fairly easy to check for on the test ride. For automatic ATVs, place the vehicle into drive and slowly apply the throttle. What you want to pay attention to here is slippage, does the machine accelerate briskly or fall off the pace even though the engine RPMs continue to build? Use your sense of smell again to observe for burnt or “clutch” odor in the air, signs of a worn or slipping primary belt. For manual transmission models, pull the clutch in and step it into first gear. An audible click is normal but grinding or a lurch/ stalled motor is not. Keep the clutch fully engaged and apply a little throttle; the vehicle should not begin creeping forward until you begin to disengage the clutch.
Tip 5) Visit the Airbox
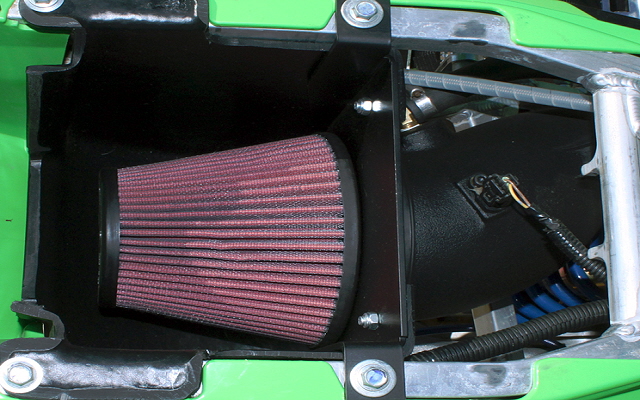
Perhaps the most important indicator of an ATV’s prior life is one of the easiest to check and often the most overlooked. Pop the seat and open up the airbox. Engines are nothing if not glorified air pumps so the condition of the air entering says a lot. If the box’s interior is coated in a film of dried dirt, sand, dust etc., this is a very bad sign. As are a dried out, crumbling or a missing air filter element. Run, don’t walk, away from any ATV that has been ridden without an airbox lid.
What you want to see is a clean airbox interior with a moist, properly installed element. If you remembered to bring your flashlight, shine around to check the seal of the filter element and intake and look for clues as well. If the box’s interior smells like Armor-all and contains wipe streaks, it’s very likely the current owner decided to do some quick touch-ups to hide neglected maintenance.
You must be logged in to post a comment.