Tech Tip 26 Valve Stem Inst
| Tech Tip # 26 Valve Stem Inst. |
 |
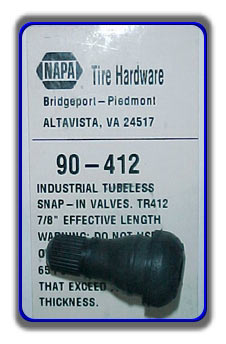
With a set of new rims comes the job of installing new rubber valve stems. Without knowing a couple of tricks you can easily ruin a few stems during the installation process, or worse, have the stem leak. This means removing the tire yet again! The first step is to use the proper size valve stem. I recommend a Napa #90-412 7/8in. rubber valve stem.
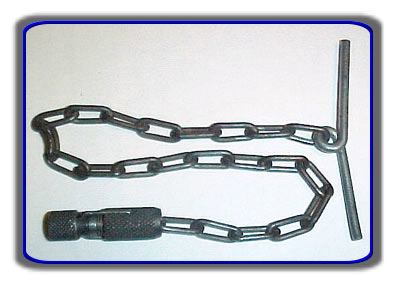
You will also need a T-handle chain tool.
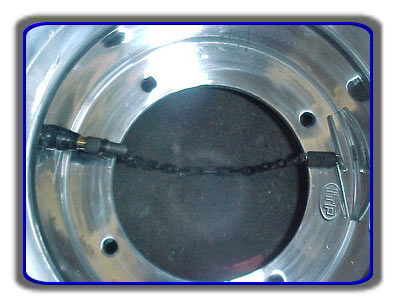
Start by removing the plastic valve cap and the valve core from the valve stem. Check the rim’s hole for sharp edges and dress if necessary to have a smooth sealing surface. Insert the stem through the hole in the rim from ” inside” to “outside” and screw on the T-handle chain tool as shown.
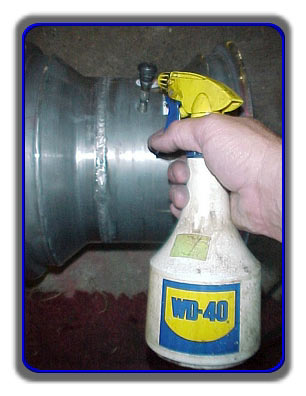
Coat the valve stem with your choice of rubber lubricant.
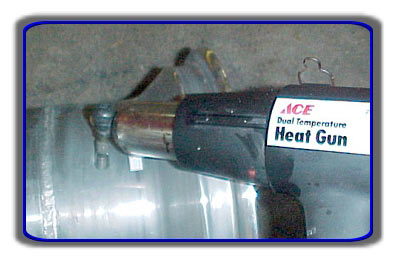
The next step is the most important: Heat the rubber of the valve stem to make it pliable. This reduces the chance of the edge of the stem hole cutting the rubber.
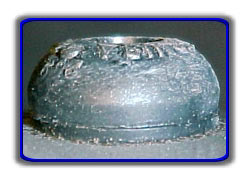
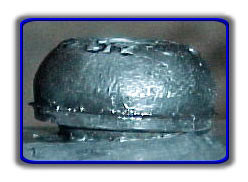
Start pulling on the T-handle and wiggle the stem from left to right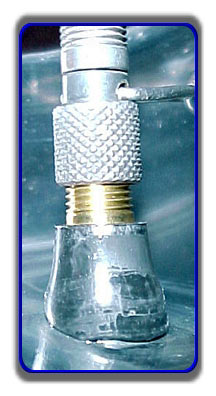 and fore and back to slowly slide it through. Do not bend the stem over approaching 45°. The more the stem is bent, the increased risk of cutting the now soft plyable rubber there is. Do not stop pulling until the sealing band of the valve stem is seated against the rim. Here we see the right side popped out but the left side is still not through yet.
and fore and back to slowly slide it through. Do not bend the stem over approaching 45°. The more the stem is bent, the increased risk of cutting the now soft plyable rubber there is. Do not stop pulling until the sealing band of the valve stem is seated against the rim. Here we see the right side popped out but the left side is still not through yet. From the back “inside” we can see that we are not quite there yet.
Correctly seated.