When you click on links to various merchants on this site and make a purchase, this can result in this site earning a commission. Affiliate programs and affiliations include, but are not limited to, the eBay Partner Network.
I purchased an OEM replacement carb for my 02 400ex. I figured it would also be a good time to do exhaust and jetting. I went with the DynoJet Jet Kit and a Big Gun R slip on. With that said, I got to the last step in the directions and it says to turn the air / fuel screw in, then out 3.5 turns. However, I have no idea how to adjust this air fuel screw on the new carb?? So I'm reaching out to the wisdom that be here to see what I'm missing. Any help would be greatly appreciated.
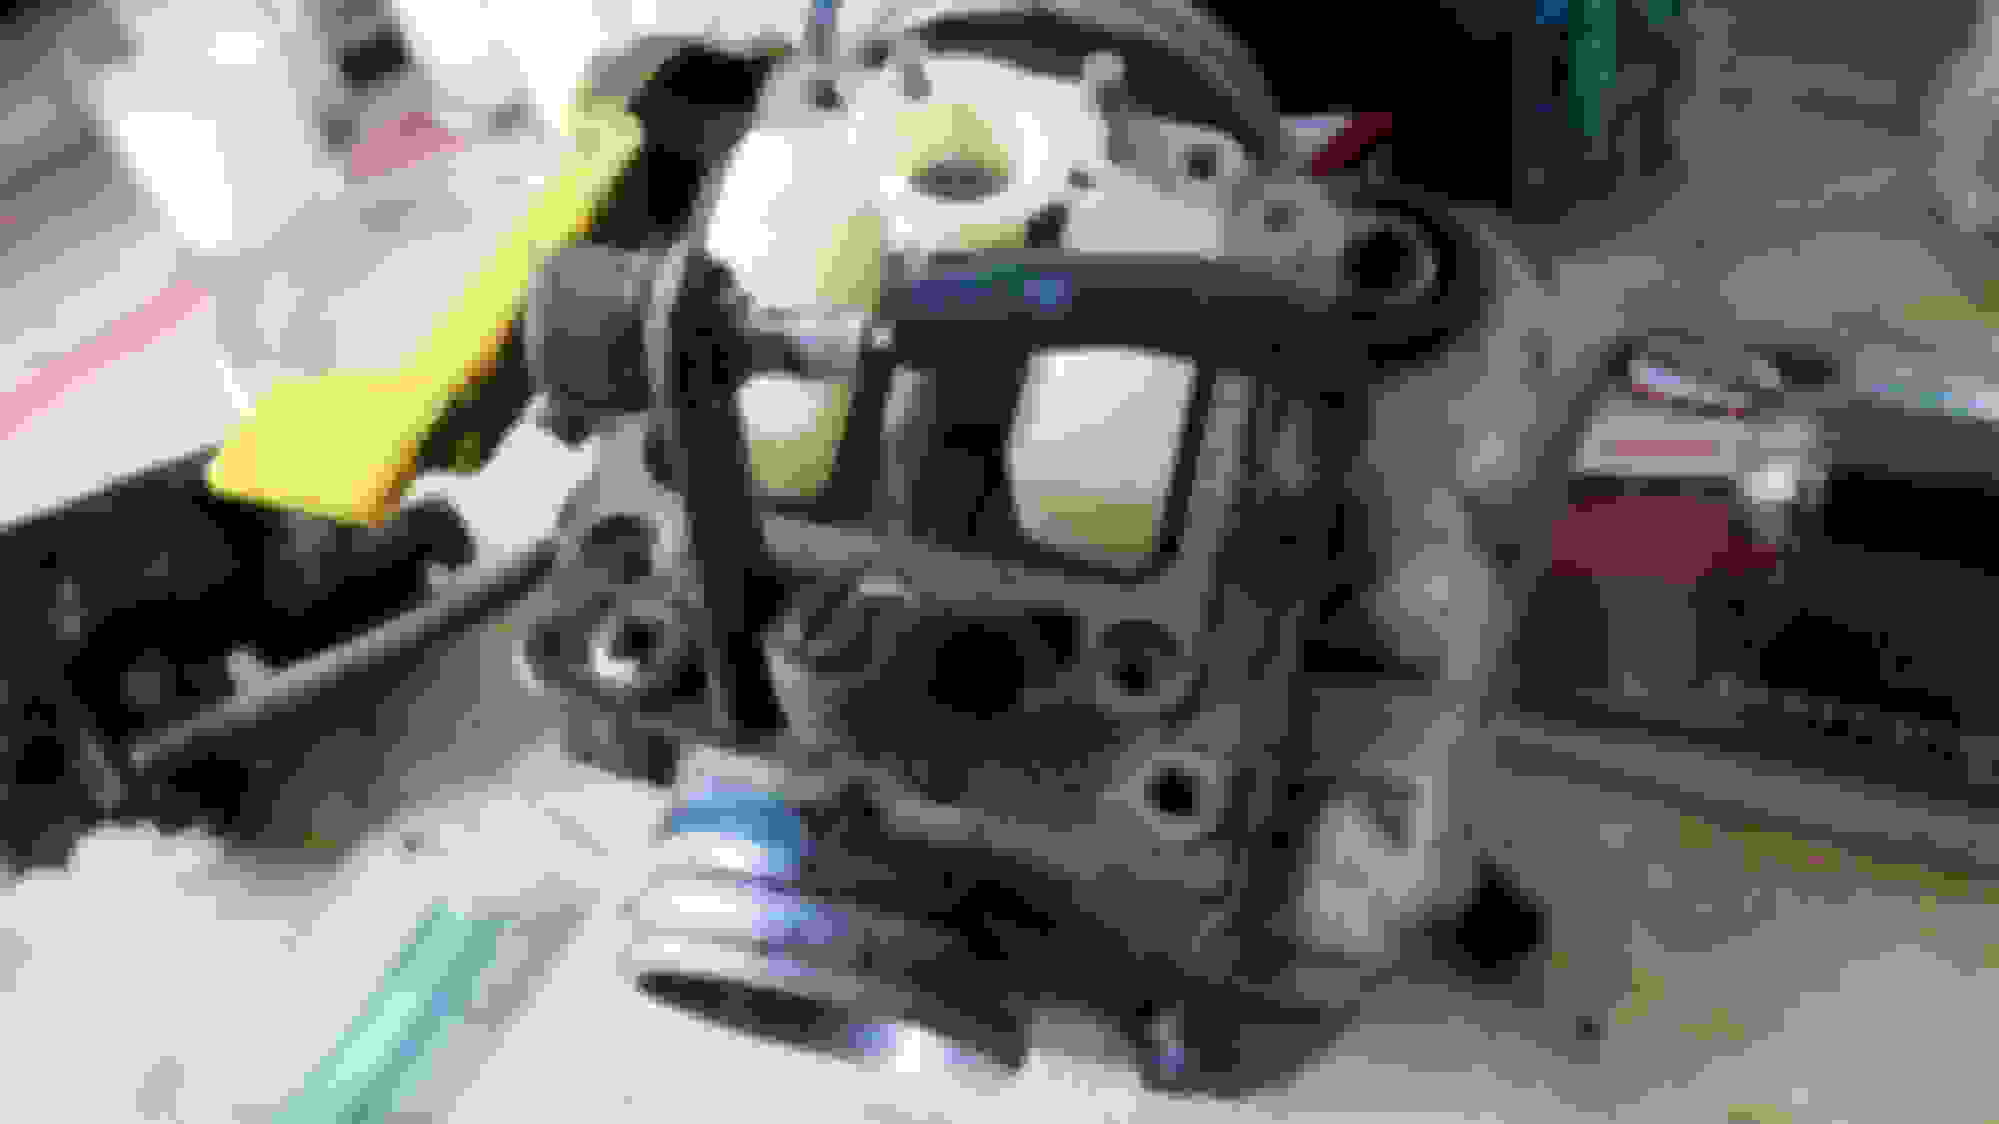
Figure 1. Stock carb, has air/fuel screw visible and can be removed or adjusted.
Figure 2. New carb, same air/fuel placement but what kind of screw is that? What tool would I need to get that out?
The brass part is a "tamper proof"block off plug,but you can tamper with it.. You have to slowly drill through it,stop when a 1/8" drill bit goes through or you can damage the idle fuel screw underneath. Then use a dry wall screw or a self tapping screw and screw it in enough to where you can wiggle the plug out exposing the screw. Turn the screw clock wise(counting the turns for reference) until it lightly seats,then turn out the 3 1/2 turns that Dynojet recommends. This is a starting point and you may or may not have to fine tune this setting as it warms up. This is a idle fuel screw since it's close to the intake side of the carb. If the adjuster screw was on the side of the carb it would be an air screw.
Thanks for the information! I tried the drywall screw but couldn't get a good hold and didn't want to go in to far. So I just continued to move up one size drill bit at a time until there was enough room for the "D" tool to work. I made the change to the air/fuel screw, 3.5 turns out. After about a minute it fired up, no choke or anything. Let it do it's 15 minute warm up and did a short and slow test ride. Everything appeared to be working as normal. So I parked and checked all bolts again just to be sure. I also put the plastics on. Then my son and I went for a ride. It rides perfect, no issues, weird popping or loss of power. It actually feels more powerful so who knows.
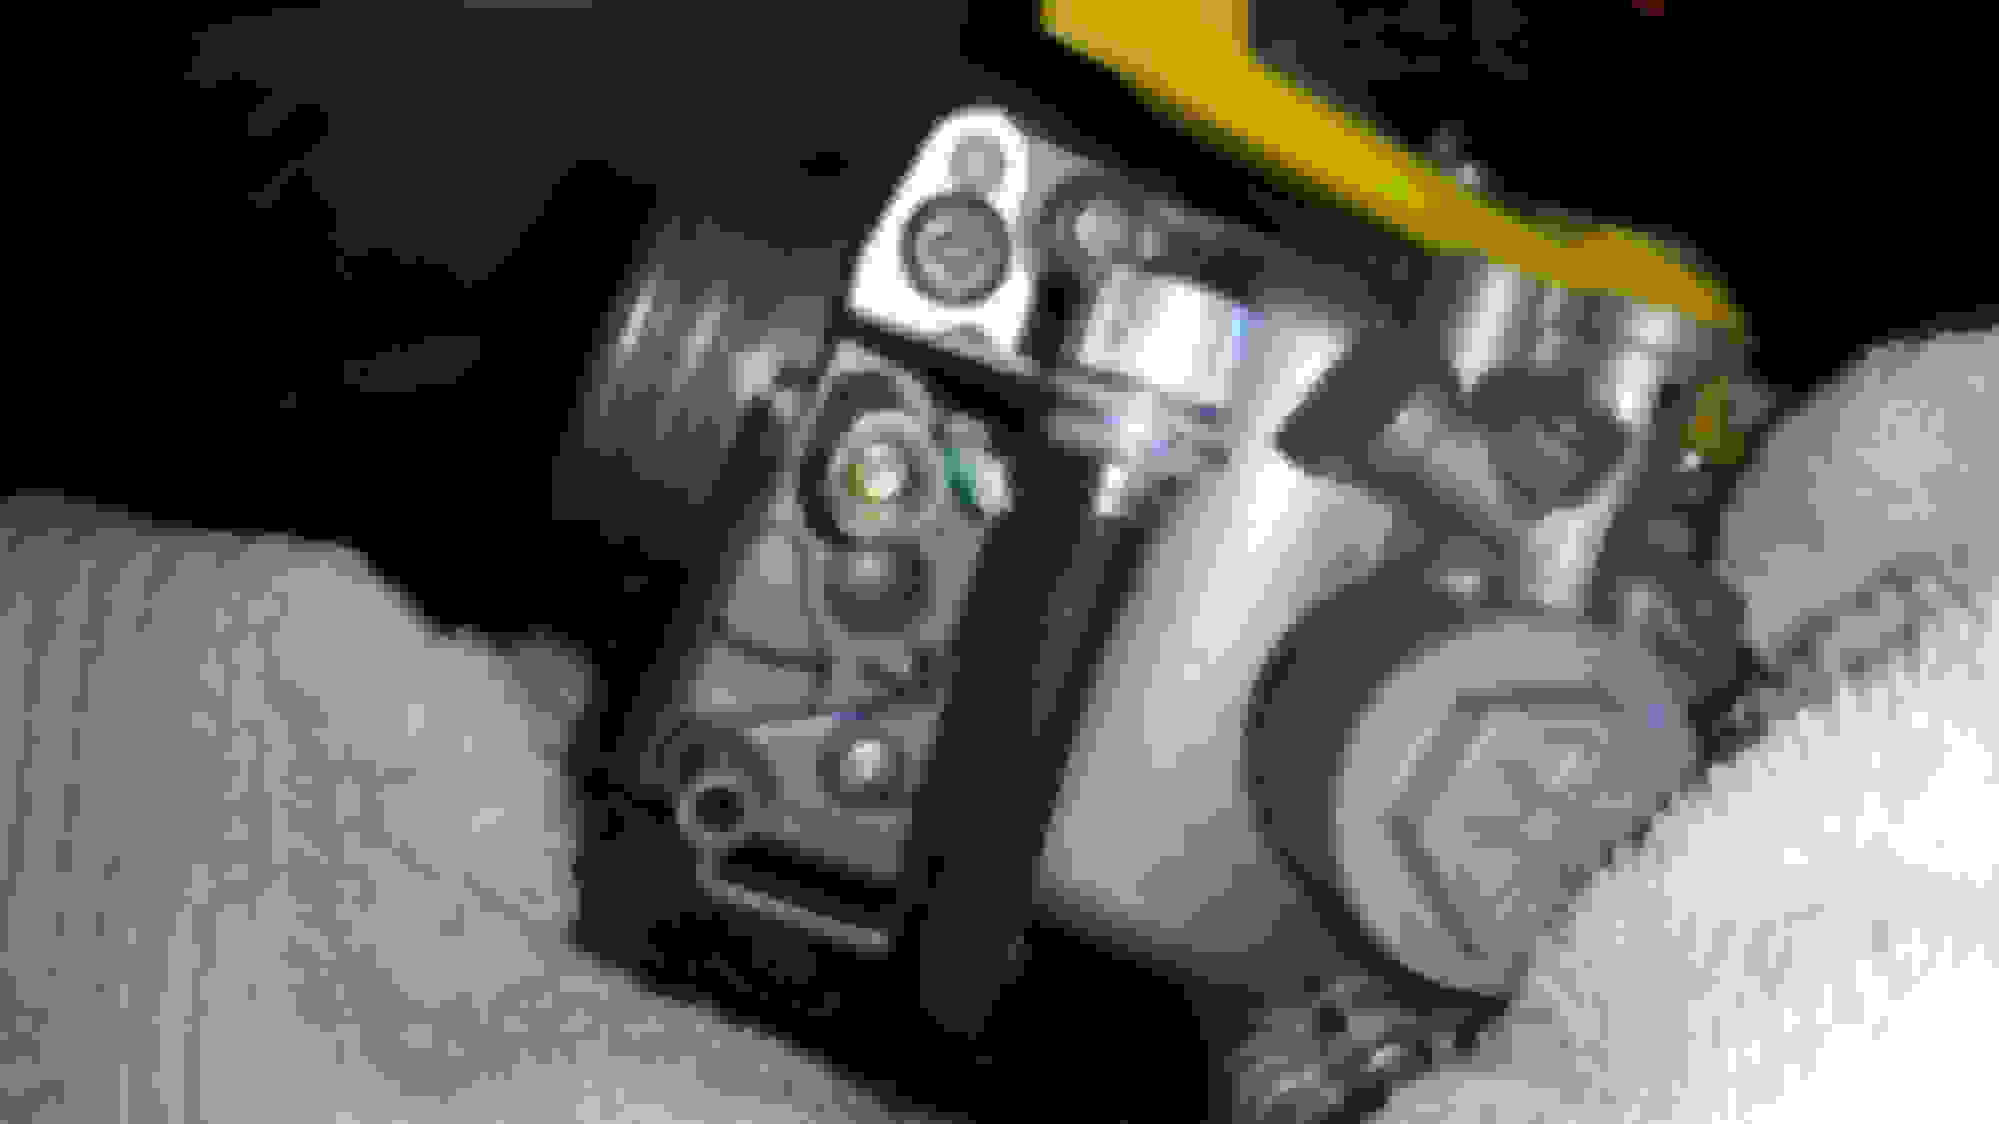
Anyways here are some pictures and thanks again!
After drilling out the plug. Go slow if you try this, brass doesn't take much to go through.
Final test is to do a plug chop. Get it good and warm and kill it at a high speed. Pull the plug,should be light to medium tan color if jetted ok. If plug is in the whiteish range, a bump up on jetting or slide needle richening may be needed. Good luck.


 Dec 24, 2015 | 01:05 PM
 02 400ex New Carb Different Air Fuel Screw





 Final test is to do a plug chop. Get it good and warm and kill it at a high speed. Pull the plug,should be light to medium tan color if jetted ok. If plug is in the whiteish range, a bump up on jetting or slide needle richening may be needed. Good luck.
