SS Camaro - Track trips, build pics etc.
#91
 05-18-2018, 09:50 AM

Join Date: Aug 2010
Posts: 230
Likes: 0
Received 0 Likes
on
0 Posts
Well here's what Im going for.:
https://rock-solid-motorsports.com/p...ular-front-end
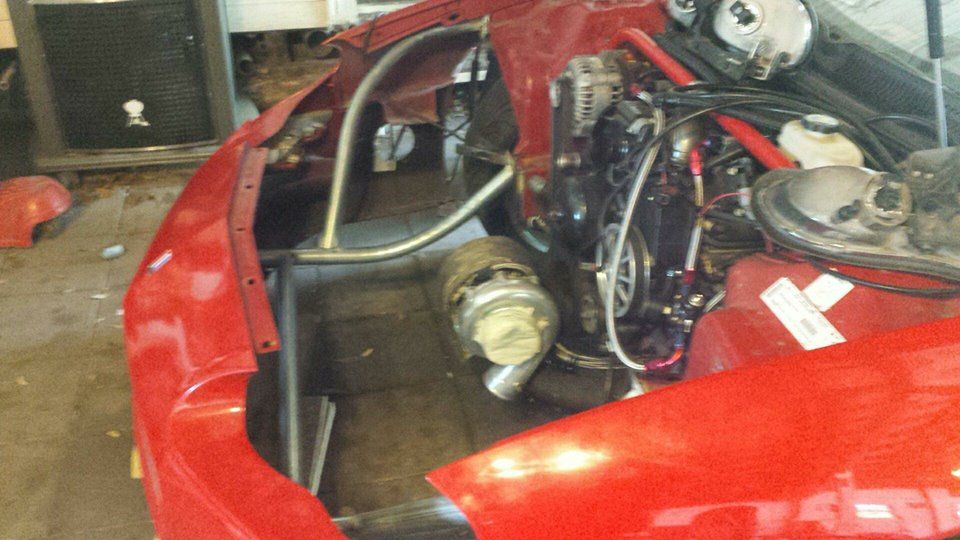
Me and the owner of the company couldnt strike a deal on his kit so I decided to build my own. There is a certain amount of pride when you can say its made by you, instead of ordered off a website. First thing is first, strip the front.
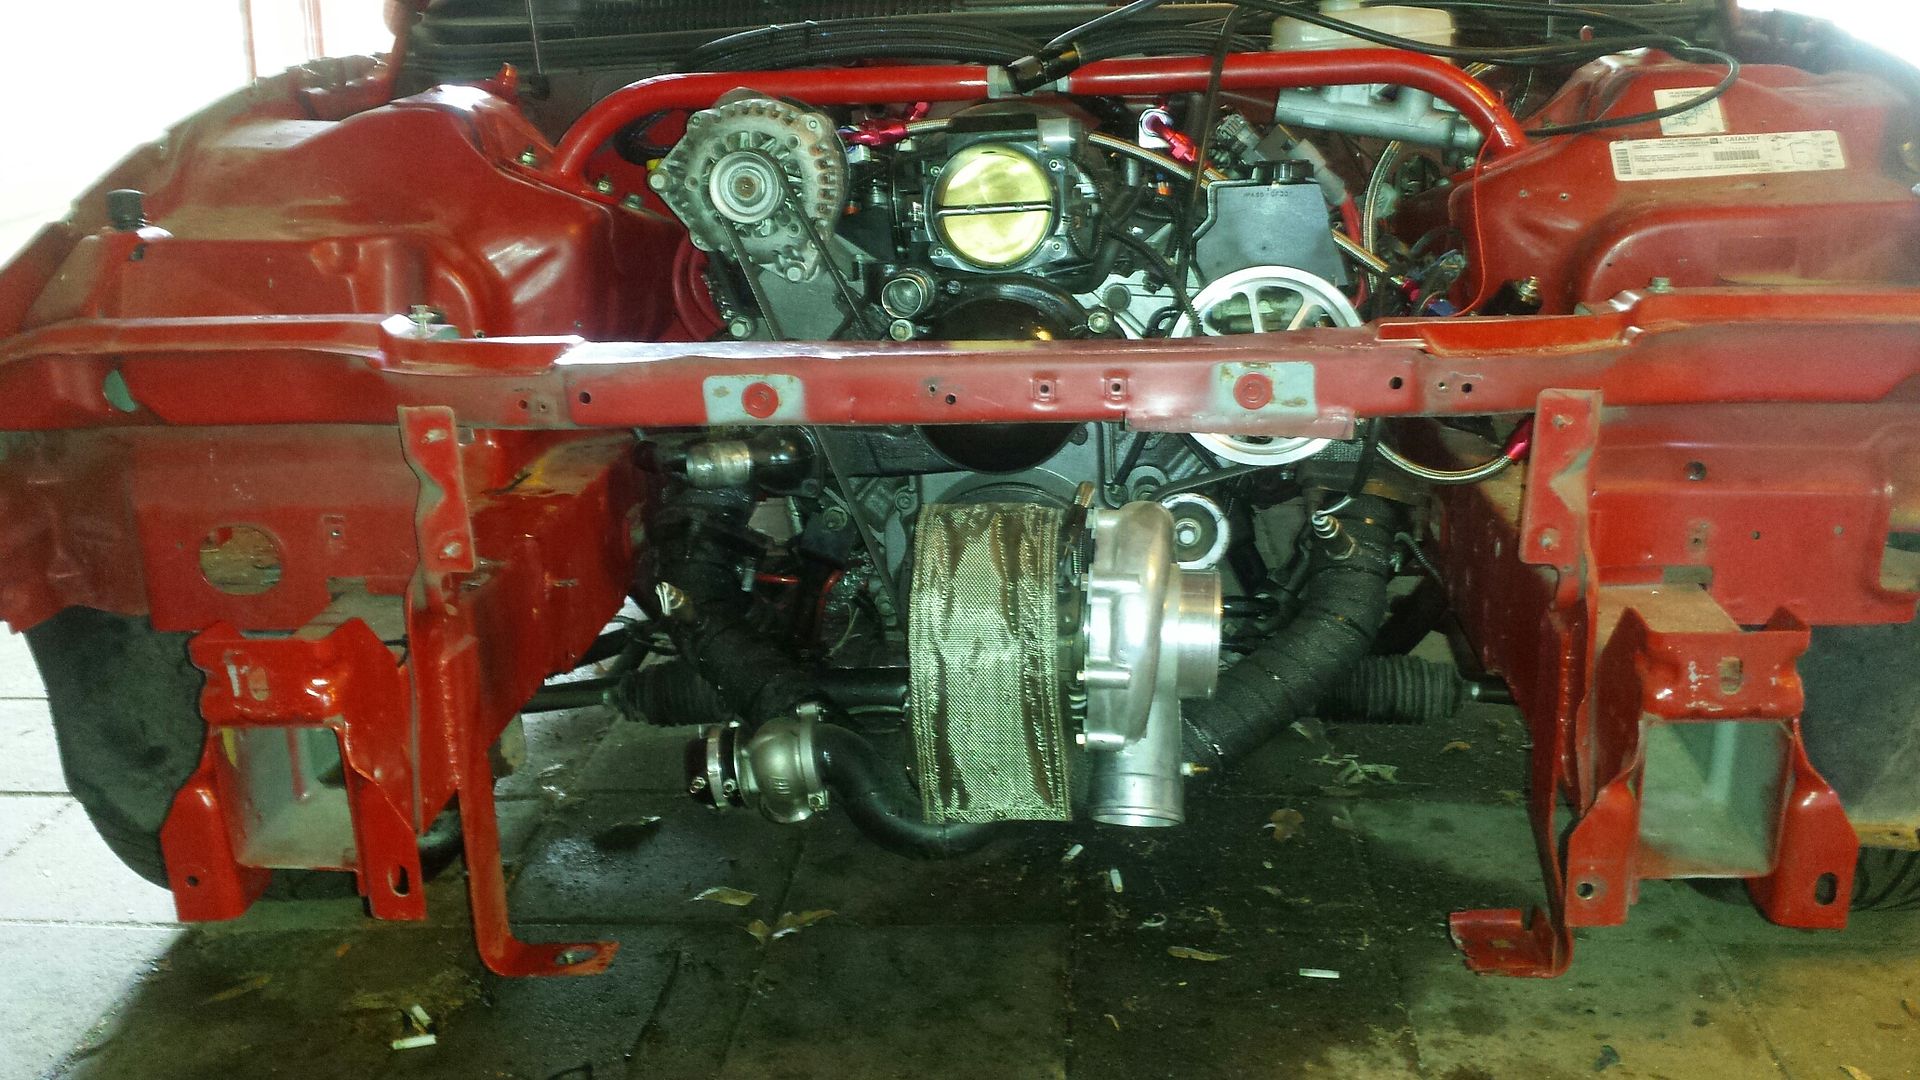
I chose to leave the hotside on for now (hoping I had enough room for the cuts) and since about 75% of the kit is uninstalled, and about 50% of it will likely need to be rerouted, it is listed locally for sale. If it sells I will build a t6 kit from scratch, if it doesnt, i wont modify the pipes in this kit just replace certain parts and keep the others intact to sell it later as a complete kit. Cliff notes: t6 turbo coming, but not sure when.
Made the initial cut, just to get the bulk of the metal out of my way. Fun fact: I removed the inner plastic front fender liners, and in like 11/12 years of owning this car are one of the few pieces that have never been off the car. I threw them in the bushes.
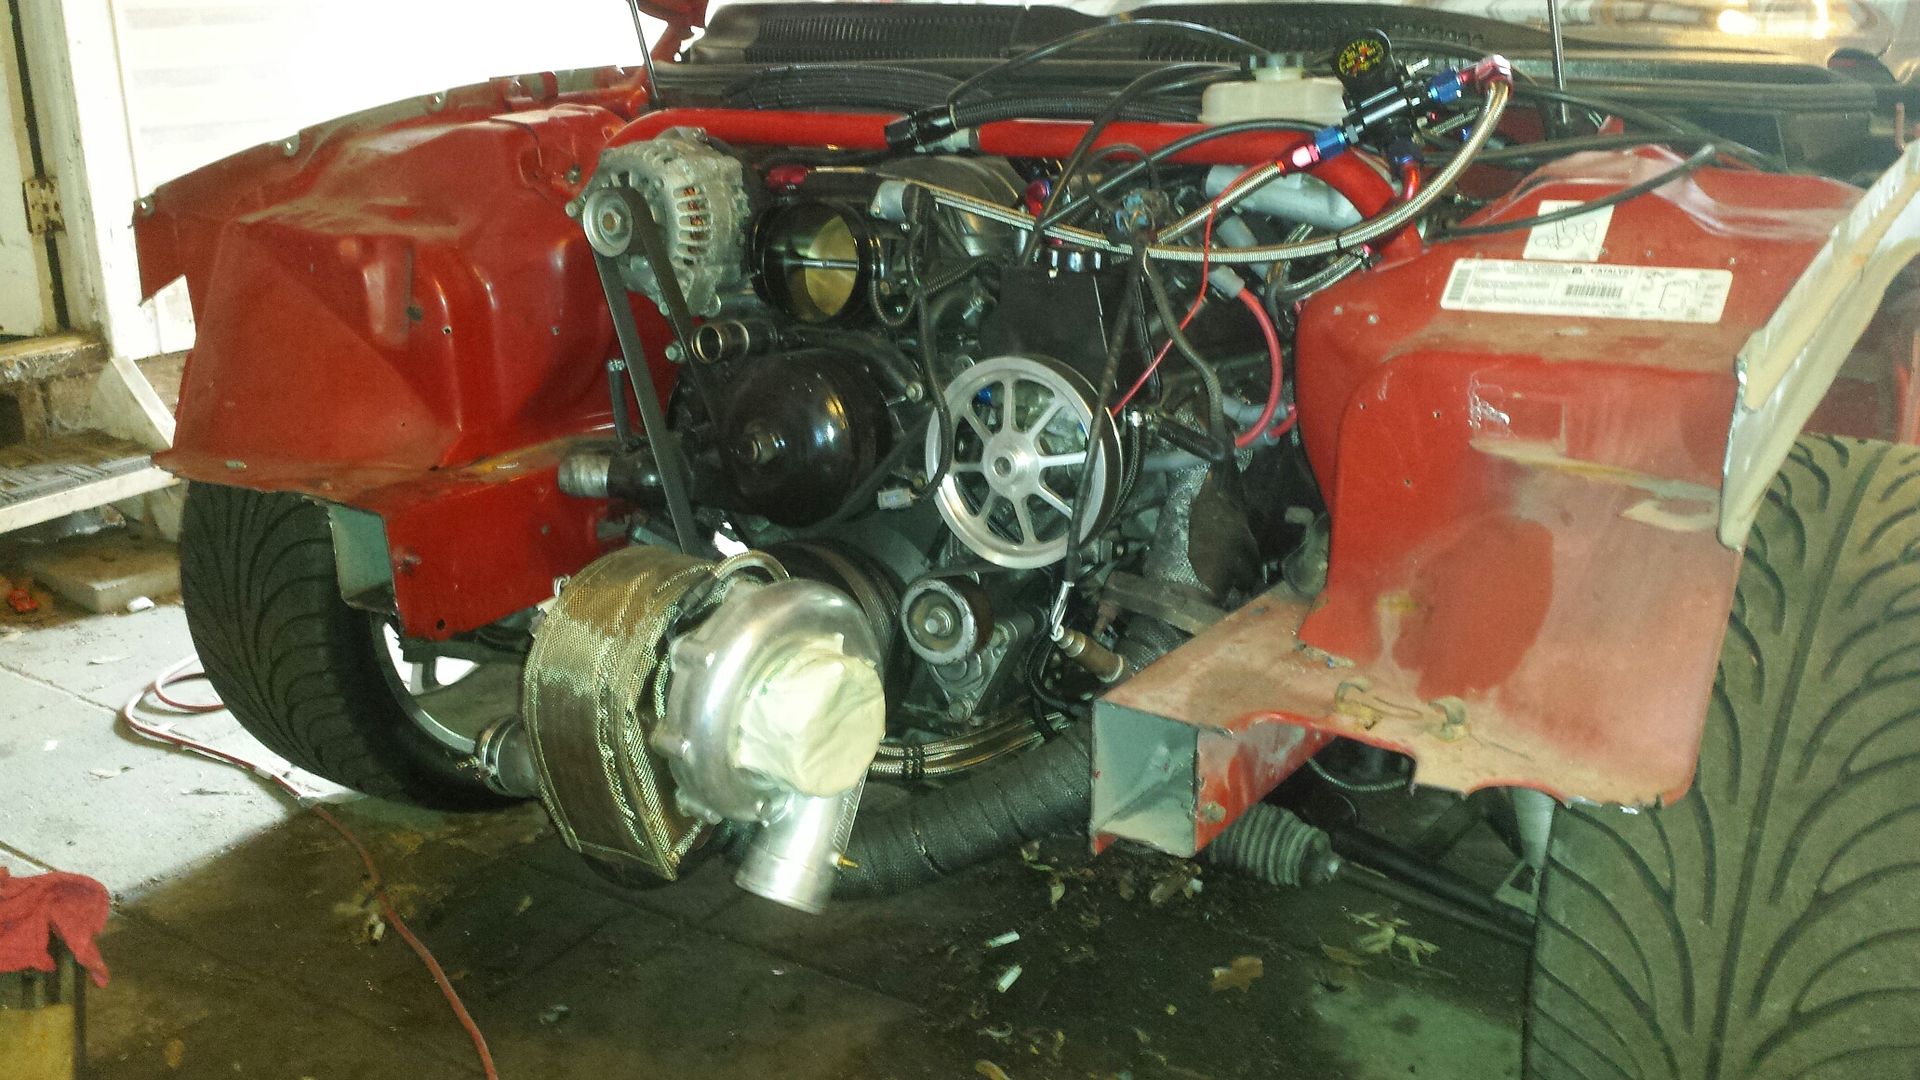
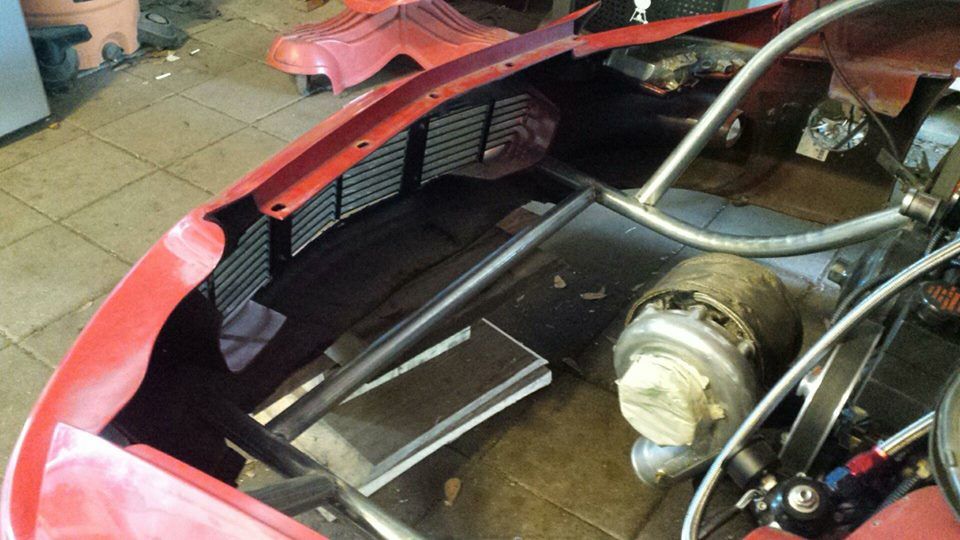
Here's where we ended up. This was a rough cut and frame rails need to be smoothed out and all that. The plan now is, I have steel plate to cap off the rails and fender area. I need to select pipe, buy it, bend it, and get to welding.
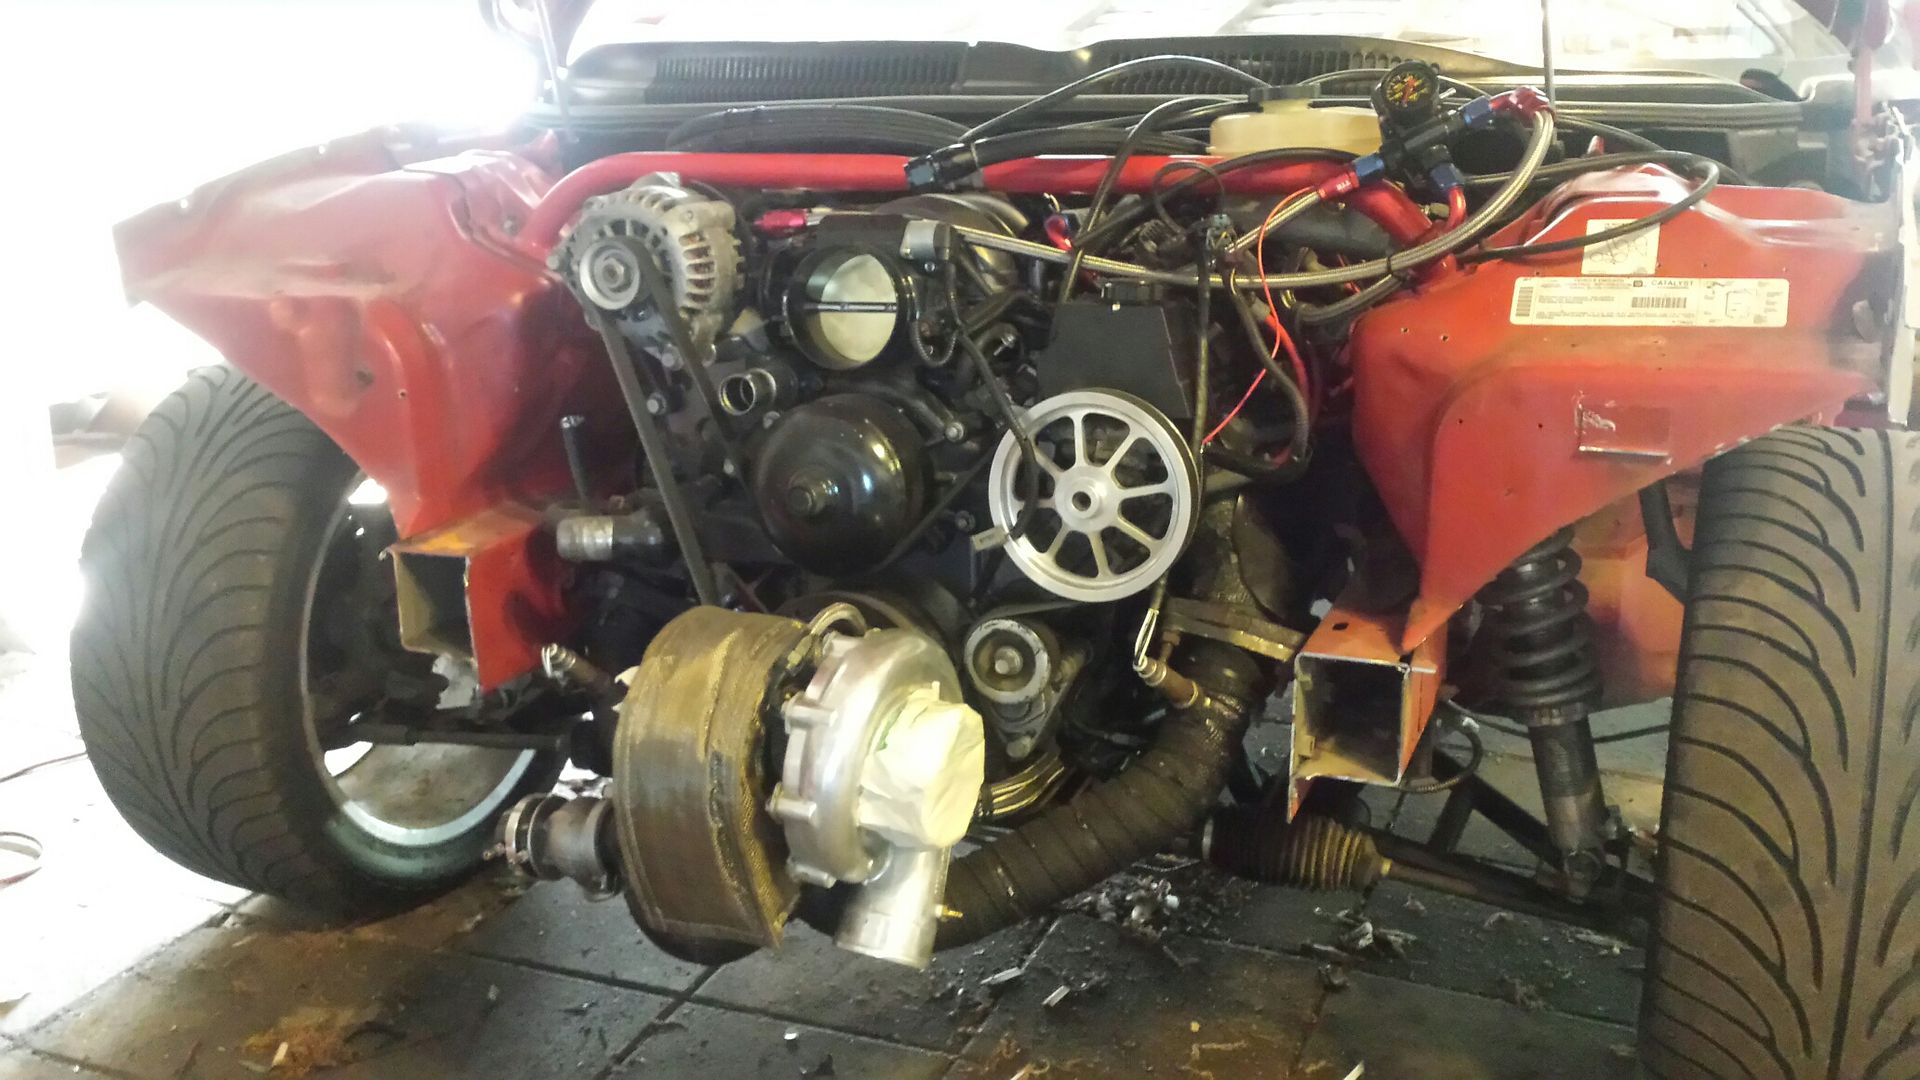
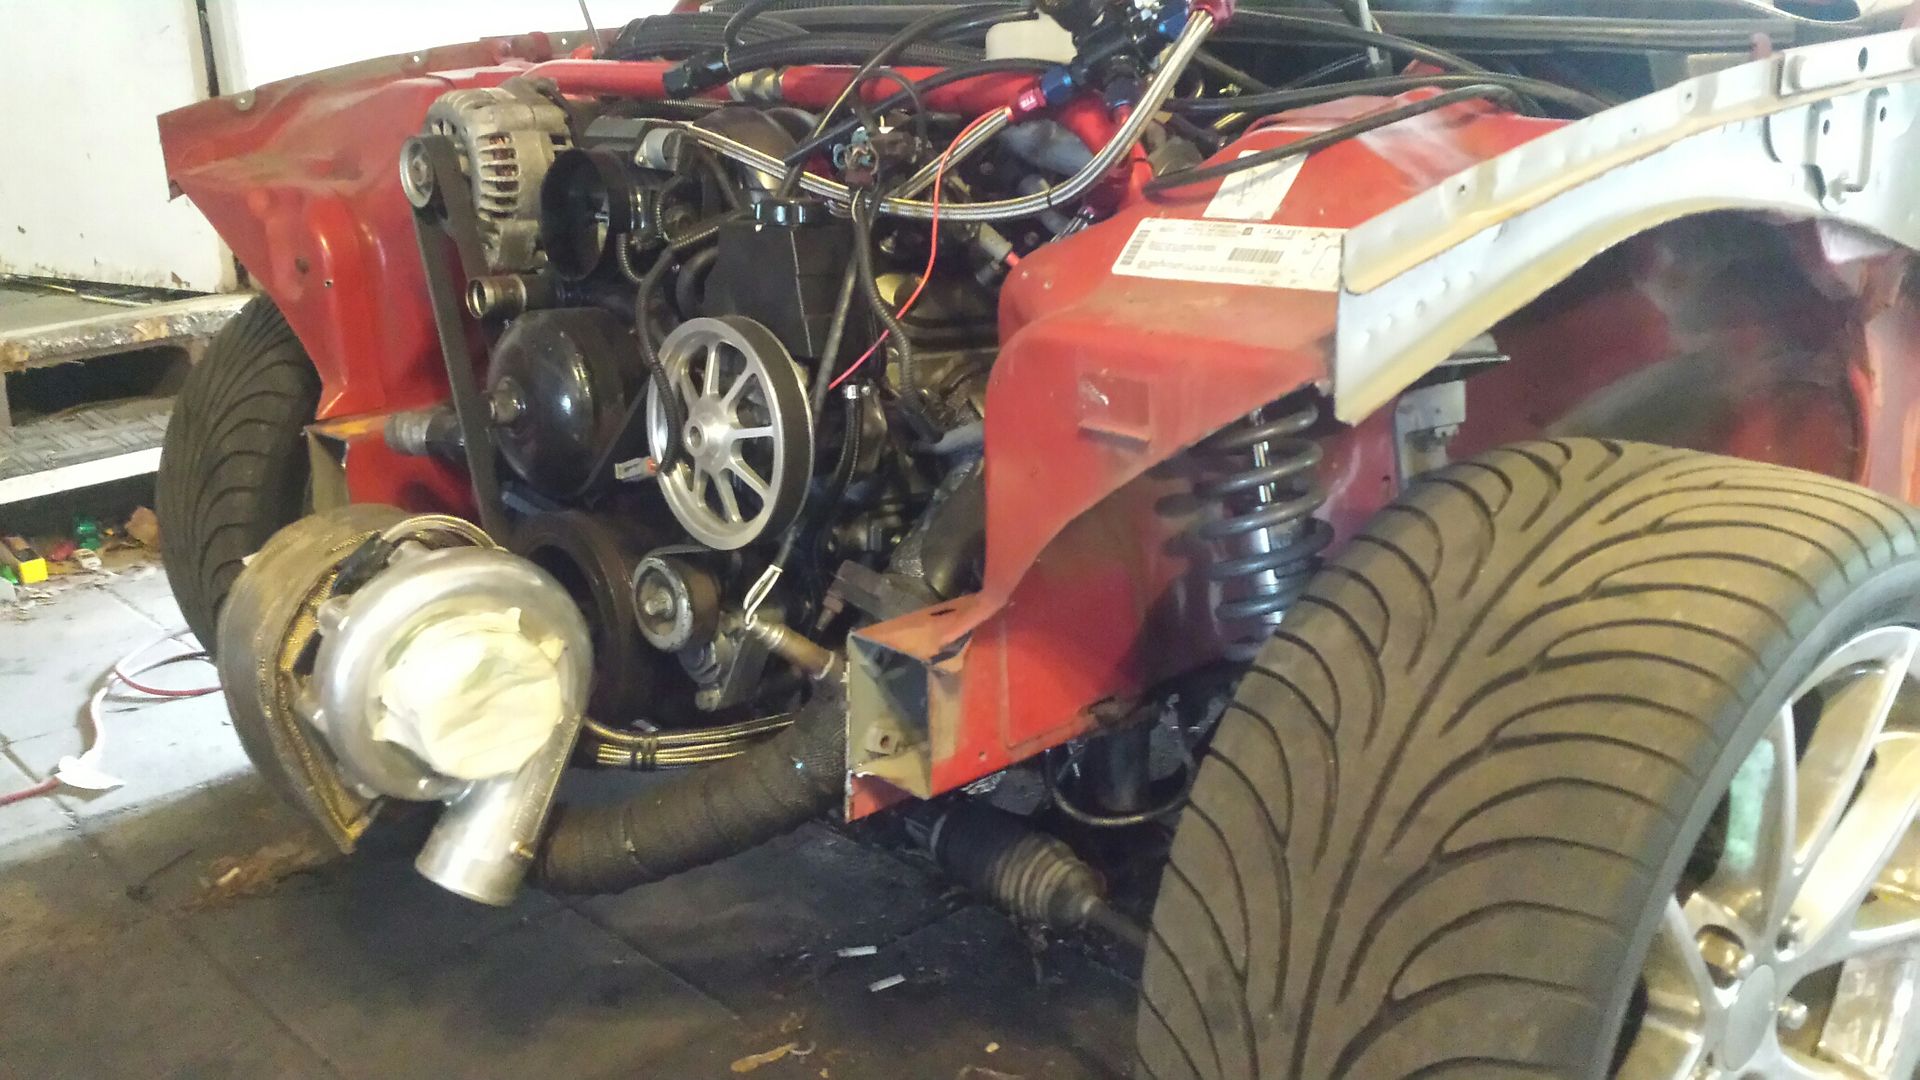
The look on my kid's face was priceless when they walked around and thought daddy WTF did you do to your car?? I'm pretty sure no one in the house thinks it will ever run again.
https://rock-solid-motorsports.com/p...ular-front-end
Me and the owner of the company couldnt strike a deal on his kit so I decided to build my own. There is a certain amount of pride when you can say its made by you, instead of ordered off a website. First thing is first, strip the front.

I chose to leave the hotside on for now (hoping I had enough room for the cuts) and since about 75% of the kit is uninstalled, and about 50% of it will likely need to be rerouted, it is listed locally for sale. If it sells I will build a t6 kit from scratch, if it doesnt, i wont modify the pipes in this kit just replace certain parts and keep the others intact to sell it later as a complete kit. Cliff notes: t6 turbo coming, but not sure when.
Made the initial cut, just to get the bulk of the metal out of my way. Fun fact: I removed the inner plastic front fender liners, and in like 11/12 years of owning this car are one of the few pieces that have never been off the car. I threw them in the bushes.

Here's where we ended up. This was a rough cut and frame rails need to be smoothed out and all that. The plan now is, I have steel plate to cap off the rails and fender area. I need to select pipe, buy it, bend it, and get to welding.


The look on my kid's face was priceless when they walked around and thought daddy WTF did you do to your car?? I'm pretty sure no one in the house thinks it will ever run again.
#93
05-21-2018, 05:51 PM
Join Date: Aug 2010
Posts: 230
Likes: 0
Received 0 Likes
on
0 Posts
#94
05-23-2018, 08:29 AM
Join Date: Aug 2010
Posts: 230
Likes: 0
Received 0 Likes
on
0 Posts
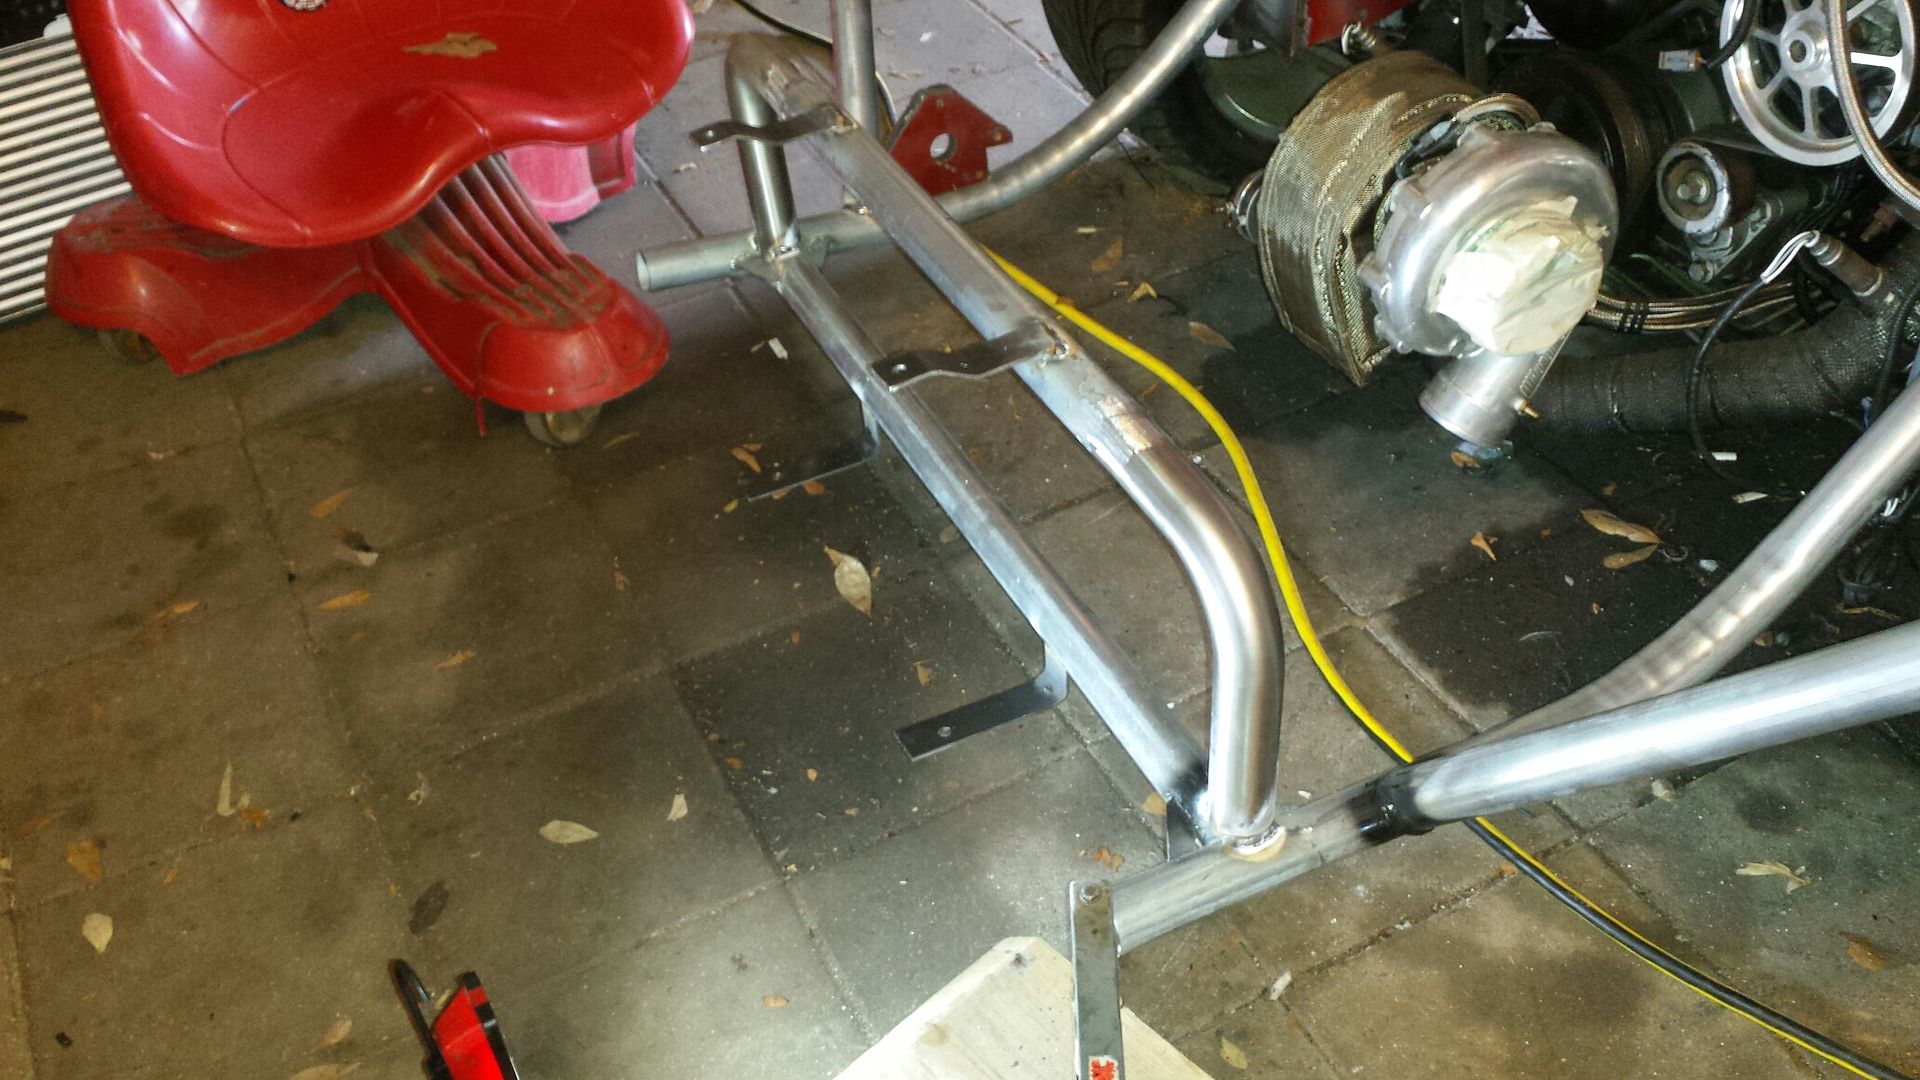
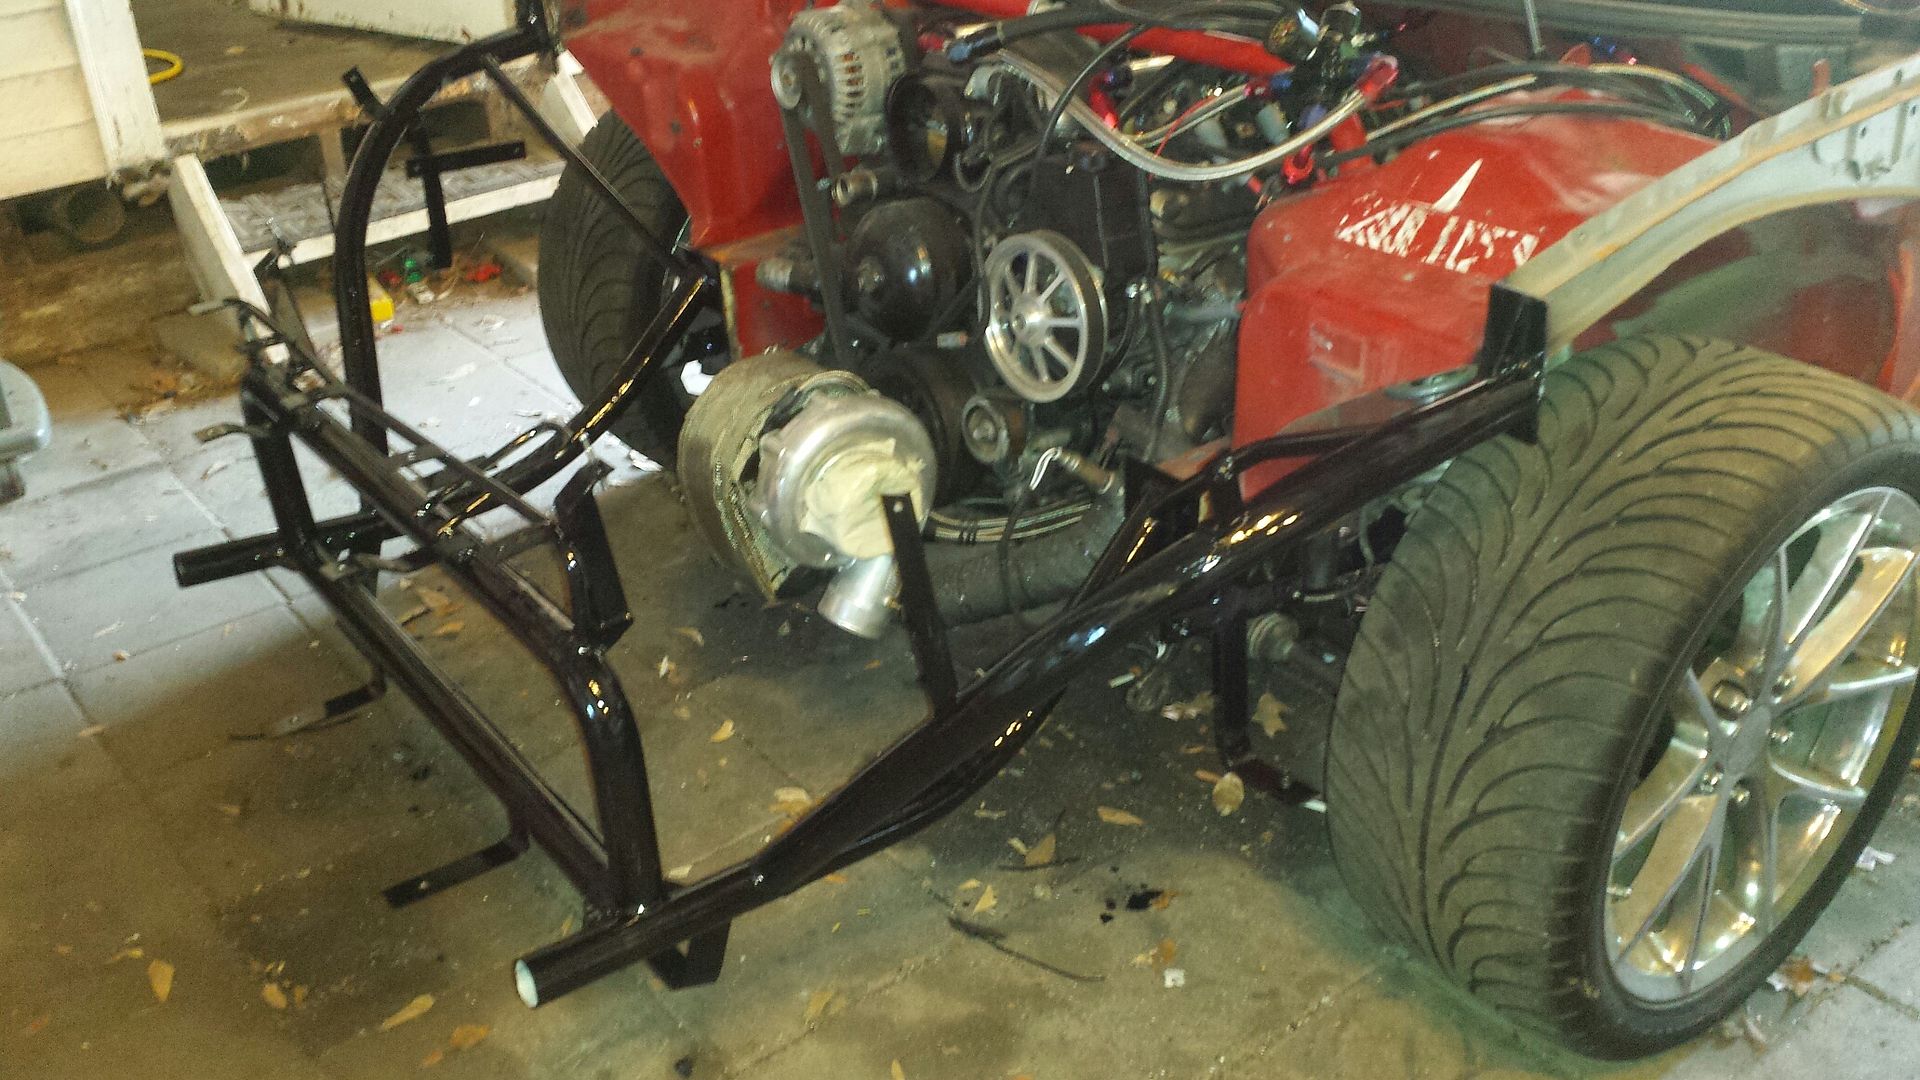
Made some progress with the pipe bender. I selected a 1 5/8" 16 gauge steel. This is easy to crush when bending it so you have to take your time and bend some, then move down the pipe and bend some more. That's why the bends look more rounded. Got a few pieces tacked on just to see how it all went together.
The front of the car sits way up with all this stuff removed as an FYI. Long time F-body buddy Hilton let me borrow his welding 75/25 bottle. I swapped my machine over from flux to gas and started to finish the welding portion. Once done, through careful engineering calculations I determined my design, material selection, and welding procedure WOULD be strong enough for this application. My calculations consisted of......jumping/bouncing on the pipe. Success!!
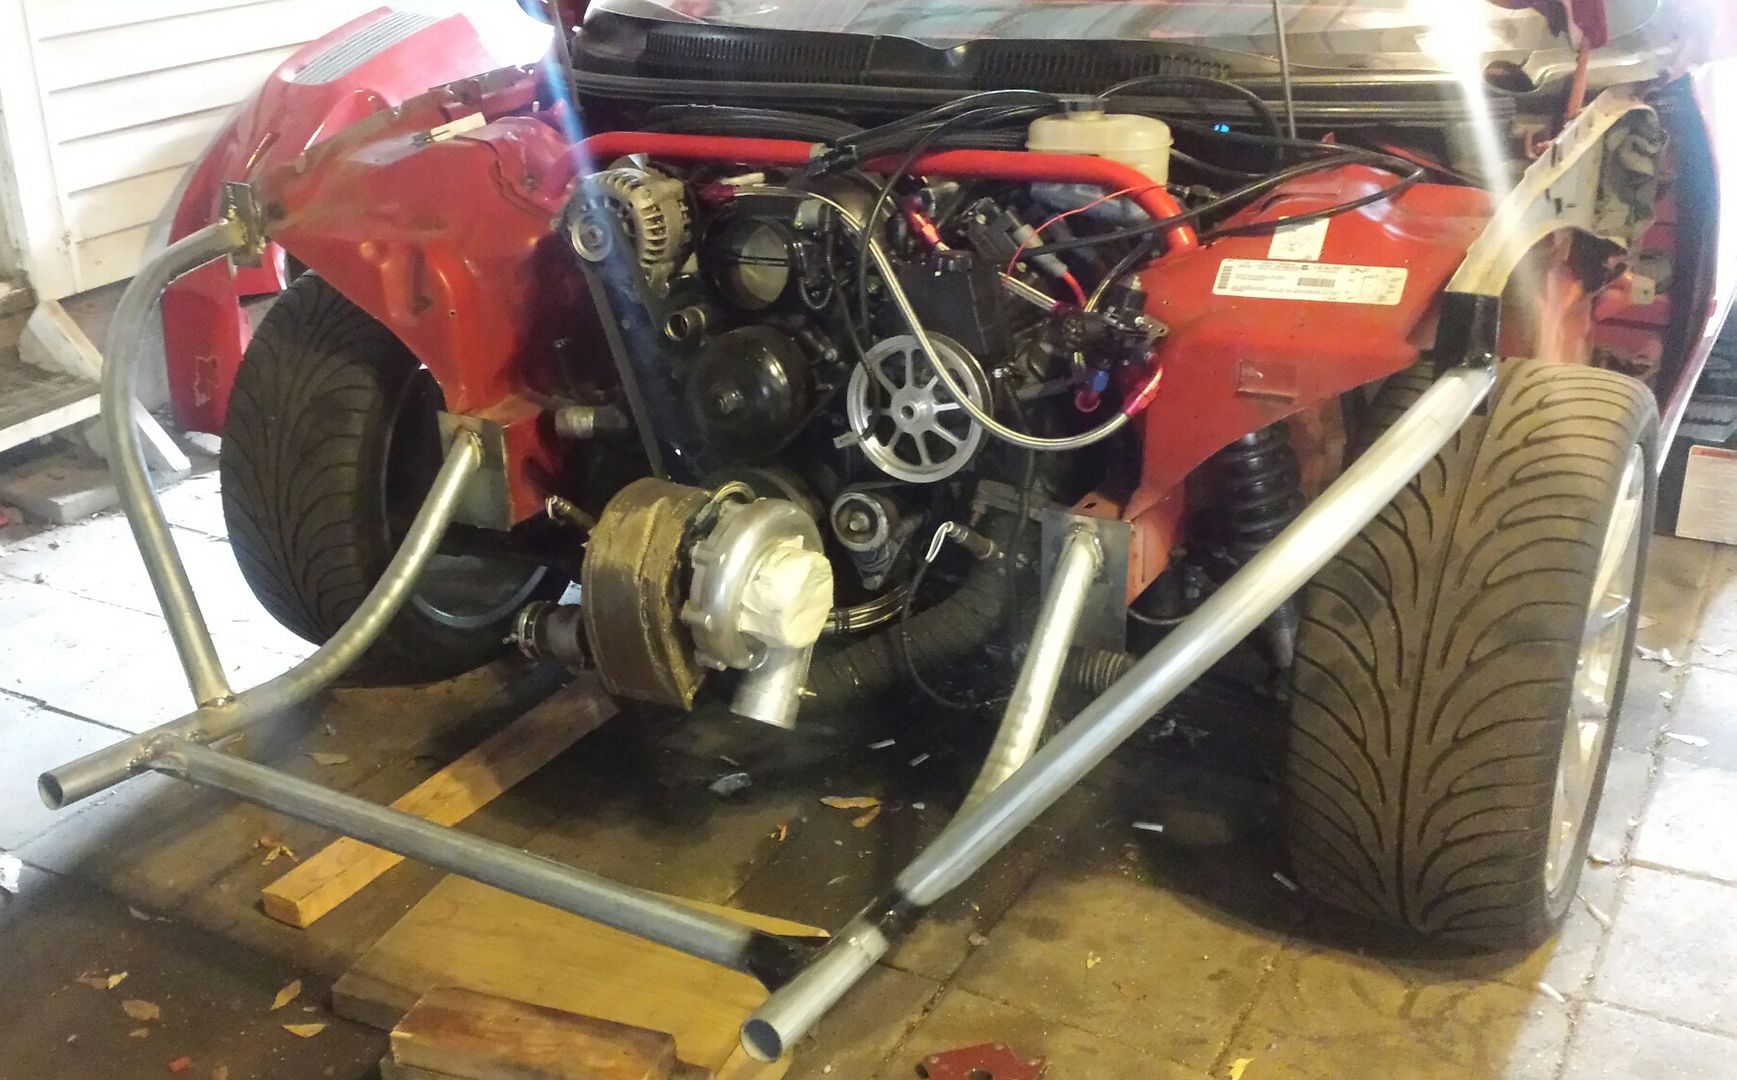
I started adding gussets and cleaning up welds while waiting for the front hoop bends to arrive (bought two 90 degree mandrel bends) and got delayed, so more to come this weekend. I'm also debating on color for the front pipes? Black? Red? Silver/graphite?
#95
05-23-2018, 11:41 AM
"My calculations consisted of......jumping/bouncing on the pipe." That's like me checking the shocks on my truck. I stand on the bumper and bounce up and down a few times, then jump off and see if it's moving or not. If it's not moving when my feet hit the ground I figure the shocks are okay. The back is easy because it has a step bumper. The front bumper is harder to stand on but there are things under the hood you can grab on to.
#96
05-28-2018, 08:12 AM
Join Date: Aug 2010
Posts: 230
Likes: 0
Received 0 Likes
on
0 Posts
This first pic is off RSMs facebook page. I thought some would find it useful.
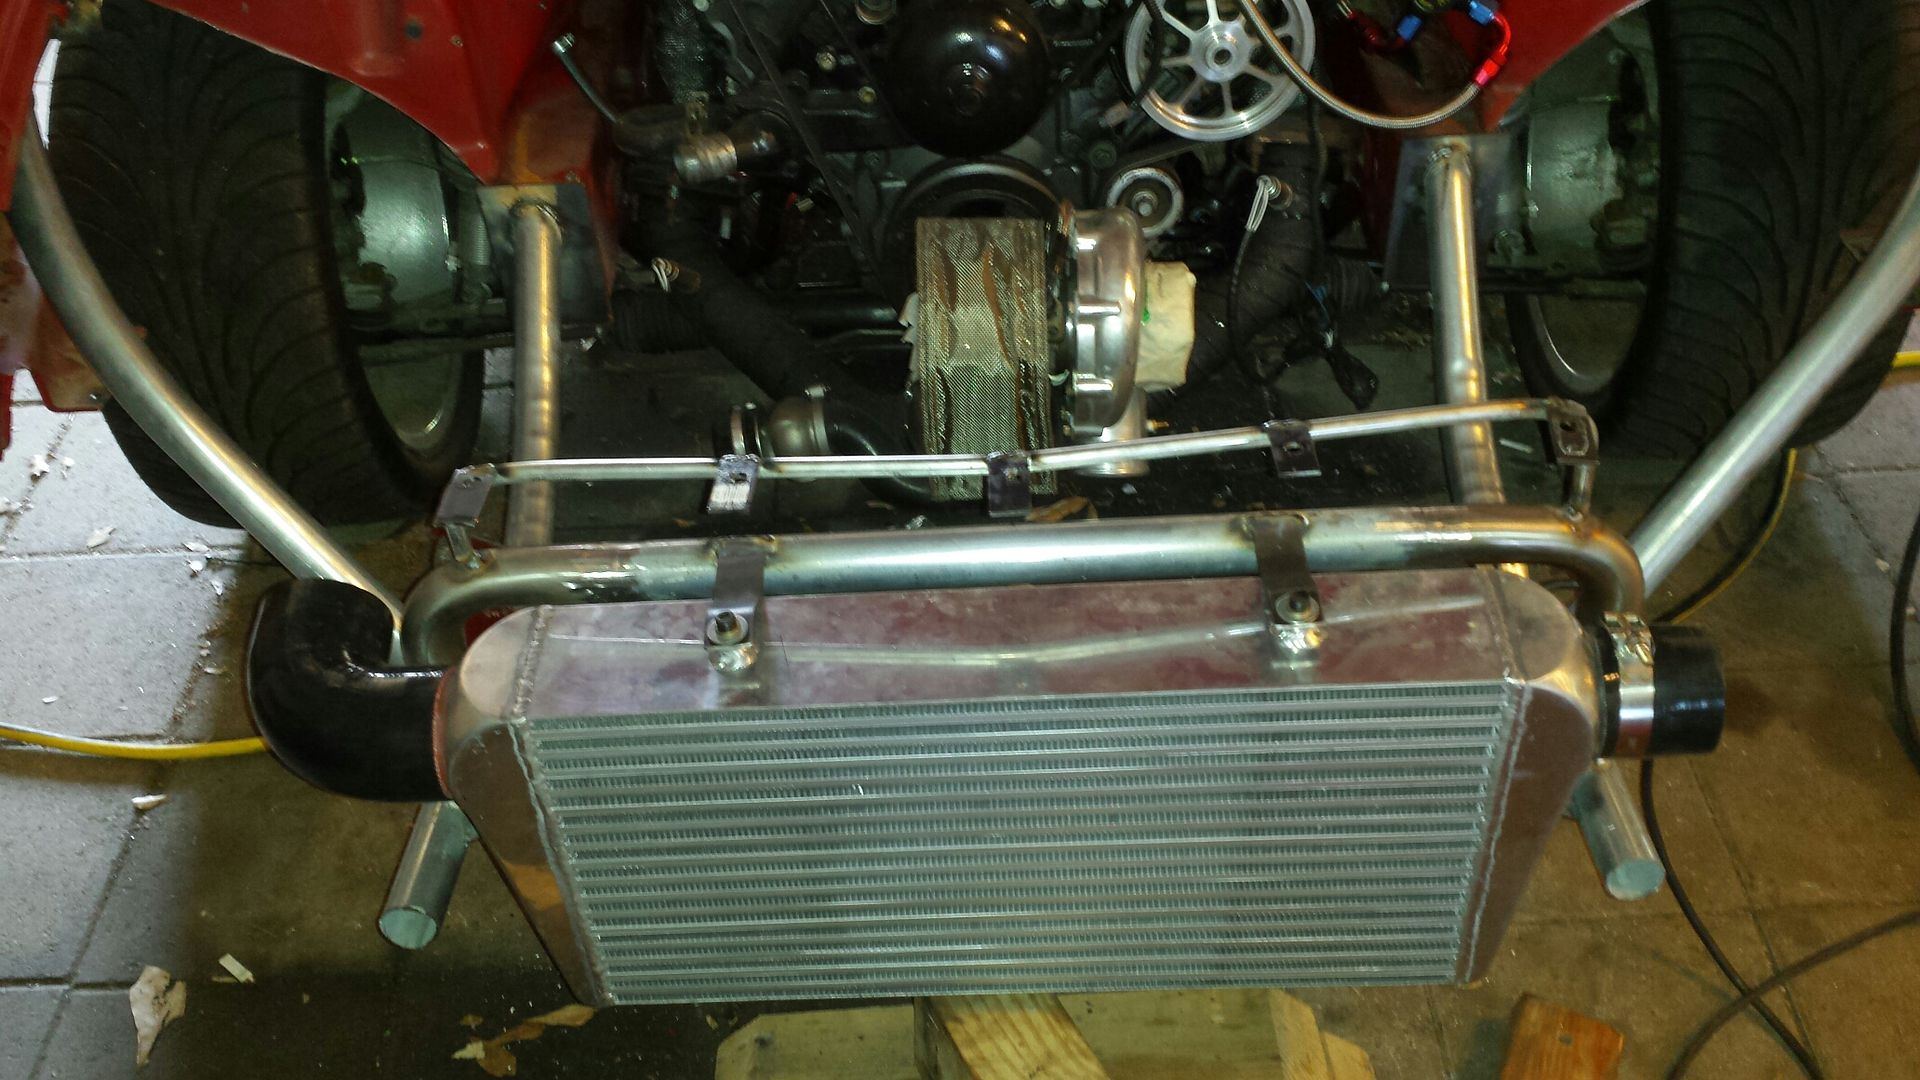
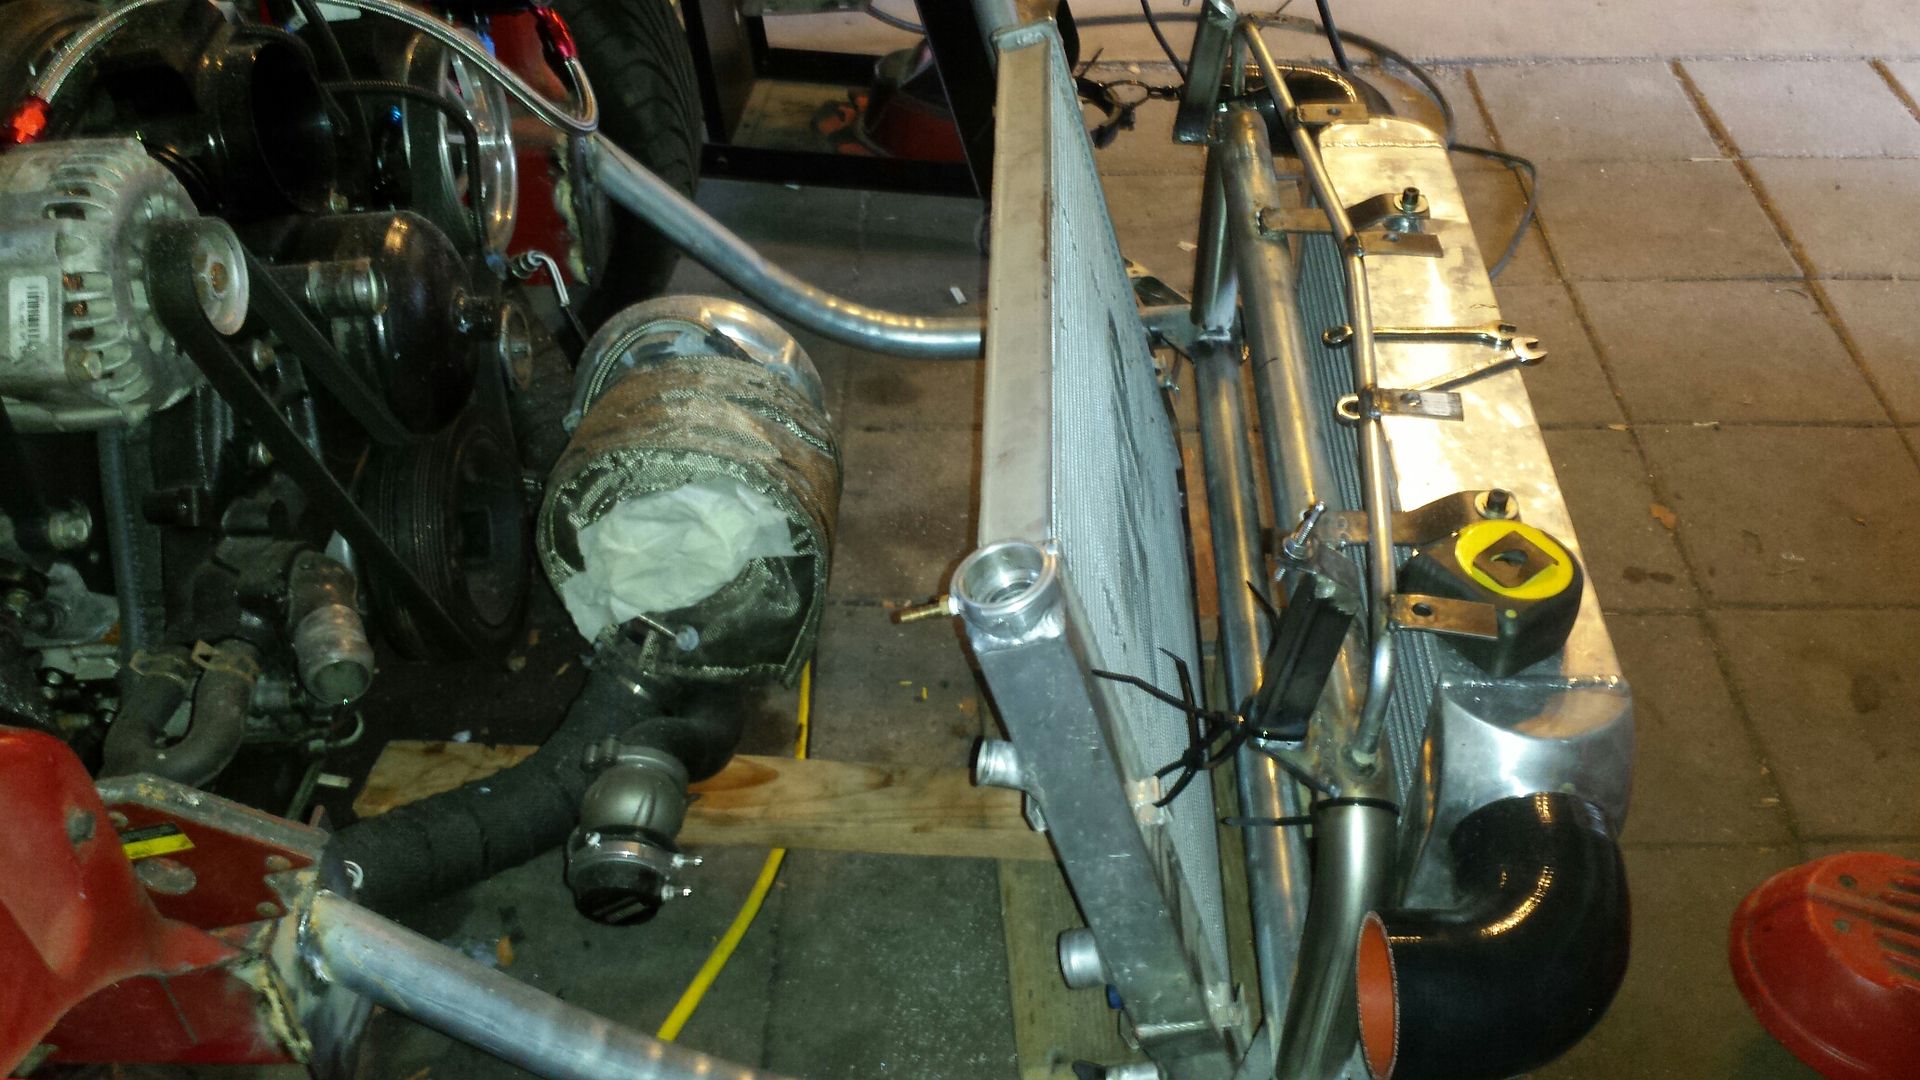
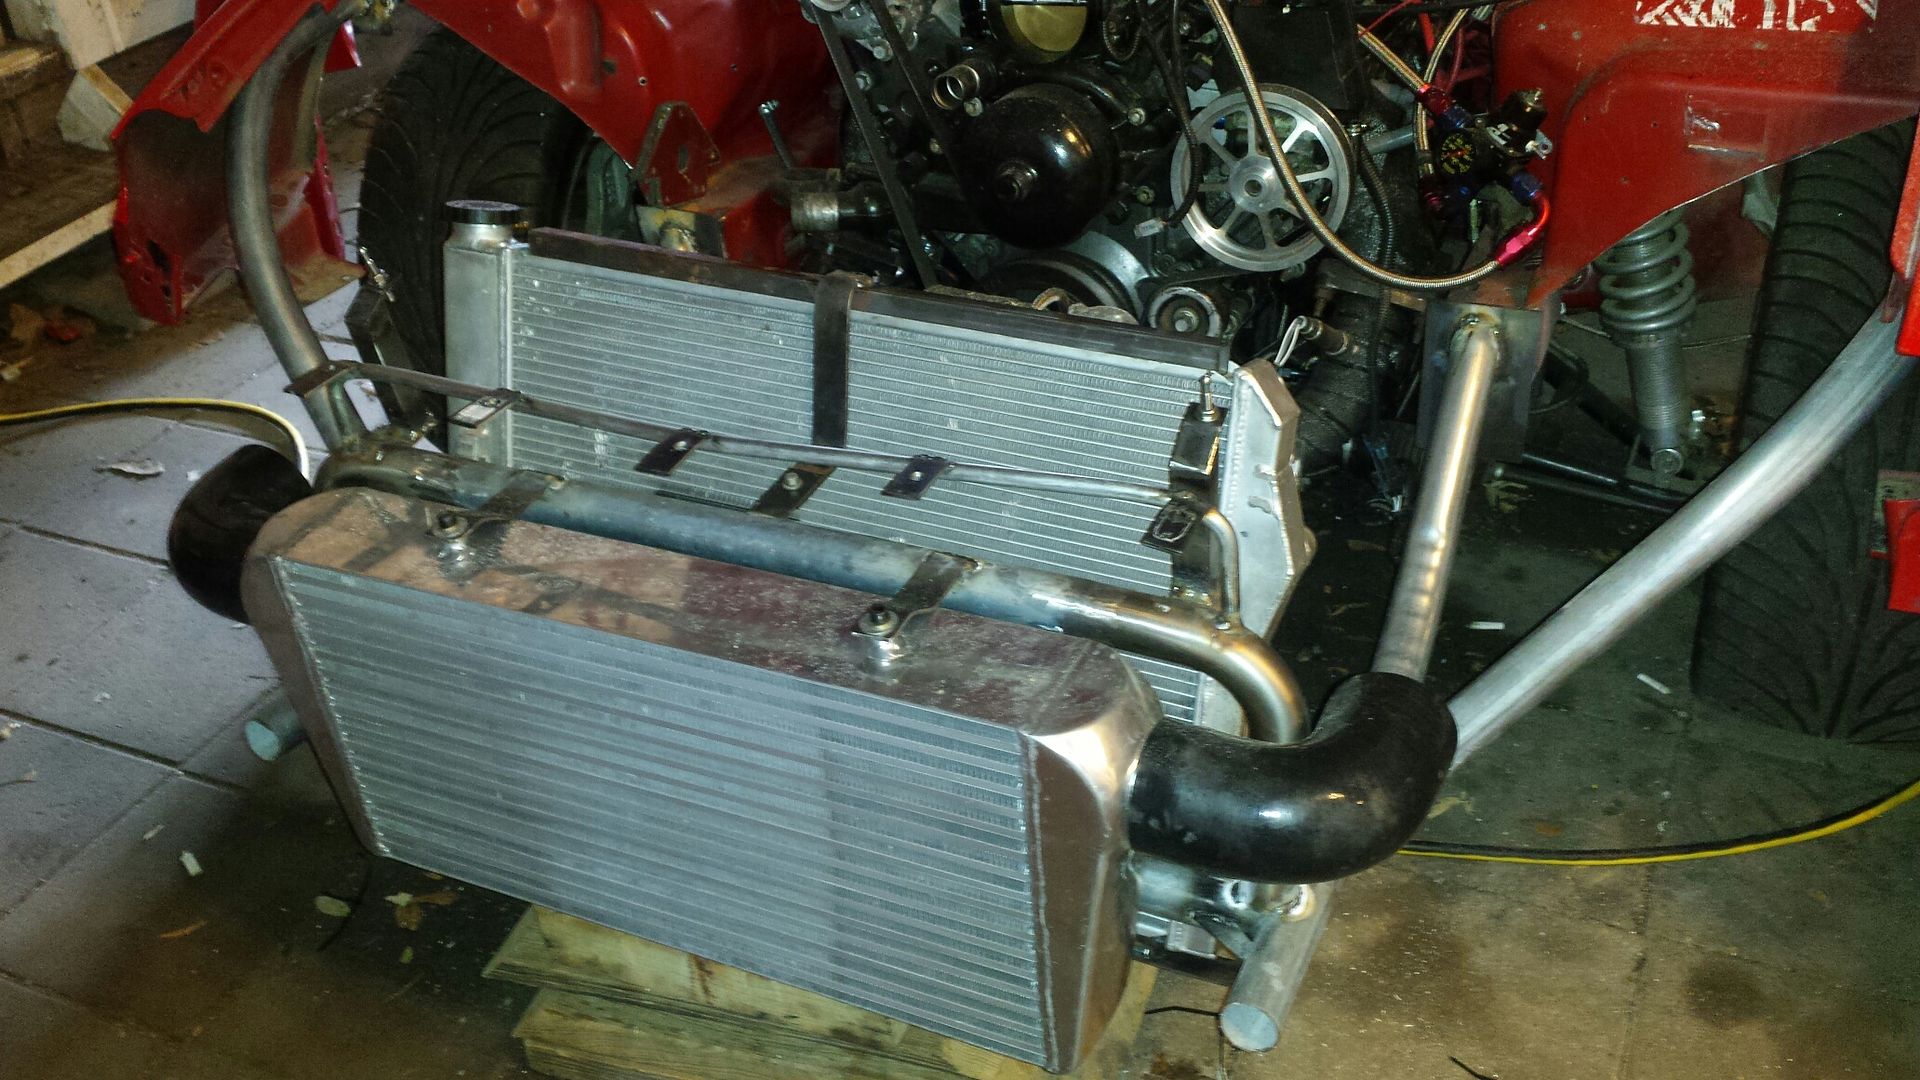
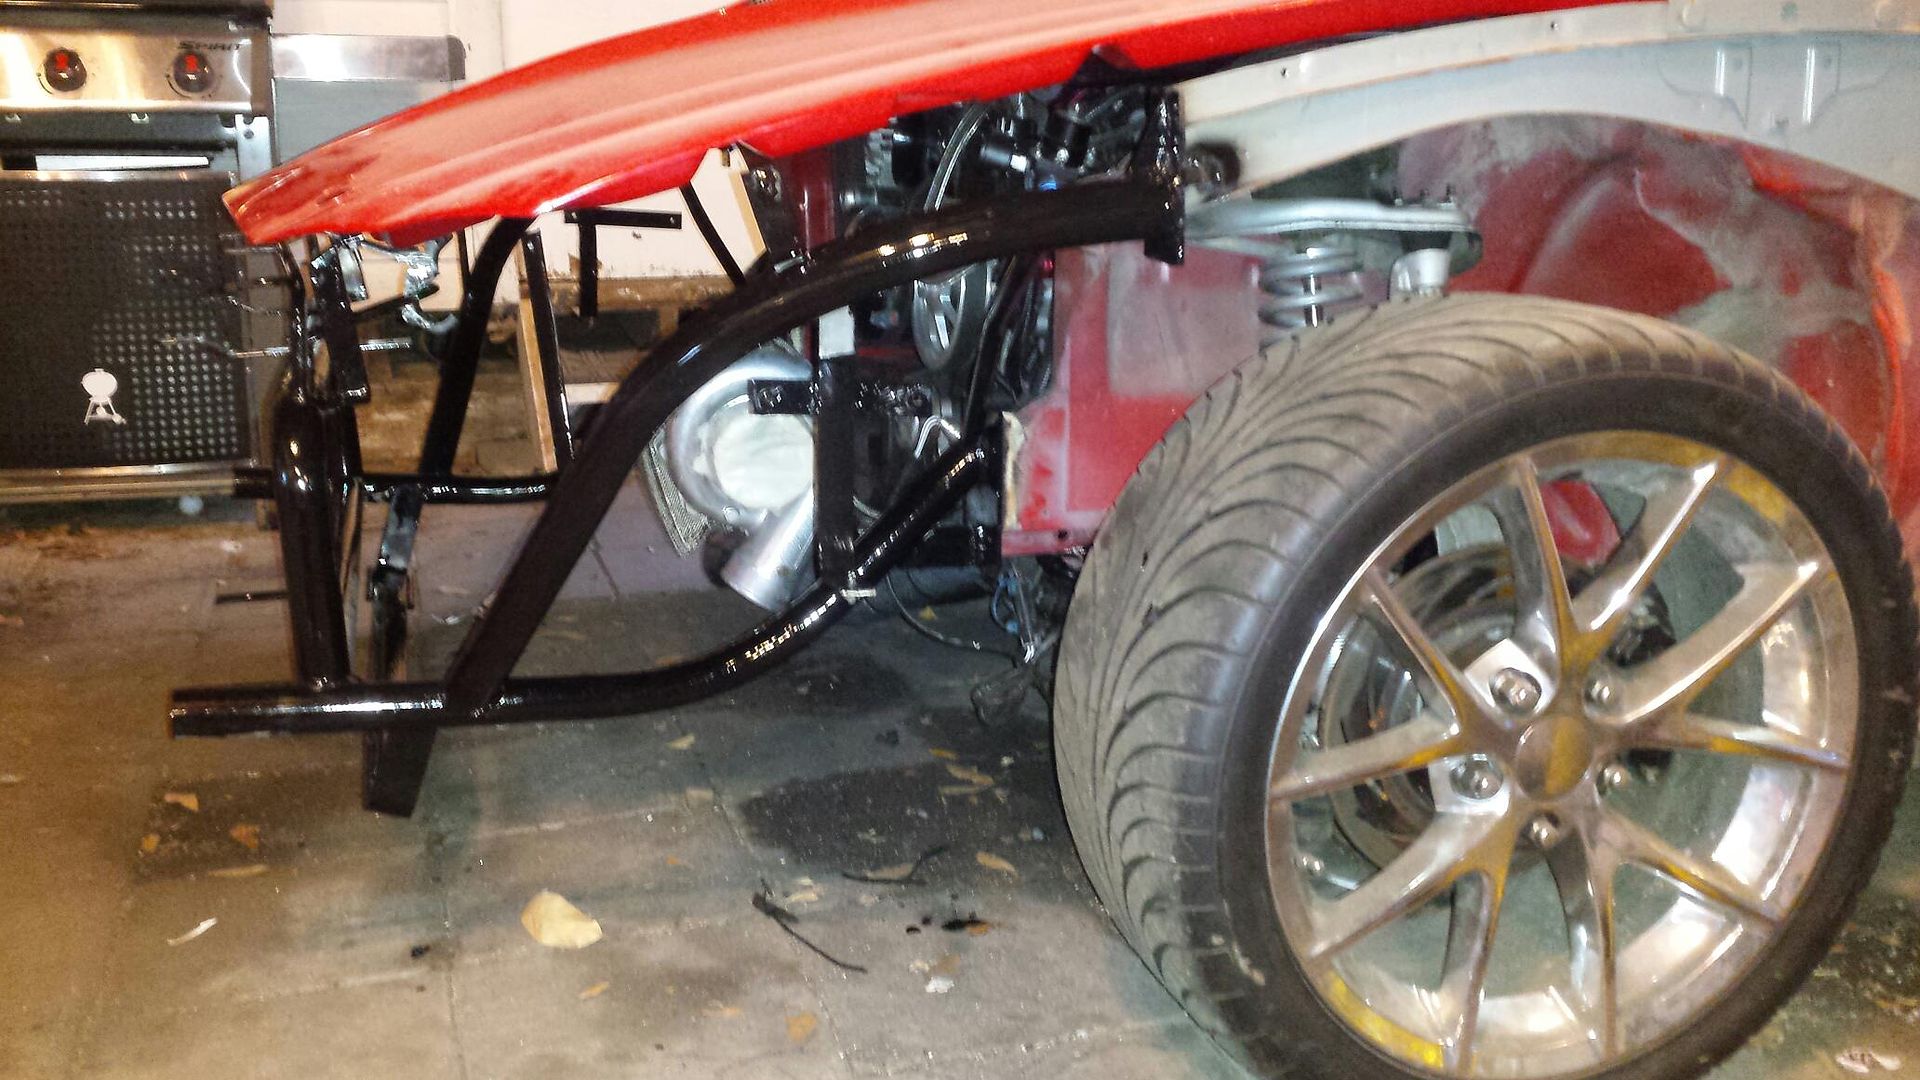
Got the main hoop made and some simple flat bar brackets welded on to hold the intercooler. The 90 degree bends here are stainless and were found on ebay for 20 bucks. No way I could have made a bend that nice so I decided it was ok to buy/use these.
The intercooler has been flipped where the outlets are up top. With 90 degree elbows they just clear the main hoop, and are just under the headlights. I also made an extension on the main hoop to hold 5 tabs that support the bumper and have holes for the pushpins.
Hood latches, and the biggest tap Ive ever owned.
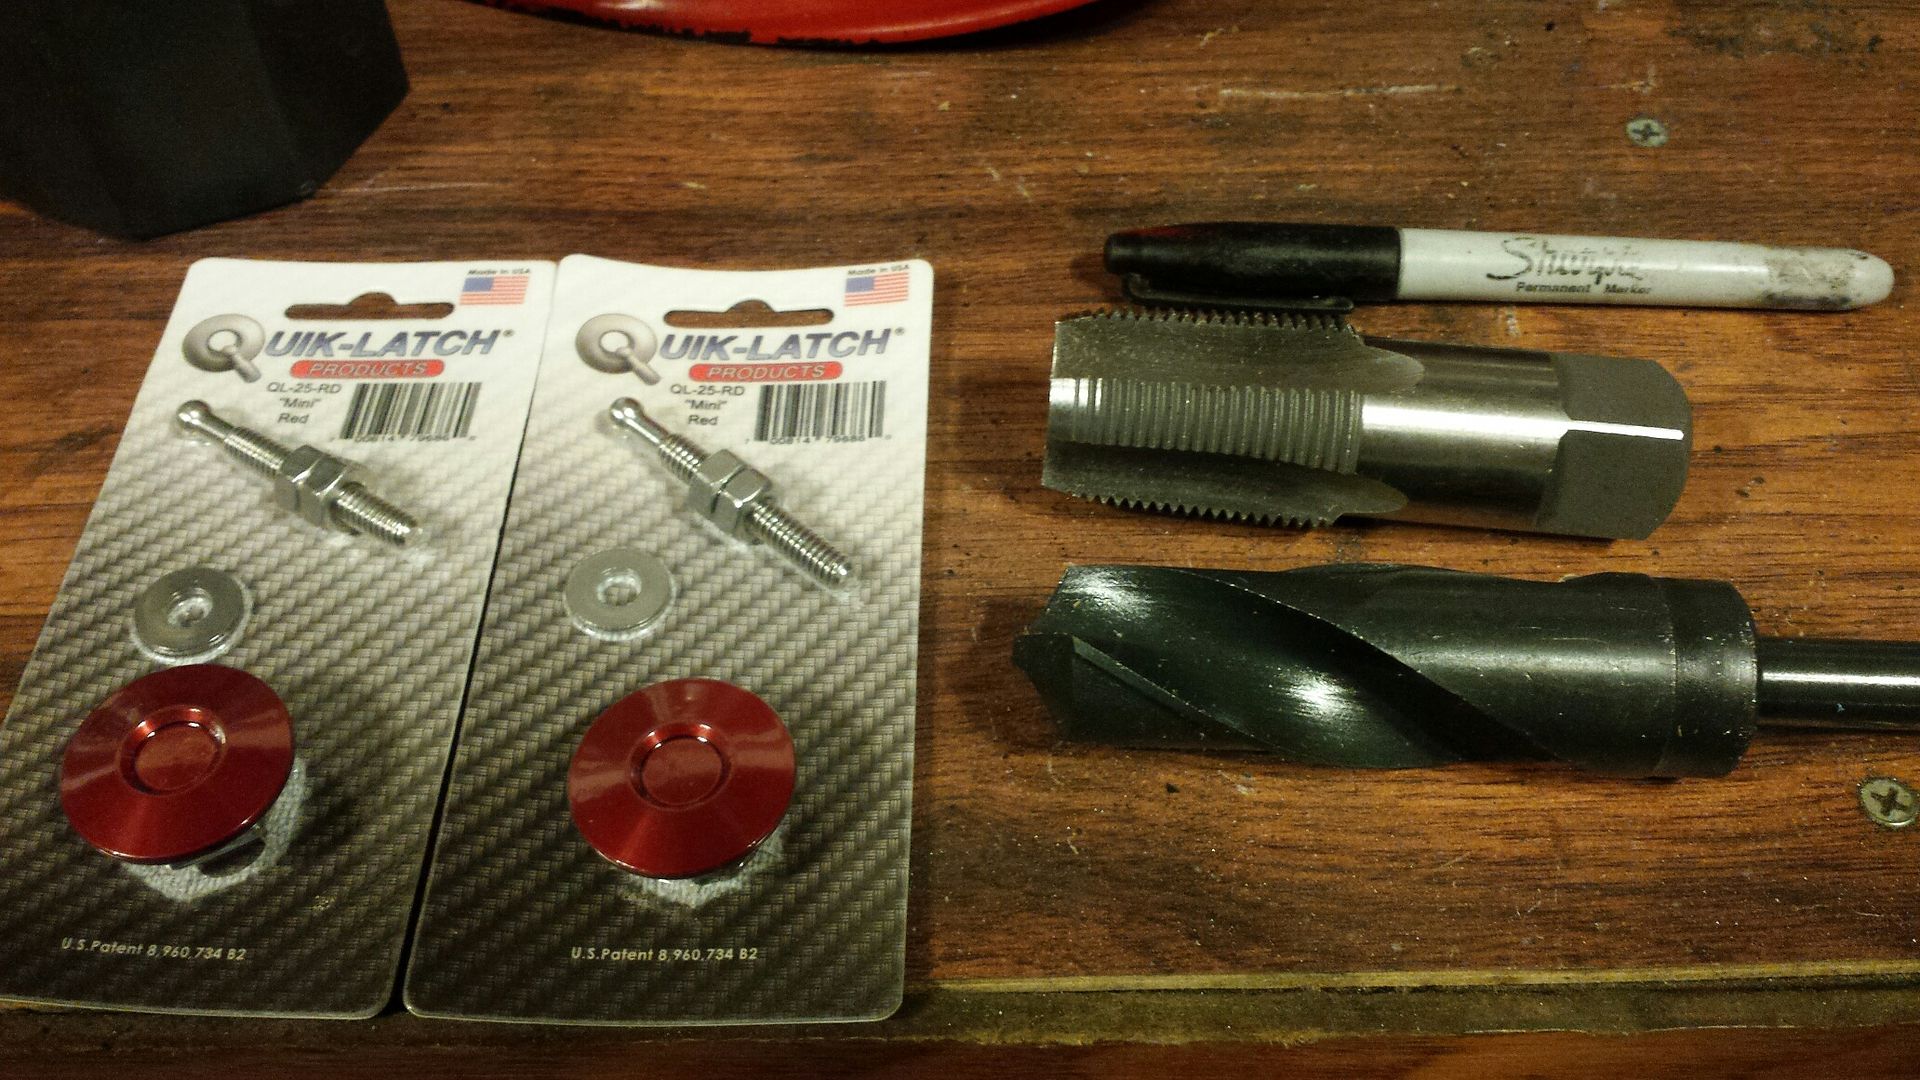
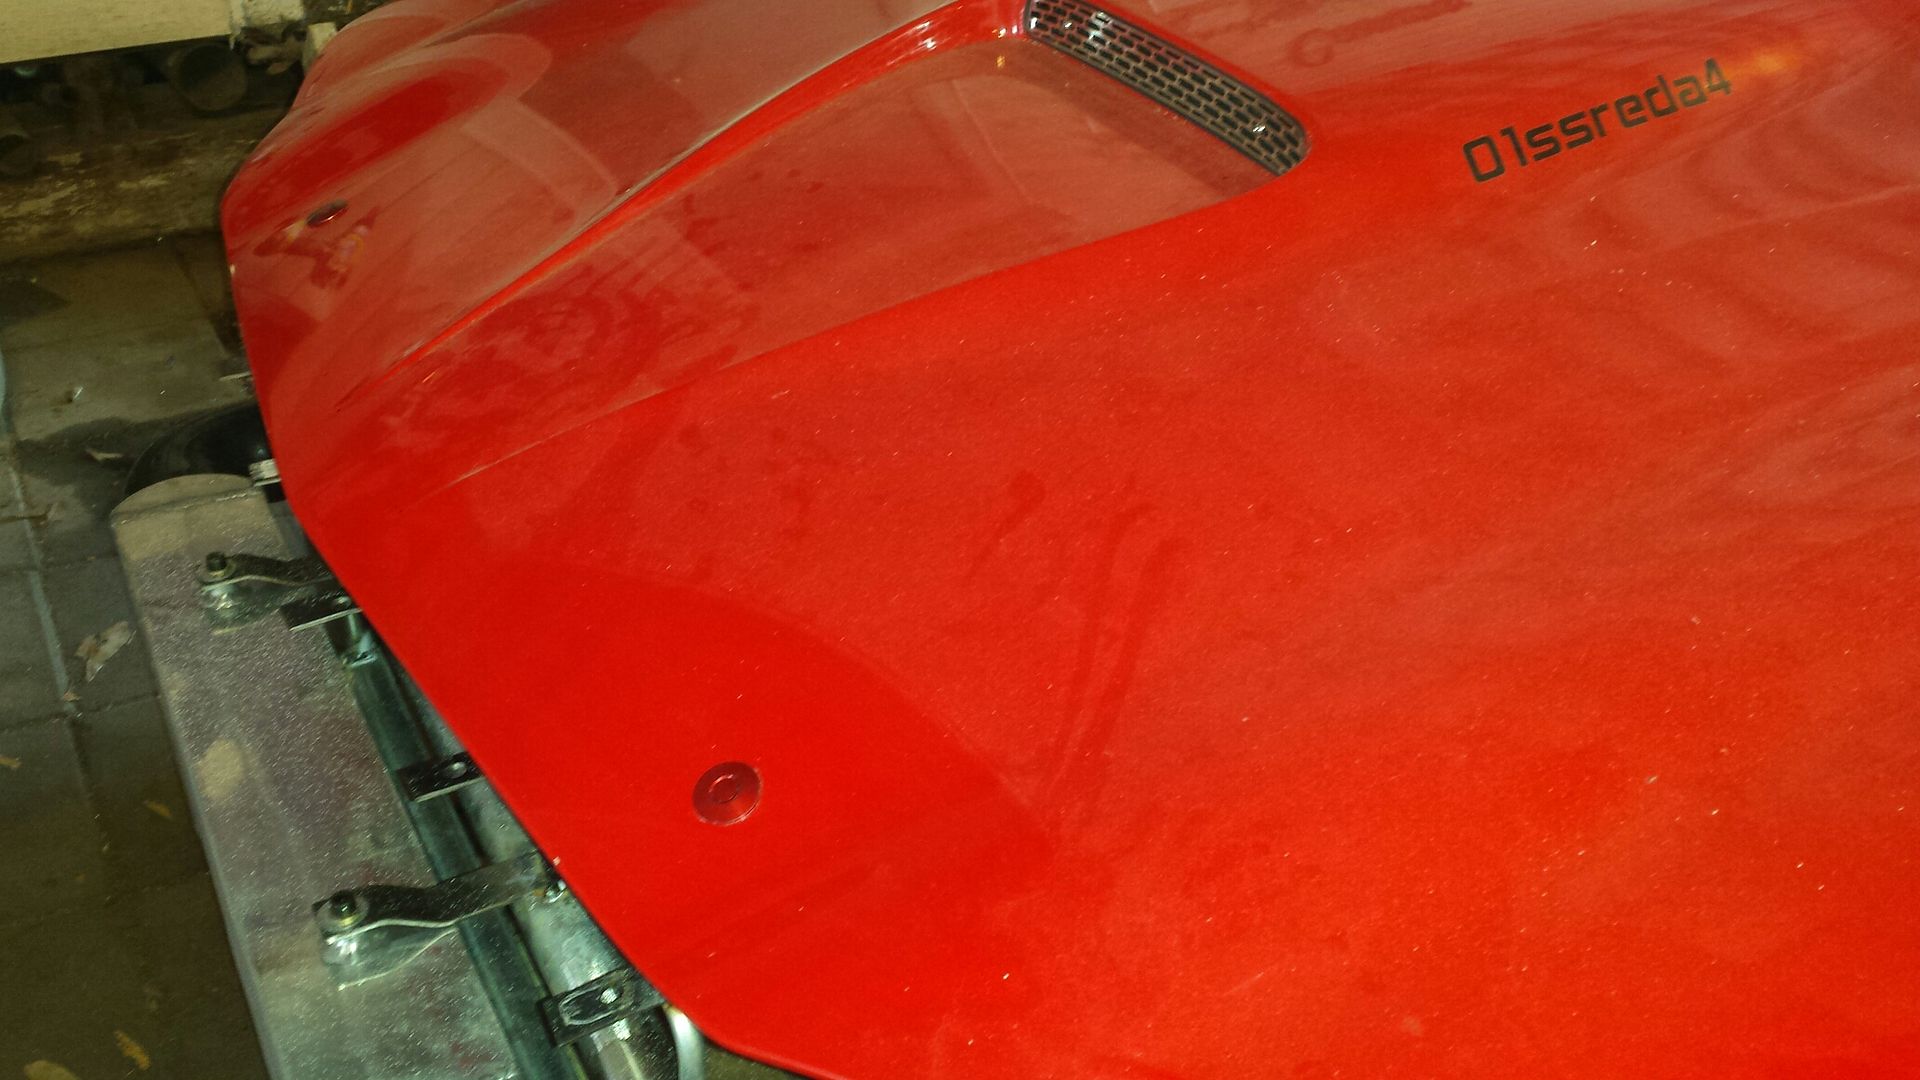
I cringed a little drilling through the hood. Not a lot but a little.
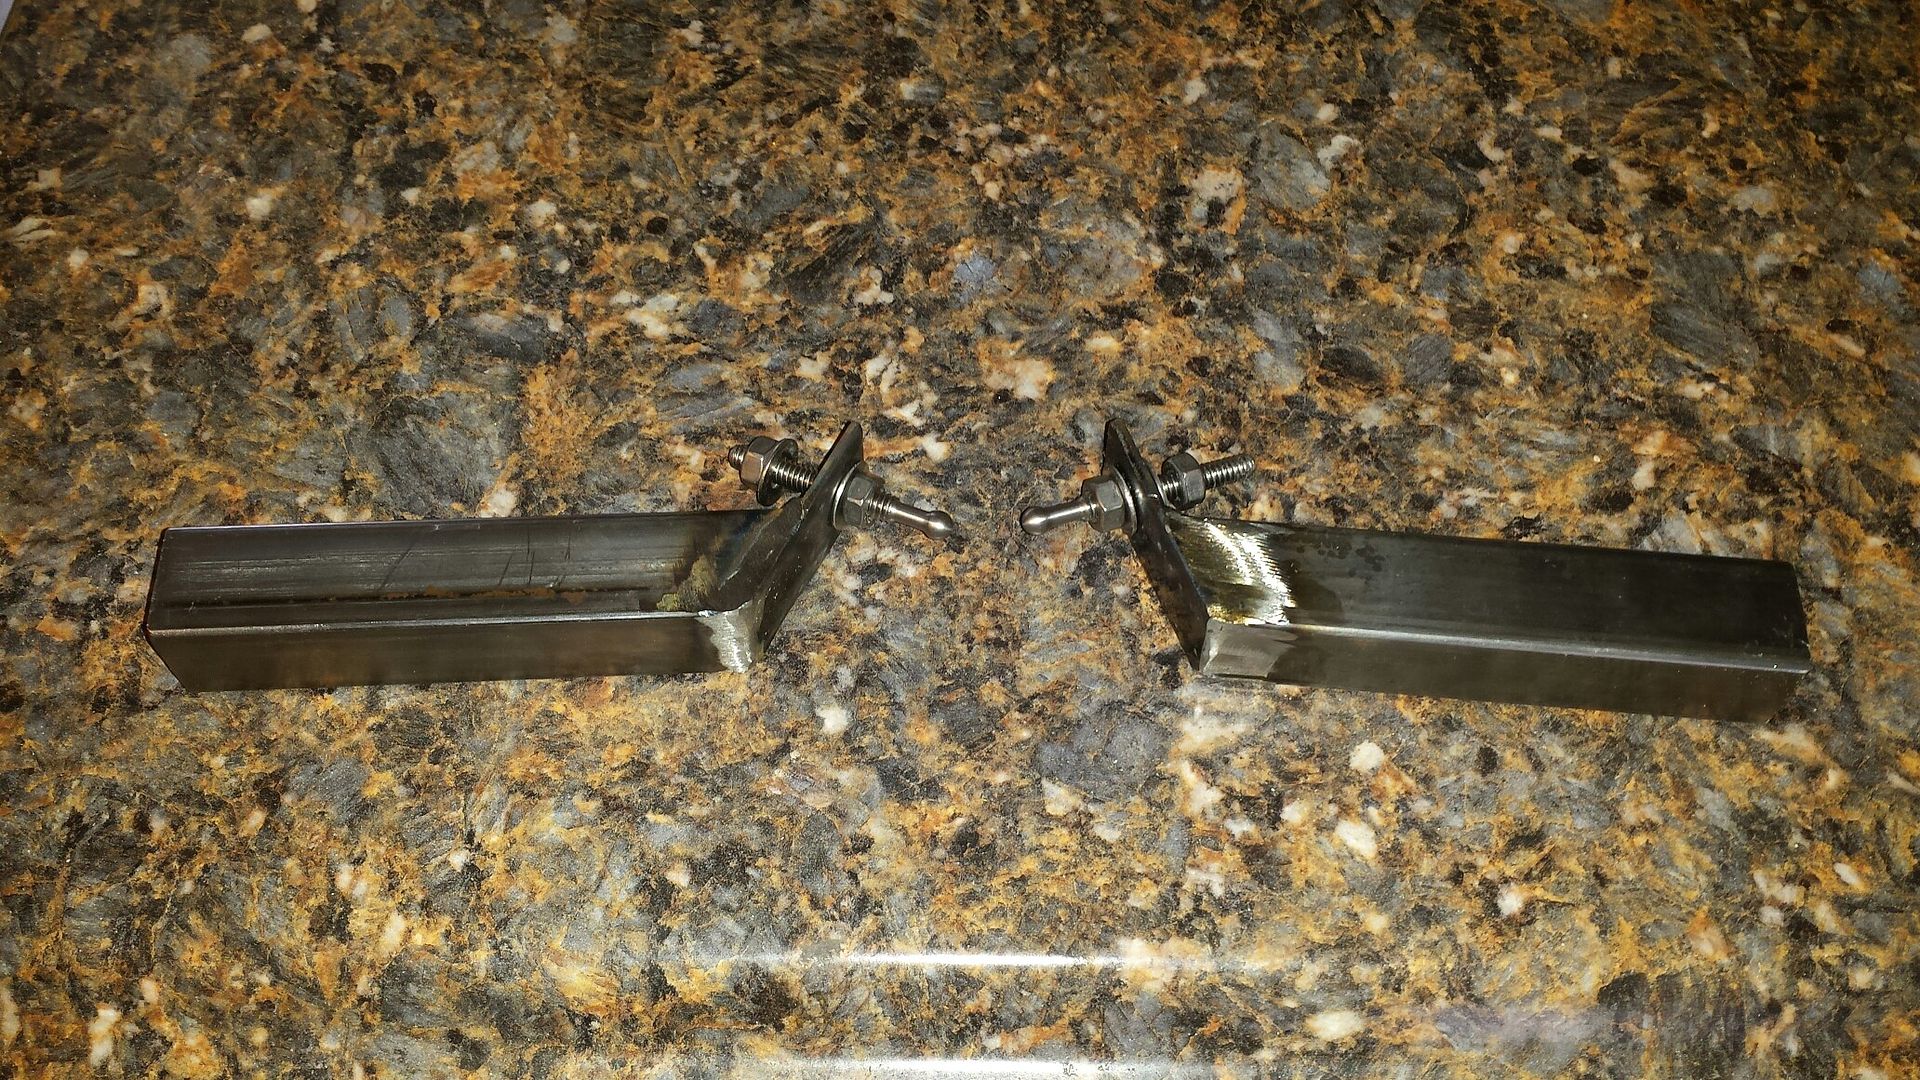
Some simple square tube and flat bar brackets for the hood latches. This was the first attempt. I realized the angle needed altered. These are welded on the main hoop.
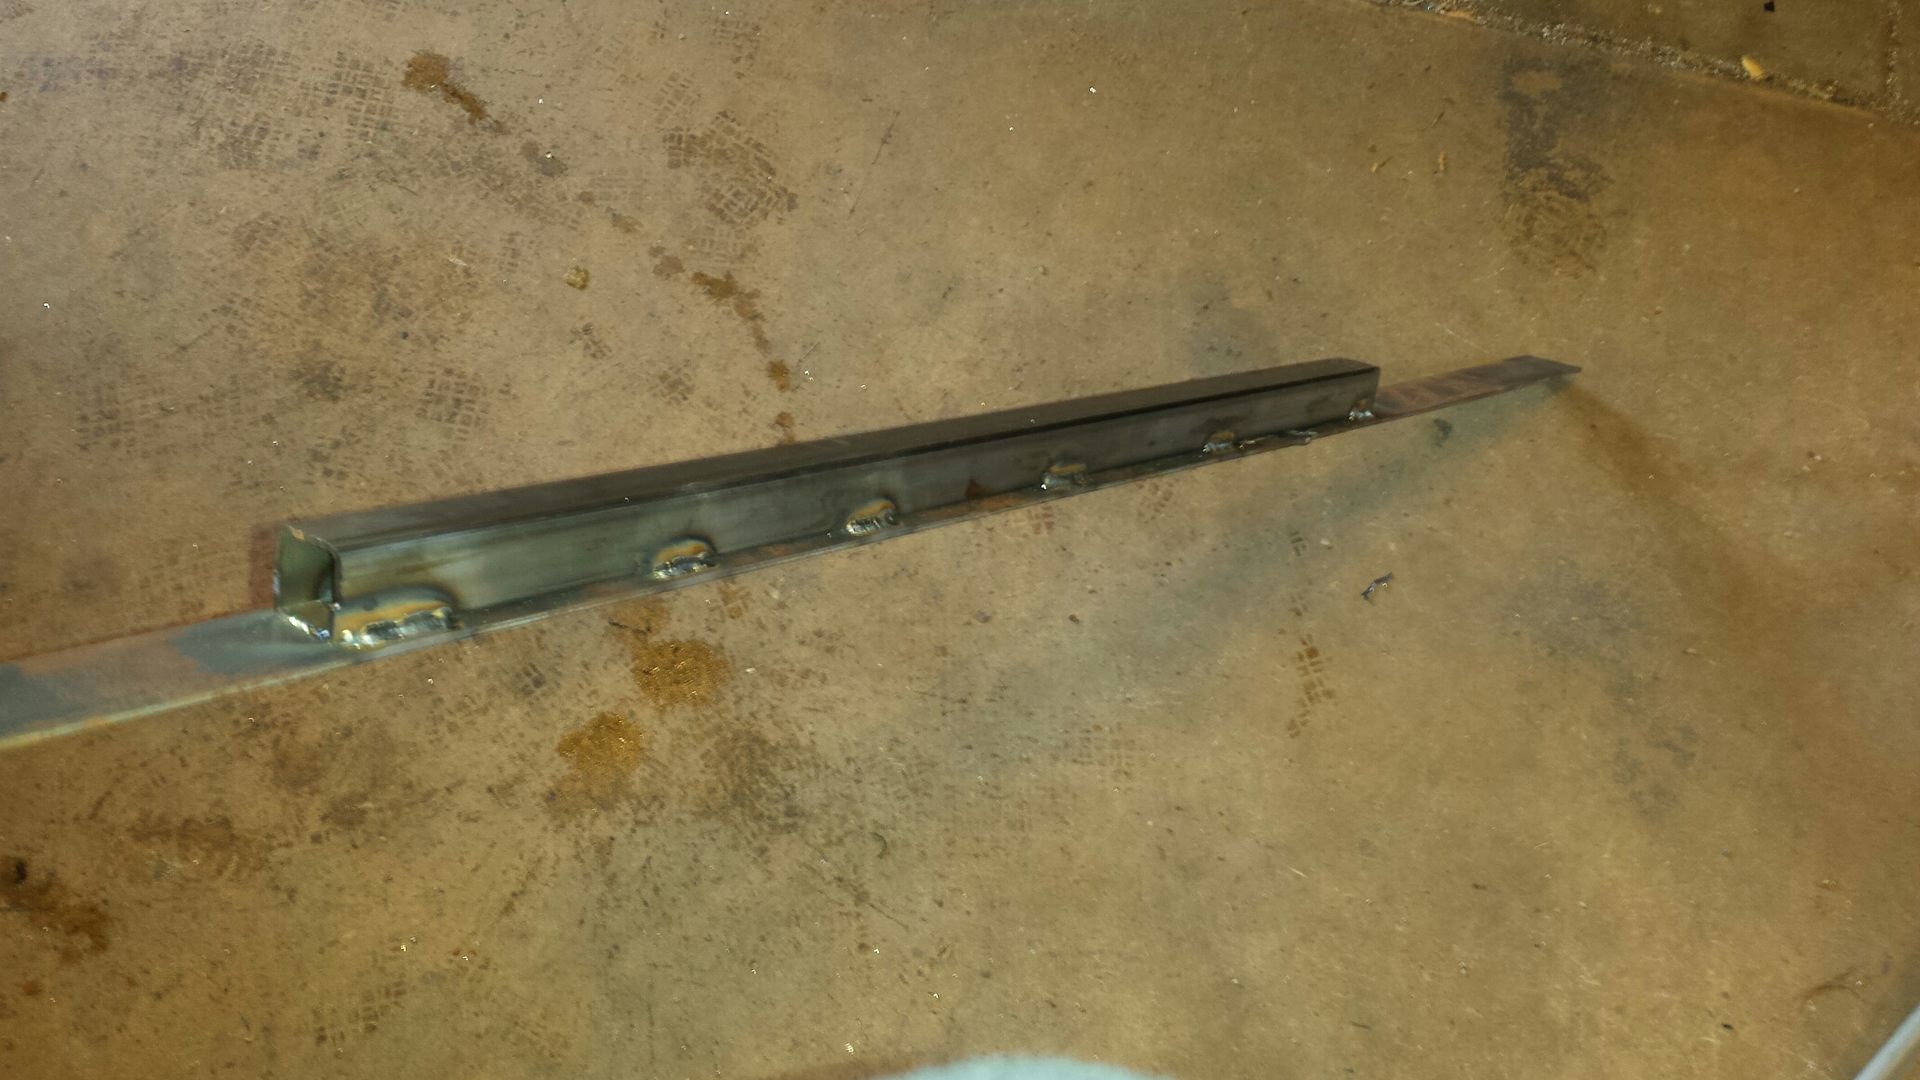
Homemade lower radiator support. I am using the passenger side rubber donut but otherwise the radiator will be sitting on the square tubing. The metal on the top and bottom of the radiator is fairly thick and by distributing the load over the entire area should not have any rubbing issues.
Here's the radiator sitting on the lower support. Im keeping it as close to straight up as possible for turbo clearance. Here I'm checking hood clearance. Zip ties are your "little helper".
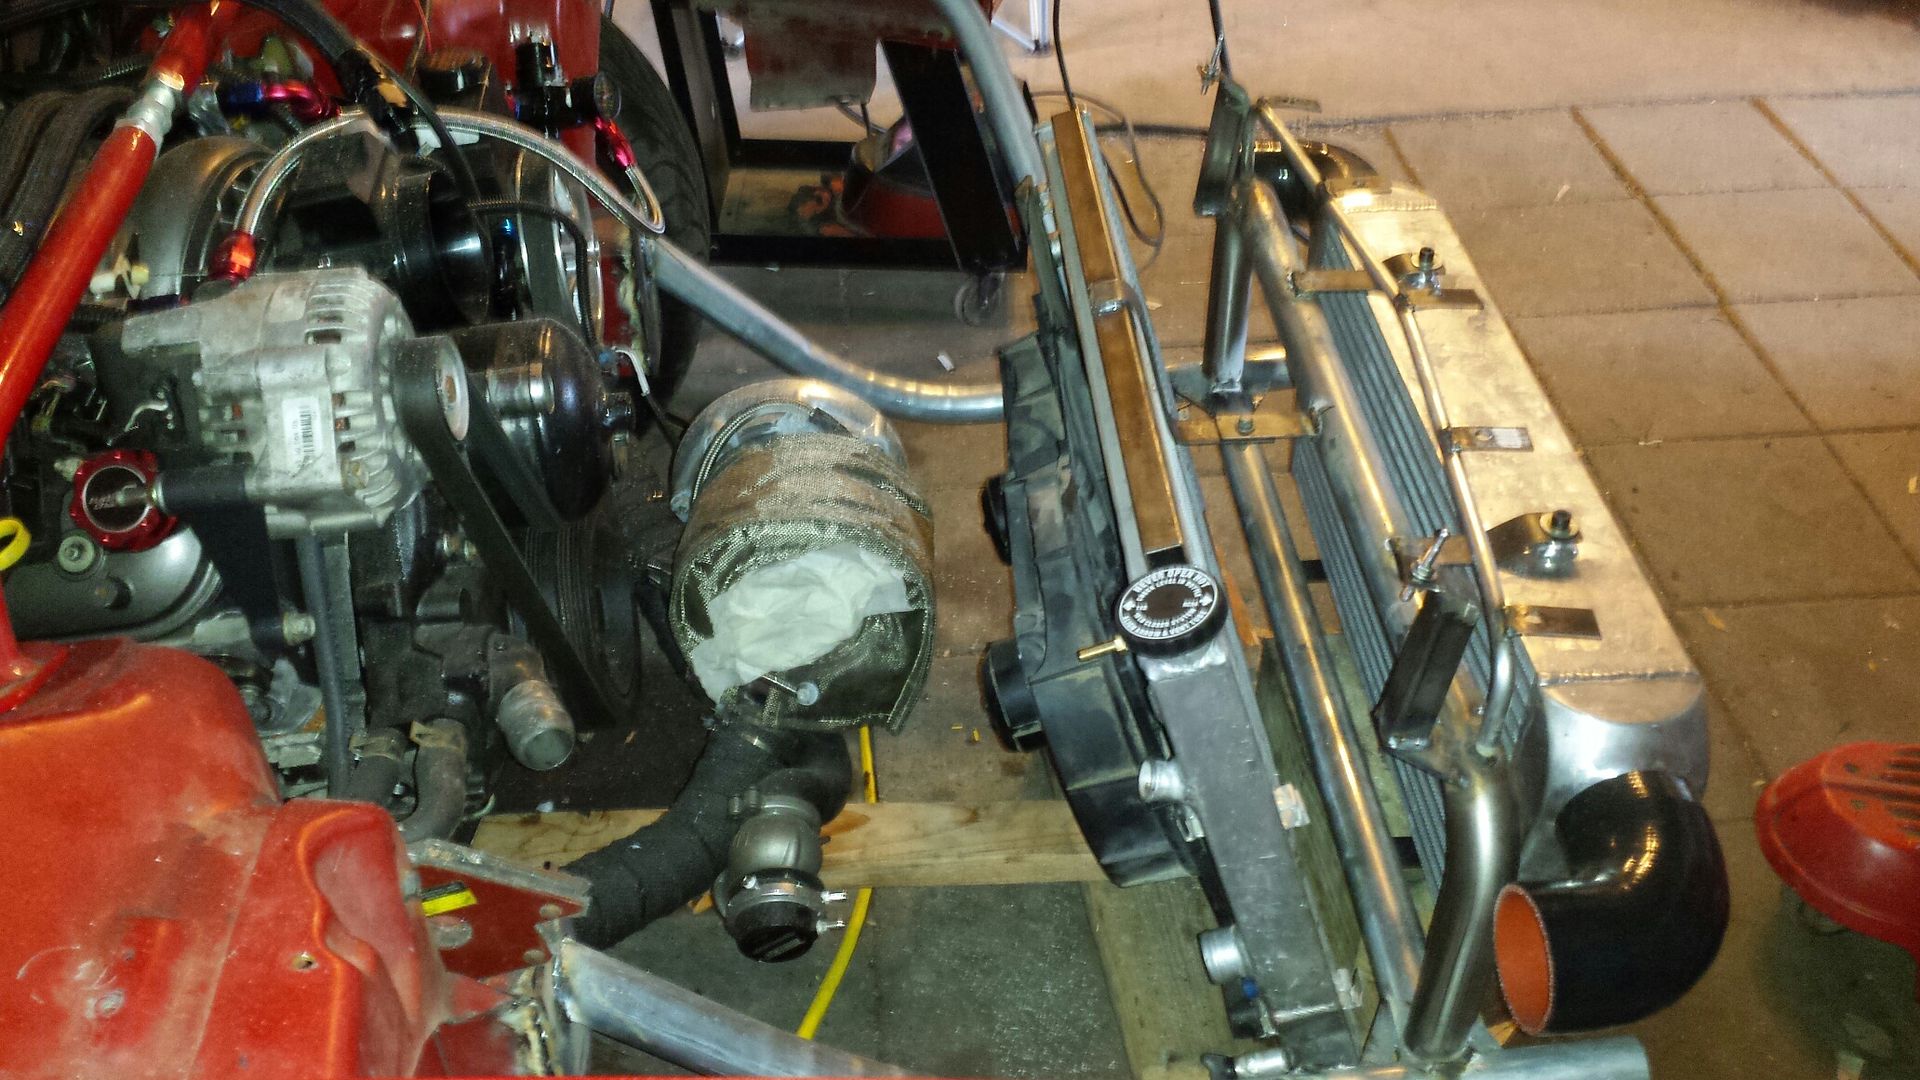
Upper radiator bracket made and fans mounted and back on the rear as they were stock. One bolt and the entire radiator comes out, yeeeah. Again, square tube up top and across to distribute load.
Another look.
And Im done for the weekend. This is way more work then I originally thought. I "hope" my next update will be a road trip and a roll cage on a trailer. We shall see.

Got the main hoop made and some simple flat bar brackets welded on to hold the intercooler. The 90 degree bends here are stainless and were found on ebay for 20 bucks. No way I could have made a bend that nice so I decided it was ok to buy/use these.

The intercooler has been flipped where the outlets are up top. With 90 degree elbows they just clear the main hoop, and are just under the headlights. I also made an extension on the main hoop to hold 5 tabs that support the bumper and have holes for the pushpins.

Hood latches, and the biggest tap Ive ever owned.

I cringed a little drilling through the hood. Not a lot but a little.

Some simple square tube and flat bar brackets for the hood latches. This was the first attempt. I realized the angle needed altered. These are welded on the main hoop.

Homemade lower radiator support. I am using the passenger side rubber donut but otherwise the radiator will be sitting on the square tubing. The metal on the top and bottom of the radiator is fairly thick and by distributing the load over the entire area should not have any rubbing issues.

Here's the radiator sitting on the lower support. Im keeping it as close to straight up as possible for turbo clearance. Here I'm checking hood clearance. Zip ties are your "little helper".

Upper radiator bracket made and fans mounted and back on the rear as they were stock. One bolt and the entire radiator comes out, yeeeah. Again, square tube up top and across to distribute load.

Another look.

And Im done for the weekend. This is way more work then I originally thought. I "hope" my next update will be a road trip and a roll cage on a trailer. We shall see.
#97
05-28-2018, 06:16 PM
It's looking good so far. That's one big @$$ drill bit! Wouldn't a hole saw be faster and easier?
The biggest twist drill bit I have is 7/8". None of the hardware stores I tried had one, but a local industrial tool supplier had them. It was several years ago but I remember it cost me a lot. Over $20 IIRC, maybe closer to $30. If I ream out the necks of 2-liter soda bottles with it, they'll fit over the compensator on the muzzle of my .22 rifle. Don't ask me why anyone would want to do that.
The biggest twist drill bit I have is 7/8". None of the hardware stores I tried had one, but a local industrial tool supplier had them. It was several years ago but I remember it cost me a lot. Over $20 IIRC, maybe closer to $30. If I ream out the necks of 2-liter soda bottles with it, they'll fit over the compensator on the muzzle of my .22 rifle. Don't ask me why anyone would want to do that.
#98
05-28-2018, 06:30 PM
Join Date: Aug 2010
Posts: 230
Likes: 0
Received 0 Likes
on
0 Posts
So the story with the bit is.....If you notice, my turbo drain feed is dripping (floor under the engine is filthy). Has been for a while. Another one i did, yep its leaking too. I did a bulkhead fitting with oring on the inside for both. The oil pan is plenty thick enough to tap, course I didnt have that size tap (would have been 1/2 NPT), so i used the bulkhead. Dumb me. If i have room between the pan and rail, my plan is to go 3/4 or 1" NPT, and use a reducer bushing back to a 1/2npt to 10 AN adapter. I dont know how big i drilled the hole in the oil pan until the fitting is removed and i measure it. So i bought the 1". May need to go back and order the 3/4". And if i cant drill it with the pan on the engine, I may just clean it and slap some permatex on it to get me by. Im sure this wont be my last engine i ever have in the car.
You can see the drain here:
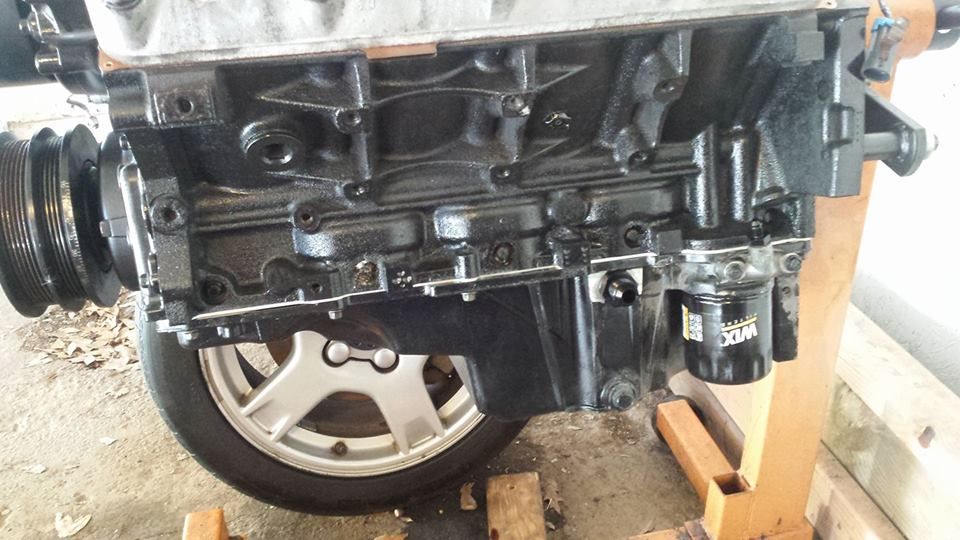
You can see the drain here:

#99
06-02-2018, 08:23 AM
Join Date: Aug 2010
Posts: 230
Likes: 0
Received 0 Likes
on
0 Posts
Quick update: Hood safety release handle is reinstalled, fenders/bumper are braced, headlight mounts are done, catch can and radiator over flow have mounts. Everything was test fit before disassembly. Radiator and fans have been cleaned and painted. I tried out some Rustoleum brush on paint. I may go back and do this red, haven't decided. I got the call, roll cage and wheel tubs pick up on Tuesday.......so that means, road trip finally!!


#100
06-07-2018, 07:27 AM
Join Date: Aug 2010
Posts: 230
Likes: 0
Received 0 Likes
on
0 Posts
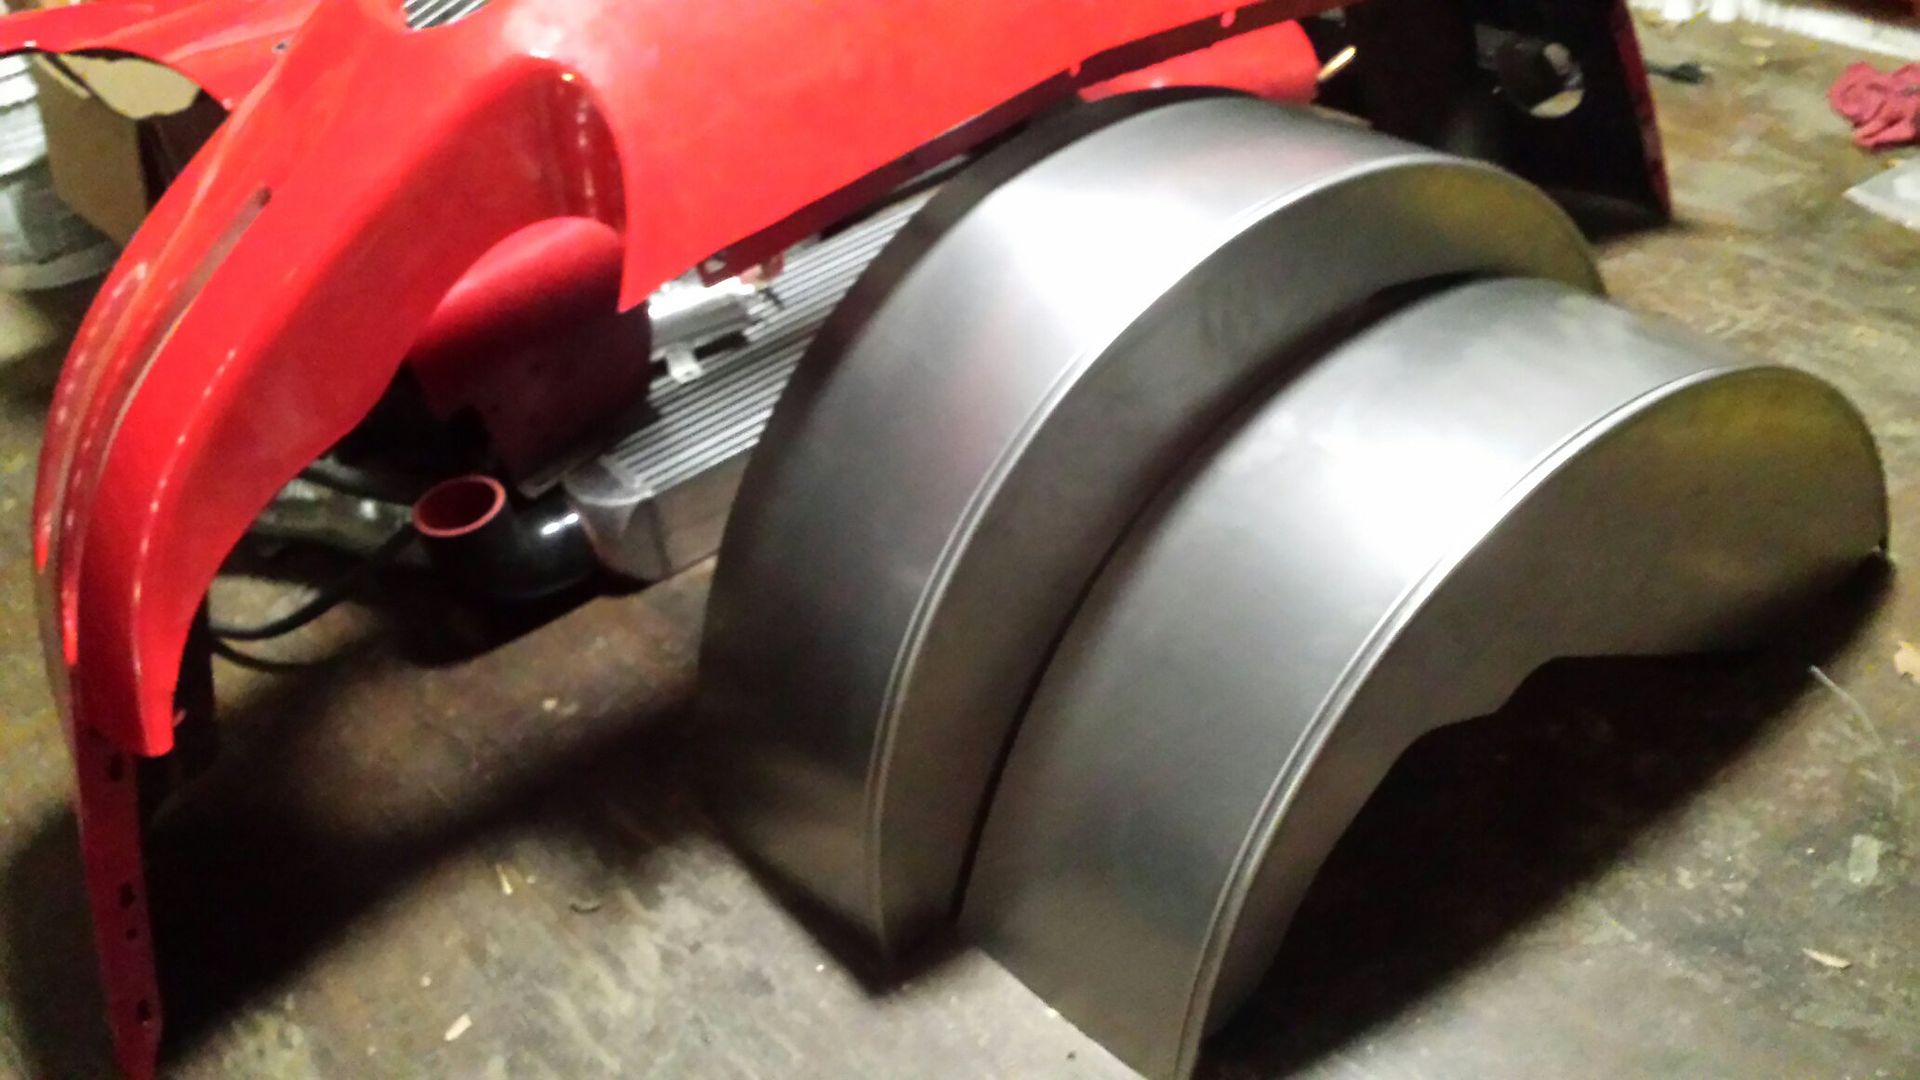
Long trip to Ft Worth and back. Dallas traffic is crazy......
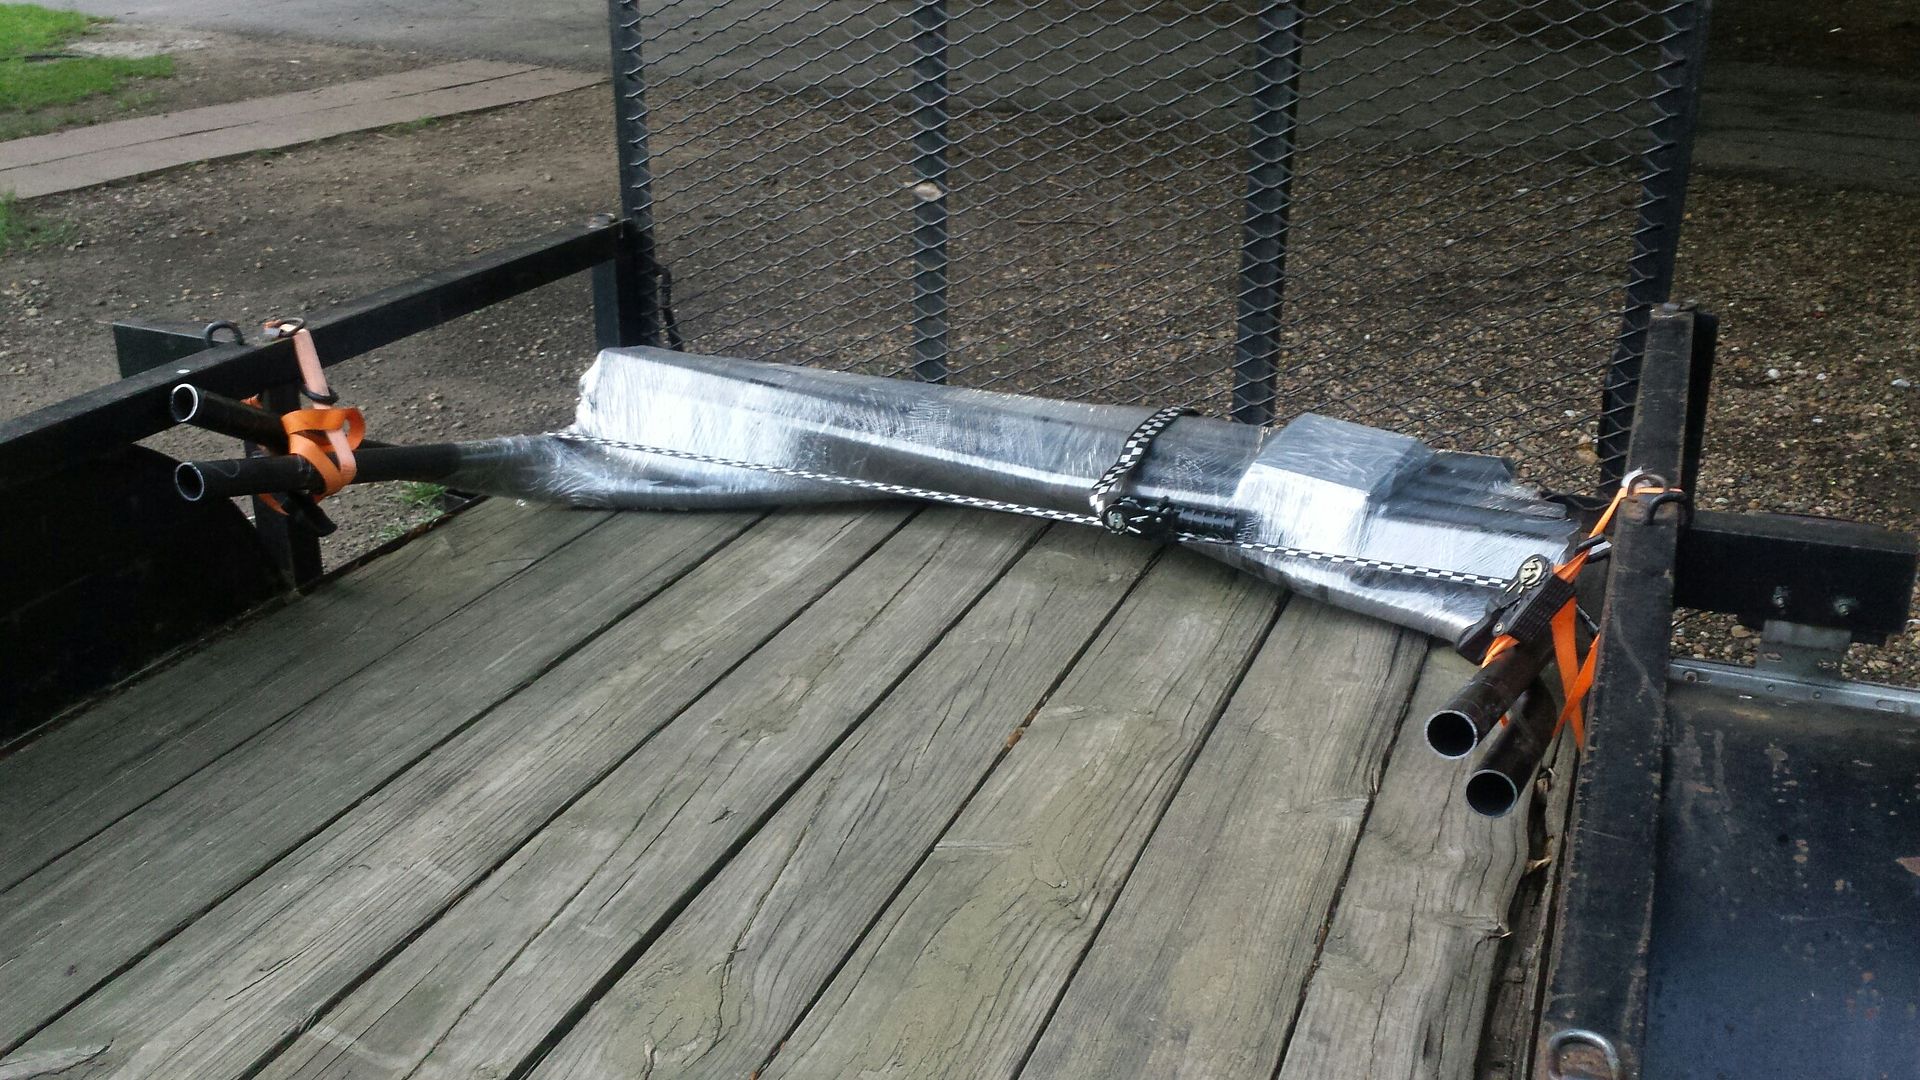
The tubs appear different sizes due to the car body being non-symmetrical. They will look the same once installed.
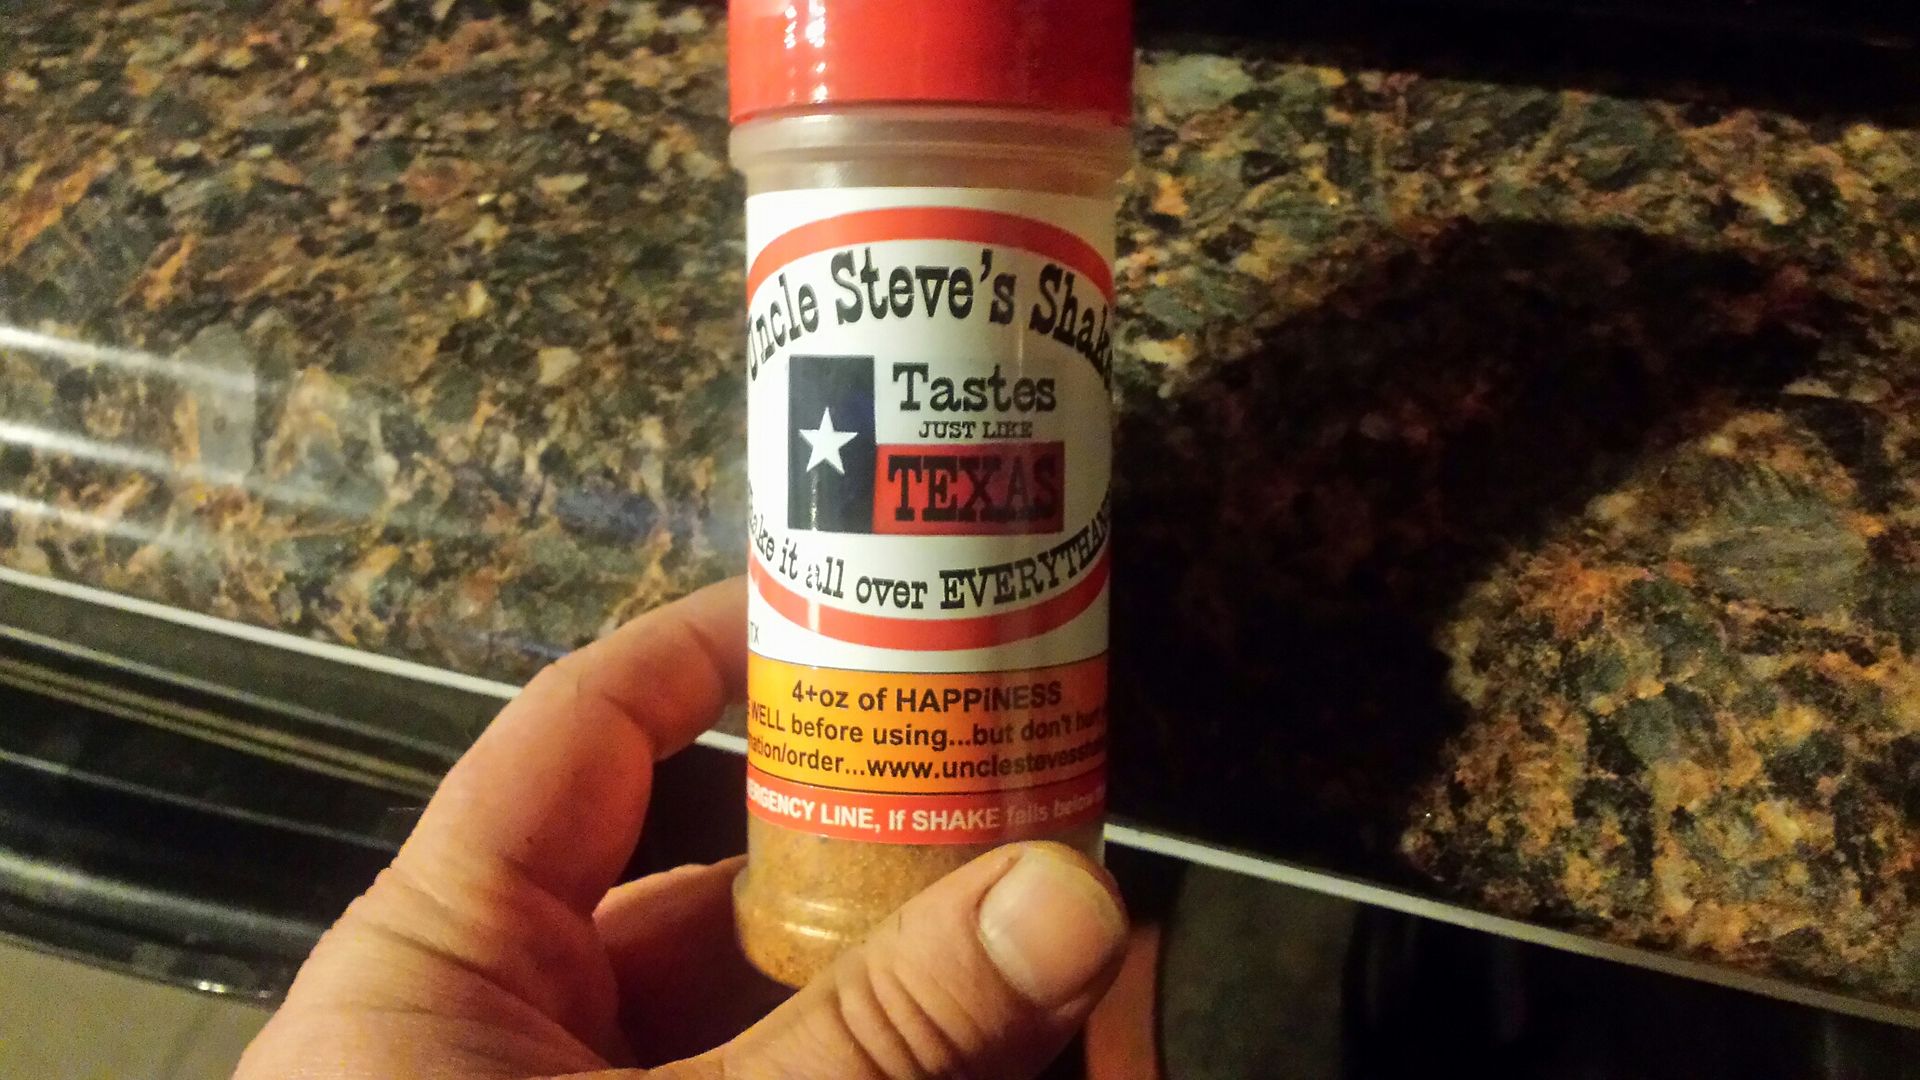
If you ever stop at Bucee's or see this in the store its highly recommended. Cool place, first time I'd been to one.
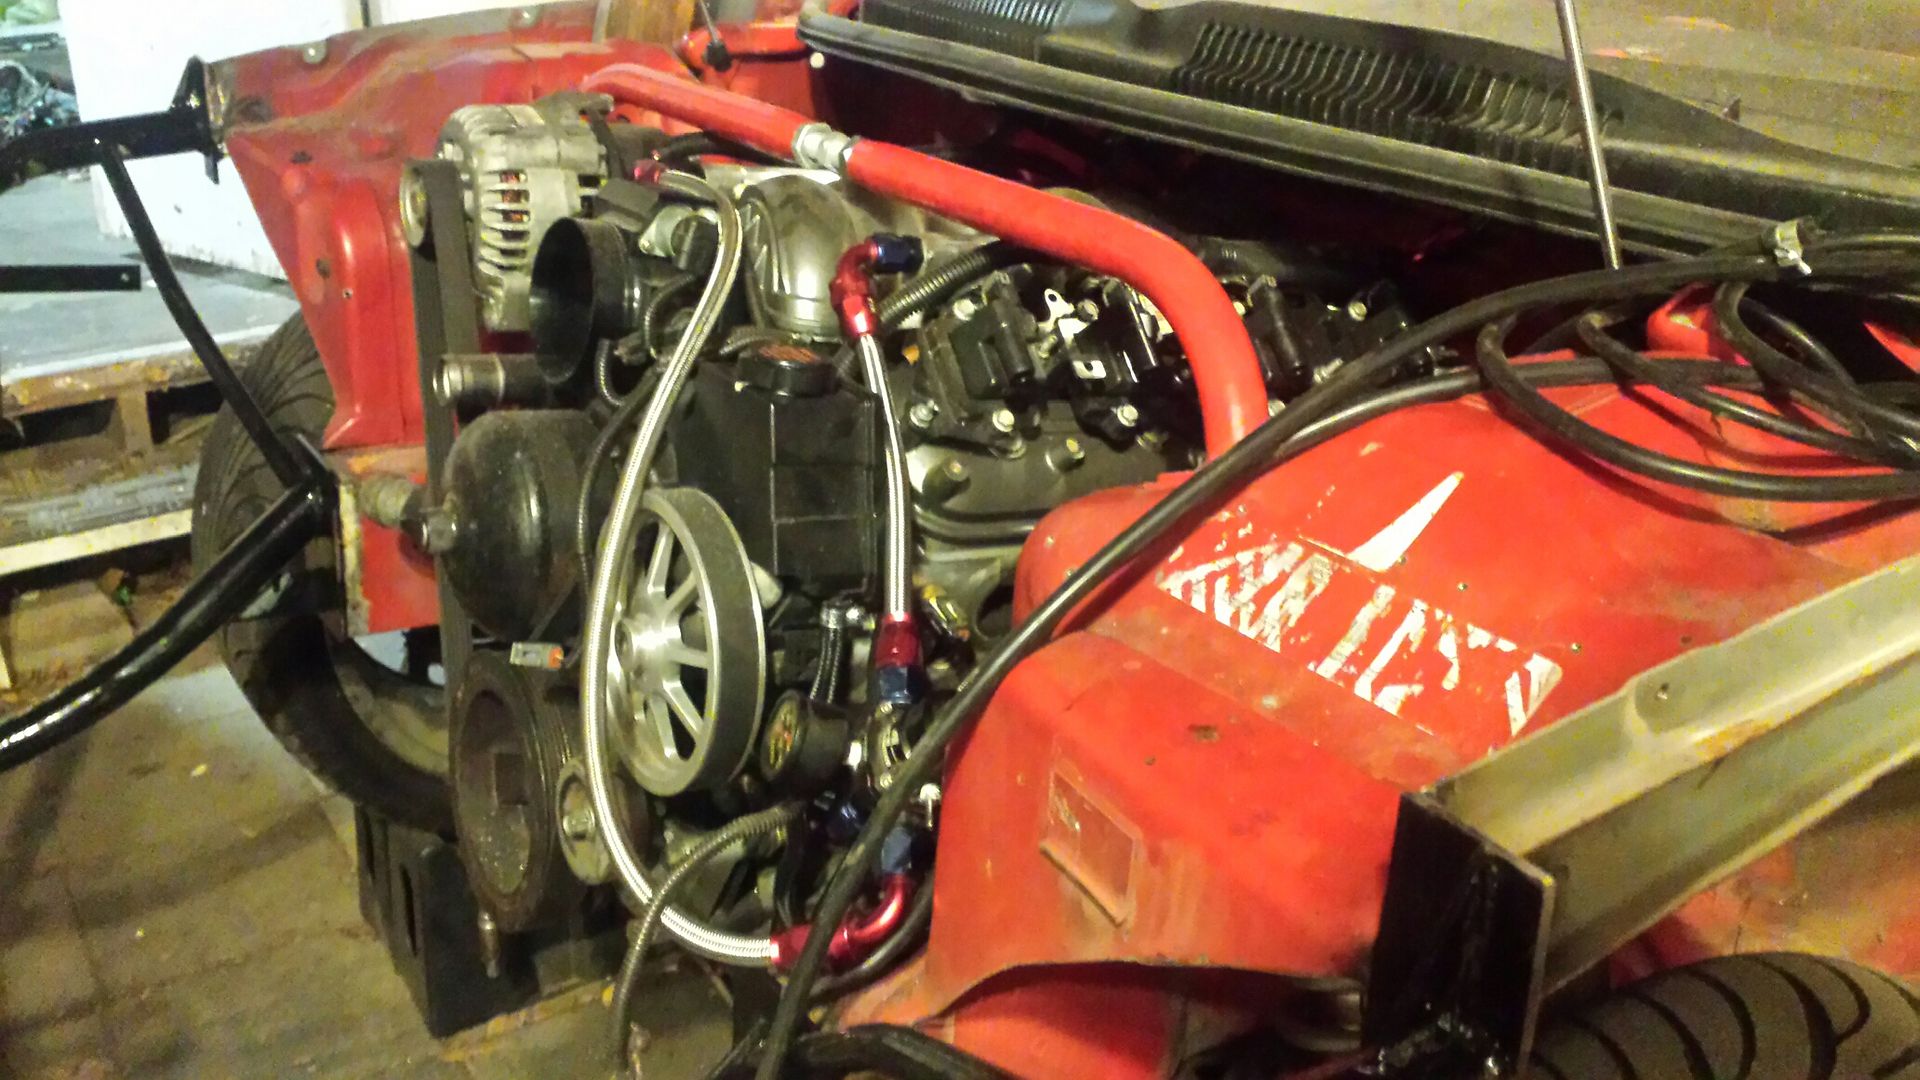
Turbo and turbo kit is gone. On to bigger and better things.

The tubs appear different sizes due to the car body being non-symmetrical. They will look the same once installed.

If you ever stop at Bucee's or see this in the store its highly recommended. Cool place, first time I'd been to one.

Turbo and turbo kit is gone. On to bigger and better things.


