SS Camaro - Track trips, build pics etc.
#101
 06-07-2018, 06:06 PM

I found Uncle Steve's Shake online. It said what some of the ingredients were but the image was broken. I only know it has salt and spices in it. I use soul seasoning whenever I fry myself a steak or a burger. Before I started using soul seasoning I used salt, pepper and garlic powder. I've also used Morton Nature’s Seasons, but Morton Season-All has a hint of chili pepper so it has to be better. Almost anything else I eat gets hot sauce or nothing at all added. The last time I looked I had 9 different kinds of hot sauce but only have 3 of them open. I like a variety of flavors.
UNCLE STEVE'S SHAKE
UNCLE STEVE'S SHAKE
#102
06-11-2018, 07:44 AM
Join Date: Aug 2010
Posts: 230
Likes: 0
Received 0 Likes
on
0 Posts


#103
06-21-2018, 08:02 AM
Join Date: Aug 2010
Posts: 230
Likes: 0
Received 0 Likes
on
0 Posts
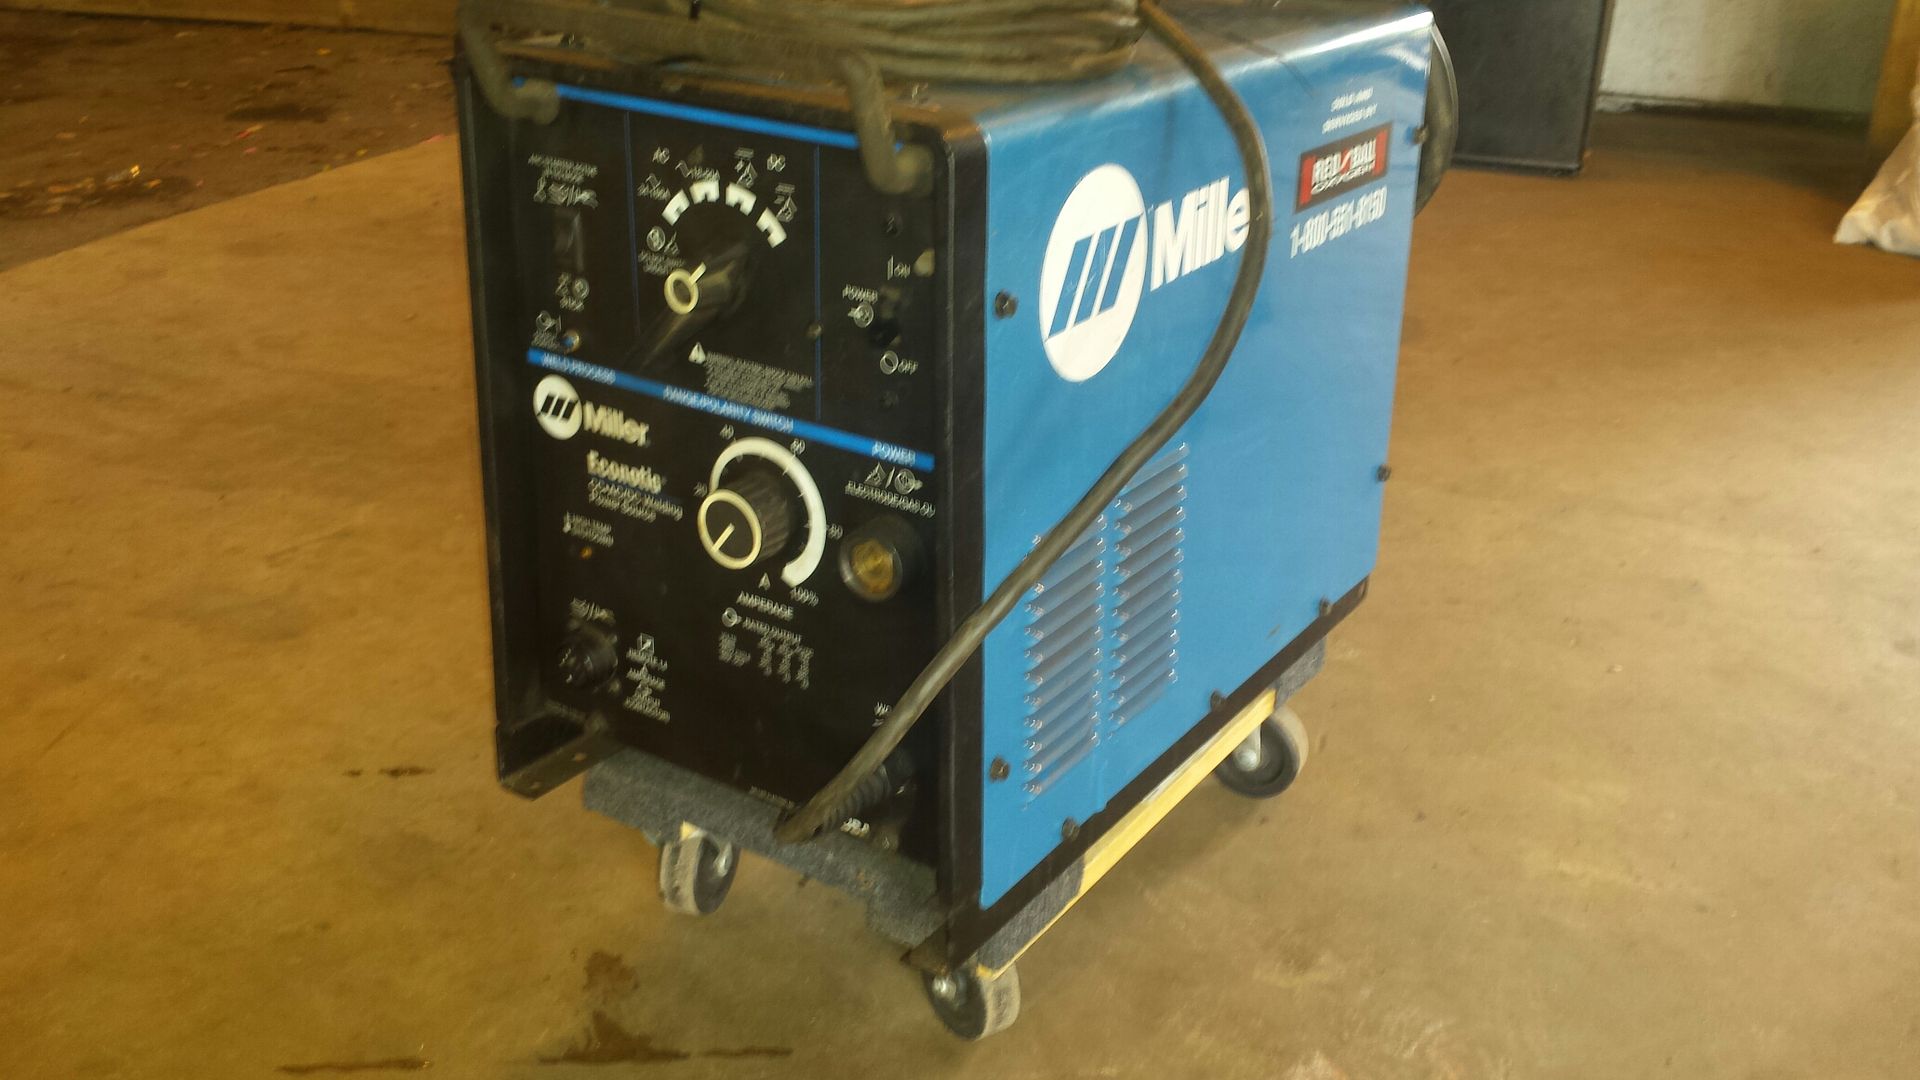
Progress has been slow due to work but i picked up a new toy!!! Gonna need it to weld the chromoly cage in. I wasn't in the market for a new machine but when an older one came around for pretty cheap i decided to jump on it.
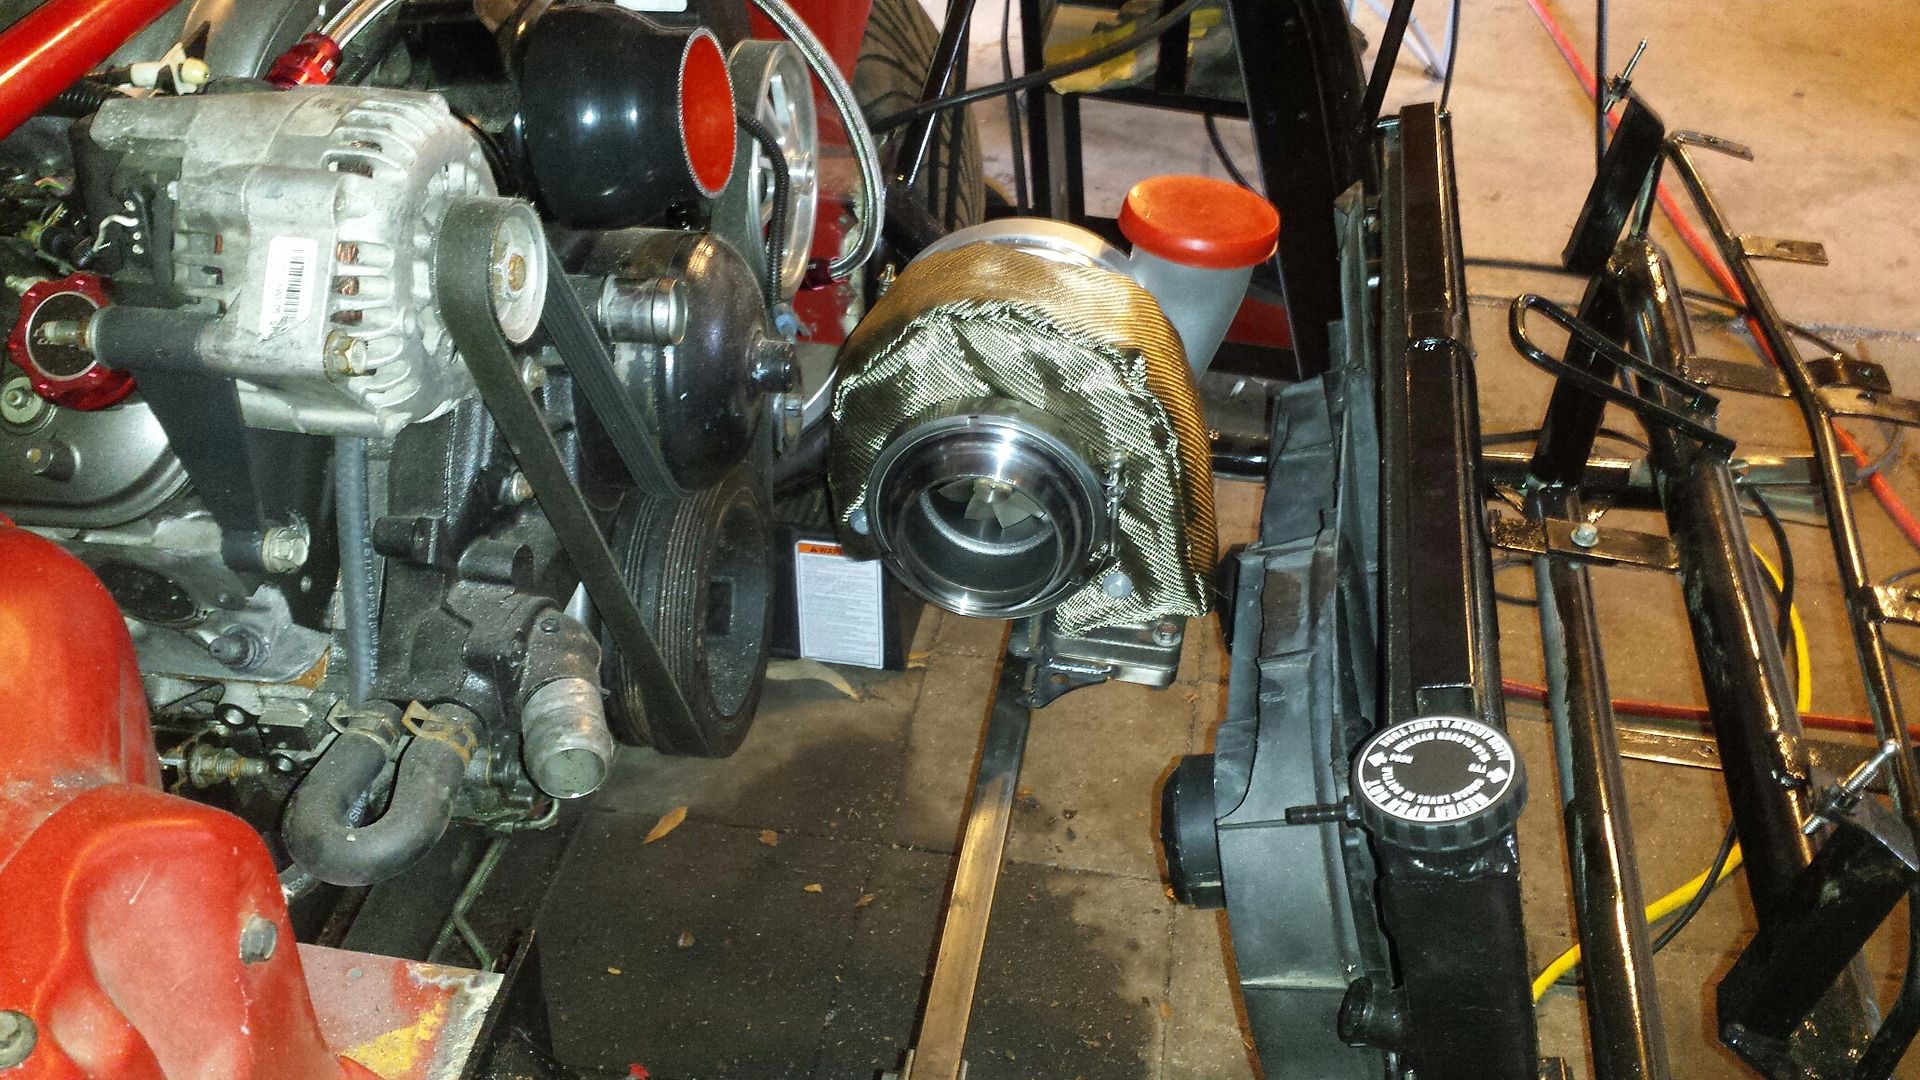
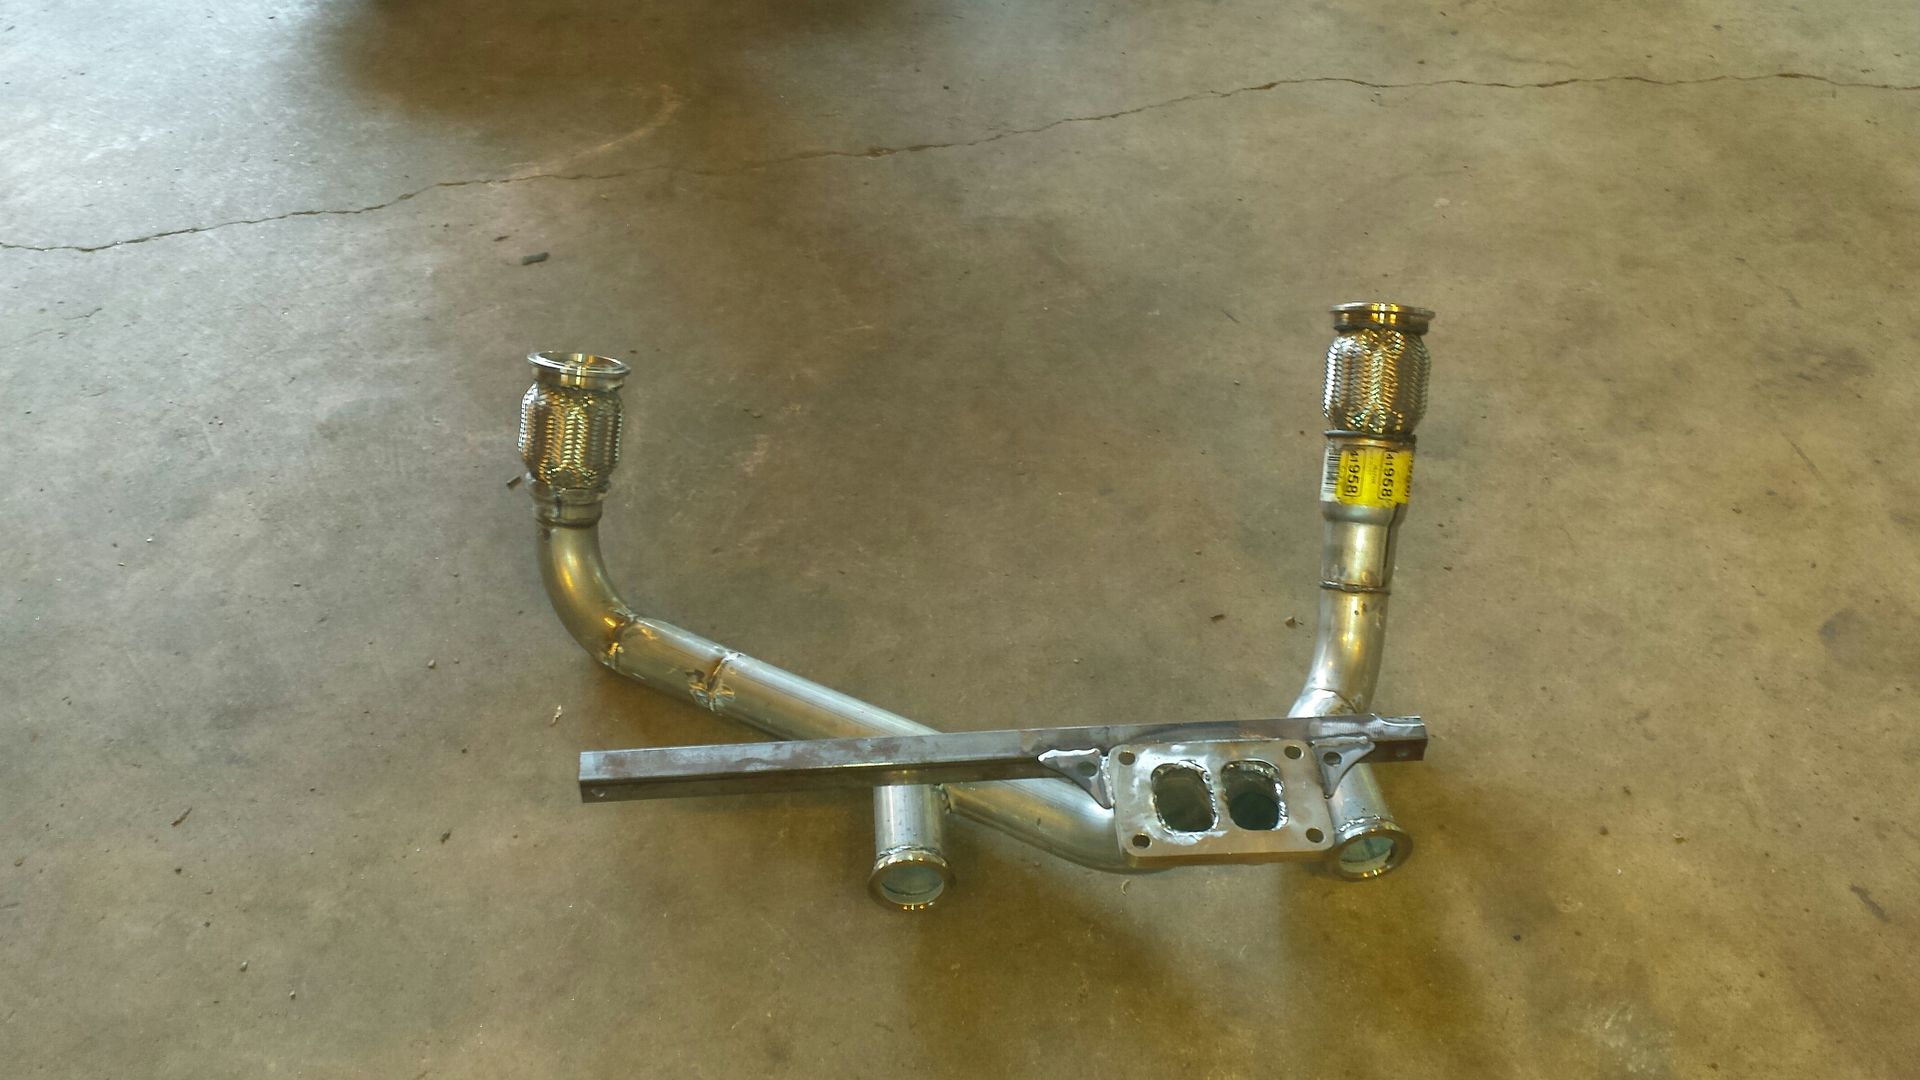
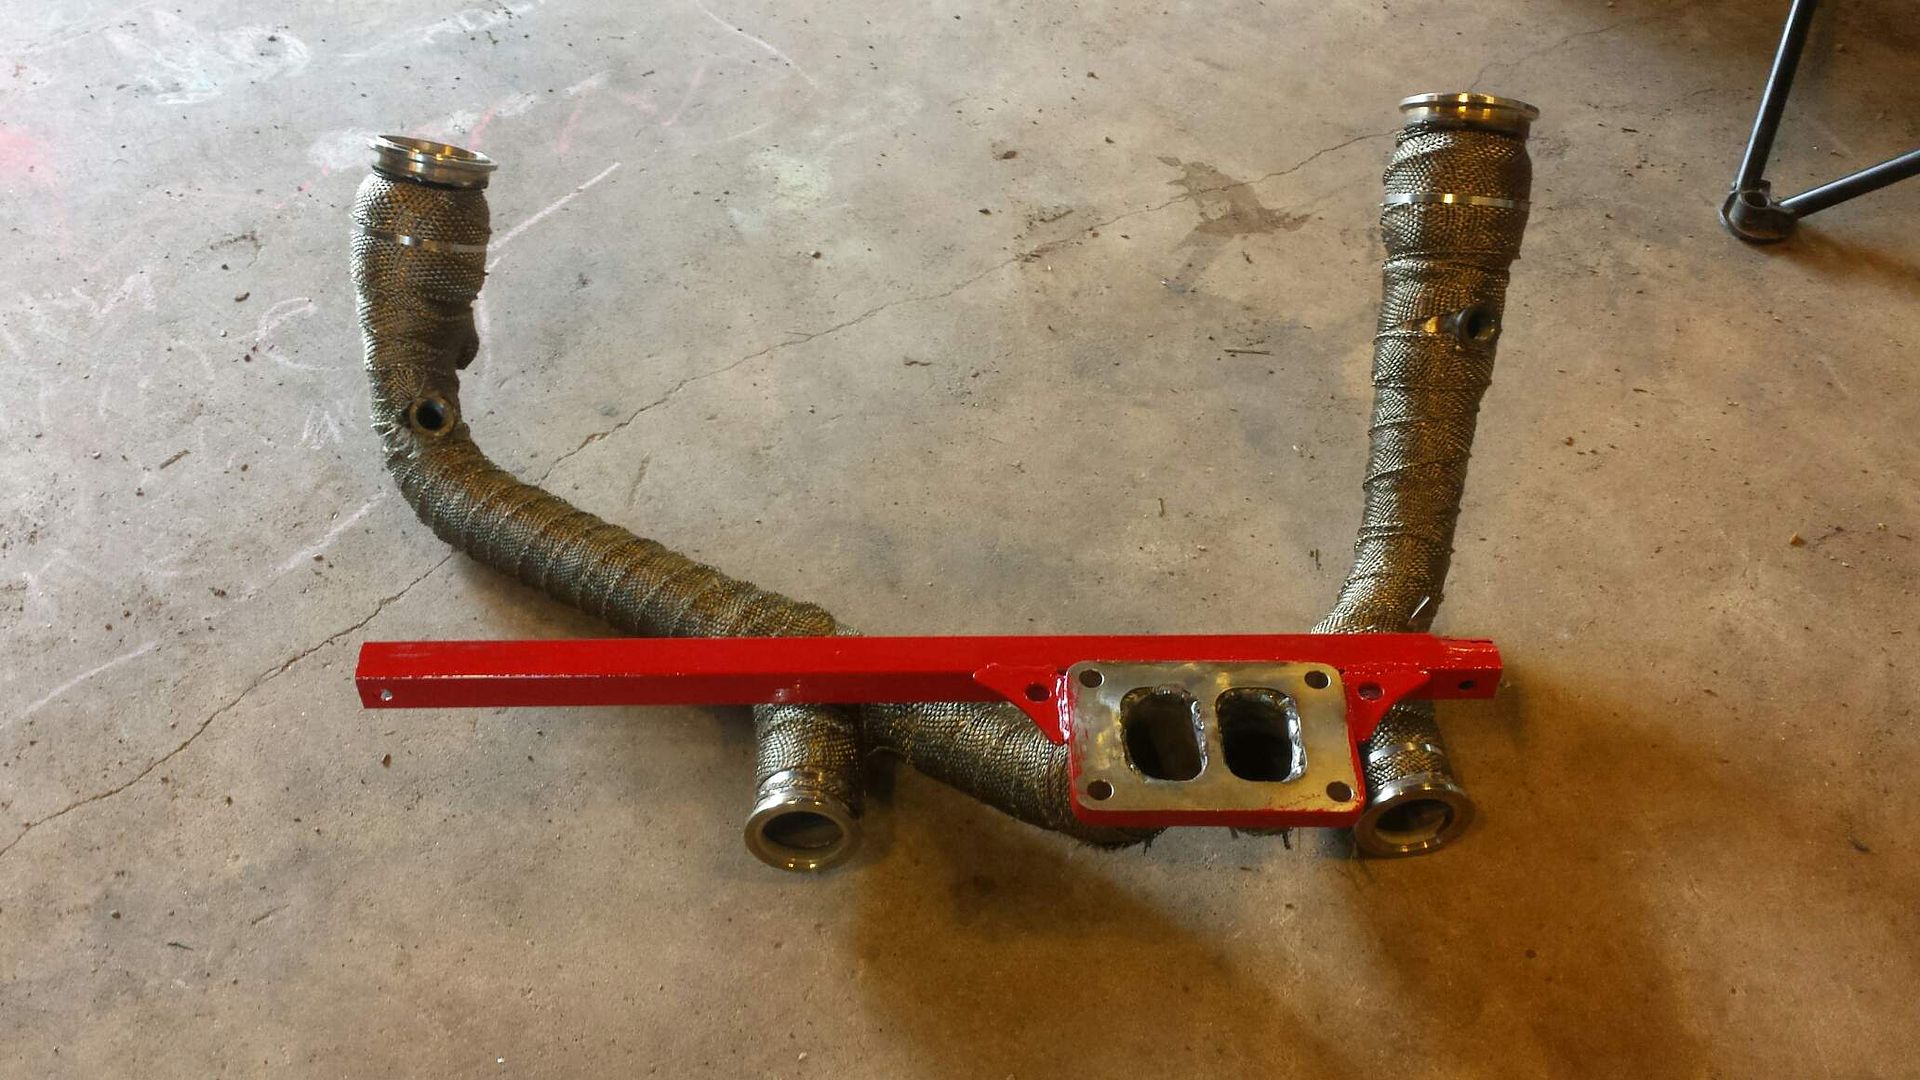
I'm mentally avoiding finishing the wheeltubs at this point, I'm semi-aggravated so I figured let's shift focus. So we know we can't hang a 40+ pound turbo off the manifolds cause when they get hot they will likely crack. So the first thing was making a bolt in brace for this beast. It is attached to the front tubing, which we know is thin, so I've used roll cage gussets in the corners to distribute load. Where the t6 flange is welded to the square bar it has a gusset on each side as well.
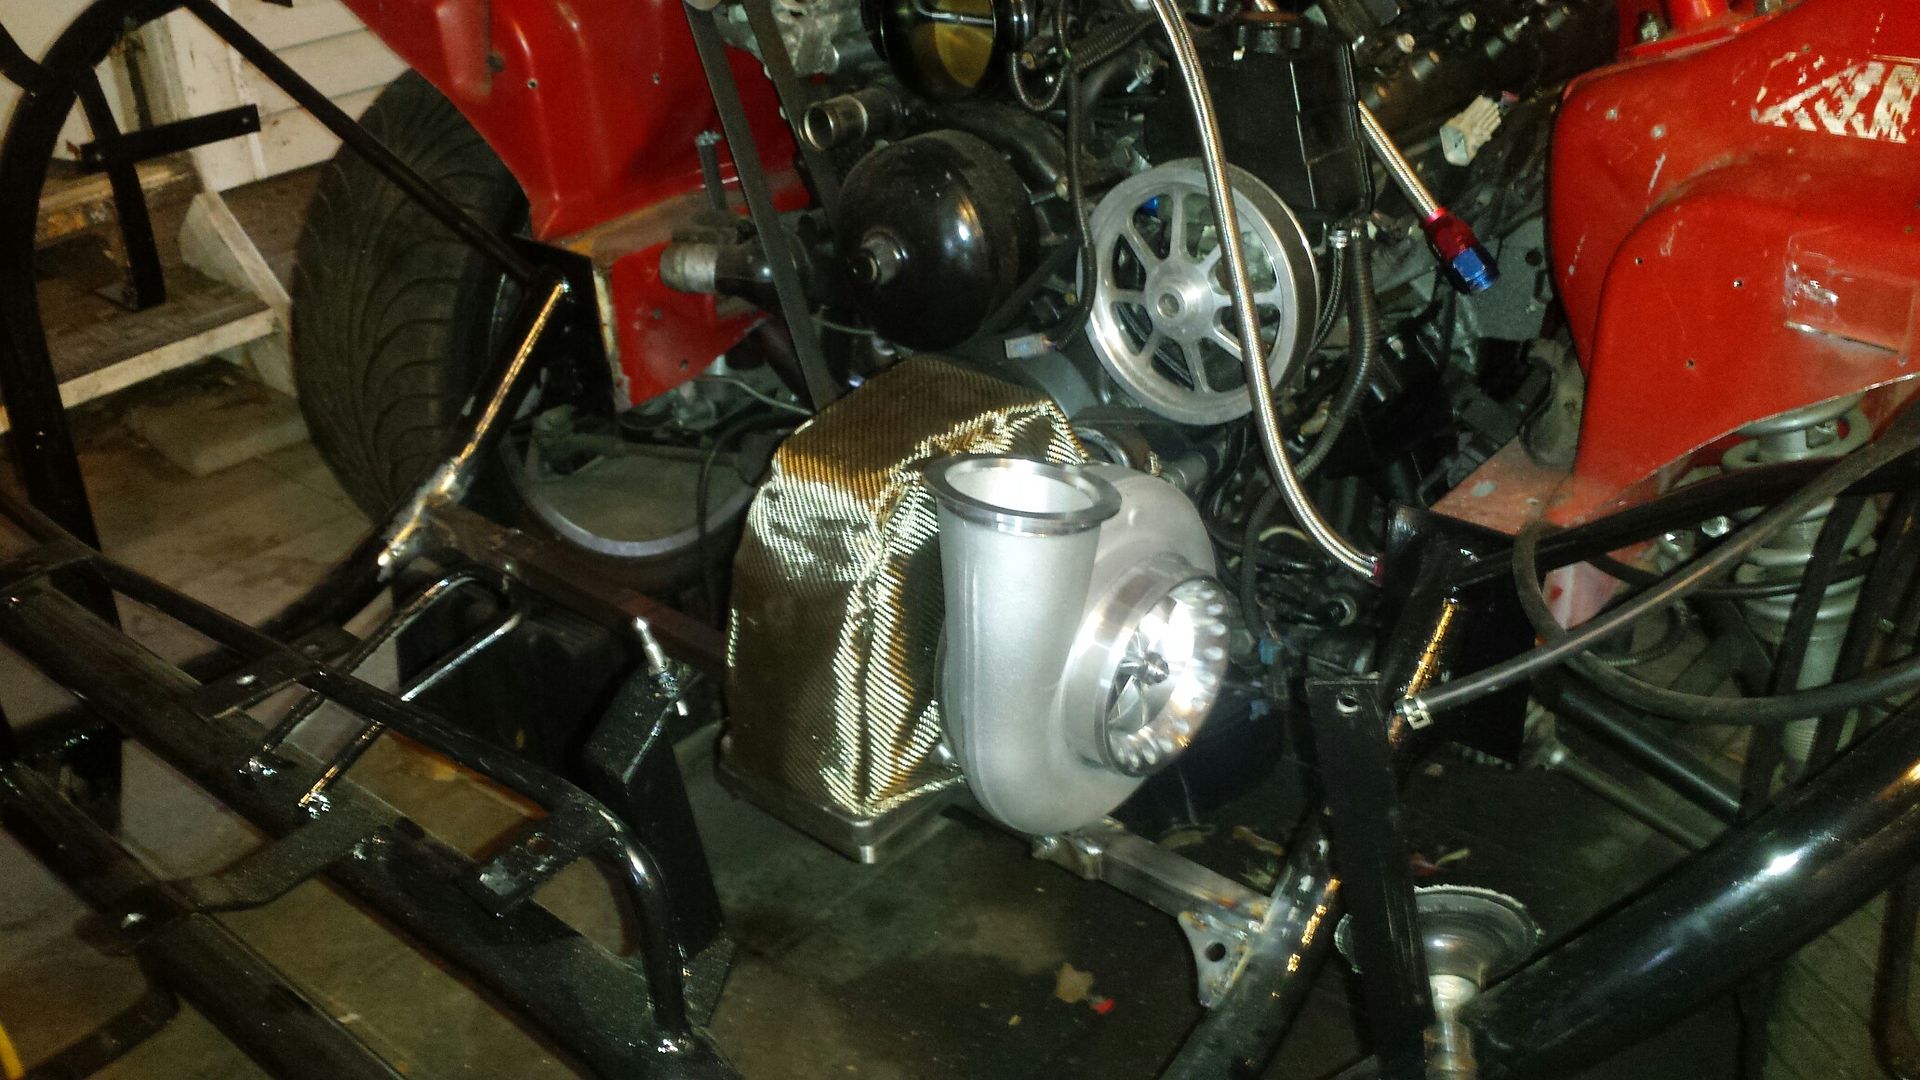
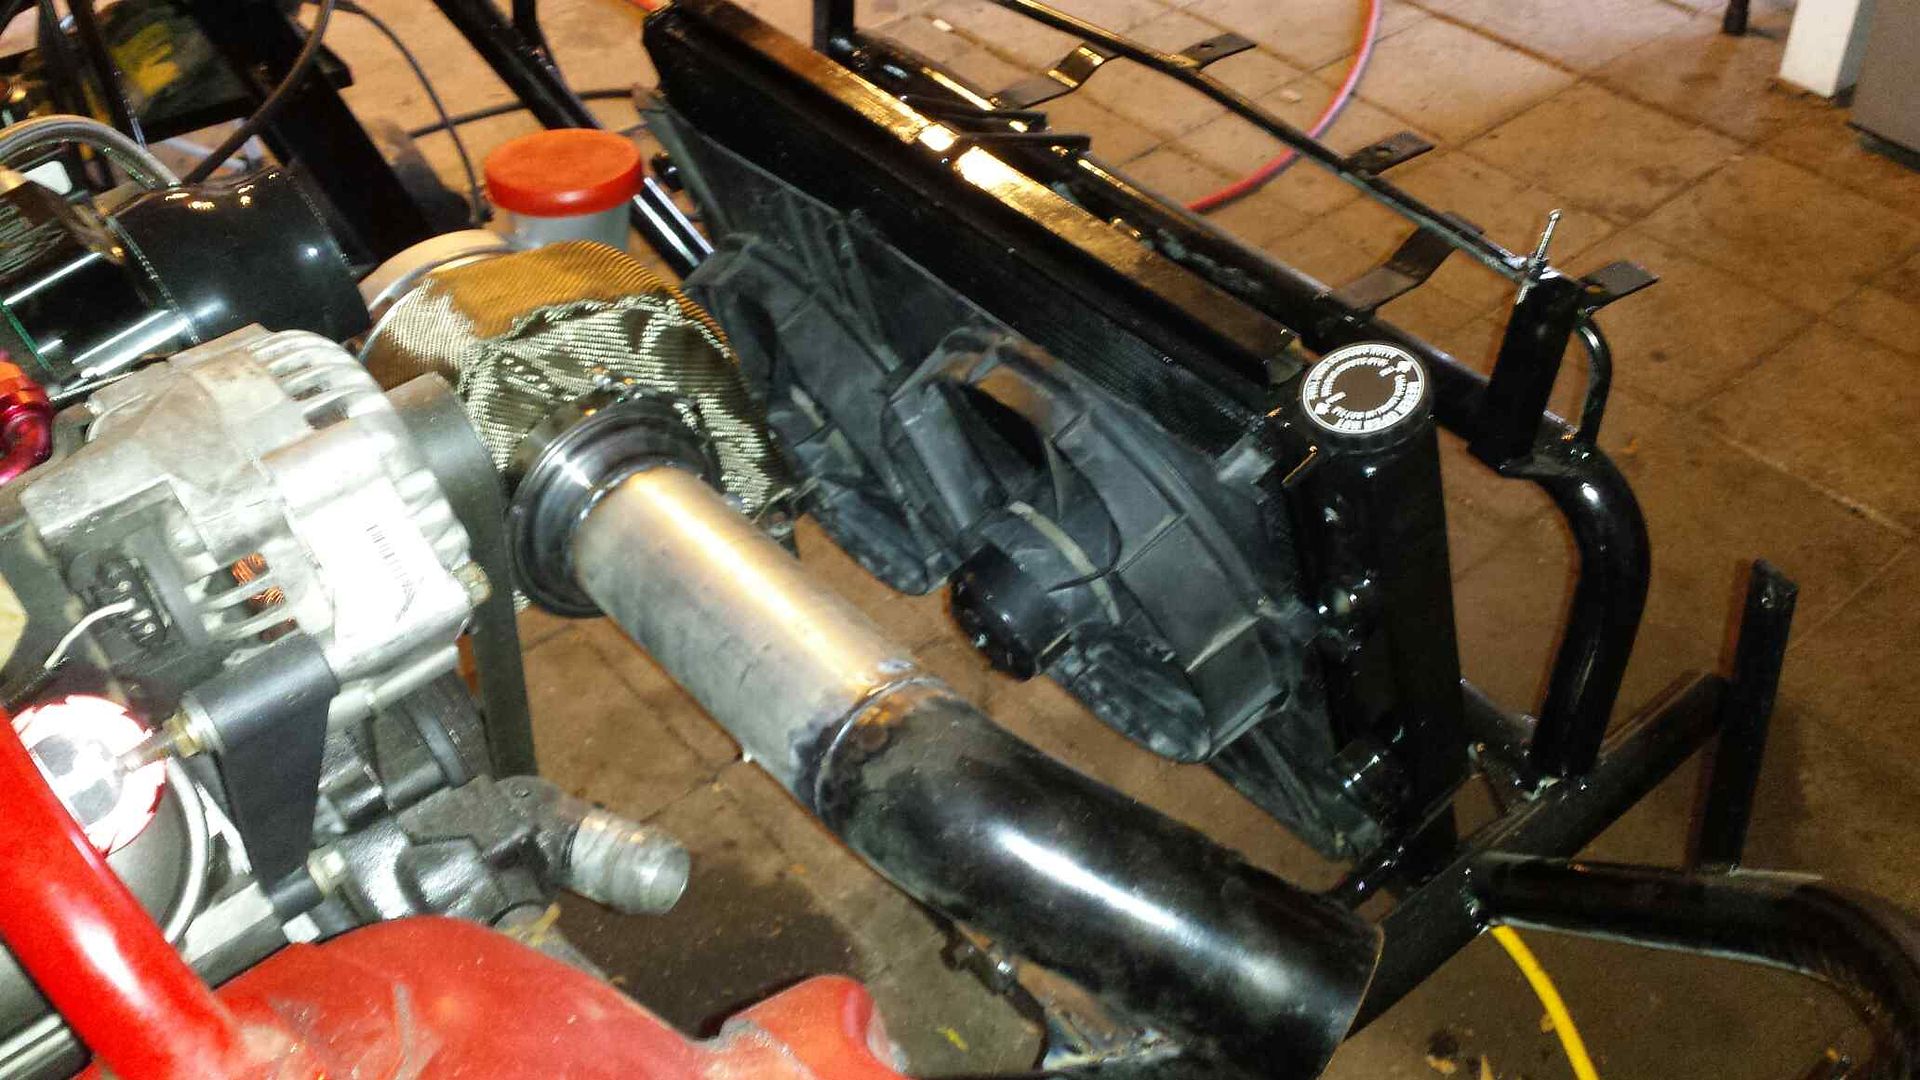
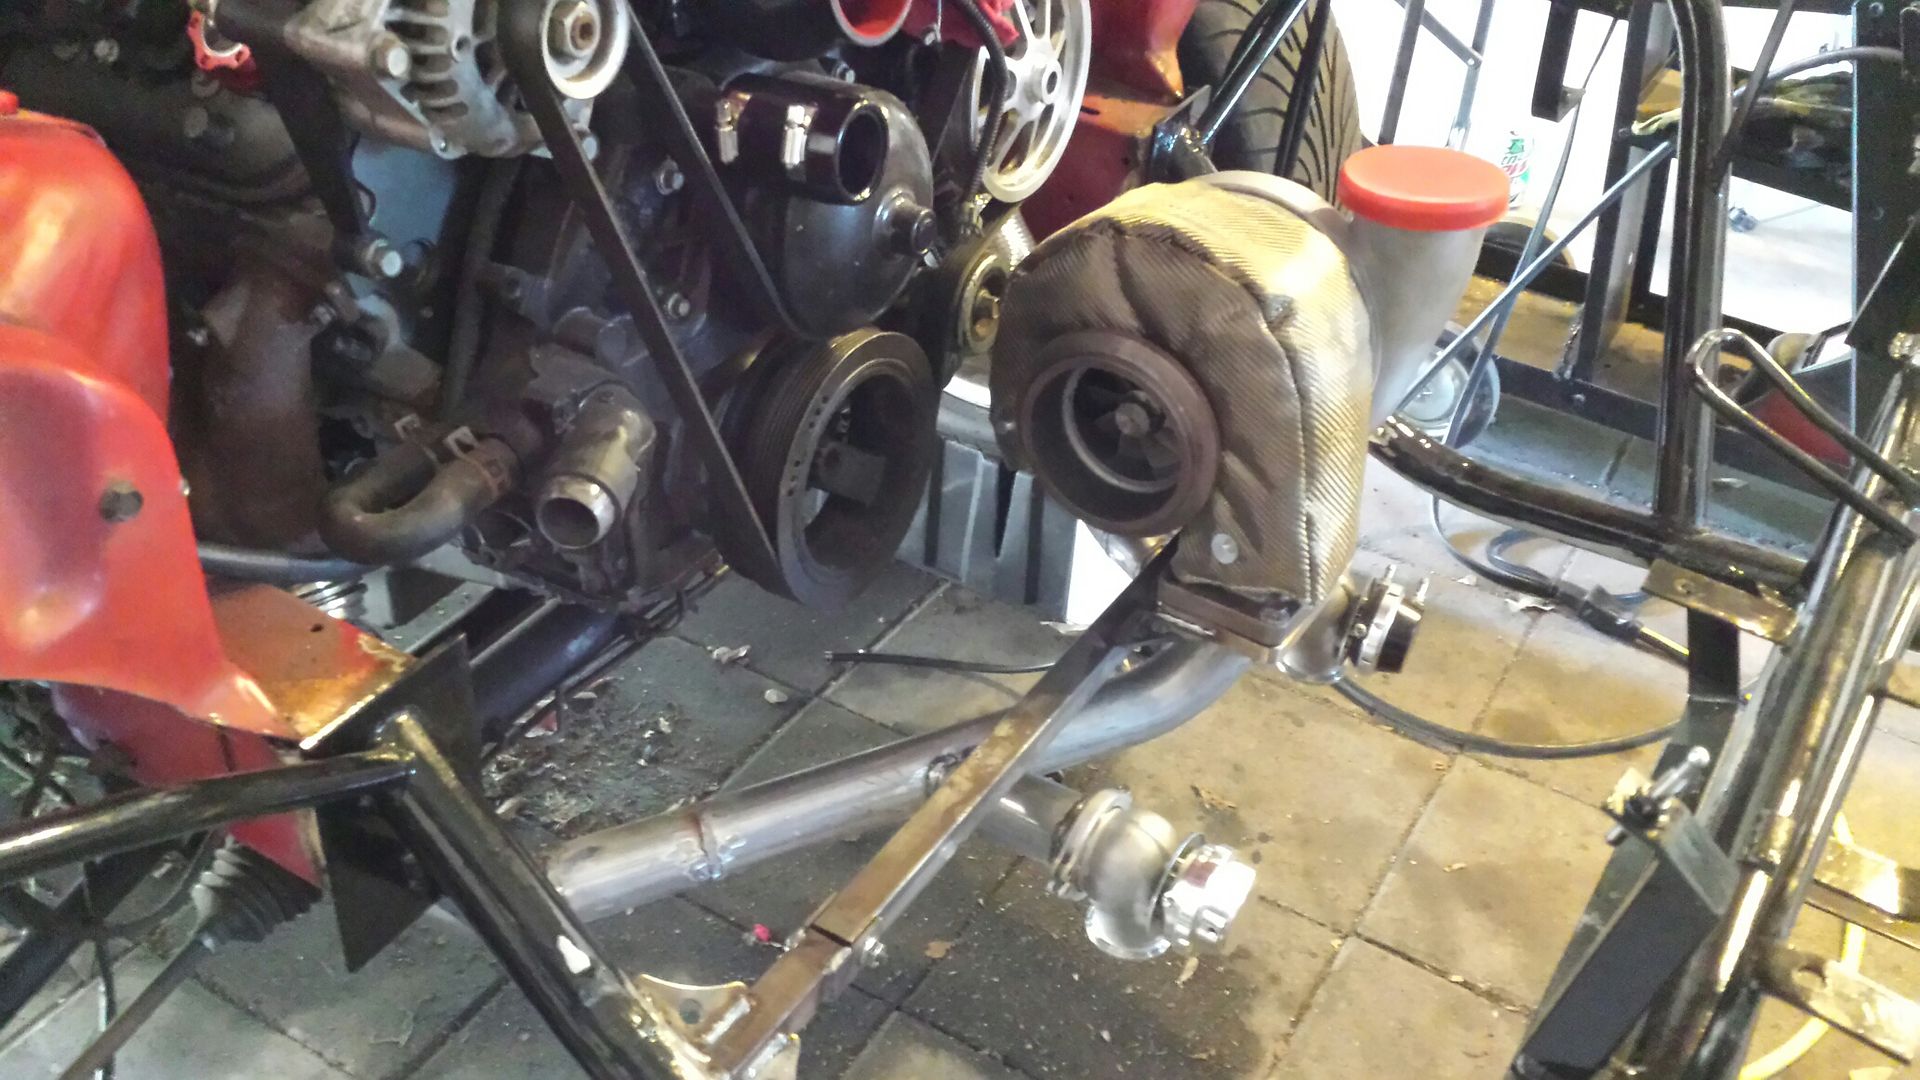
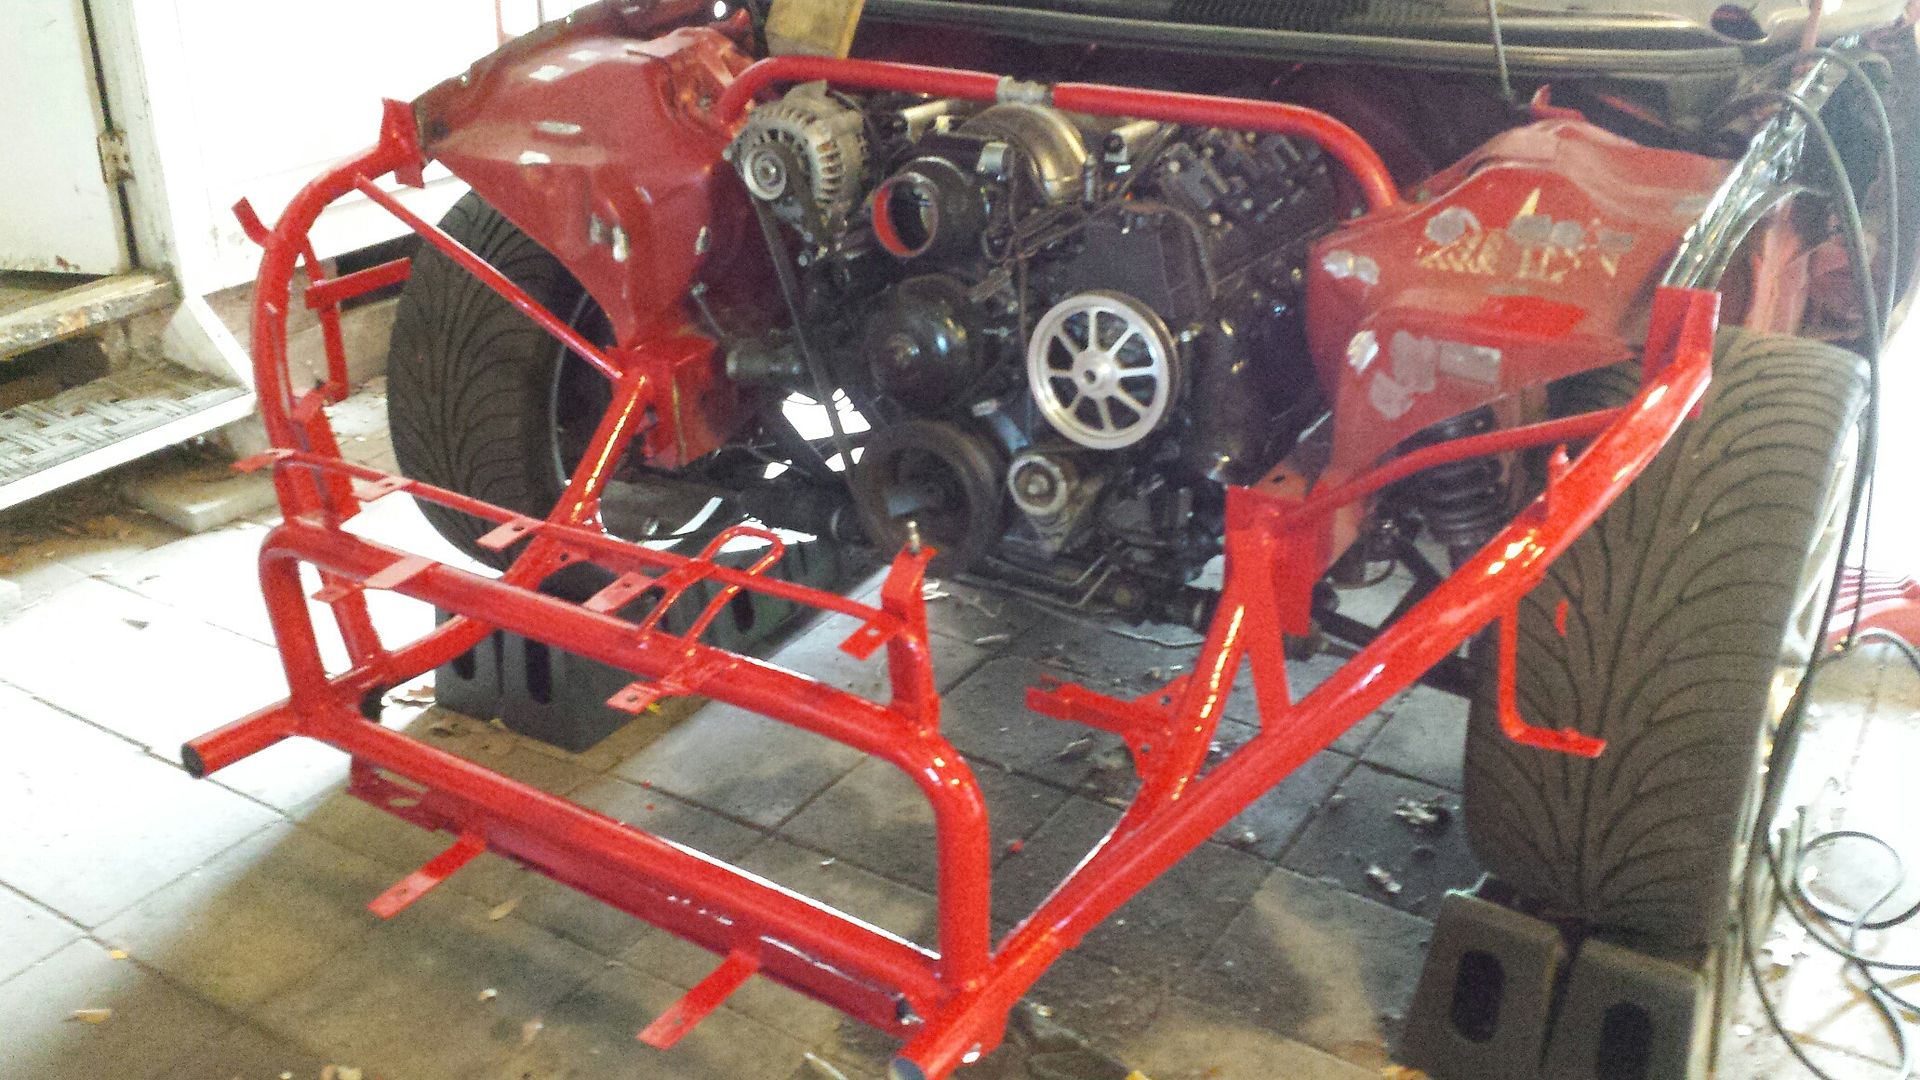
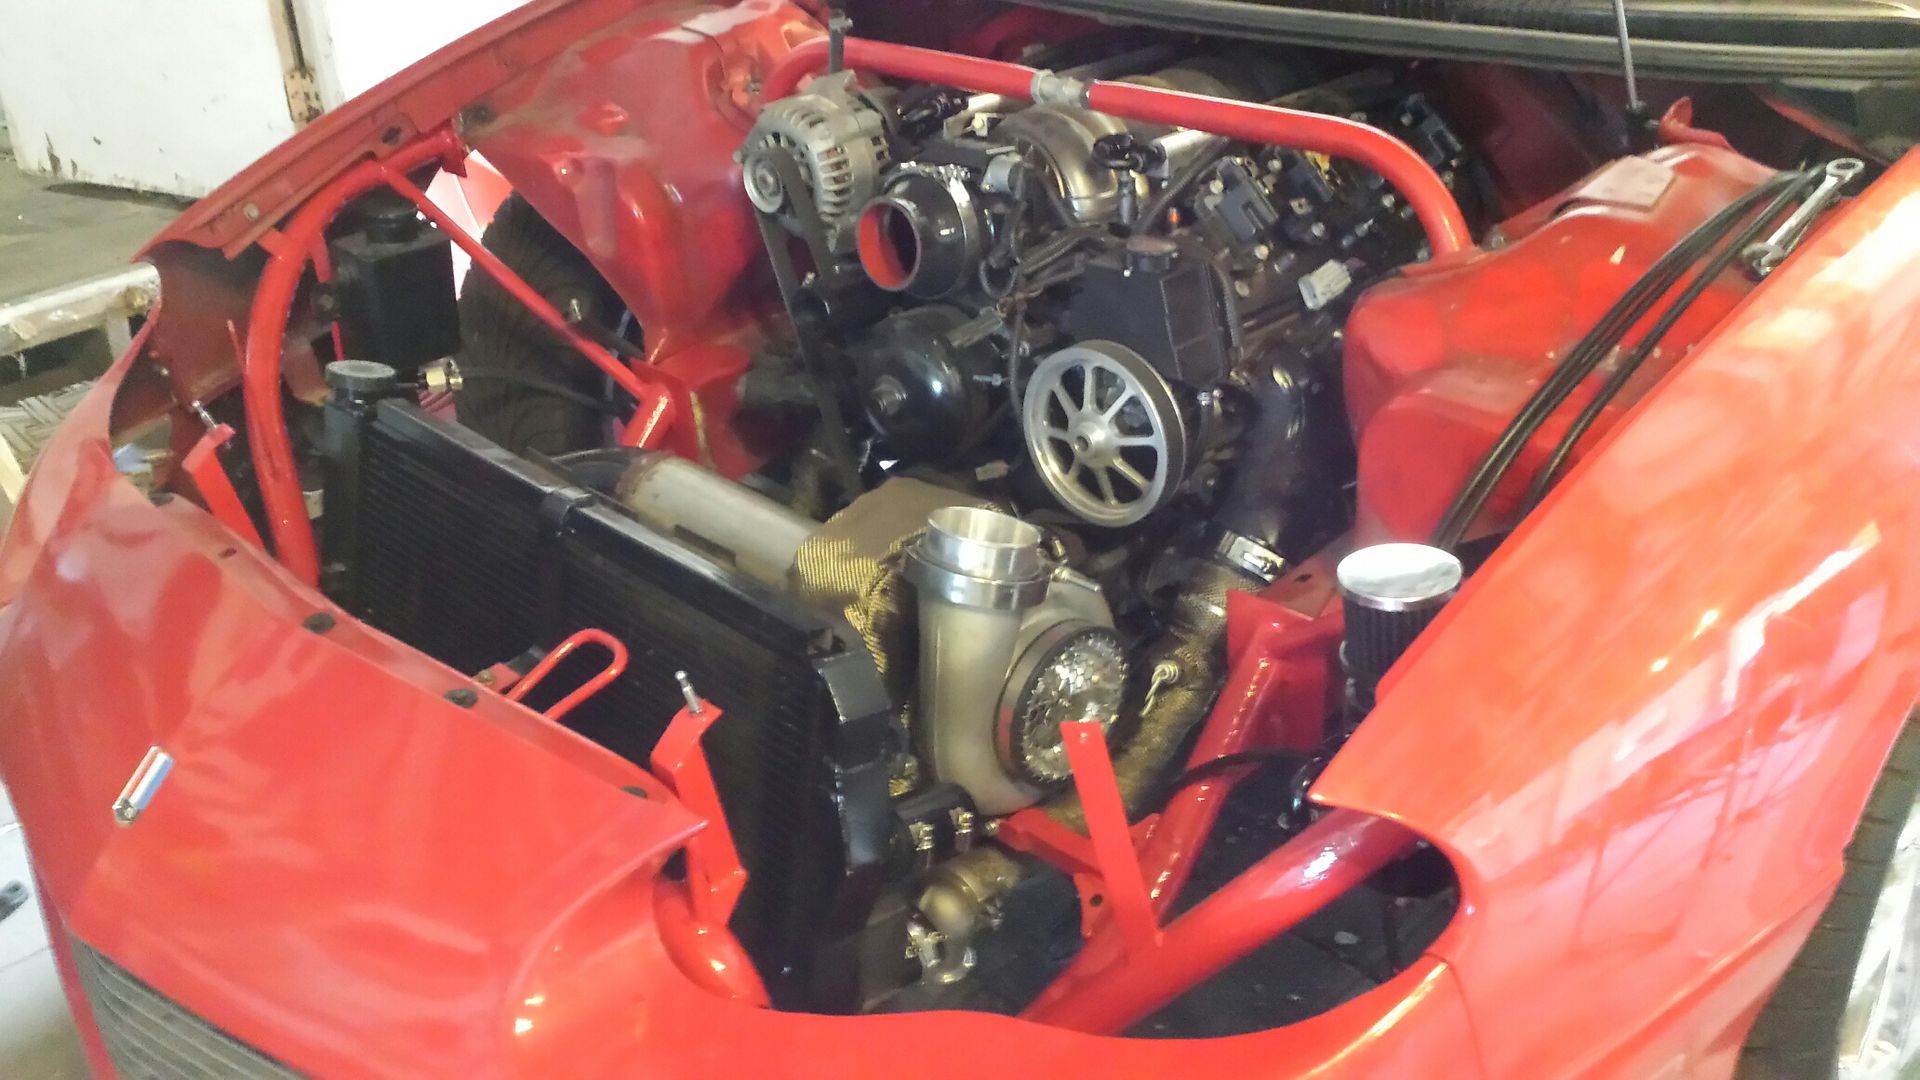
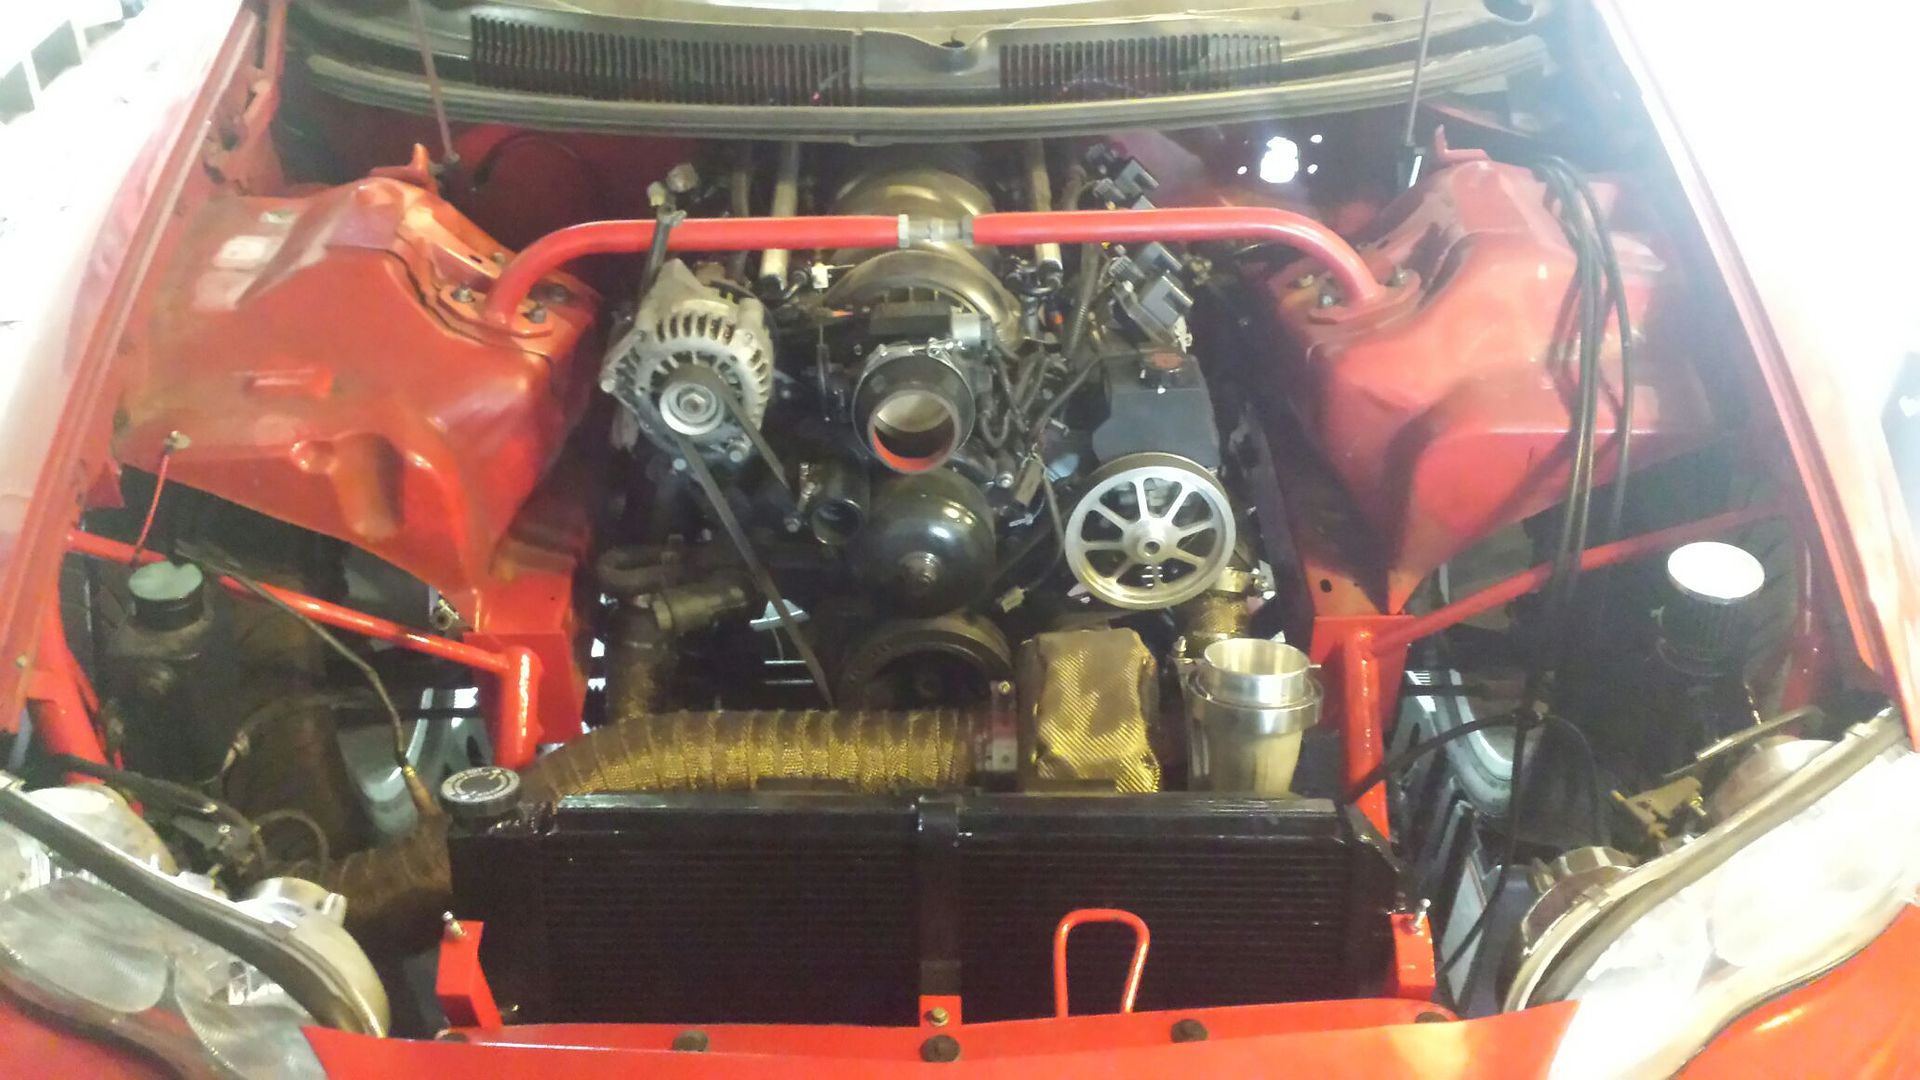
Tossed the radiator in to look at clearance. I set the turbo about as close to the motor as i wanted it, so as long as the radiator clears we are running it.
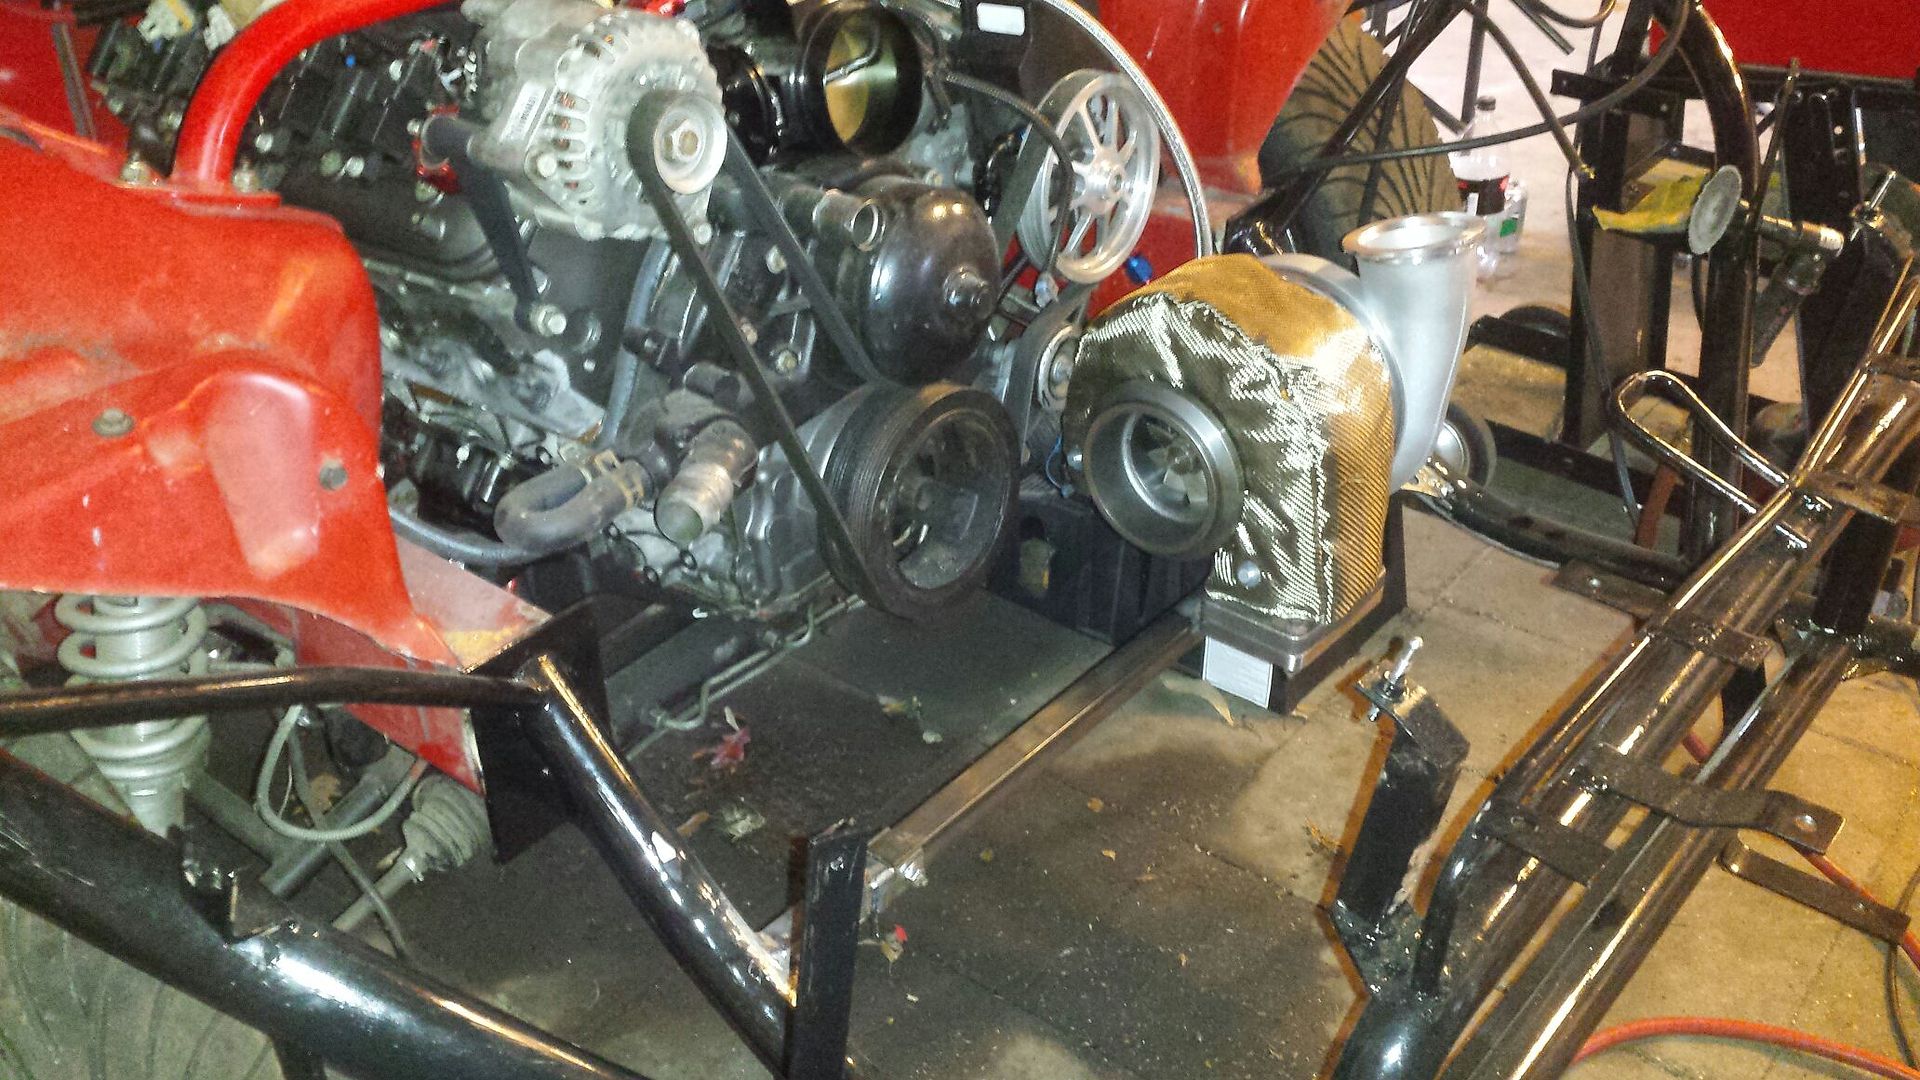
Closer pic of turbo to fan clearance. In the next two pictures you can see the upper fan shroud has about 2 inches trimmed off. I was able to do some trading and have a new stock shroud to replace that during final assembly.
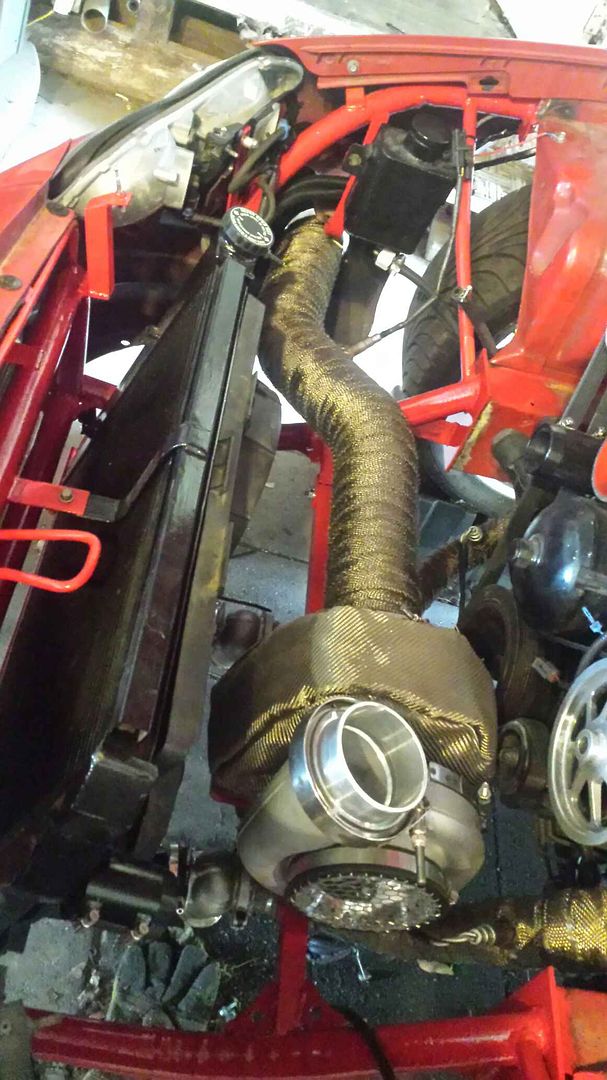
I bought a LJMS s400 exhaust flange adapter which takes the funky "4.5 beveled vband down to a straight "4 inch pipe connection. I happen to still have some 4 inch laying around so I decided I'd do a short run before I called it a day. This is a rough idea, it still needs to be curved back some and sent out the hole in the bumper, but this gives me an idea for radiator hose clearance etc.

I'm mentally avoiding finishing the wheeltubs at this point, I'm semi-aggravated so I figured let's shift focus. So we know we can't hang a 40+ pound turbo off the manifolds cause when they get hot they will likely crack. So the first thing was making a bolt in brace for this beast. It is attached to the front tubing, which we know is thin, so I've used roll cage gussets in the corners to distribute load. Where the t6 flange is welded to the square bar it has a gusset on each side as well.


Tossed the radiator in to look at clearance. I set the turbo about as close to the motor as i wanted it, so as long as the radiator clears we are running it.

Closer pic of turbo to fan clearance. In the next two pictures you can see the upper fan shroud has about 2 inches trimmed off. I was able to do some trading and have a new stock shroud to replace that during final assembly.

I bought a LJMS s400 exhaust flange adapter which takes the funky "4.5 beveled vband down to a straight "4 inch pipe connection. I happen to still have some 4 inch laying around so I decided I'd do a short run before I called it a day. This is a rough idea, it still needs to be curved back some and sent out the hole in the bumper, but this gives me an idea for radiator hose clearance etc.

#104
06-25-2018, 08:00 AM
Join Date: Aug 2010
Posts: 230
Likes: 0
Received 0 Likes
on
0 Posts
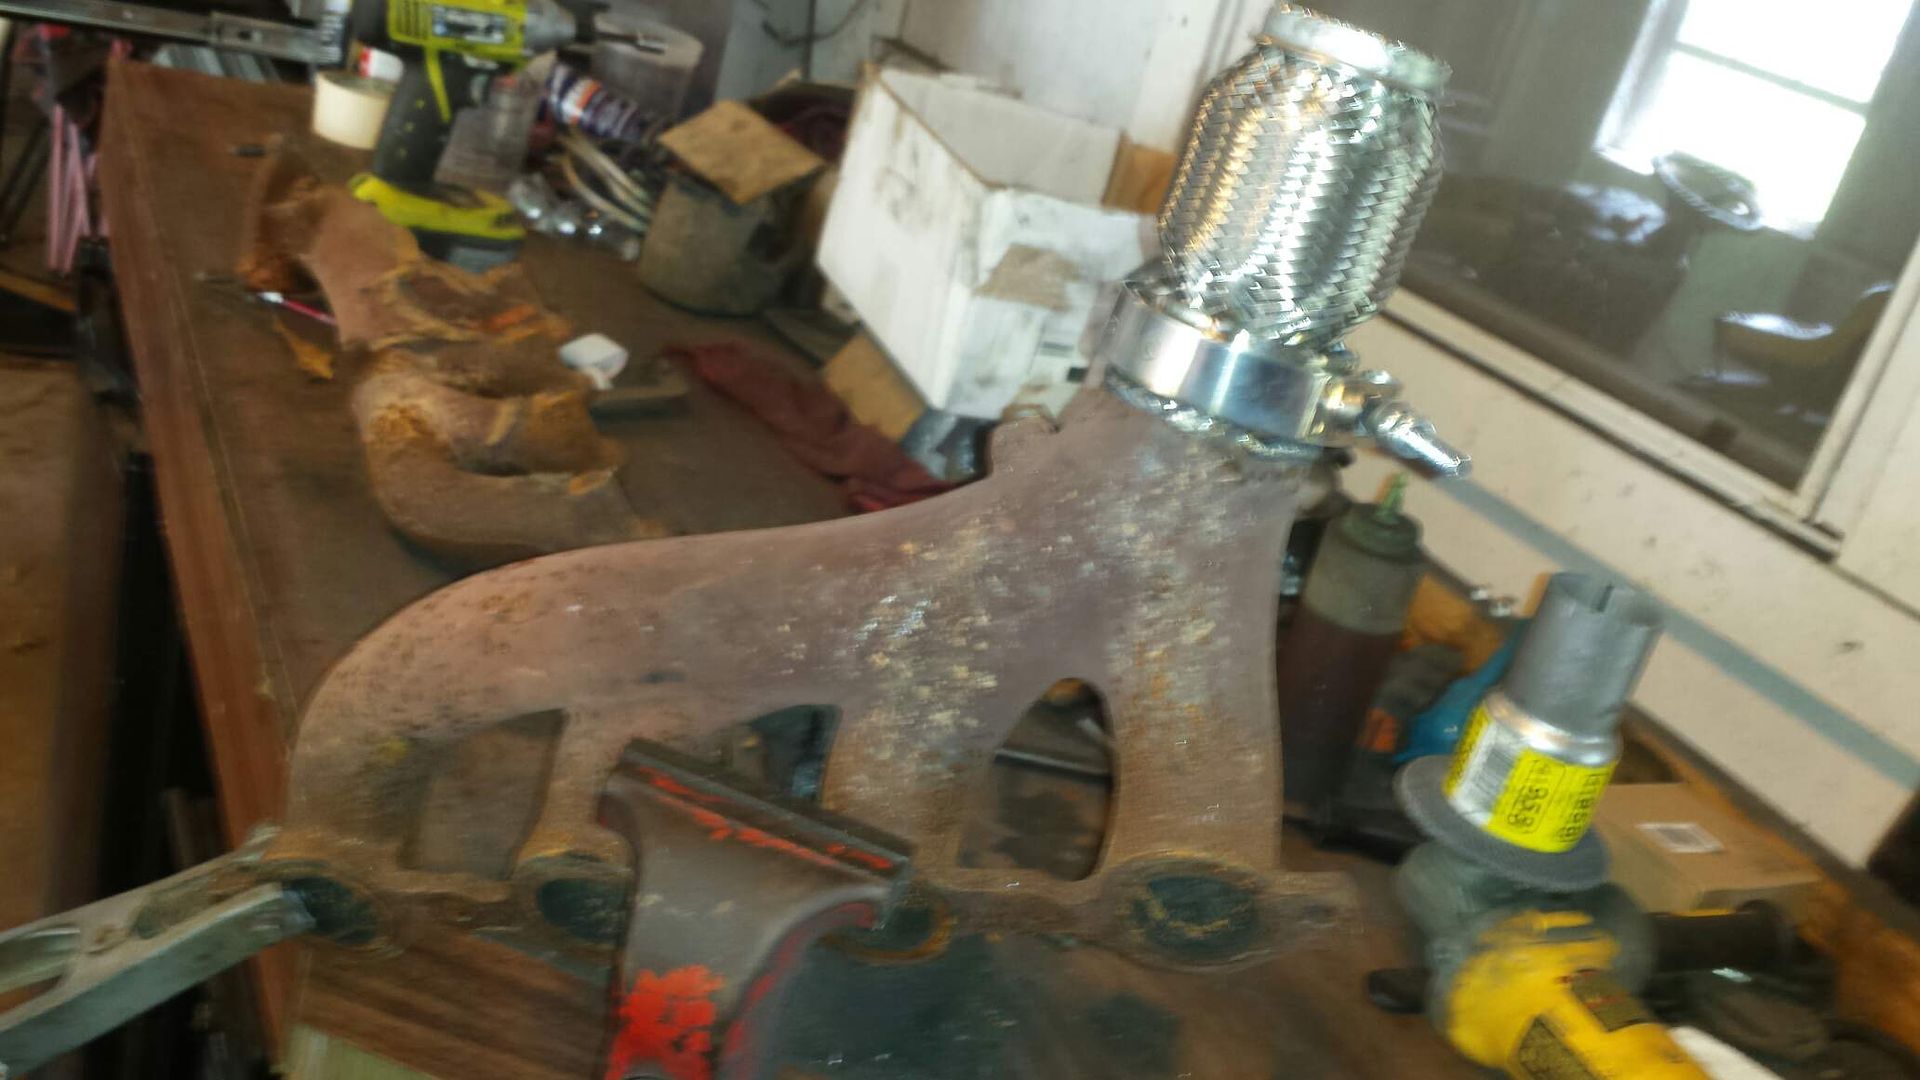
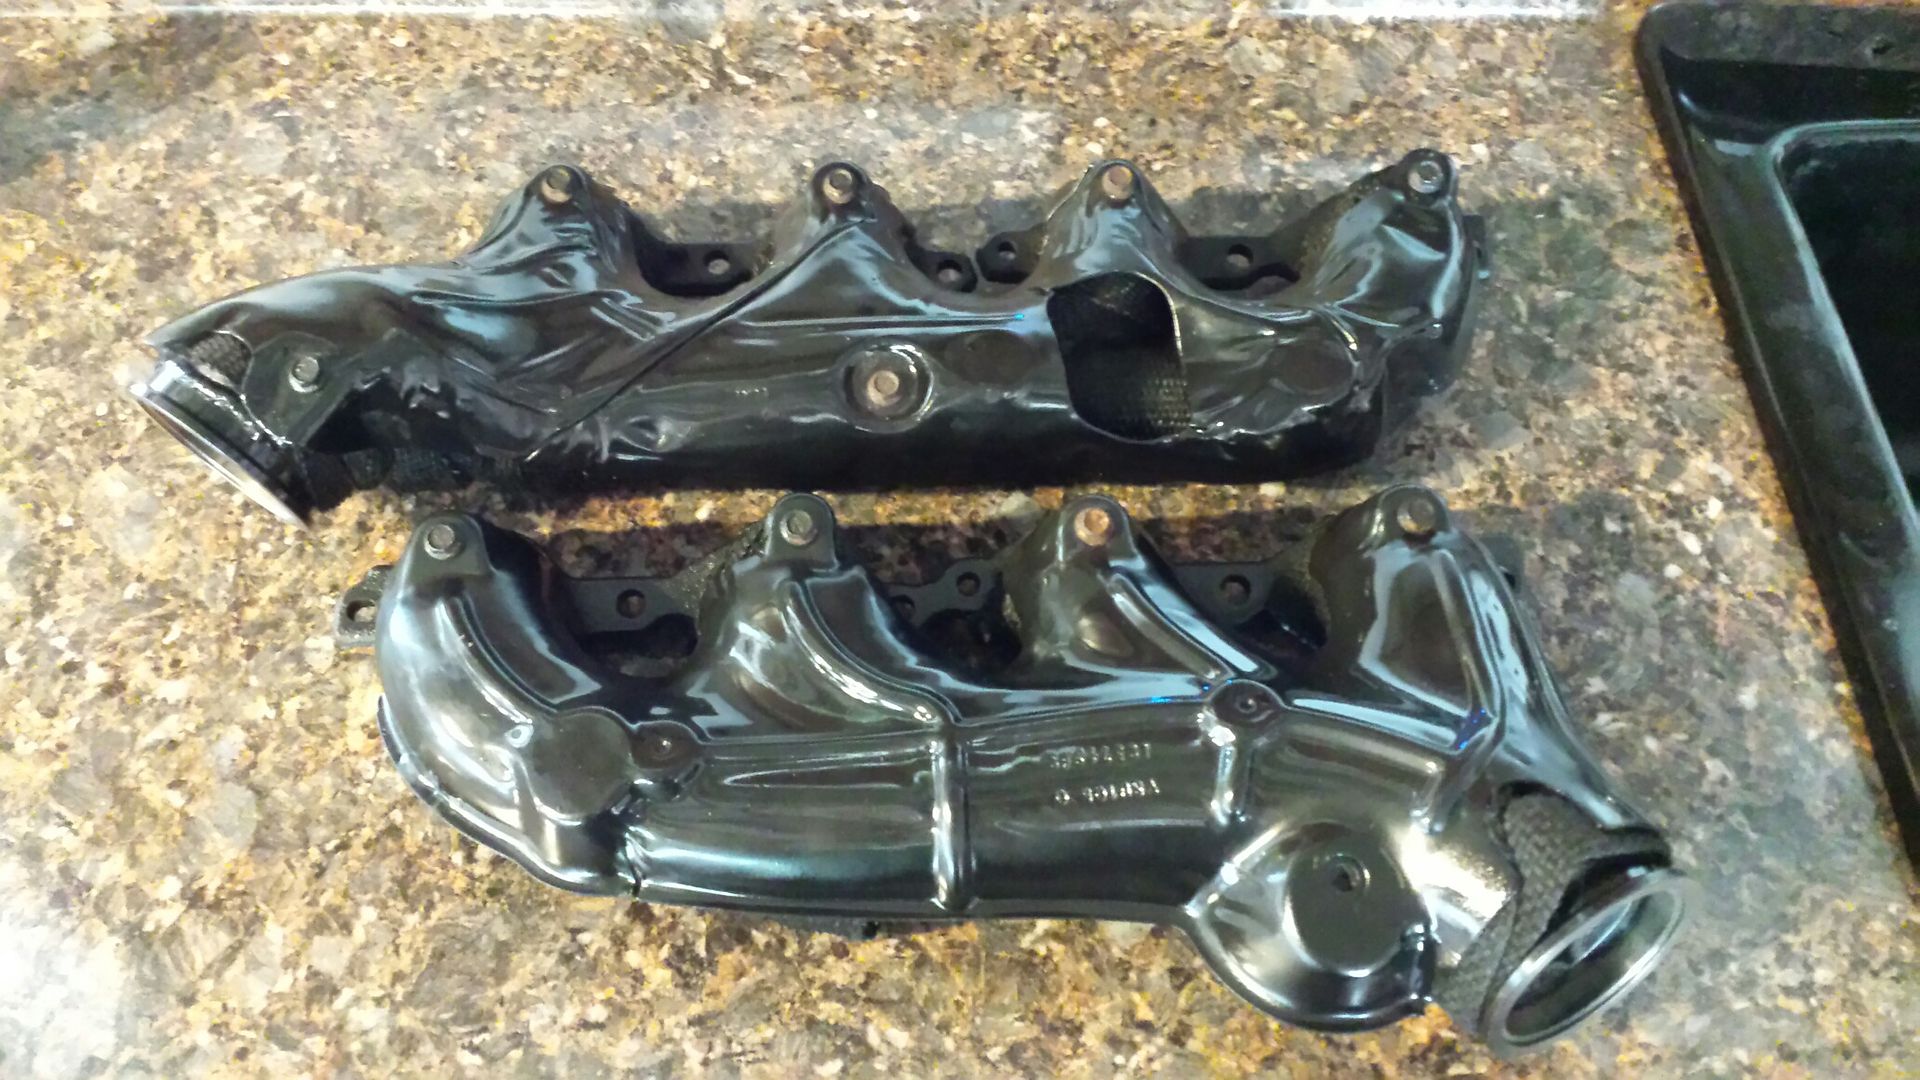
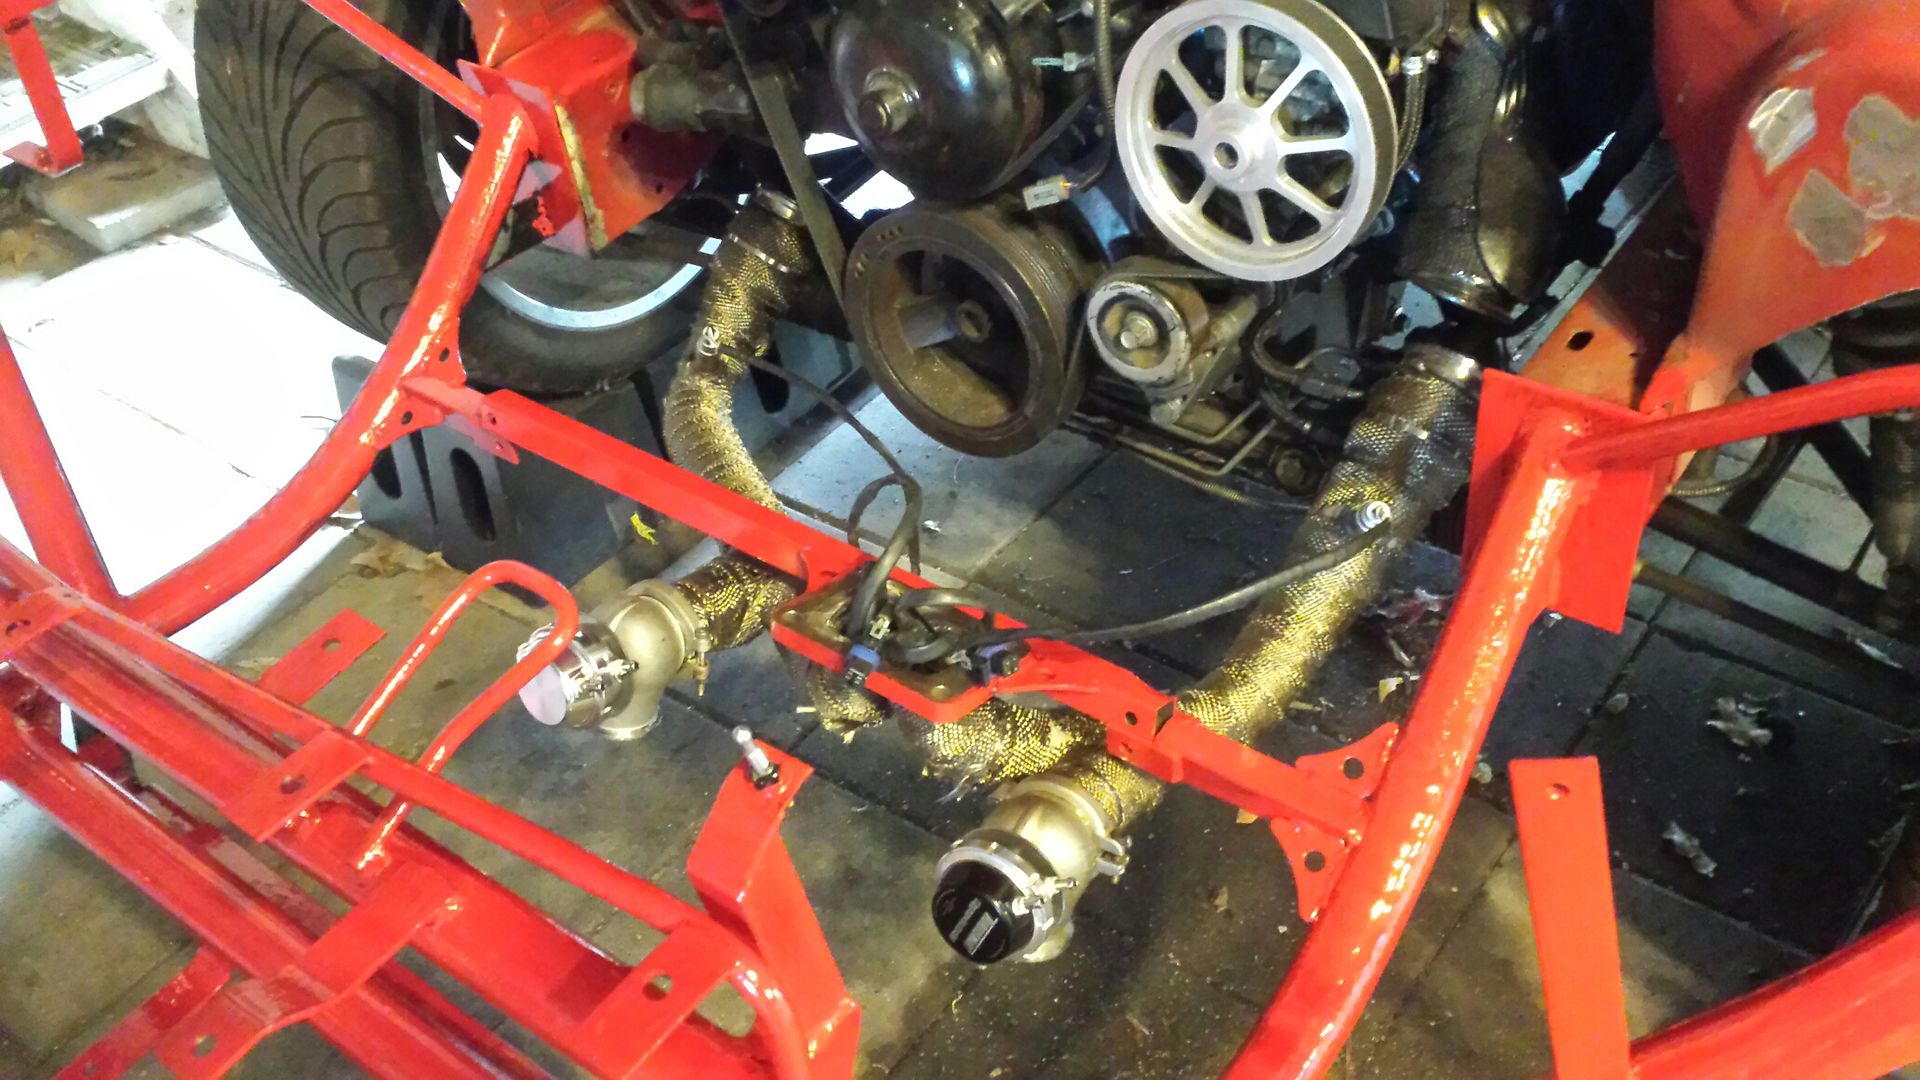
I'm still mentally avoiding the wheeltubs so I decided lets make a hotside today. Got a pile of truck manifolds behind the shop so I grabbed a pair to get started. They have a flange with studs, so we will cut that off and install vbands. You can see the vband, flex coupler, and reducer in this pic.
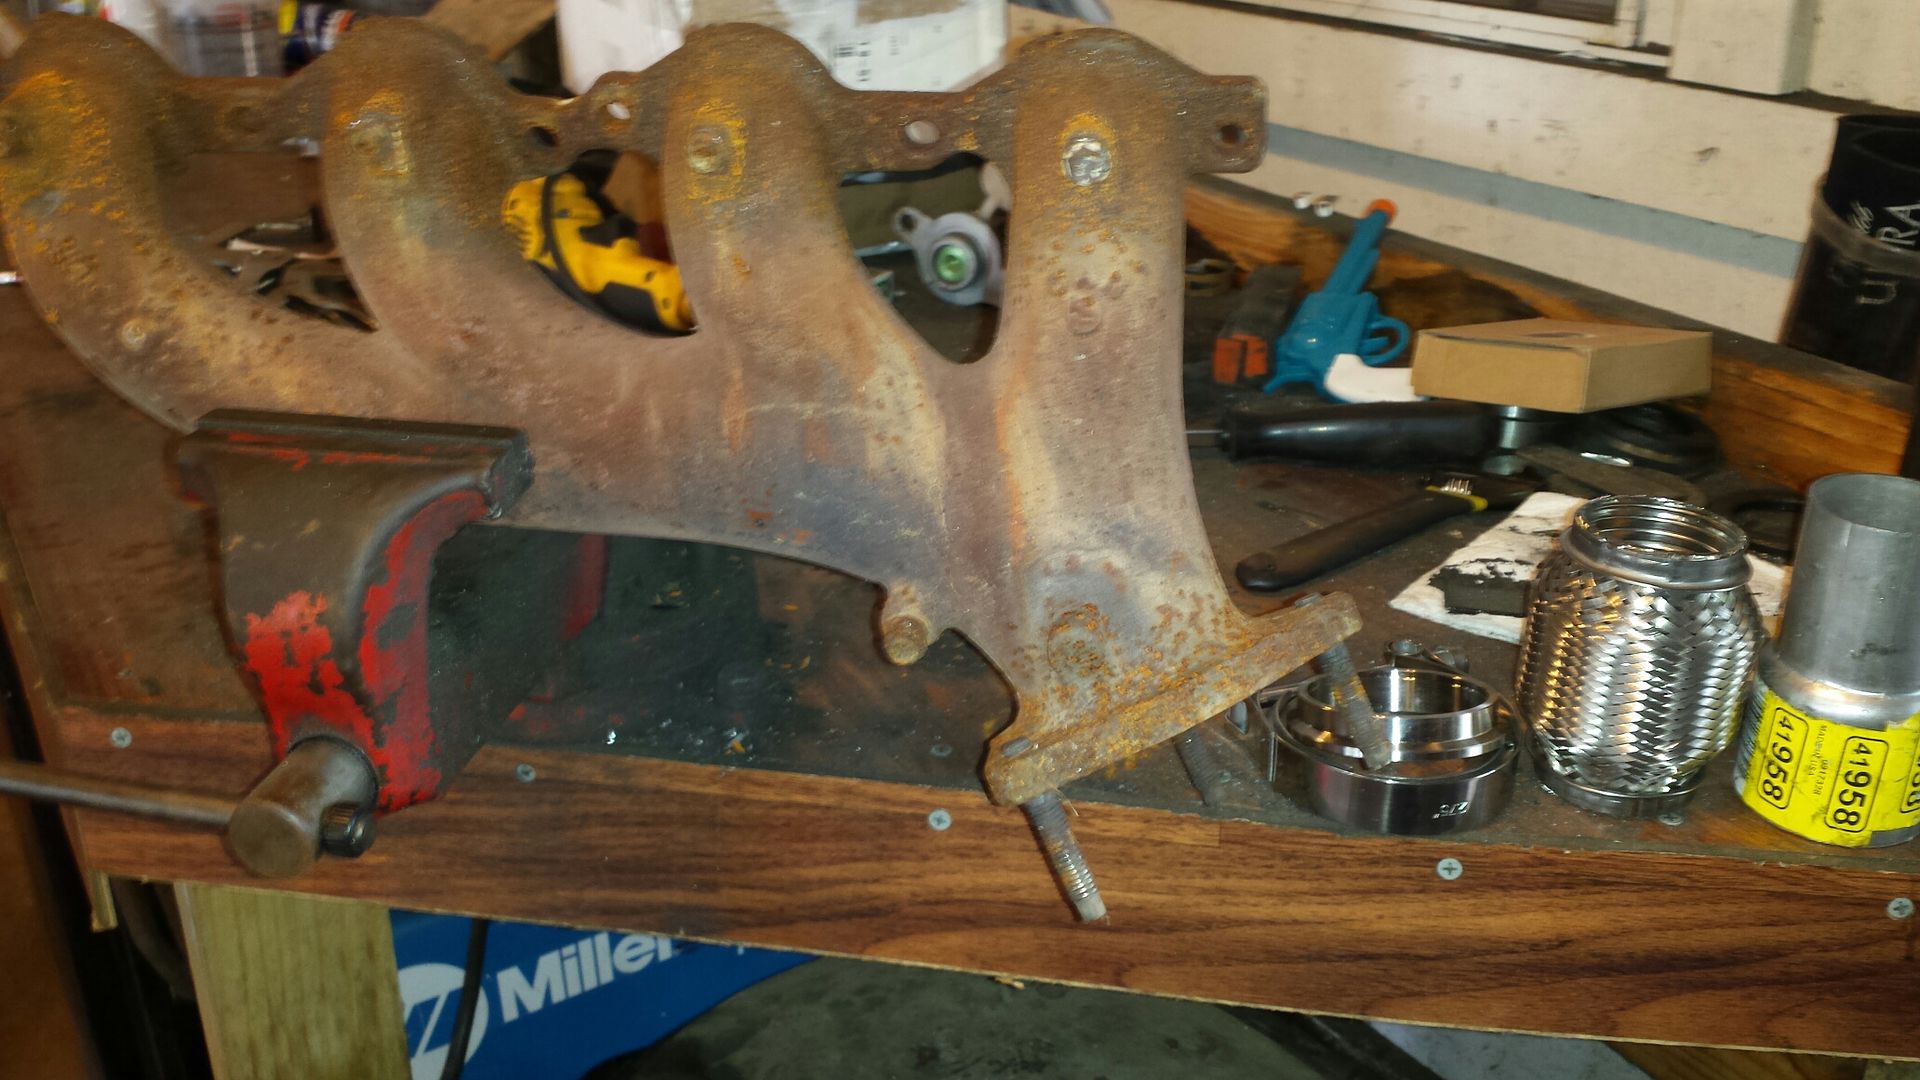
The manifold fits very nicely on a 2.5 inch vband, however I dont want pipes that big so we will step down to 2 inch with a reducer. And because the turbo is hard mounted and the engine can move, we need a flex coupler on each side. Make sure you select the kind with the solid metal core for turbo applications. I standard flex coupler will destroy itself rather quickly and possibly take out your turbo from debris.
And through the magic of the internet we now have a hotside. I used a little less then 2 180 degree bends from summit. Bc this is a divided turbo/flange, I've opted for dual 44mm wastegates as you can see their position here.
Quick mock up to check final fitment.
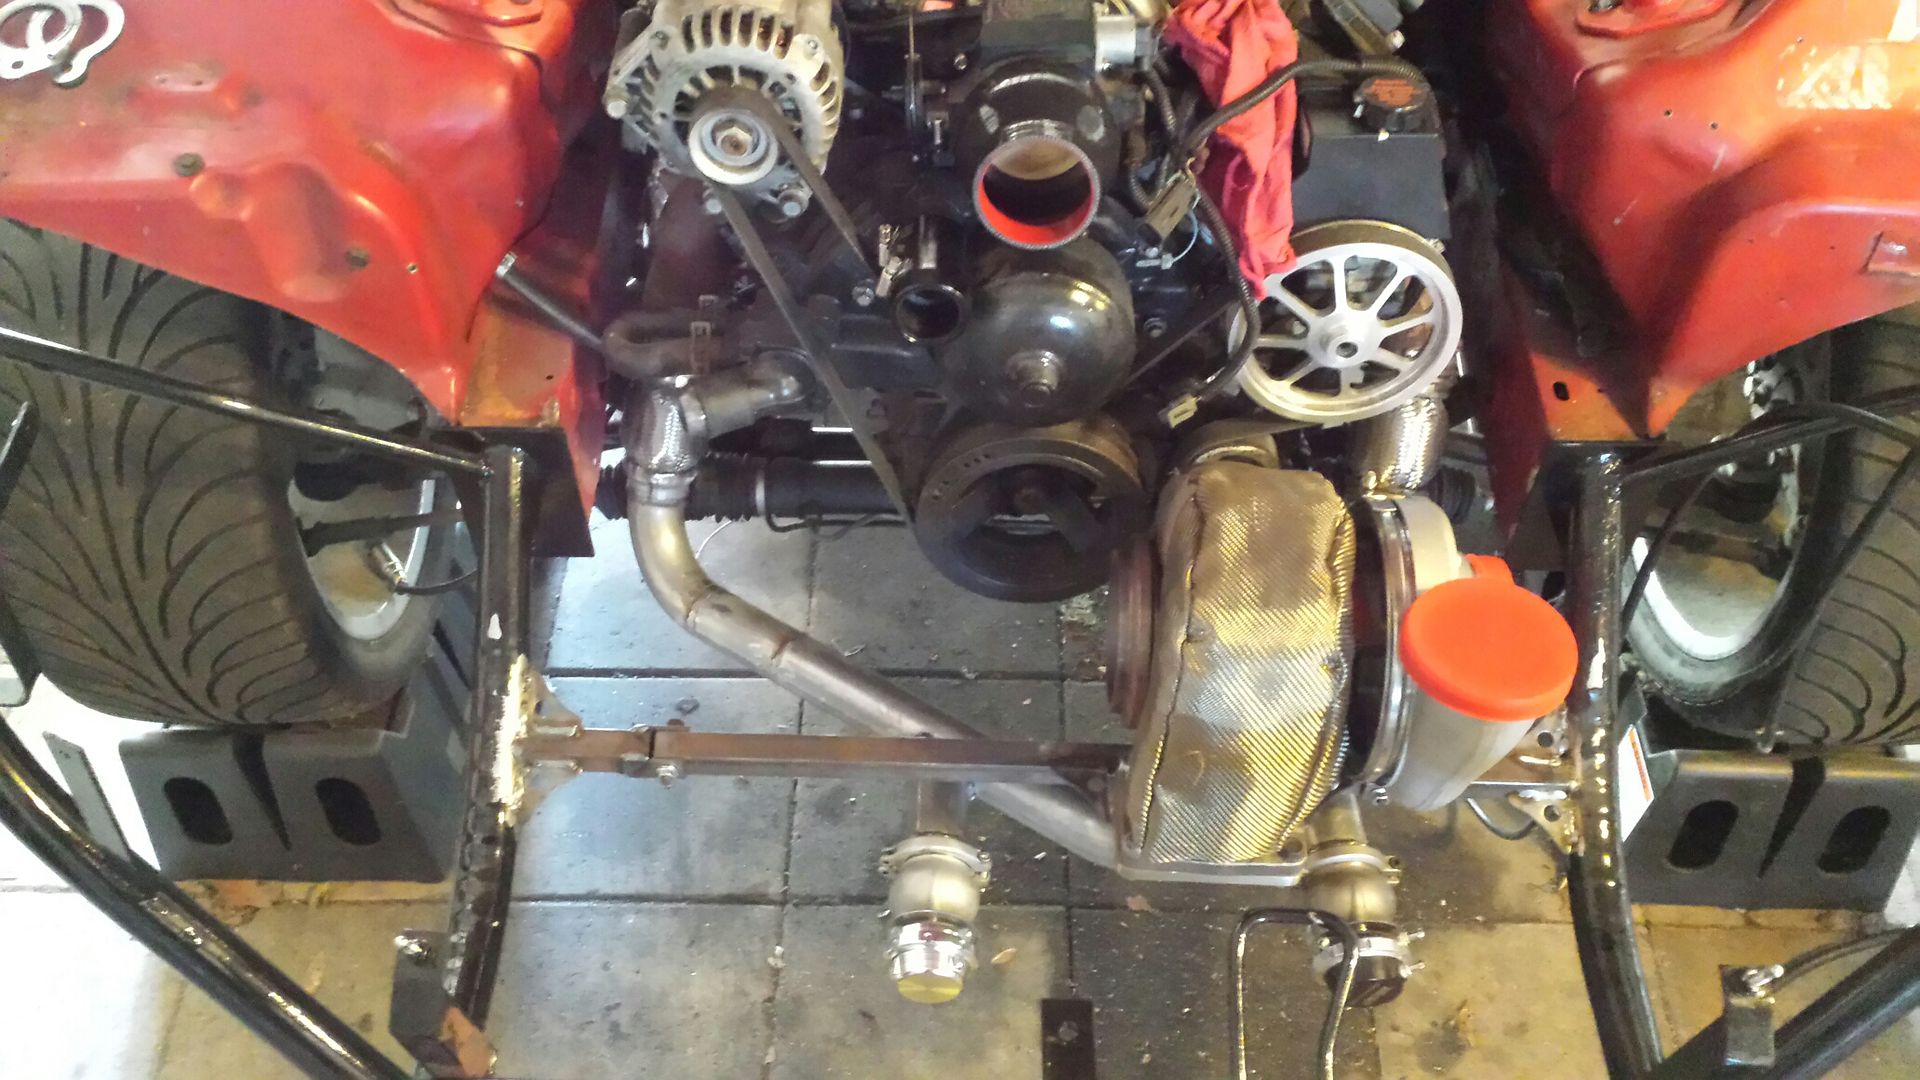
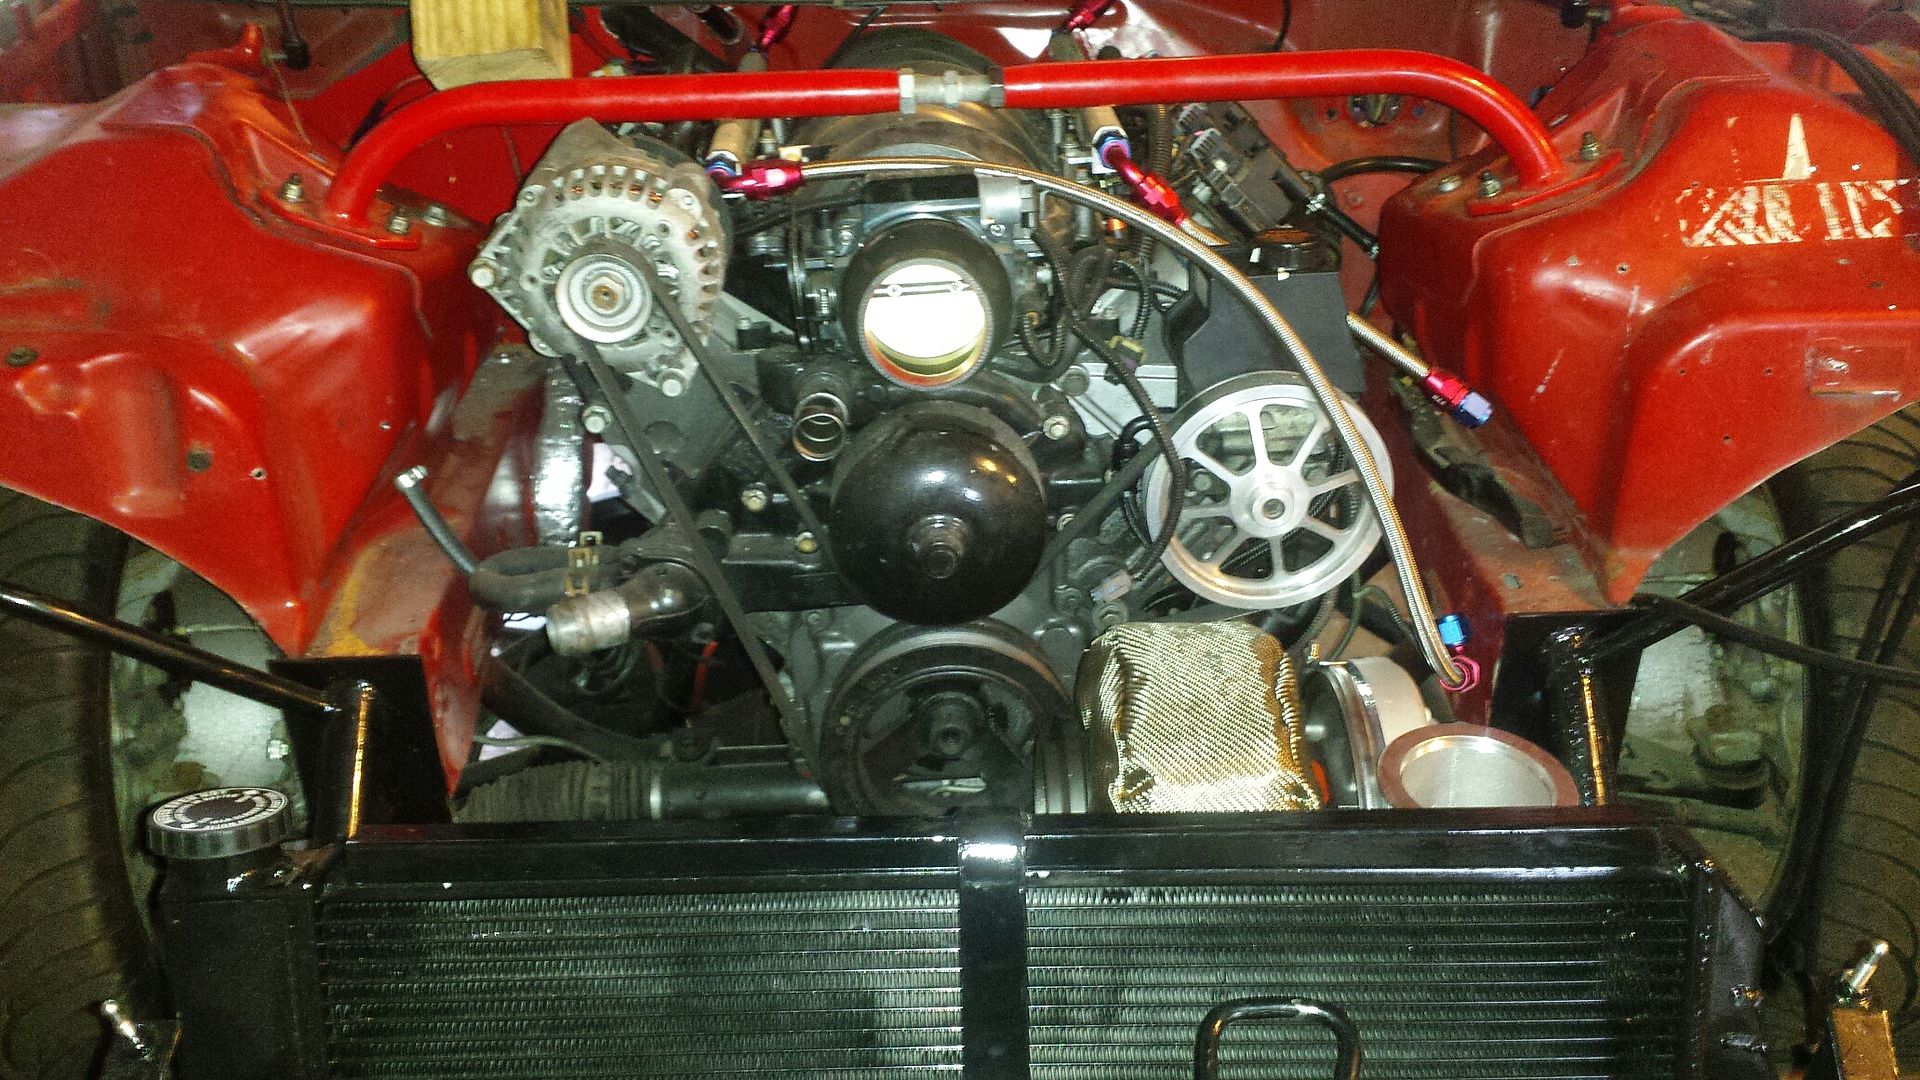
Pulled it all back apart and got the manfolds cleaned, painted, and wrapped in fiberglass wrap. Got them reinstalled/torqued and the spark plugs back in. I dont have the 02 bungs for the new piping so thats gotta wait for the time being. Once i get them put in I will wrap the entire hotside.

The manifold fits very nicely on a 2.5 inch vband, however I dont want pipes that big so we will step down to 2 inch with a reducer. And because the turbo is hard mounted and the engine can move, we need a flex coupler on each side. Make sure you select the kind with the solid metal core for turbo applications. I standard flex coupler will destroy itself rather quickly and possibly take out your turbo from debris.

And through the magic of the internet we now have a hotside. I used a little less then 2 180 degree bends from summit. Bc this is a divided turbo/flange, I've opted for dual 44mm wastegates as you can see their position here.

Quick mock up to check final fitment.


Pulled it all back apart and got the manfolds cleaned, painted, and wrapped in fiberglass wrap. Got them reinstalled/torqued and the spark plugs back in. I dont have the 02 bungs for the new piping so thats gotta wait for the time being. Once i get them put in I will wrap the entire hotside.

#105
06-30-2018, 07:39 AM
Join Date: Aug 2010
Posts: 230
Likes: 0
Received 0 Likes
on
0 Posts
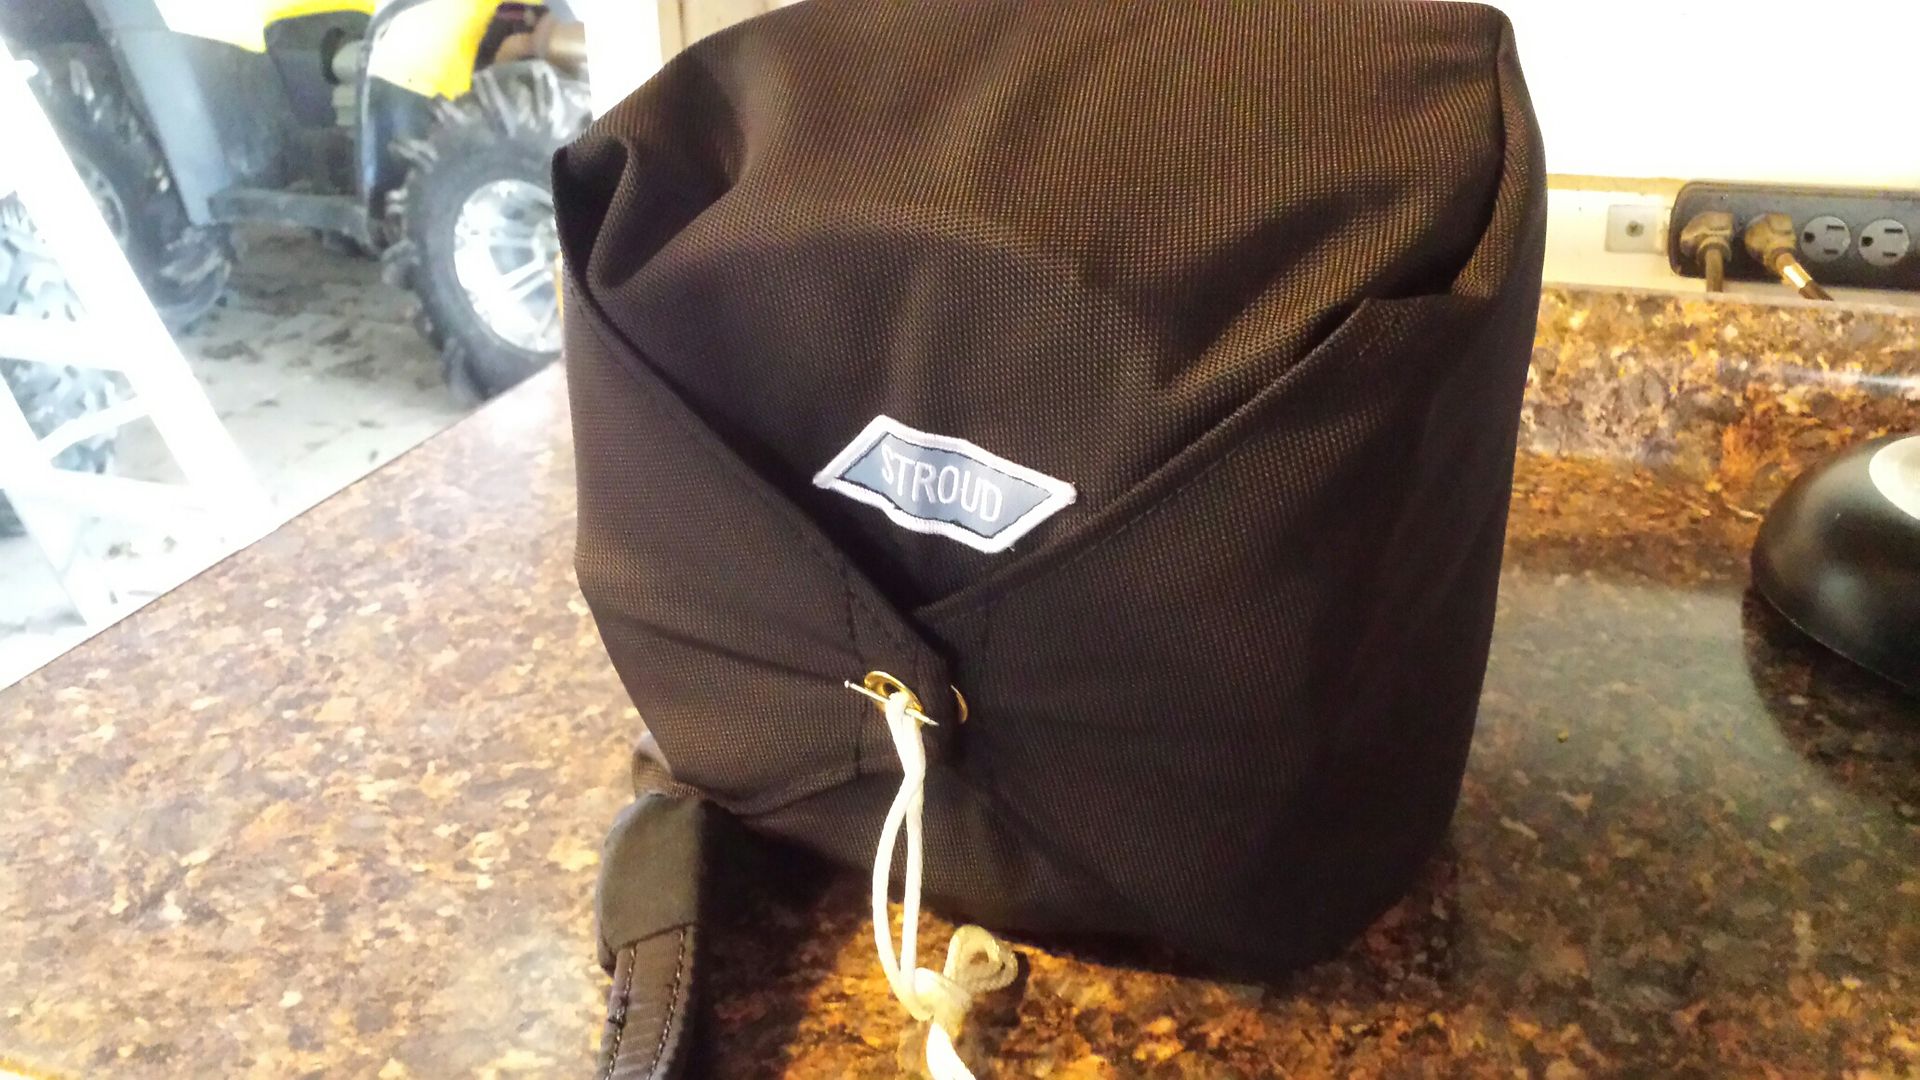
Stroud 420, in red of course. Their youtube video is very helpful if you've never packed one of these things.
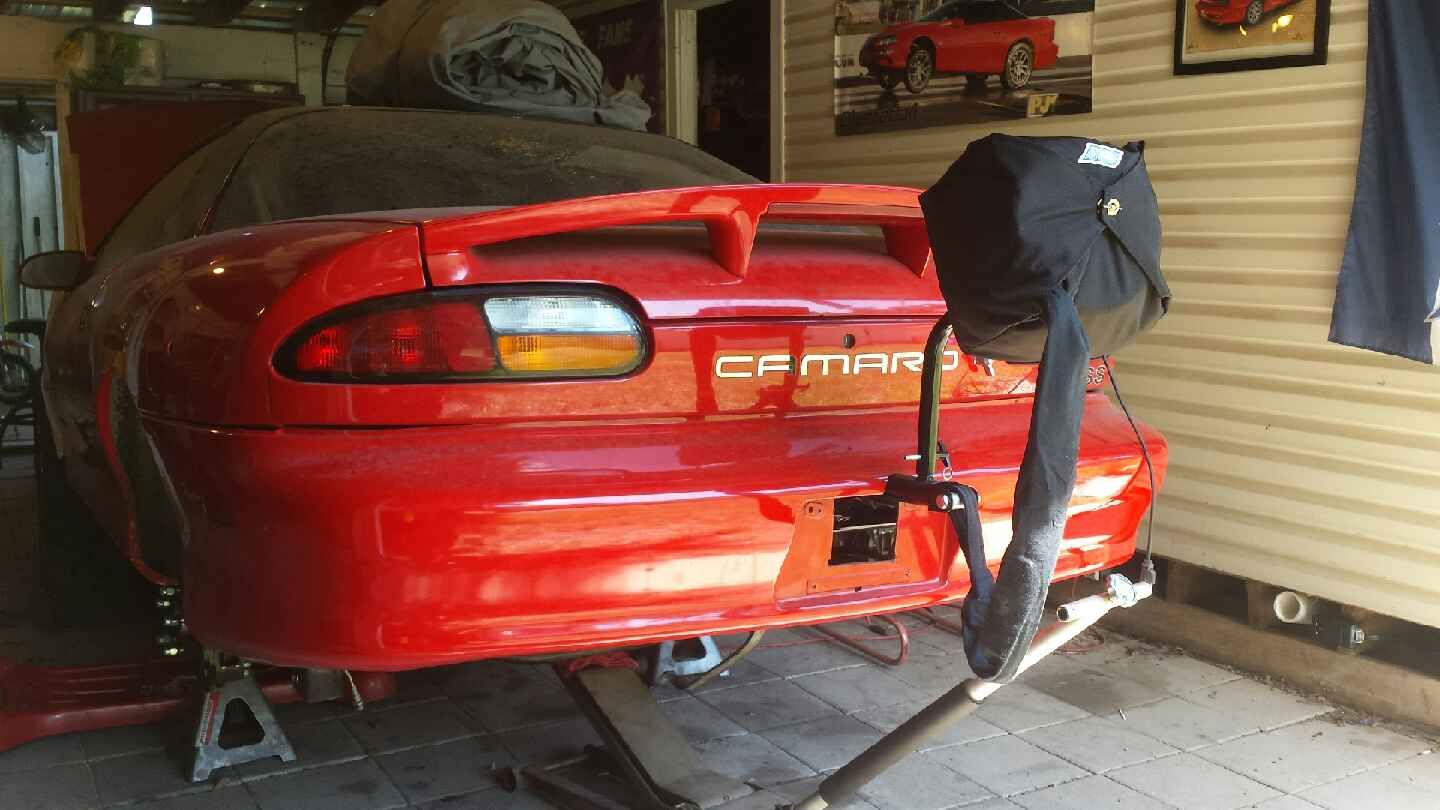
In the middle of wheeltubs but I had to test fit and see how she looks. Excuse how dirty it is.
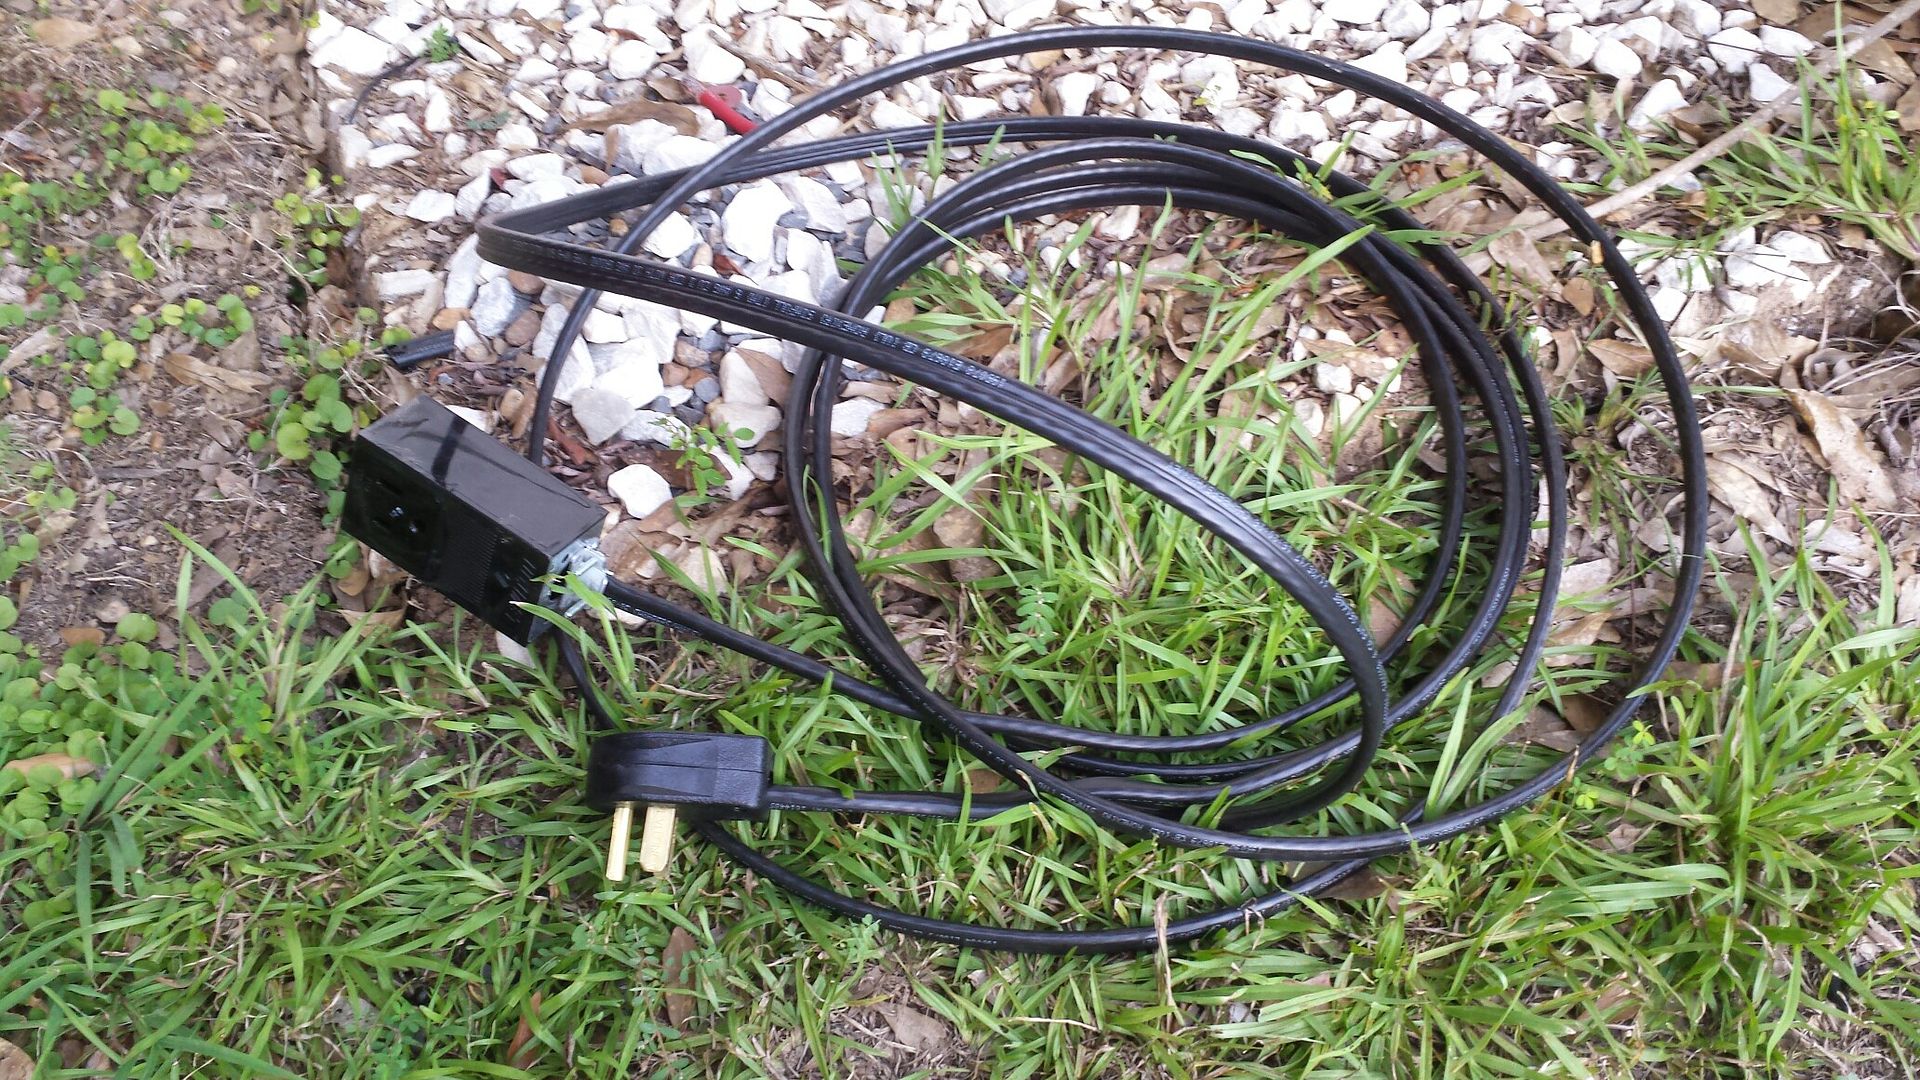
So I had 3 days off and 3 things to do. 1. Get the 6-50 220v plug installed for the Miller Tig welder. And 2. finish one tub per day so we can start on the cage next week. I bought about 50ft of 6/2 wire, the outlet only used 15-20ft, so now i have a sweet 30ft extension cord so i can weld anywhere in the garage.
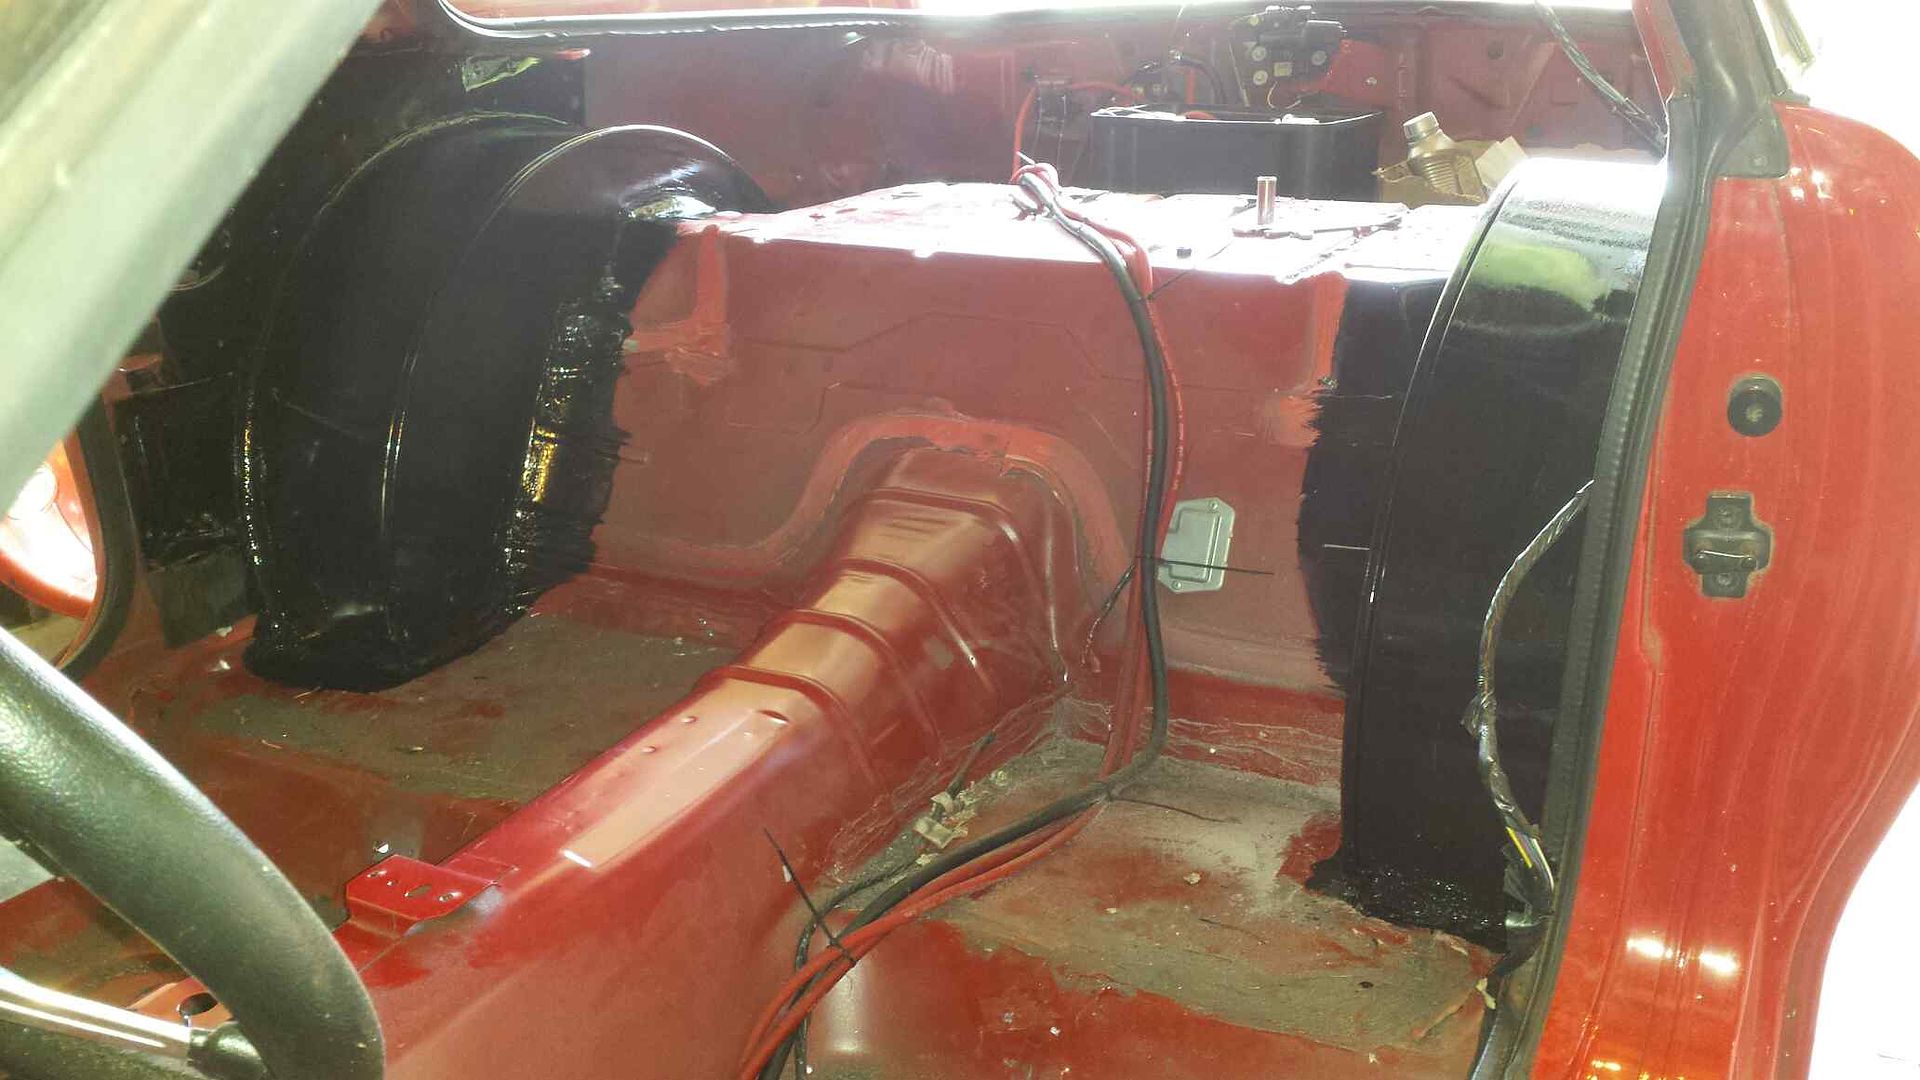
Finished fitting the driver's side, welded it, sealed it. Its surprisingly stiff once it's in place...........That's what she said.
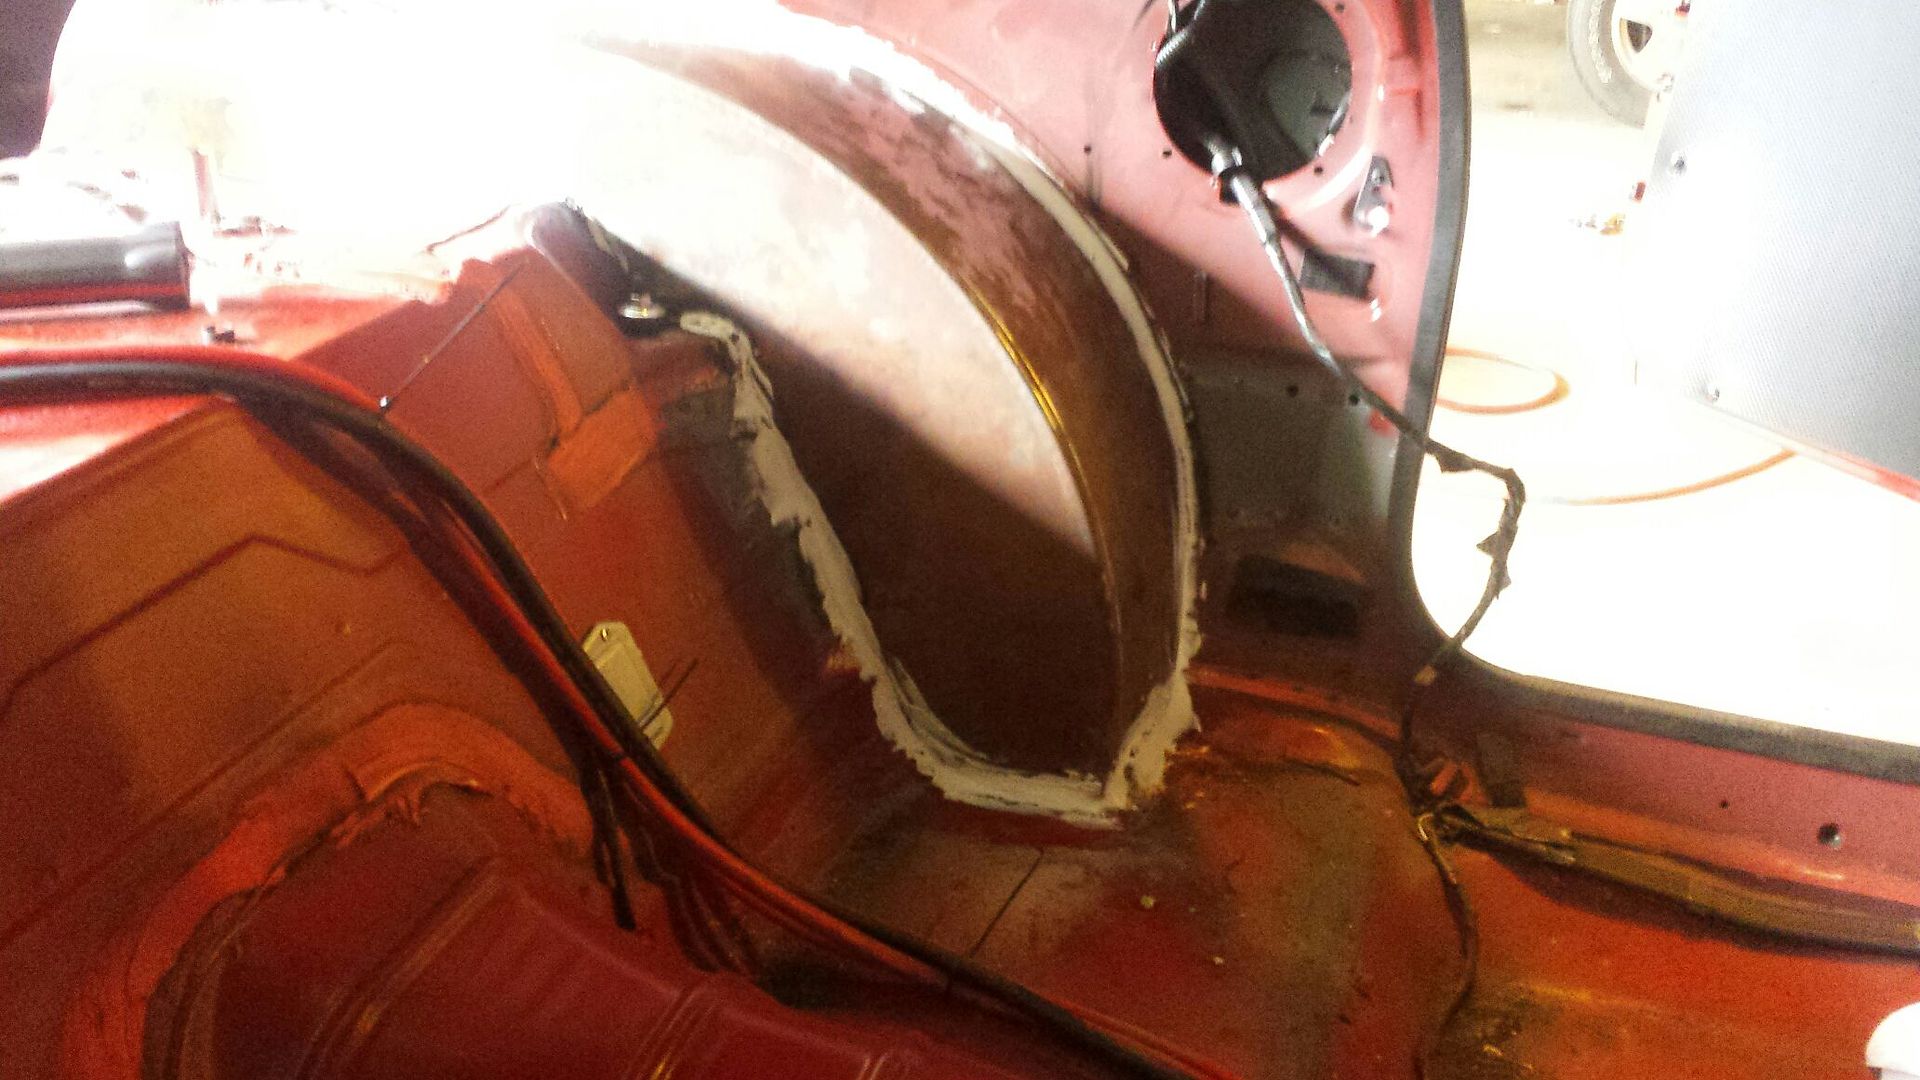
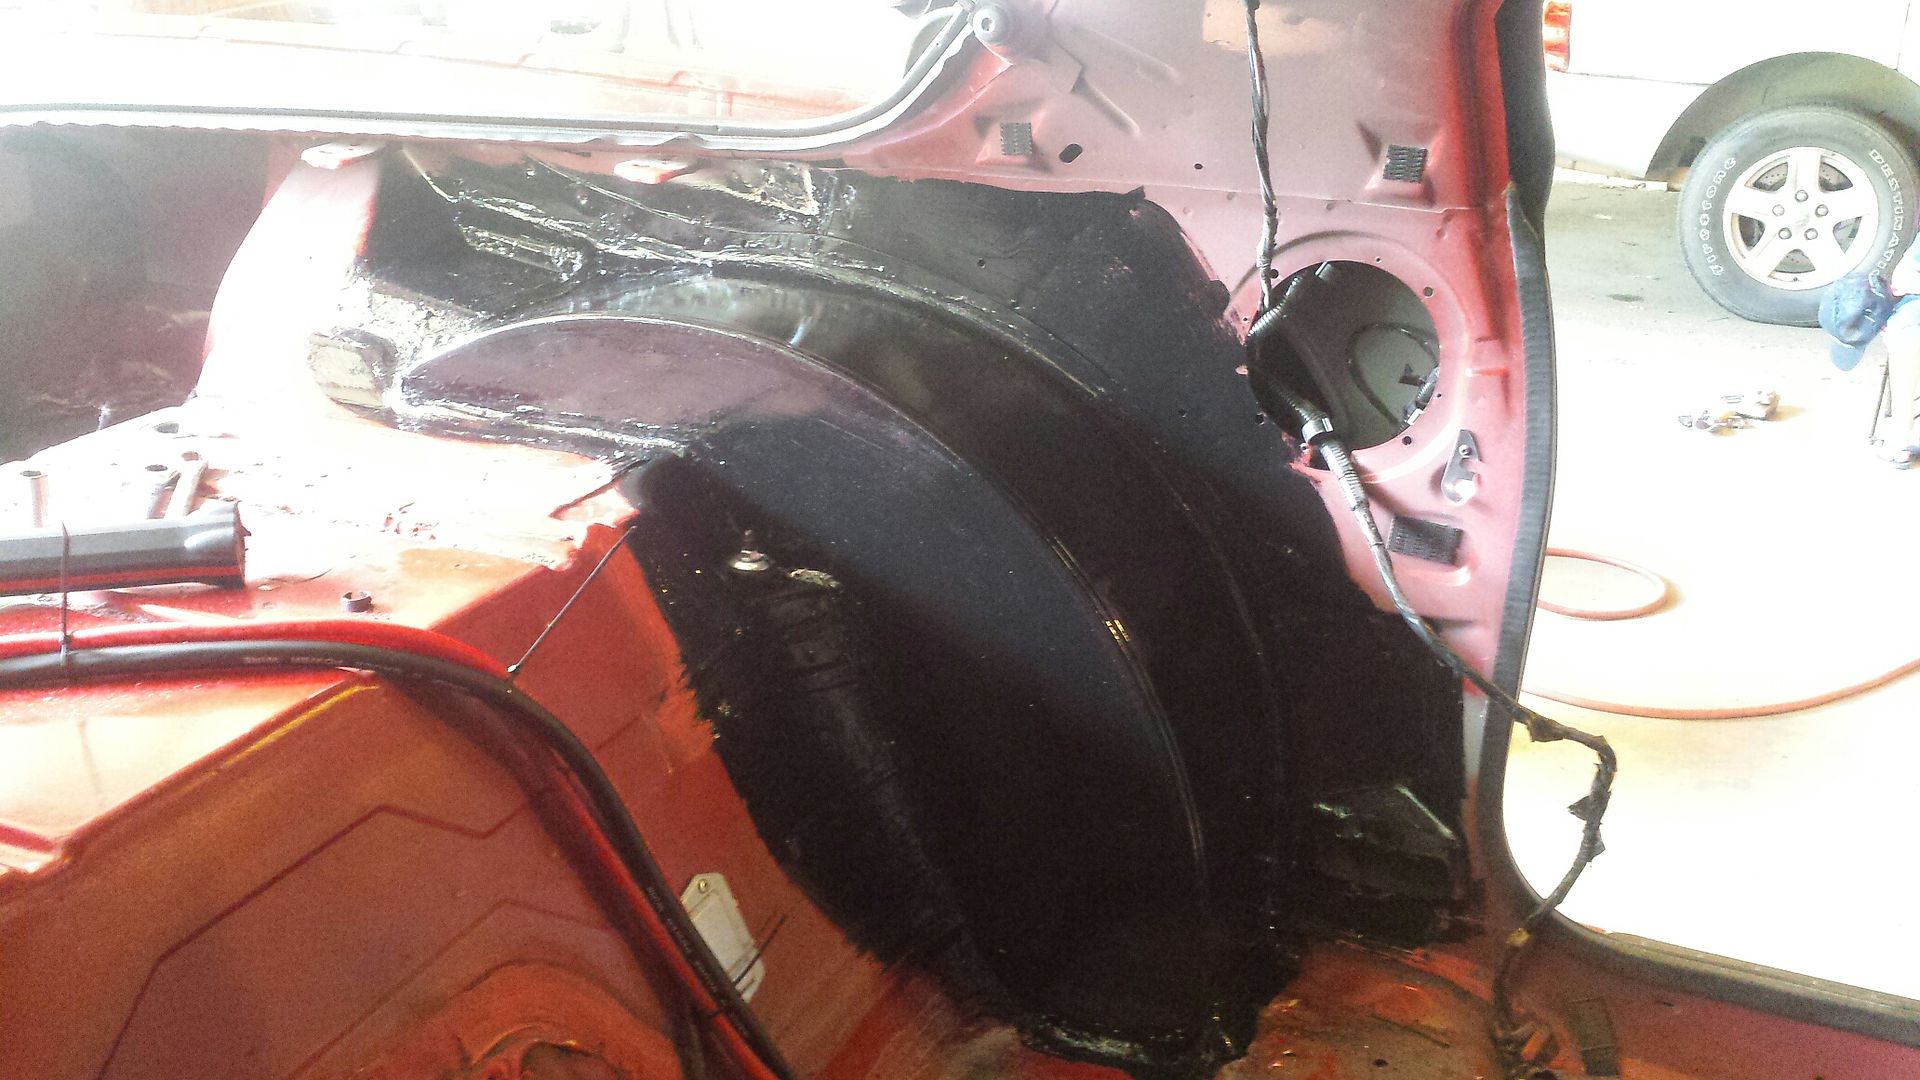
Next afternoon did the same to the passenger side. The black paint is gonna end up going all the way to the roof bc I do not think Im reinstalling the headliner so I'd like it painted. Not sure how much of the rest of the floor Im gonna paint. Car is getting carpet and interior panels back in.

")
#107
07-04-2018, 08:06 AM
Join Date: Aug 2010
Posts: 230
Likes: 0
Received 0 Likes
on
0 Posts
First thing Monday I got my welding bottle filled up. Came home and decided where I wanted the three o2 bungs and welded em up. Got the hotside wrapped also.
Did a really quick coat of red just to decide whether i liked it or not. I think i do. I figure its gonna take 3 coats to look really nice.
Barely dropped the hotside in i just had to get an idea of how it was gonna look. You can also see in this pic I've started welding the holes up on the shock towers. I want them smooth, no holes, and repainted.
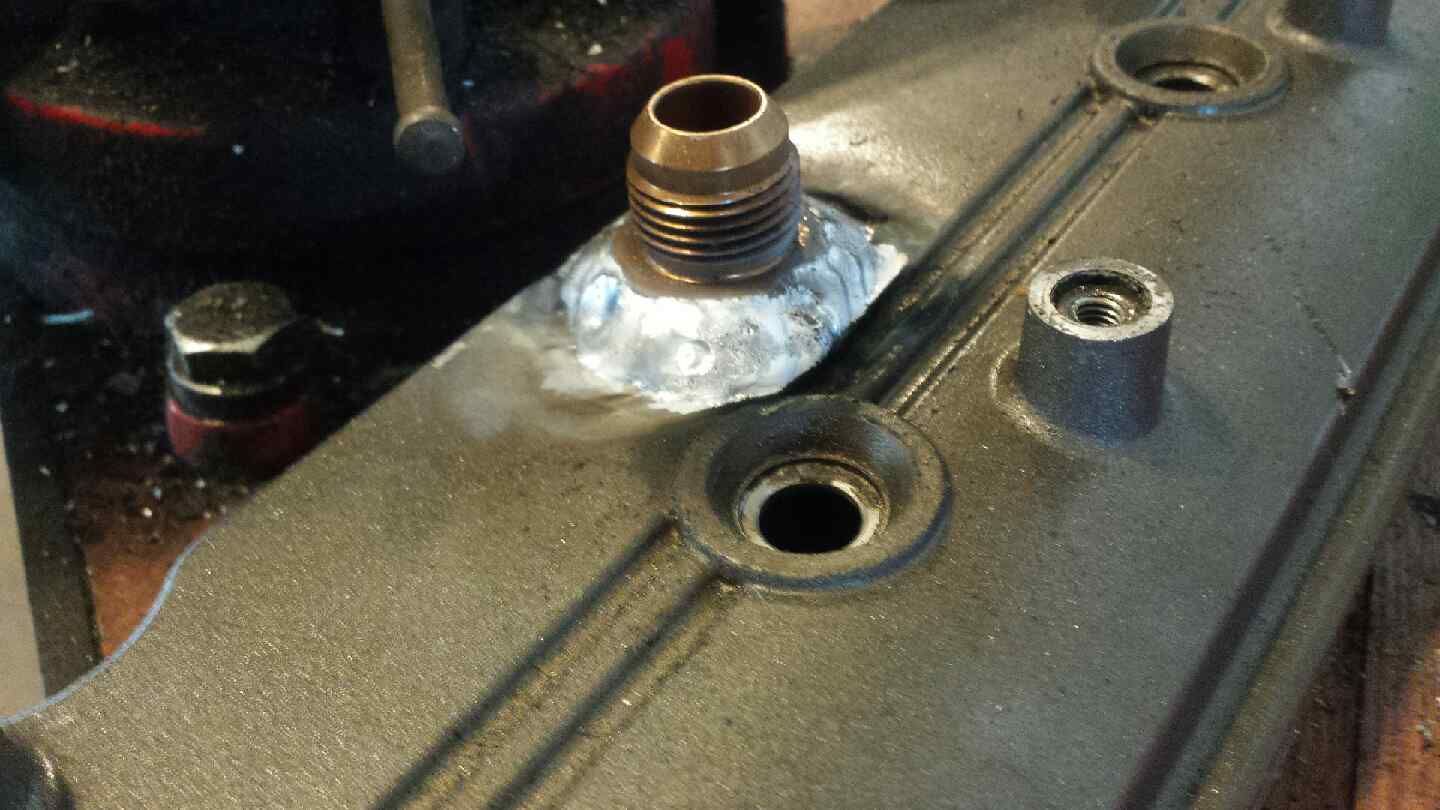
Figured I would try my hand at aluminum welding. Its been 10 years since I tig welded aluminum and I wasnt good at it then (didn't do it much). So I popped the valve covers off, welded my 10AN fittings in, then removed the old PCV vents off the tops and sealed them up. They got repainted and reinstalled.

Did a really quick coat of red just to decide whether i liked it or not. I think i do. I figure its gonna take 3 coats to look really nice.

Barely dropped the hotside in i just had to get an idea of how it was gonna look. You can also see in this pic I've started welding the holes up on the shock towers. I want them smooth, no holes, and repainted.

Figured I would try my hand at aluminum welding. Its been 10 years since I tig welded aluminum and I wasnt good at it then (didn't do it much). So I popped the valve covers off, welded my 10AN fittings in, then removed the old PCV vents off the tops and sealed them up. They got repainted and reinstalled.

#108
07-06-2018, 07:32 AM
Join Date: Aug 2010
Posts: 230
Likes: 0
Received 0 Likes
on
0 Posts


#109
07-14-2018, 08:01 AM
Join Date: Aug 2010
Posts: 230
Likes: 0
Received 0 Likes
on
0 Posts
So I been working on this cage, by myself. Its listed as hold and tack but that's easier said then done, plus I've never installed a cage. Here's my initial mock up (first day). I am 75% done now and think i have 3 afternoons in on it so far.
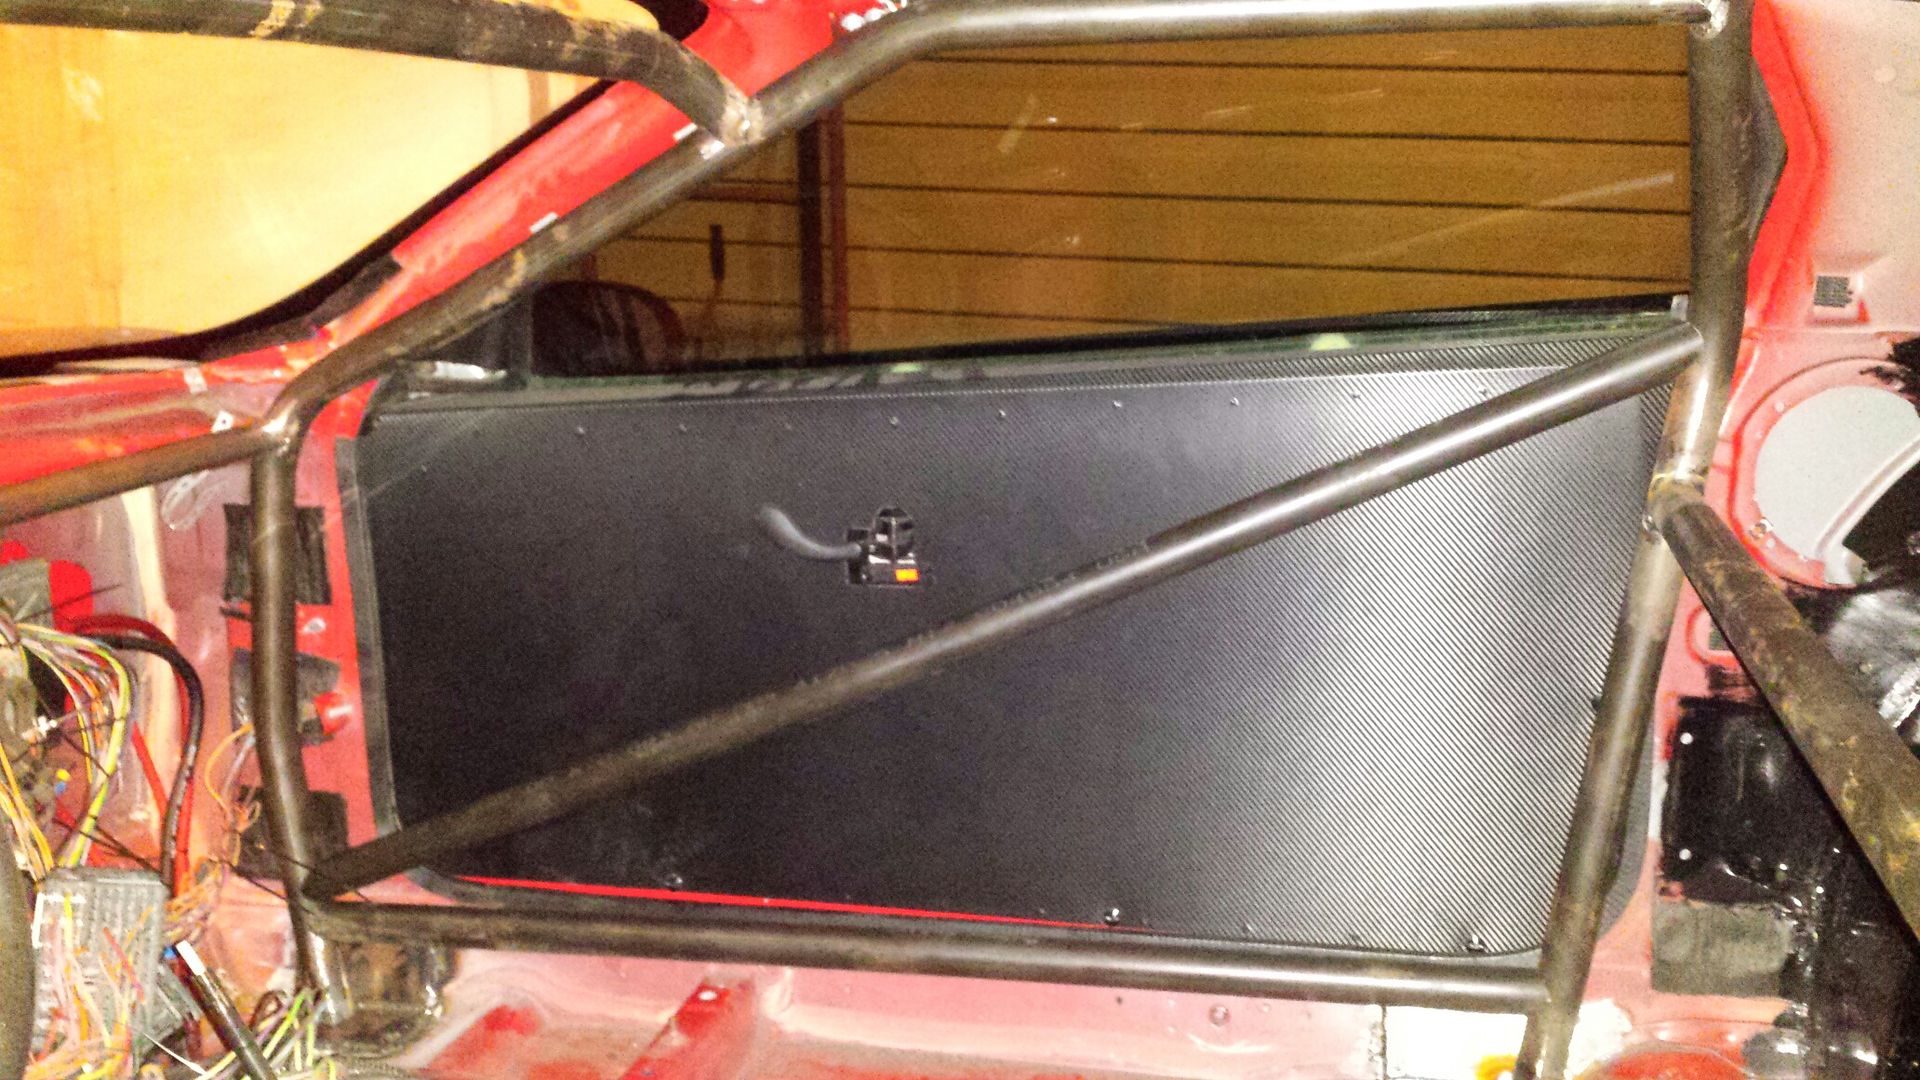
I am also adding gussets at every joint for added strength. I also did decide to incorporate the decorative gussets, can you spot them?

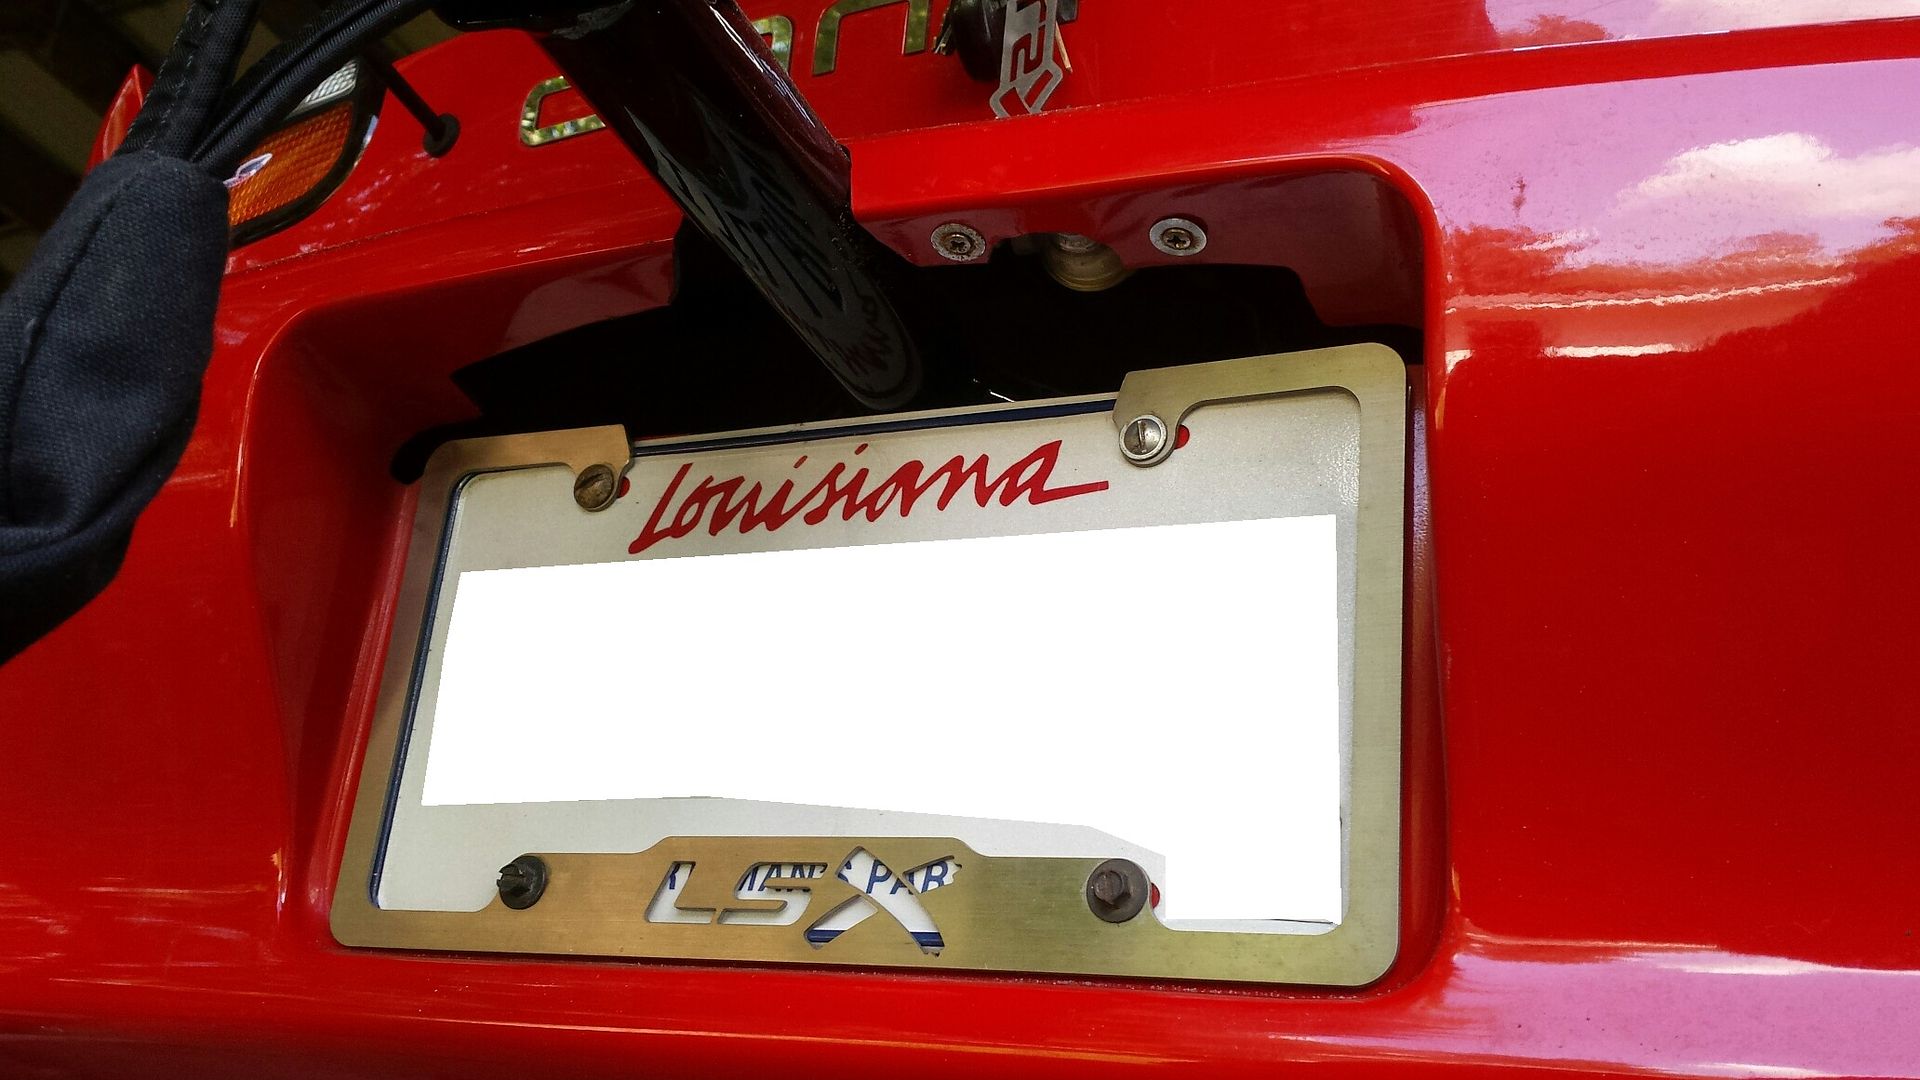
Rear of the car is reassembled for the last time. Drilled for the parachute cable.
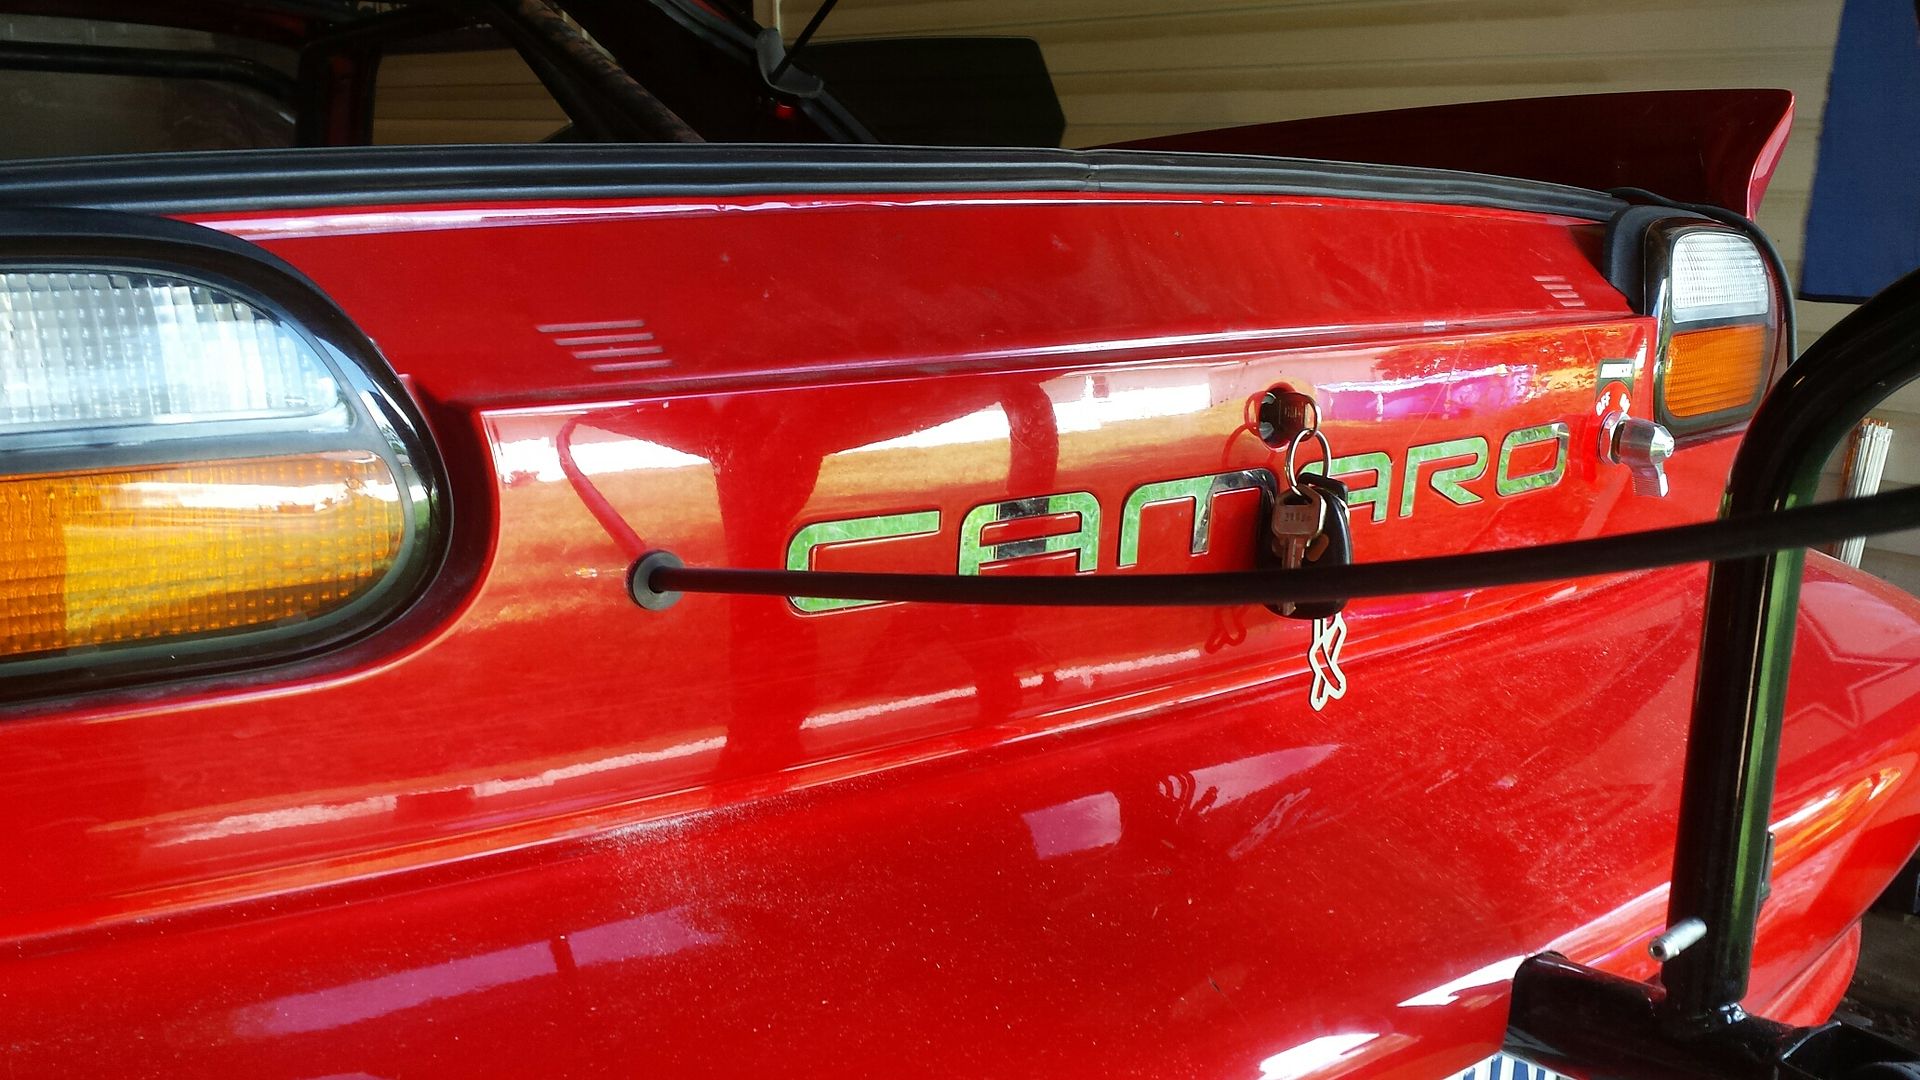
An up close look, and the reason i made this mount as opposed to buying one, to not destroy the plate. And if i can say so I think I friggen nailed it. Bezel had to be cut and you can see i moved the plate light over but the plate is fully intact.
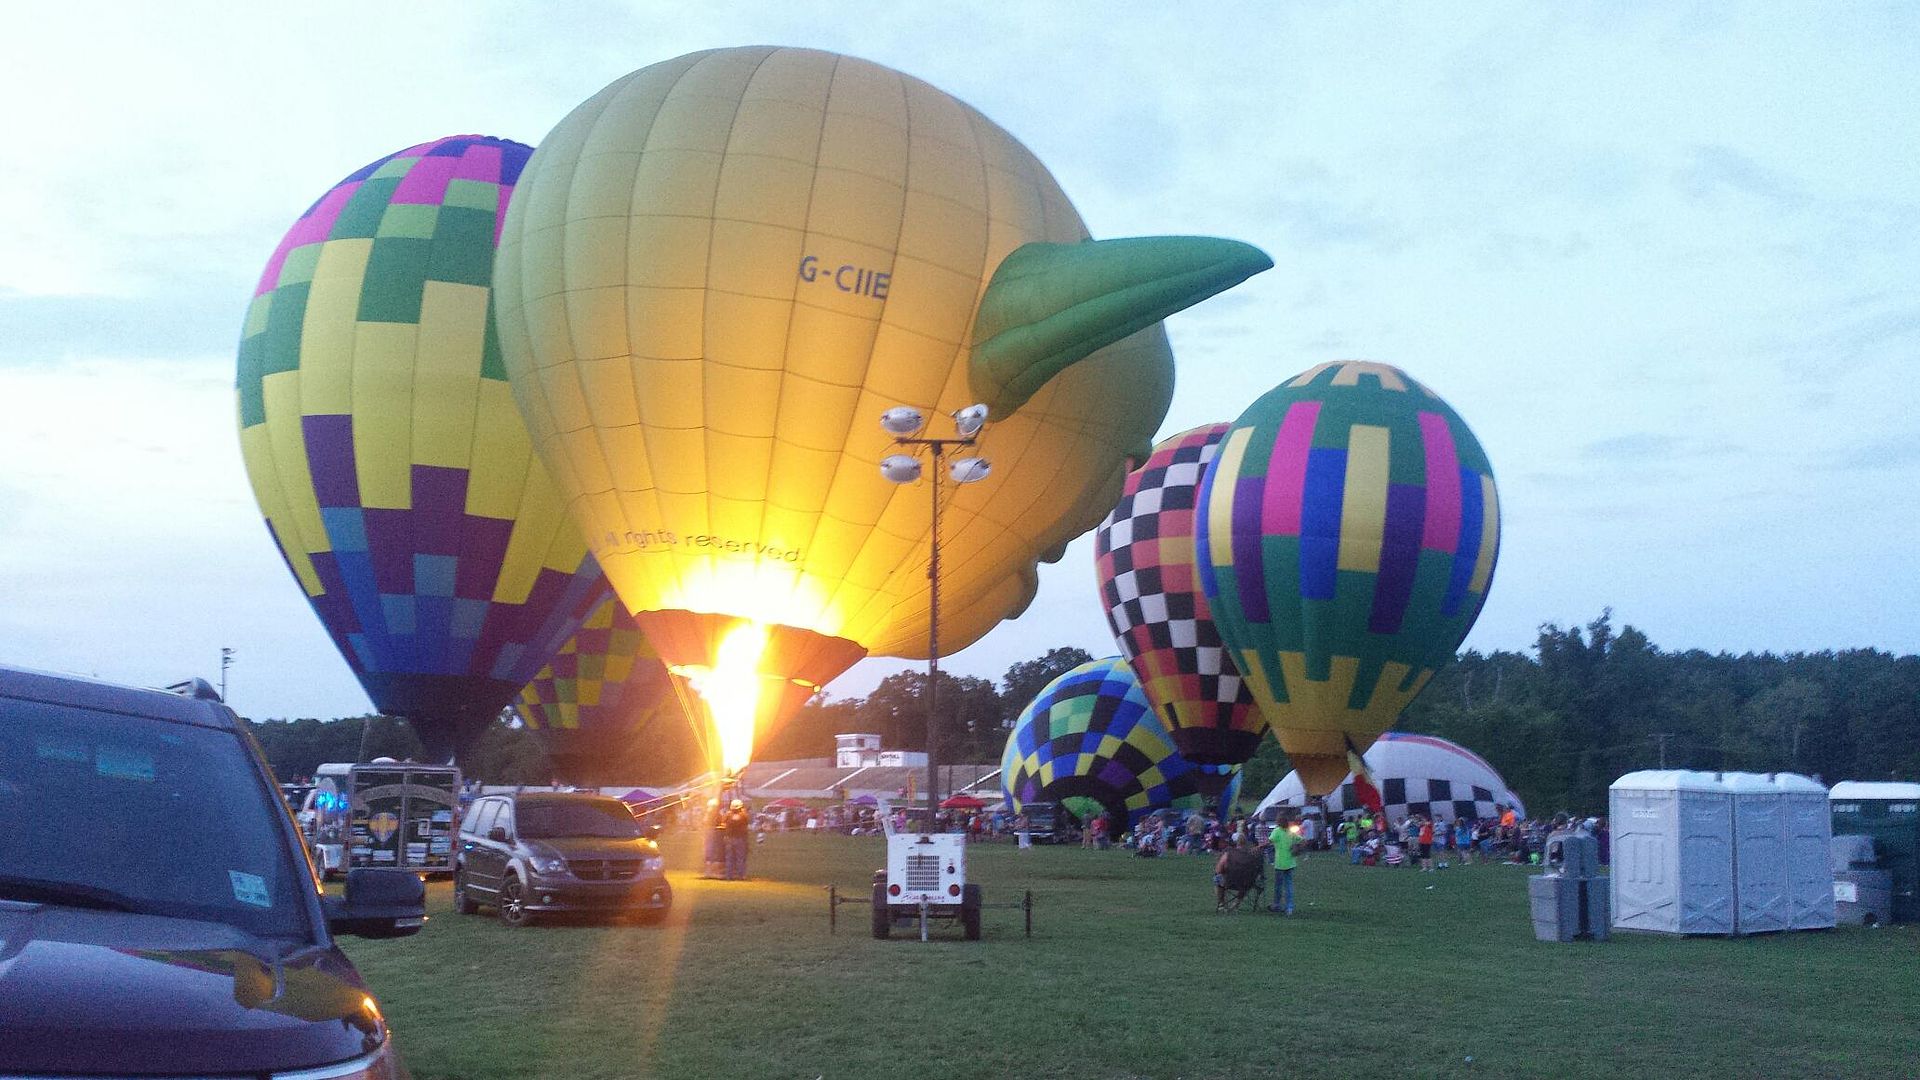
End the day with some hot air ballons and cold beer.

I am also adding gussets at every joint for added strength. I also did decide to incorporate the decorative gussets, can you spot them?

Rear of the car is reassembled for the last time. Drilled for the parachute cable.

An up close look, and the reason i made this mount as opposed to buying one, to not destroy the plate. And if i can say so I think I friggen nailed it. Bezel had to be cut and you can see i moved the plate light over but the plate is fully intact.

End the day with some hot air ballons and cold beer.

#110
07-18-2018, 08:26 AM
Join Date: Aug 2010
Posts: 230
Likes: 0
Received 0 Likes
on
0 Posts
Took some time off the cage and decided to do some other stuff. I started with going over the wiring inside the car, reconnecting those 4 wires that got cut, getting a gameplan for the headlight and fan wiring that had to be extended, and wrapping some stuff with tape. I was able to get the passenger headlight and both fans wired up, so I only have the driver headlight left to wire. Ends up being 6 wires per side needing to be extended. I also figured i would start putting panels back on and getting them lined up. All wiring is run inside the fender.
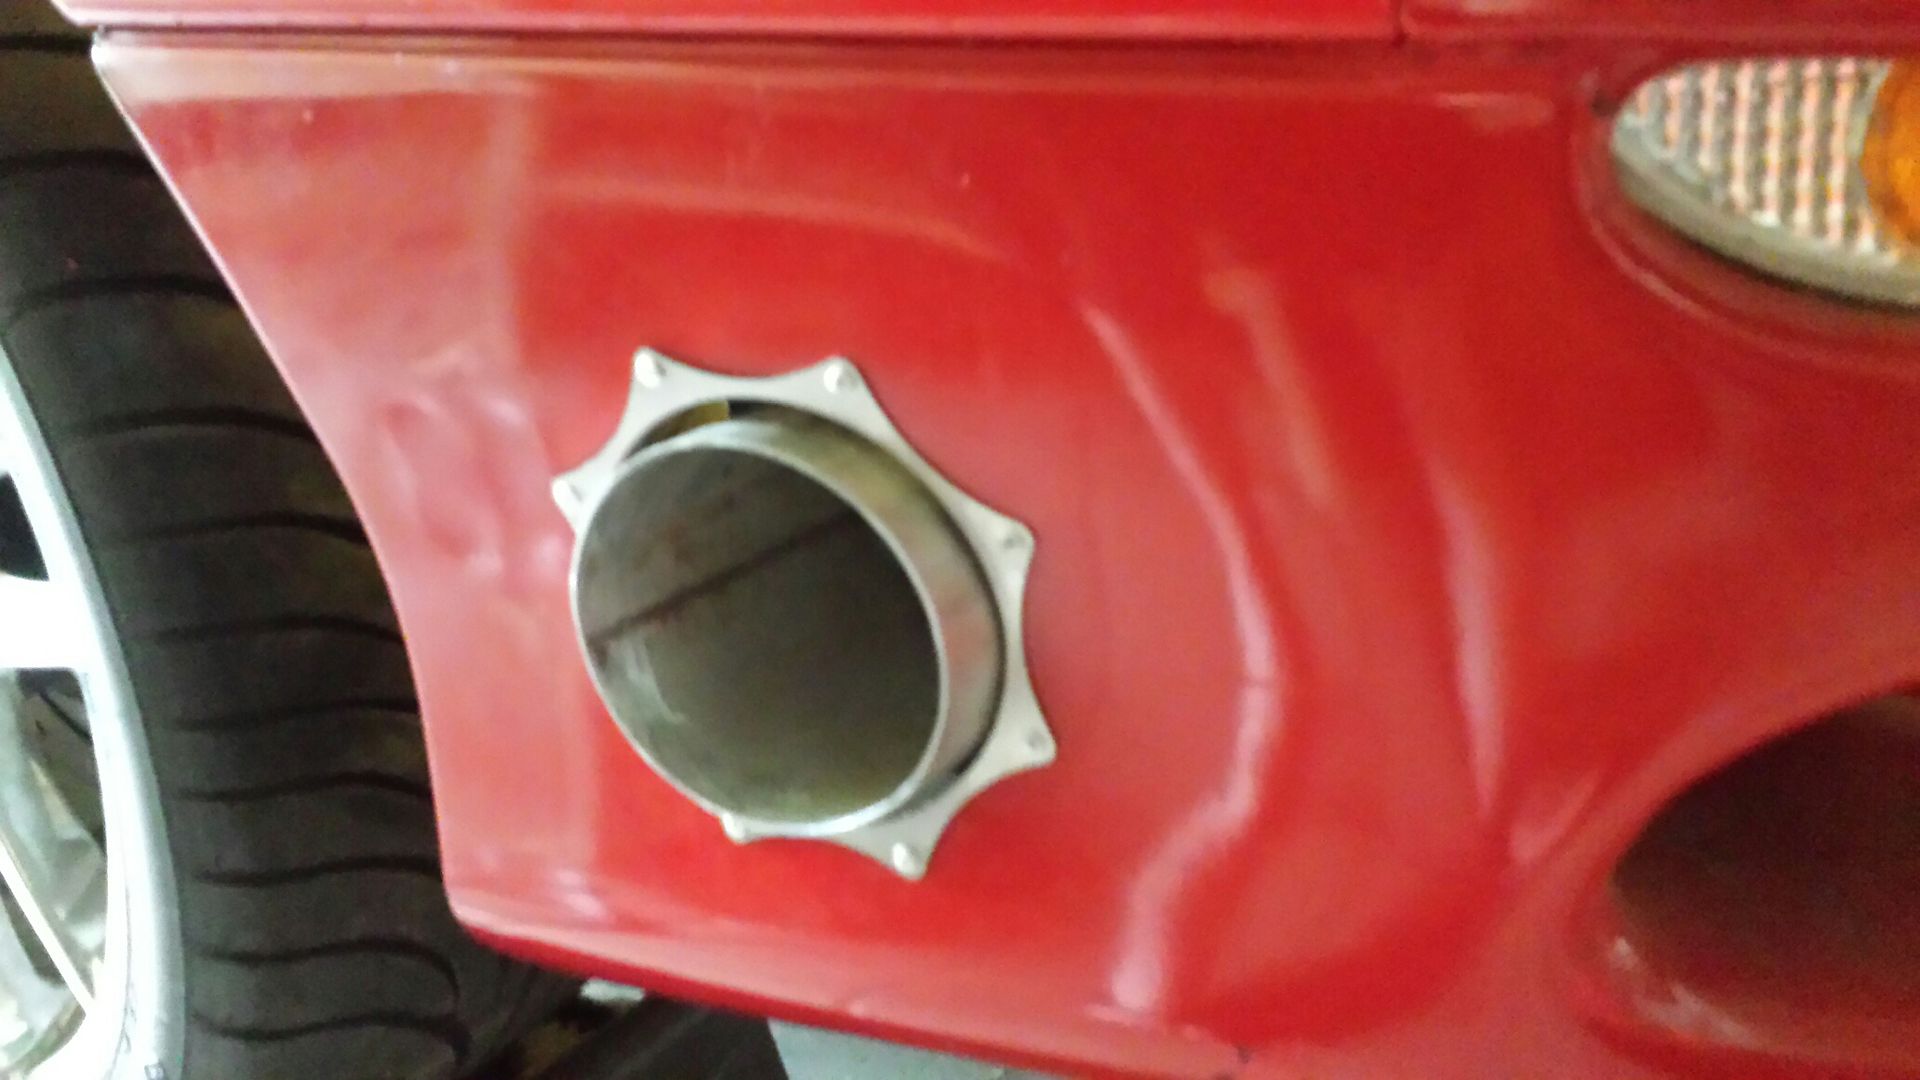
Since the bumper, hood, and fenders were in place i figured it was time to finish the exhaust.
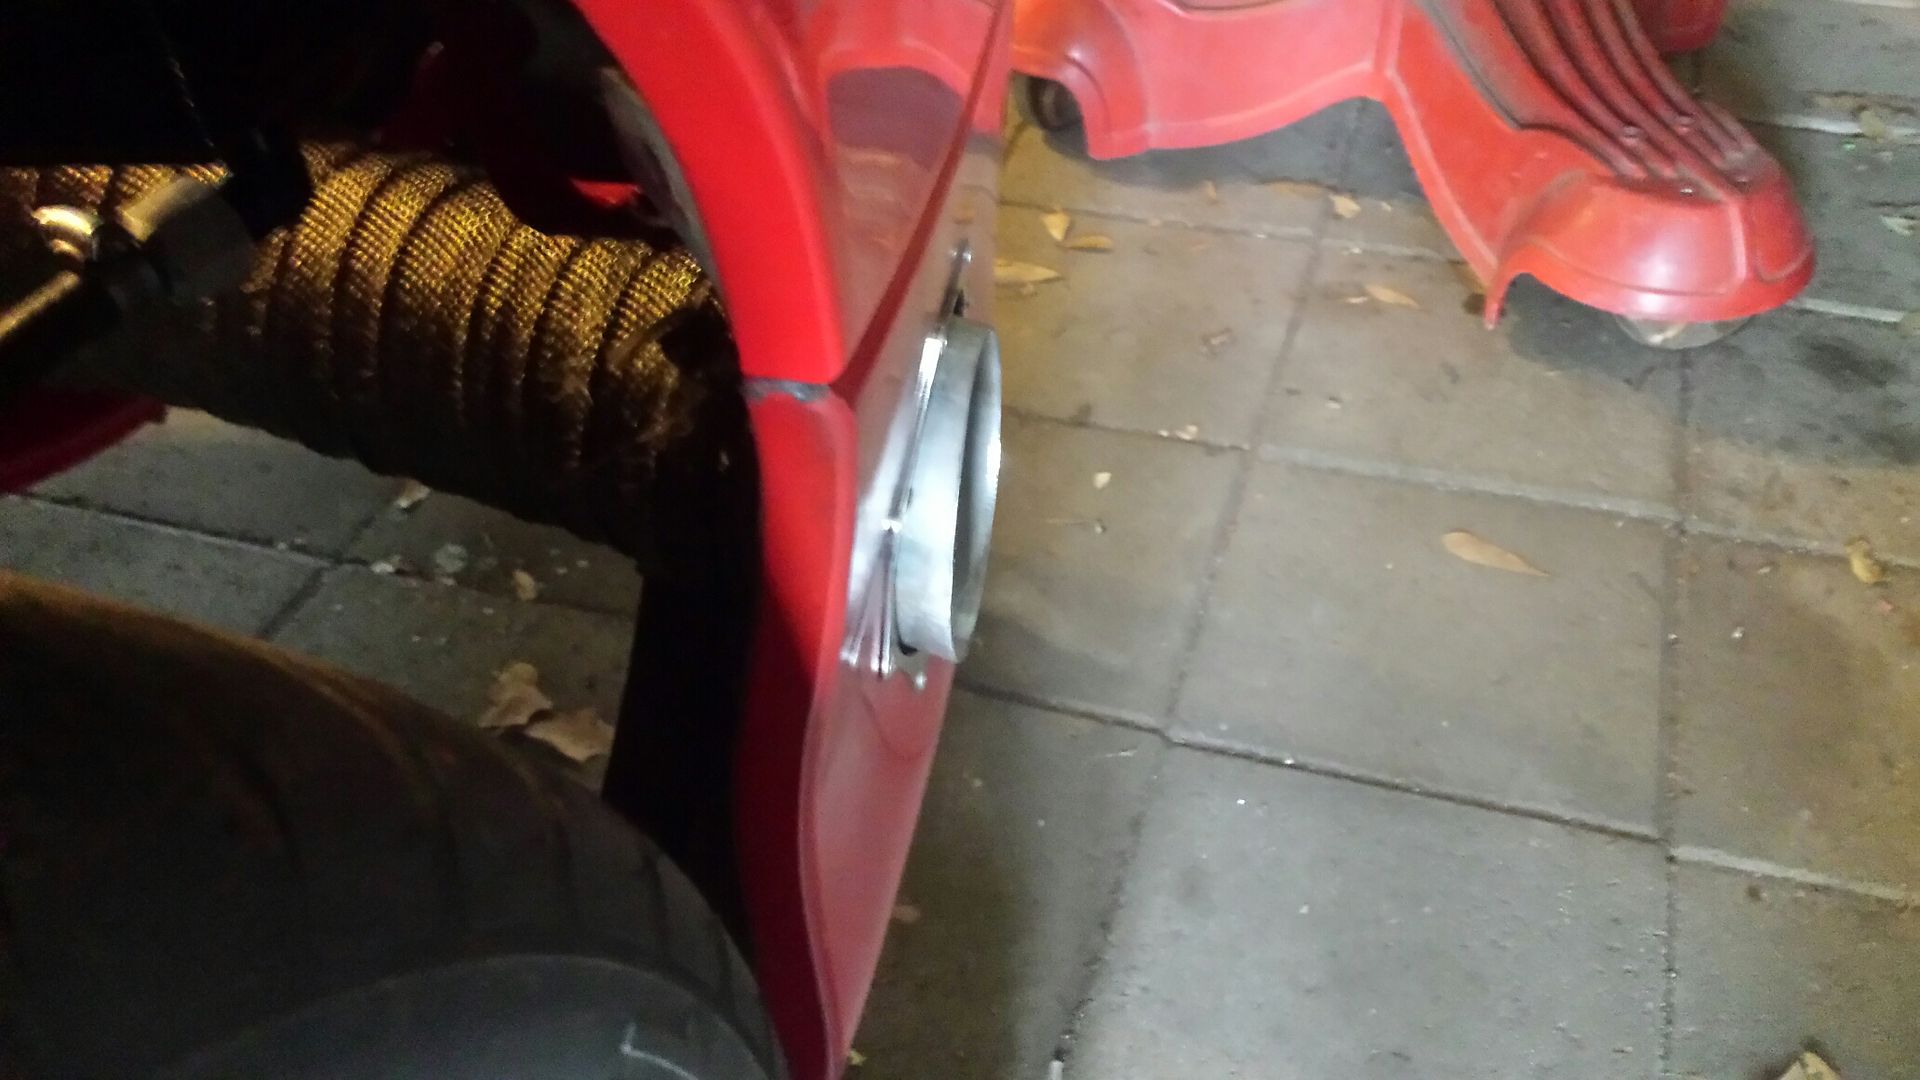
Originally I had a 3 inch exhaust, into a stainless 3.5" tip, and the trim ring is 4.25". Now i have straight 4 inch, no special tip, still 4.25" ring. Pretty tight fit.
One last pic, wideband is in and the harness for it run also. I am waiting on cold side piping to show and a couple other little things but Im gonna keep trucking along.

Since the bumper, hood, and fenders were in place i figured it was time to finish the exhaust.


Originally I had a 3 inch exhaust, into a stainless 3.5" tip, and the trim ring is 4.25". Now i have straight 4 inch, no special tip, still 4.25" ring. Pretty tight fit.

One last pic, wideband is in and the harness for it run also. I am waiting on cold side piping to show and a couple other little things but Im gonna keep trucking along.
