SS Camaro - Track trips, build pics etc.
#51
 09-19-2017, 12:42 AM

Keep up the good work.
That looks like a moon moth. I don't think I ever saw one and don't know what gave me that idea. https://en.wikipedia.org/wiki/Actias
I was wondering if Huron Speed was named after Lake Huron and found out it's just north of Port Huron which is about an hour drive straight down I-69 from me. I'm always glad to see a successful company in Michigan since so many have already left. Corbon Ammunition moved to Sturgis, SD in 1995 after 13 years in Michigan where they started out making ammo mainly for police. They probably got sick of all the business taxes. South Dakota has the second best business taxes and Michigan is in 12th place.
#52
09-23-2017, 08:33 AM
Join Date: Aug 2010
Posts: 230
Likes: 0
Received 0 Likes
on
0 Posts
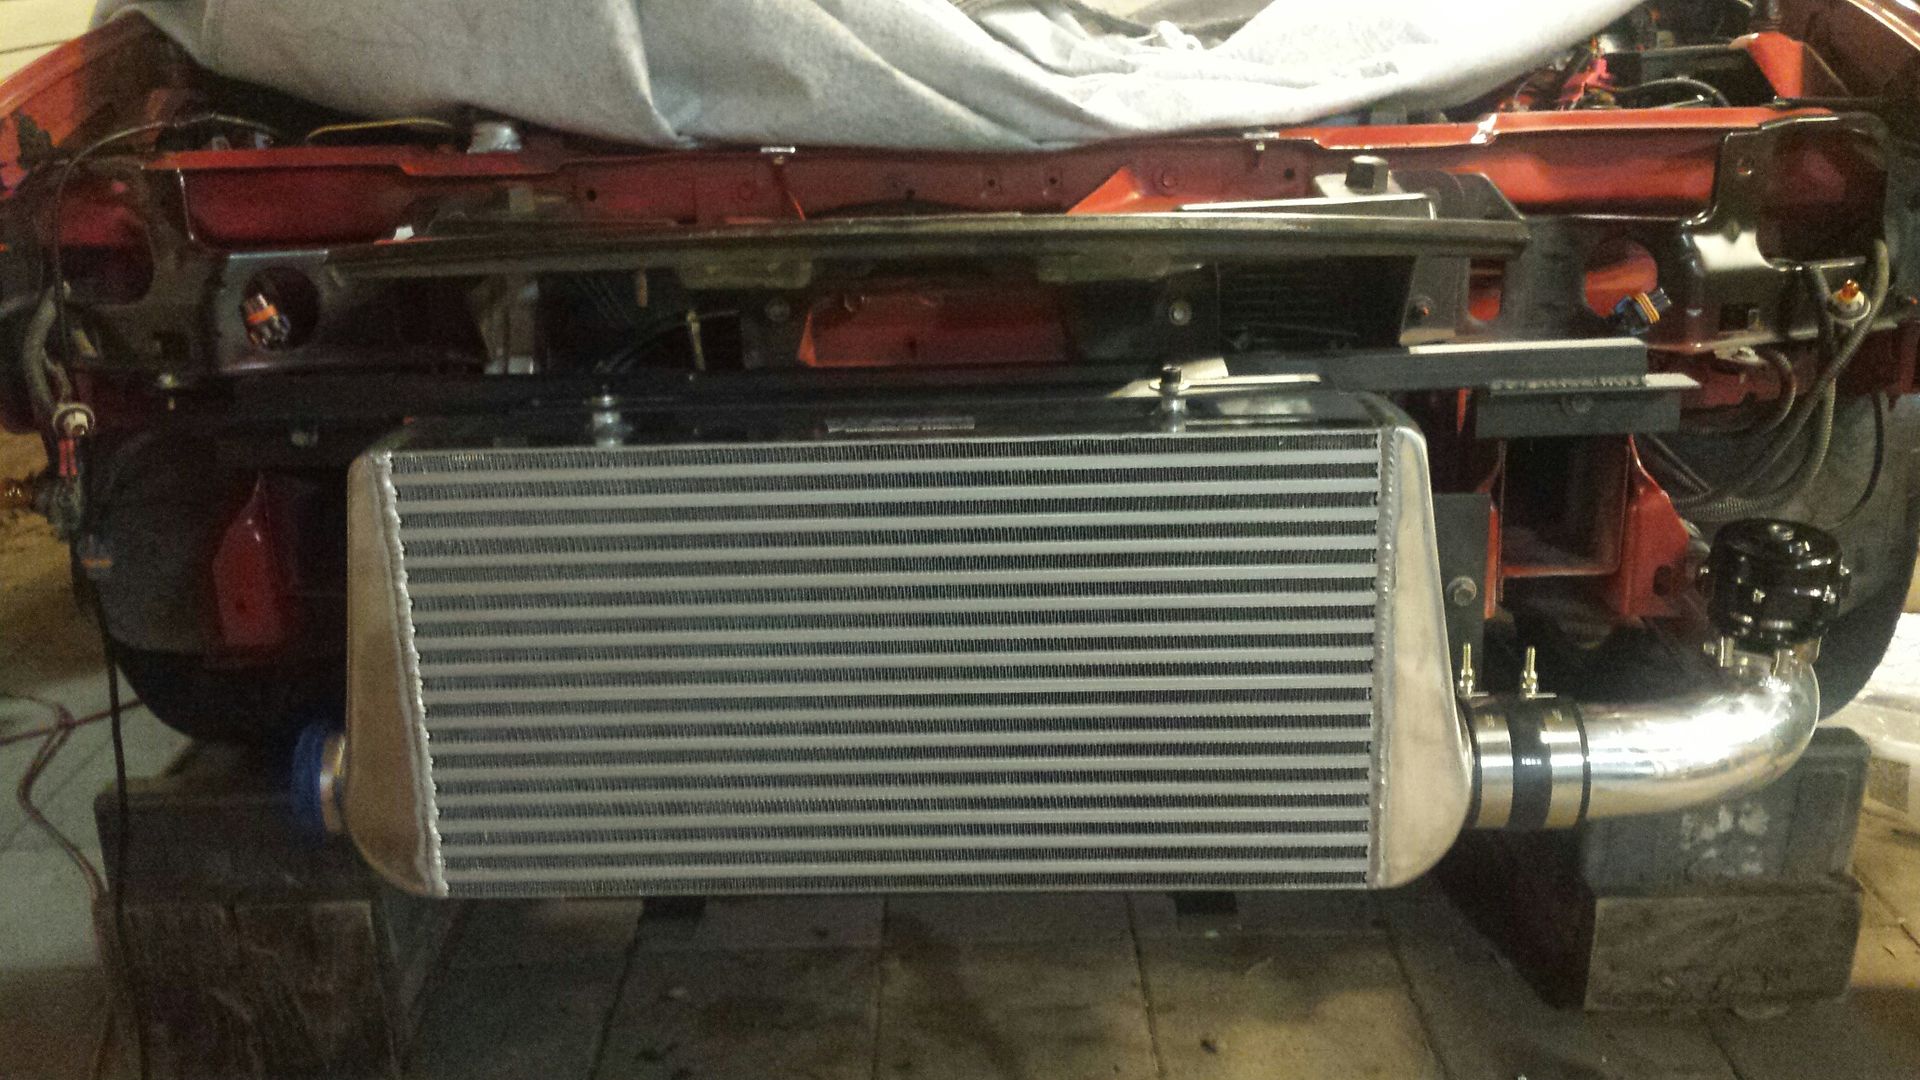
Intercooler showed up and I had to do a quick mockup just for fun. Brackets fit nice.
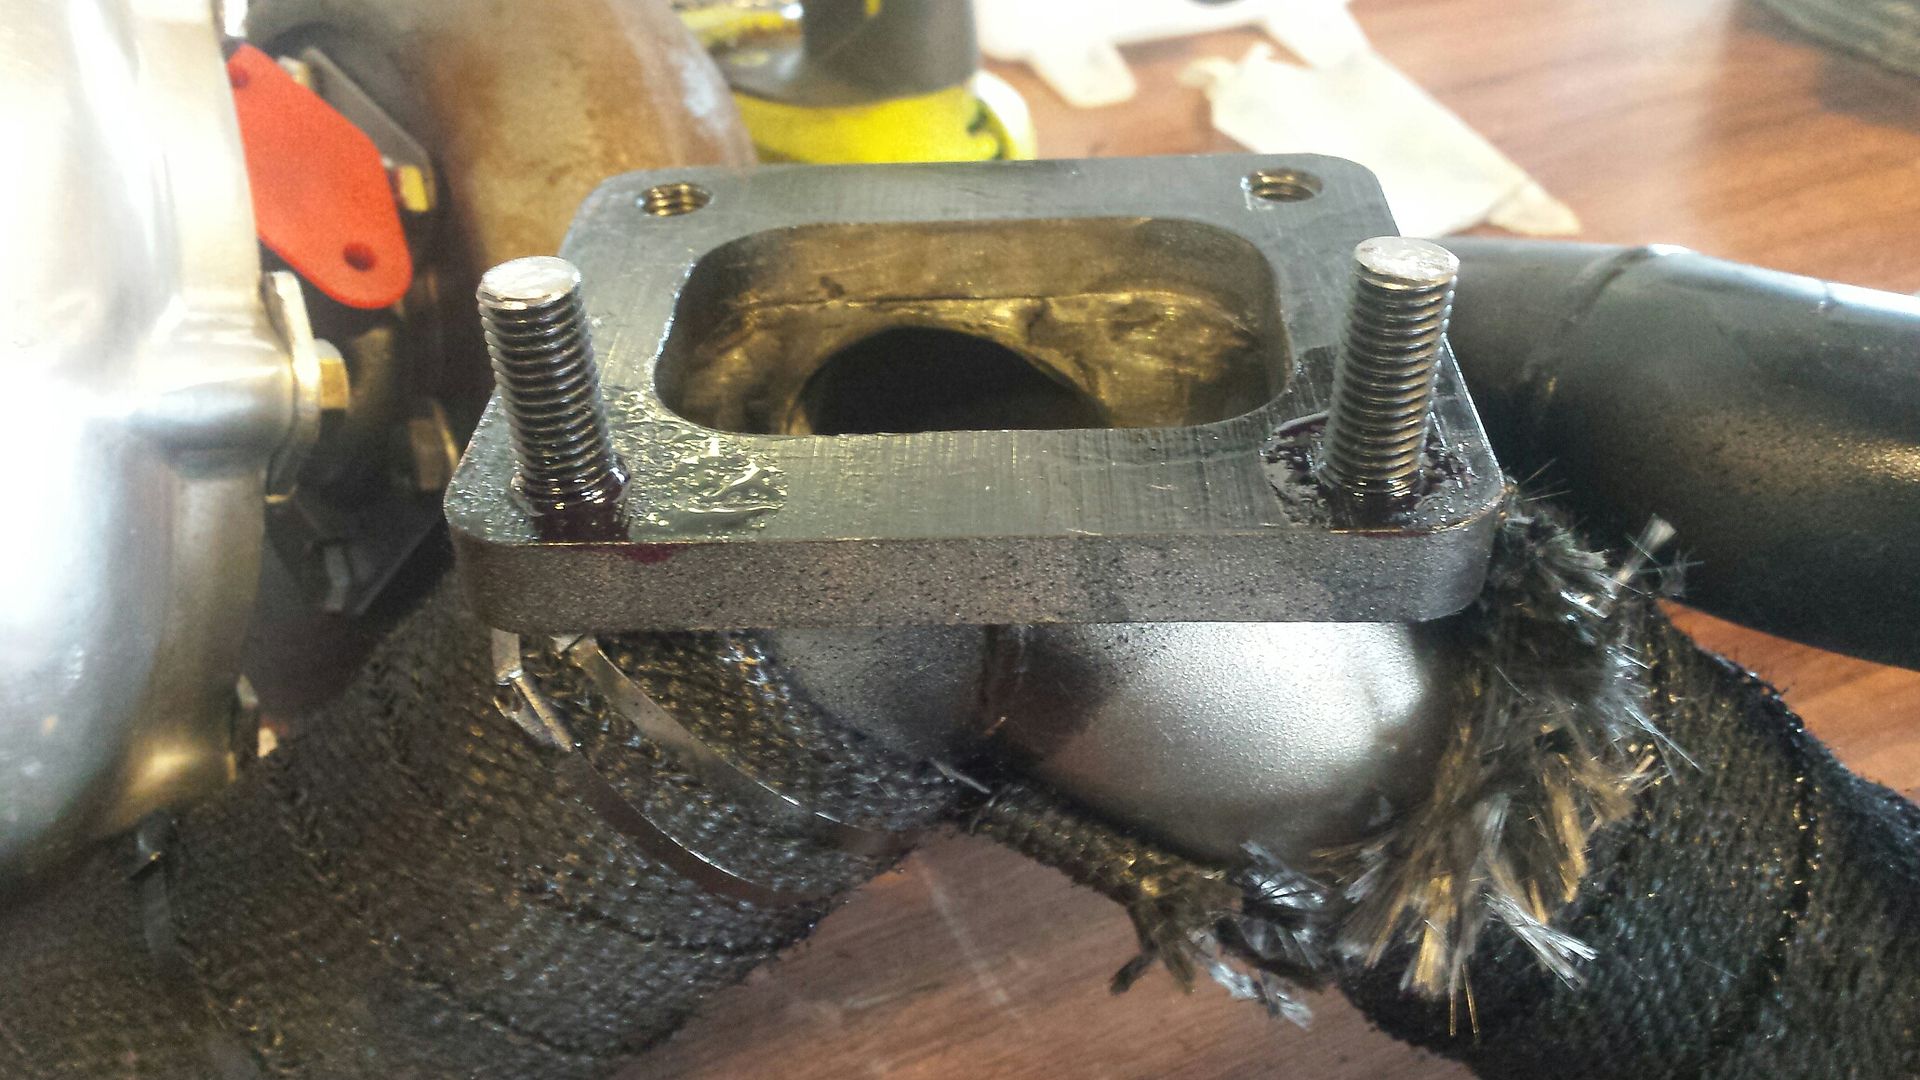
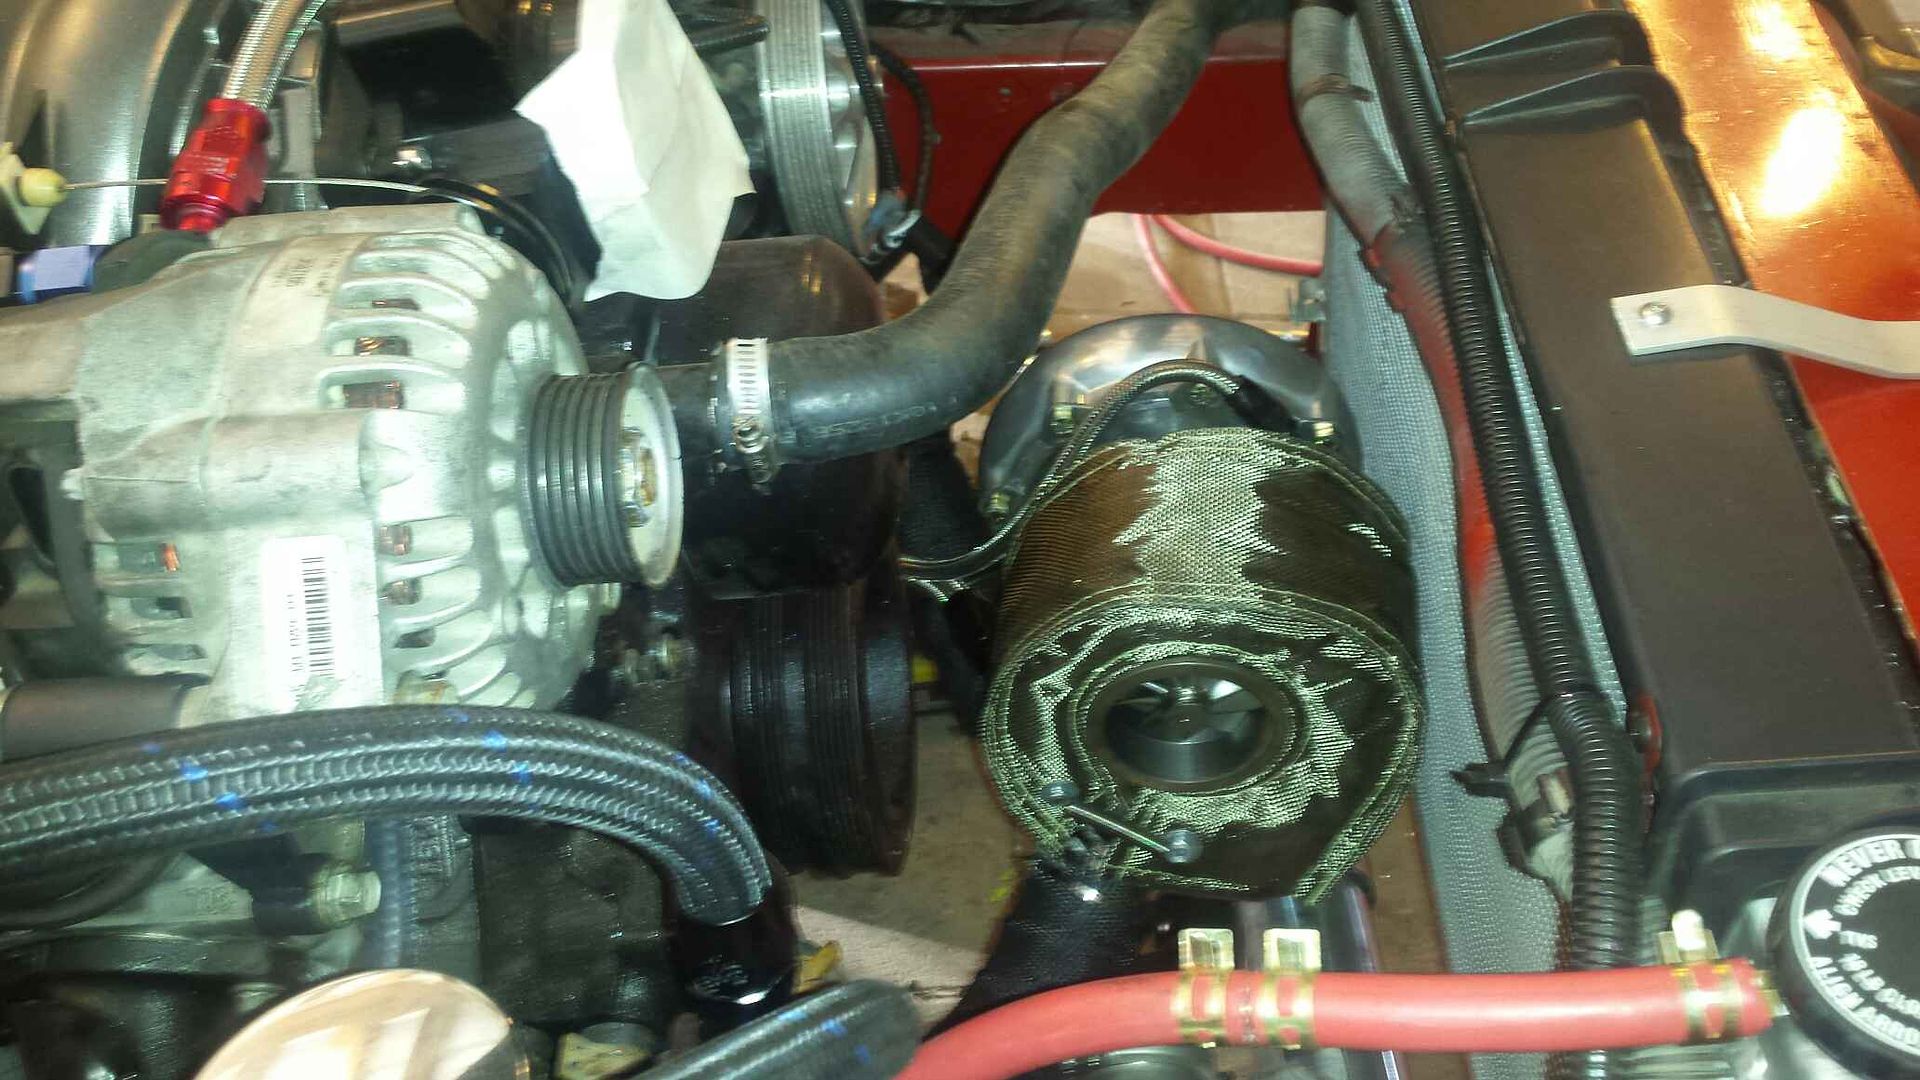
The pic above with the turbo mounted.....it was just barely bolted on. Here's why. Not thrilled I had to pull it back off.
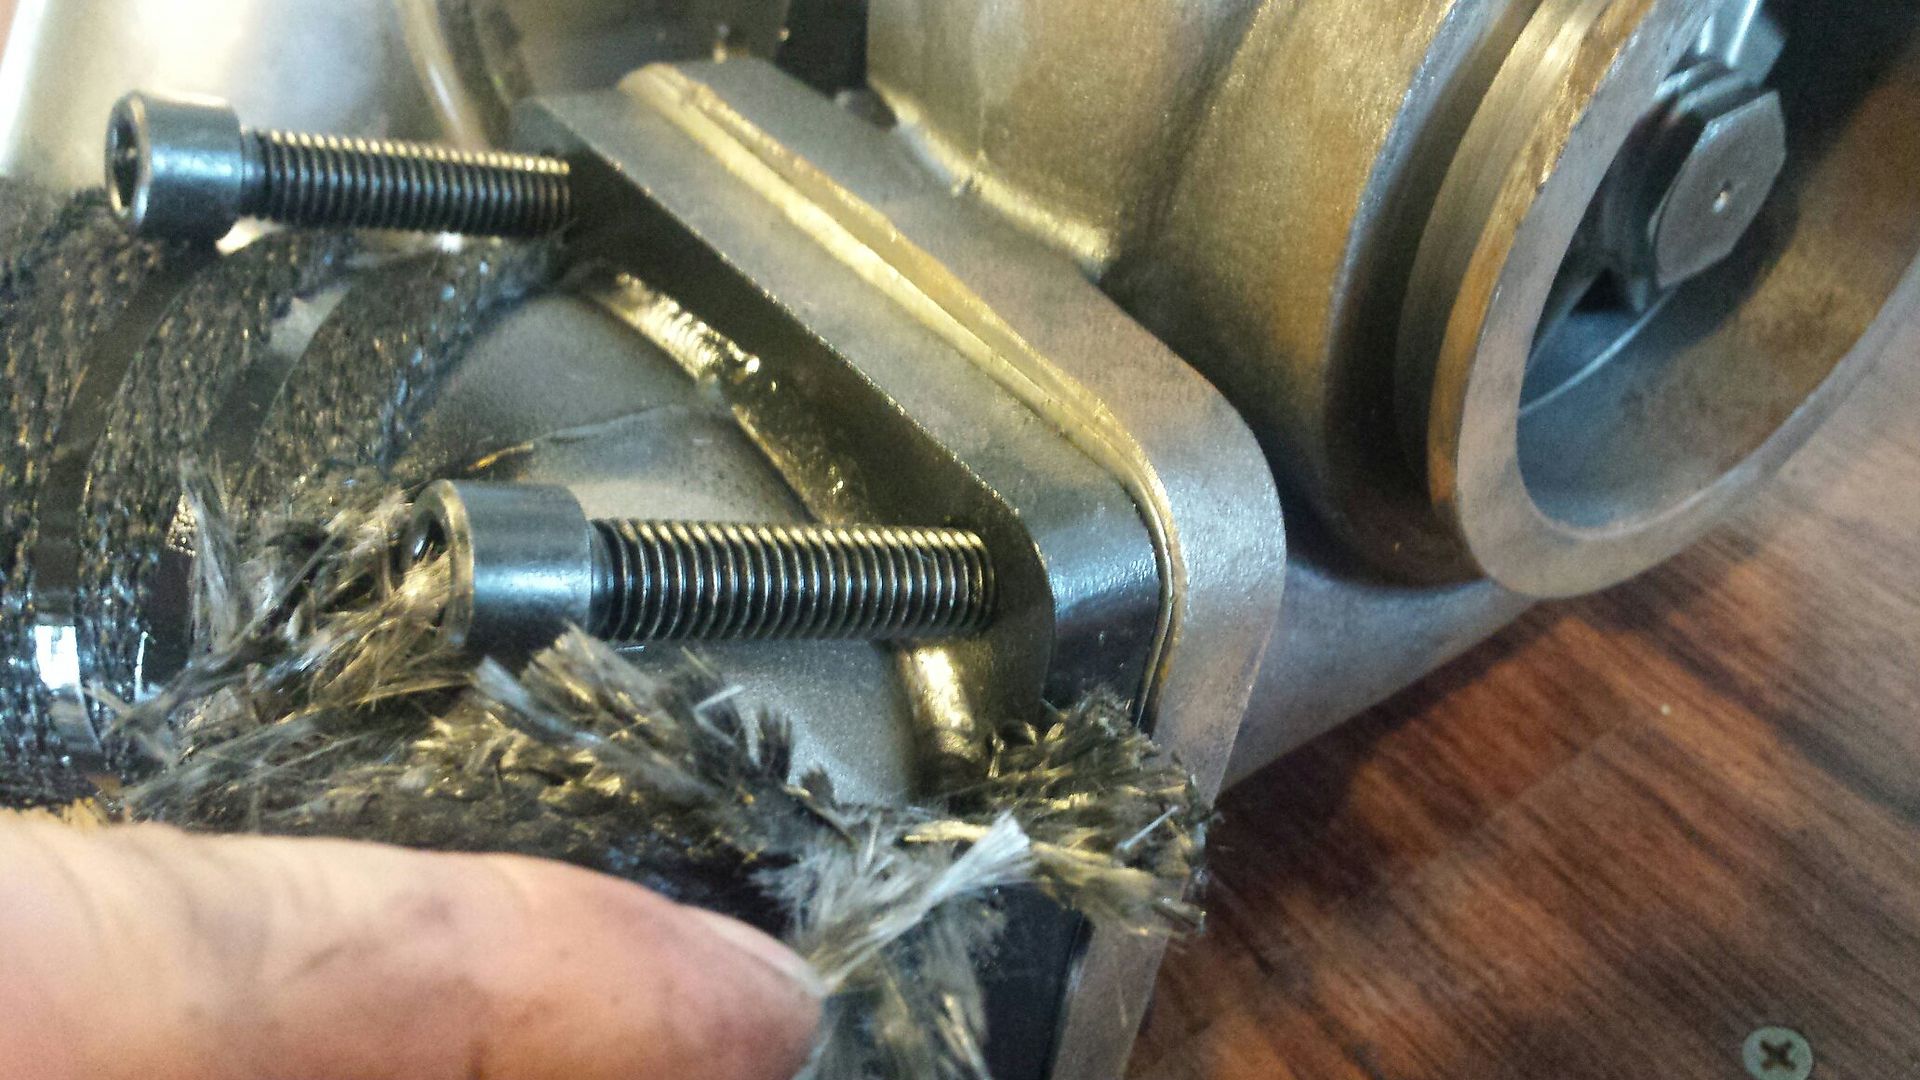
Here is my solution. I red locktited them into the flange, time will tell if it holds or not.
Mocked it up on the table to save me some work laying under the car.
Final mount-up, got the alternator mounted up top also.
All the coldside done, it lacks a belt at this point to be running.
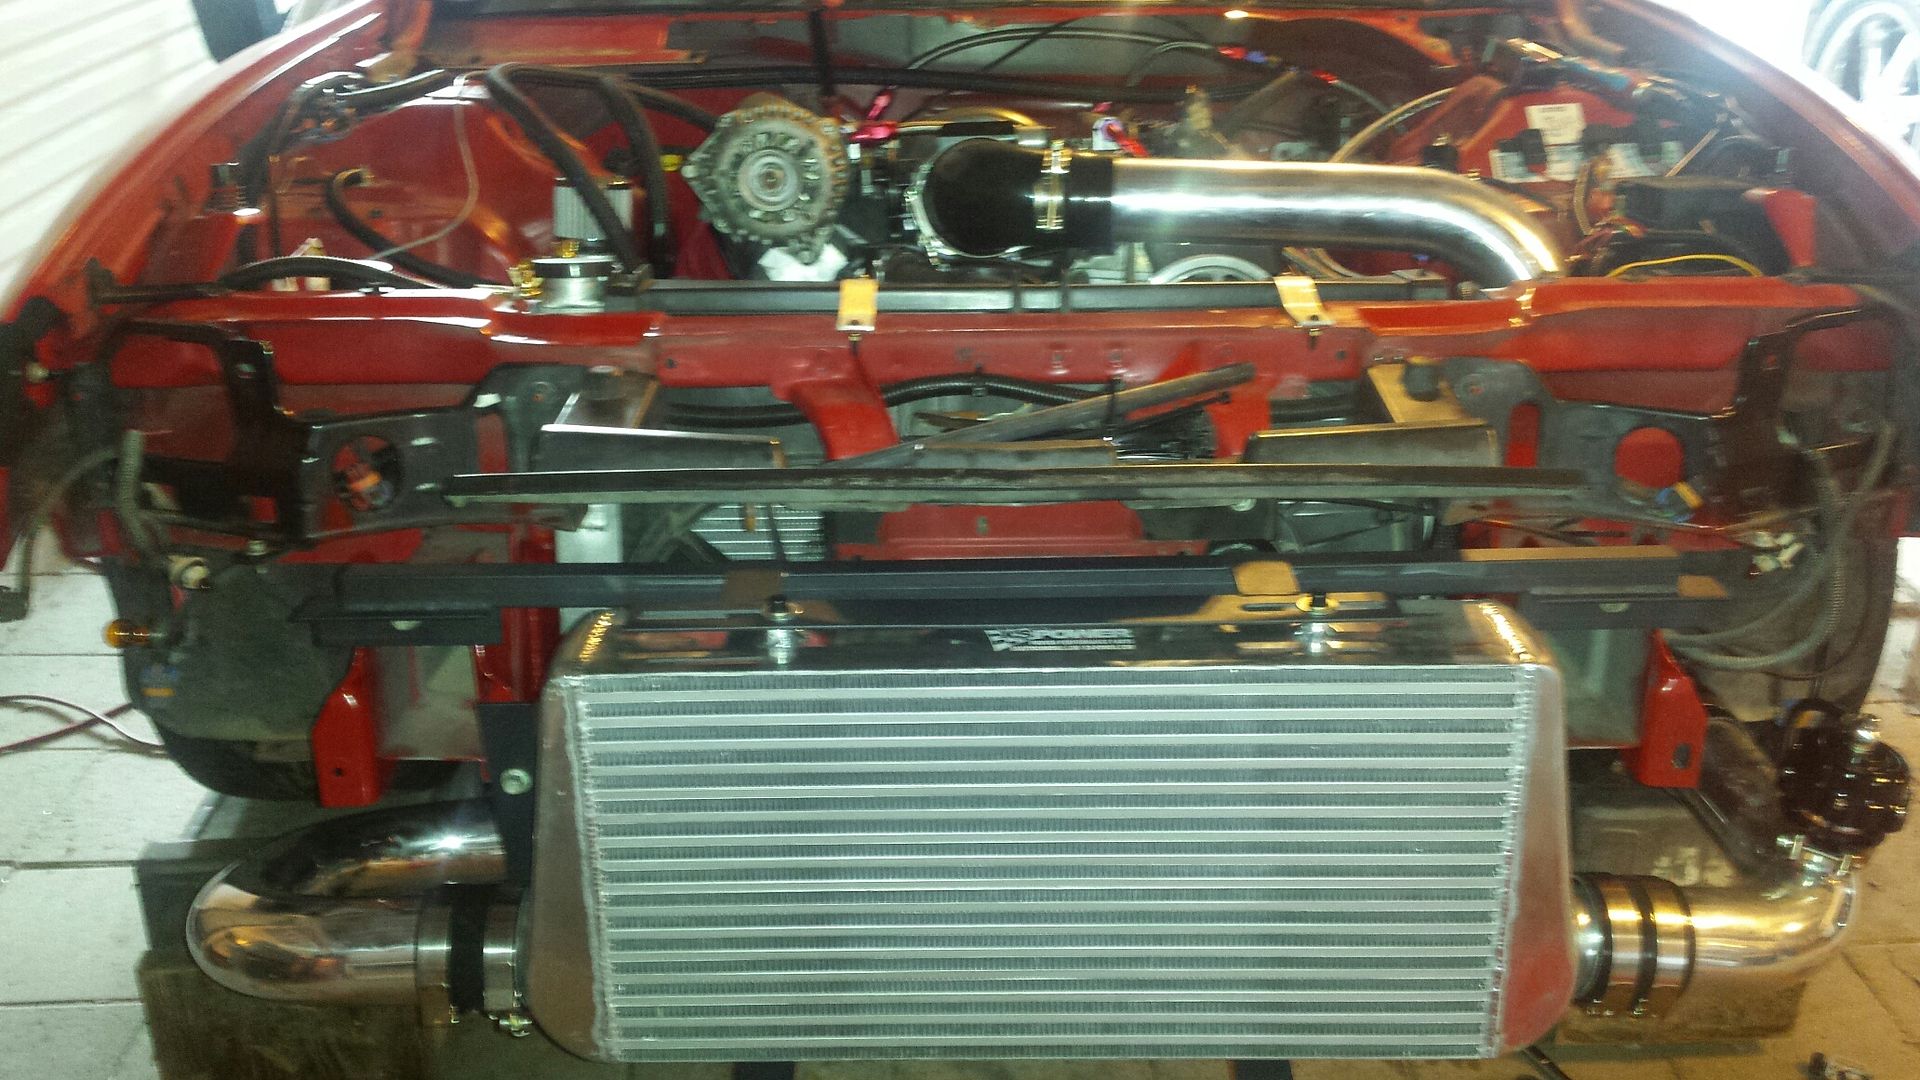
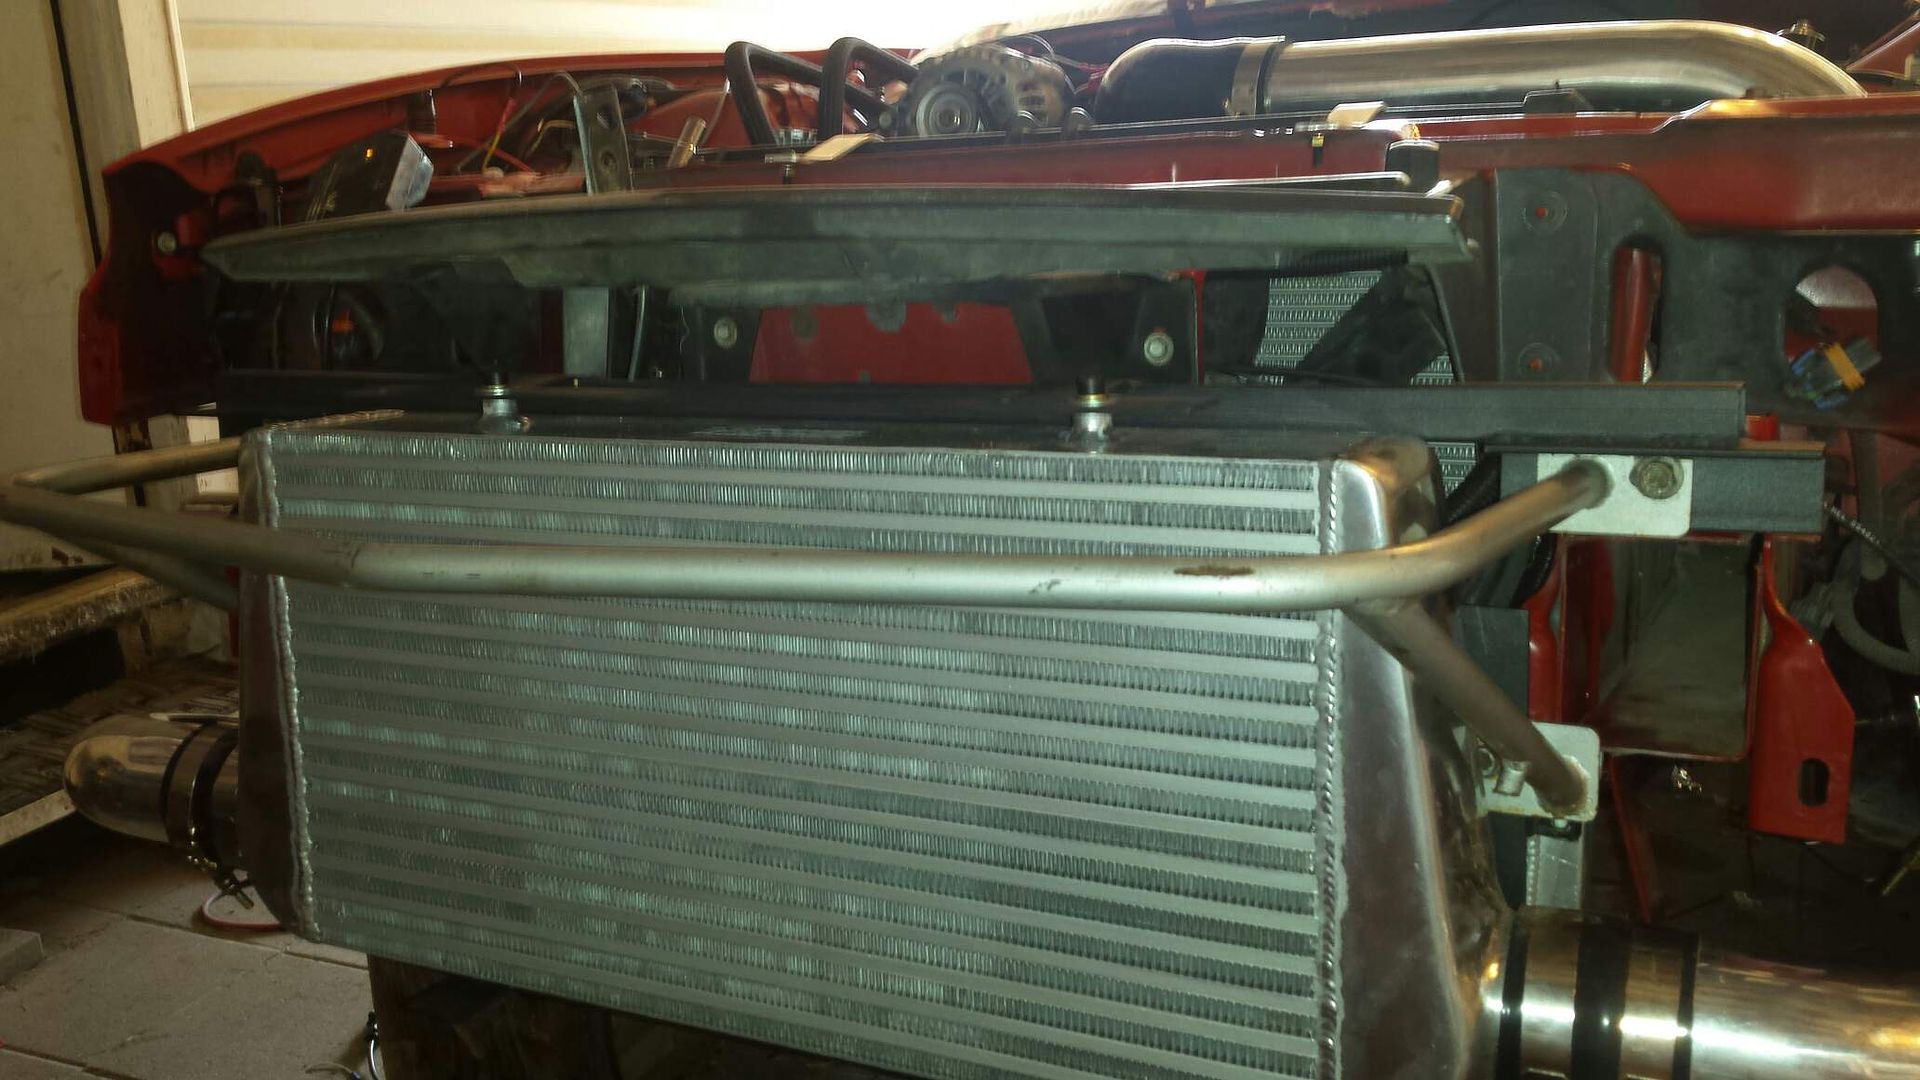
Got the tubular bumper support to work with the intercooler....it required some minor trimming.
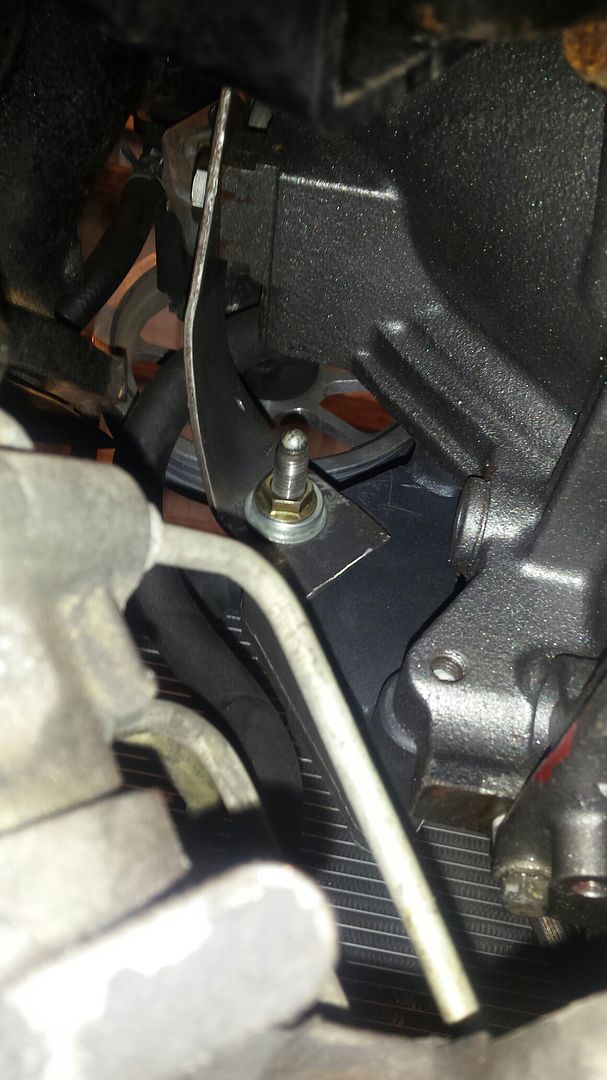
They said 73 inch belt, that turned out to be too long. Ive got a 71 on there now but its a smidge too tight but will work for the moment. The stock tensioner gets relocated to where the alternator used to be, and the iron blocks dont have one of the holes for the mount. I ended up grabbing the side bolt hole and making a bracket from scratch, and so far its holding good.
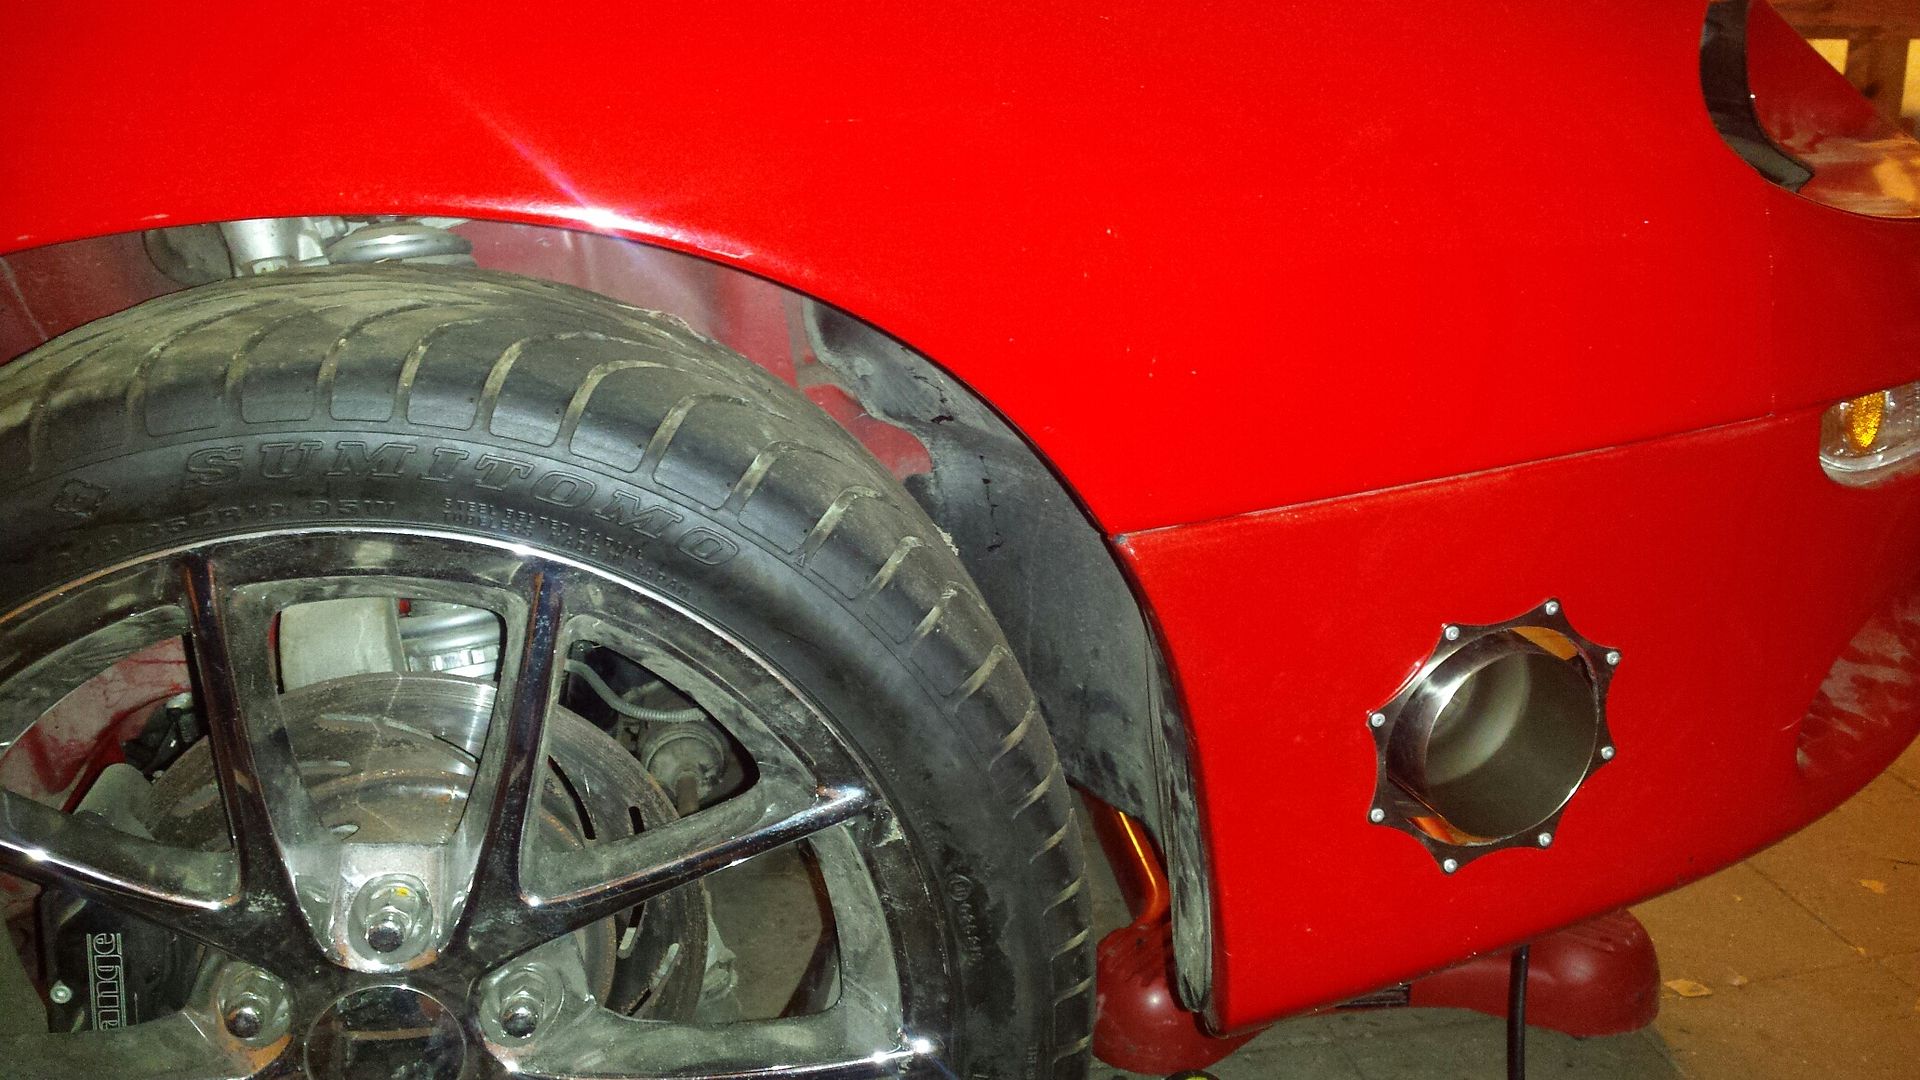
You can see the bumper was already cut for airflow to the trans cooler, but i wanted to trim it more. This is what I started with.
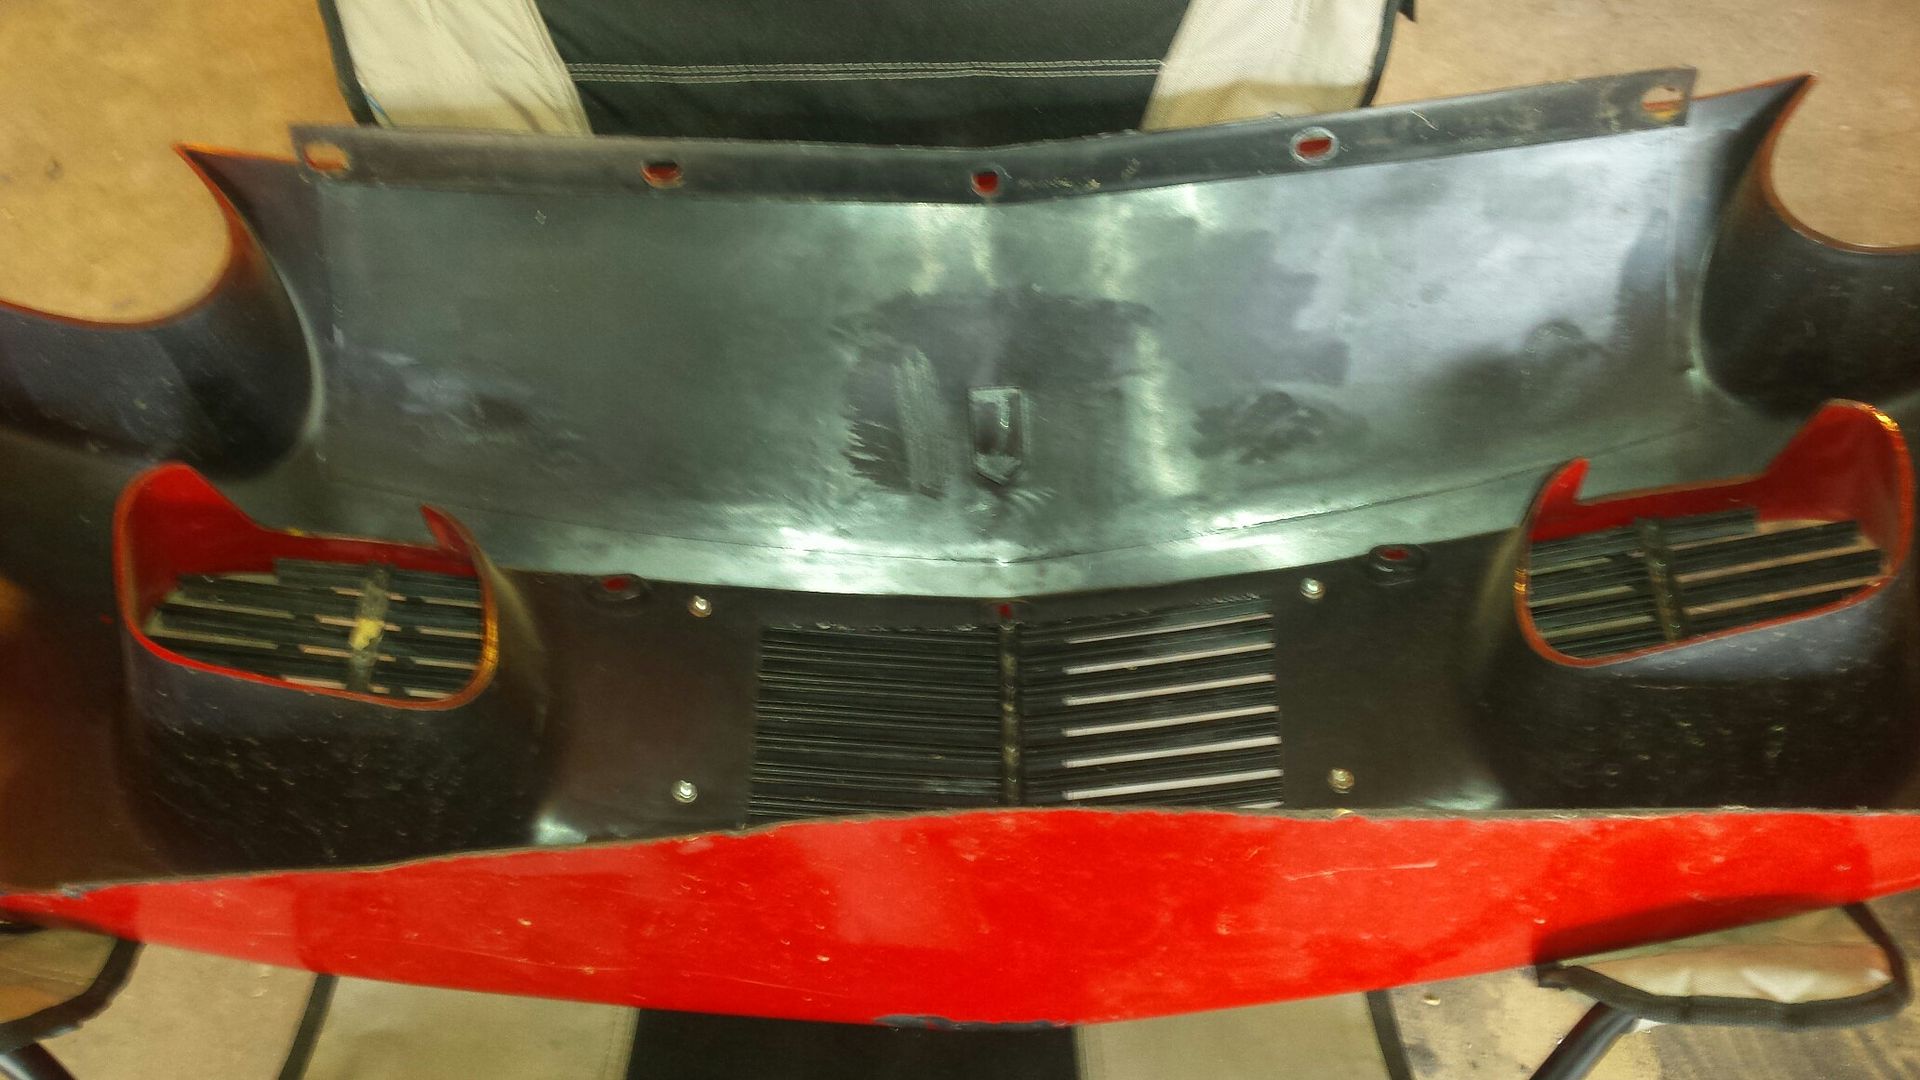
This is how it ended up.

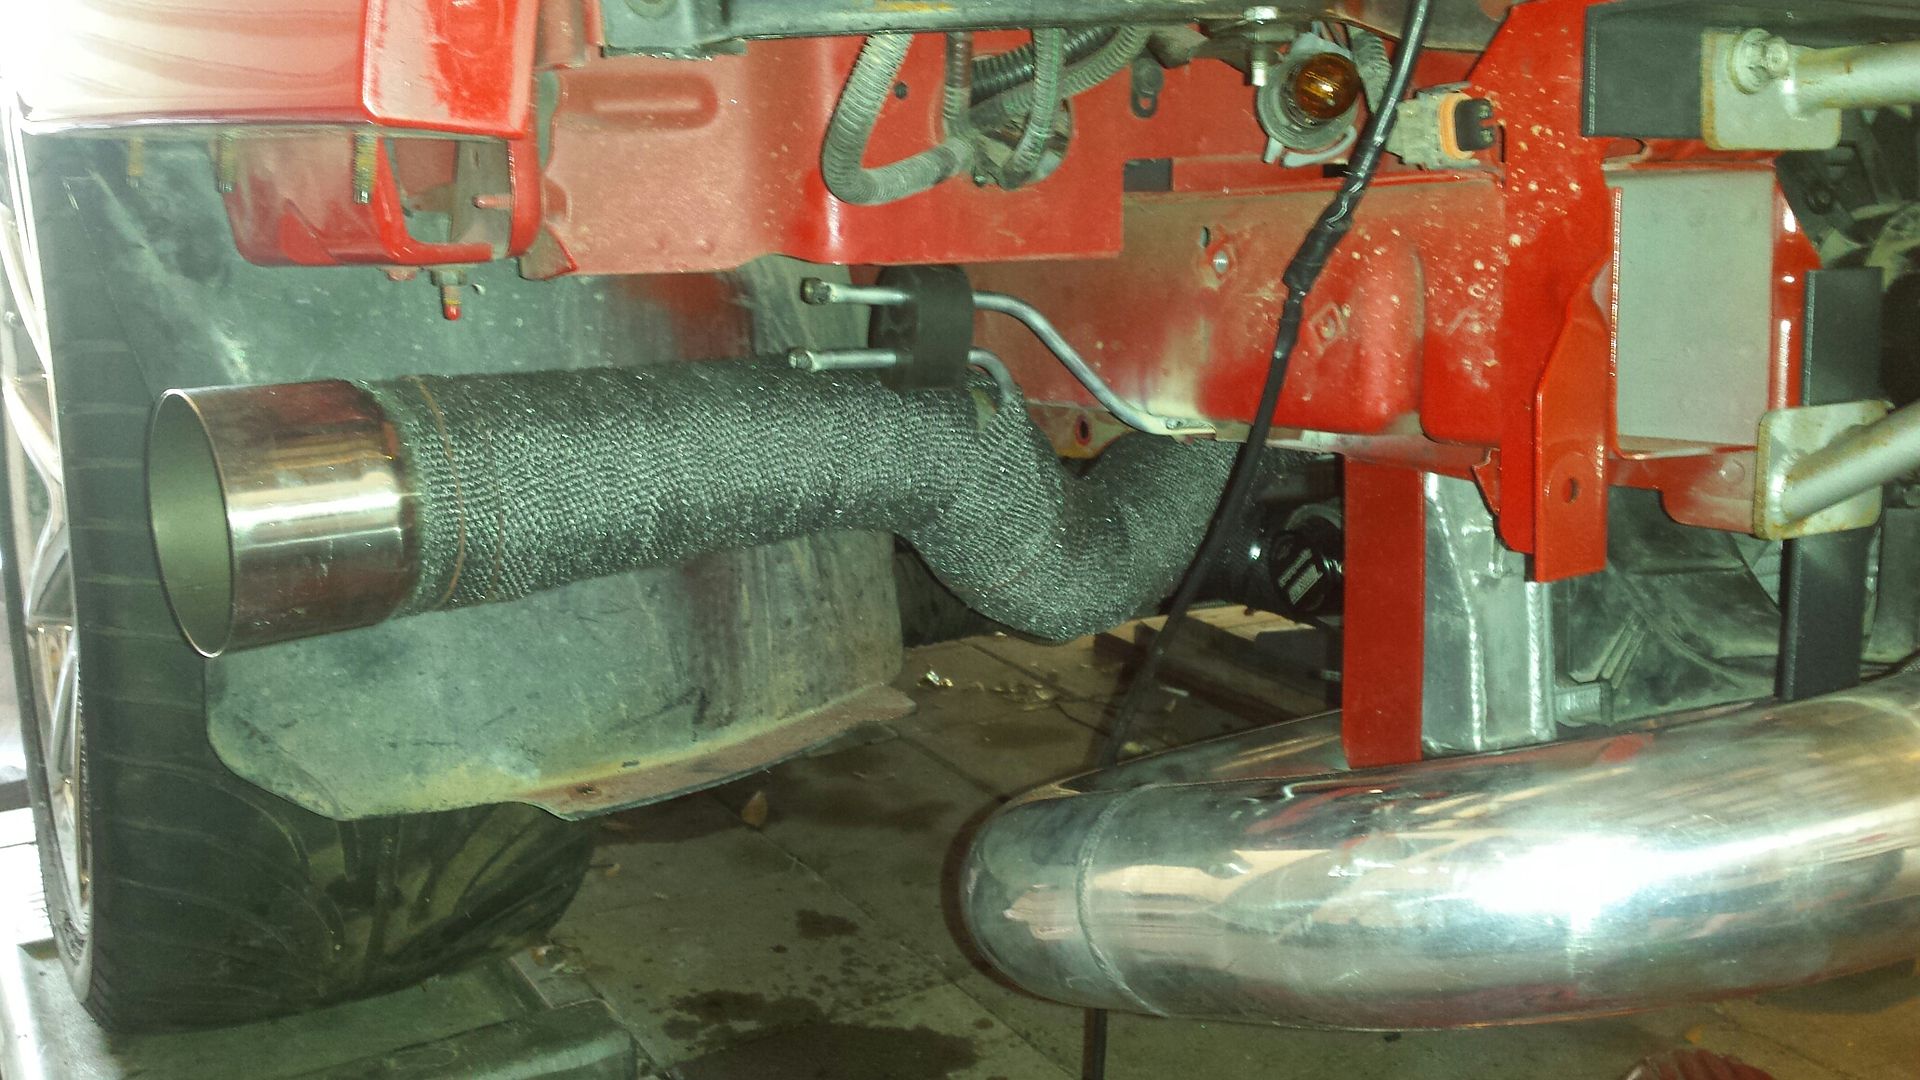
What do you do when you want your exhaust tip centered but dont have anyone to help you?? Well you electrical tape bolts to the dang thing. Made great spacers.

Turned out nice I think. I did go back and paint the hanger/frame red.
Piece to the front brake line. I found it crushed and replaced it. No clue how that happened but glad i saw it.
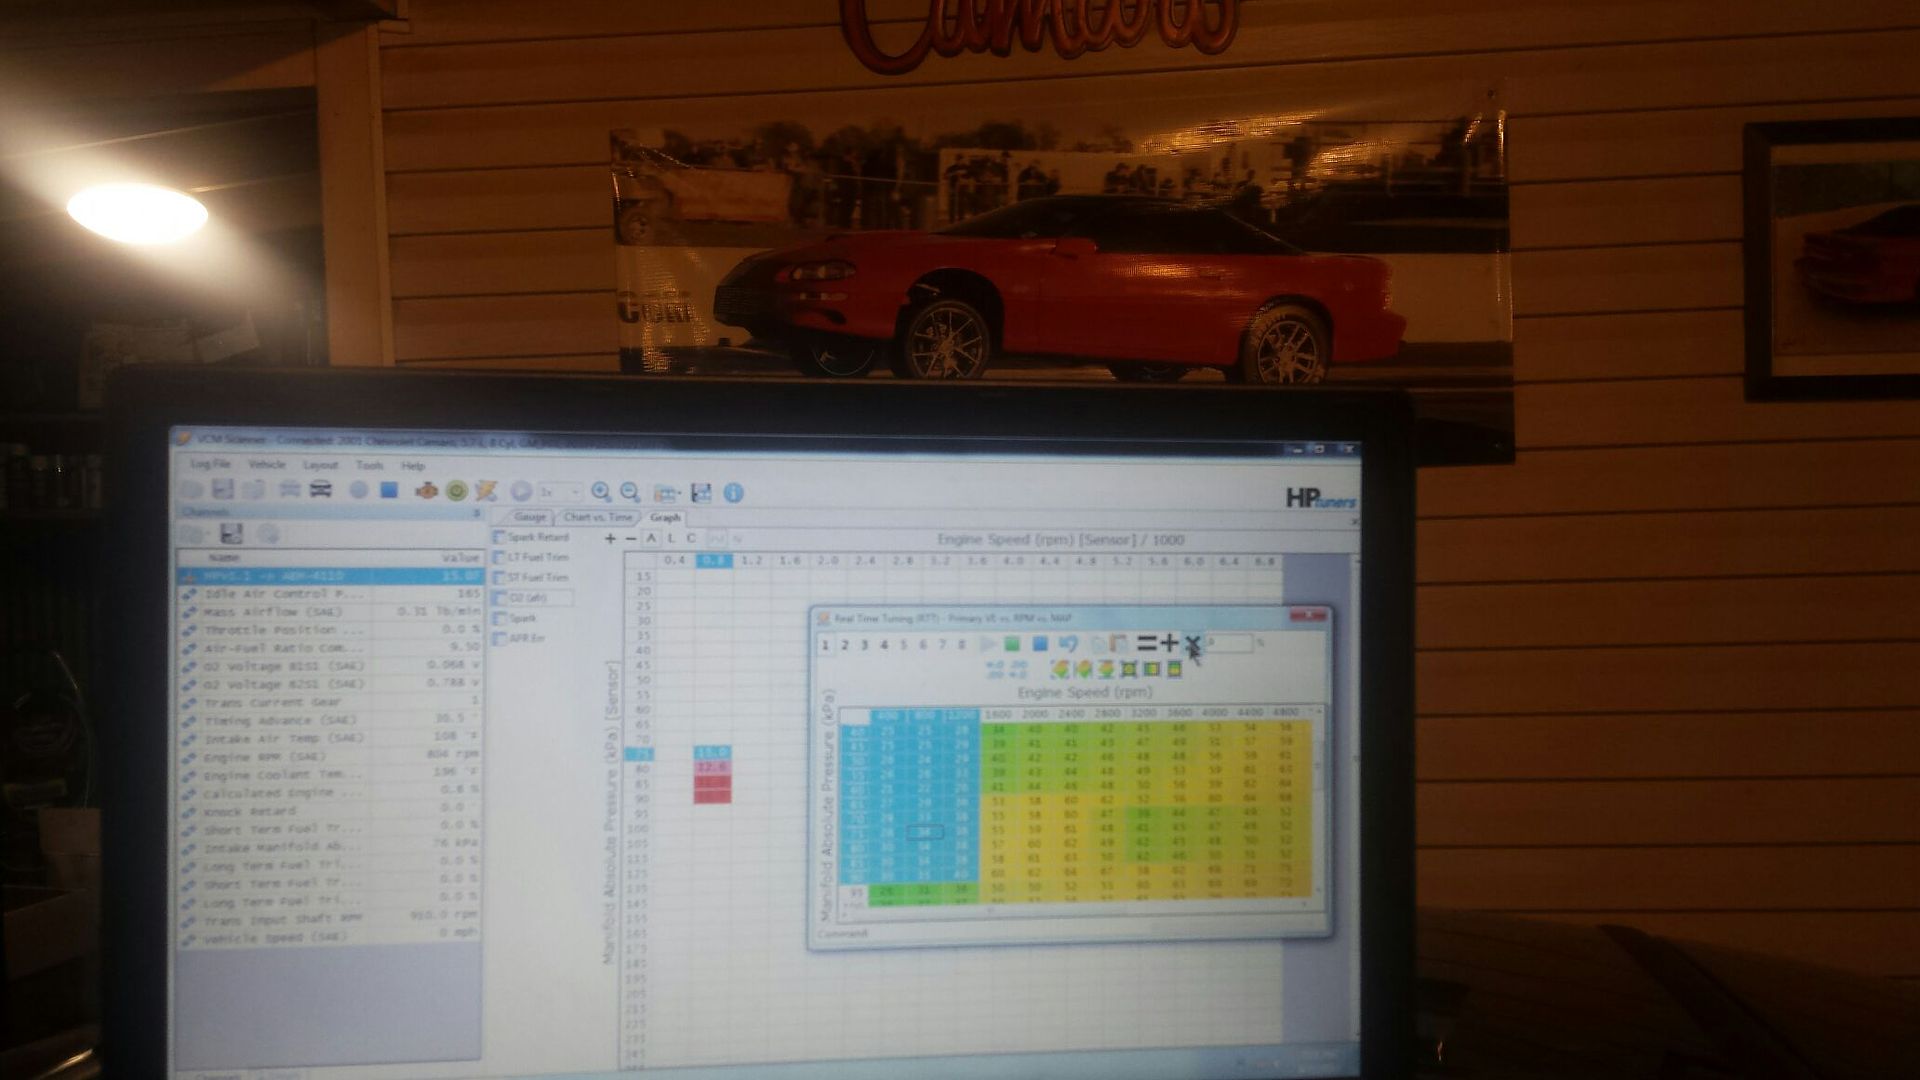
Ive got the segment swap done, and the 3bar VE with real time tuning, which Ive been playing with and its cool as ****. It was fighting me all day but i believe I had incorrectly input some of the injector data. I was starting to make some progress but ran out of daylight. It also added some fuel to the oil (running pig rich) so I got that crap out of there and put the Rotella in. Motor purrs and is very smooth but now Im showing no oil PSI, Im thinking my chinese sending unit didnt like the e85 oil. But, no leaks, and Ive heat cycled it about 5 times. Fuel psi crept down to 50 psi? So i dialed it back up to 60. Little crap now at this point.

The pic above with the turbo mounted.....it was just barely bolted on. Here's why. Not thrilled I had to pull it back off.

Here is my solution. I red locktited them into the flange, time will tell if it holds or not.

Mocked it up on the table to save me some work laying under the car.

Final mount-up, got the alternator mounted up top also.

All the coldside done, it lacks a belt at this point to be running.

Got the tubular bumper support to work with the intercooler....it required some minor trimming.

They said 73 inch belt, that turned out to be too long. Ive got a 71 on there now but its a smidge too tight but will work for the moment. The stock tensioner gets relocated to where the alternator used to be, and the iron blocks dont have one of the holes for the mount. I ended up grabbing the side bolt hole and making a bracket from scratch, and so far its holding good.

You can see the bumper was already cut for airflow to the trans cooler, but i wanted to trim it more. This is what I started with.

This is how it ended up.

What do you do when you want your exhaust tip centered but dont have anyone to help you?? Well you electrical tape bolts to the dang thing. Made great spacers.

Turned out nice I think. I did go back and paint the hanger/frame red.


Piece to the front brake line. I found it crushed and replaced it. No clue how that happened but glad i saw it.

Ive got the segment swap done, and the 3bar VE with real time tuning, which Ive been playing with and its cool as ****. It was fighting me all day but i believe I had incorrectly input some of the injector data. I was starting to make some progress but ran out of daylight. It also added some fuel to the oil (running pig rich) so I got that crap out of there and put the Rotella in. Motor purrs and is very smooth but now Im showing no oil PSI, Im thinking my chinese sending unit didnt like the e85 oil. But, no leaks, and Ive heat cycled it about 5 times. Fuel psi crept down to 50 psi? So i dialed it back up to 60. Little crap now at this point.

#54
09-27-2017, 08:07 AM
Join Date: Aug 2010
Posts: 230
Likes: 0
Received 0 Likes
on
0 Posts
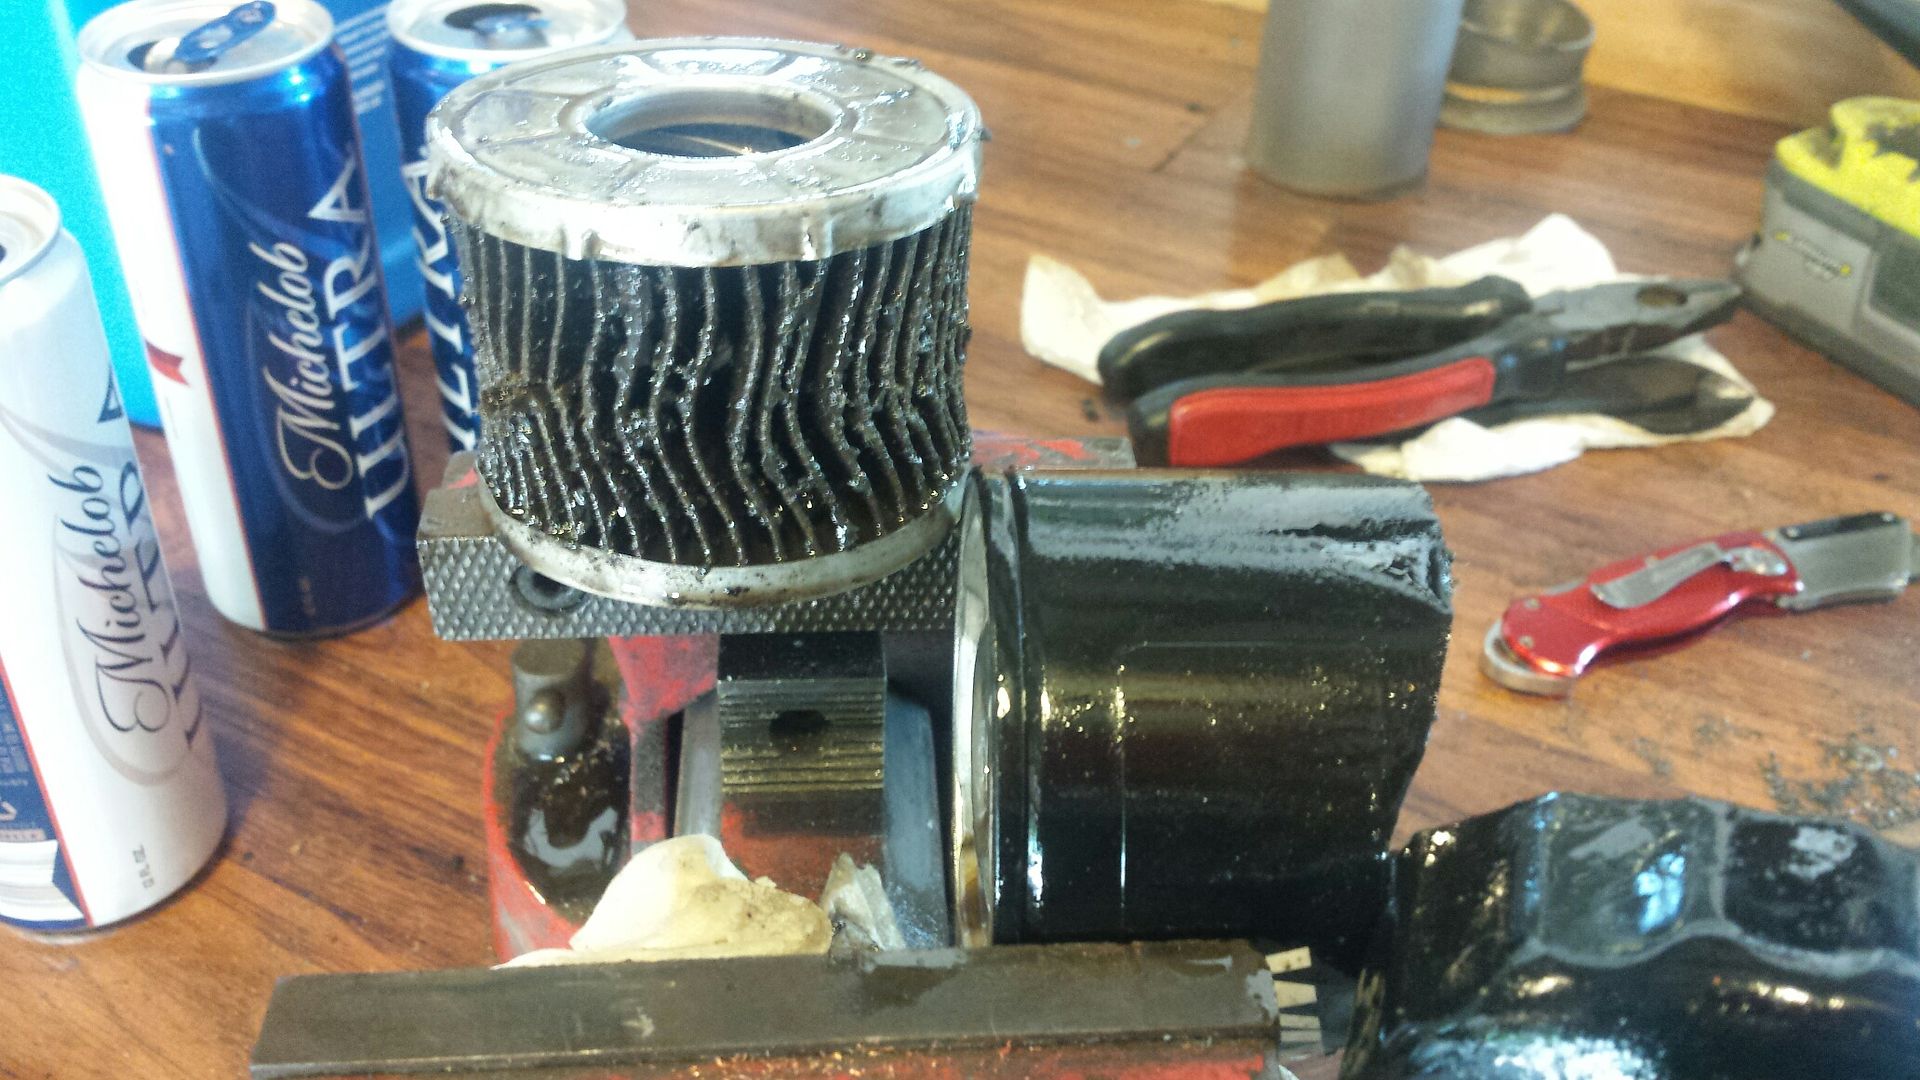
Well I figured I was tuning this week but it just didnt work out that way. While working on the idle tuning i noticed the oil psi showed zero. I honestly didnt think much of it because the motor was very quiet and I knew i used a chinese sending unit. When the turbo started blipping oil out of the exhaust i figured i better investigate. Yep, mechanical gauge showed 5 psi. Hoping for a pinched pickup o ring i drained the oil and filter. When pouring the filter out I noticed specs of trash coming out of it. So I cut it open to investigate further. Whoops.
New oil, new filter and Ive got 70 psi again. I decided to check reverse and see if she could back into the yard and sunbathe for the day.
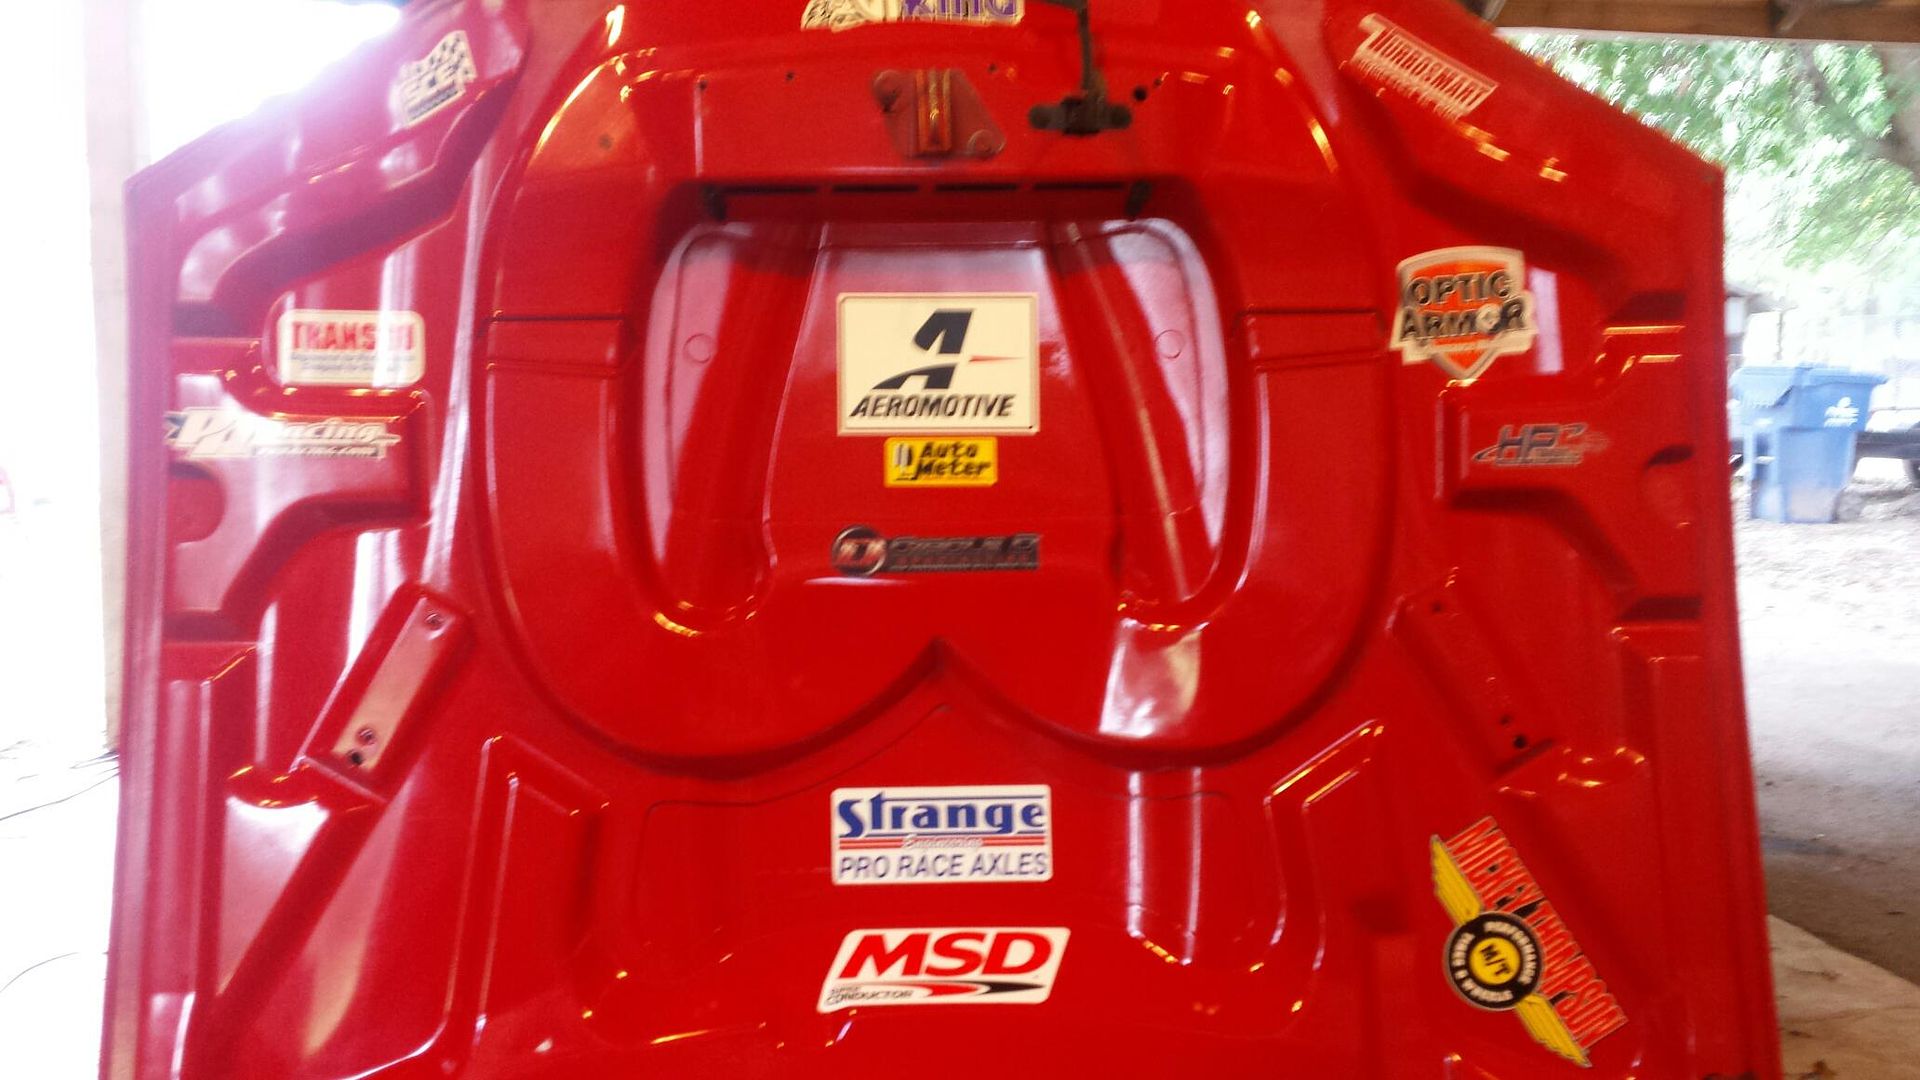
I need to put the hood back on but it bothers me my stickers are now inaccurate. So I decided to go ahead and clean the underside of the hood and dig in my sticker stash to keep things updated. Also, the black above the Cam Motion sticker was where i had some foam tape to keep the clear lid from rubbing the hood. Glad that can finally go away.
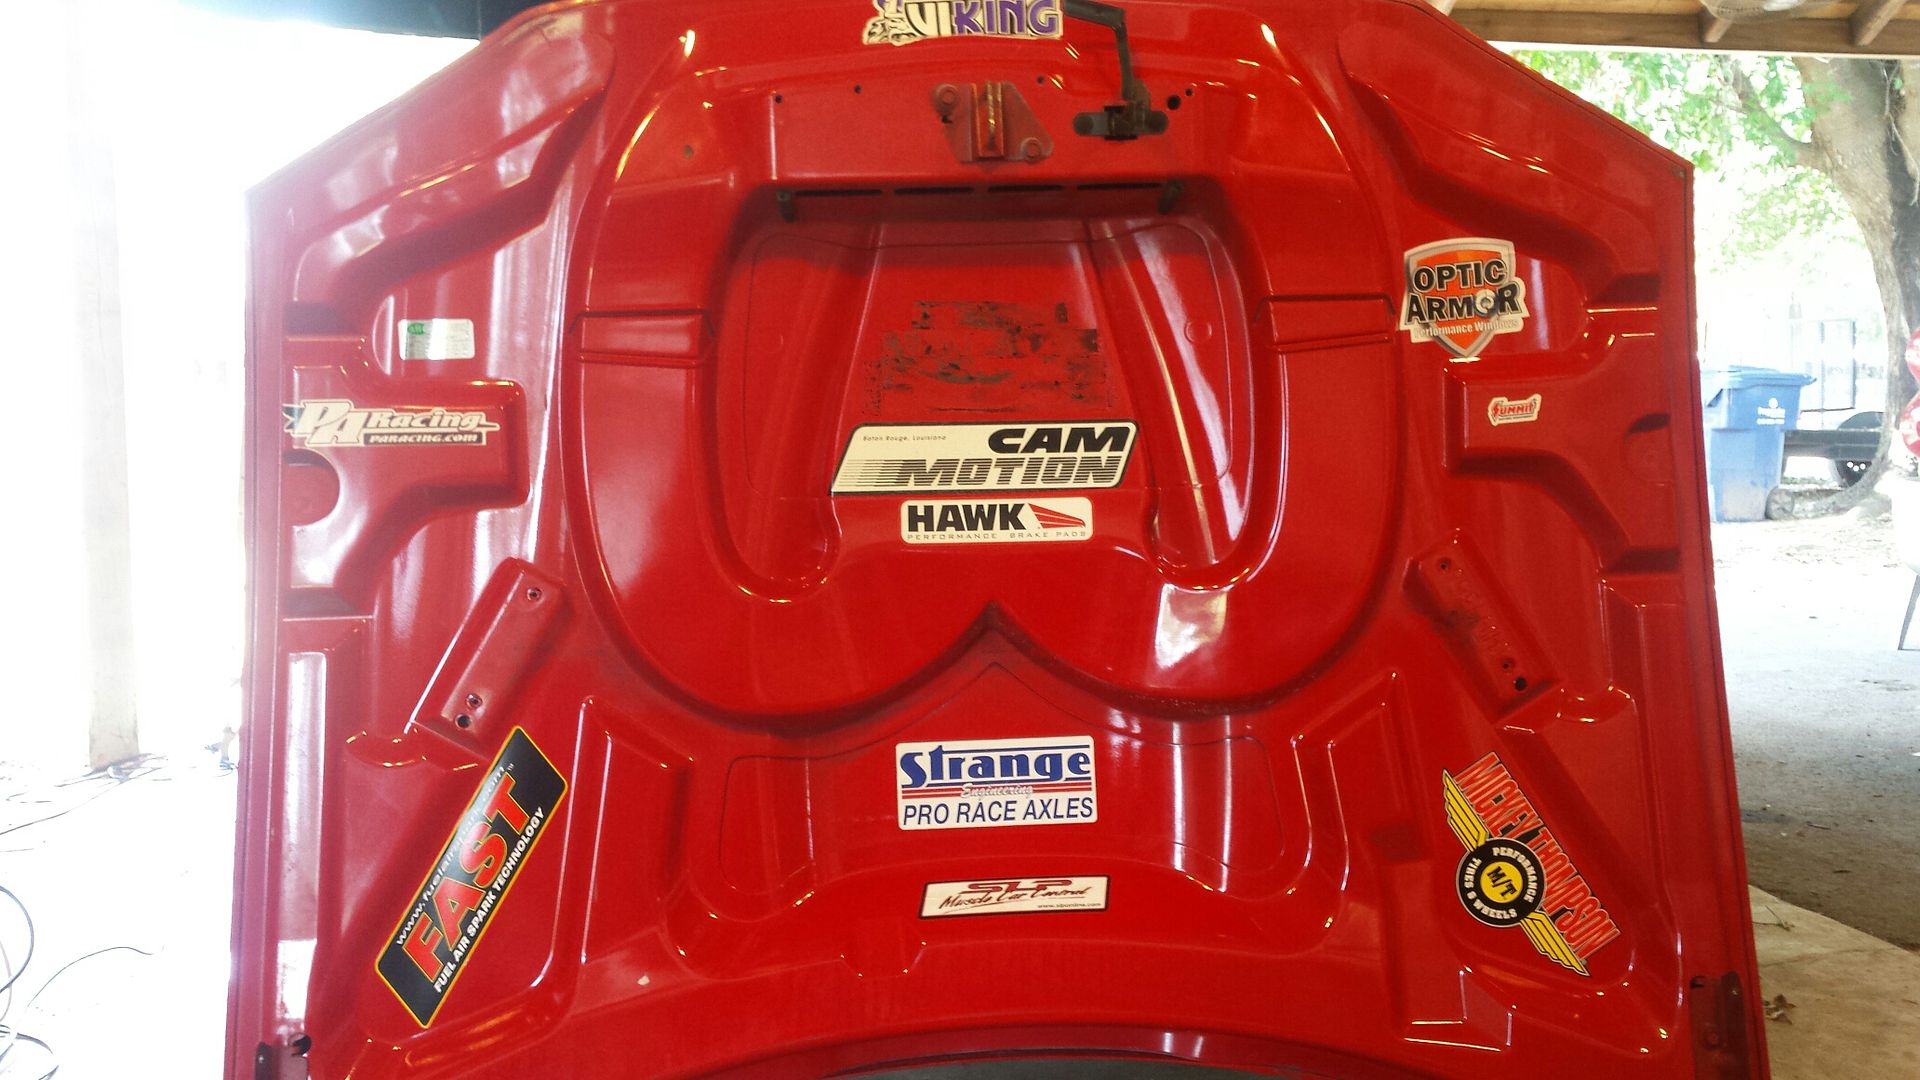
Here's the new sticker arrangement. Pic is a little washed out but you can see Aeromotive, circle D, autometer, transgo, turbosmart, msd, hptunders, and sje were all added.
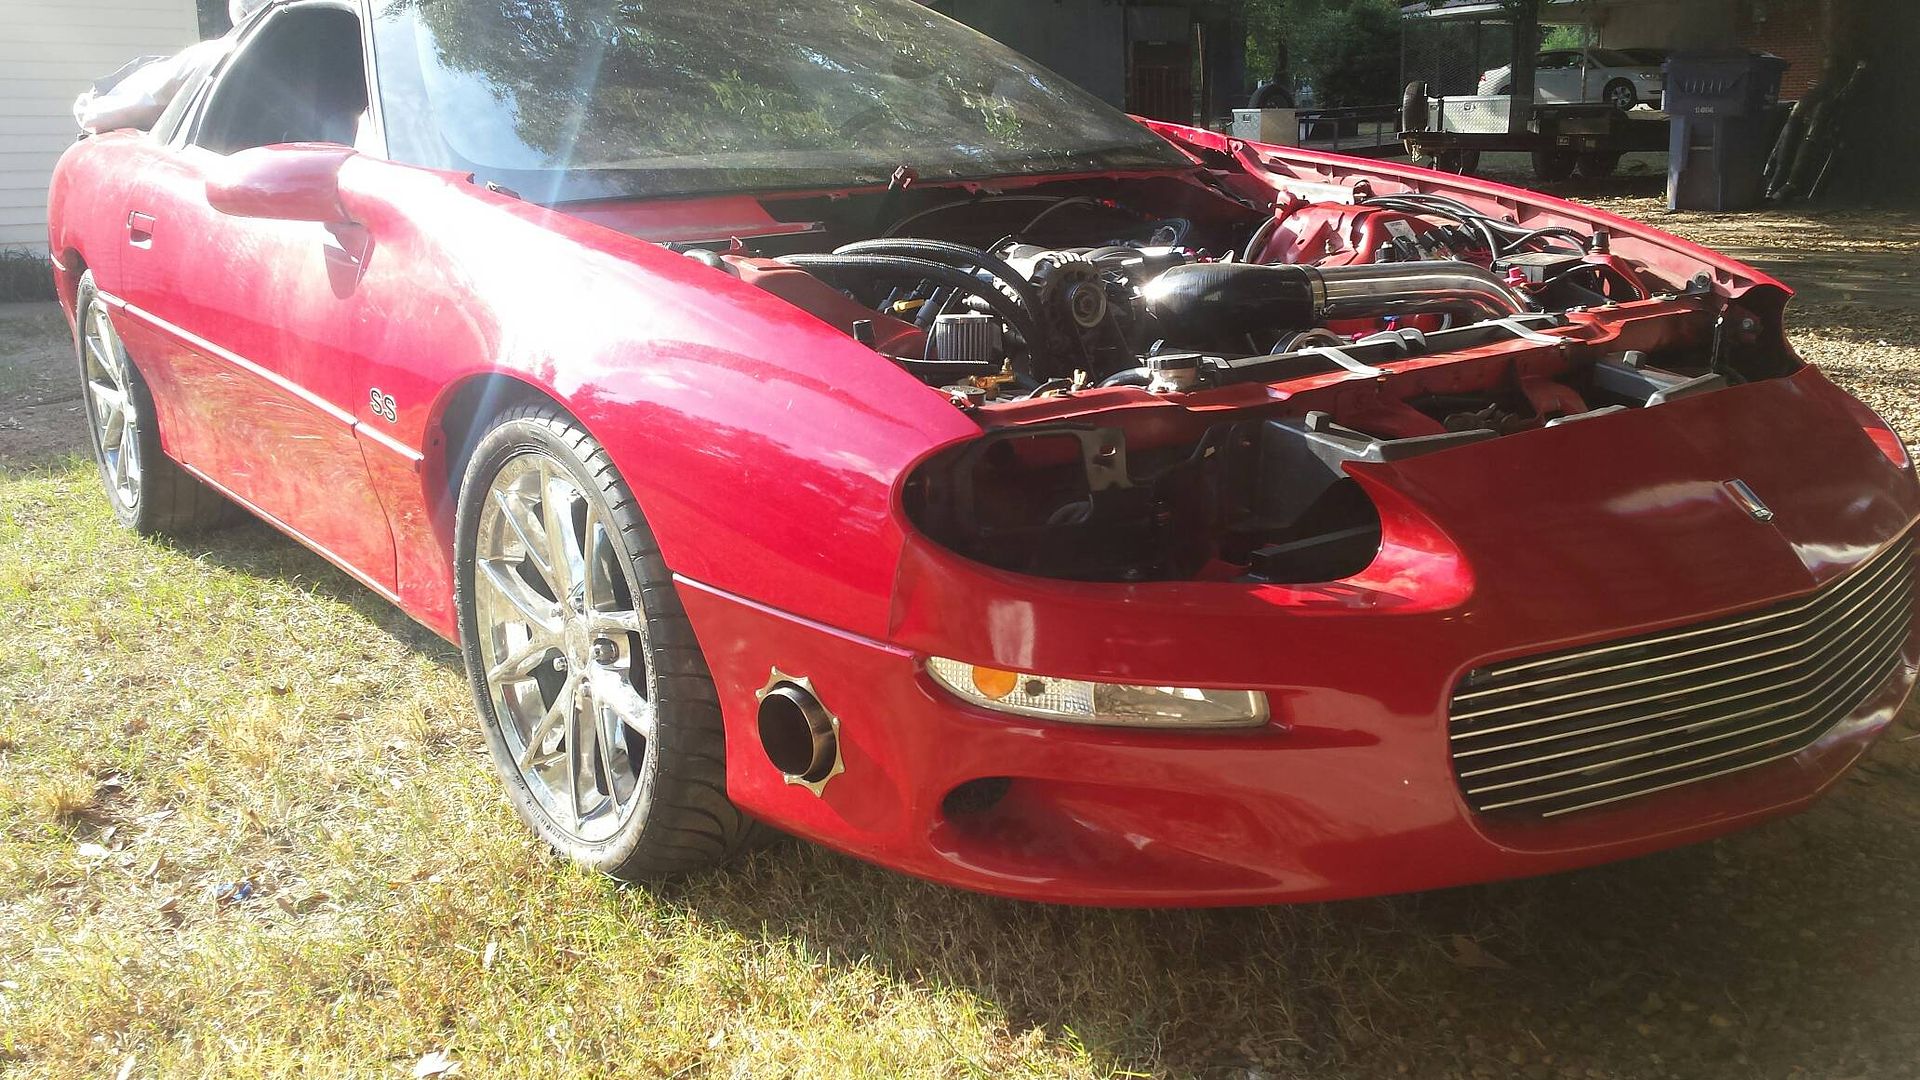
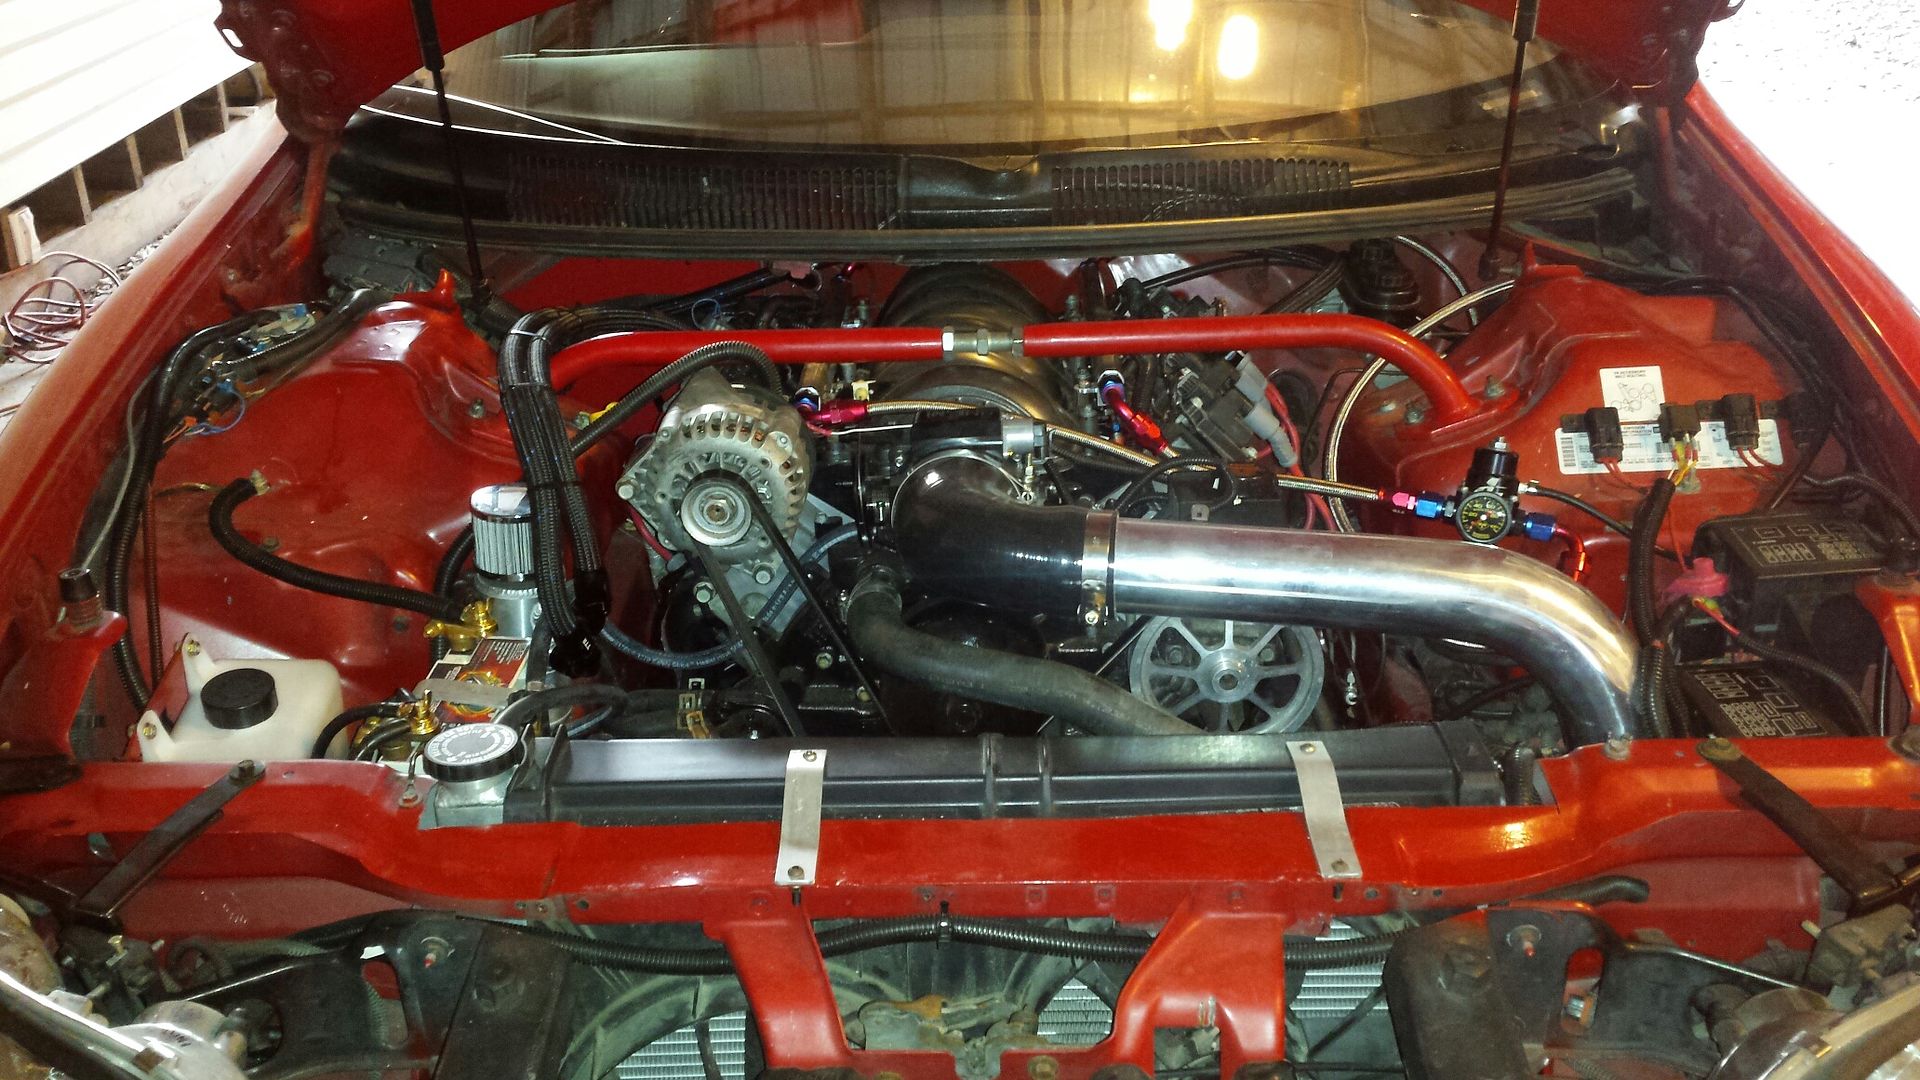
Hood and headlights are back on, and i also glued the tab for the rearview mirror to the lexan front windshield. We will see if it holds, and I hope it does because you cant see **** out of the tiny side mirrors. The brake pedal is ROCK hard. I'm going to give it a fair chance however if it proves to be miserable stopping the car I will admit defeat and go back to the booster. And we do know at minimum reverse and first work in the trans because it pulled itself back in no problem. You can also see the shock tower bar I added, not for looks but because the front lexan is lifting slightly and I believe its from cowl twist. This should help, I also added more screws to the lower edge. Next, we terrorize the neighborhood.

New oil, new filter and Ive got 70 psi again. I decided to check reverse and see if she could back into the yard and sunbathe for the day.

I need to put the hood back on but it bothers me my stickers are now inaccurate. So I decided to go ahead and clean the underside of the hood and dig in my sticker stash to keep things updated. Also, the black above the Cam Motion sticker was where i had some foam tape to keep the clear lid from rubbing the hood. Glad that can finally go away.

Here's the new sticker arrangement. Pic is a little washed out but you can see Aeromotive, circle D, autometer, transgo, turbosmart, msd, hptunders, and sje were all added.

Hood and headlights are back on, and i also glued the tab for the rearview mirror to the lexan front windshield. We will see if it holds, and I hope it does because you cant see **** out of the tiny side mirrors. The brake pedal is ROCK hard. I'm going to give it a fair chance however if it proves to be miserable stopping the car I will admit defeat and go back to the booster. And we do know at minimum reverse and first work in the trans because it pulled itself back in no problem. You can also see the shock tower bar I added, not for looks but because the front lexan is lifting slightly and I believe its from cowl twist. This should help, I also added more screws to the lower edge. Next, we terrorize the neighborhood.

#57
10-02-2017, 08:17 AM
Join Date: Aug 2010
Posts: 230
Likes: 0
Received 0 Likes
on
0 Posts
So the LAST non-running update.....as I've indicated, I've been having some tuning issues with the car. Quite frankly, it wont hardly run, wont hardly idle, barely starts sometimes, and wont rev clean in park. I have been trying everything I can to figure it out, and nothing I change makes a difference. Saturday I finally decided to swap the MAP sensor out with a stock truck unit. My reasoning was, even though I was seeing 105kpa with the engine off, I was only getting 65-80kpa during revs which didnt seem right (remember I dont tune for a living). Well the truck MAP spanned almost the entire 0-105kpa scale and allowed me to make corrections that it actually responded to. With a single VE correction i had it revving to redline smoothly, SUCCESS!! My buddy Randy who gave me the intake had another 3bar MAP for me to try, and guess what, it worked. So I got a janky sensor out of the box. I'm going to use his sensor in the meantime to get the tuning done this week. Since the old lady is off, i plan on letting her be the passenger seat laptop holder <<<<--insert evil grin.
Wanting to put a master list together for anyone duplicating any part of this.
Turbo kit: Huron Speed
F-body V1 Truck Manifold Single Turbo Kit 98-02
Wastegate: TurboSmart 45mm TS-0506-1002
WG45 Hypergate 45 7psi Black
Boost Controller: TurboSmart TS-0106-1002
In Cabin Boost Controller Black
Fuel Pumps: Chrs1313 dual 450s
Speed Inc - Chrs1313 Dual 450 Fuel Pump Setup Fbody 99-02 drop in-tank
Belt: 71.5" 6 rib off ebay (715k6)
Oil Pressure Sending unit: PS303
Oil Filter: Wix 51042
Coolant Overflow: Dorman 603-001
Vacuum lines: Sickspeed brand, 10m of 6mm, 5 foot of 10mm from ebay
Fuel Pressure Gauge: Marshall MNB00100 from ebay
Fuel Lines and fittings: All from ttfitting on ebay
Vacuum caps: Dorman 41050
IAC Valve: AC234
Throttle Body: WARR W92LS-VP
e85 tester: Fuel-It
Exhaust tip: 3 to 3.5", seller xtips4u on ebay
PCV: 8ft of -10 AN from ttfitting
12 bolt cover gasket: 5104R
Wideband extension Harness: Autometer 5252
Collector Copper Gasket: ACE Gasket 4210
Hose clamps: Russell 650990
Exhaust wrap: 2" wide from seller wzho3115 on ebay
Exhaust Flange stud Kit: Dorman 03133
Heater hose bypass: from seller mtmills on ebay
4l80e tailshaft seal: Feiock Performance FP 400RS2700
Fuel Filter: From seller le_ji84 on ebay (China delivery)
Fuel Y Split: Z122N from seller fassterllc
Boost Gauge: Autometer 2614
Pushrods: Summit/Jegs brand 7.400
Vacuum Block: SickSpeed 2016
Fuel Pressure Regulator: Aeromotive 13303
Low Oil Sensor blockoff: ICT Billet
Flexplate: ATP z-270
4l80e AN Fittings: from sweet_performance on ebay
1/8 NPT Weldable Steel Bung: ATM 2260
4l80e Service Kit: Oregon Performance Transmission
4l80e Forged Yoke: PST brand bought from Midwest Chassis
-10 AN Fitting for valvecover: WARR brand
Pinion Seal: Ratech 6109
Turbo Oil feed fitting: PRE-60416BLK
Plug Wires: MSD 32829
Plugs: NGK 3346 gapped at 22
Knock Sensor: AC Delco 213-3521
Coolant Sensor: AC Delco 213-4514
CatchCan: from seller ael-supply on ebay
Fuel Rails: Z967 from seller fassterllc on ebay
Lifters and trays: from seller panthersales on ebay
Oil Pump: Melling 10295
Head Gasket: GM 12622033
Head Studs: Speedmaster
Valve Springs: Alper-Motorsports PEP PSK658-8-7
Injectors: Bosch 127
https://www.texas-speed.com/p-3976-f...injectors.aspx
Exhaust bumper Trim: MotionRaceWorksLLC
Converter: Circle D Triple disc
Circle D Specialties. GM 258mm Pro Series 4L80E Torque Converter
4l80e conversion harness: Nelson Performance
Nelson Performance | 80e Conversion Harness
Map Sensor: EFI Source
LS1 style 3 bar MAP sensor - EFI Source
See anything I missed let me know.
#58
10-07-2017, 04:53 PM
Join Date: Aug 2010
Posts: 230
Likes: 0
Received 0 Likes
on
0 Posts
Well this is a depressing update with a happy ending. Go back to the oil pressure issues. I figured out the black junk was from the rocker arms, it was flaking off, so that was accounted for being in the filter. The car was running good and AFR wasnt bad so we went on a drive, after a couple of quick reflashes she went into boost for the first time. Holy ****** of God. The pull at 7 psi on the wastegate spring is retarded. I am officially in love with boost. After experiencing this glory one friggen time, the oil pressure tanked again. Luckily we were close to home and I limped it there, and swapped filters again. All back to normal. So I go on about tuning some more and even gave a couple test rides to friends (no traction from a roll), and on my final drive of yesterday it happened.......we buzzed the neighbors standing outside with the turbo whirl and the BOV pop, made a pull and it was there.......a rod knock. After examining all top end components i crawled under and pulled the filter and it was clogged with metal debris. I believe the previous two had been also I just saw it to be dark and assumed it was sludge. So we are gonna make the best of it, and go back with an aluminum block this go round to shave some weight. I know this motor didnt run long but damn was it glorious when it did.
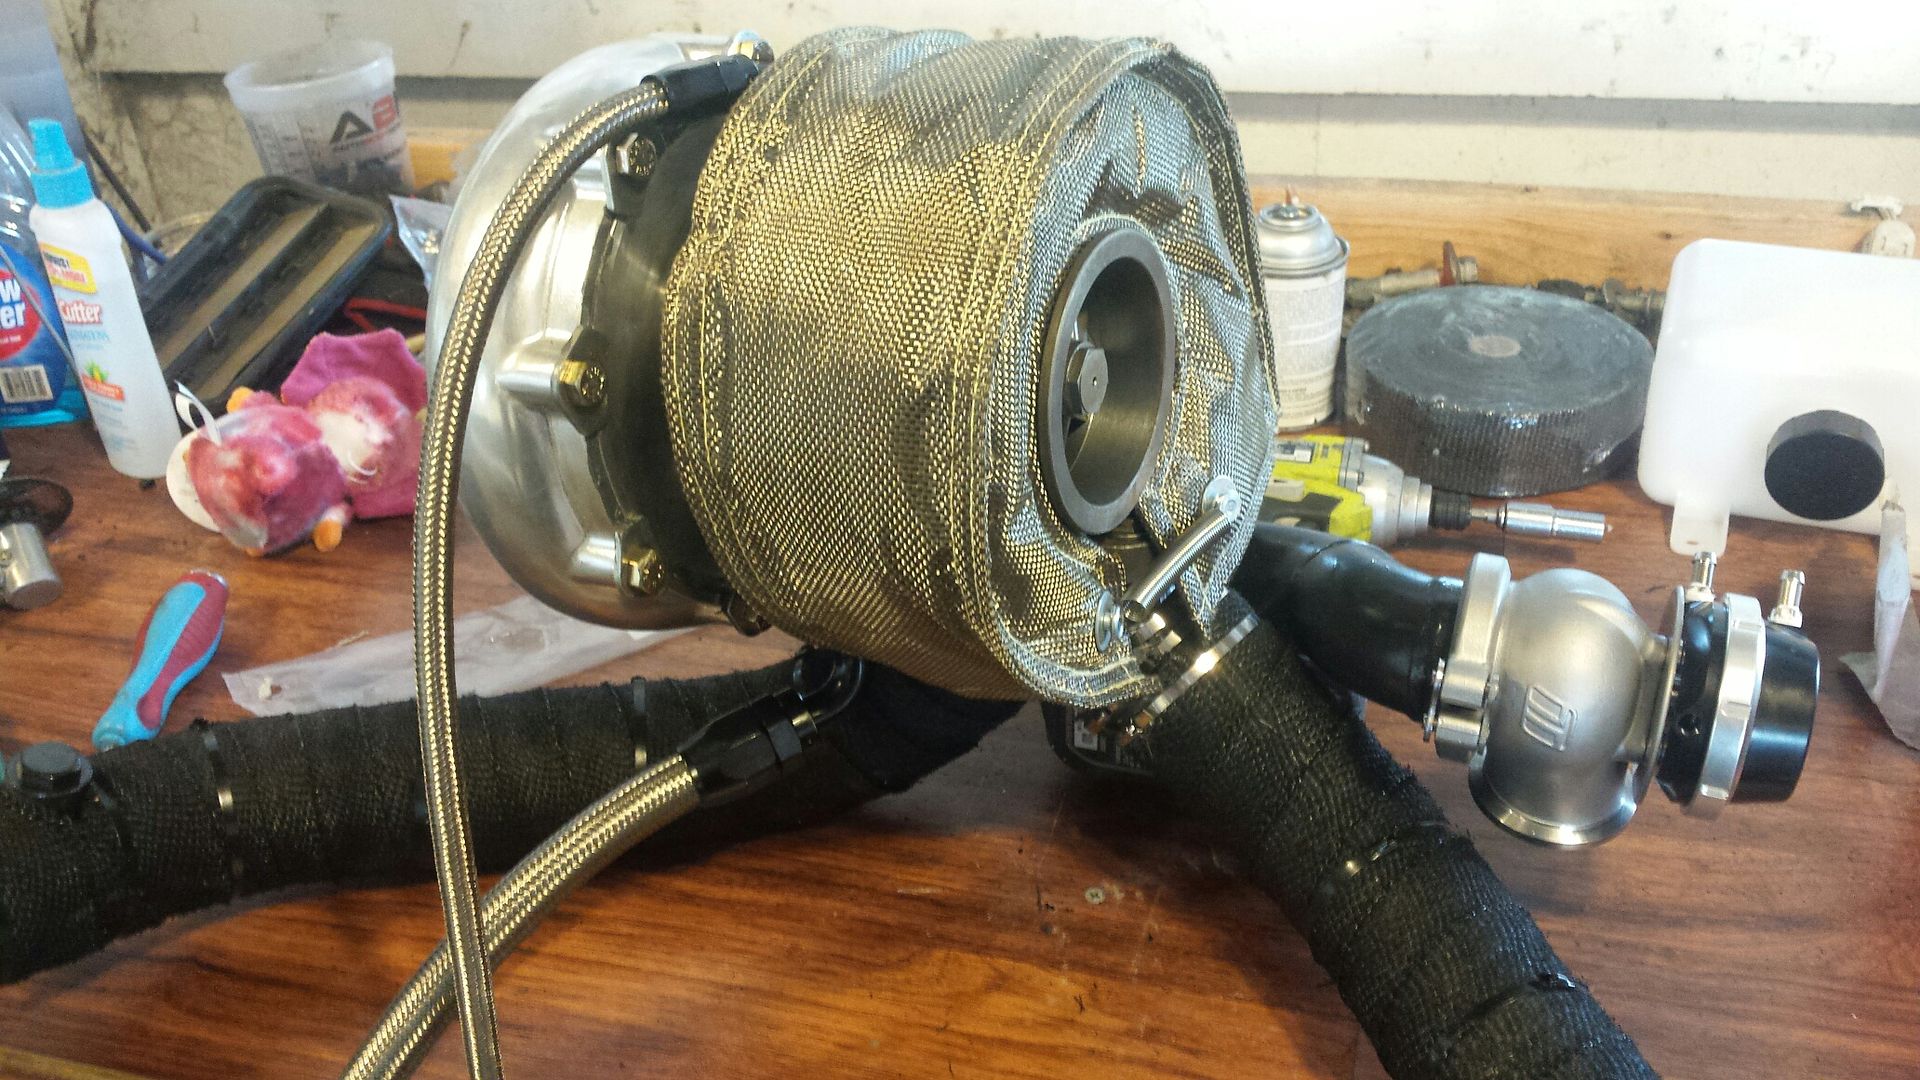
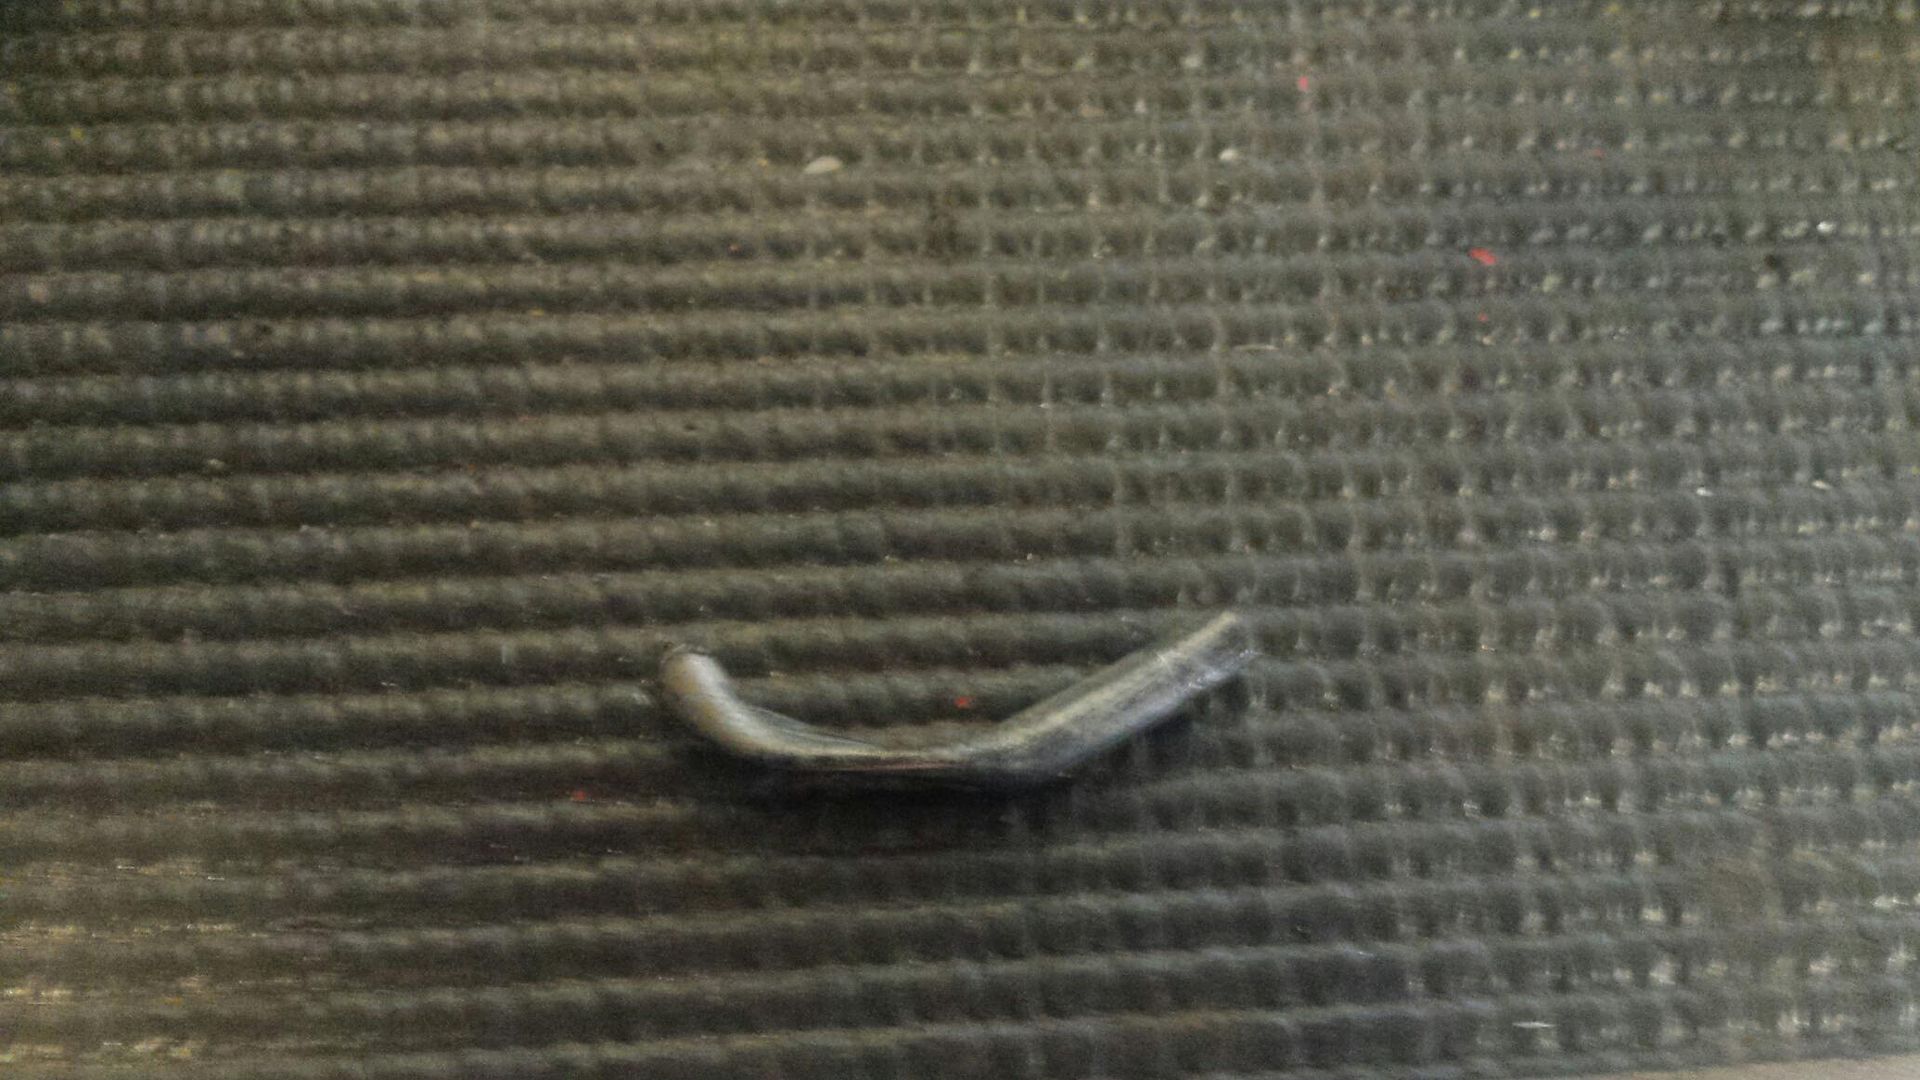
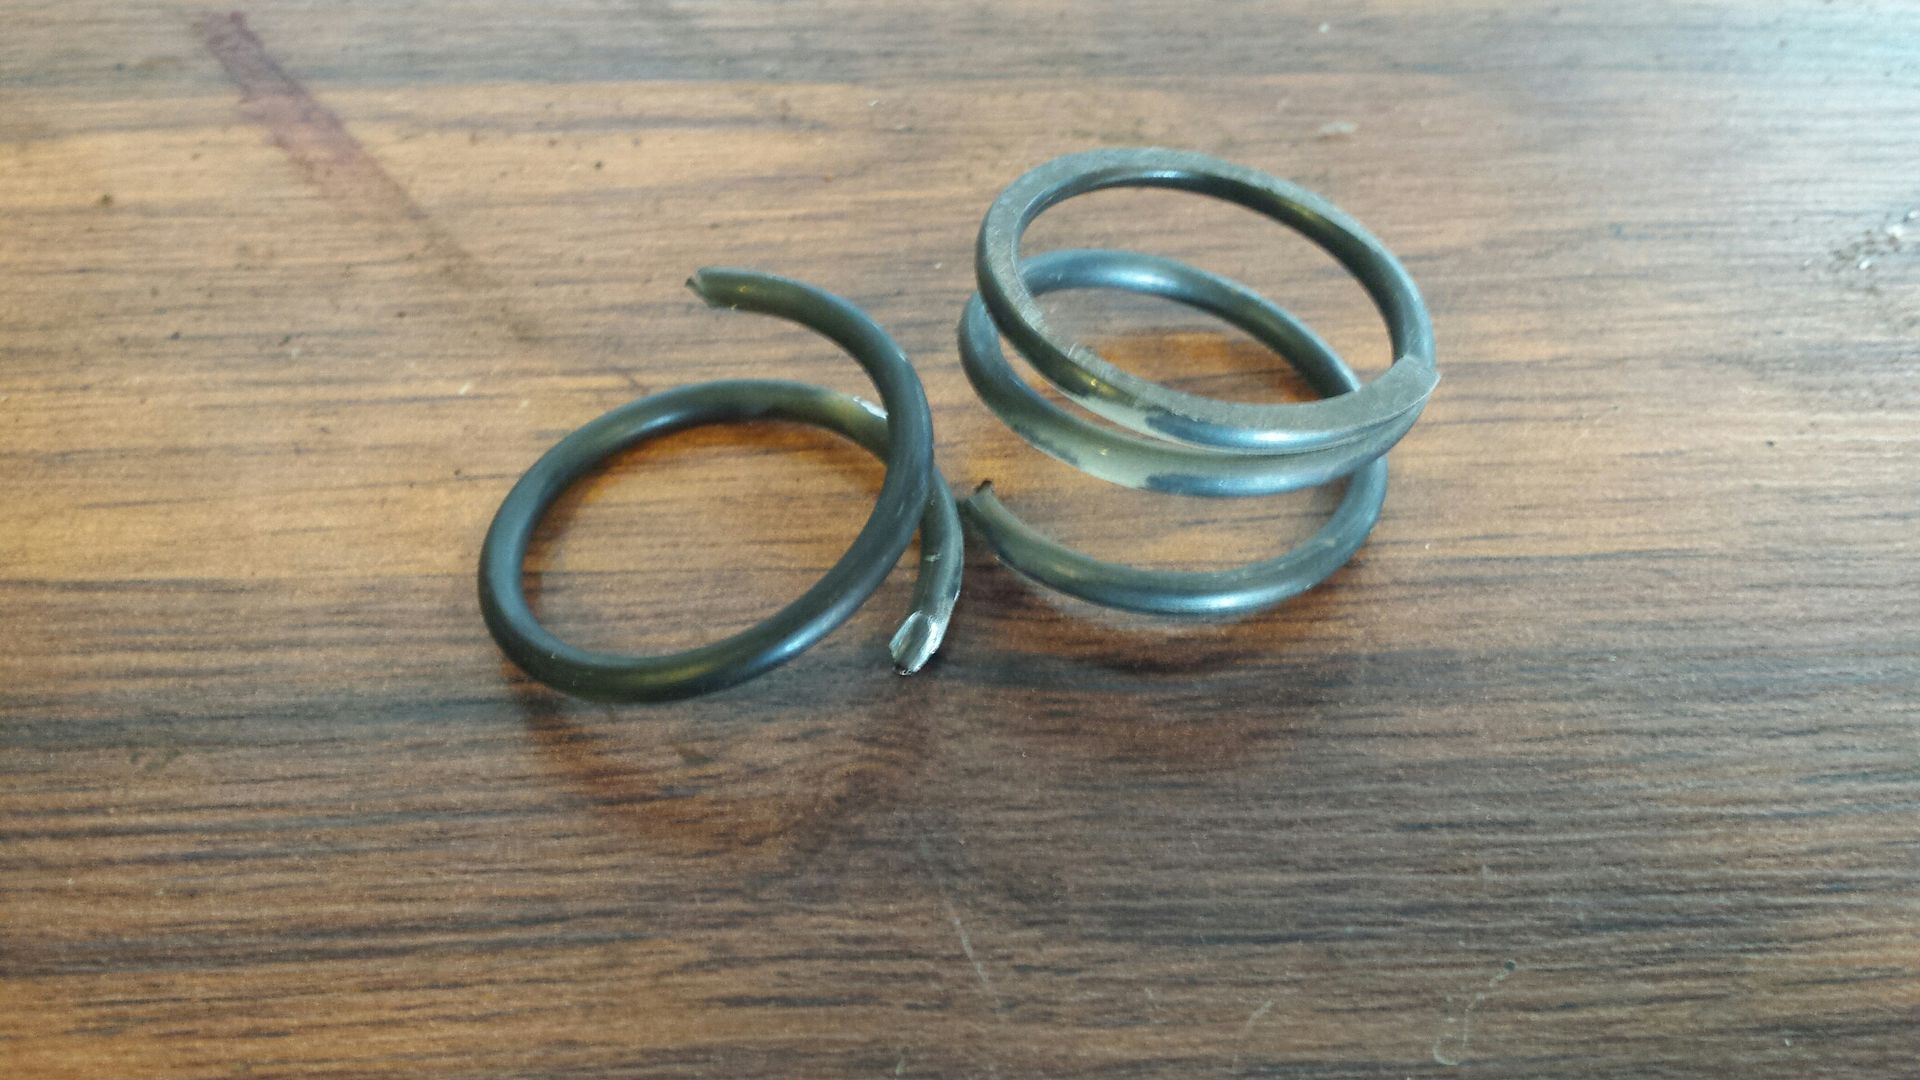
To note, the brakes are growing on me some, the converter from circle D feels perfect, I can build boost quickly, I was even able to footbrake to 3k on a dusty blacktop road so that has a lot of potential and my trans cooling is not adequate. Ive got a sister cooler and fan on the way and will be doubling cooling capacity while maintaining the rearmount cooler setup. Also, the BOV with the lightweight spring was staying open at idle, and with the heavy spring would not open at all. This is what i did to the heavy spring to make it work correctly.
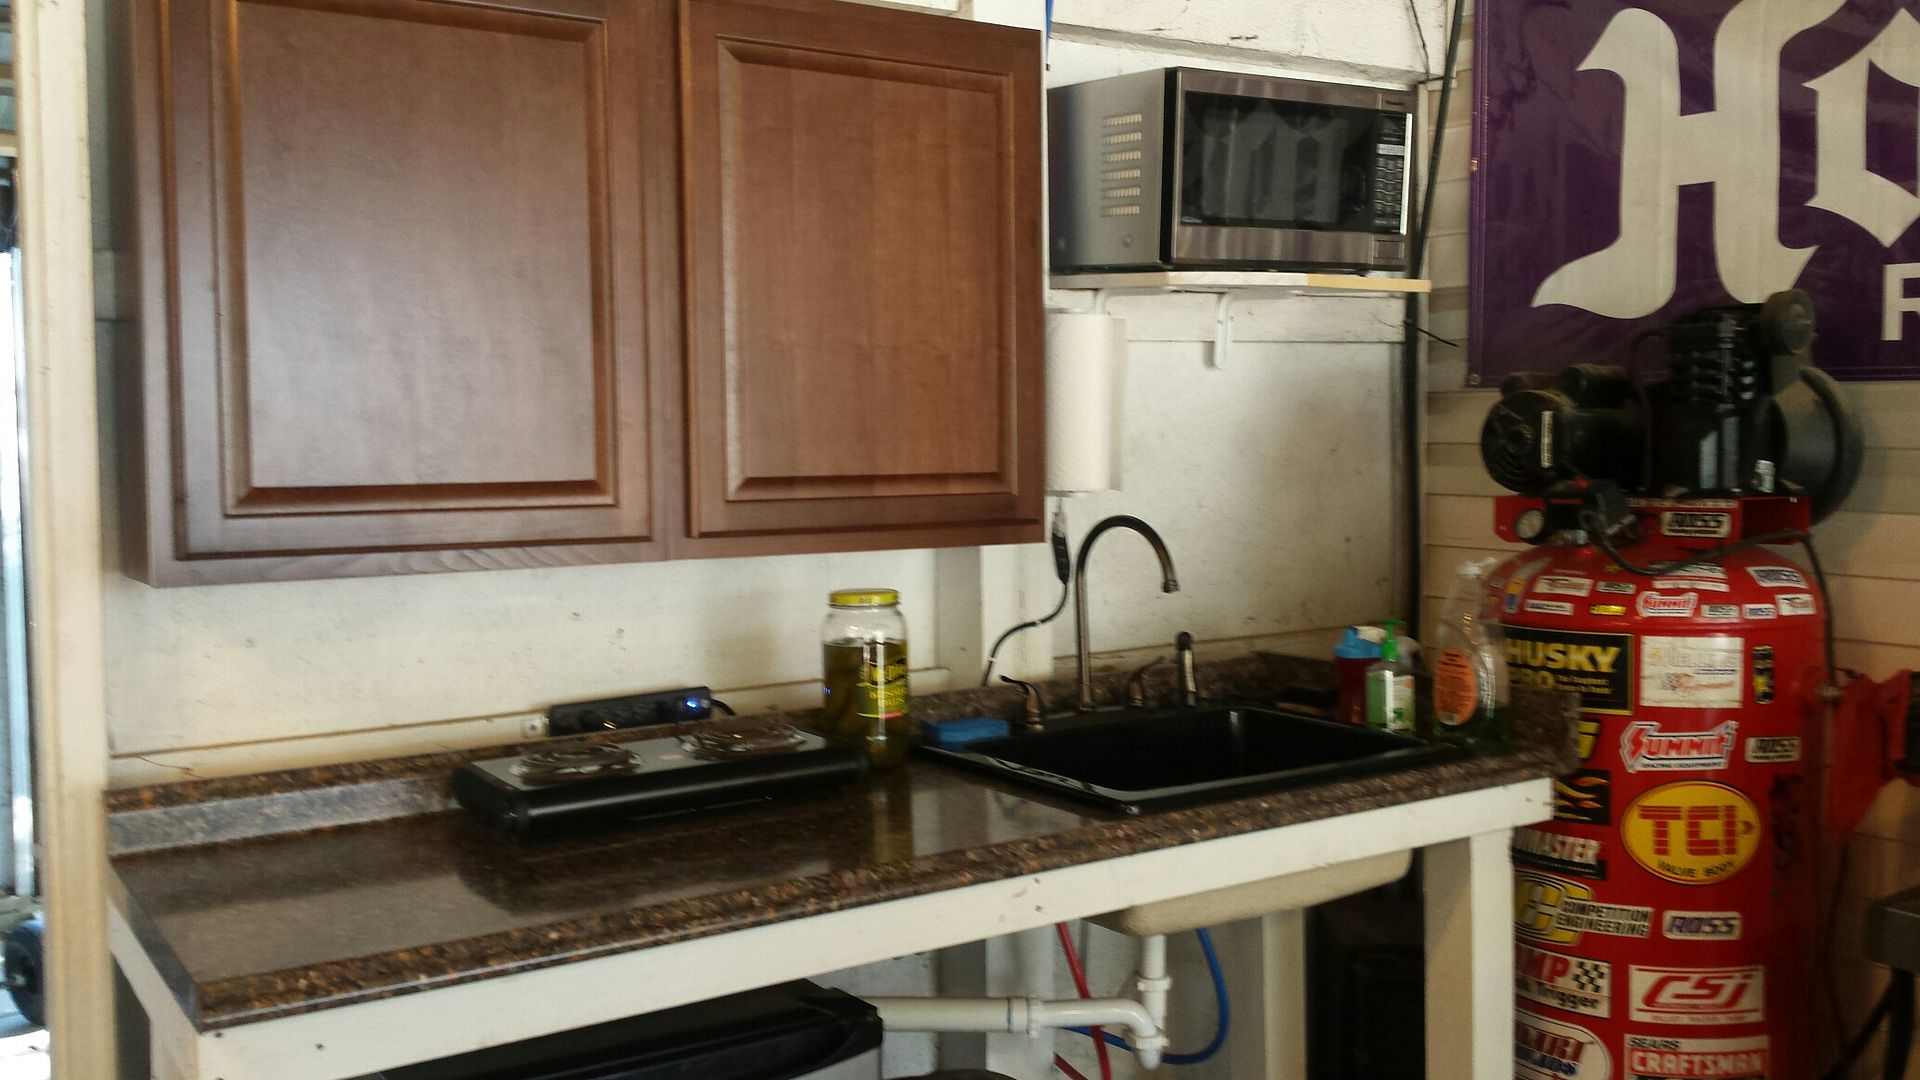
Side info, I was pretty disgusted with the situation so I made the best of it and put some new cabinets and microwave in the Camaro's corner of the garage. I may run a dedicated outlet for the microwave but for now just ran a cord to it. This is a hangout spot for us LS guys to hatch our devious racecar plans where the womenfolk cant find about it! Pretty nice cabinets for being store bought home depot thingys.
New motor to come grrrrrrr.
To note, the brakes are growing on me some, the converter from circle D feels perfect, I can build boost quickly, I was even able to footbrake to 3k on a dusty blacktop road so that has a lot of potential and my trans cooling is not adequate. Ive got a sister cooler and fan on the way and will be doubling cooling capacity while maintaining the rearmount cooler setup. Also, the BOV with the lightweight spring was staying open at idle, and with the heavy spring would not open at all. This is what i did to the heavy spring to make it work correctly.

Side info, I was pretty disgusted with the situation so I made the best of it and put some new cabinets and microwave in the Camaro's corner of the garage. I may run a dedicated outlet for the microwave but for now just ran a cord to it. This is a hangout spot for us LS guys to hatch our devious racecar plans where the womenfolk cant find about it! Pretty nice cabinets for being store bought home depot thingys.

New motor to come grrrrrrr.
#59
10-16-2017, 07:52 AM
Join Date: Aug 2010
Posts: 230
Likes: 0
Received 0 Likes
on
0 Posts
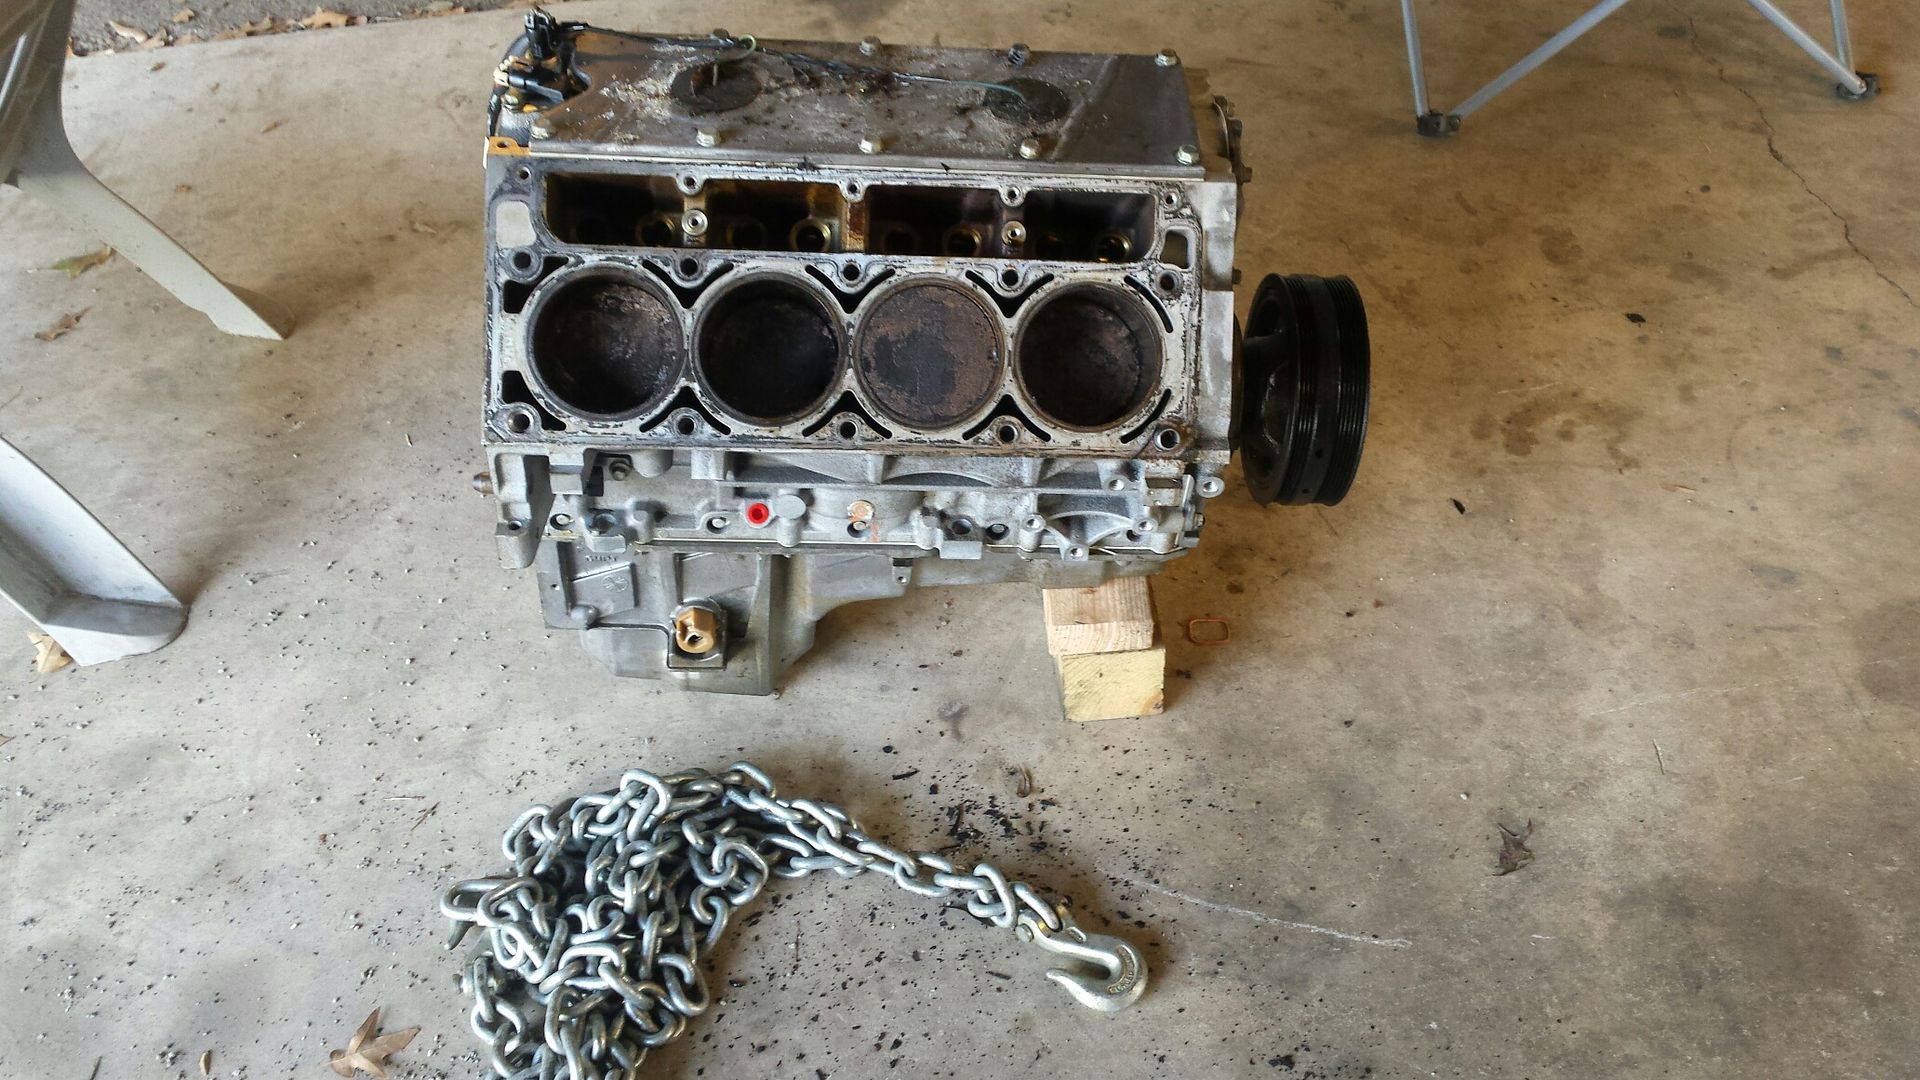
Motor pullin party. Got damn it.
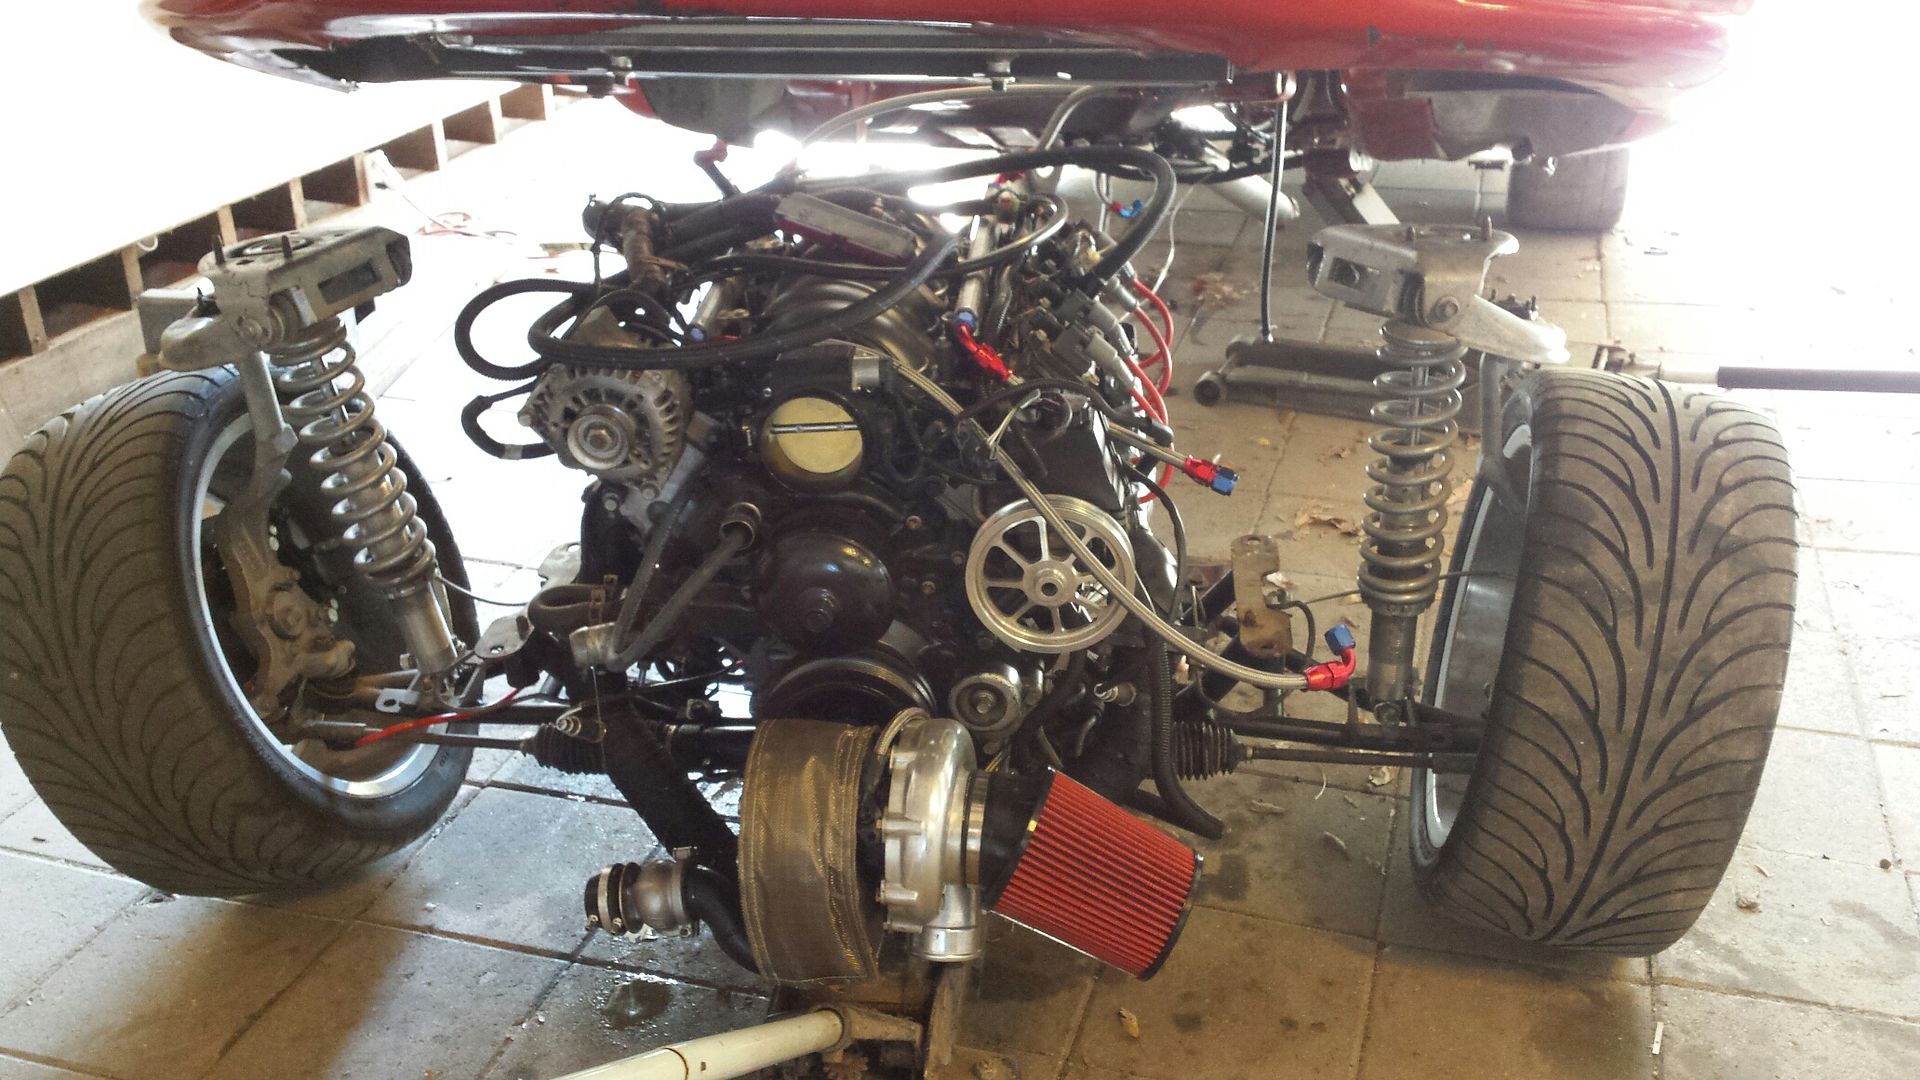
TDC for #3. For those who may not know, the piston is supposed to come above the deck. This is the highest I could get this one, followed by a clunk.
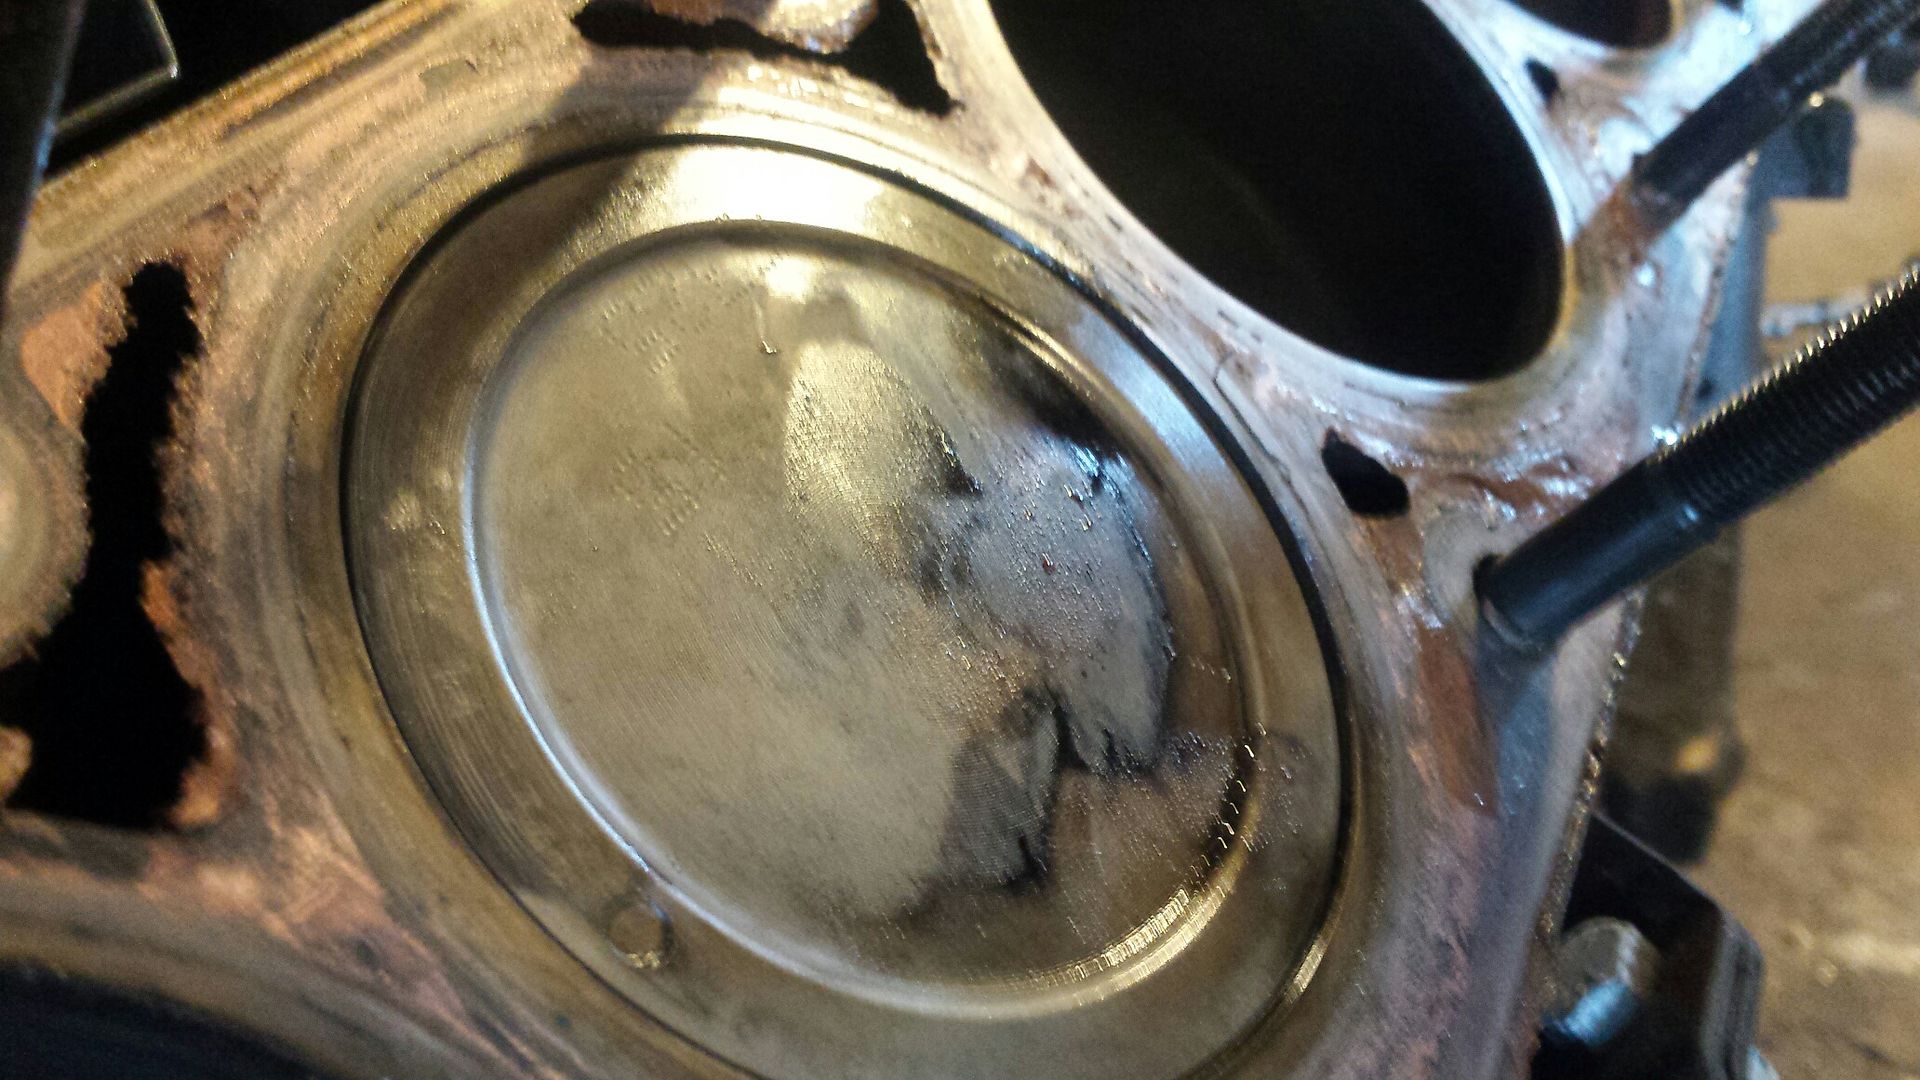
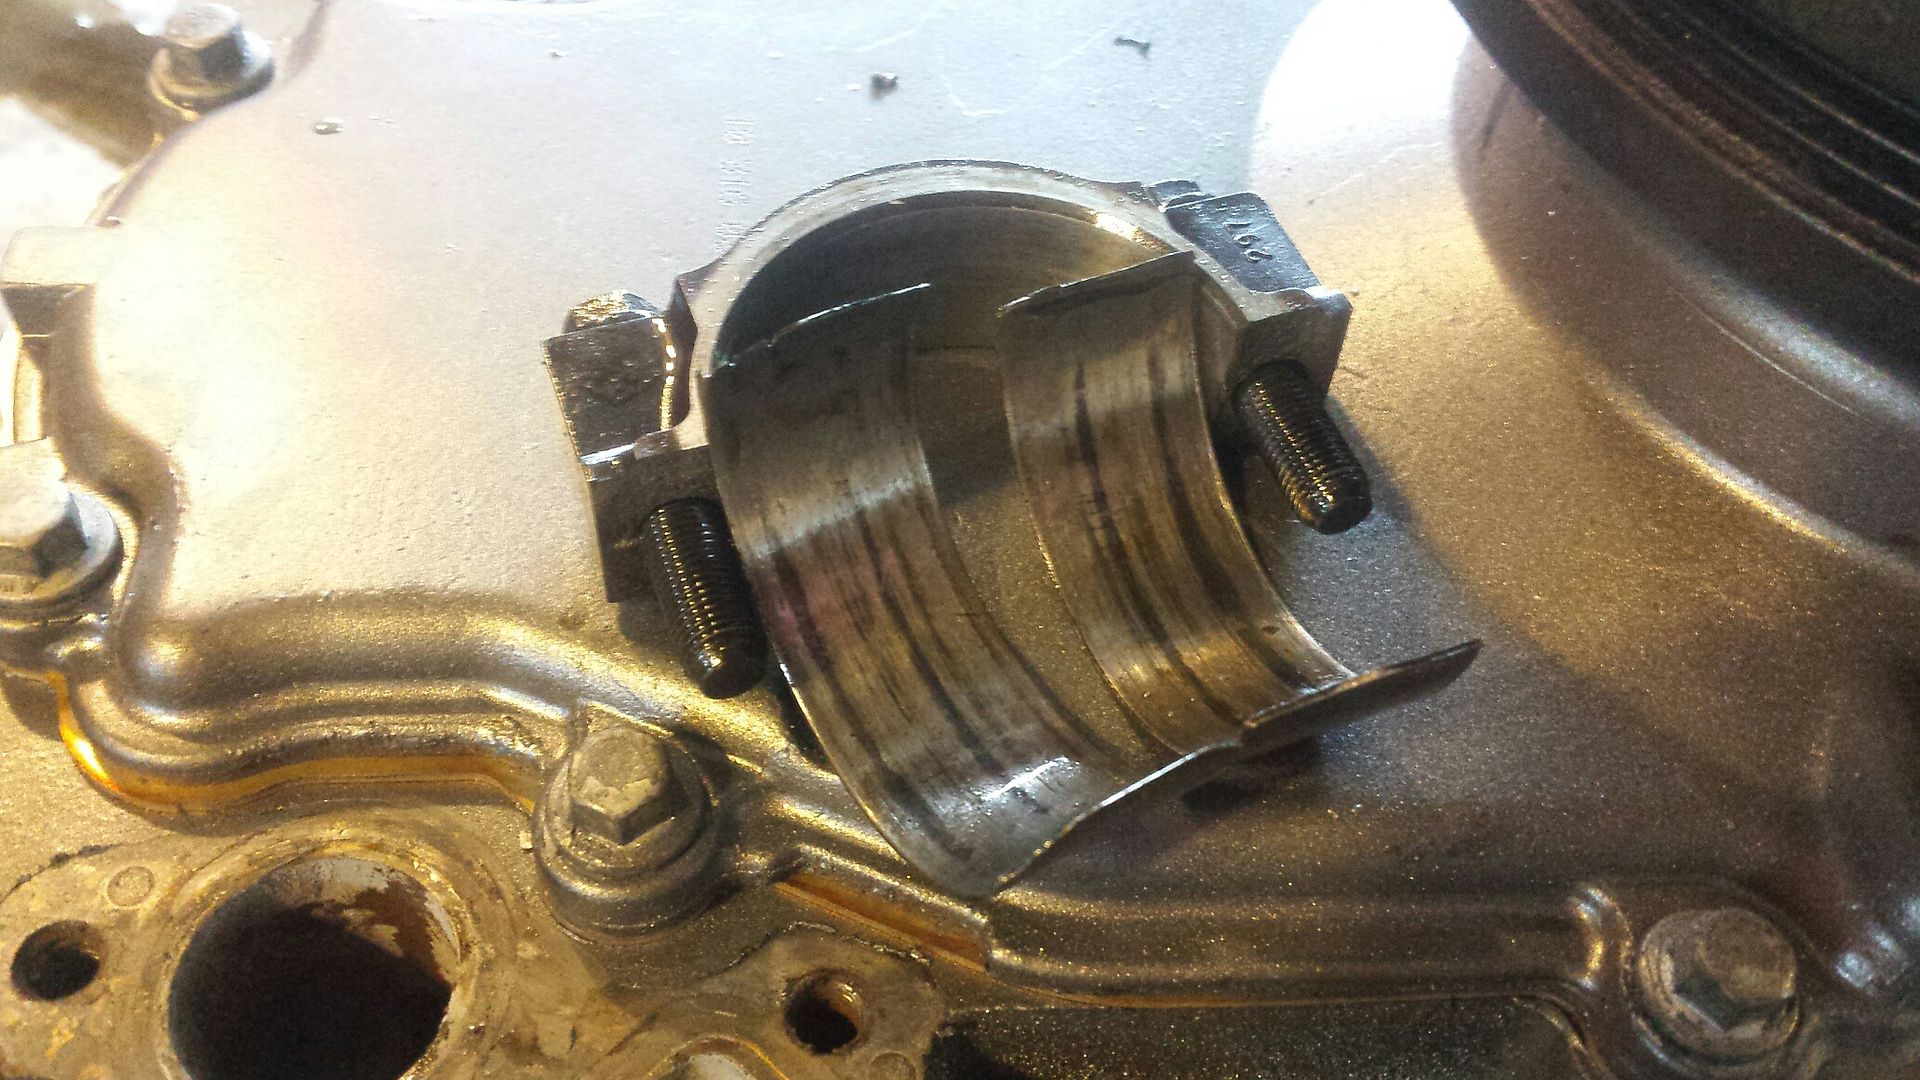
Just like I thought.....
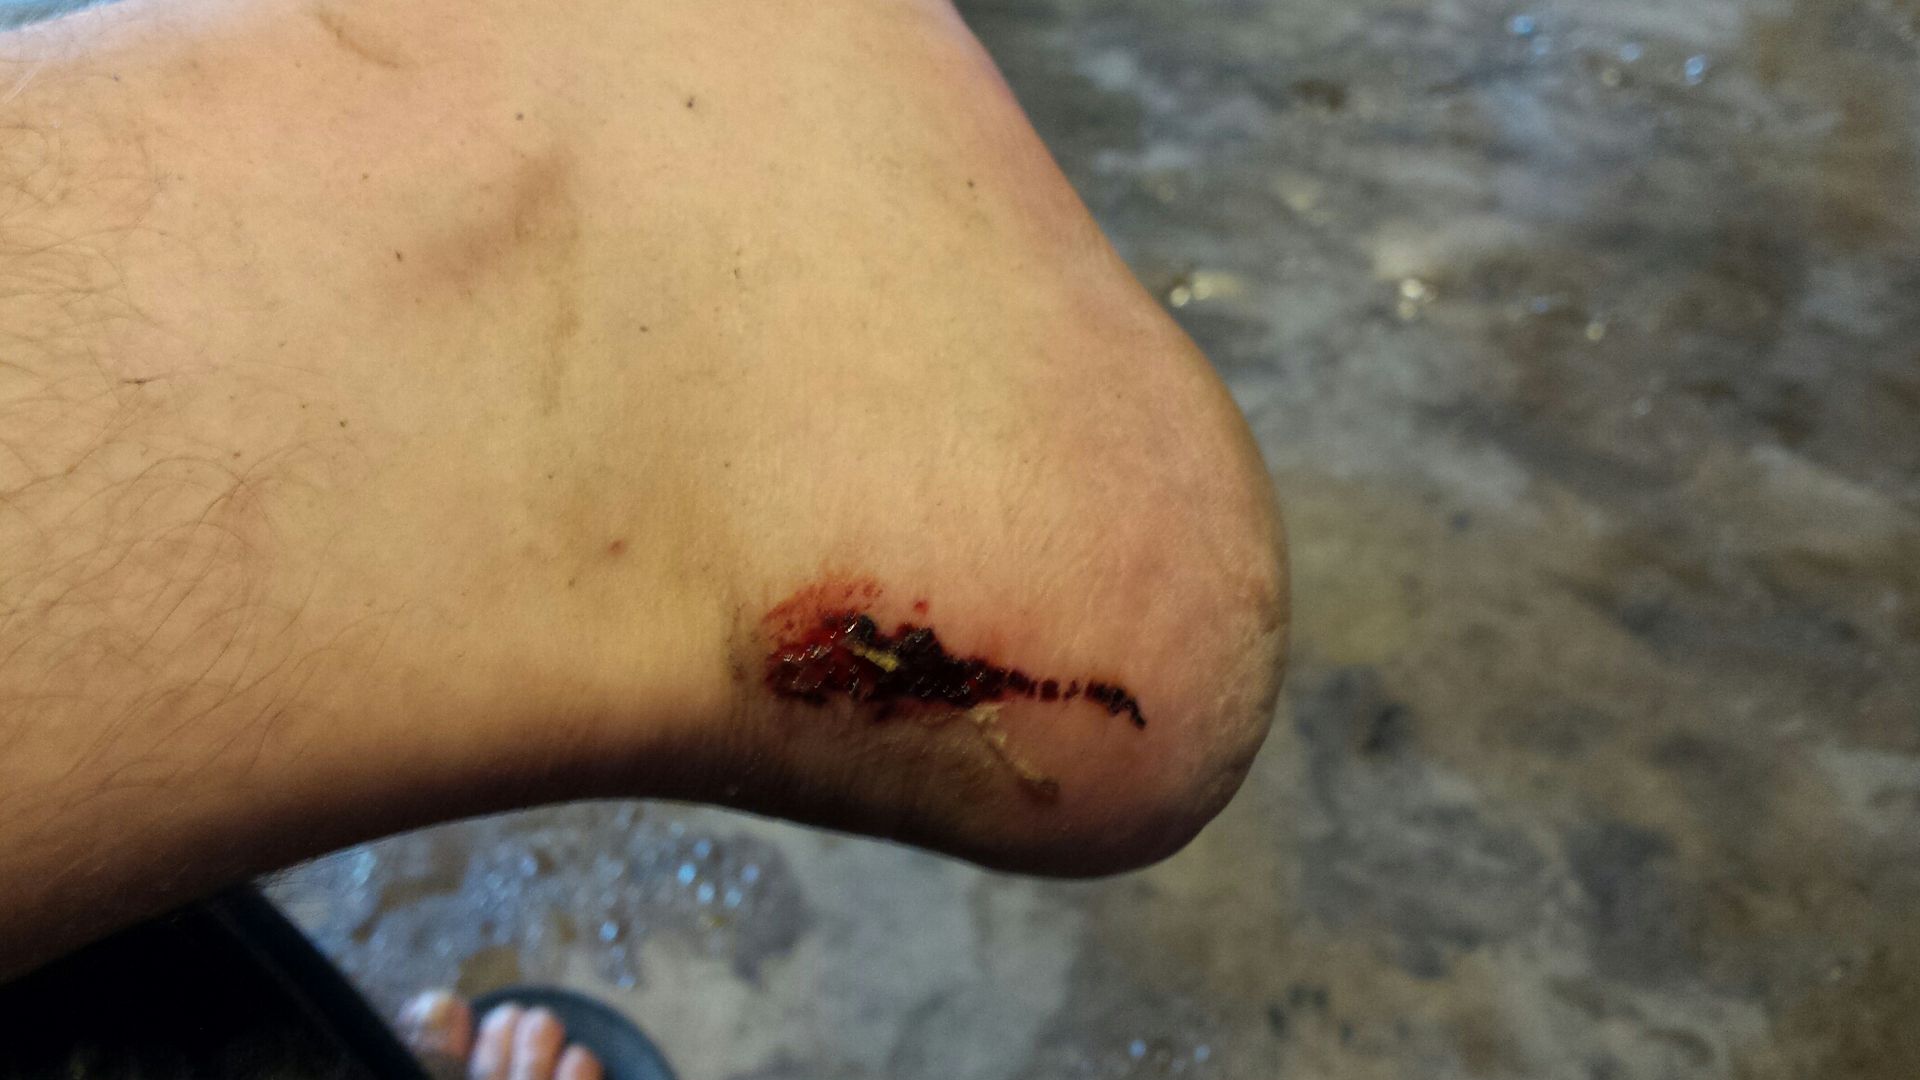
And this is why you dont pull in engines in flip flops!! Not that this will stop me from doing it again.
Lots of new parts showing up daily, engine should be here tomorrow. Broken motor is completely torn down/stripped. All the other new parts in this engine looked great, nothing else seems damaged other then that bearing. So, on to reassembly and upgrades.

TDC for #3. For those who may not know, the piston is supposed to come above the deck. This is the highest I could get this one, followed by a clunk.

Just like I thought.....

And this is why you dont pull in engines in flip flops!! Not that this will stop me from doing it again.

Lots of new parts showing up daily, engine should be here tomorrow. Broken motor is completely torn down/stripped. All the other new parts in this engine looked great, nothing else seems damaged other then that bearing. So, on to reassembly and upgrades.
#60
10-21-2017, 08:06 AM
Join Date: Aug 2010
Posts: 230
Likes: 0
Received 0 Likes
on
0 Posts
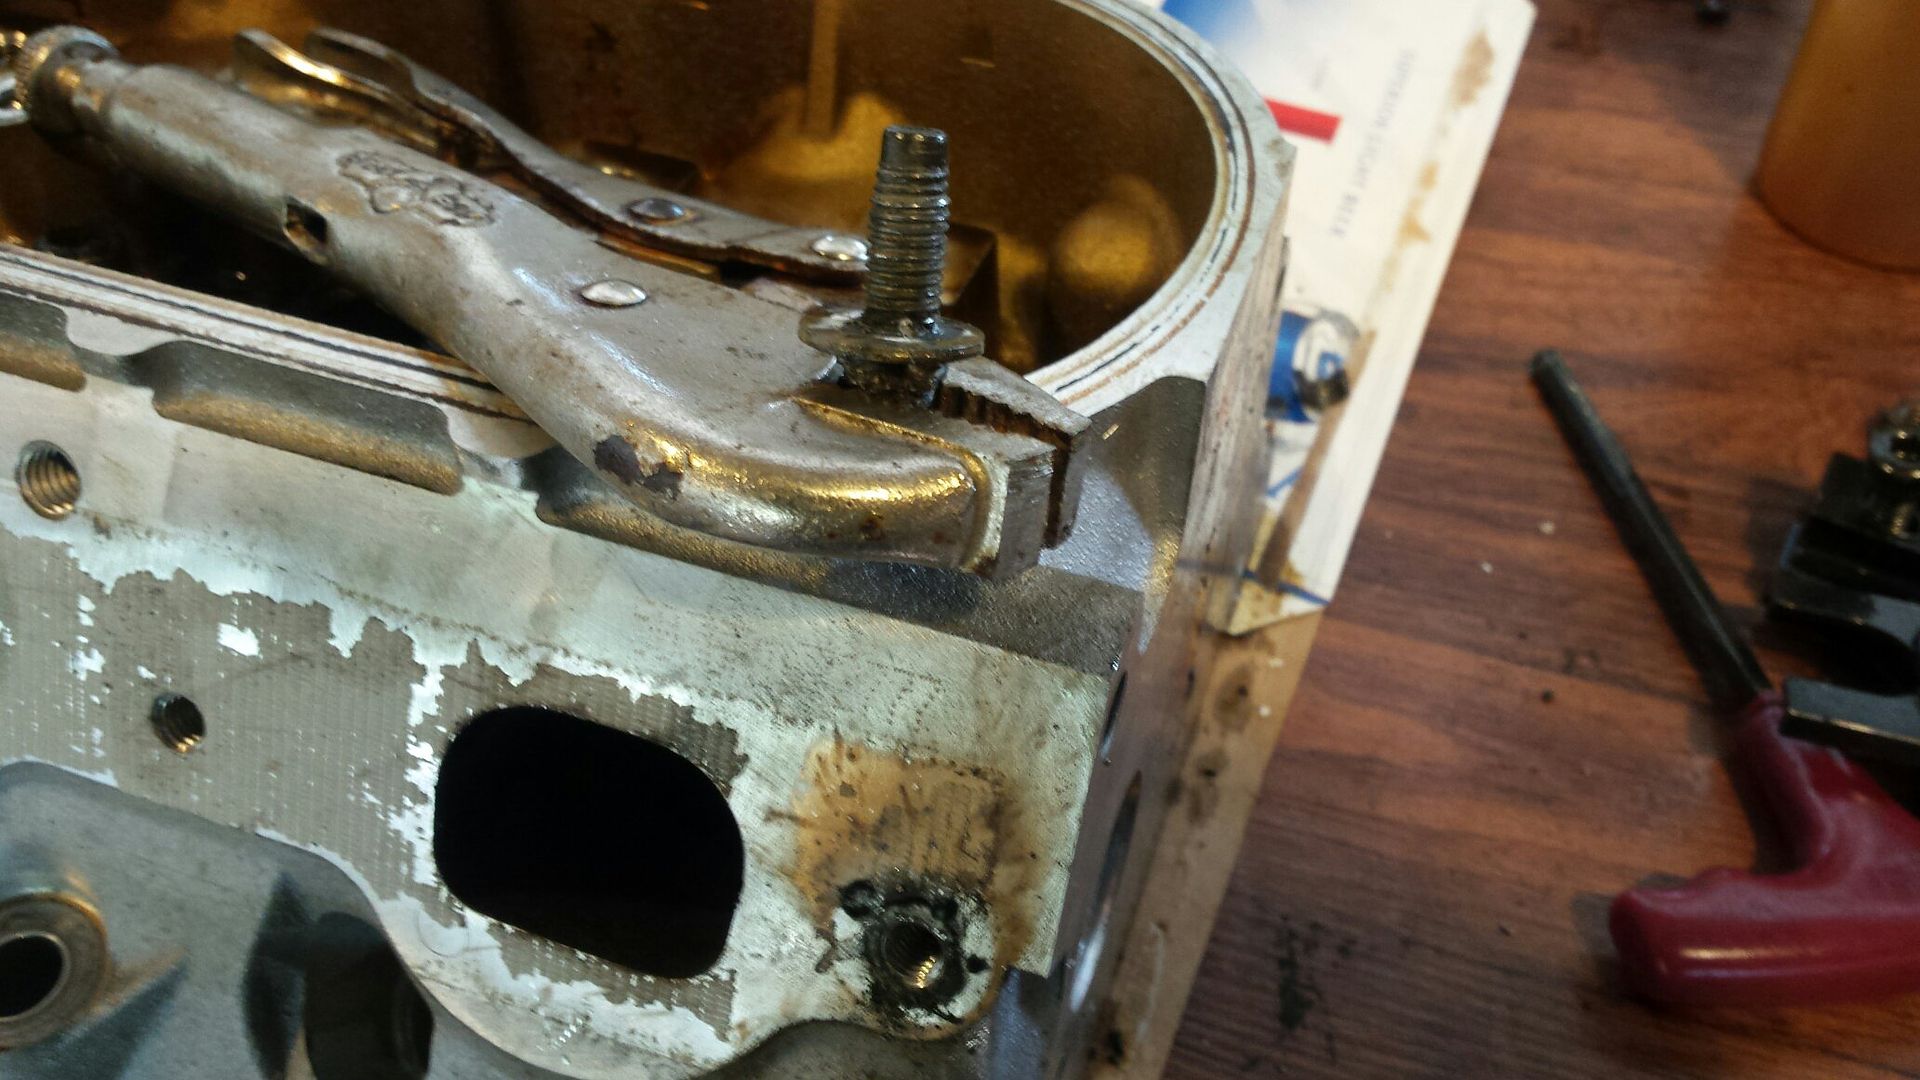
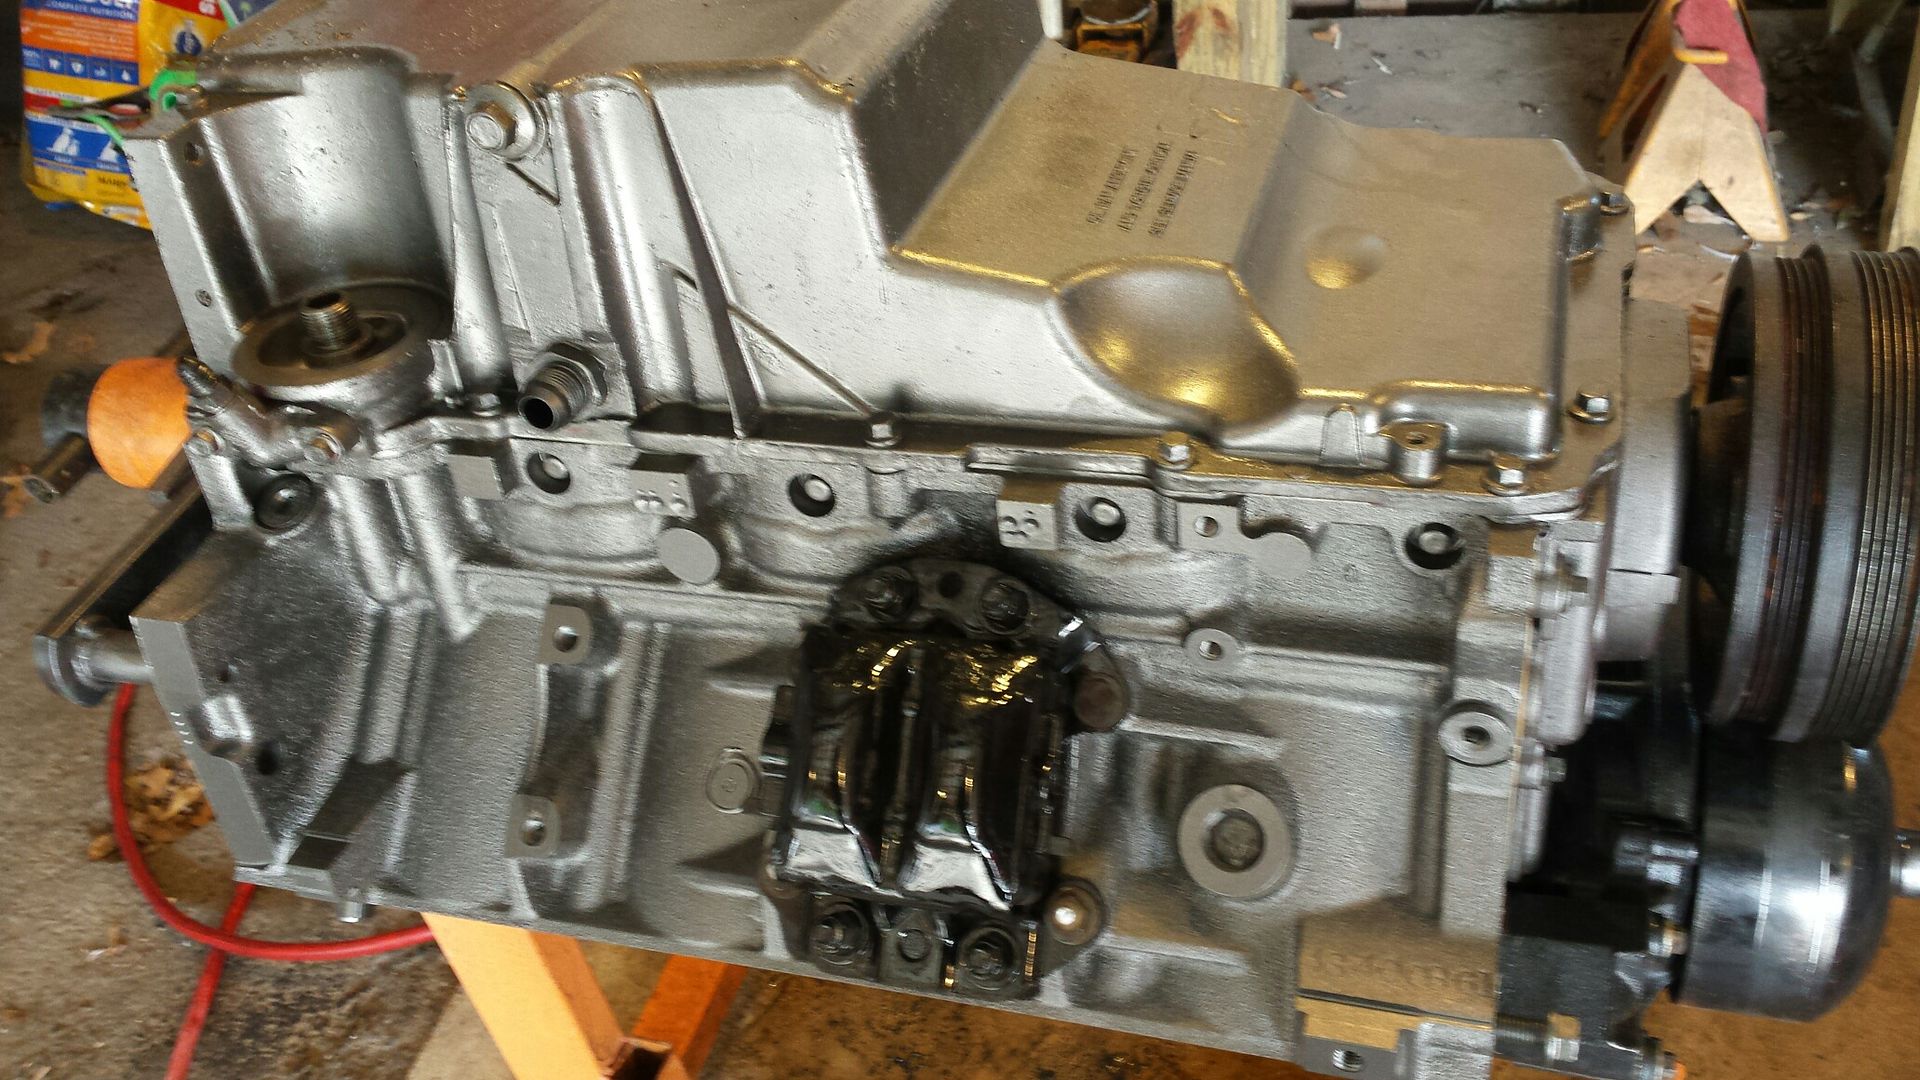
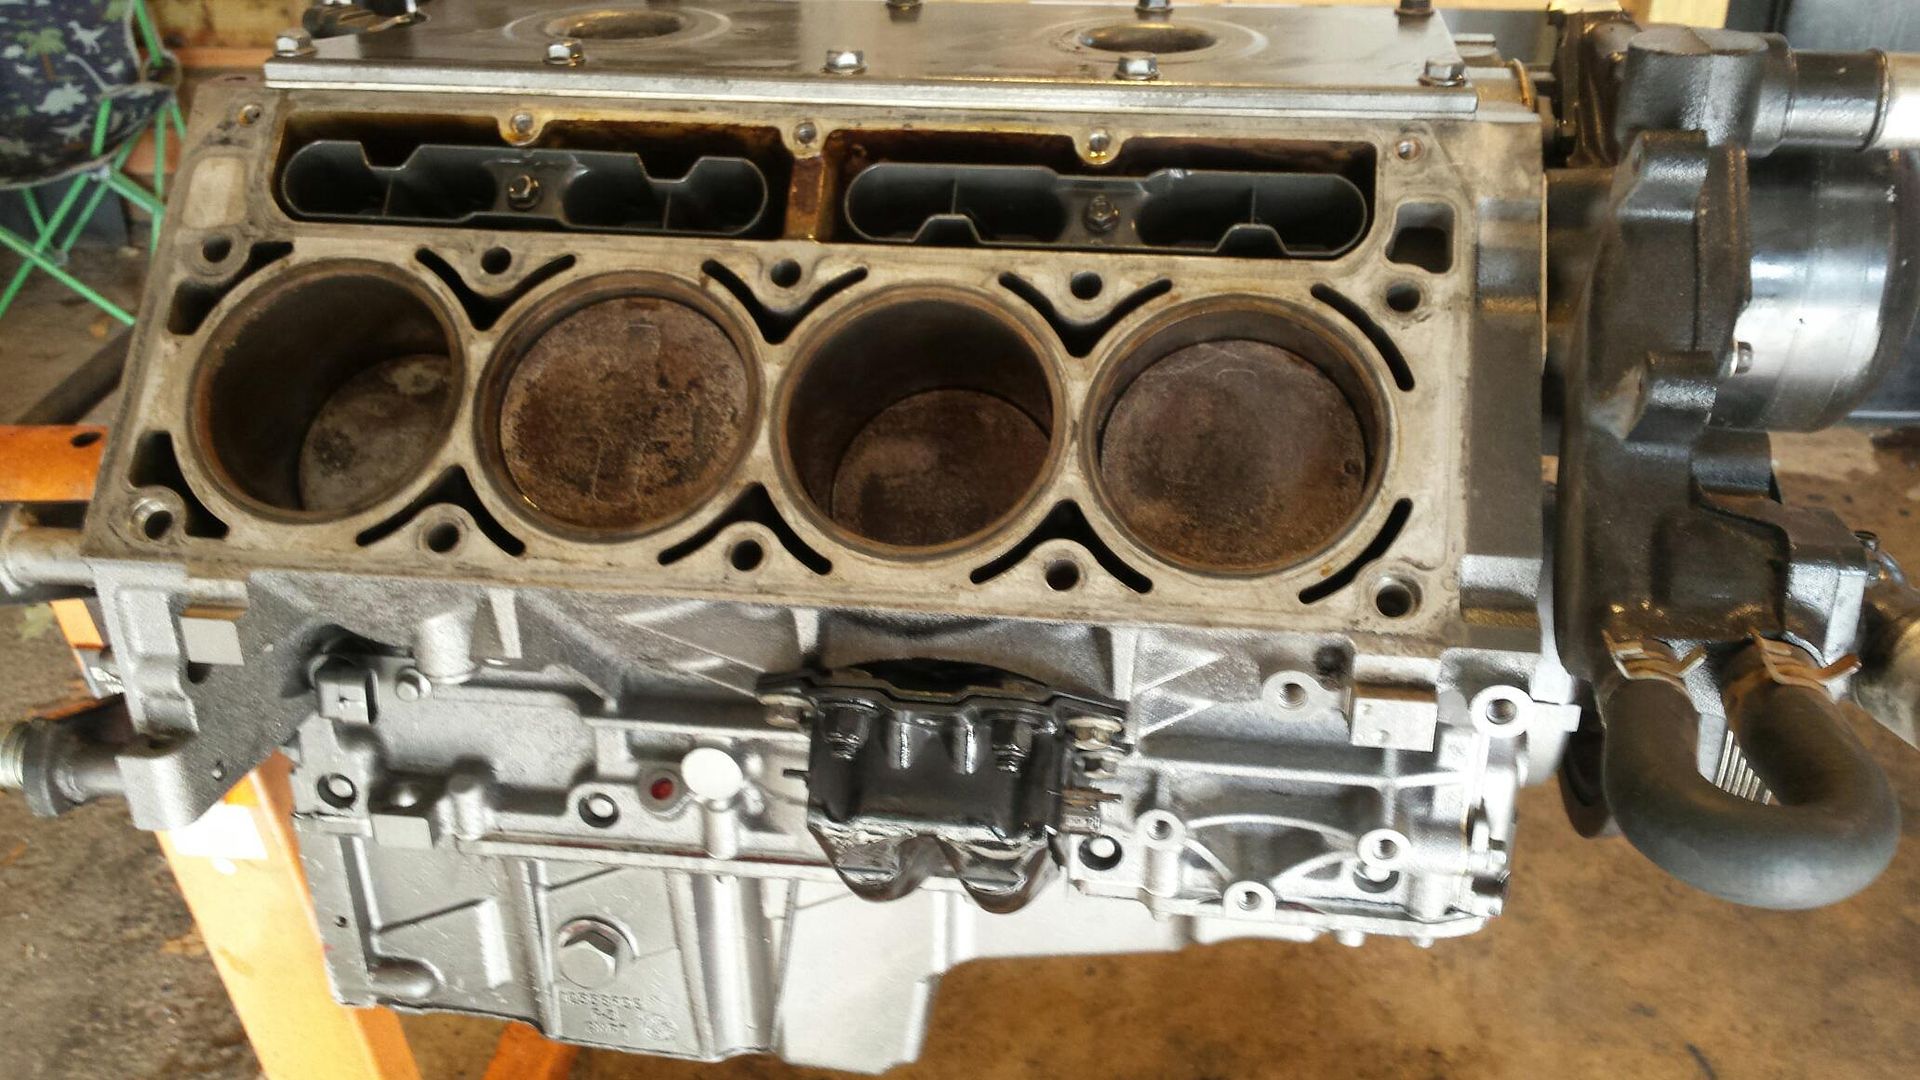
Went and picked the motor up from UPS freight and got right onto tearing it down. Overall its much cleaner inside then the previous engine.
A welder, a washer, and a nut come in handy for getting those broken exhaust bolts out.......and the vice grips for when you round the nut off! These are completely disassembled and going to the machine shop to be cleaned up.
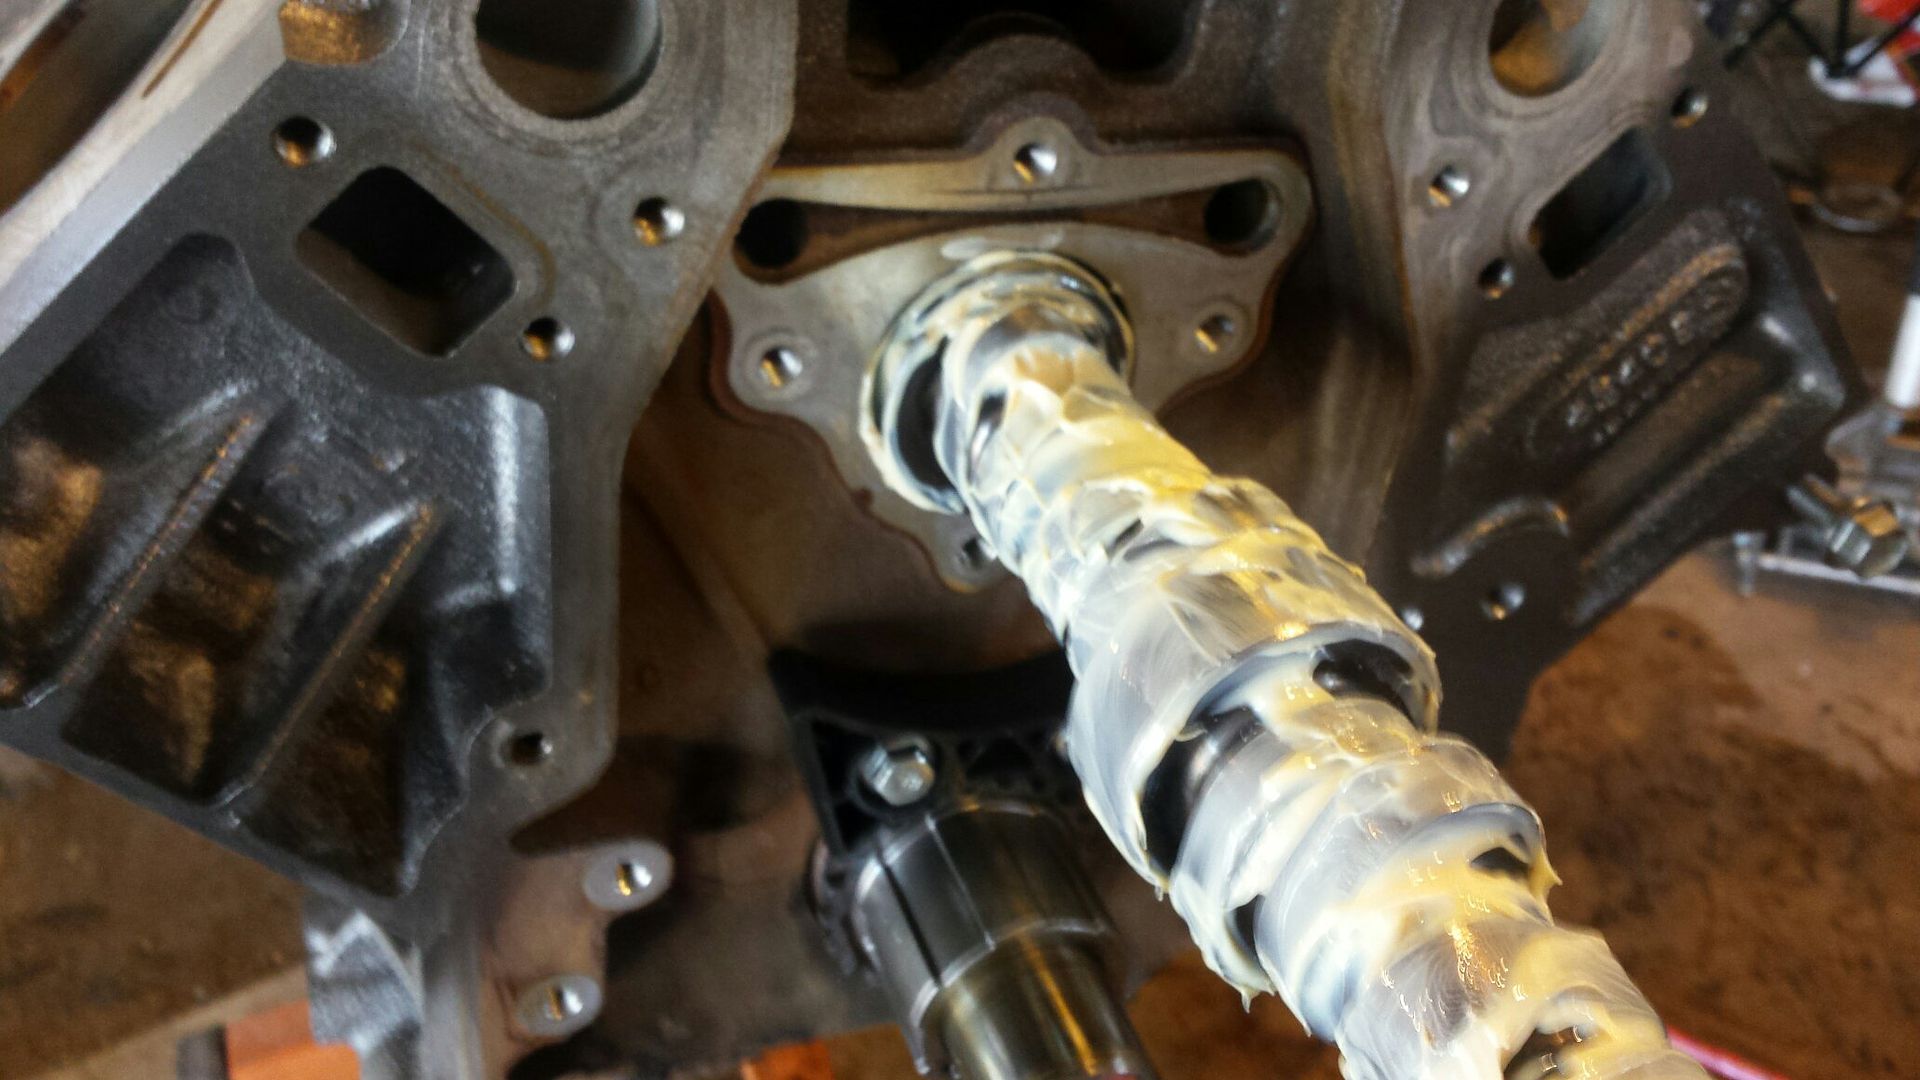
Lube your stick before you put it in ok gentlemen.
Pretty clean specimen we got here.
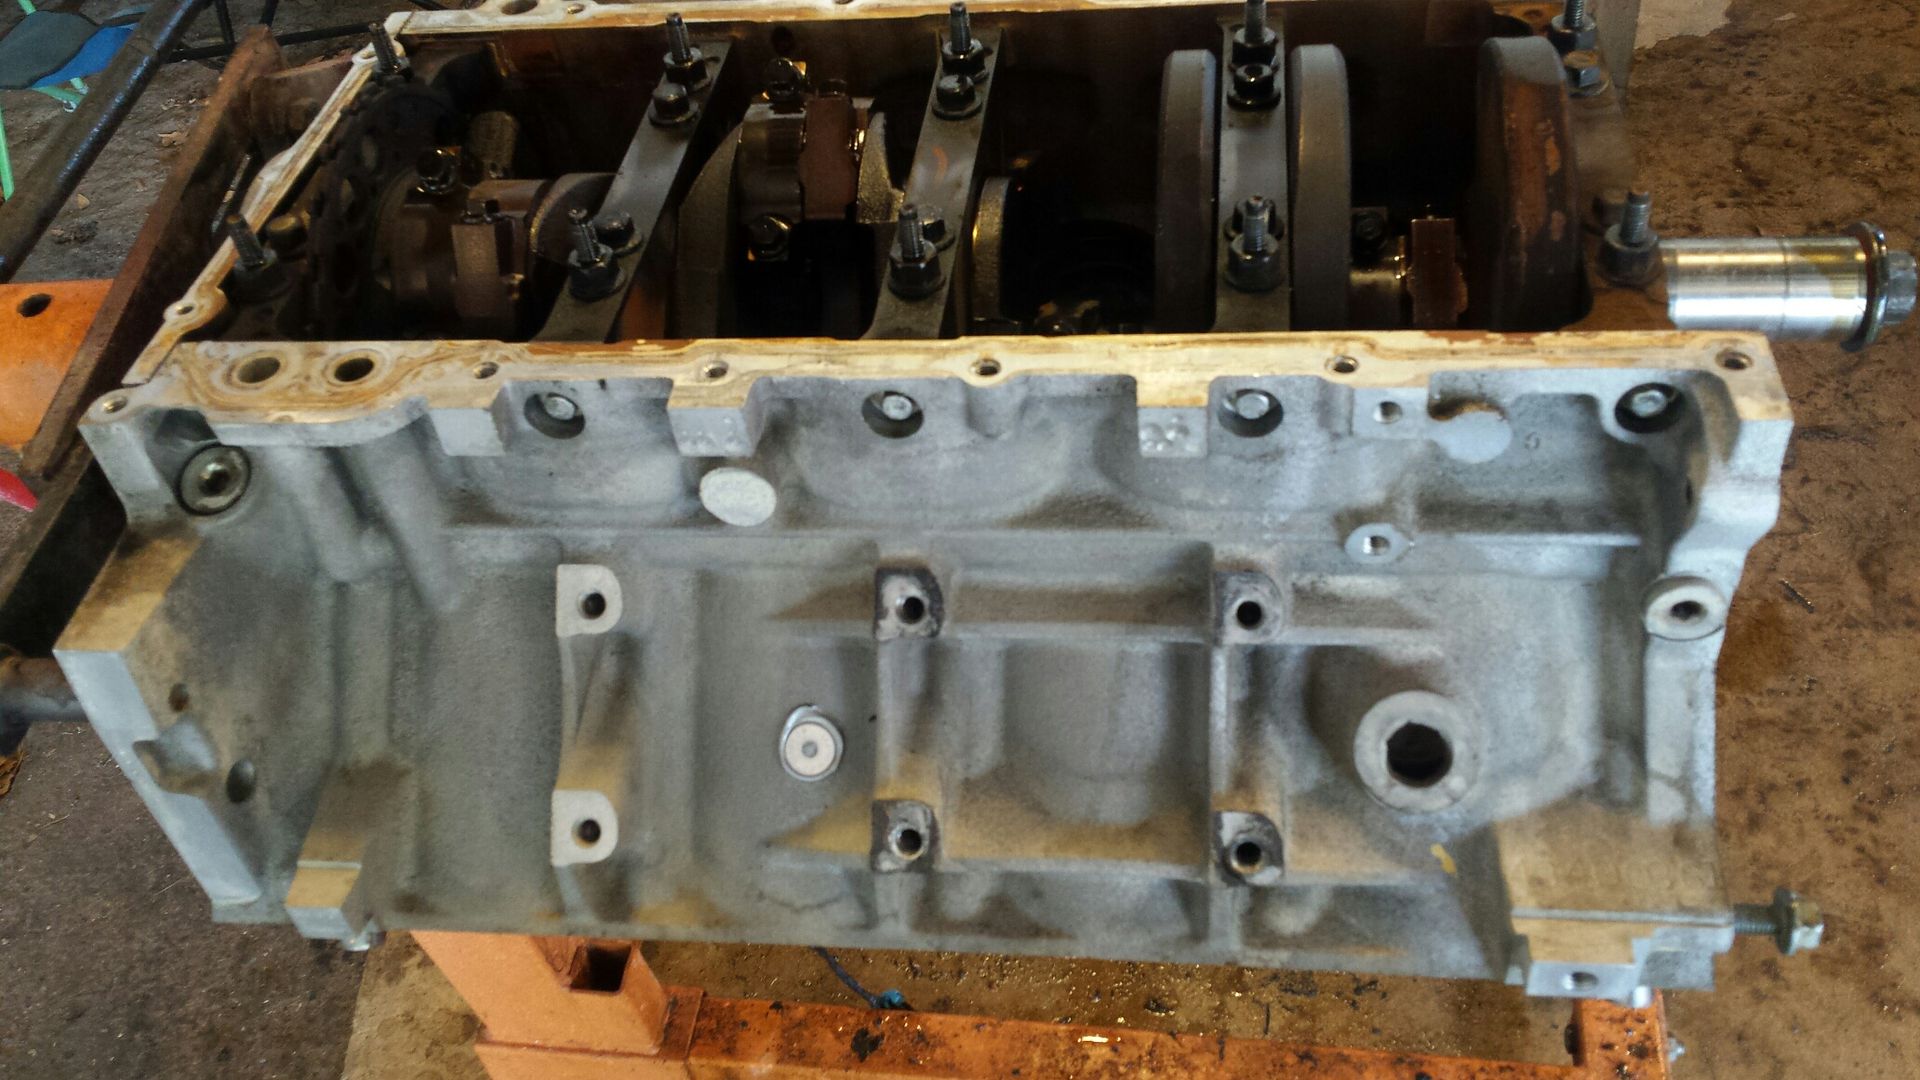
But a little paint never hurt. Is it bad karma to paint it the same as the failed engine?

Short block is done, cleaned all the metal debris out of the oil pan and shot a fresh coat of black on the motor mounts.
I spent hours cleaning the pistons on the last engine. These got a quick rub down and Im calling it good.
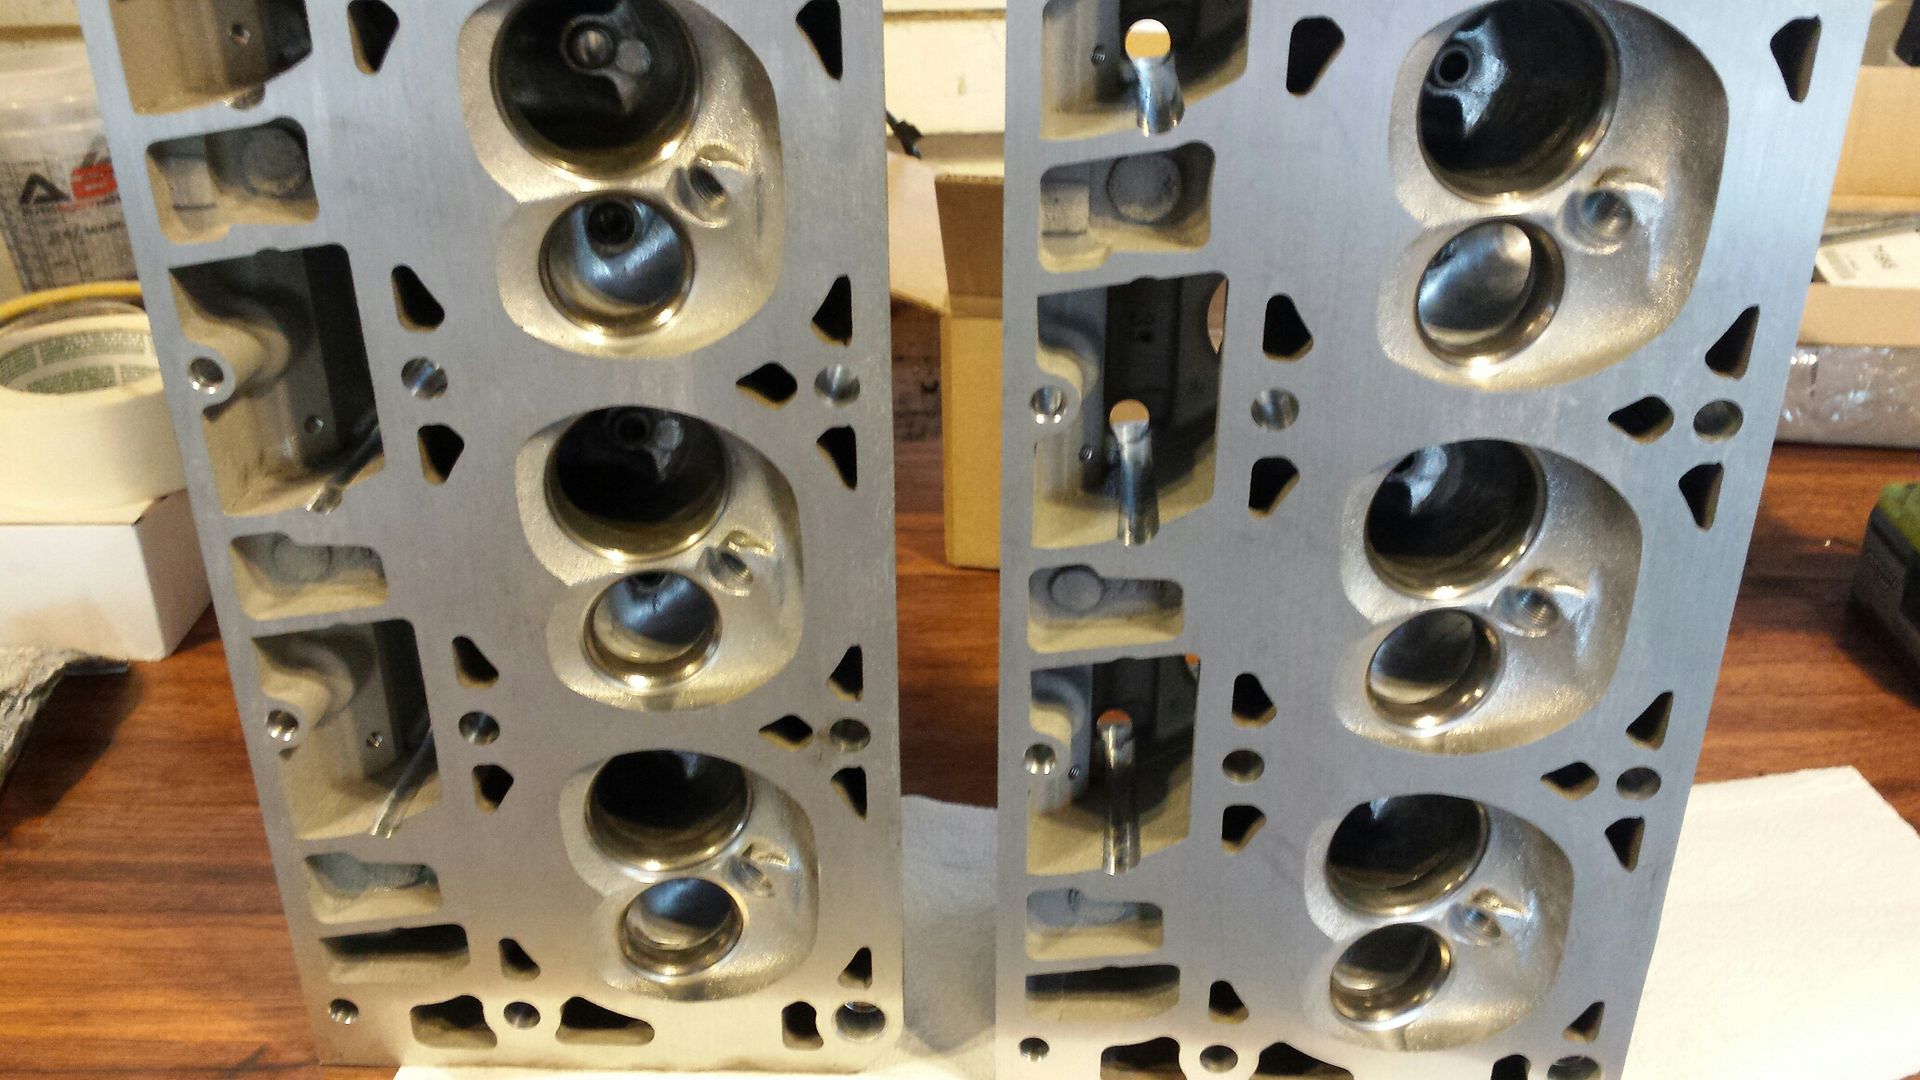
And through the magic of the internet, the heads have arrived back home in about 30 seconds!!! They were cleaned and milled but no other work was performed.
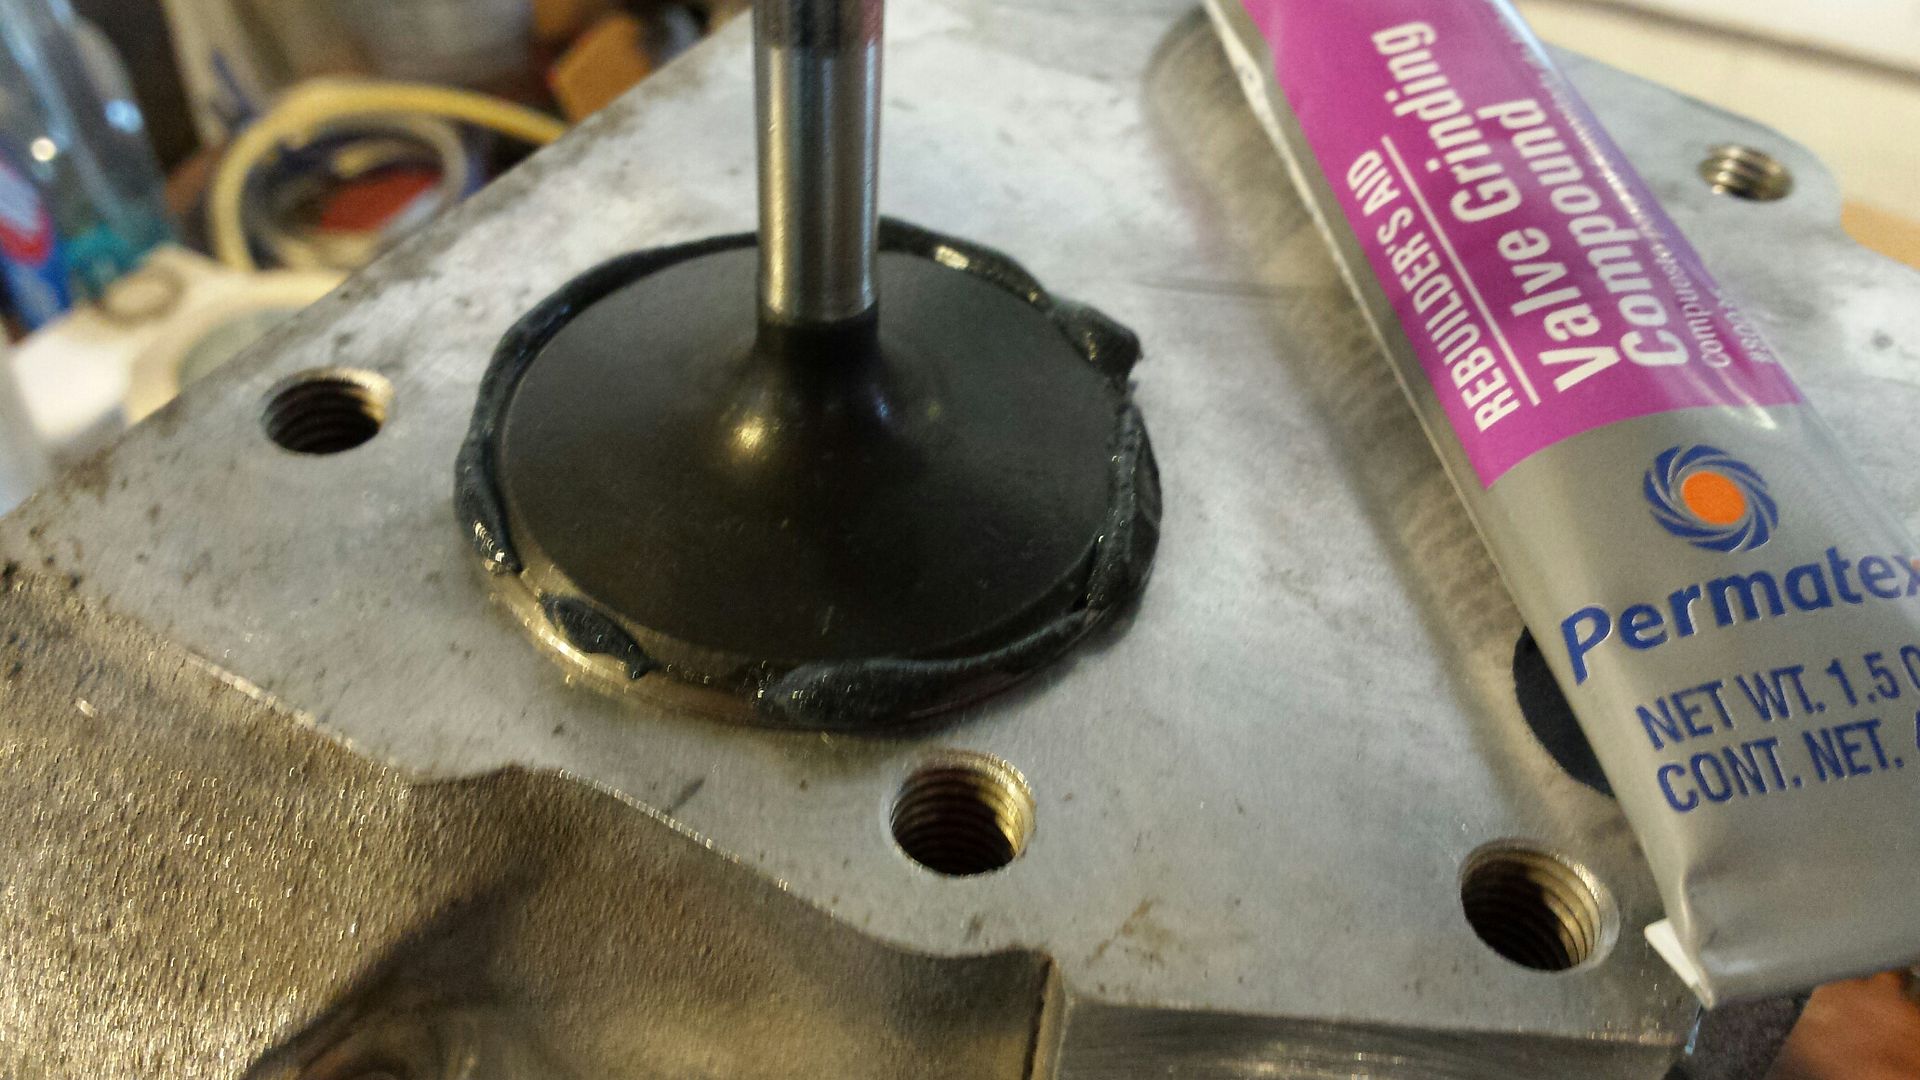
Here's an intake valve. Notice the silver streak around the lower edge. That's where it seals to the valve seat in the head. We are gonna freshen that surface and hopefully widen it some for a better seal.
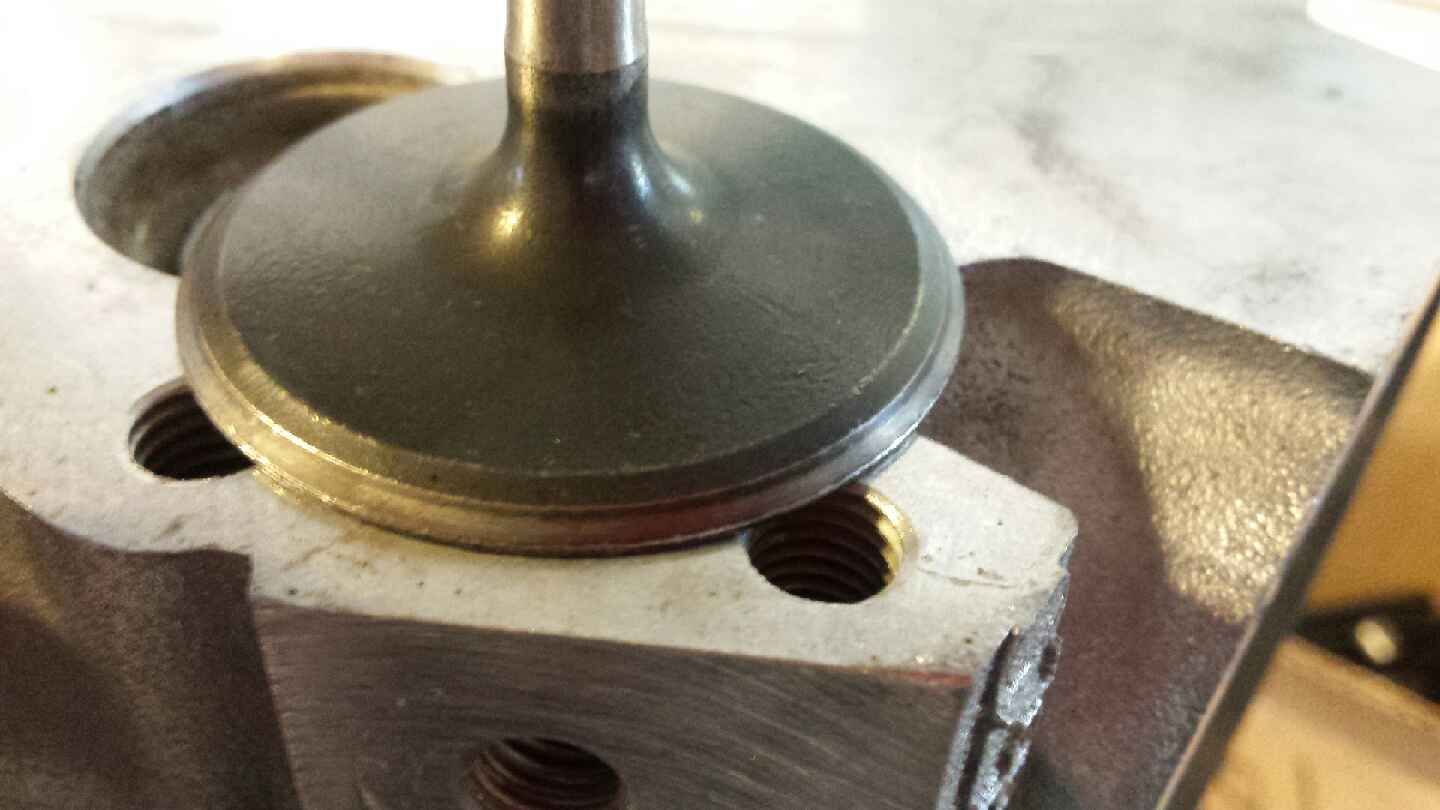
Take your compound, and spread it like so. Doesn't have to be perfect.

A welder, a washer, and a nut come in handy for getting those broken exhaust bolts out.......and the vice grips for when you round the nut off! These are completely disassembled and going to the machine shop to be cleaned up.

Lube your stick before you put it in ok gentlemen.

Pretty clean specimen we got here.

But a little paint never hurt. Is it bad karma to paint it the same as the failed engine?

Short block is done, cleaned all the metal debris out of the oil pan and shot a fresh coat of black on the motor mounts.

I spent hours cleaning the pistons on the last engine. These got a quick rub down and Im calling it good.

And through the magic of the internet, the heads have arrived back home in about 30 seconds!!! They were cleaned and milled but no other work was performed.

Here's an intake valve. Notice the silver streak around the lower edge. That's where it seals to the valve seat in the head. We are gonna freshen that surface and hopefully widen it some for a better seal.

Take your compound, and spread it like so. Doesn't have to be perfect.


