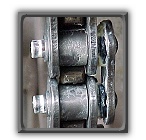
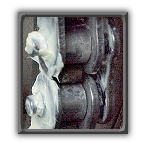
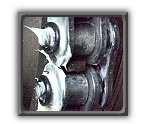
Tech Tip 23 Proper Installation of an O ring Chain

By -
 Tech Tip 23
Proper Installation of an
O-ring Chain
 undefined

 
undefined

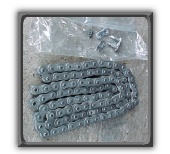
This is what you get in your box of new O-ring chain: a wad of chain and pieces of a masterlink. So you just replace the old one with the new one, right?

 
undefinedHere is a close up of the masterlink components: L to R, four O-rings wired together, outer sideplate, spring clip and inner sideplate w/pins.
 
undefined

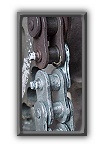
With the rear end jacked up and the old masterlink removed, or with an endless chain, a link broken, install a master link connecting the old chain with the new one. So, out with the old and in with the new! Pull the lower run of chain and the new replaces the old.

 
undefined

This is the ONLY lubricant to use for assembling an O-ring chain. This is a lifetime supply!

 
undefined

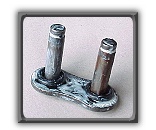
Place one O-ring on each pin of the inner sideplate w/pins.

 
undefined

Place a generous amount of white lithium grease on each pin.

 
undefined

Bring the return end of the new chain up onto the rear sprocket and insert the lubed, O-ringed inner sideplate w/pins.

 
undefined

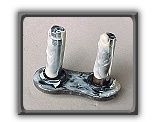
Apply additional white lithium grease to the protruding ends of the pins.

 
undefined

Install one O-ring on each protruding pin.

 
undefined

Loosely install the outer sideplate.

 
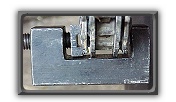
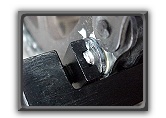
undefinedEither use two Vicegrips® or a sideplate press as shown to press the outer sideplate onto the pins until the spring clip groove is exposed. Note: If you are using Vicegrips®, DO NOT FORCE THE SIDEPLATE TOO FAR ONTO THE PINS, O-ring damage will result. Stop when the spring clip will just fit onto each pin freely without binding
 
undefined
Using a sideplate press as shown prevents over pressing of the outer sideplate because the pin bottoms out on the press plate. (Assuming you select the correct size press plate!)
 
undefined

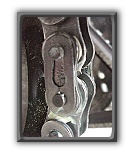
Install the spring clip, spring curve convex, (humped) onto the pins as shown. ALWAYS have the OPEN end facing DOWNWARDS if you are installing it on the rear sprocket. The closed end of the spring clip must always point in the direction of chain travel.

 
undefined

Position a flatblade screwdriver as shown and either hit it with a hammer or your hand and force the spring clip to spread around the lower pin, locking it in place.

 
undefined

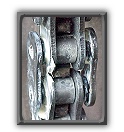
The finished product! Tension the chain per the manufacturers recommendations for your model. Use a rag saturated with WD-40® and rotating the rear wheels, clean the excess factory grease off the chain. This prevents dirt from clinging to the new chain. Now go ride!


All times are GMT -5. The time now is 10:21 AM.