Ultimate Guide To ATV Engine Valves
Ultimate Guide To ATV Engine Valves
Taking the fear out of checking clearance and adjusting your valves
Dear ATV Connection:
I know I’m supposed to check the valve clearance on my four-stroke ATV but am afraid to do so. What is the worst that can happen by neglecting this? How hard is it to adjust the valves if they aren’t correct?
Contrary to what logic might suggest, valves often tighten up over time rather than get loose. If these clearances get to tight, aside from damaging the engine from use, you may experience hard or impossible starting.
This usually begins displaying itself by hard starting when the engine is warm because of the fact that metal always expands when heated. Heat-expanded valves can actually lift off their seats and hence allow engine compression to escape the cylinder. Even if the machine fires up, it will likely experience notable power loss due to this loss of compression.
As the condition worsens (clearance is off on multiple valves), starting even when the engine is good and cold can become difficult as well.
However, we don’t mean to insinuate that because a machine starts easily its valves are automatically in spec because sadly, damage can take place to the valves when the engine is running, as a valve that is not seated will fail to do its job of whisking away heat.
So then too much clearance is the way to go right? Not so fast! Too much clearance causes a different set of problems, namely: The valve train components will be hammered by the piston every time the valve opens. Since too little clearance equals a melt down and too much equals metal on metal contact, neither scenario is ideal if you happen to want a long life out of your engine.
Proper clearances are easy enough to obtain as the machine’s manual should contain them and if you don’t have the manual, a quick Google search should get you pointed in the right direction.
The process of actually checking the clearance is often an unnecessary source of fear as well and can be done in a few simple steps. They are as follows:
- Make sure the engine is cold (been sitting overnight preferably)
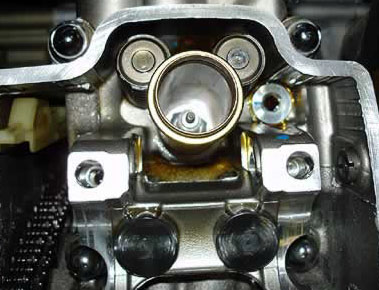
- Remove the engine’s valve cover
- Turn the engine (by rotating the wheels) until the cam points AWAY from the rocker arm (or valve lifter for the one you plan on checking)
- Simply slide an automotive feeler gauge between the end tip of the valve and the screw adjuster (for engines with rocker arms and screw type adjusters)
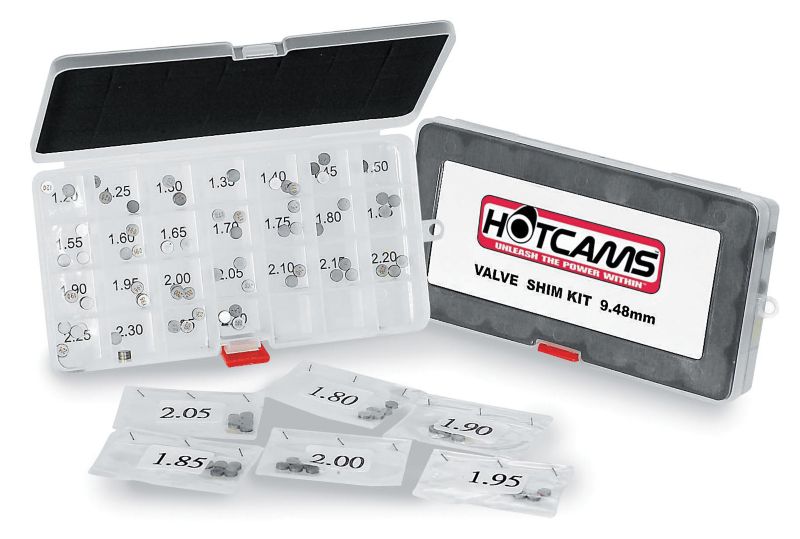
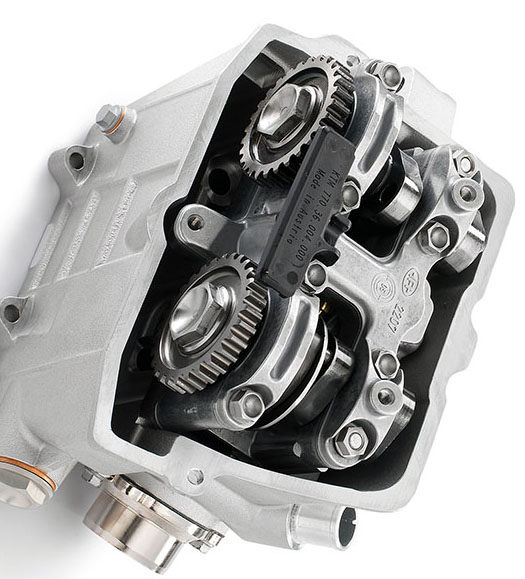
- Shim adjusters (which you will find on most of today’s high-performance 450cc quads) require less adjustment usually but typically a require a micrometer to check each shim’s thickness
If you are in spec, put your valve cover back on and you’re good to go. That’s it, quick and painless! However, if you are out of spec, it’s not the end of the world either. Making adjustments to the valves is also a fairly simplistic task that requires only a bit of tuning and rechecking with your feeler gauge or micrometer.
For rocker arms and screw type adjusters:
Loosen the adjuster lock nut and rotate the screw adjuster, retighten the locknut then slip the feeler gauge back in for a measurement until you get it right.
For shim-adjusters:
Each shim should measure a certain thickness. If you need more valve clearance, you put in a thinner shim, less clearance, a larger one.
Removing a shim for inspection is as simple as taking off the camshaft(s) and measure the thickness of the adjustment shims at each valve. Install the proper shims, then reattach the camshaft(s), torque the cam cap bolts to proper spec (torque wrench), then rotate the engine a few times (by turning the rear wheels) to seat the shims. Recheck your clearances and repeat if necessary until you get them right.