
Foreman Down - Gear reduction/outlaws/maintenance
 Jan 31, 2016 | 12:42 PM
#1
Thread Starter
|
Pro Rider
Joined: Aug 2010
Posts: 230
Likes: 0
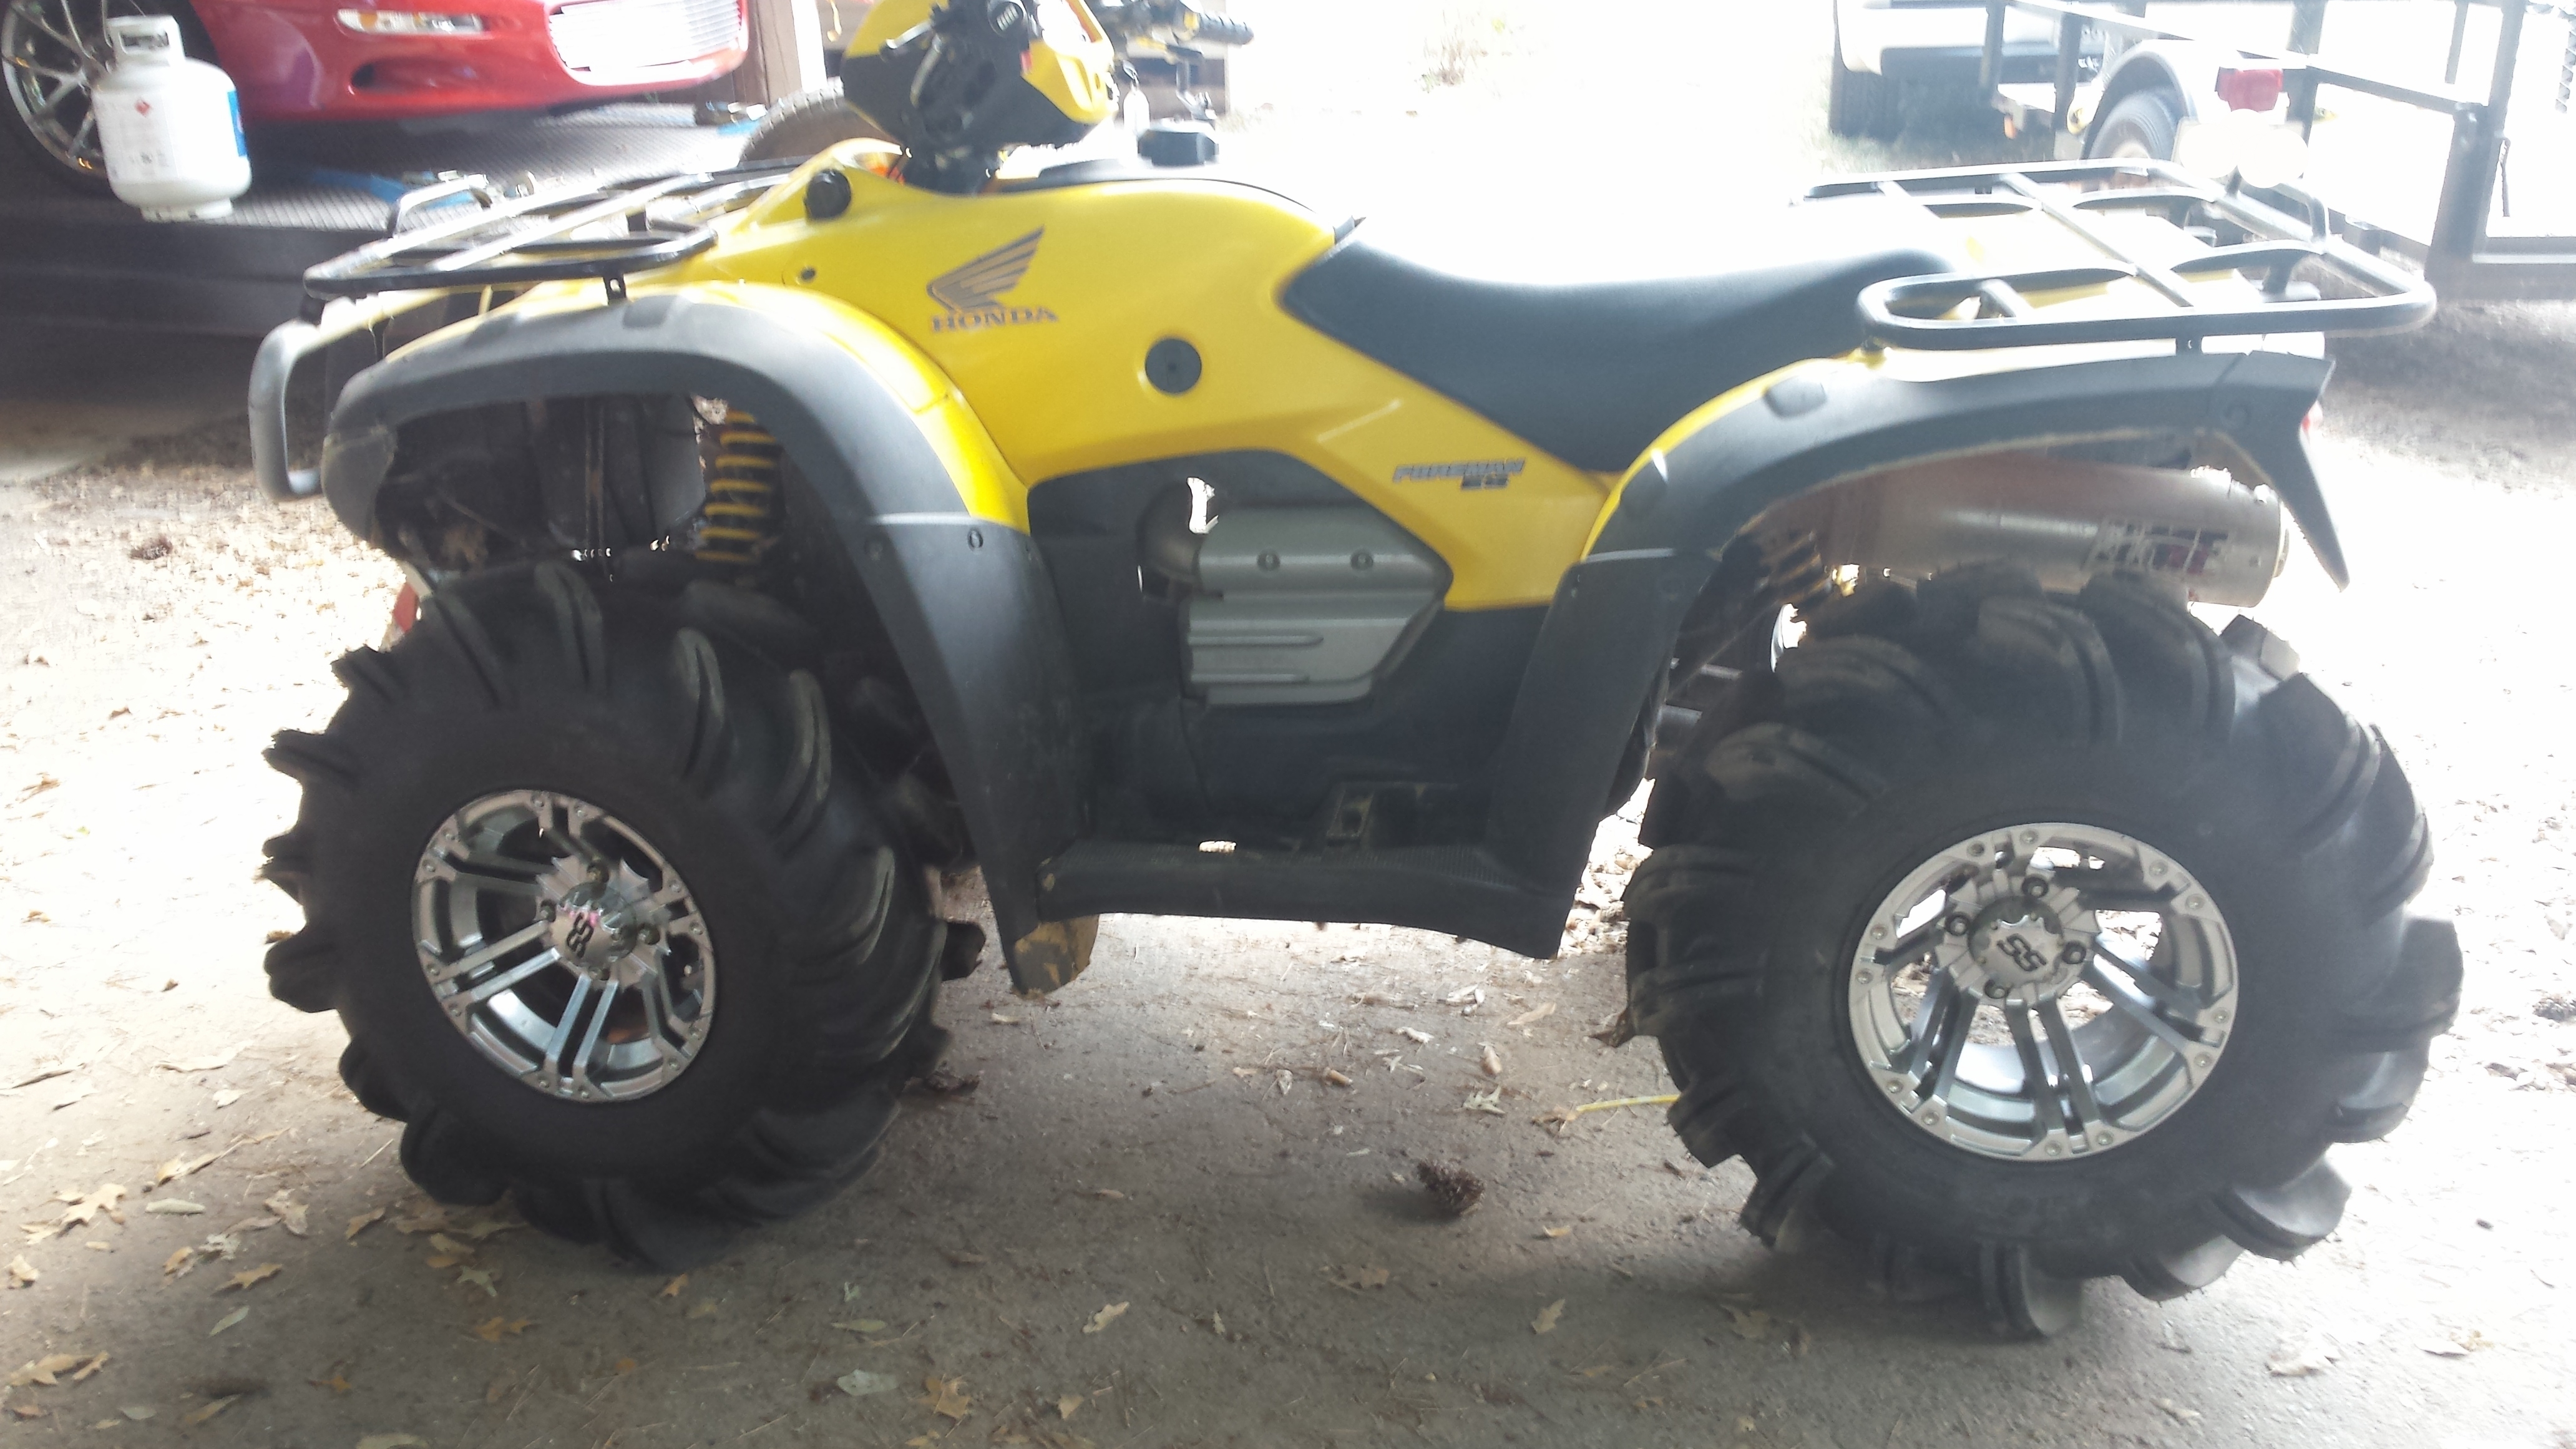
Here she is, you can see we like to play dirty. These pics were taken at Highlifter Park in Shreveport, LA.

Mods are HL 2" bracket lift, EPI clutch kit, 450 swingarm stretch, 28"zillas.

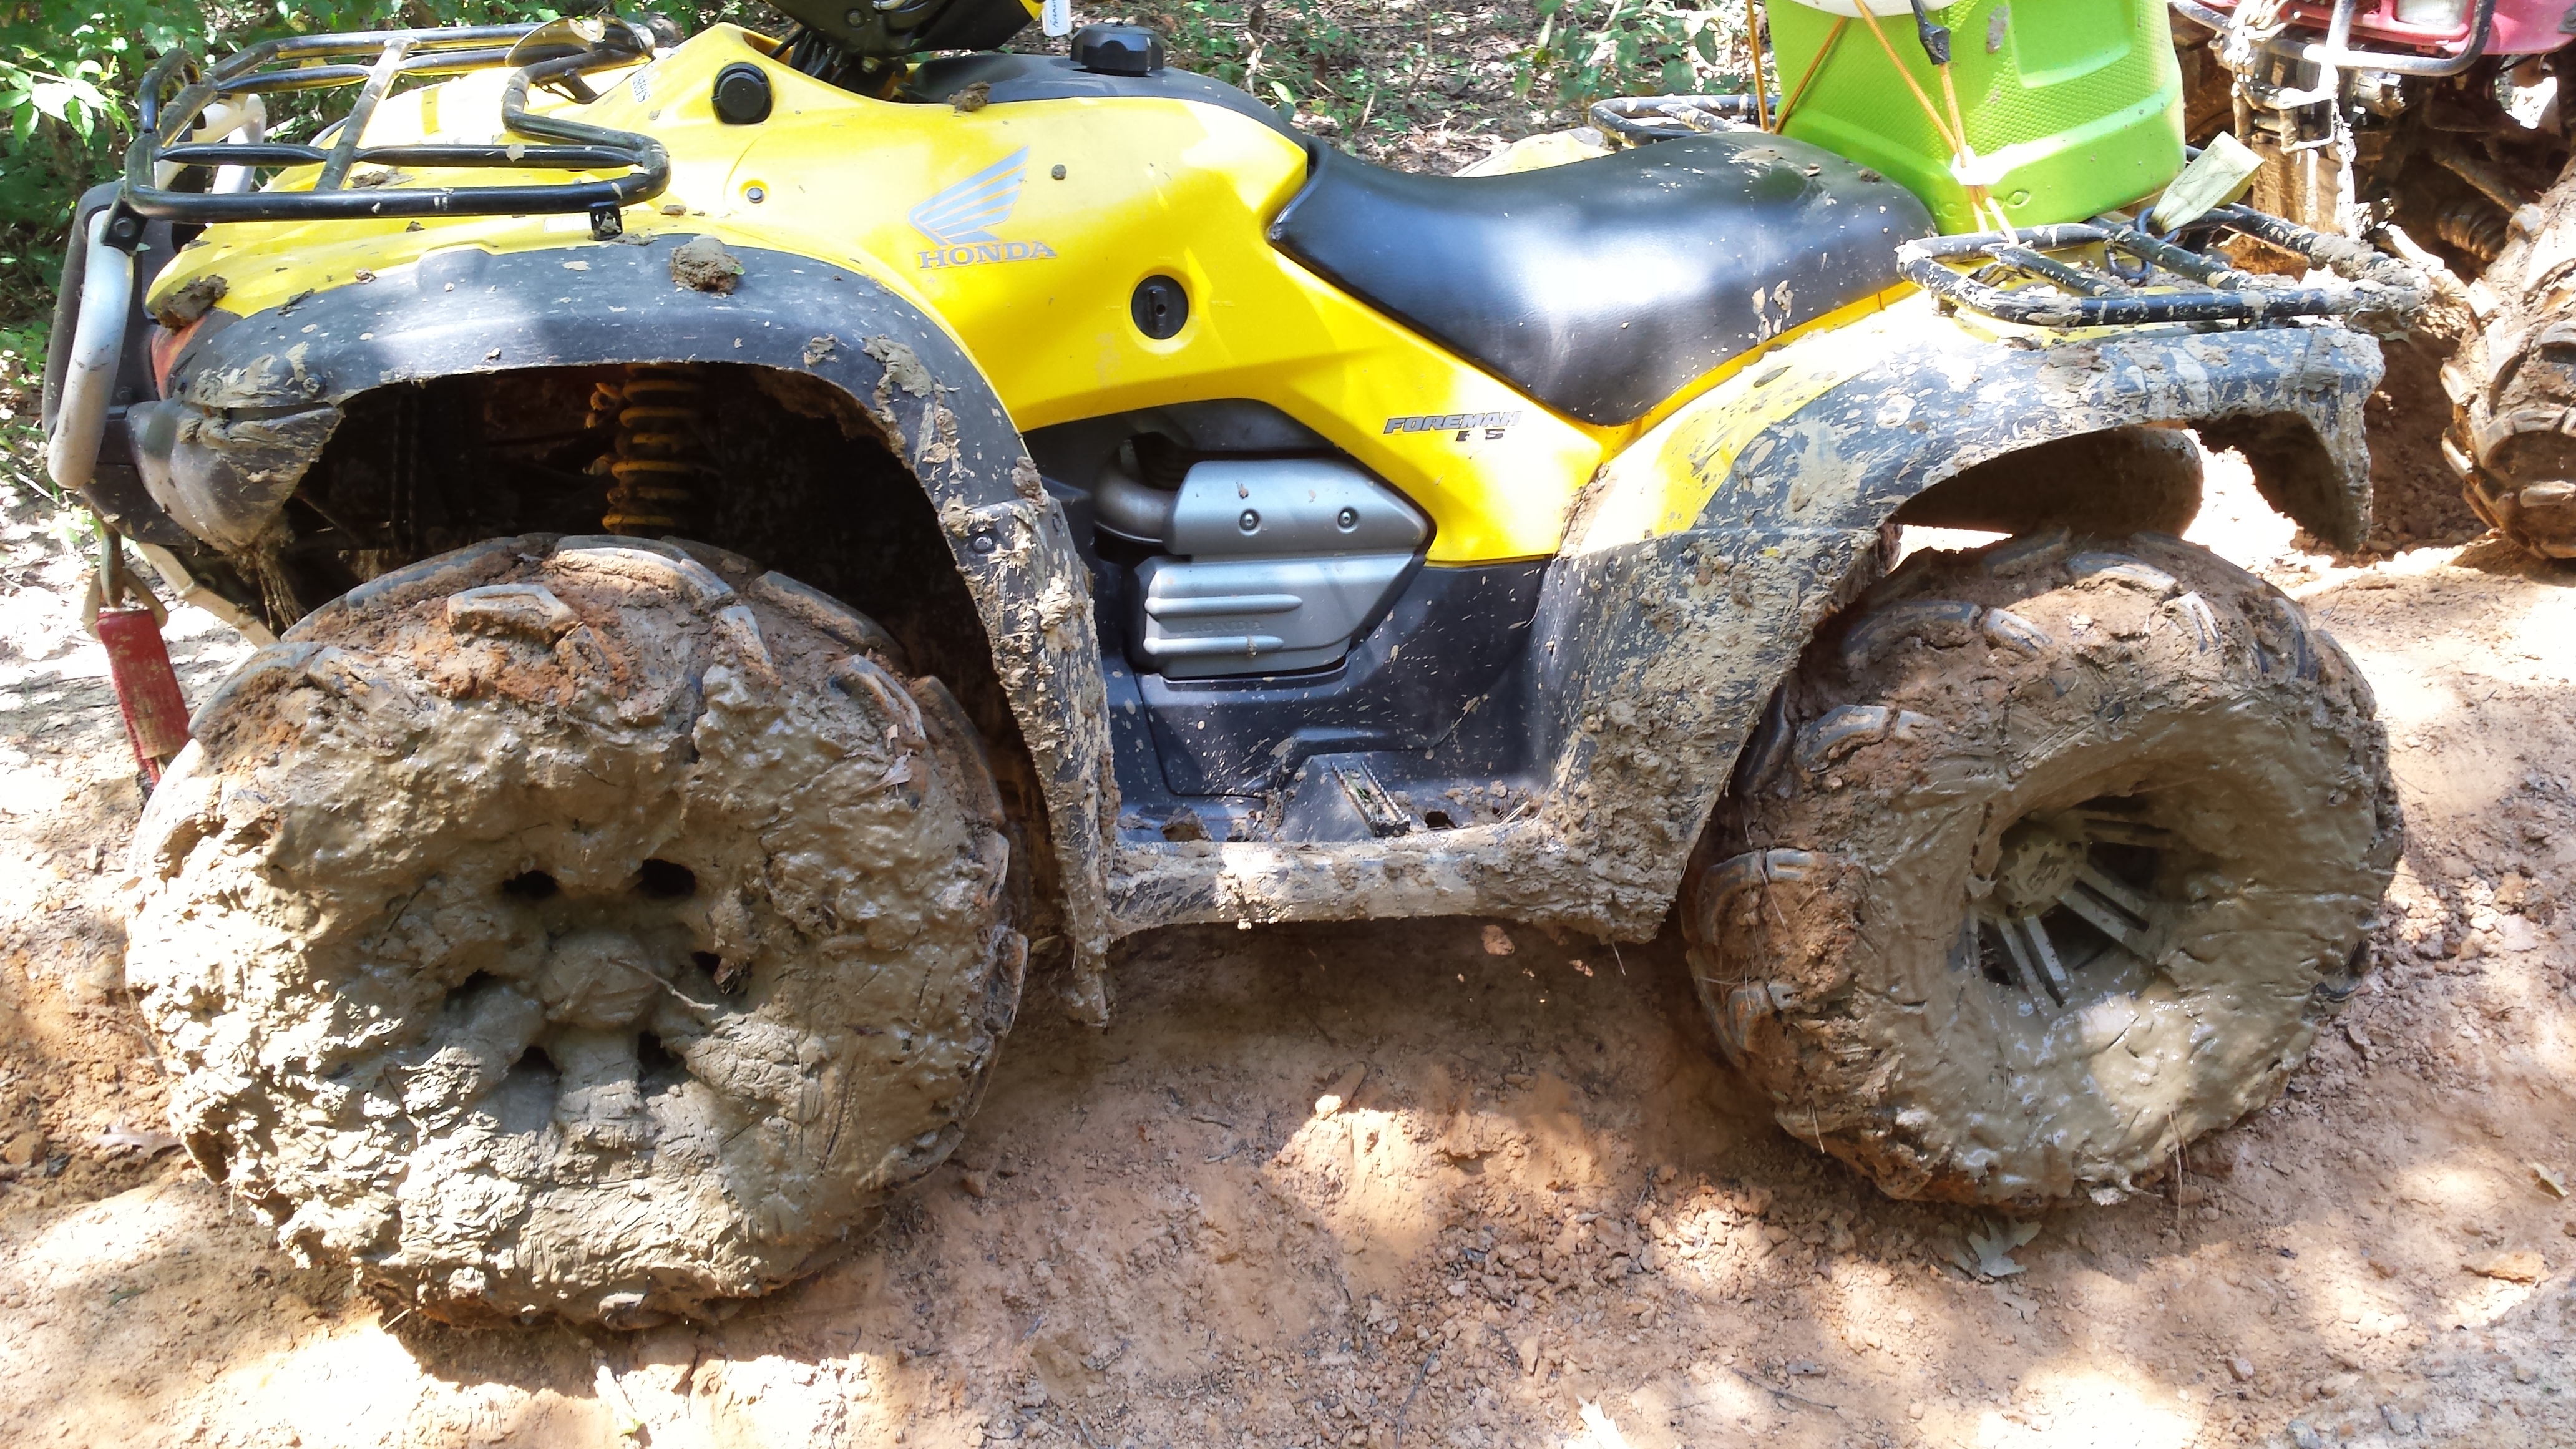
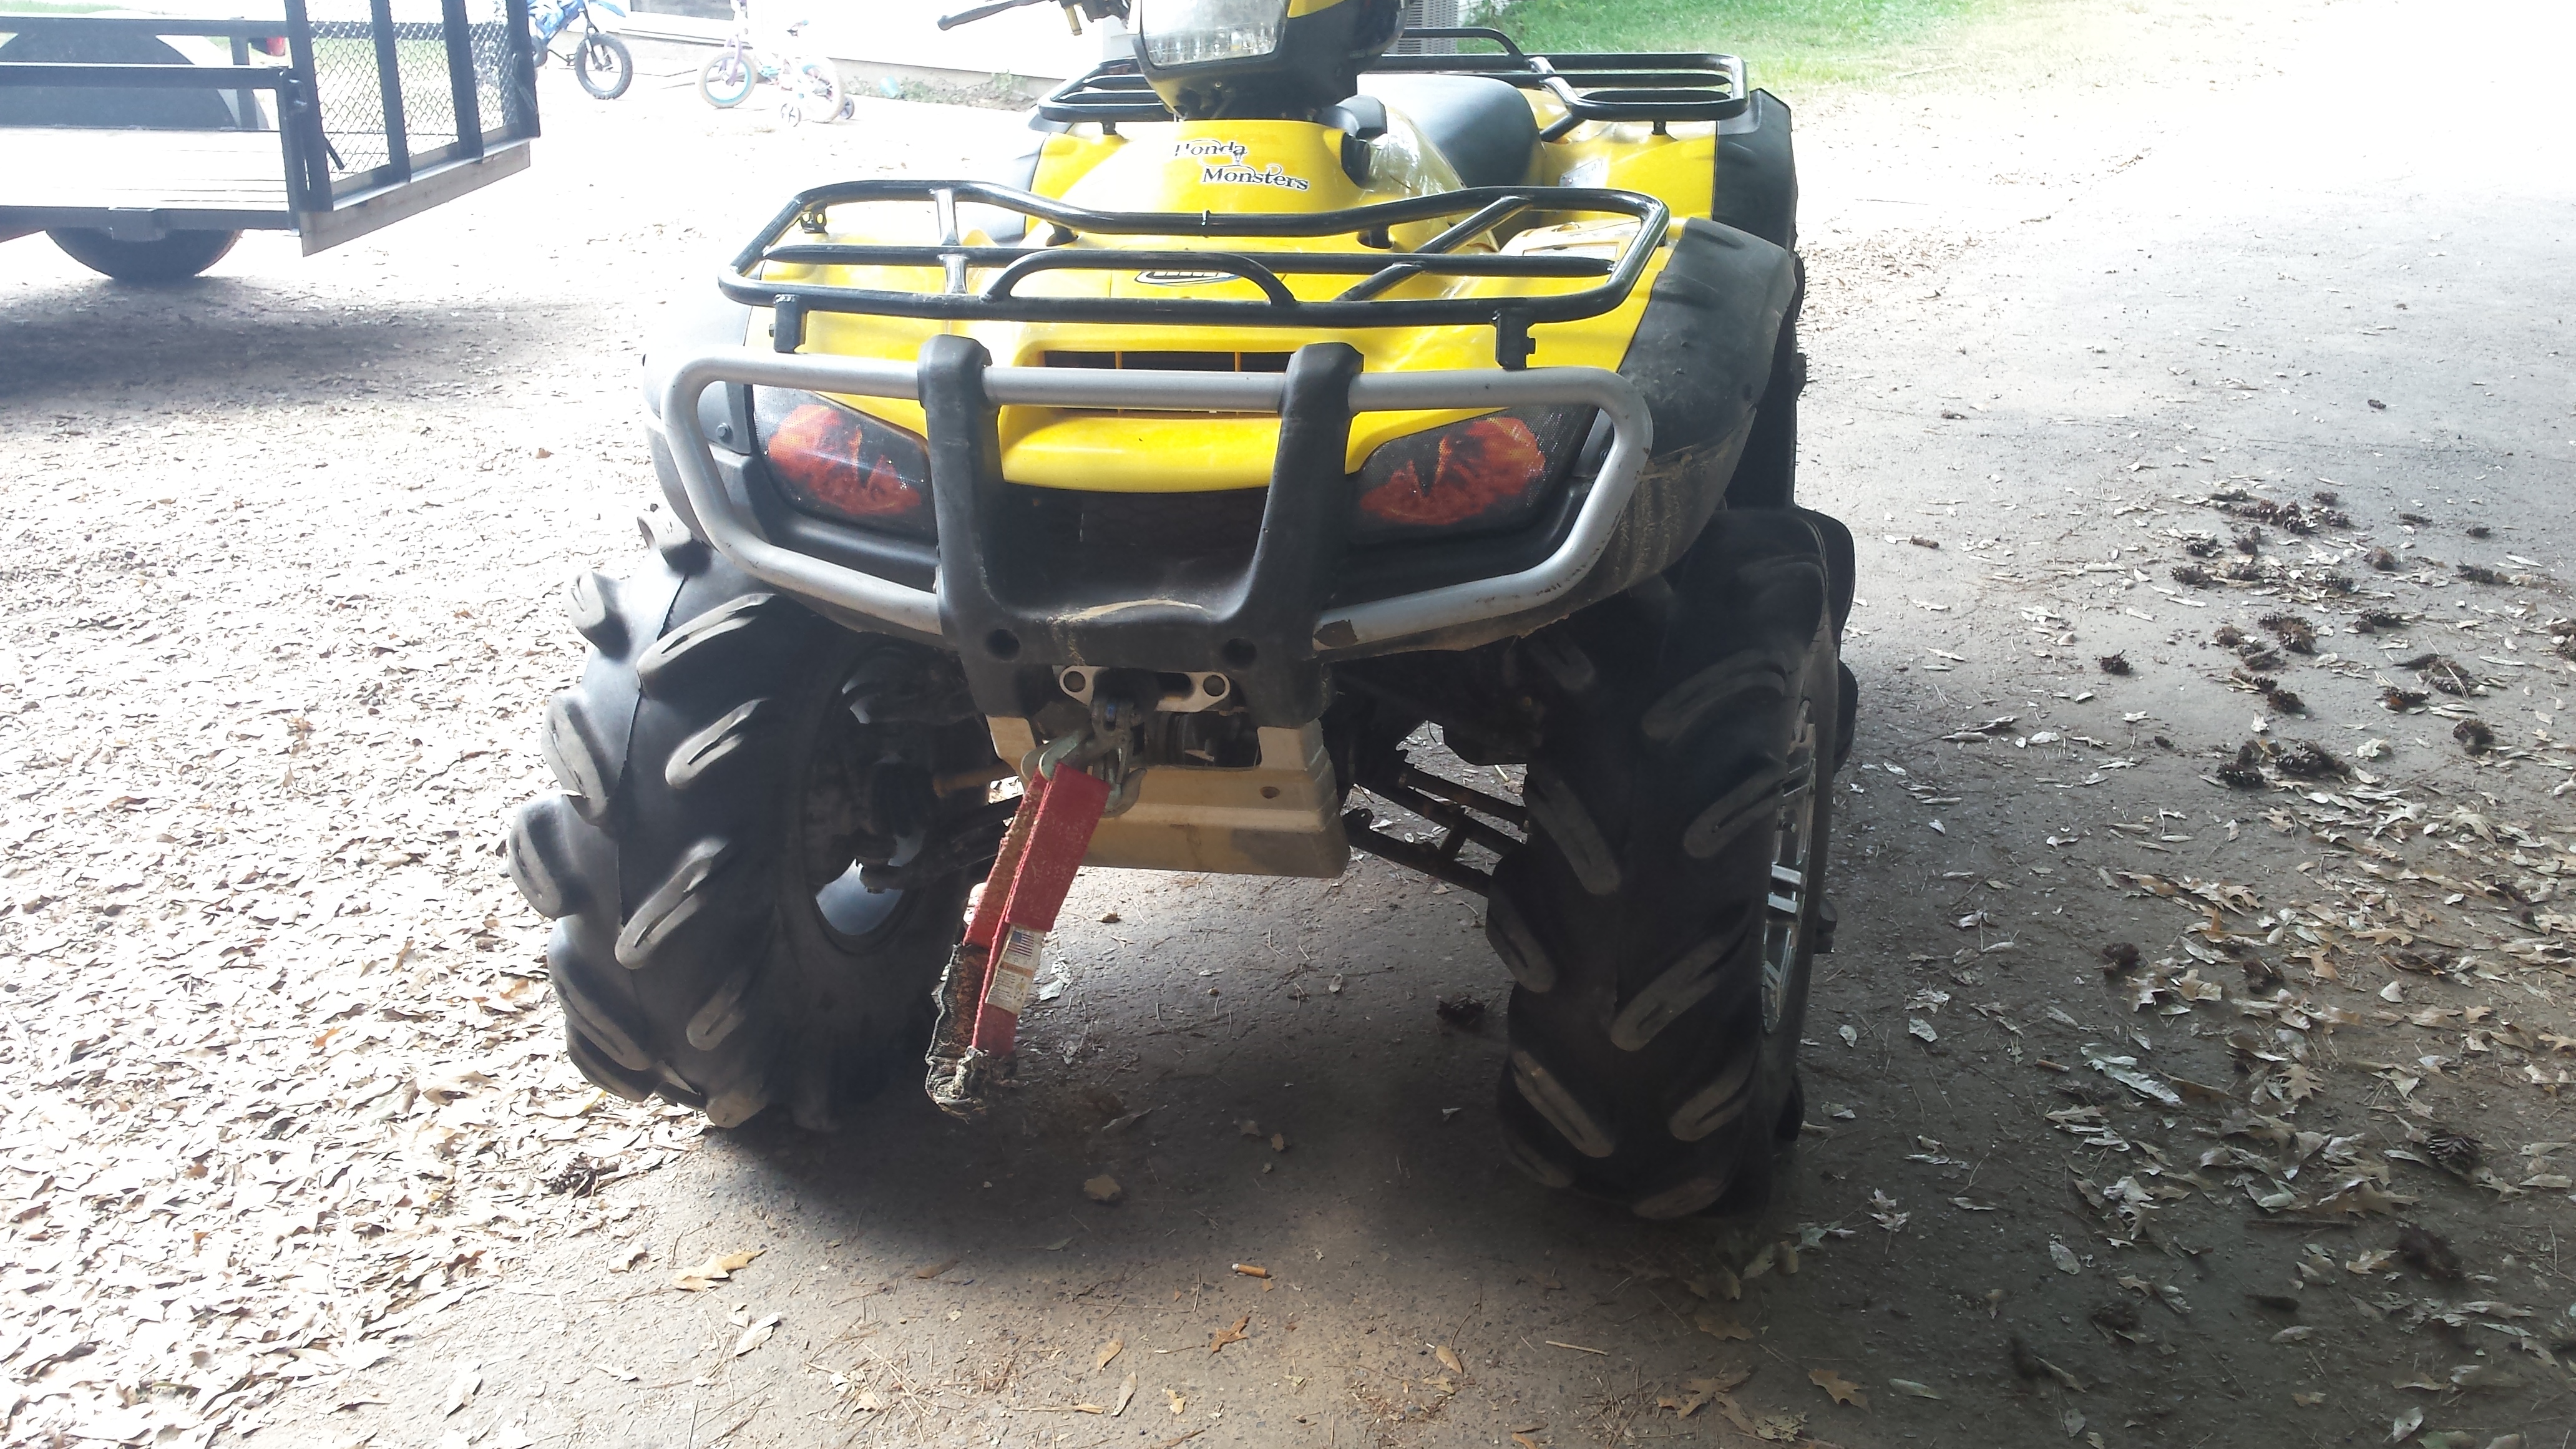
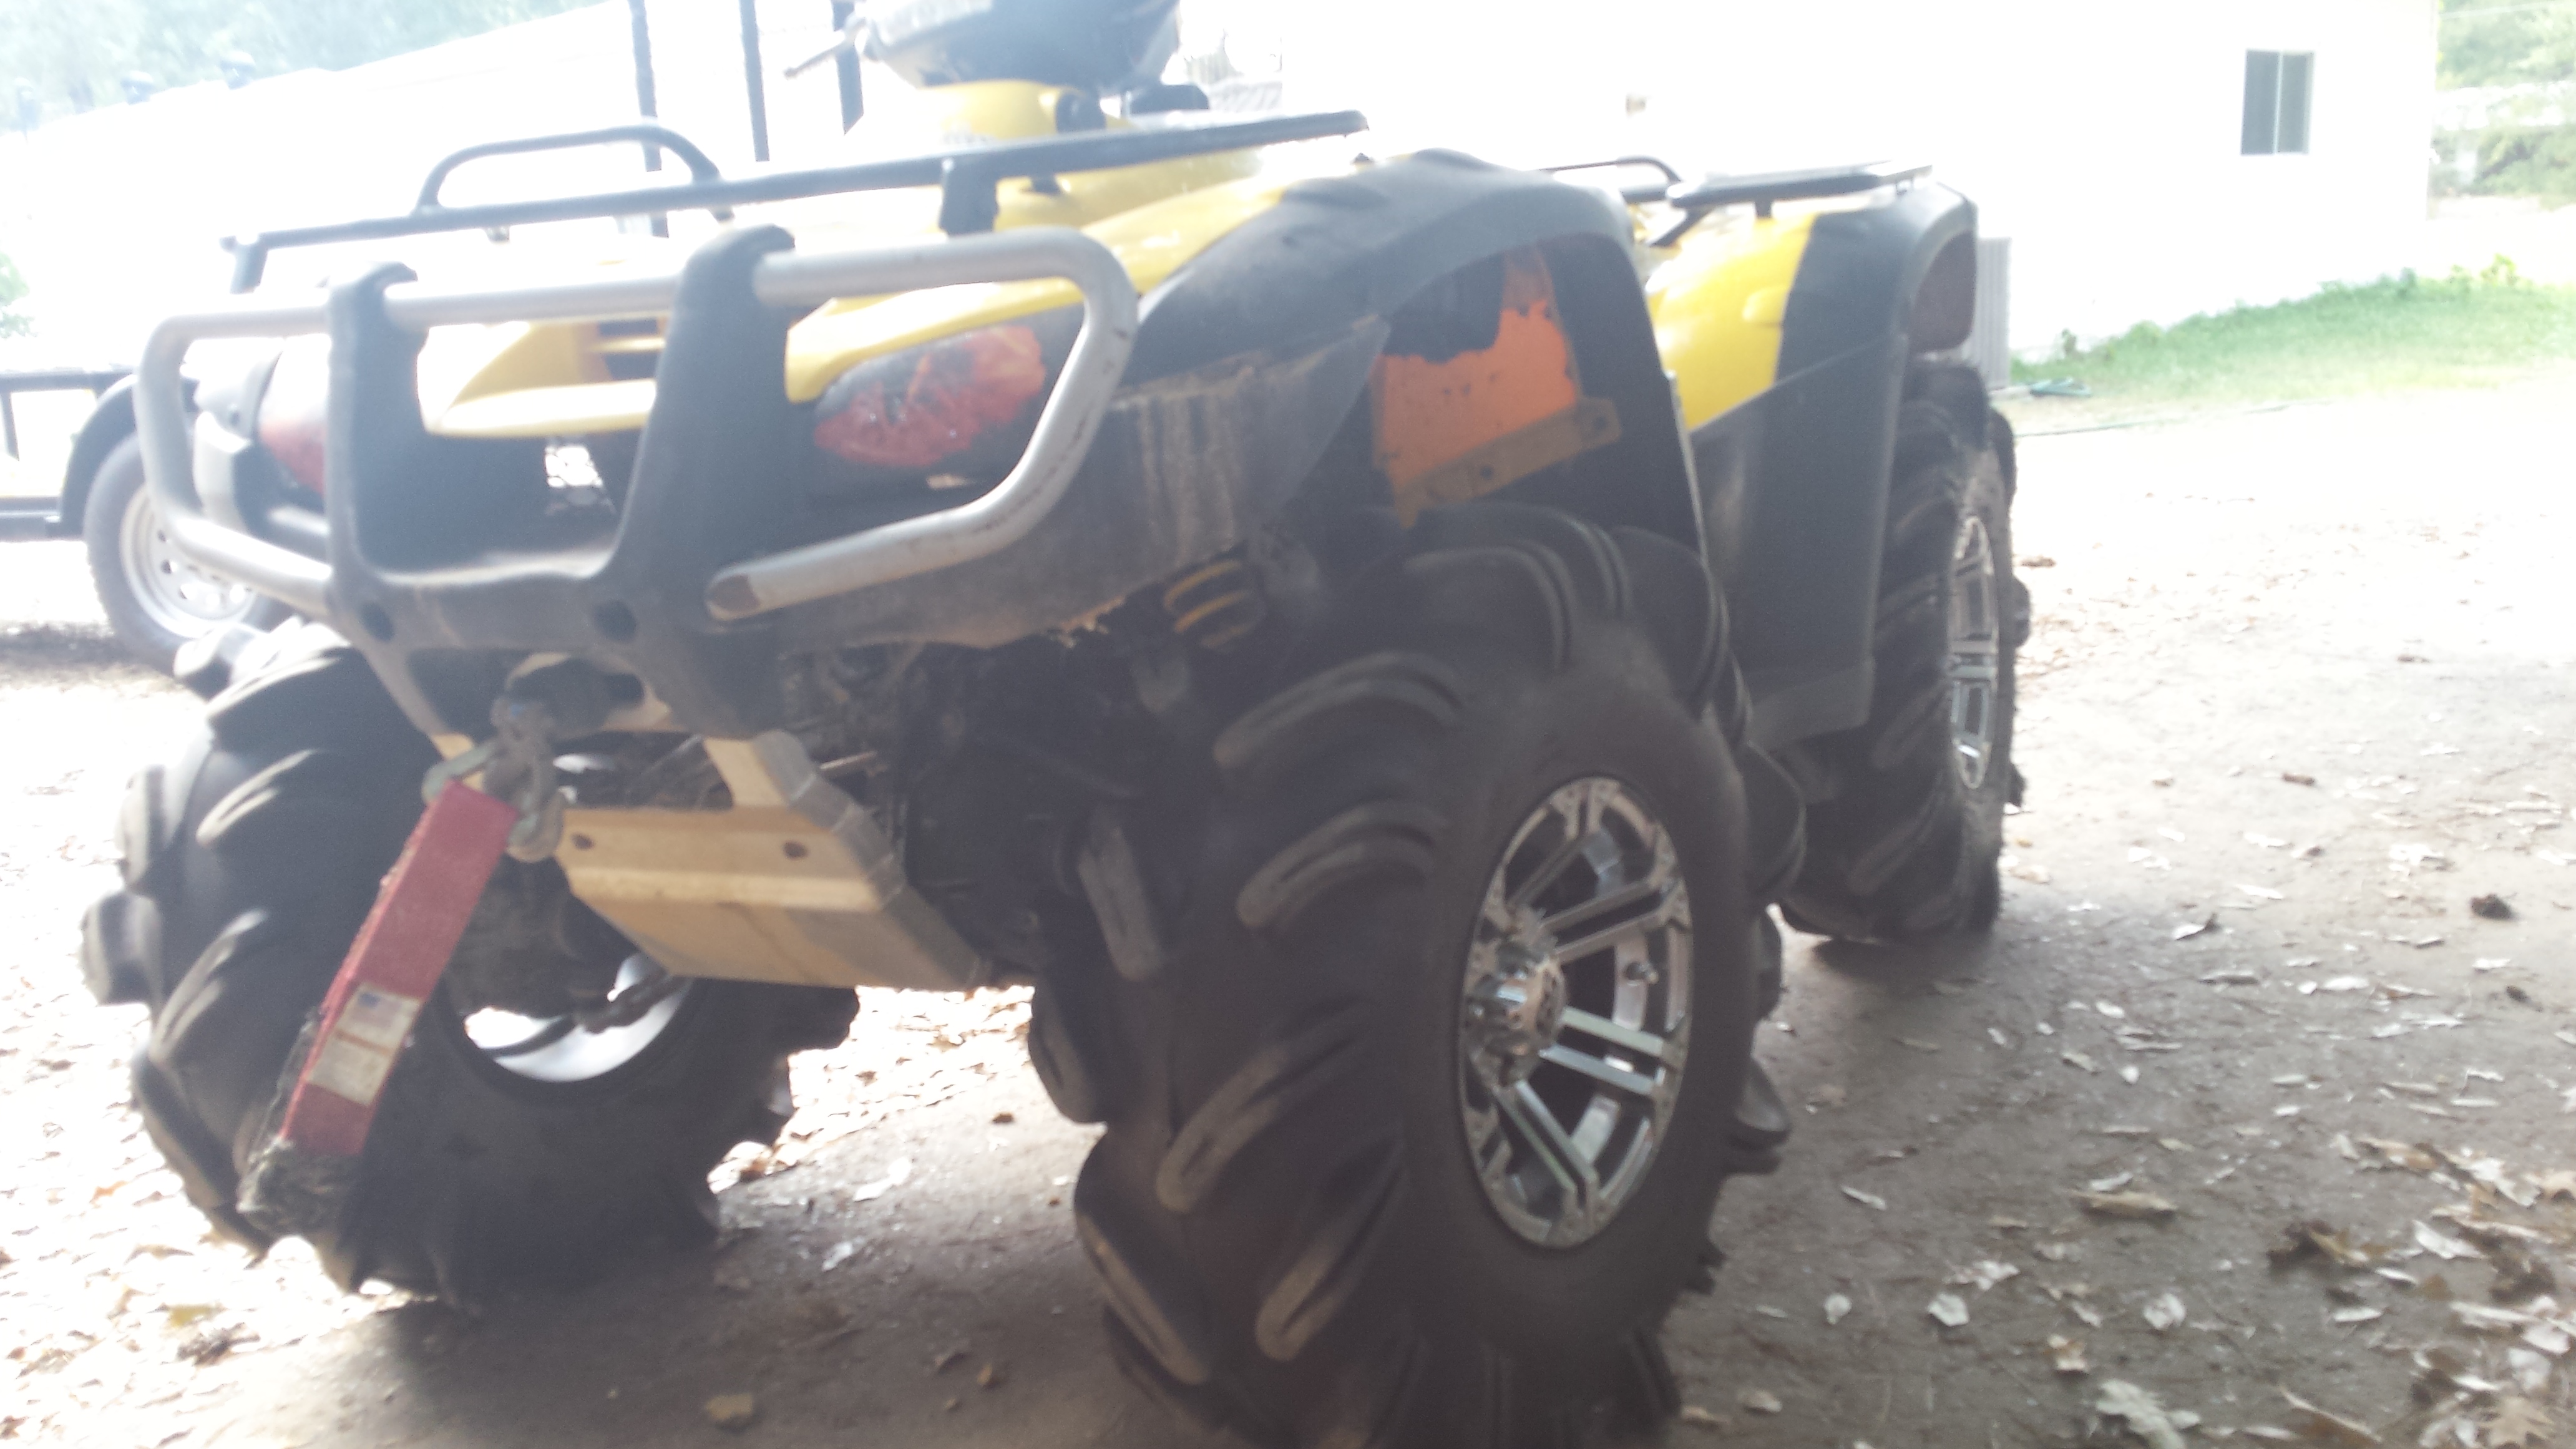
So the idea for the winter months was make the bike more mud/Highlifter Park friendly. First thing was getting my hands on some more aggressive tires. These are 29.5 OG Outlaws, all skinnies.

----------------------------------------------

Mods are HL 2" bracket lift, EPI clutch kit, 450 swingarm stretch, 28"zillas.


So the idea for the winter months was make the bike more mud/Highlifter Park friendly. First thing was getting my hands on some more aggressive tires. These are 29.5 OG Outlaws, all skinnies.


----------------------------------------------
Jan 31, 2016 | 12:44 PM
#2
Thread Starter
|
Pro Rider
Joined: Aug 2010
Posts: 230
Likes: 0
I found out real quick how kickass these tires are, and that this Honda doesn't like turning them in thick mud.....more on that later.
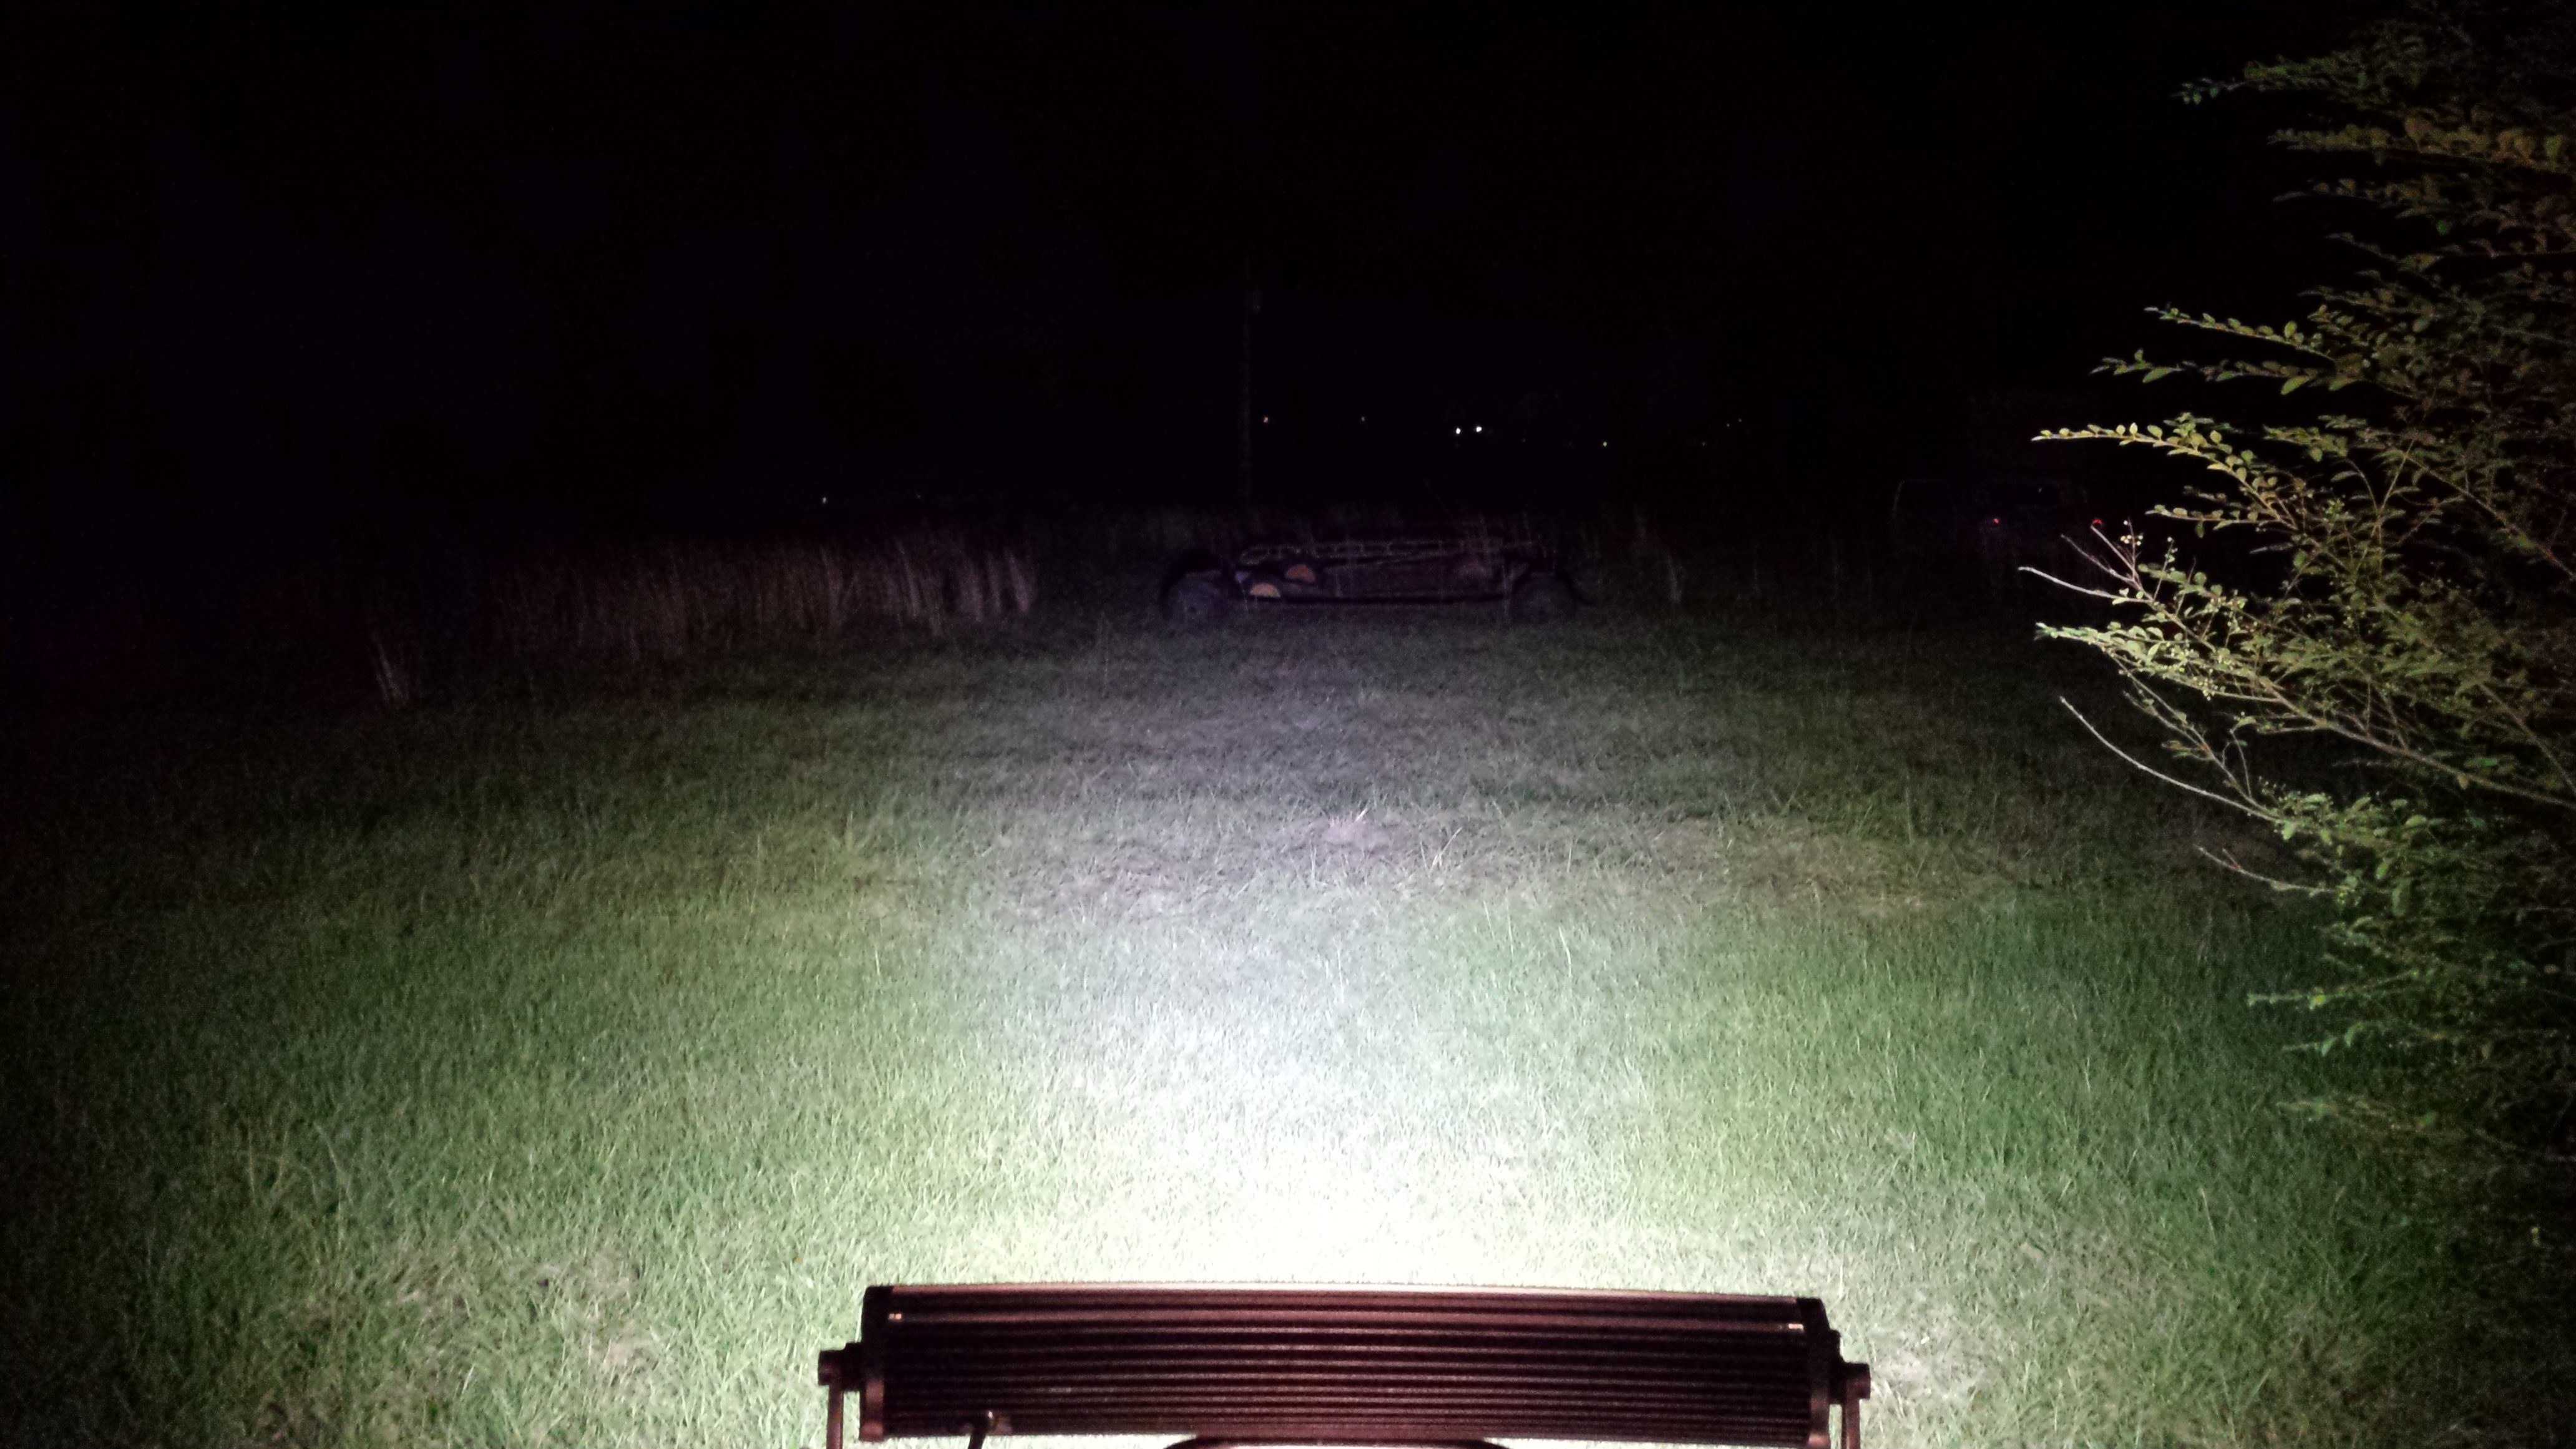
In the meantime we needed more light for our nighttime neighborhood rides so I picked this up off ebay.
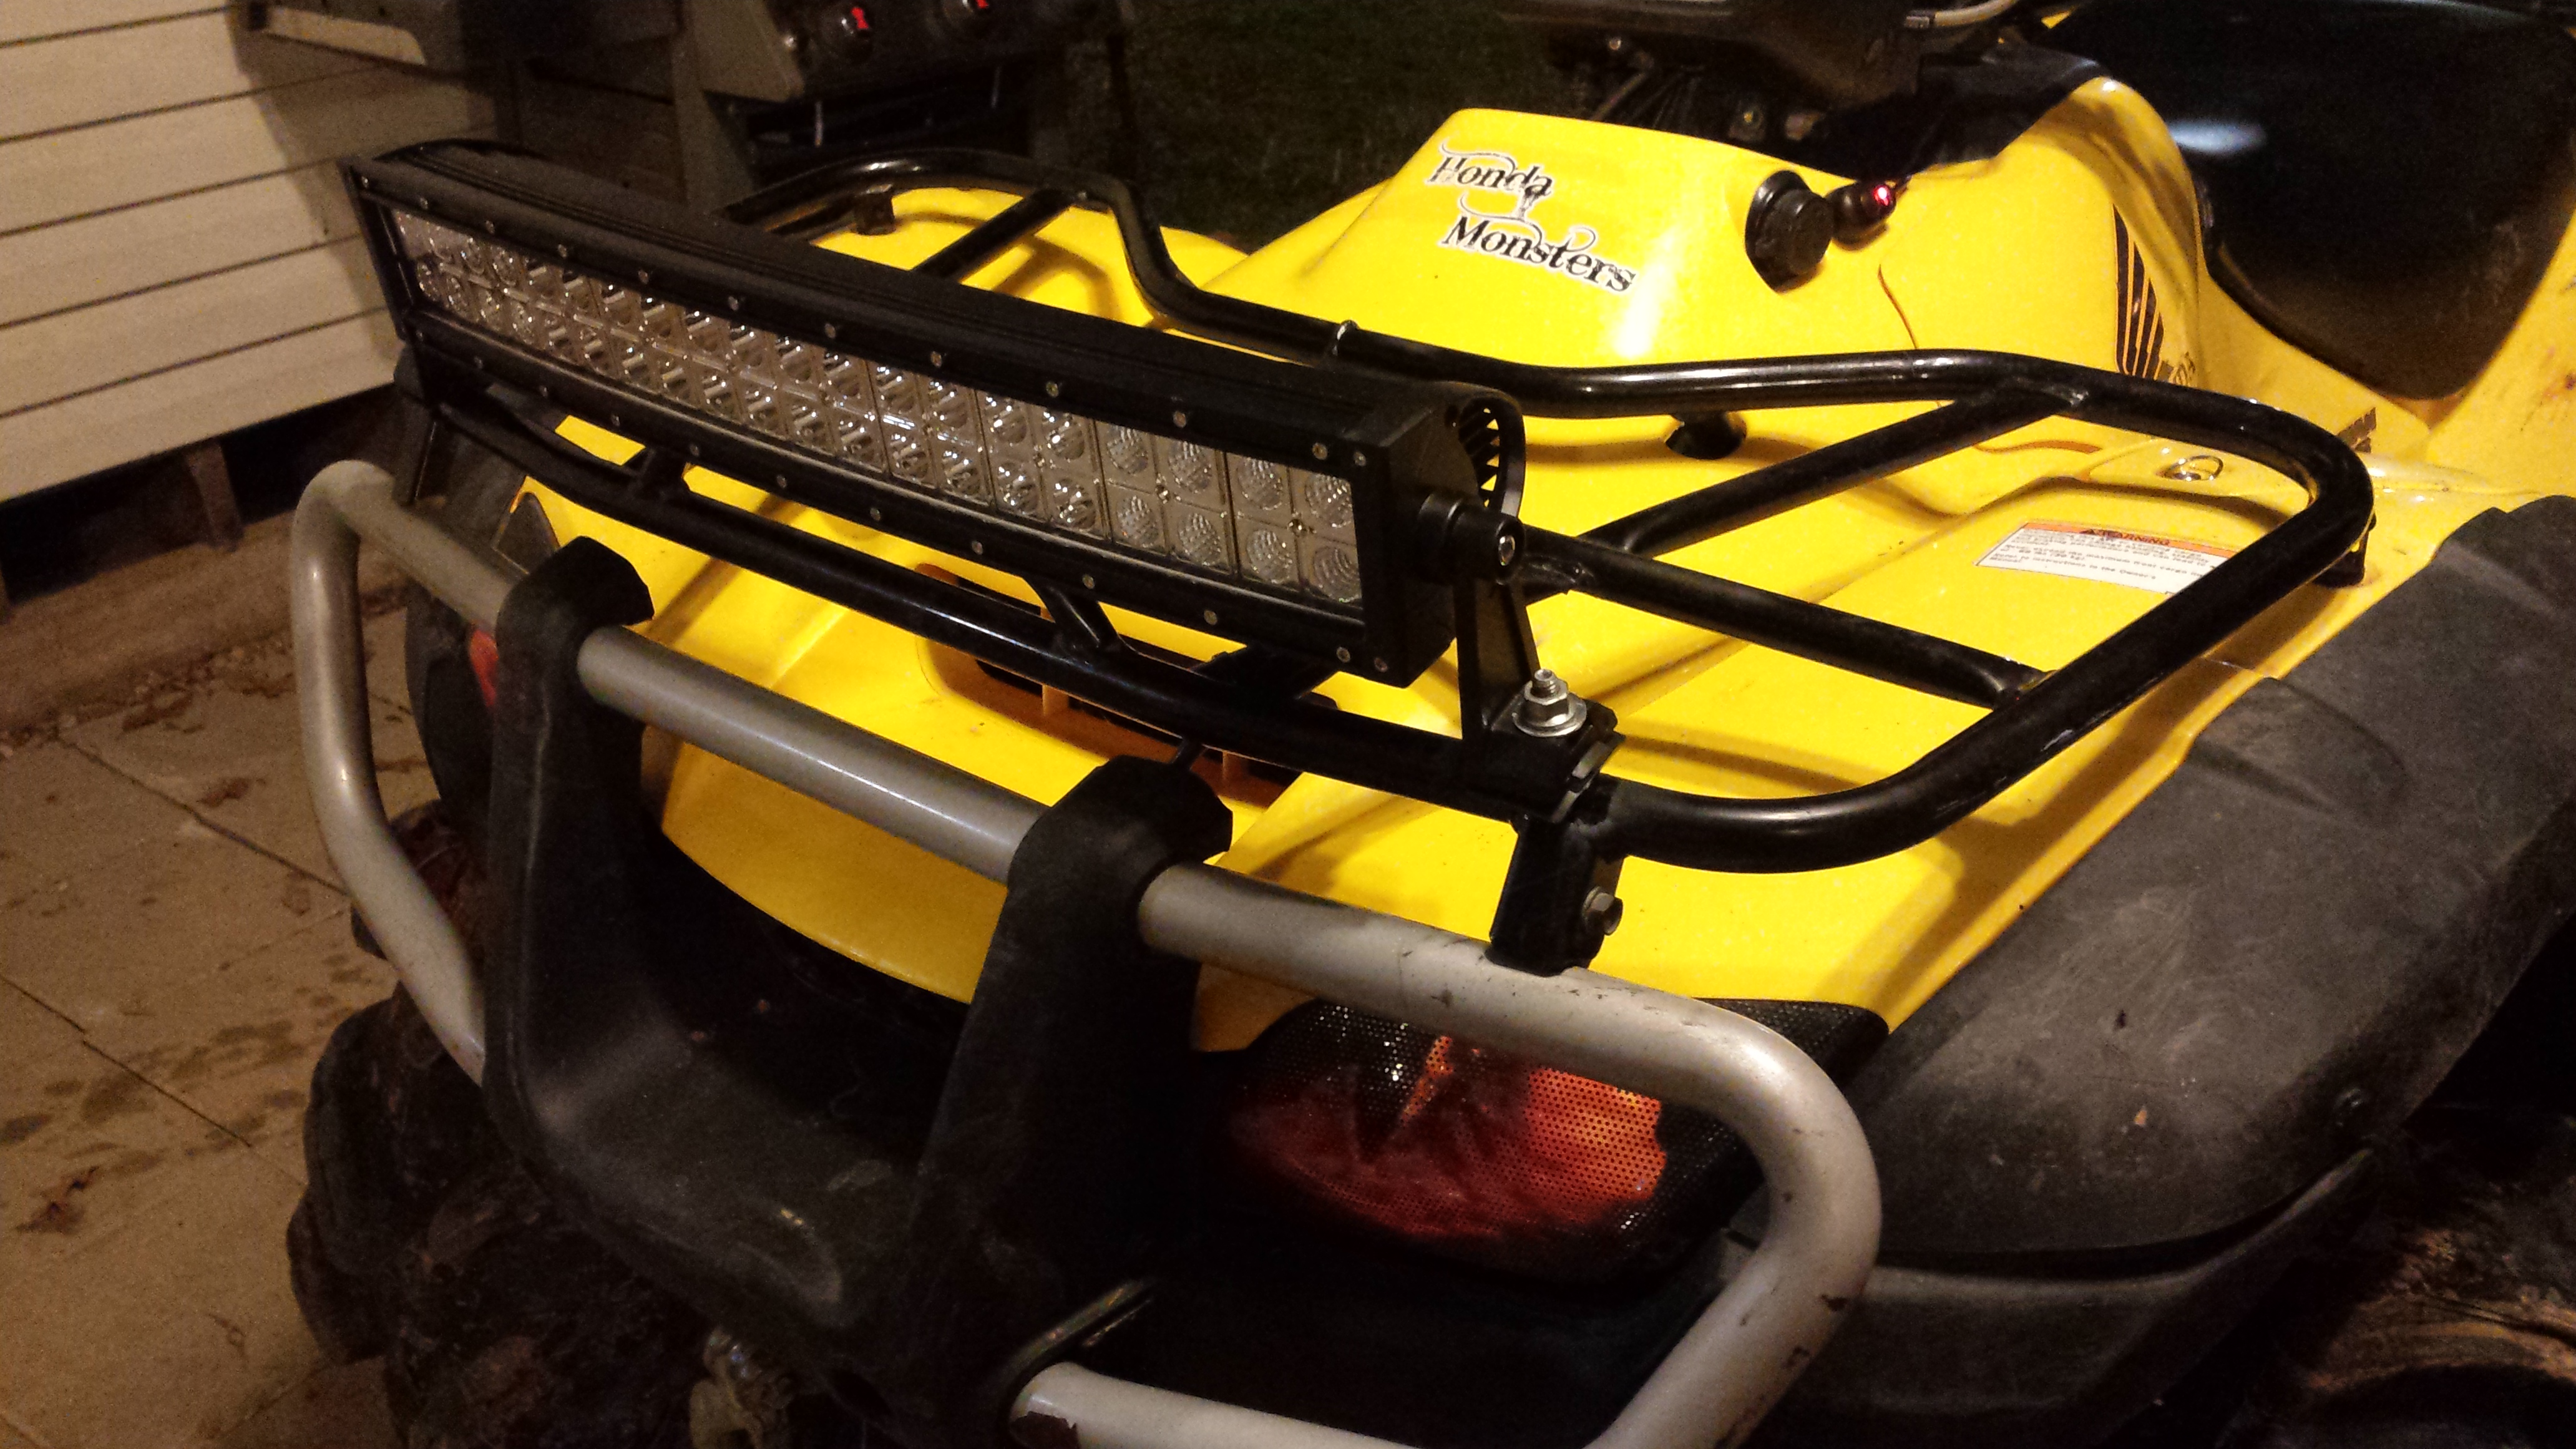
Much better:
I really don't even know how this all started. This bike had the big aluminum skids on it when I bought it. They hold a lot of clay mud. I think I was just wanting to do a good winter cleaning. Then it started spiraling out of control.
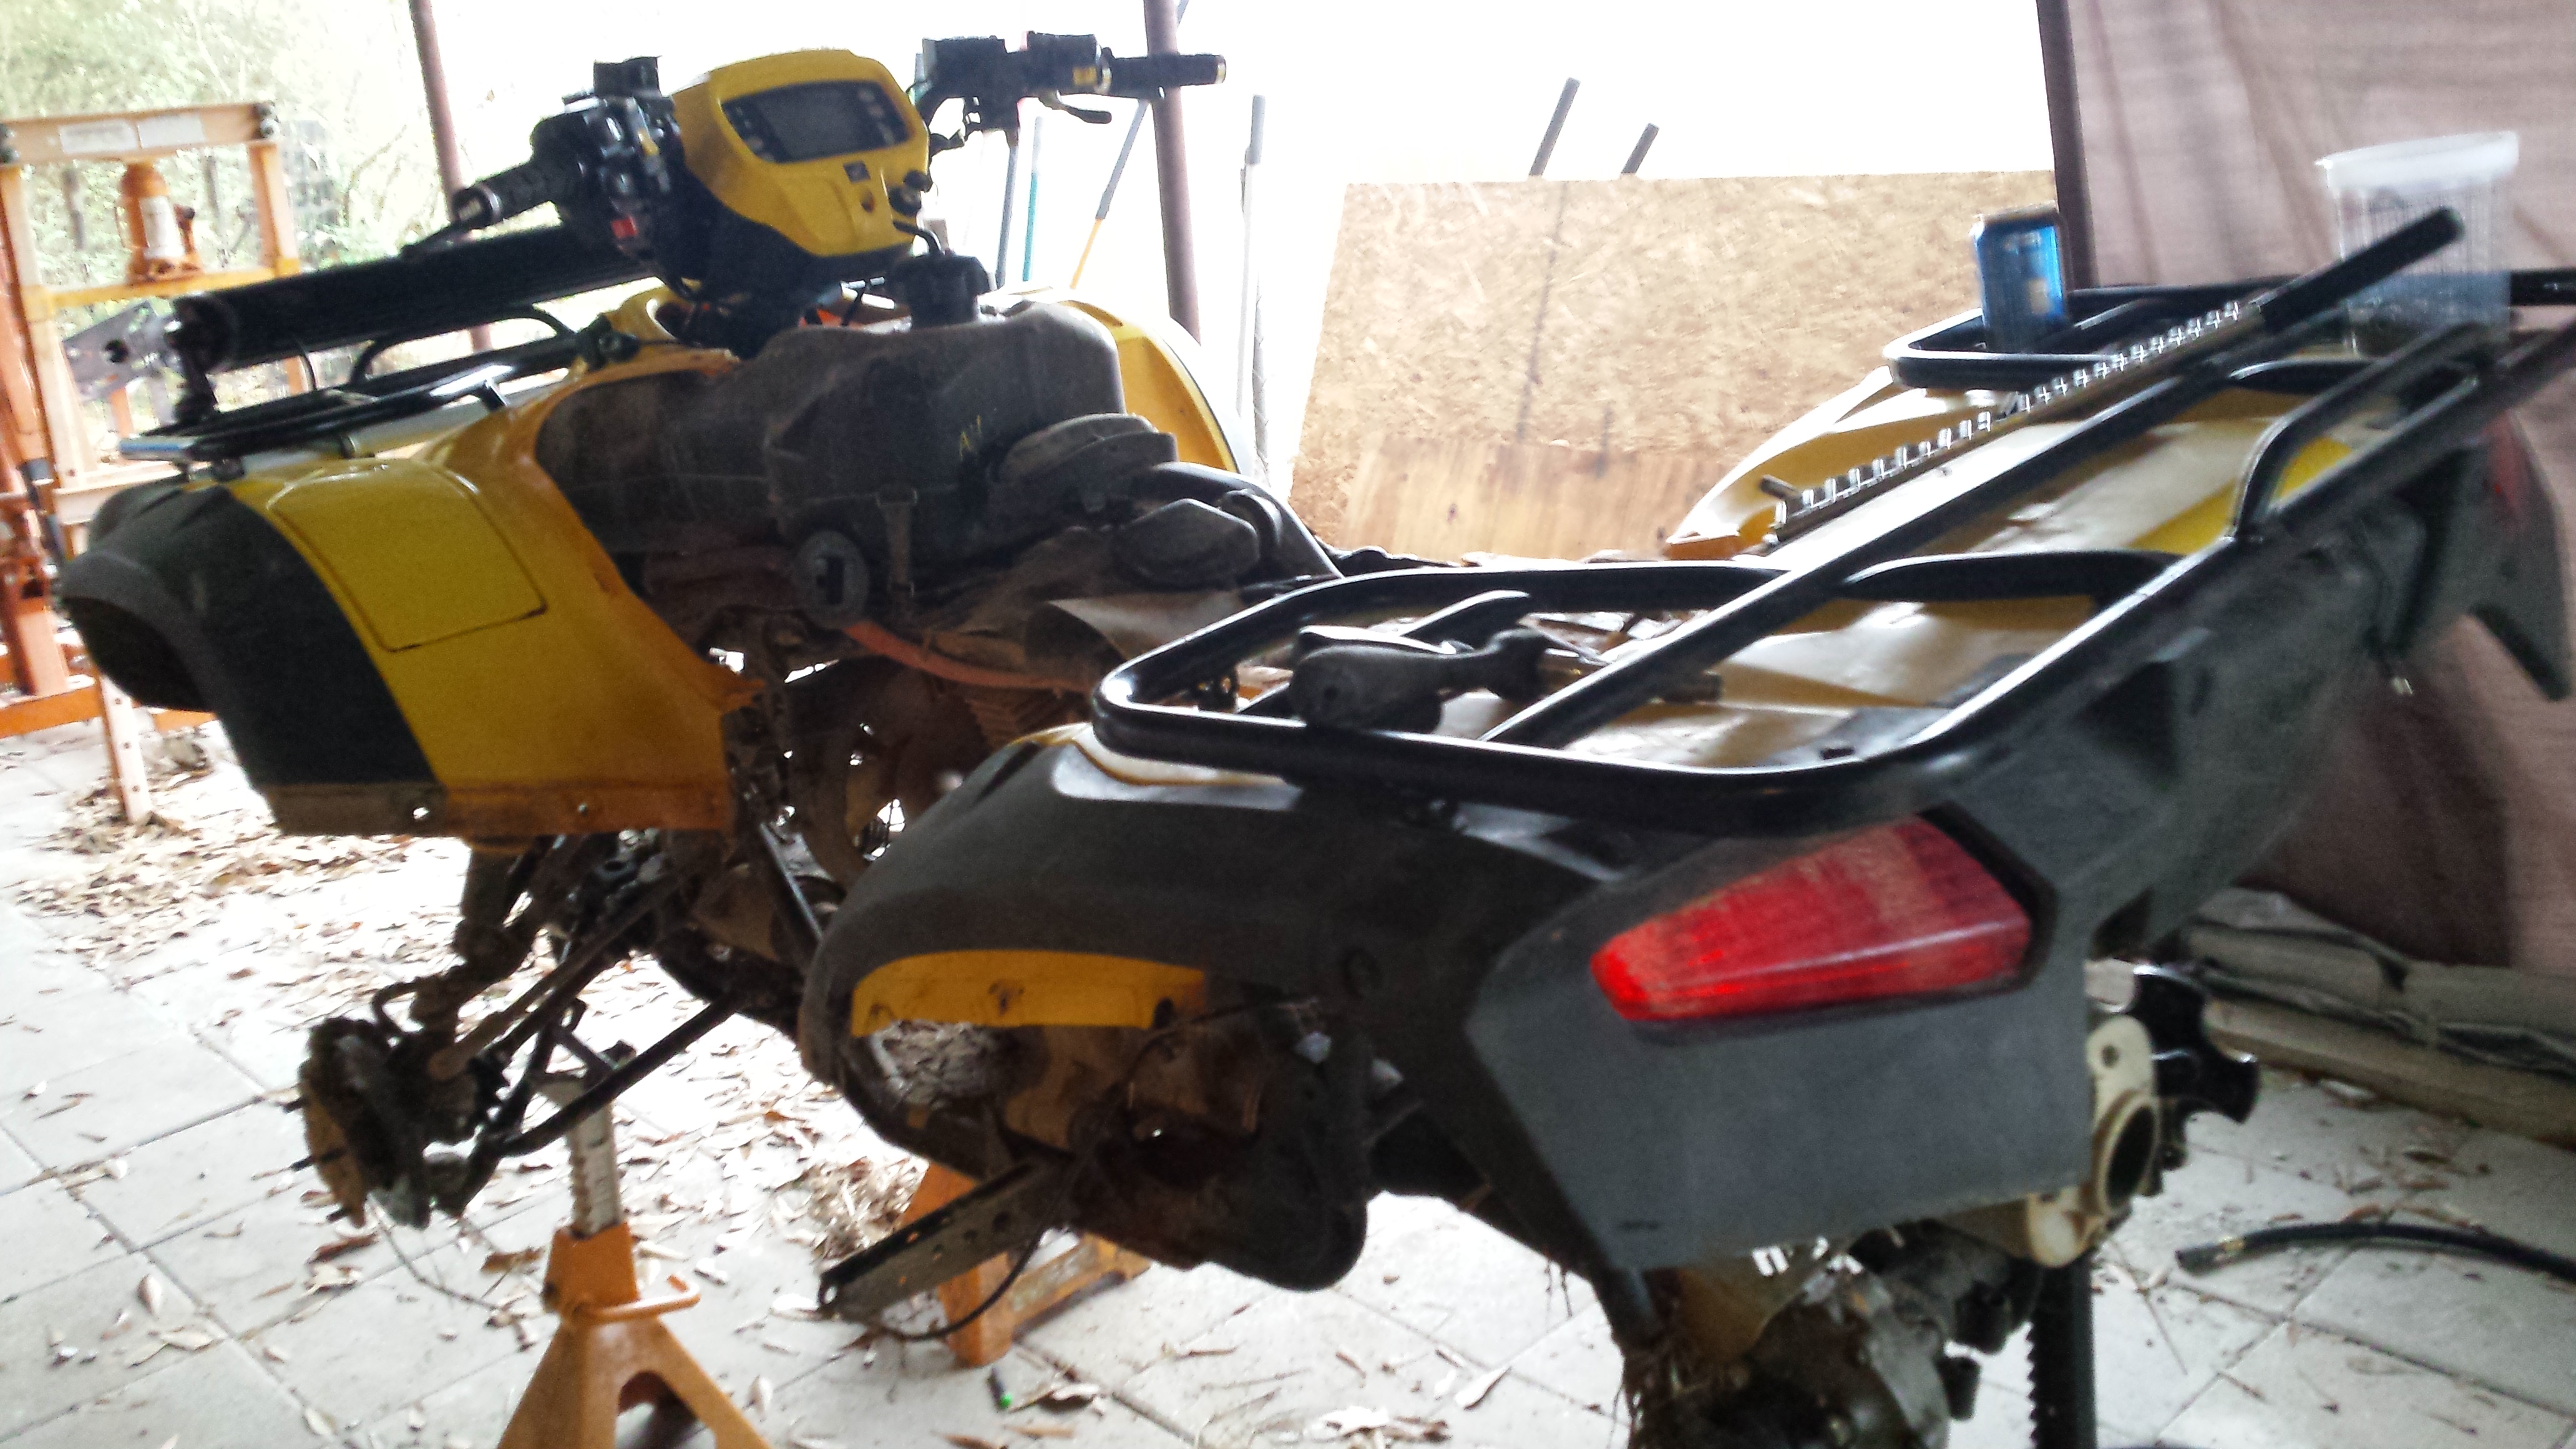
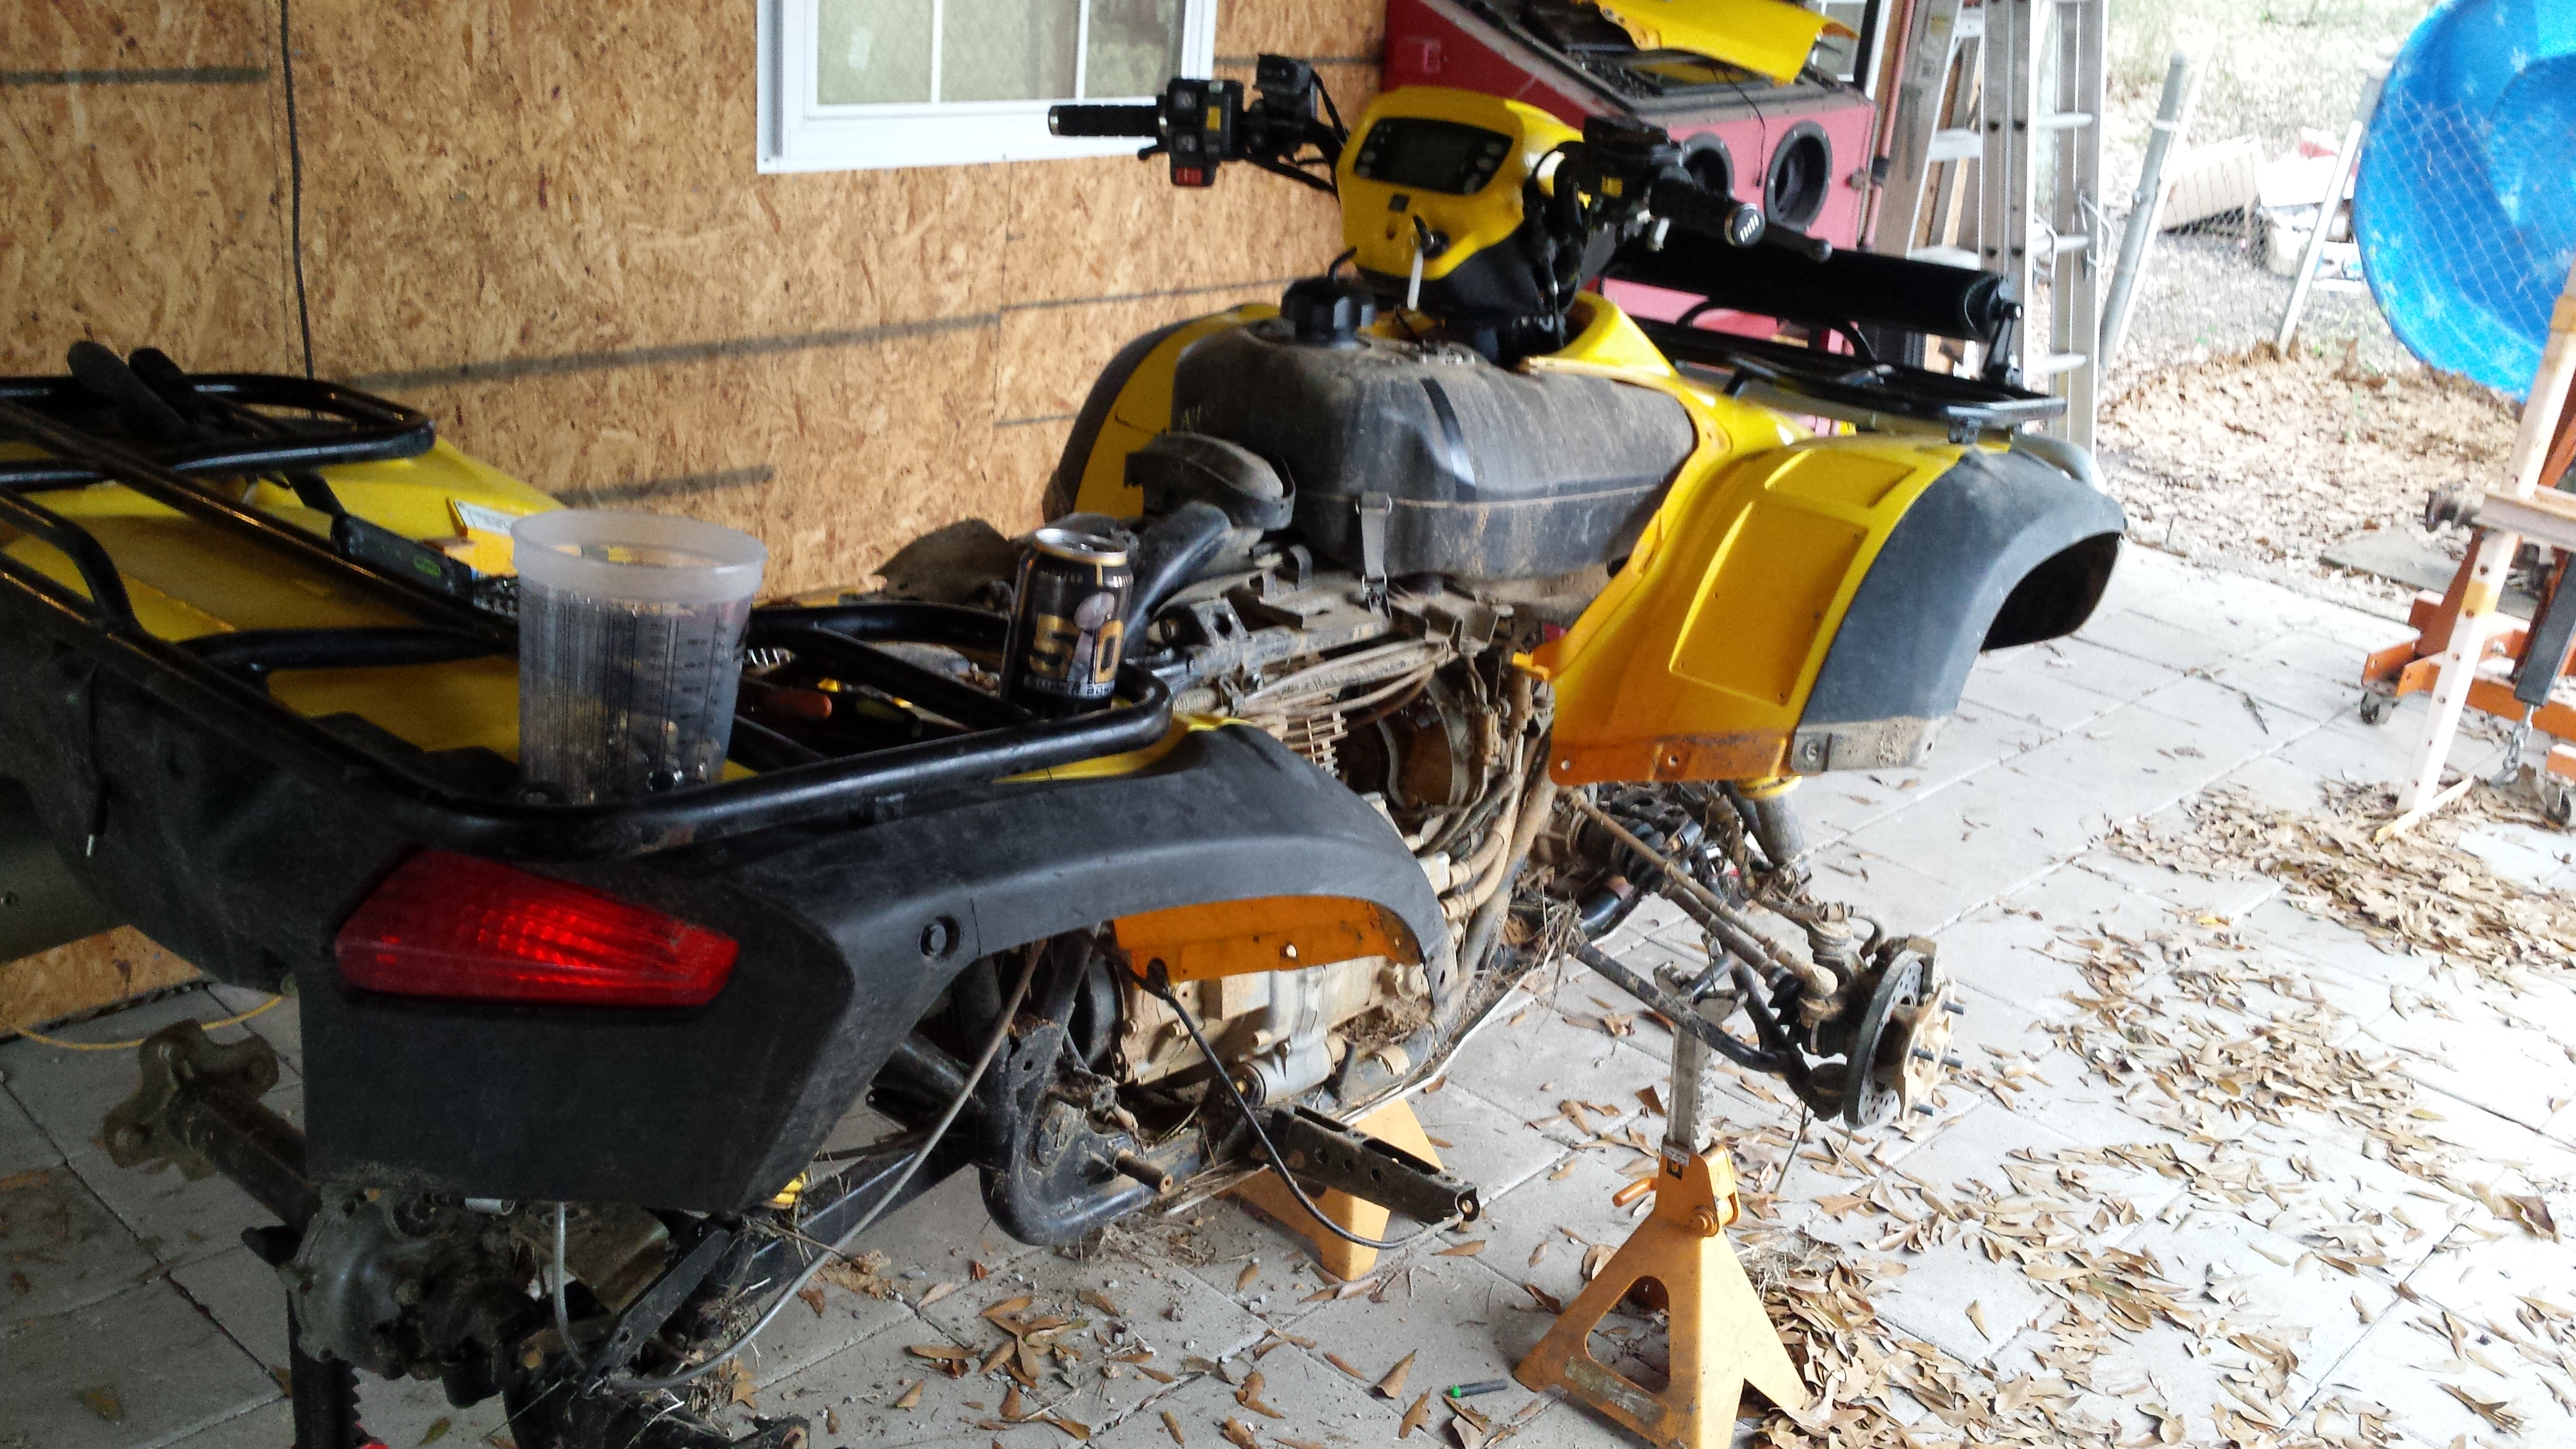
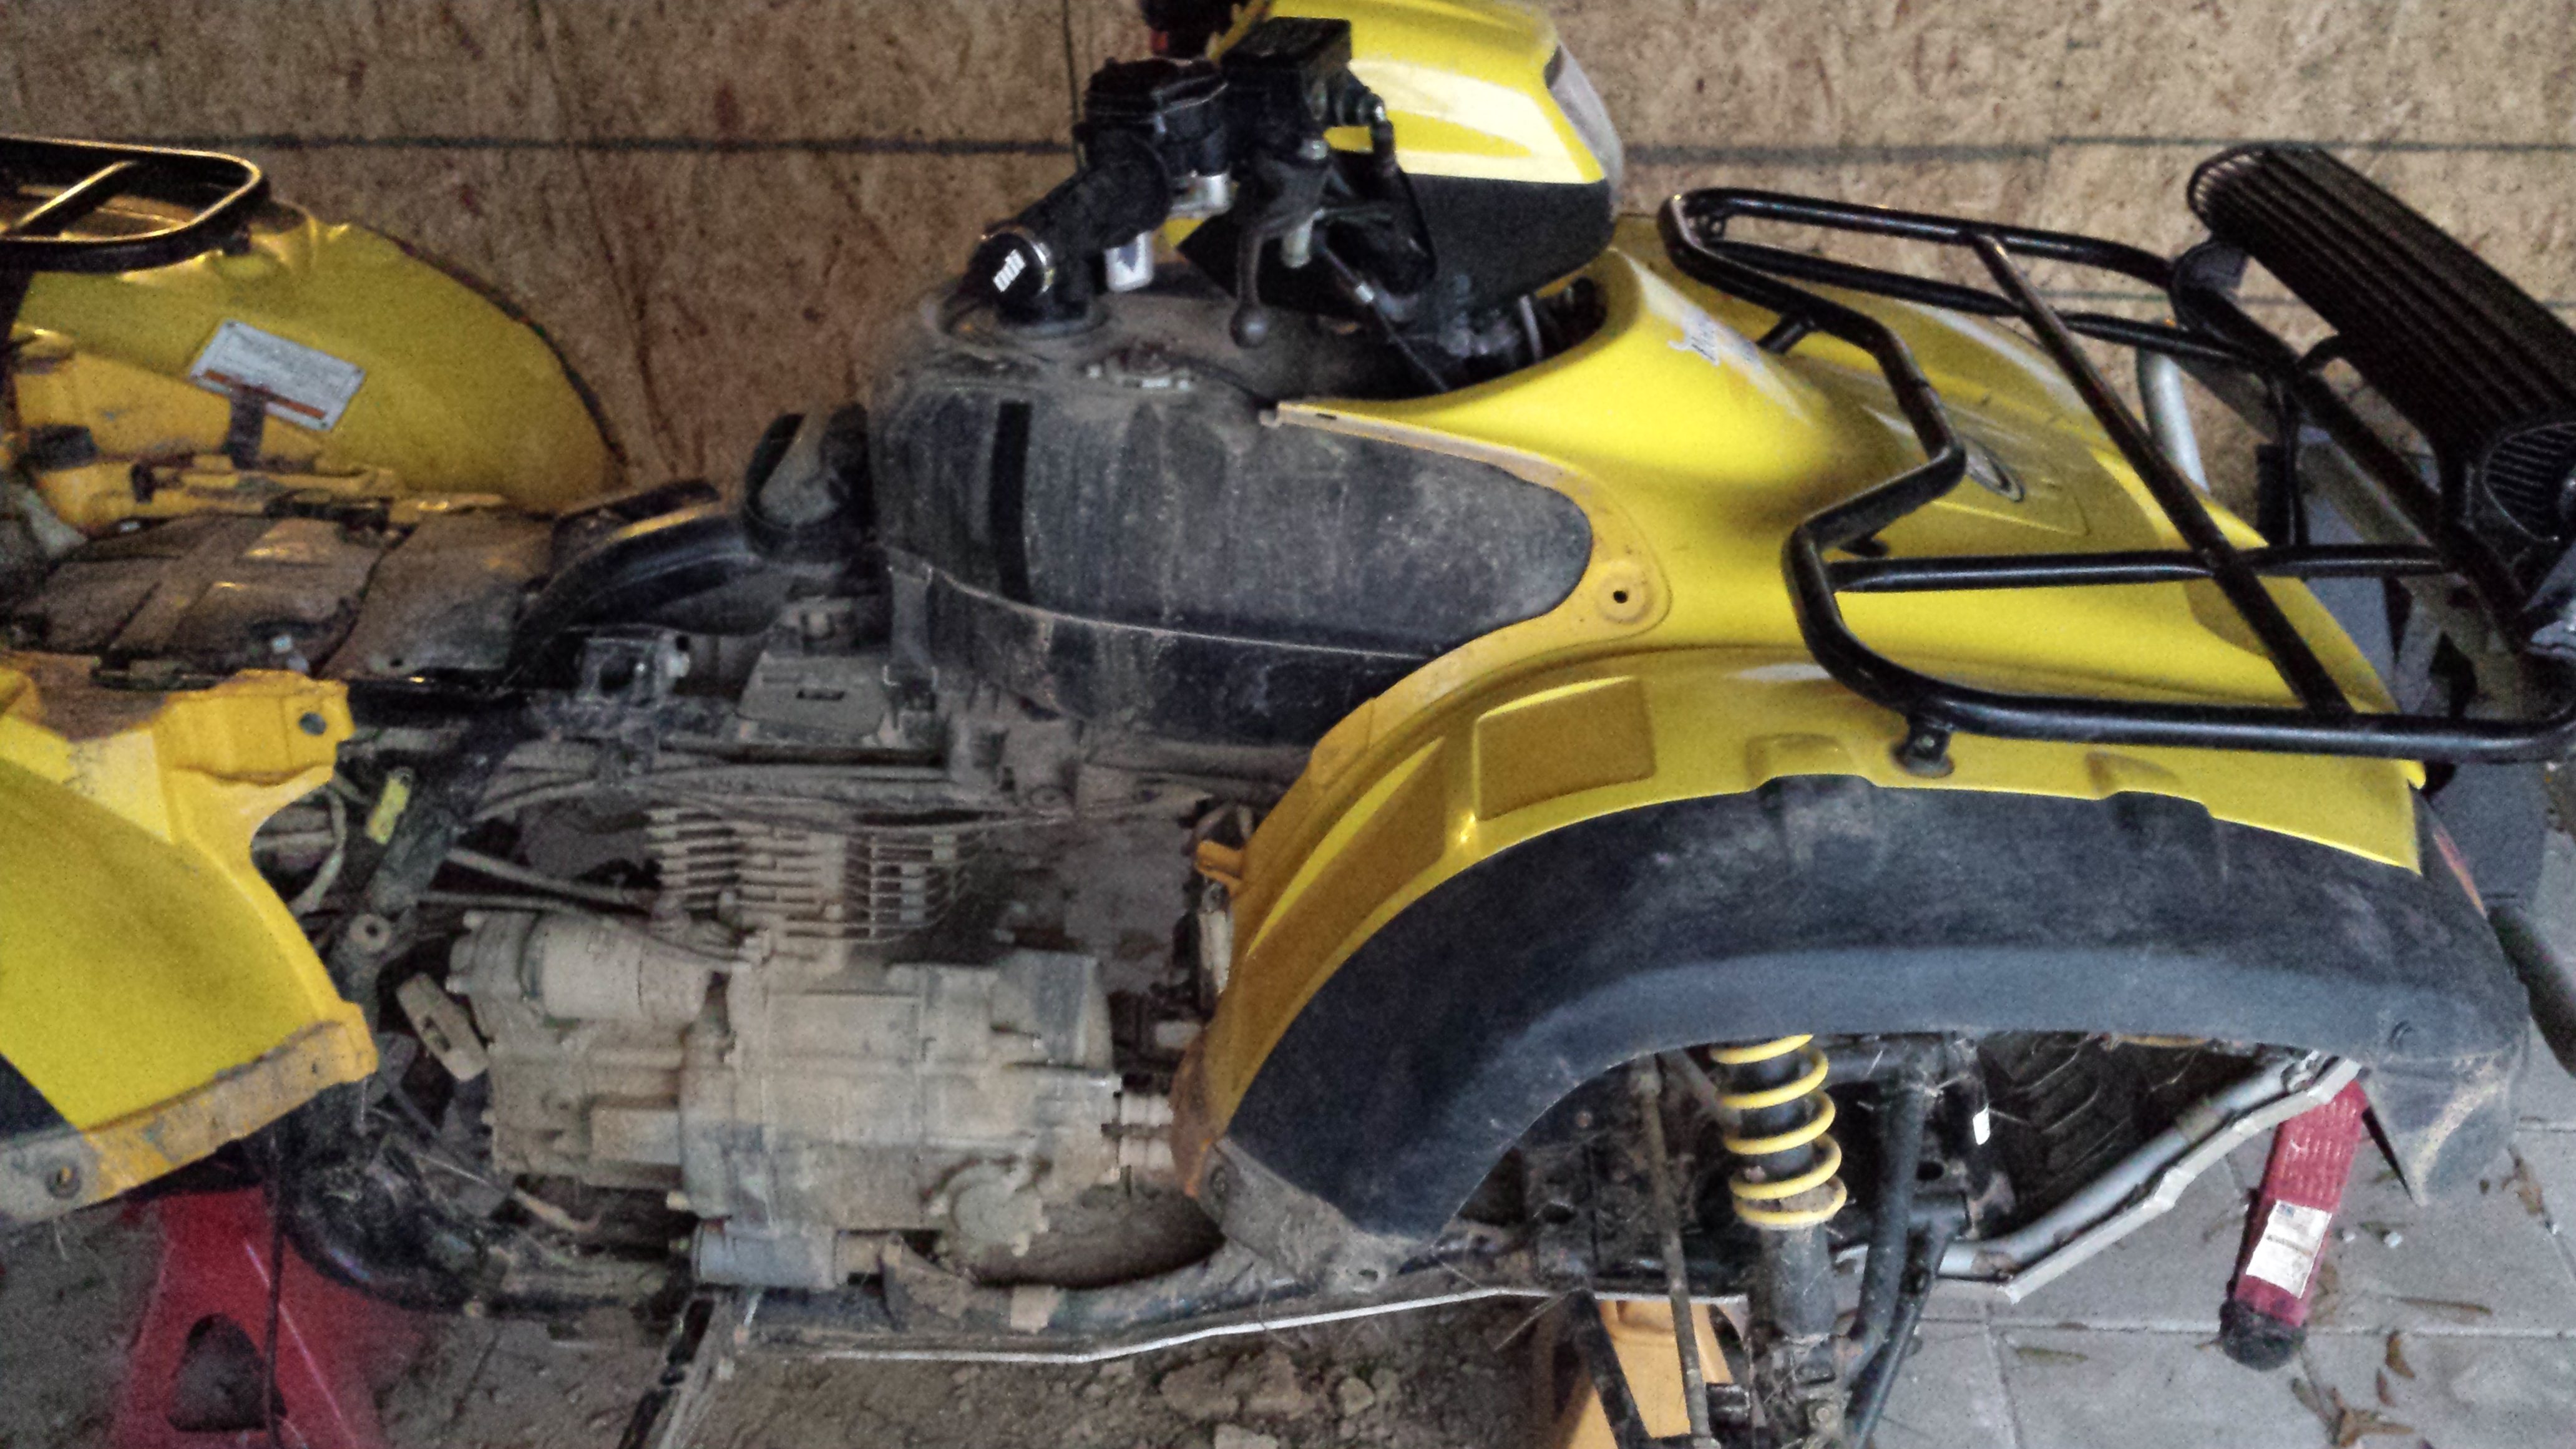
Took all the aluminum off the bike, and its not going back on. I think I can make some custom frame sliders that will work as good but be easier to clean.
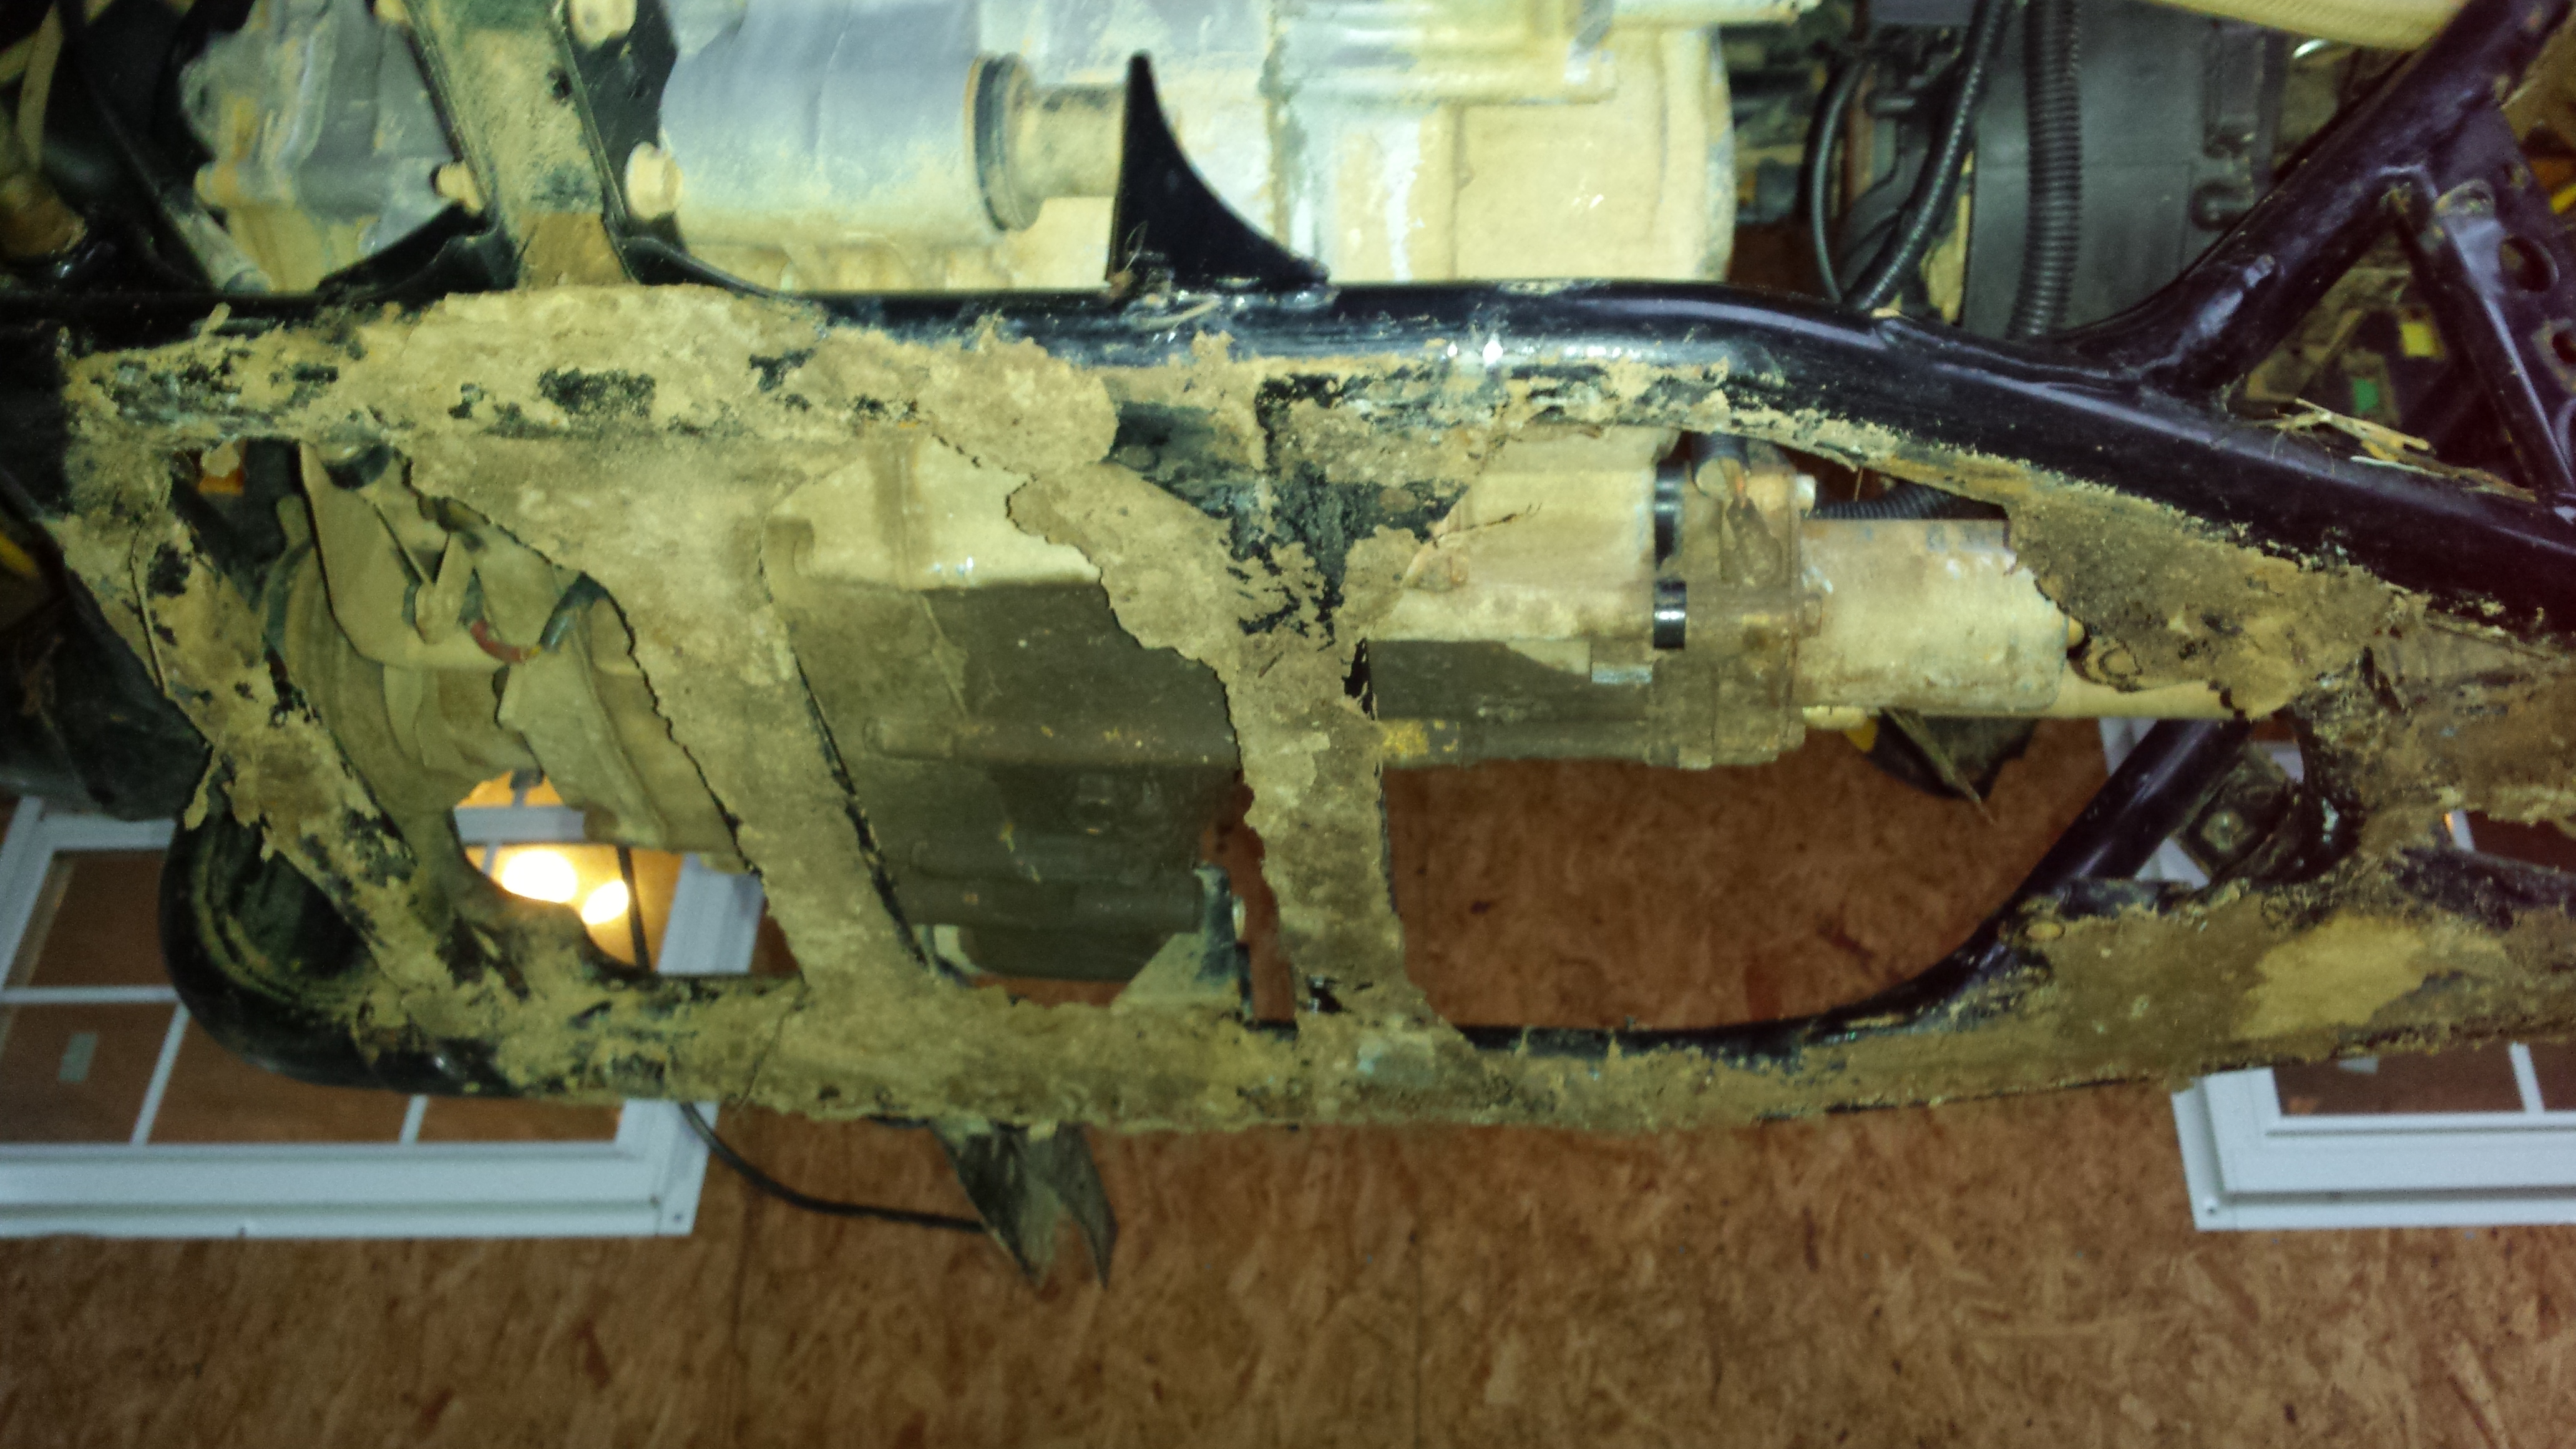
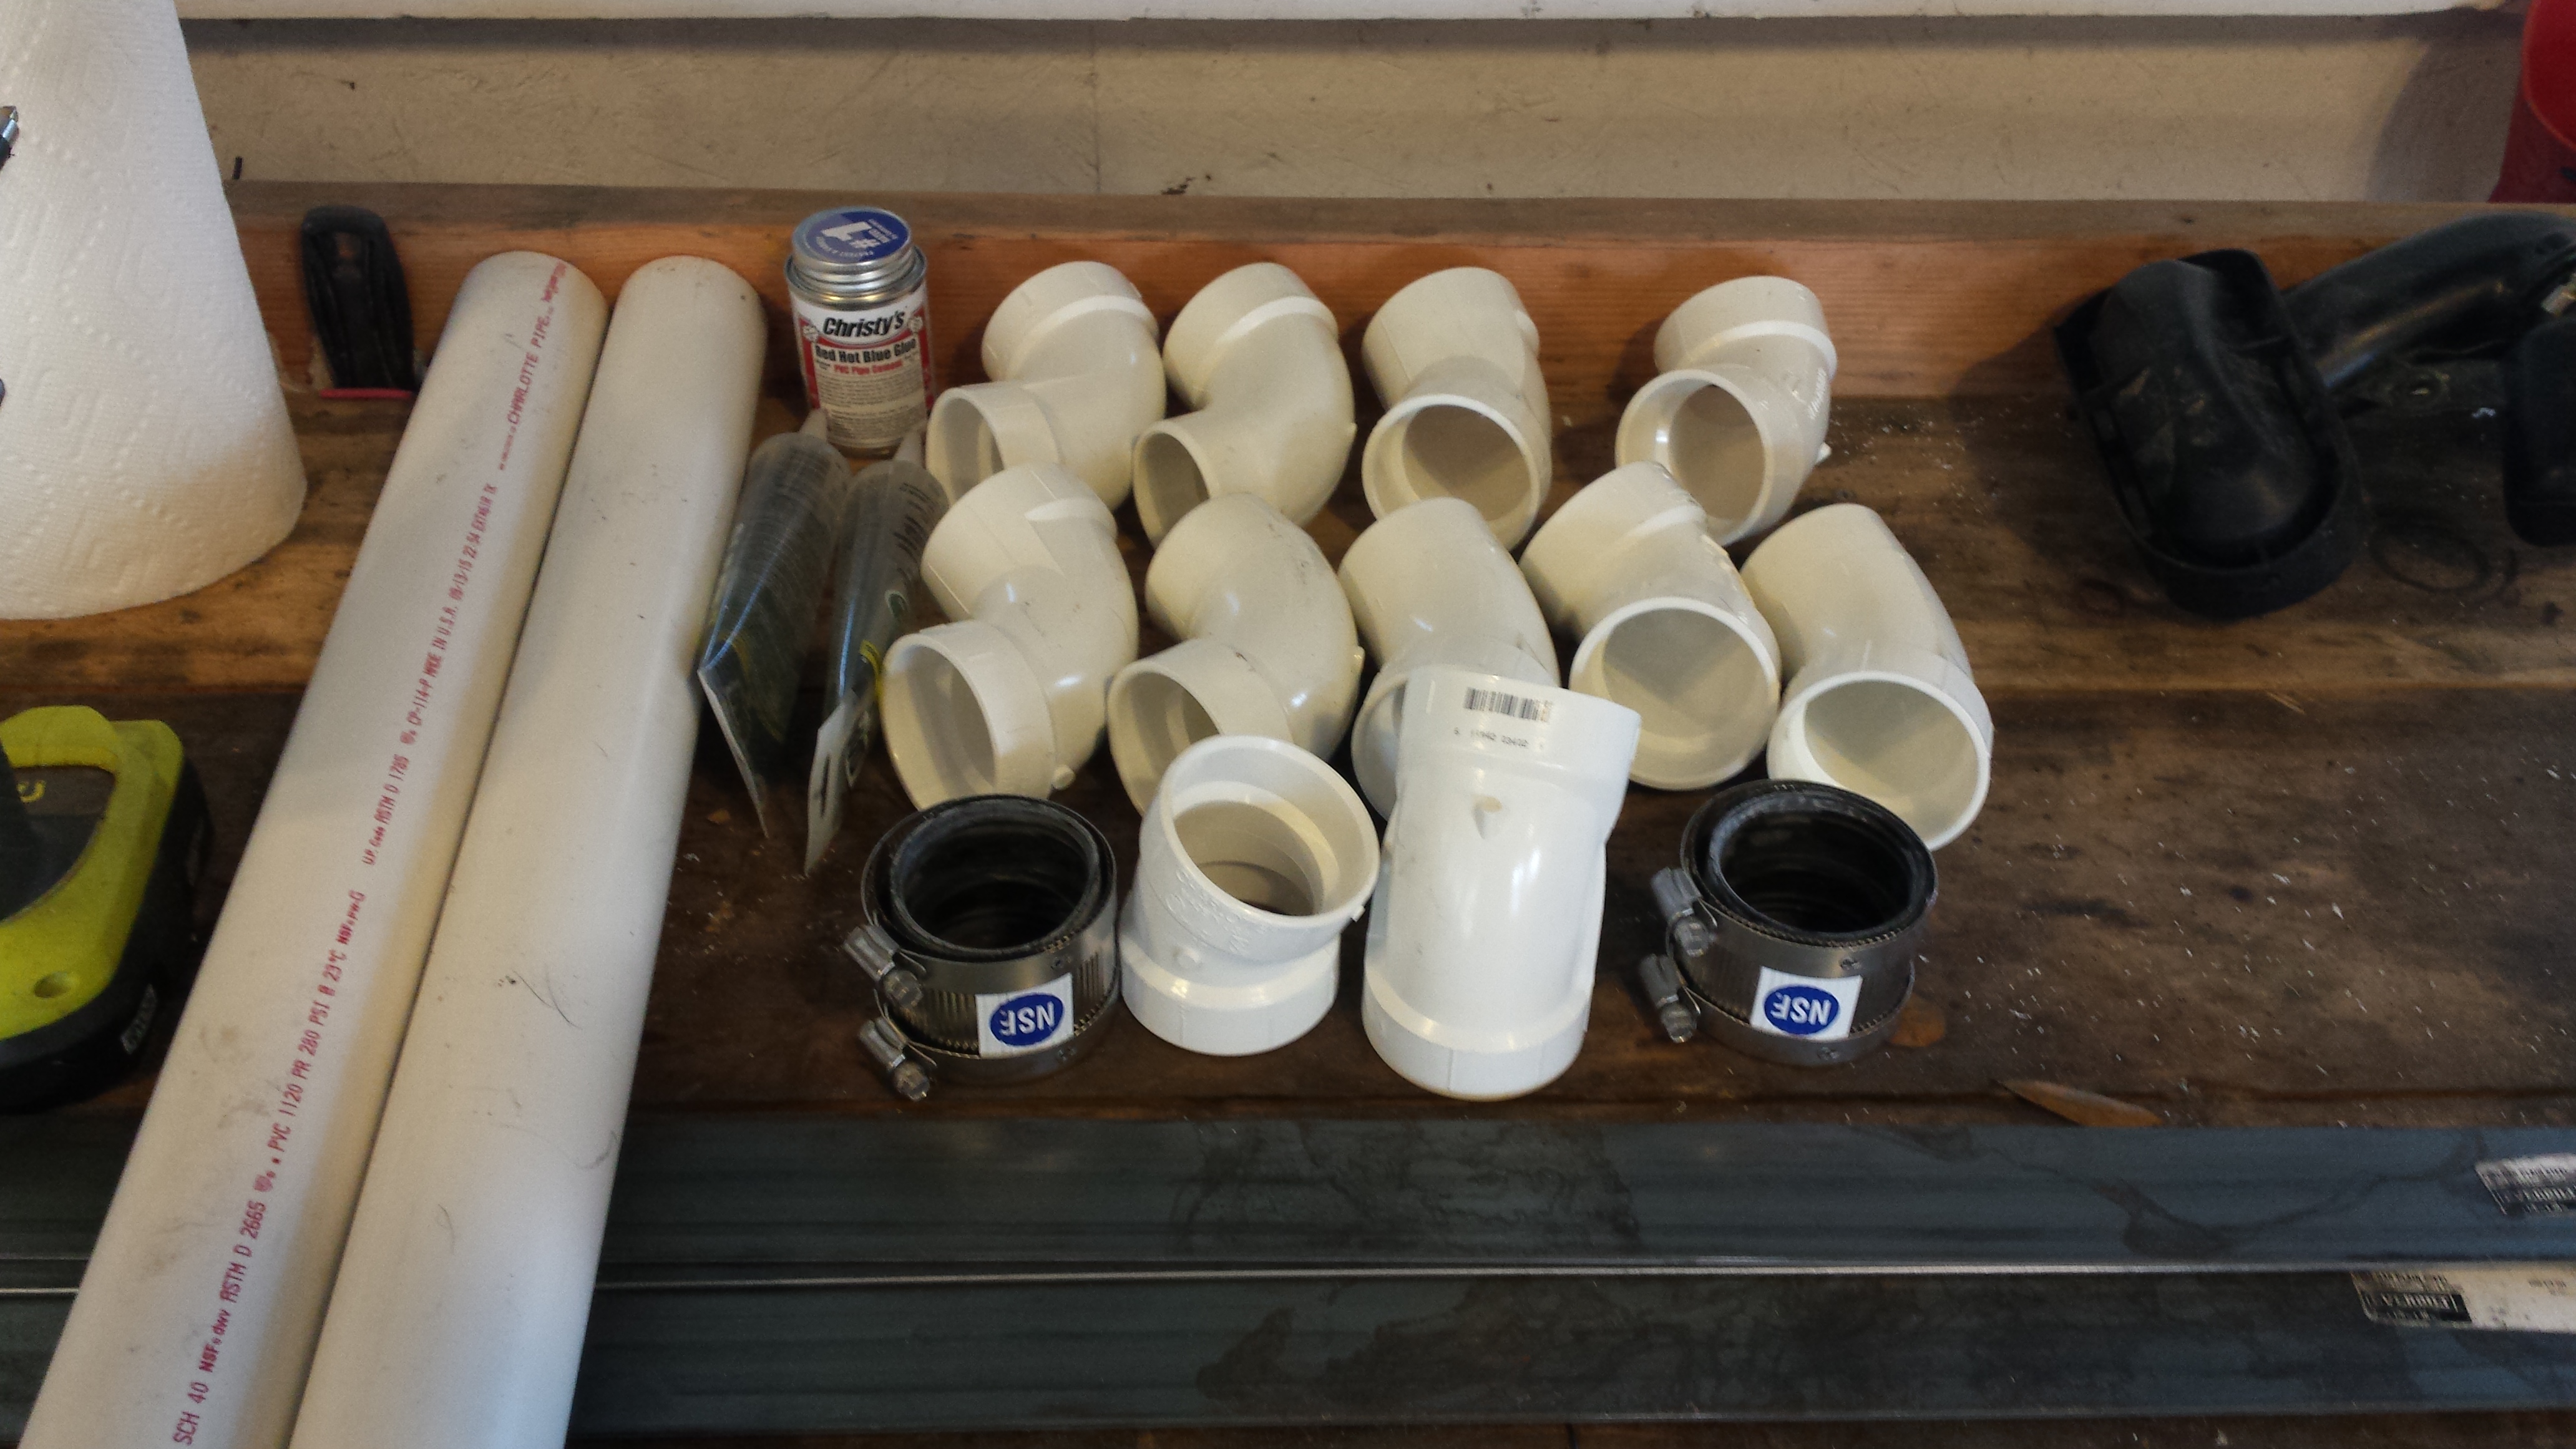
Some holes fall off on you quick, so just for insurance I decided it would be a great time to snorkel, so I swung by Home depot and got some various pipe, having no clue what I actually needed.
---------------------------------------------------
In the meantime we needed more light for our nighttime neighborhood rides so I picked this up off ebay.

Much better:

I really don't even know how this all started. This bike had the big aluminum skids on it when I bought it. They hold a lot of clay mud. I think I was just wanting to do a good winter cleaning. Then it started spiraling out of control.


Took all the aluminum off the bike, and its not going back on. I think I can make some custom frame sliders that will work as good but be easier to clean.

Some holes fall off on you quick, so just for insurance I decided it would be a great time to snorkel, so I swung by Home depot and got some various pipe, having no clue what I actually needed.

---------------------------------------------------
Jan 31, 2016 | 12:45 PM
#3
Thread Starter
|
Pro Rider
Joined: Aug 2010
Posts: 230
Likes: 0
So I thought this bike was fairly clean when I started, then I started looking closer. What I found in the oil cooler I knew I had sprayed with the hose didn't make me very happy.
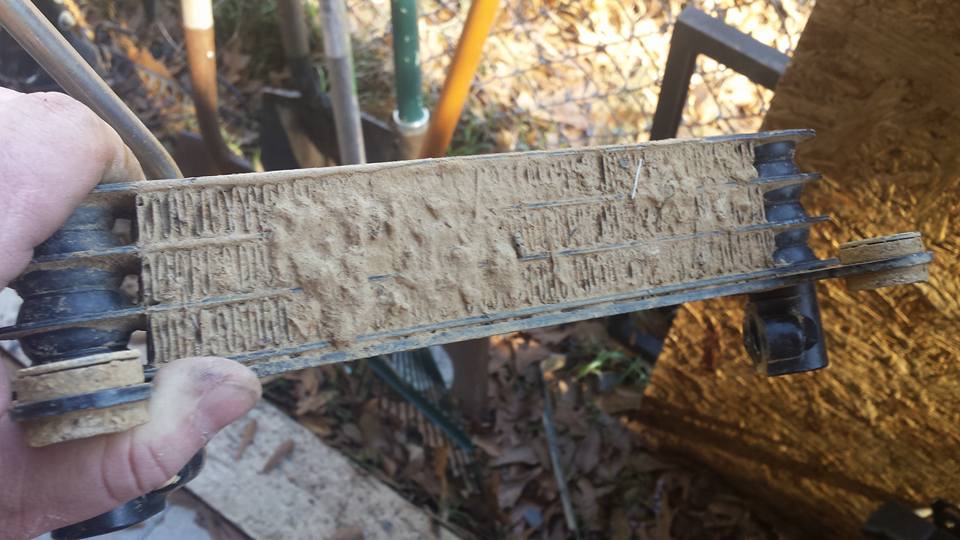
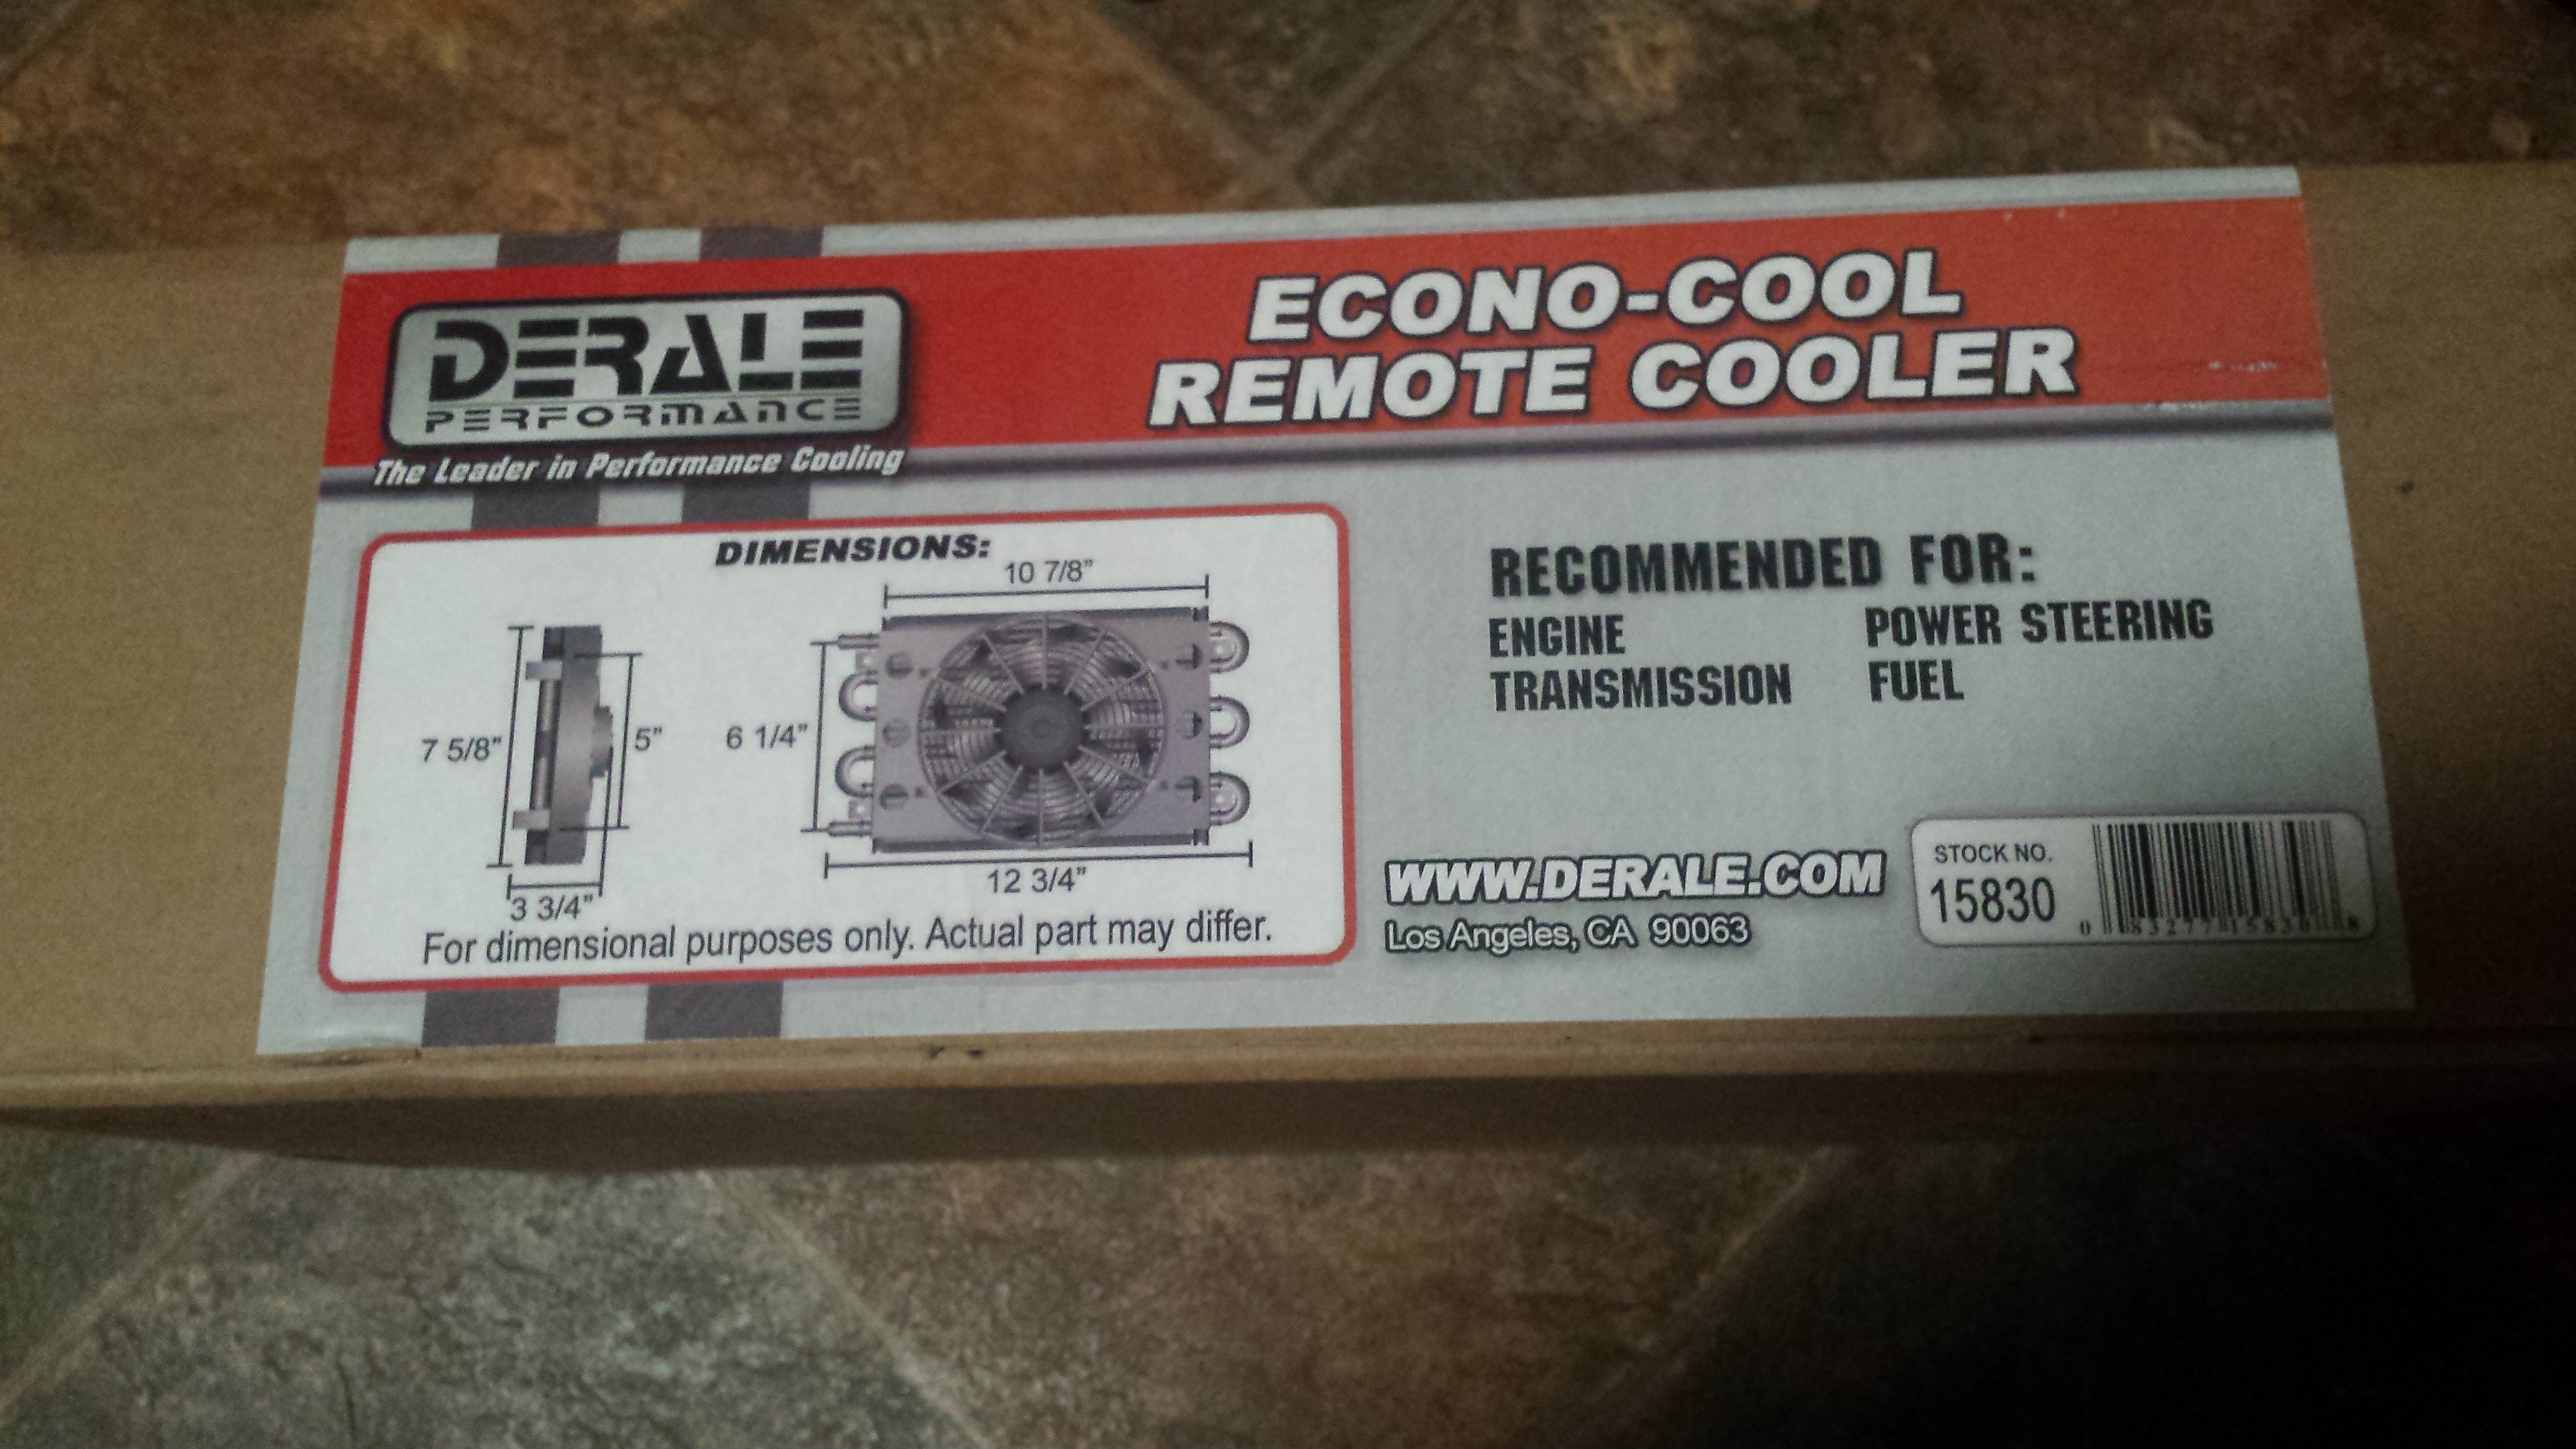
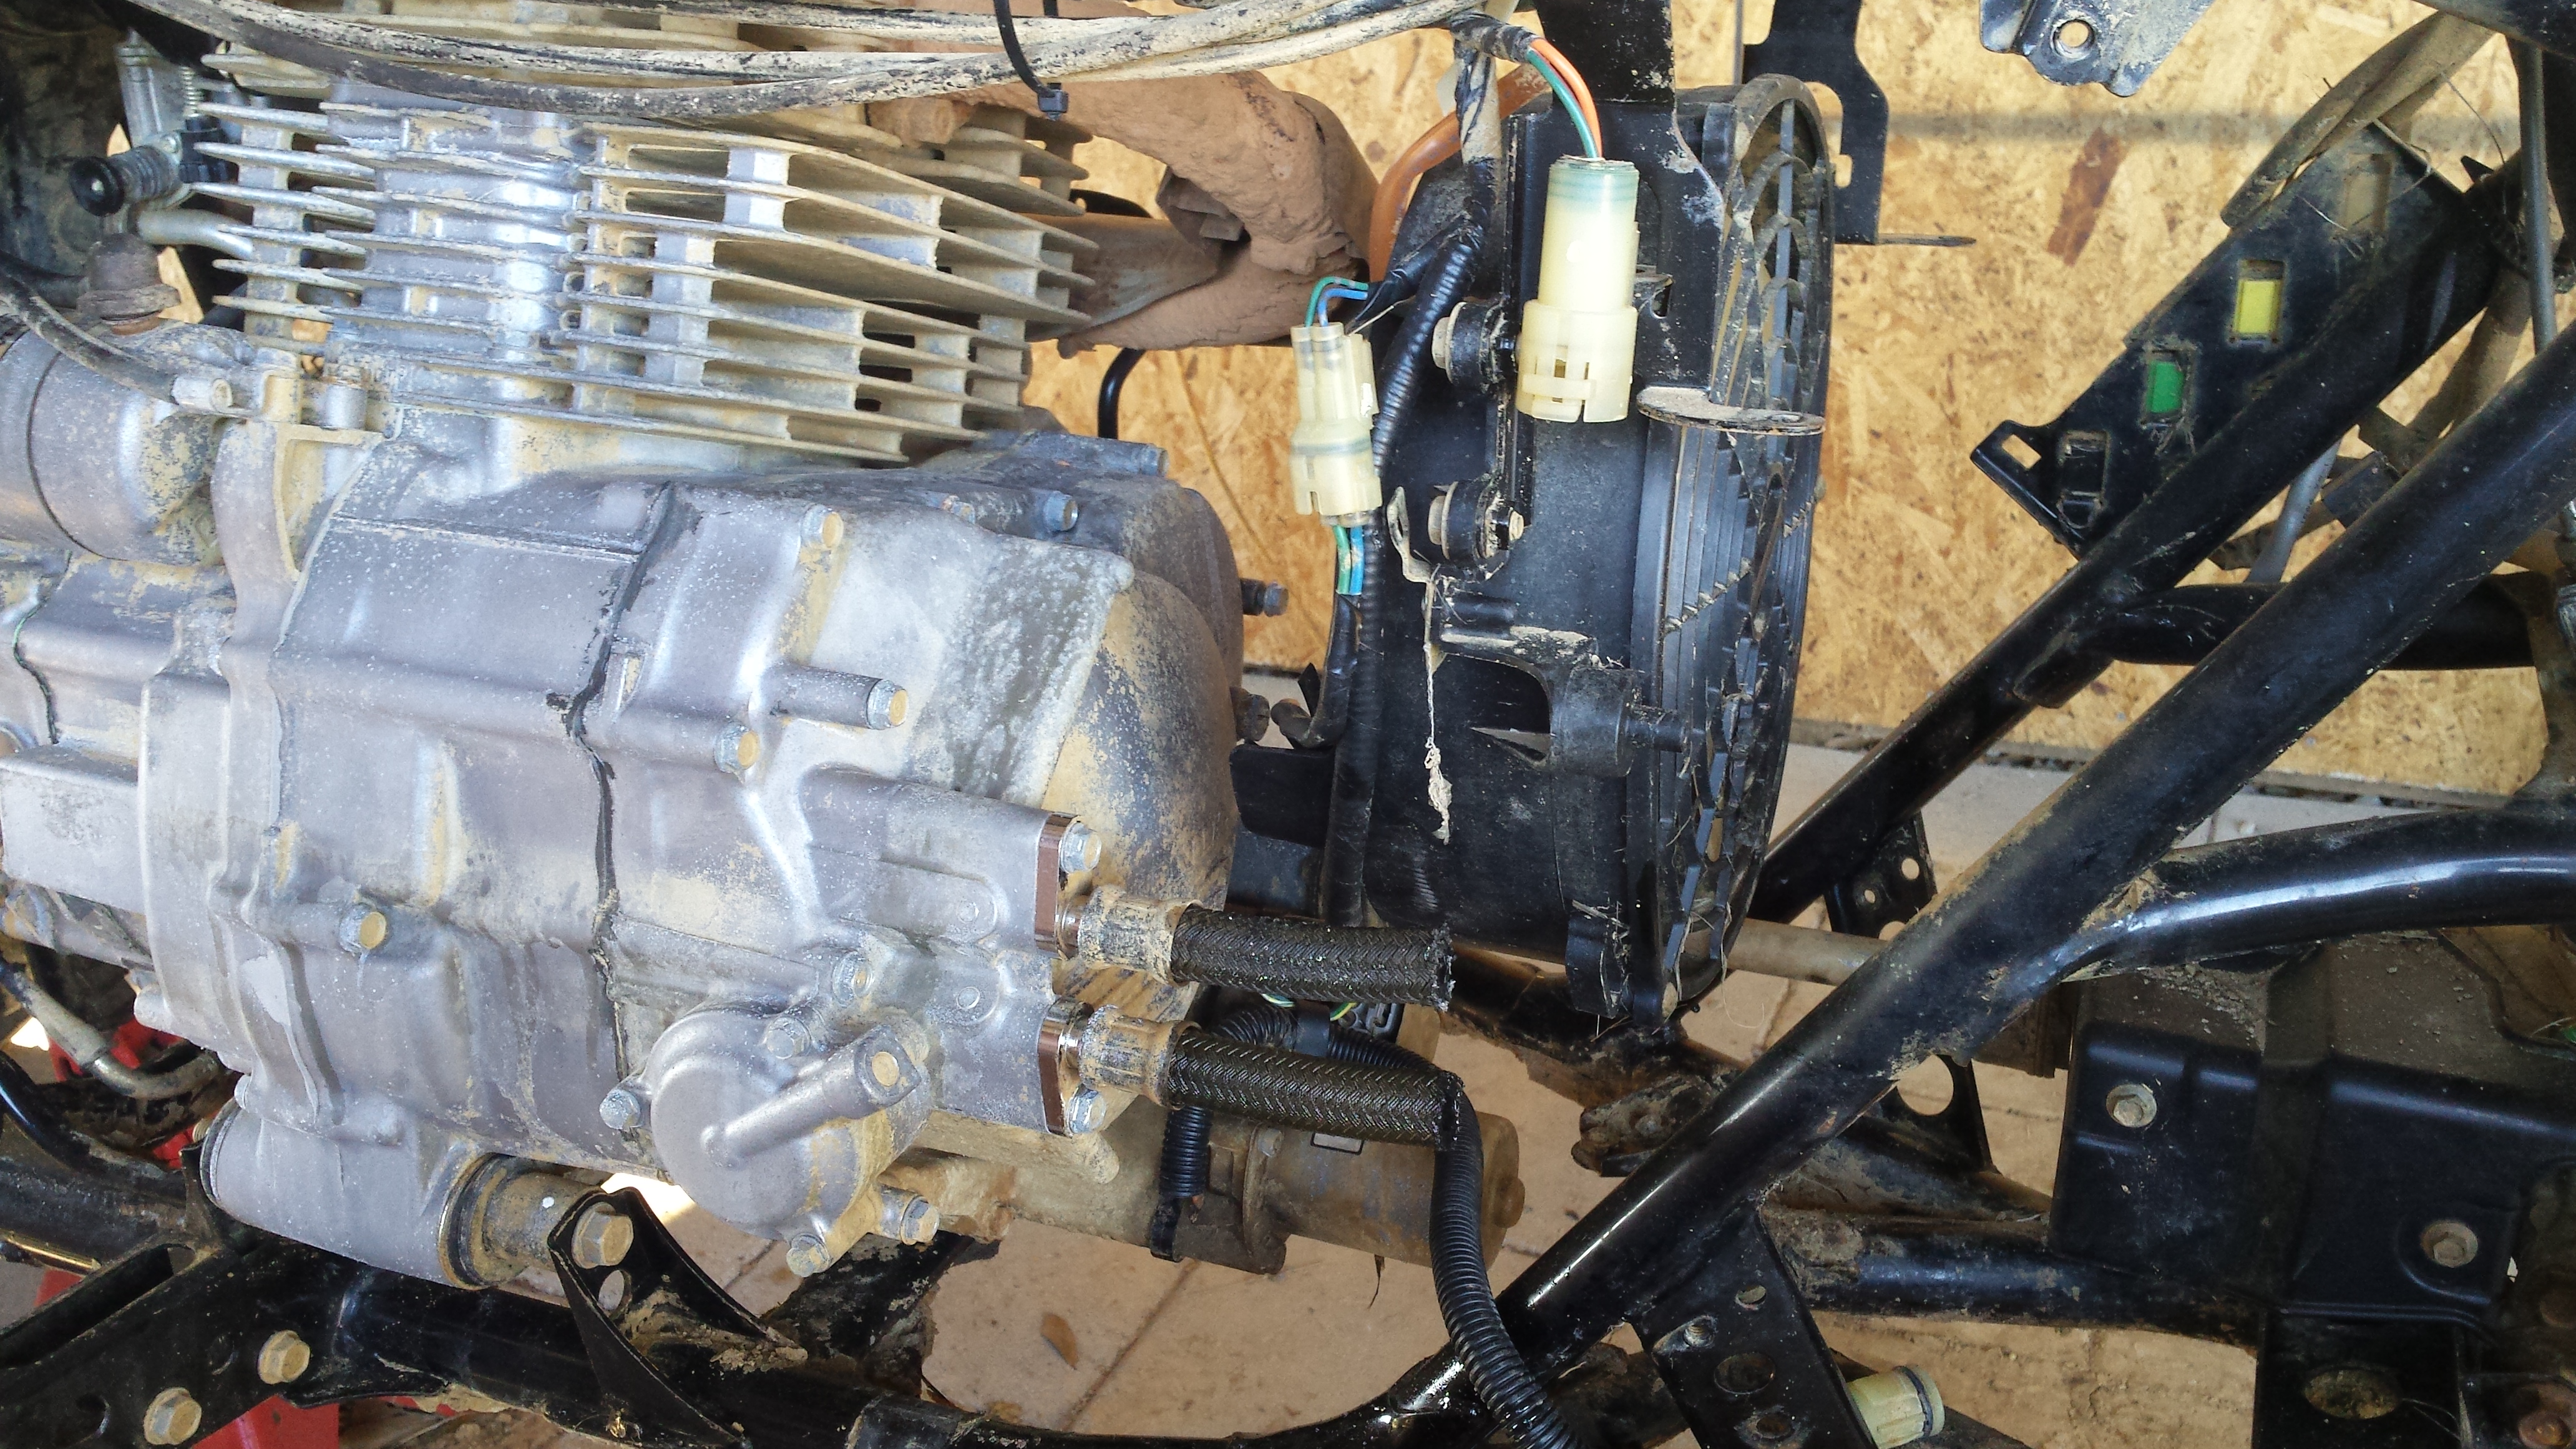
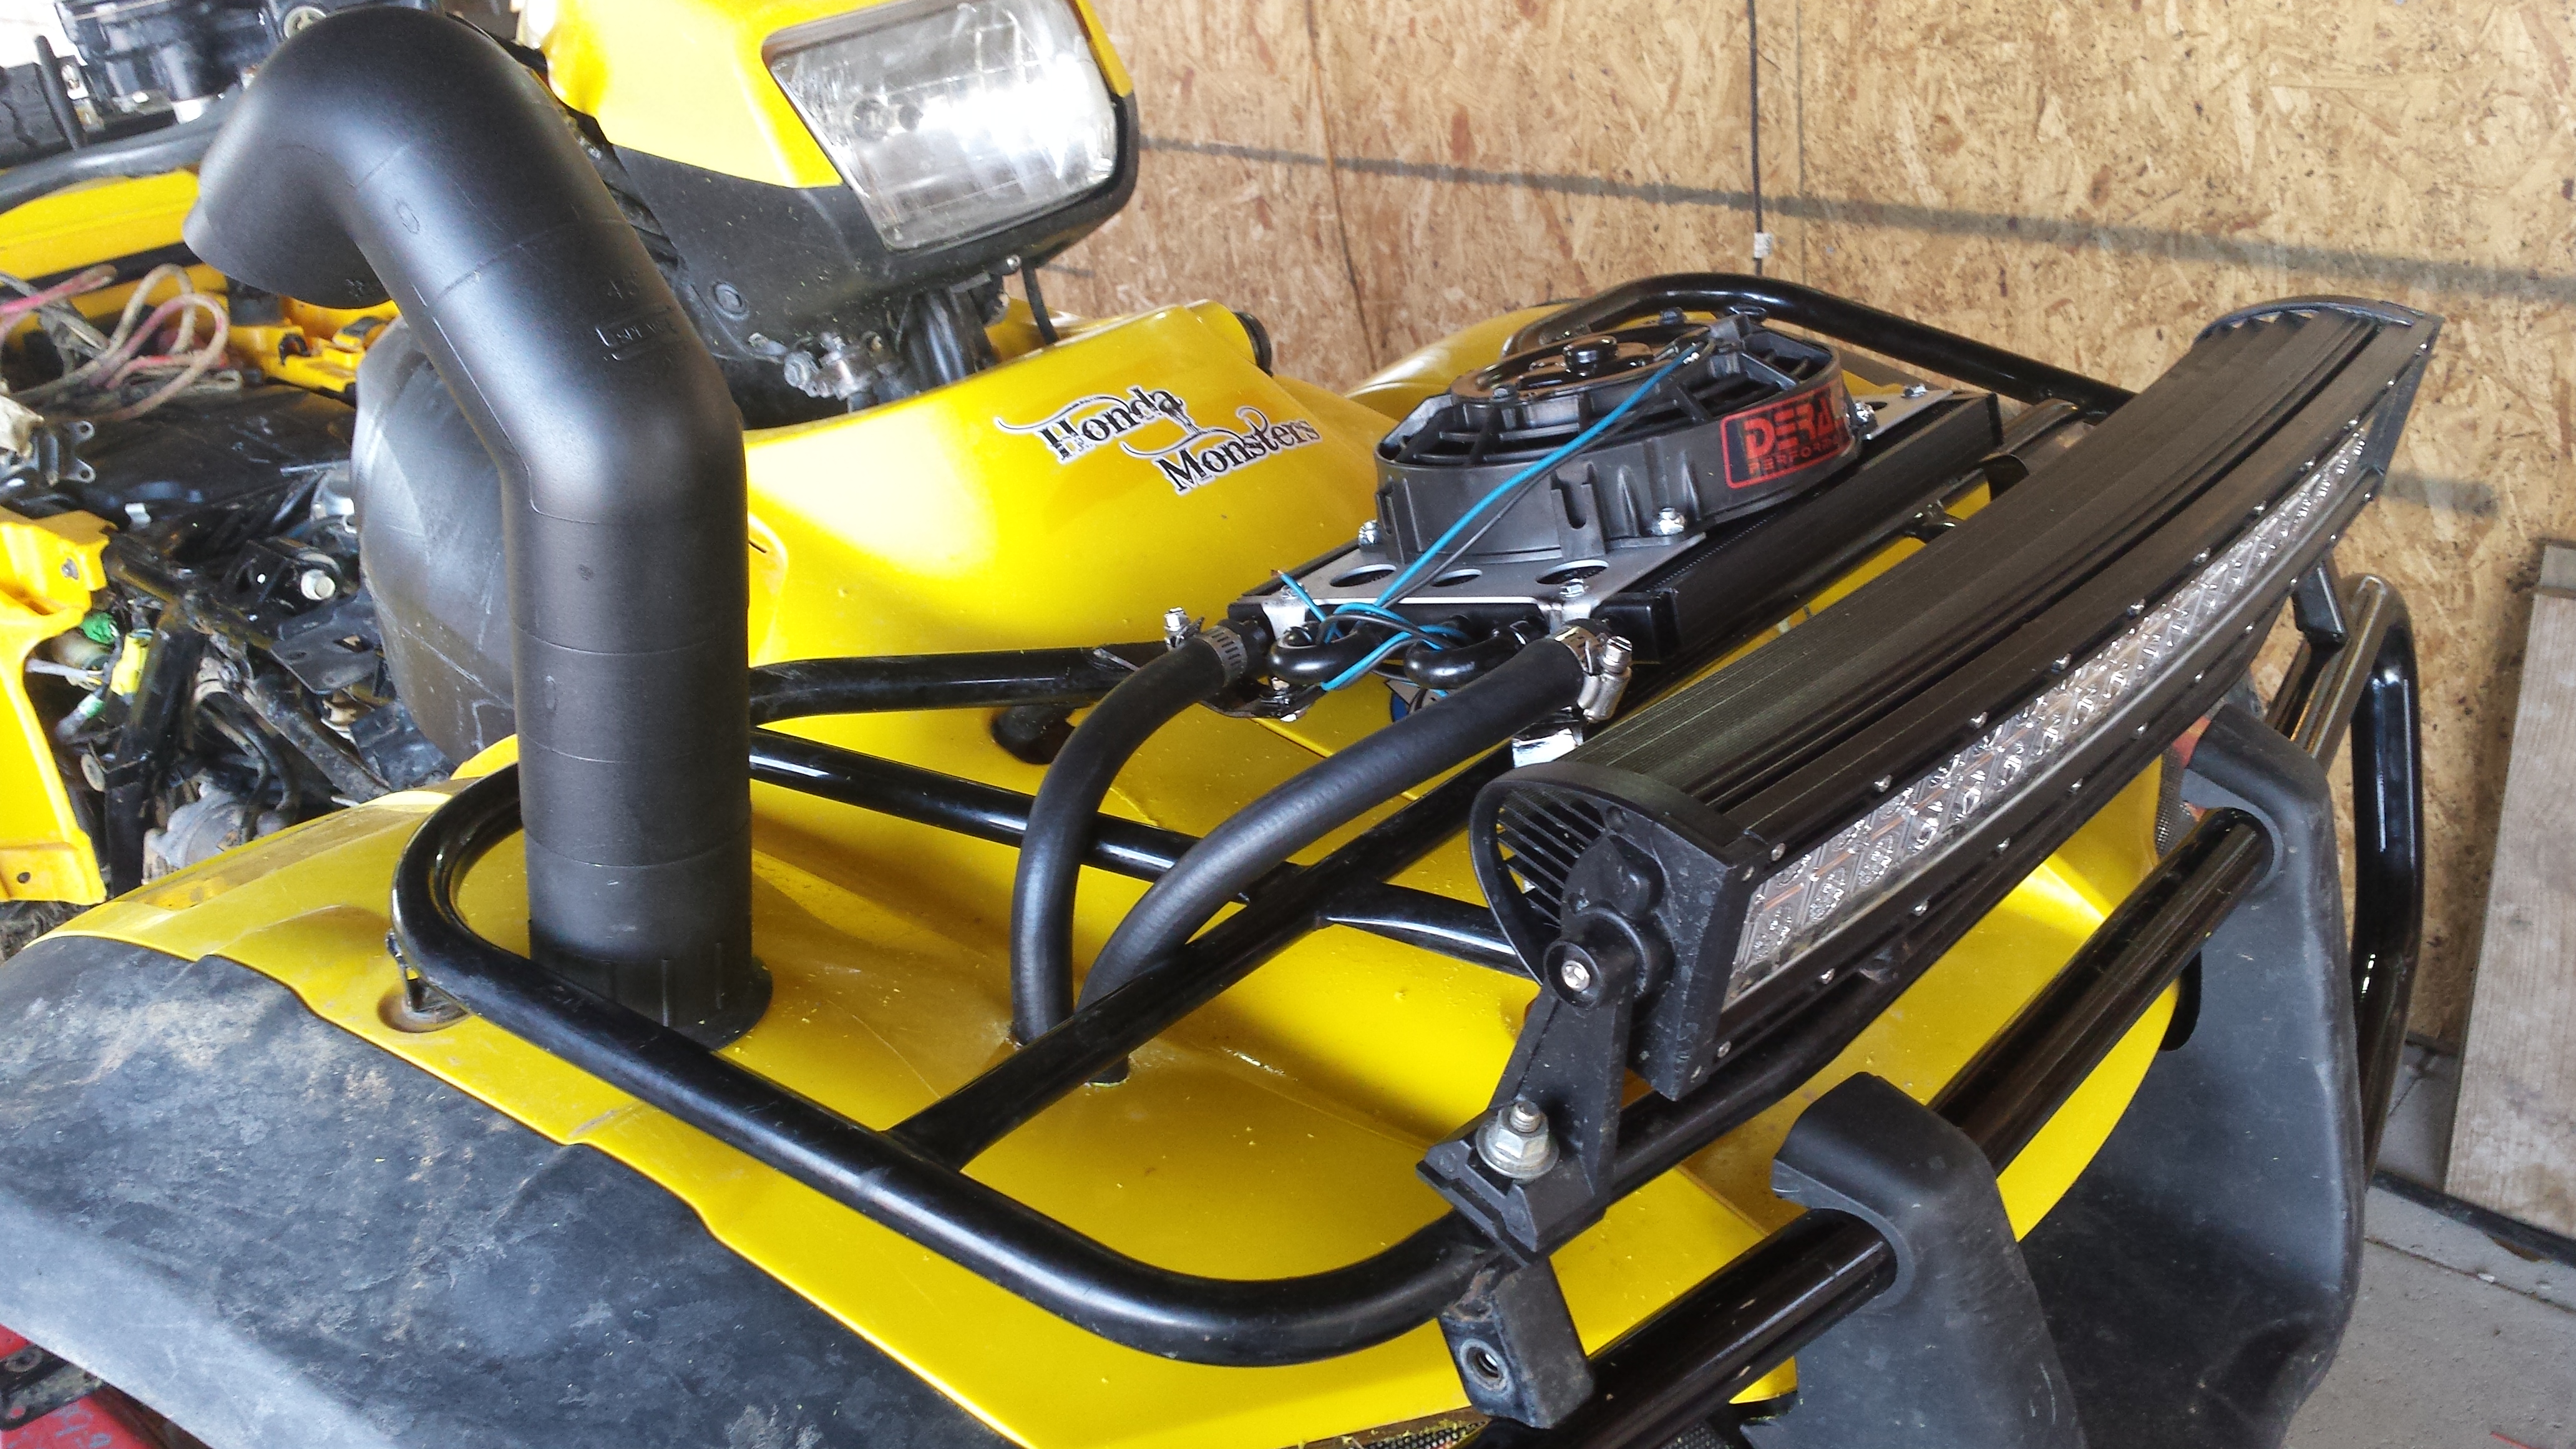
This is an air cooled only bike (meaning no radiator) so it's important the oil coolers stay clean......and obviously I don't wanna dig this thing out every time I ride to clean it so I gave Summit Racing a call and ordered this......Honda gave this bike two small coolers, I'm gonna replace both with one big one. The plan is to leave the engine fan in place and working and mount this to the rack.

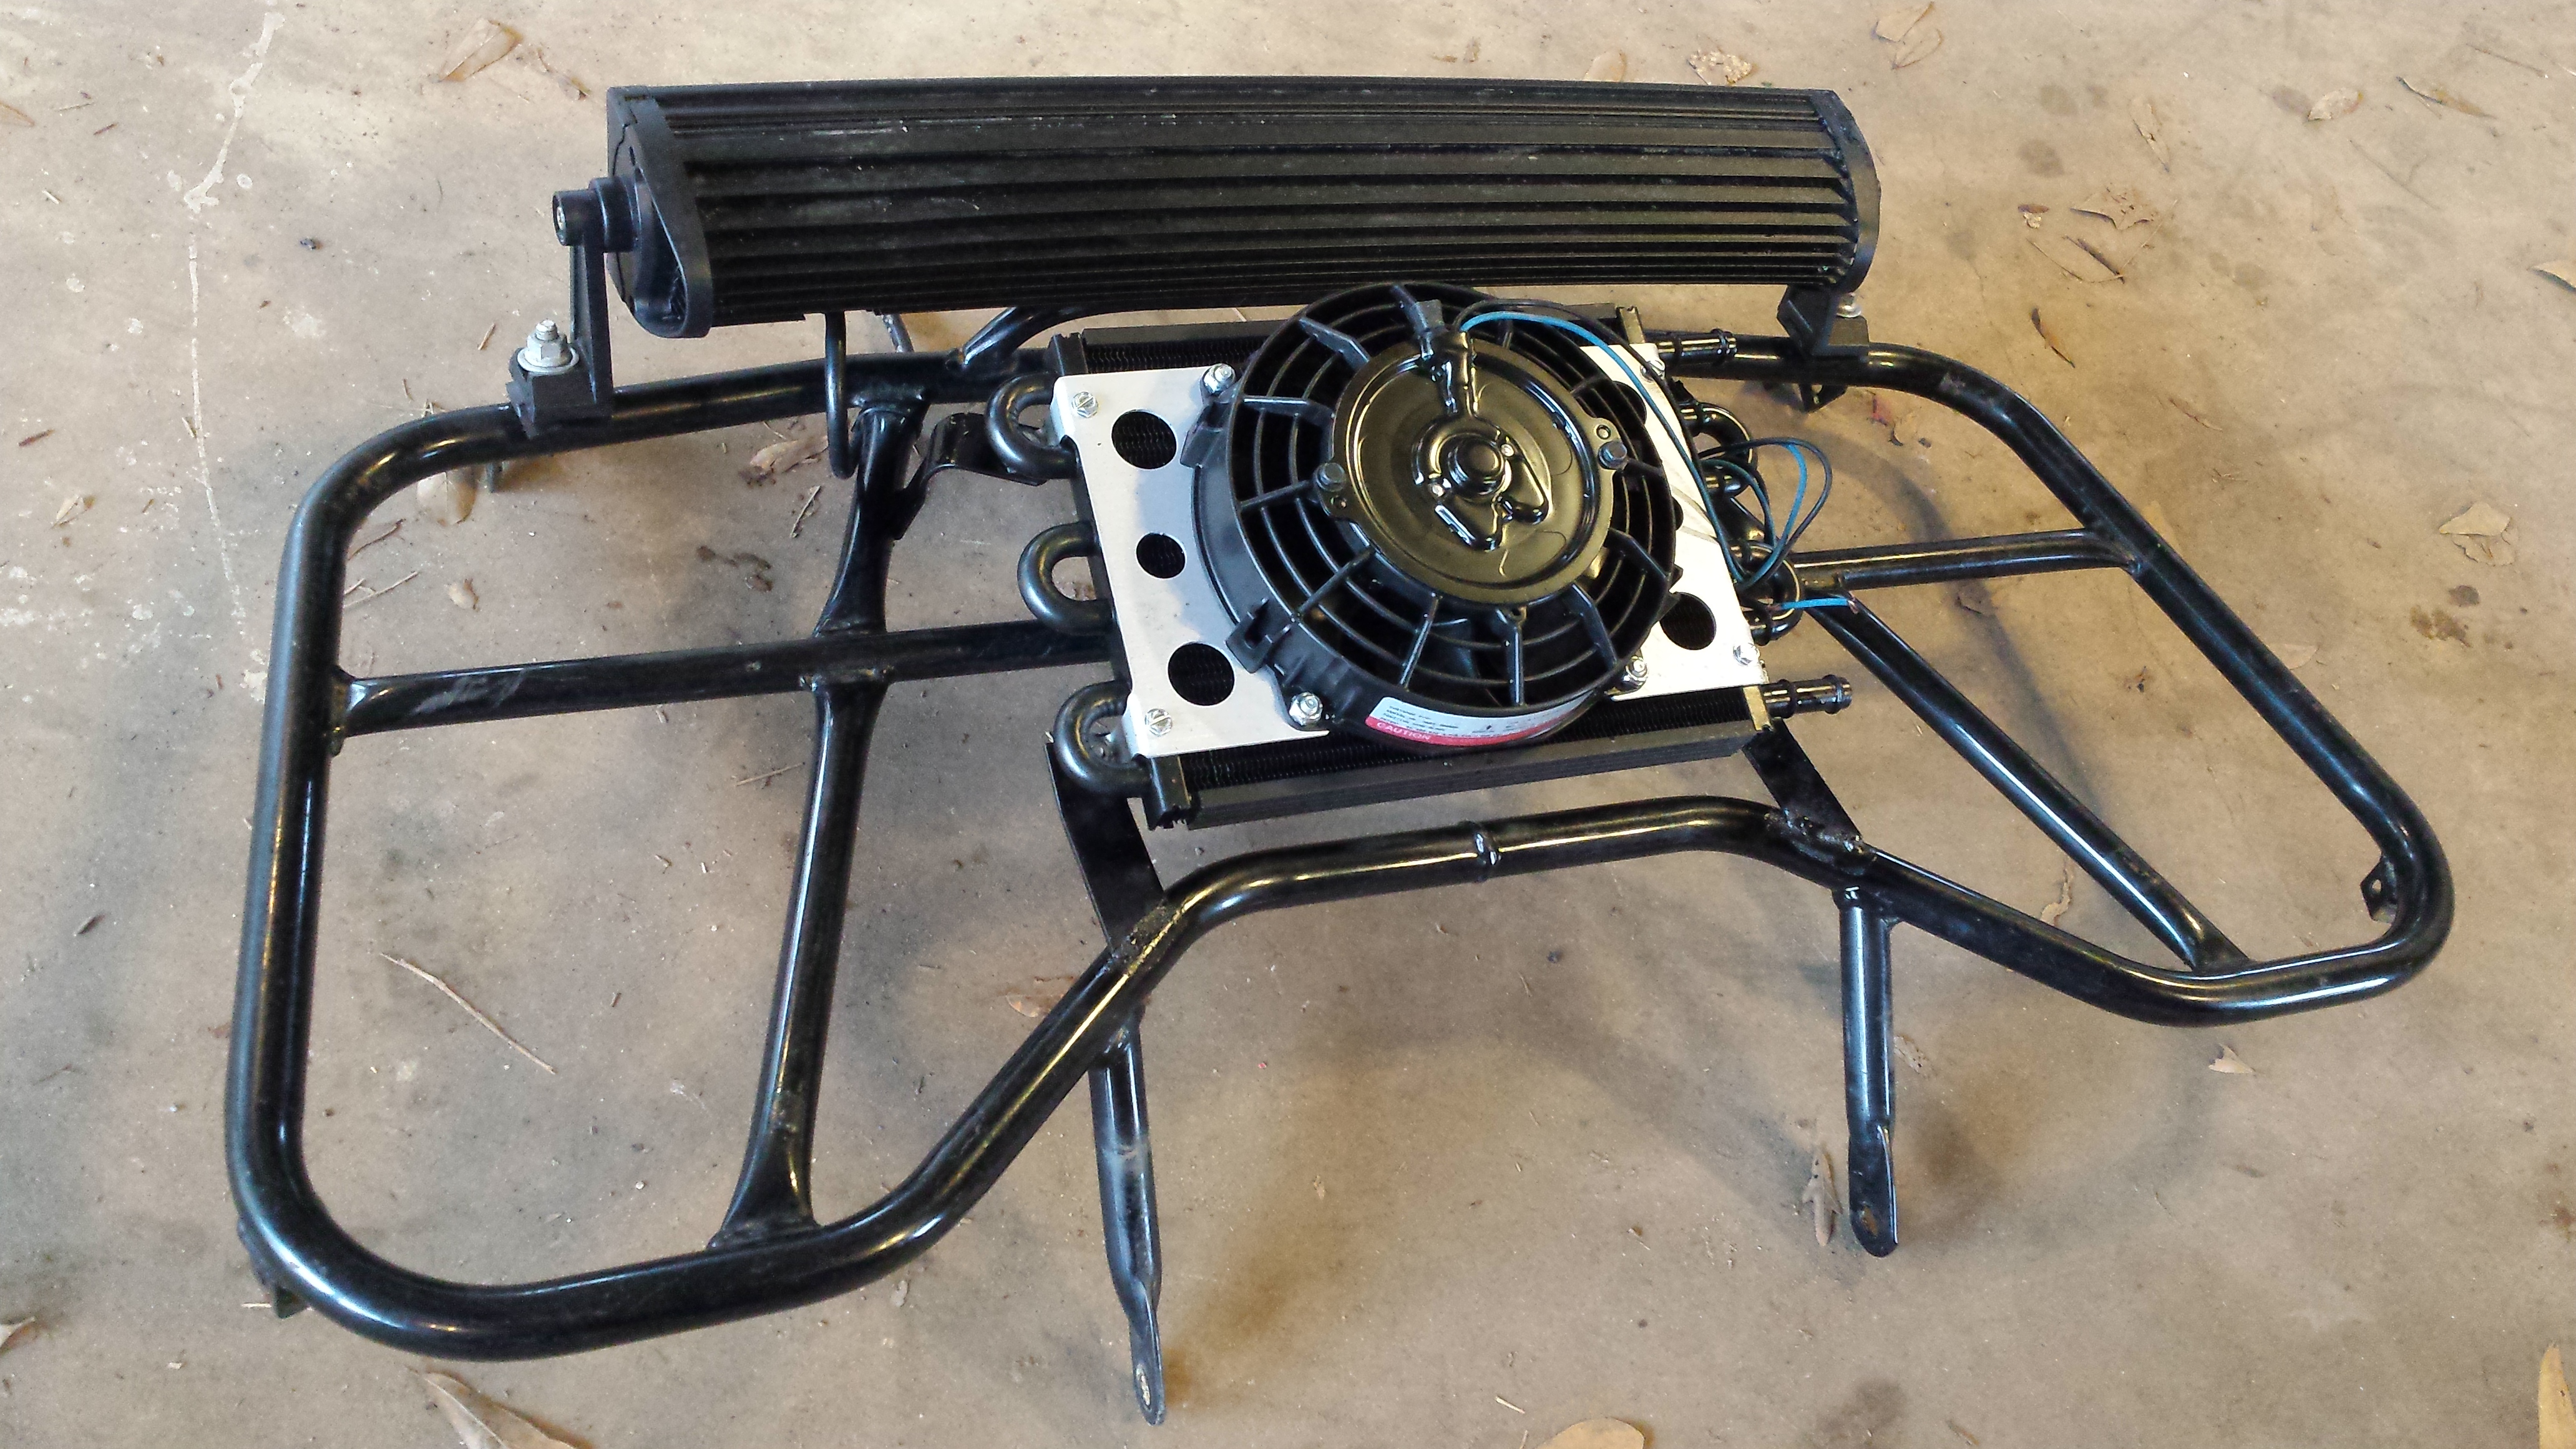
Kind of a general idea of where I want it.
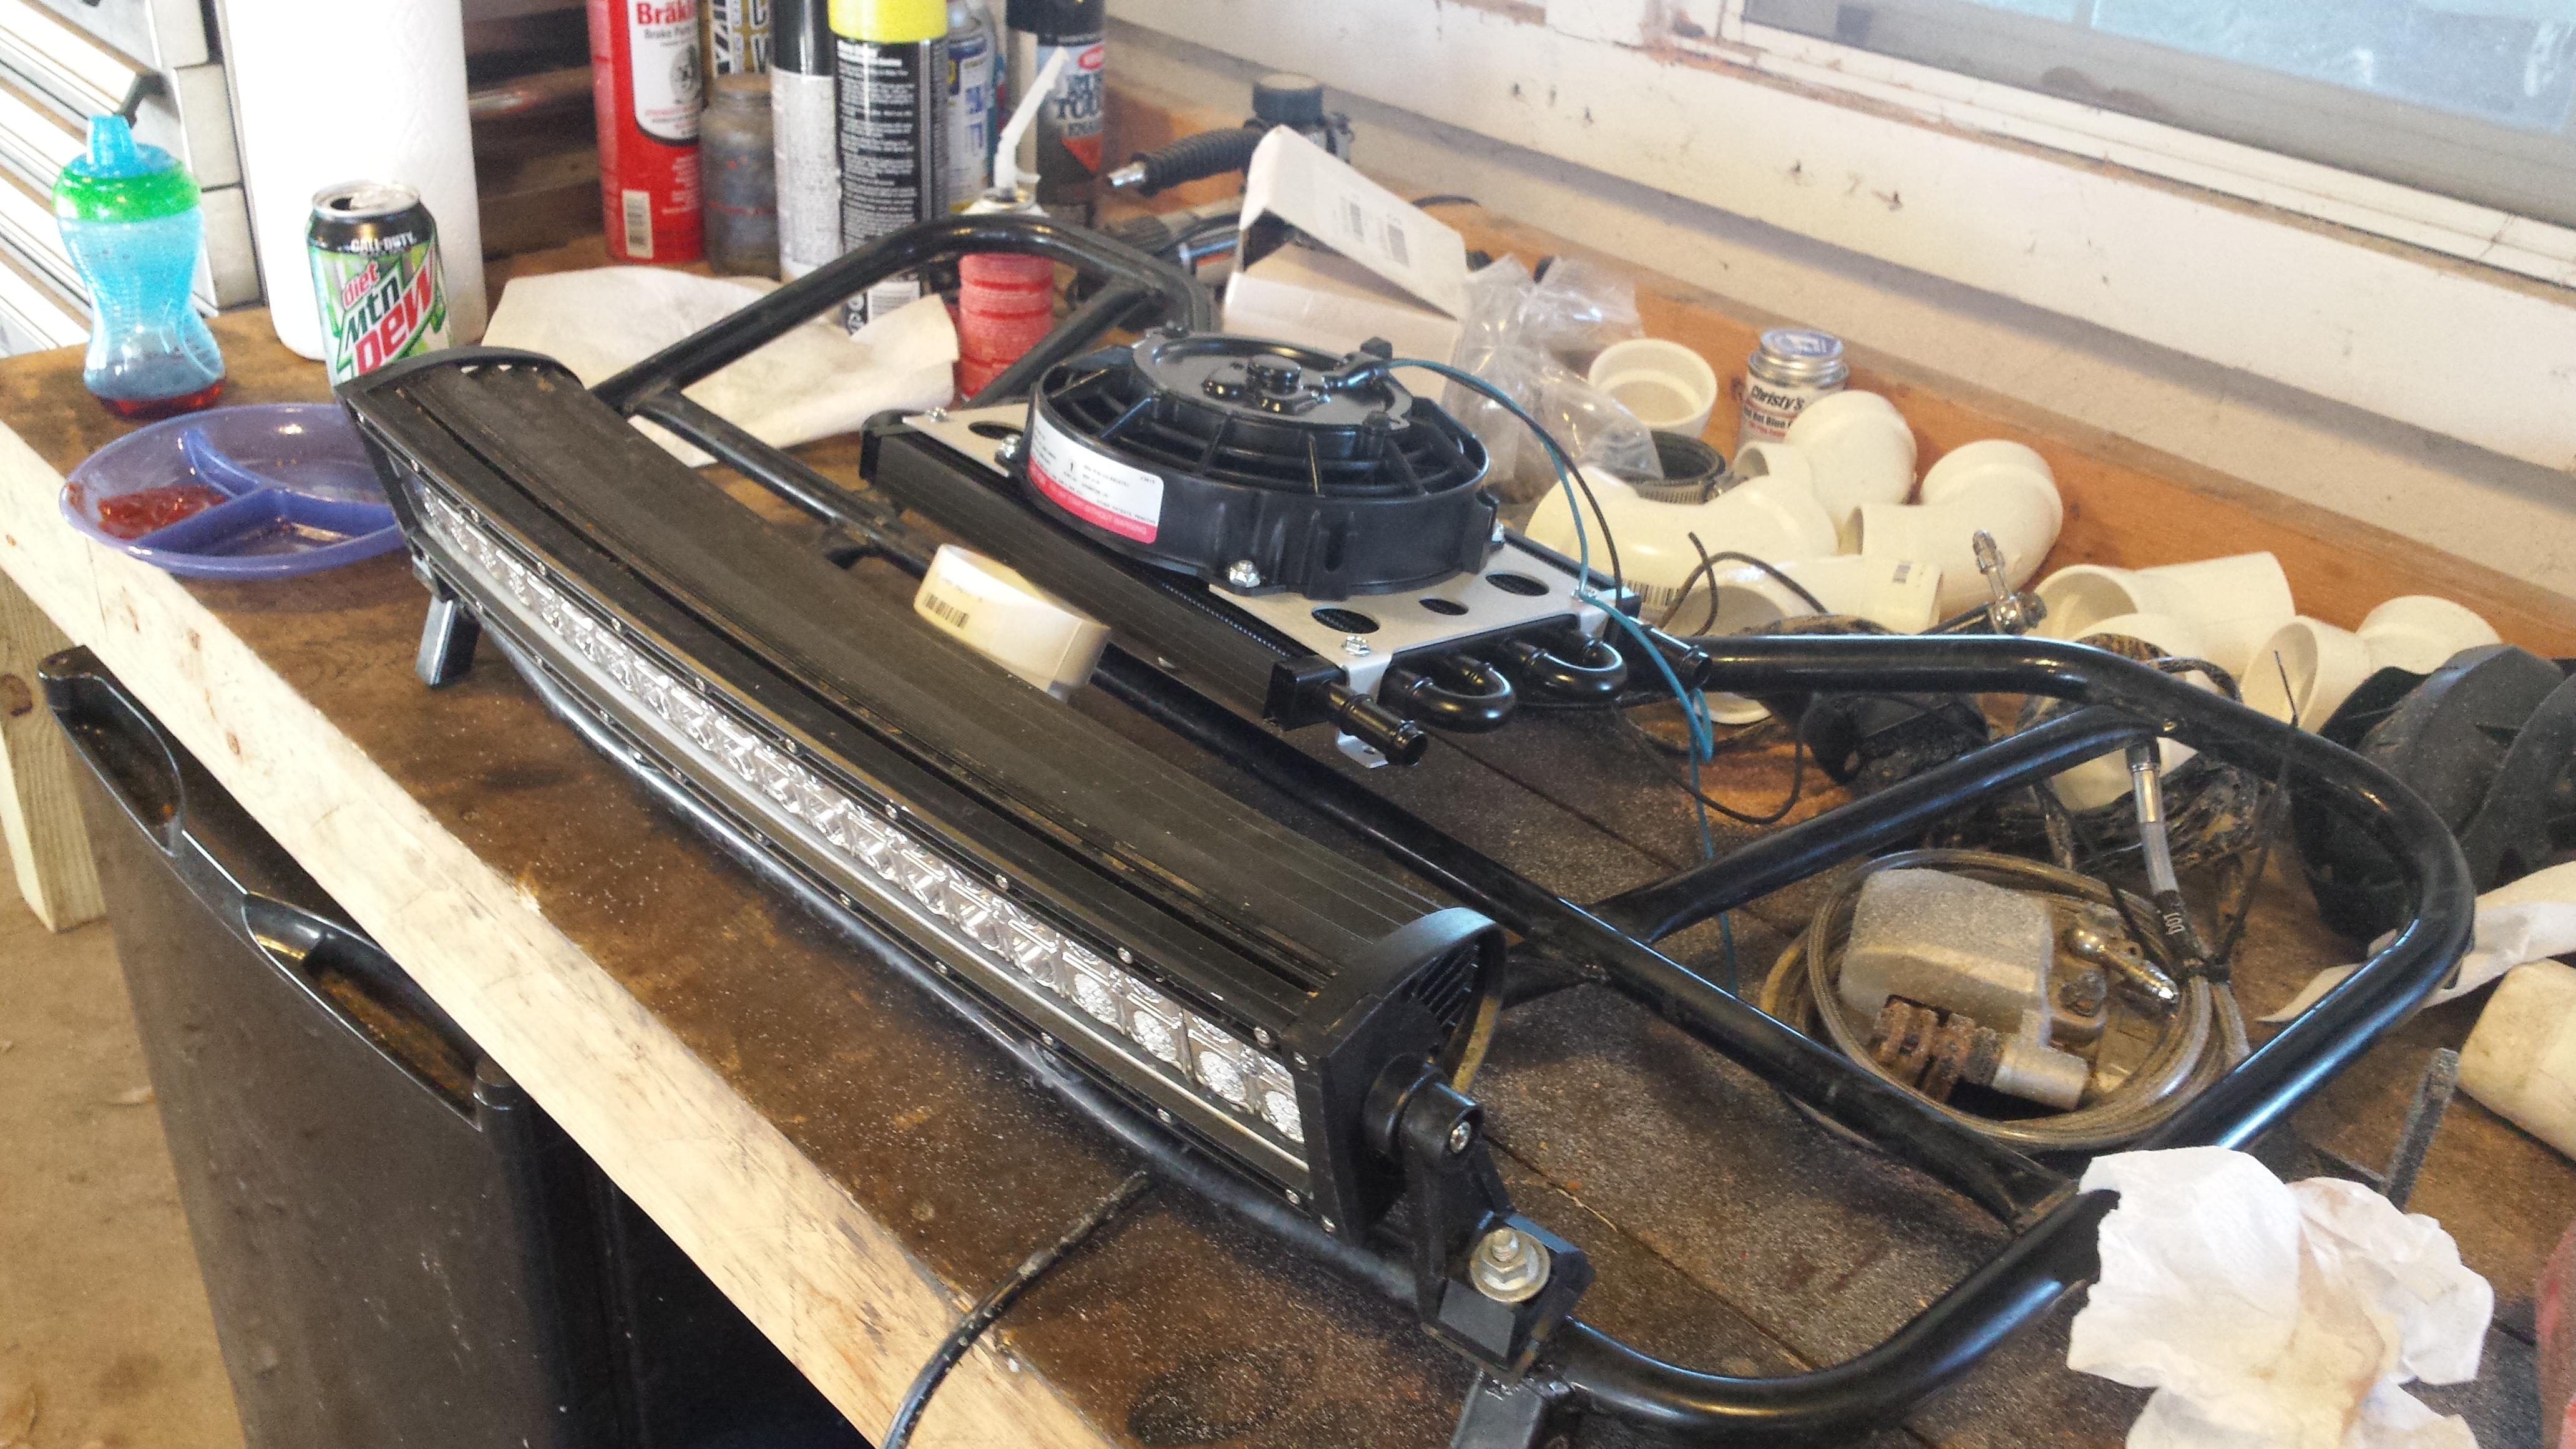
Made some real simple flat bar brackets and welded them to the rack.

-----------------------------------------------------

This is an air cooled only bike (meaning no radiator) so it's important the oil coolers stay clean......and obviously I don't wanna dig this thing out every time I ride to clean it so I gave Summit Racing a call and ordered this......Honda gave this bike two small coolers, I'm gonna replace both with one big one. The plan is to leave the engine fan in place and working and mount this to the rack.


Kind of a general idea of where I want it.

Made some real simple flat bar brackets and welded them to the rack.


-----------------------------------------------------
Jan 31, 2016 | 12:45 PM
#4
Thread Starter
|
Pro Rider
Joined: Aug 2010
Posts: 230
Likes: 0
It keeps haunting me how I can't turn these tires I bought and I realized this was as good a time as any to do a gear reduction. I selected a 35% primary reduction from Don aka BridelessRacing. Would not hesitate to buy from him again.
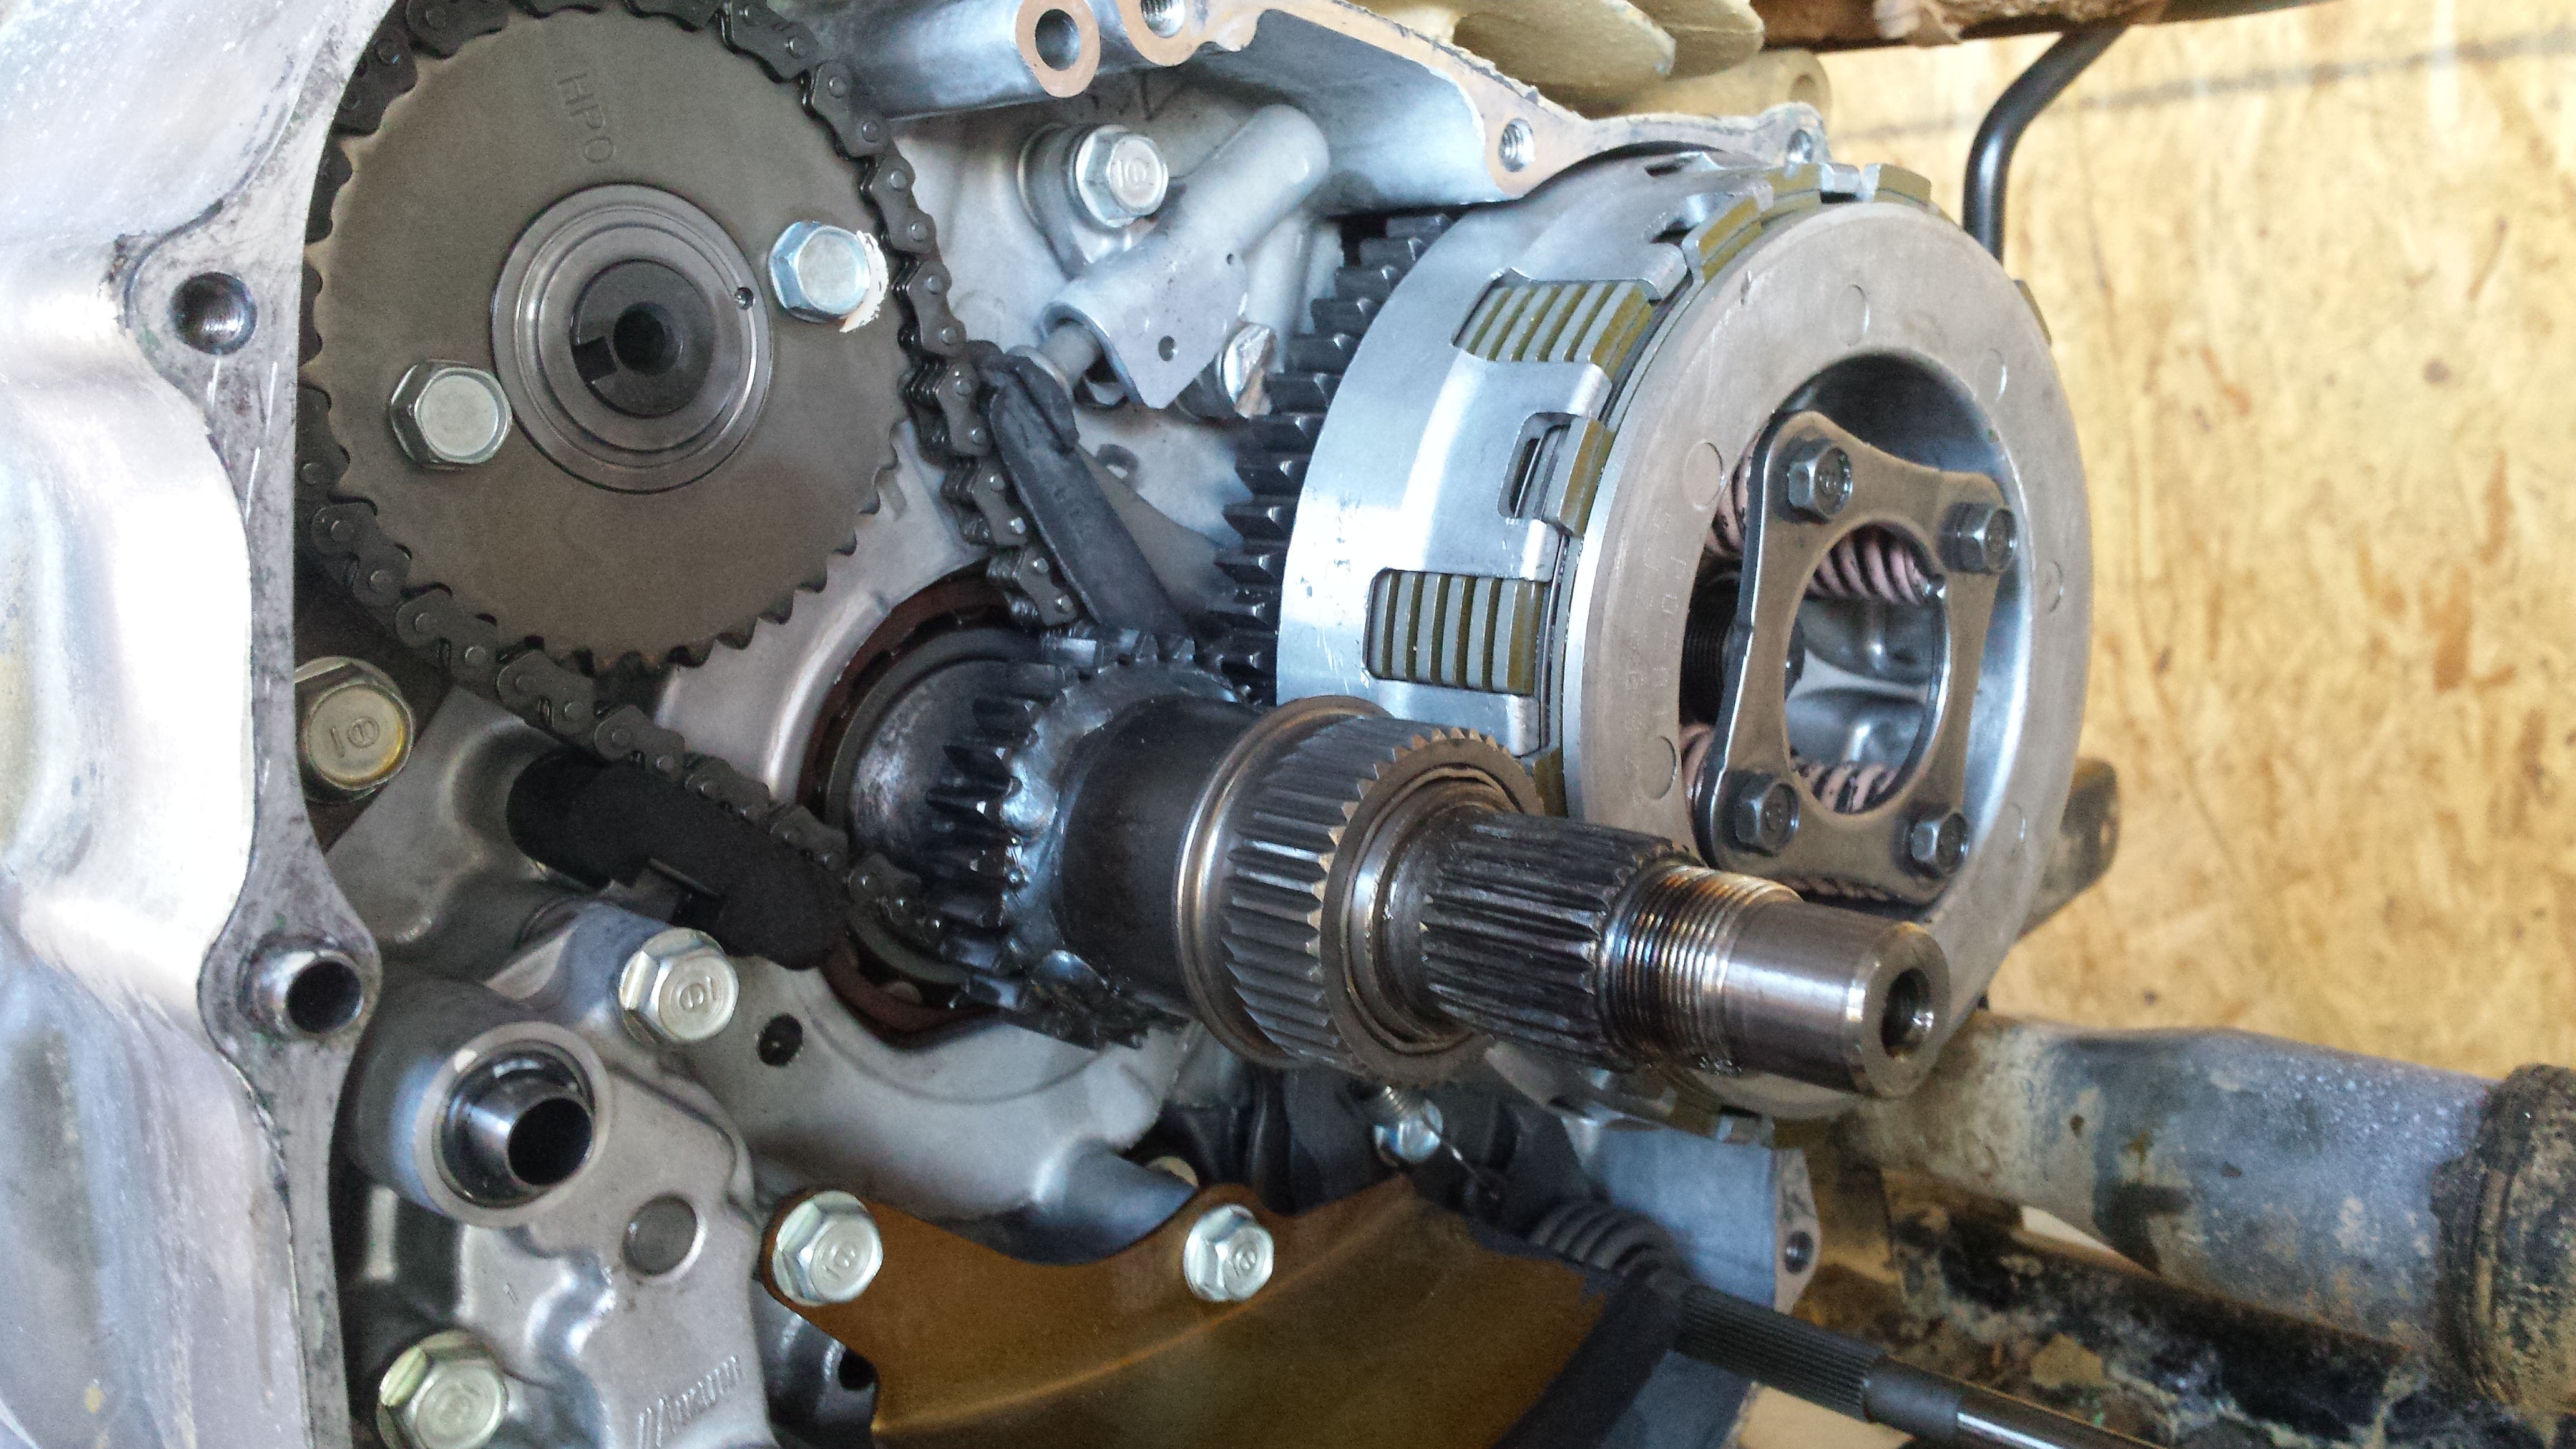
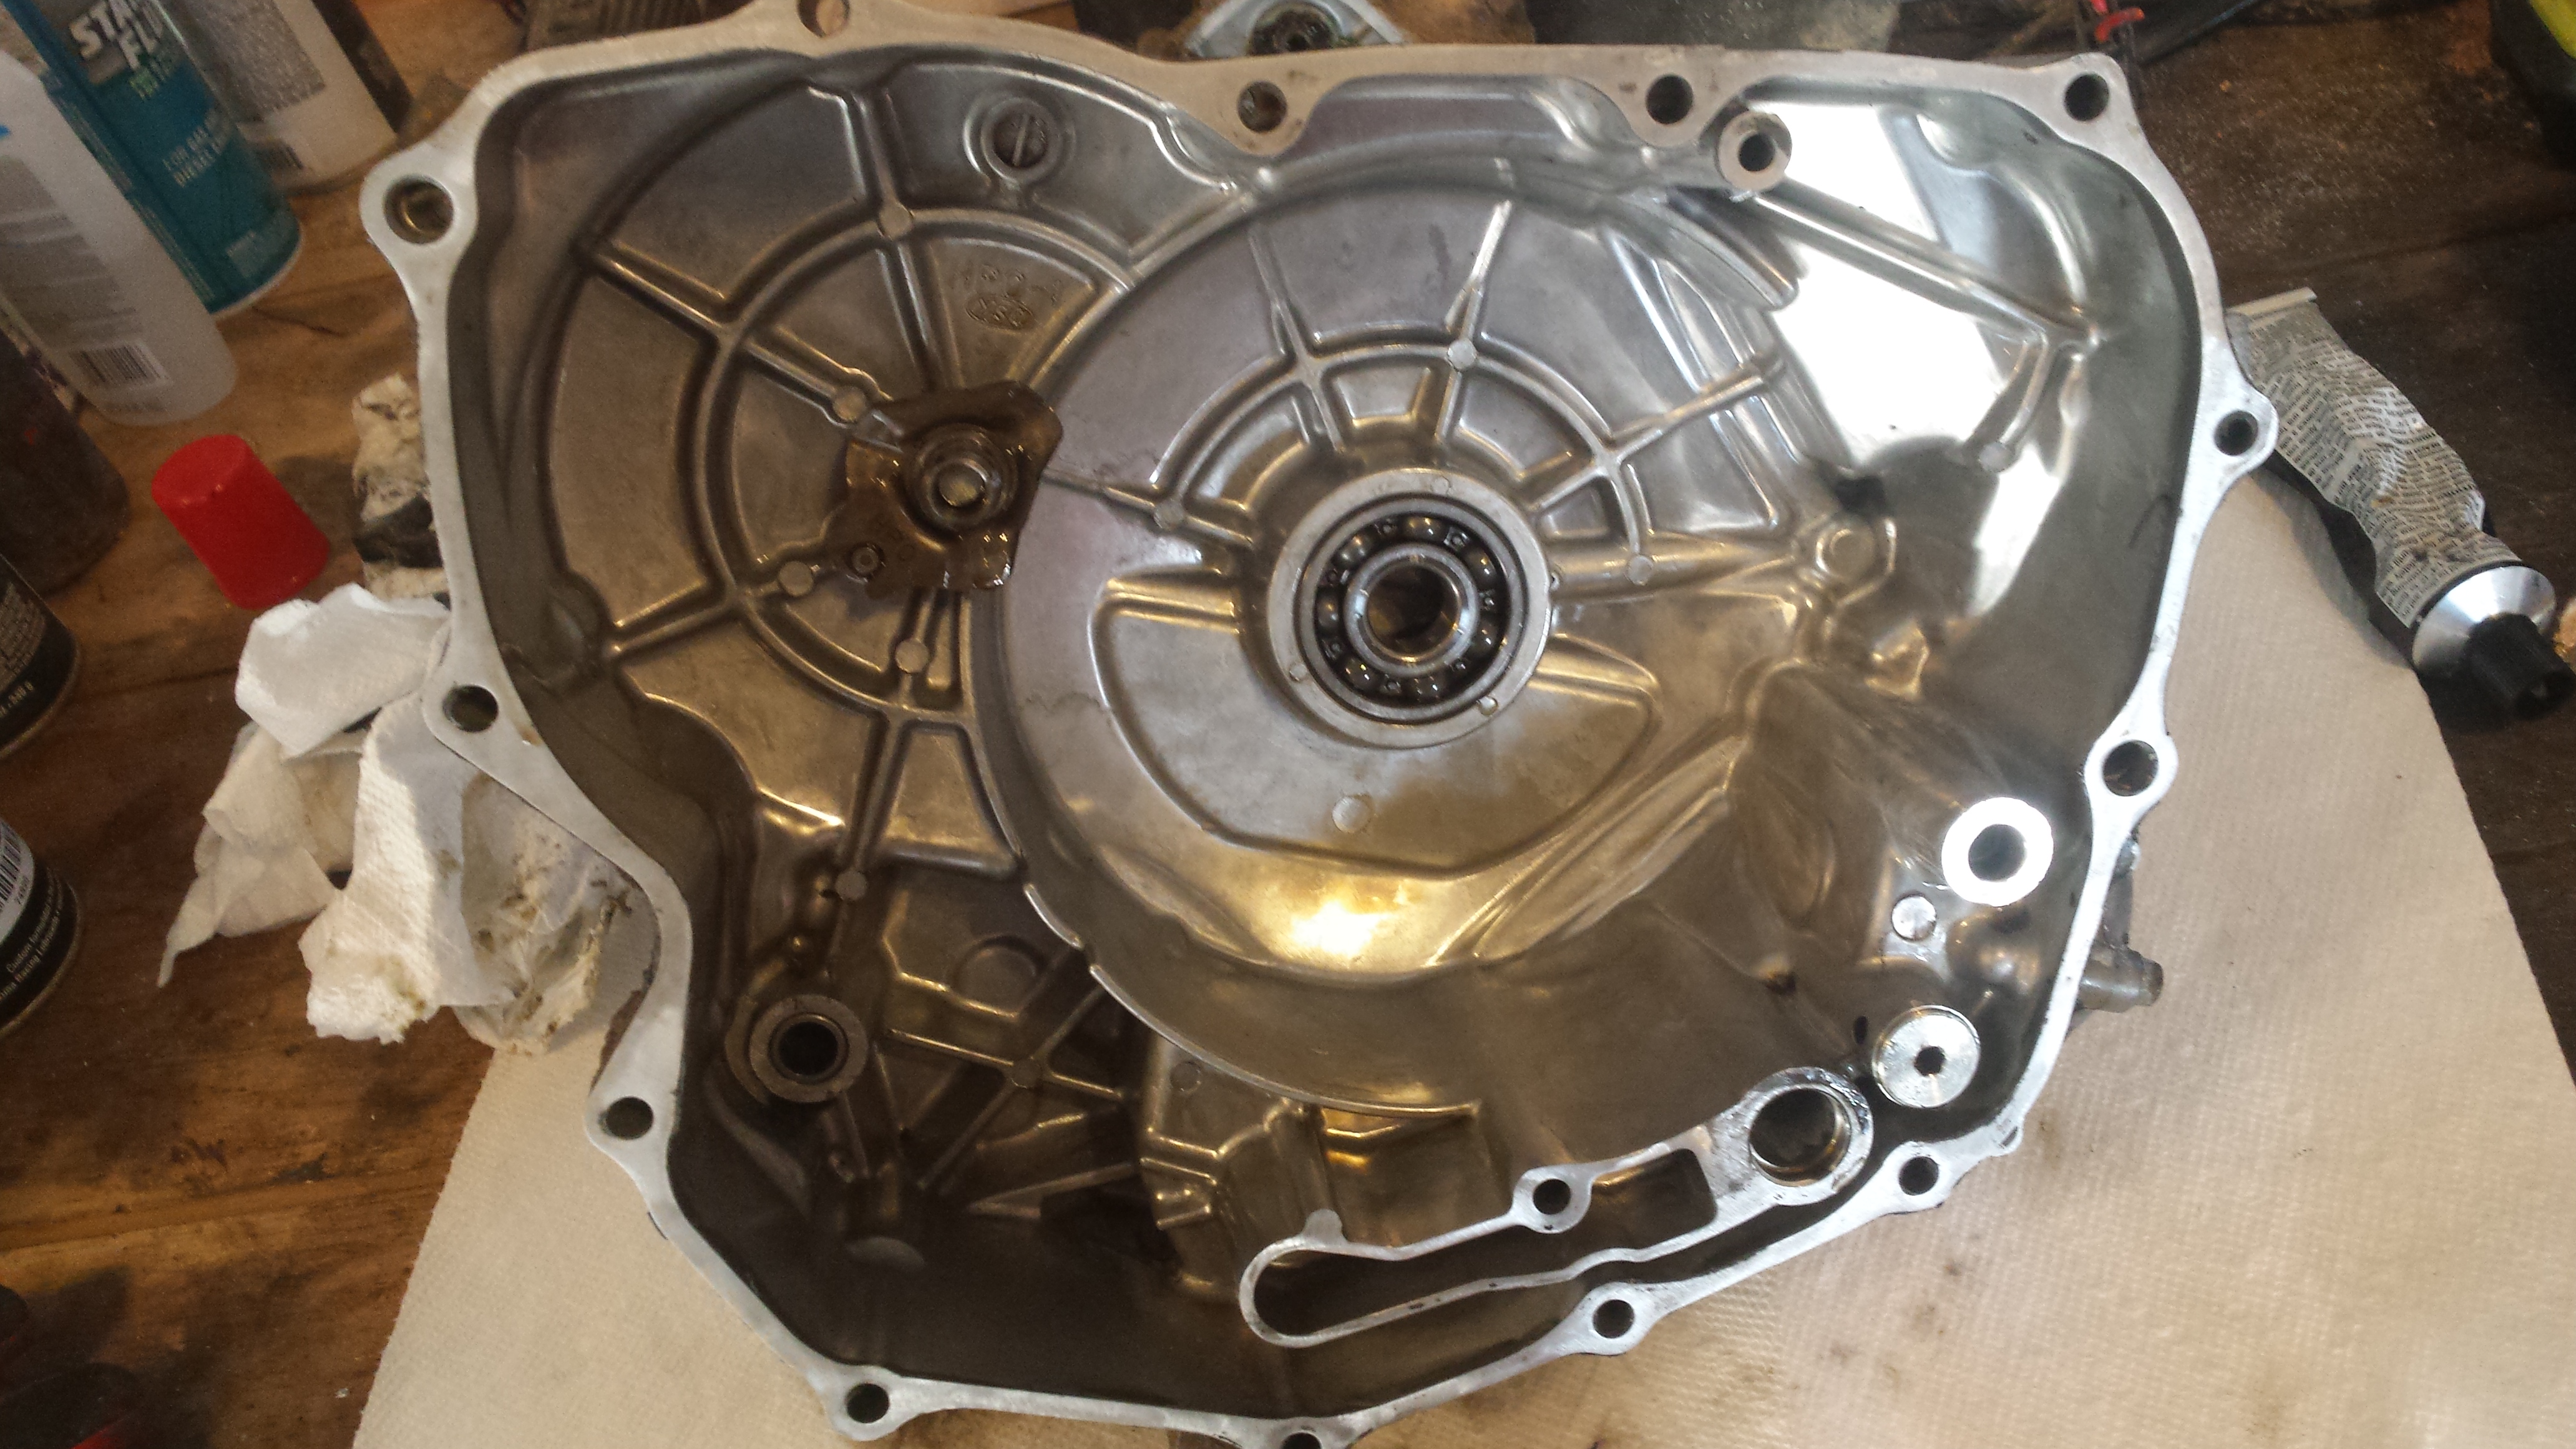
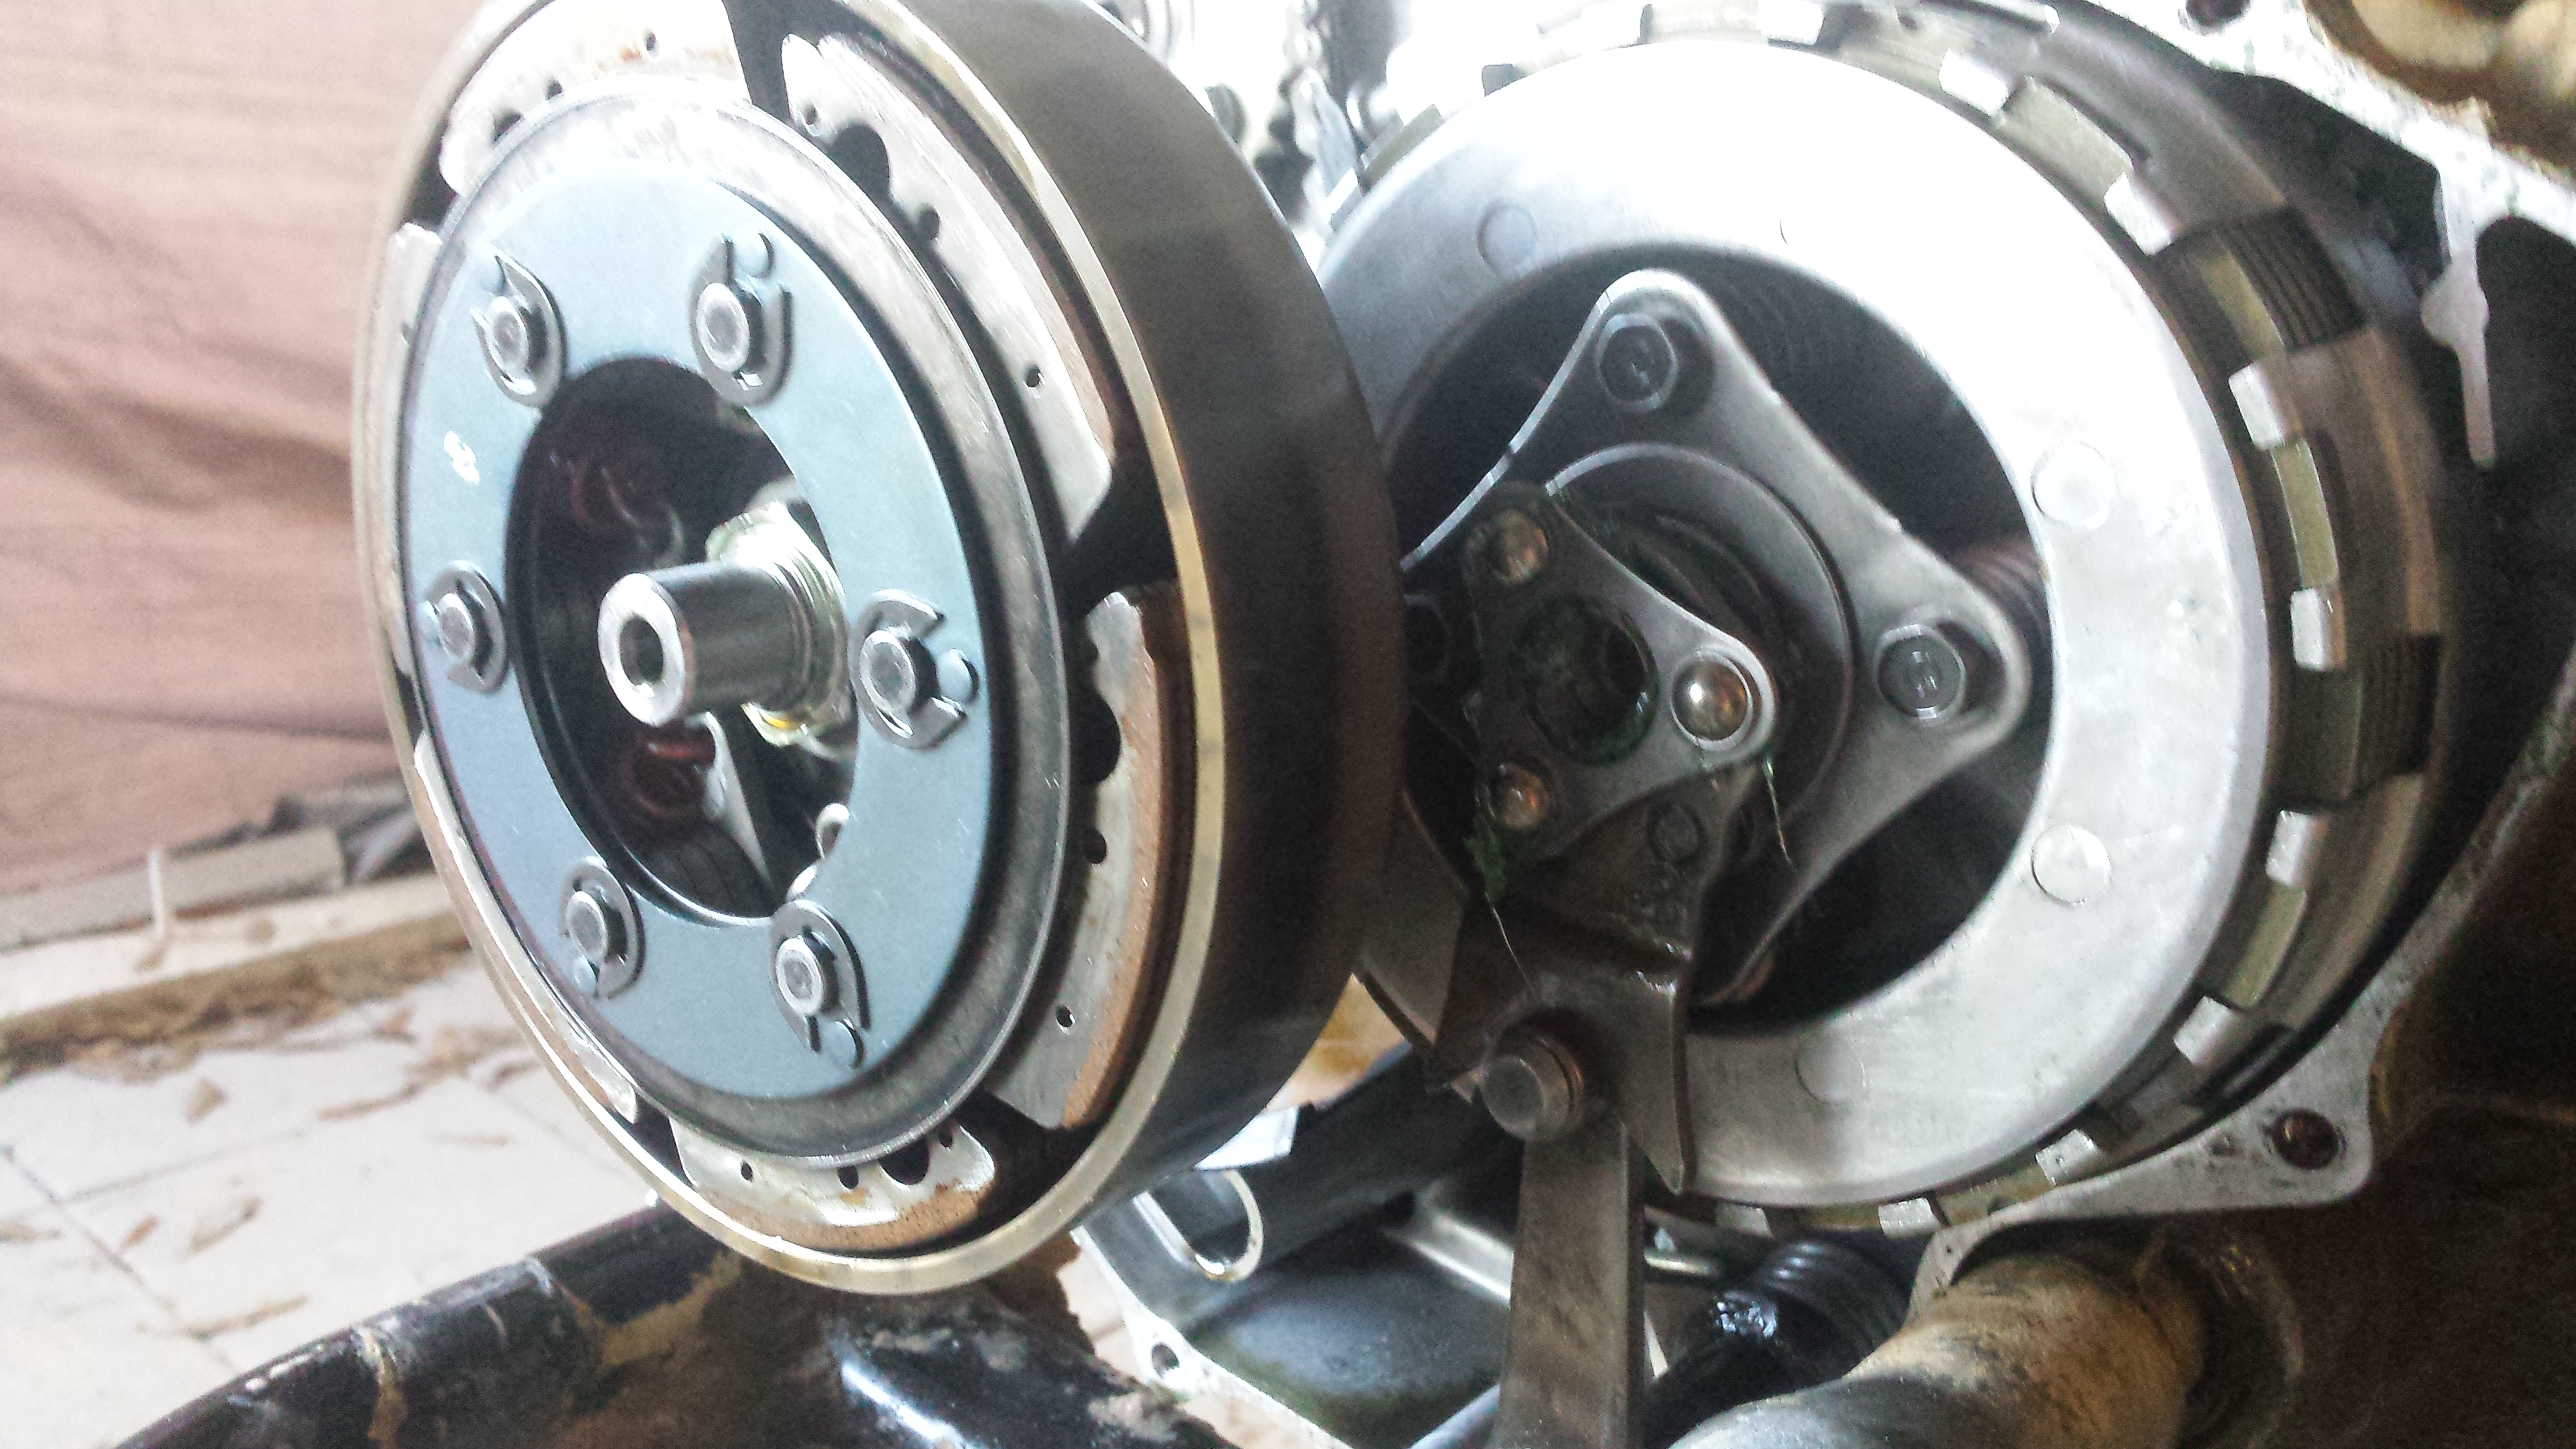
Here you can see the stock fan in place and the front cover of the engine which needs to be removed.
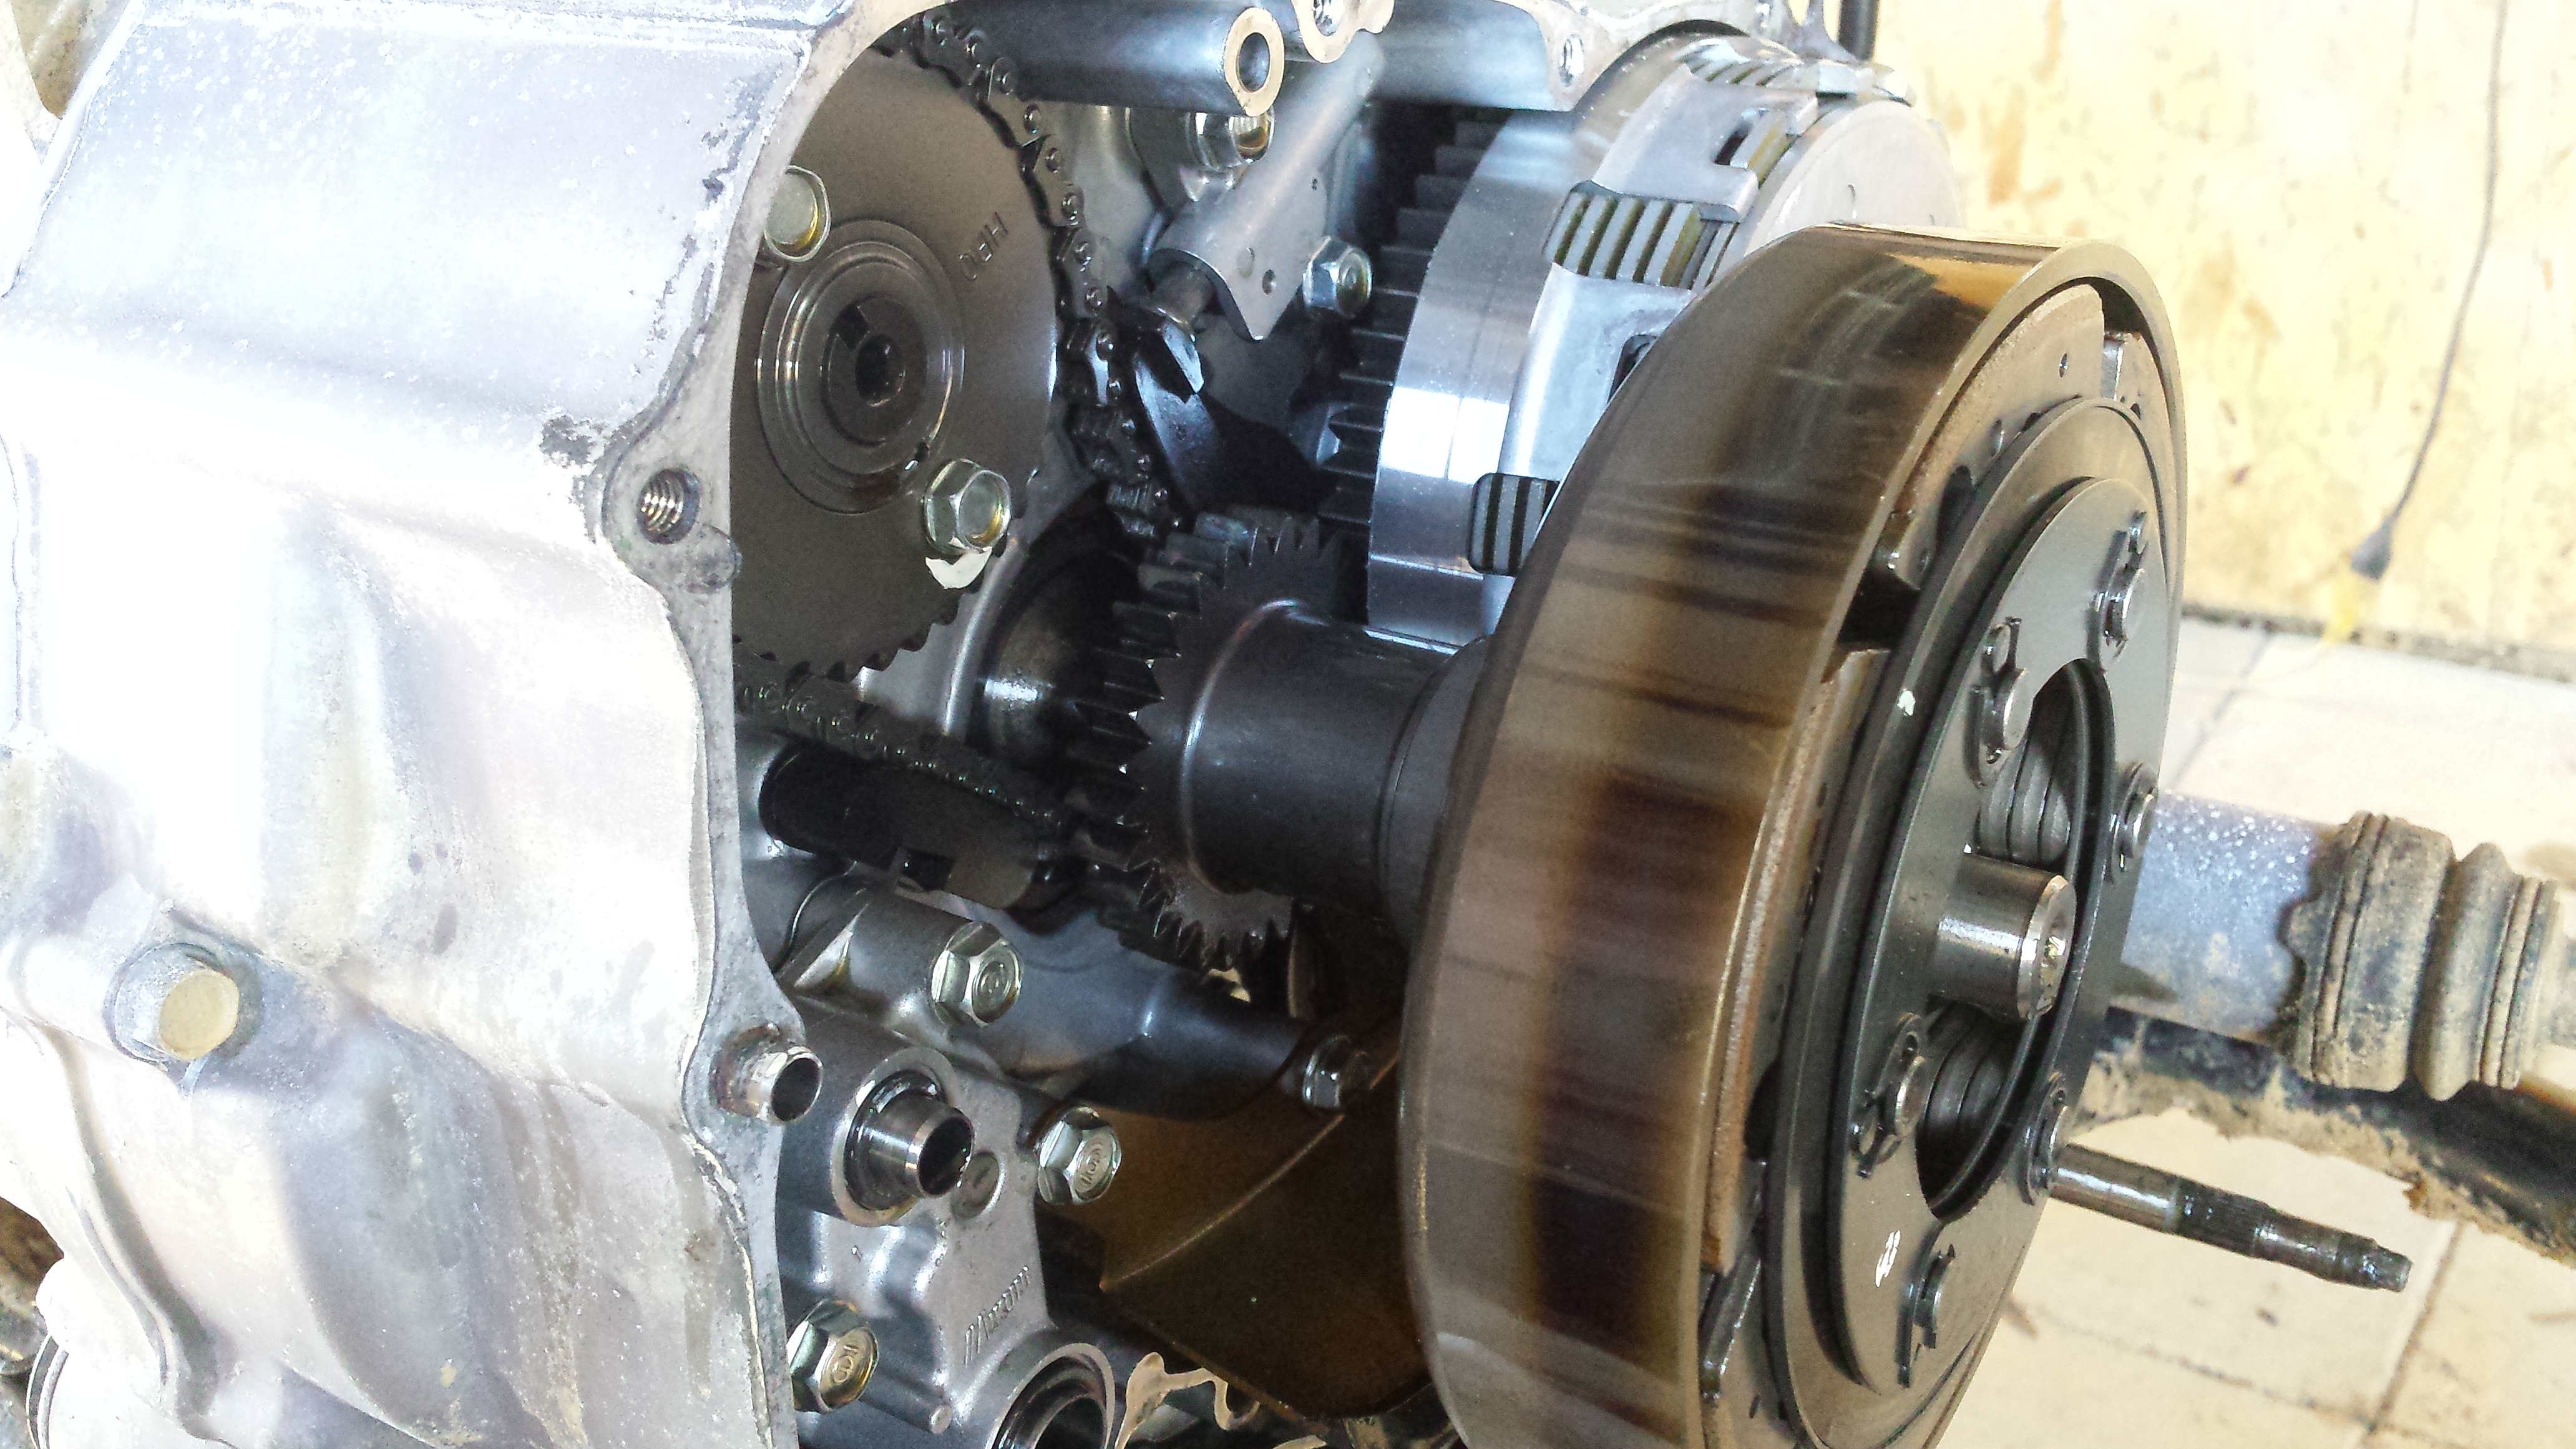
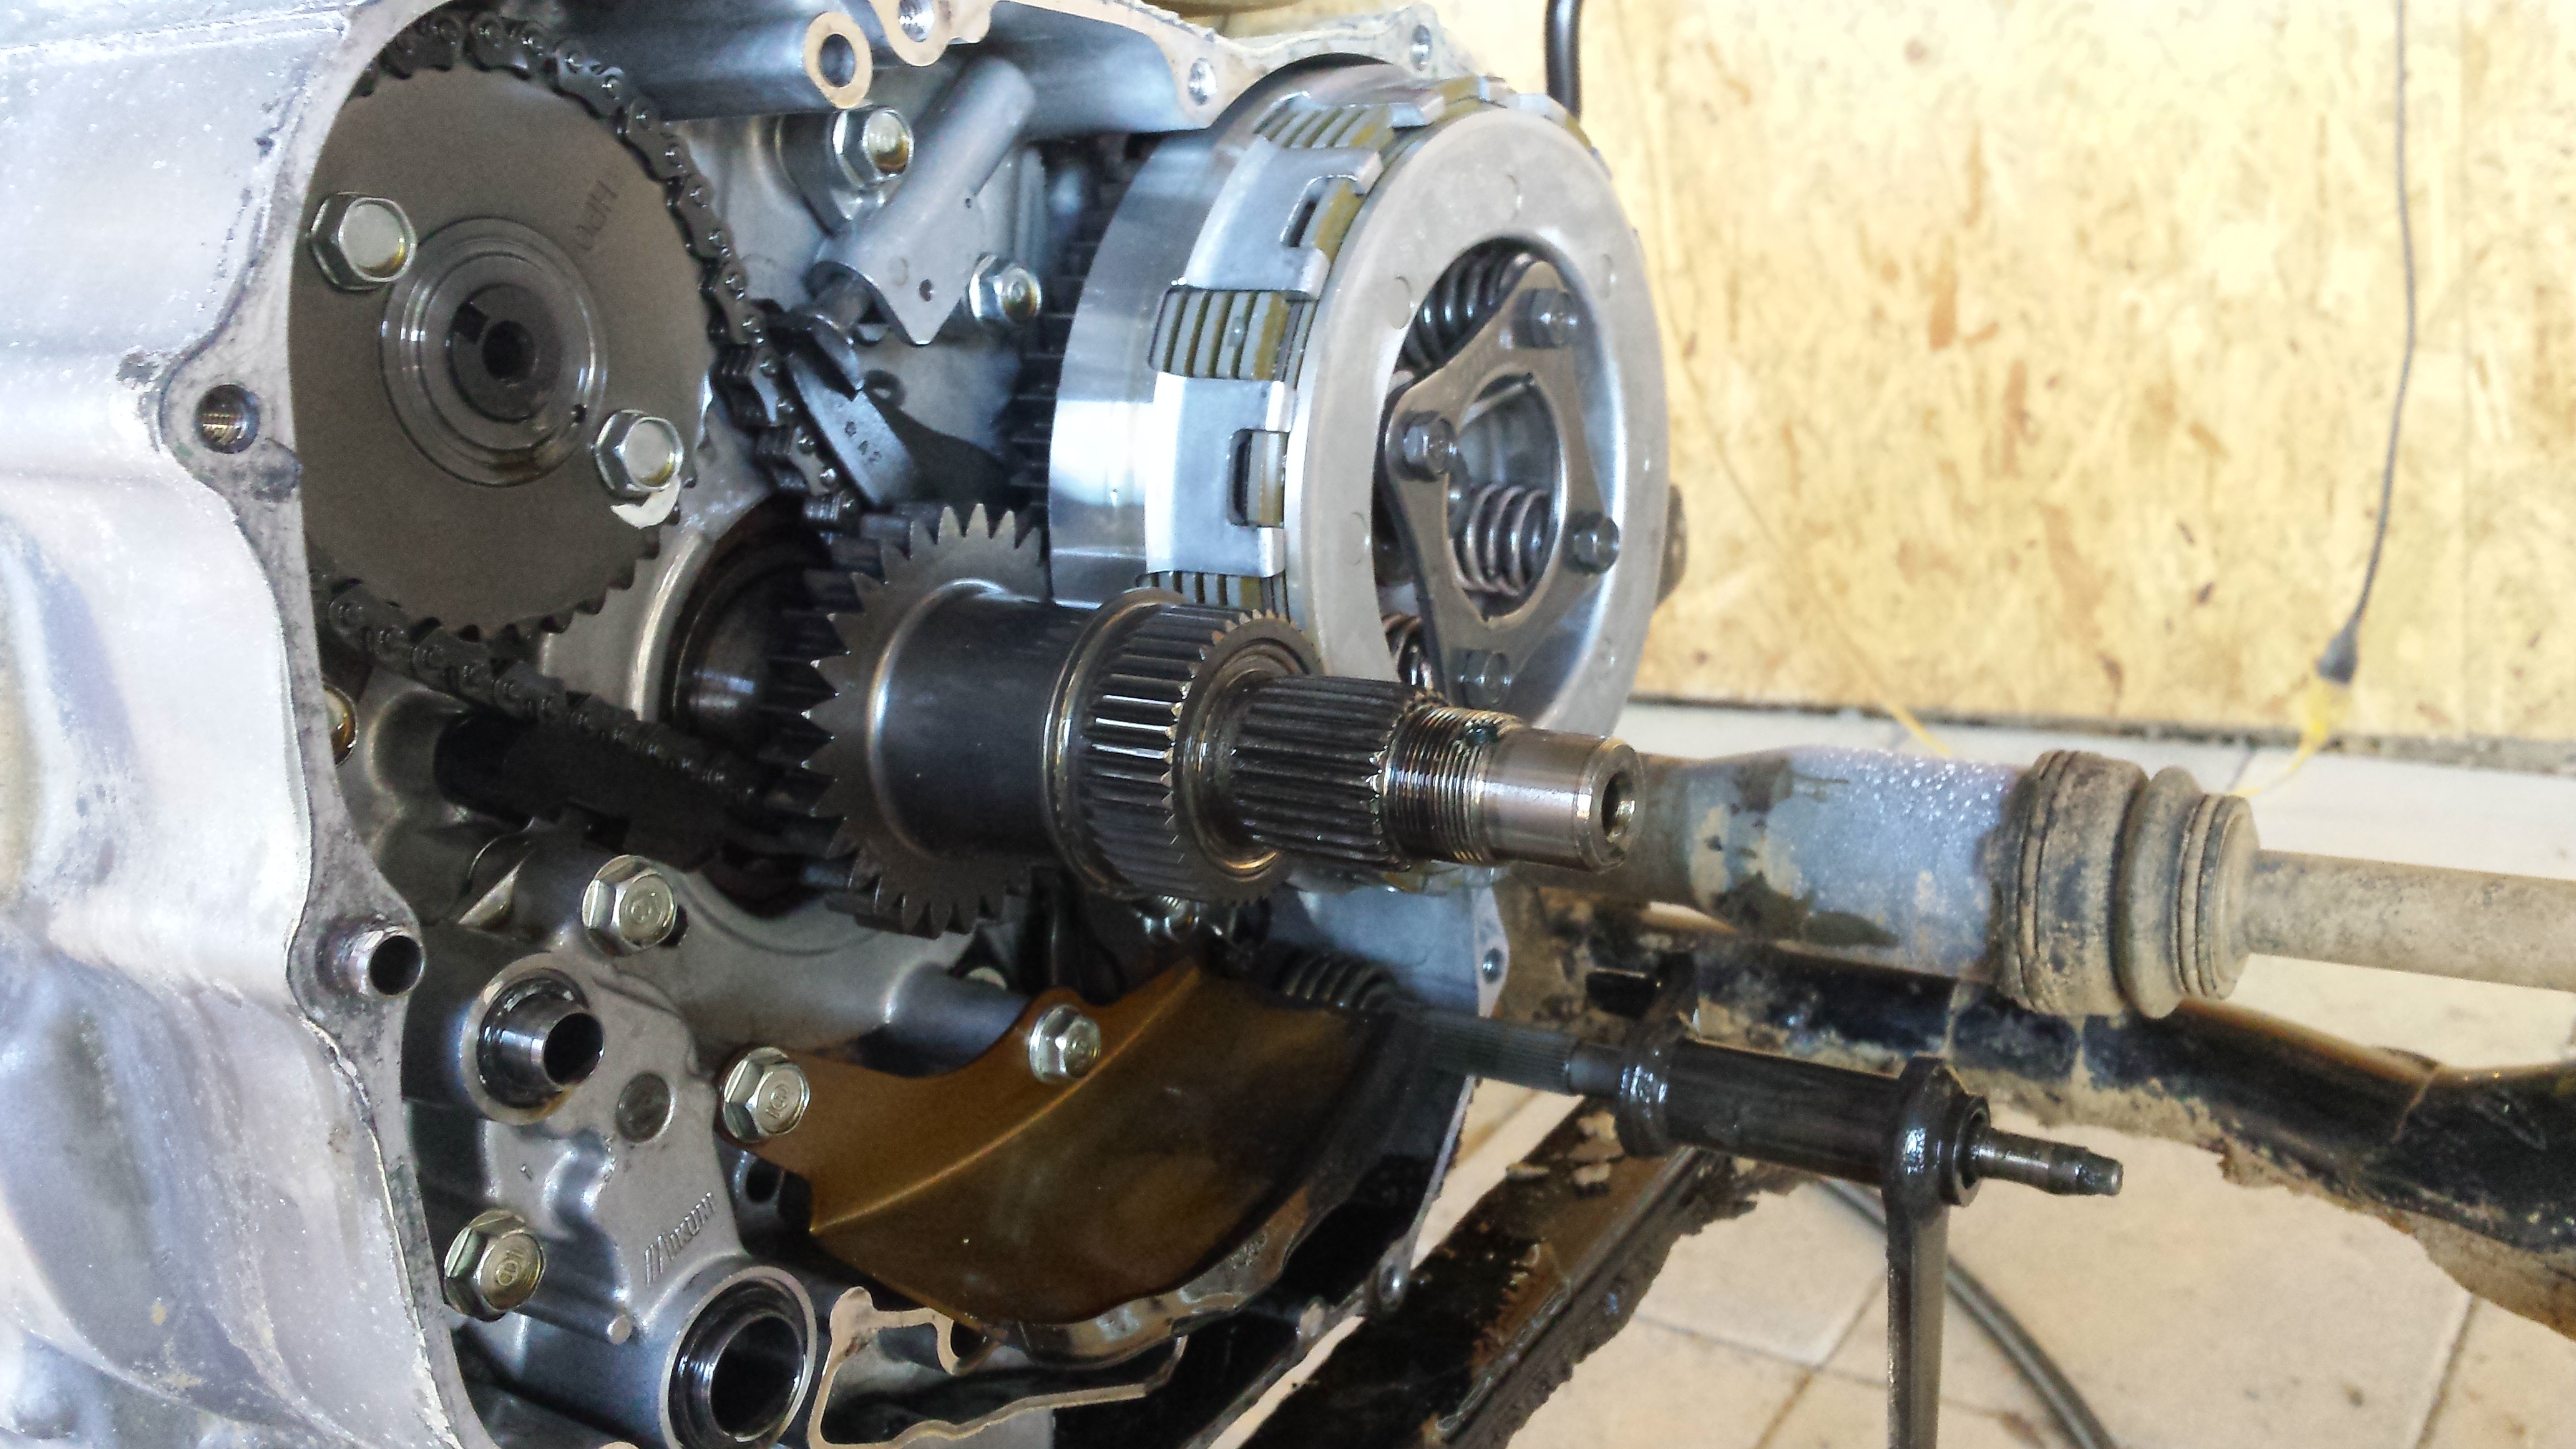
This is your centrifigal clutch, and behind it is where the small gear will be exchanged for the new one.
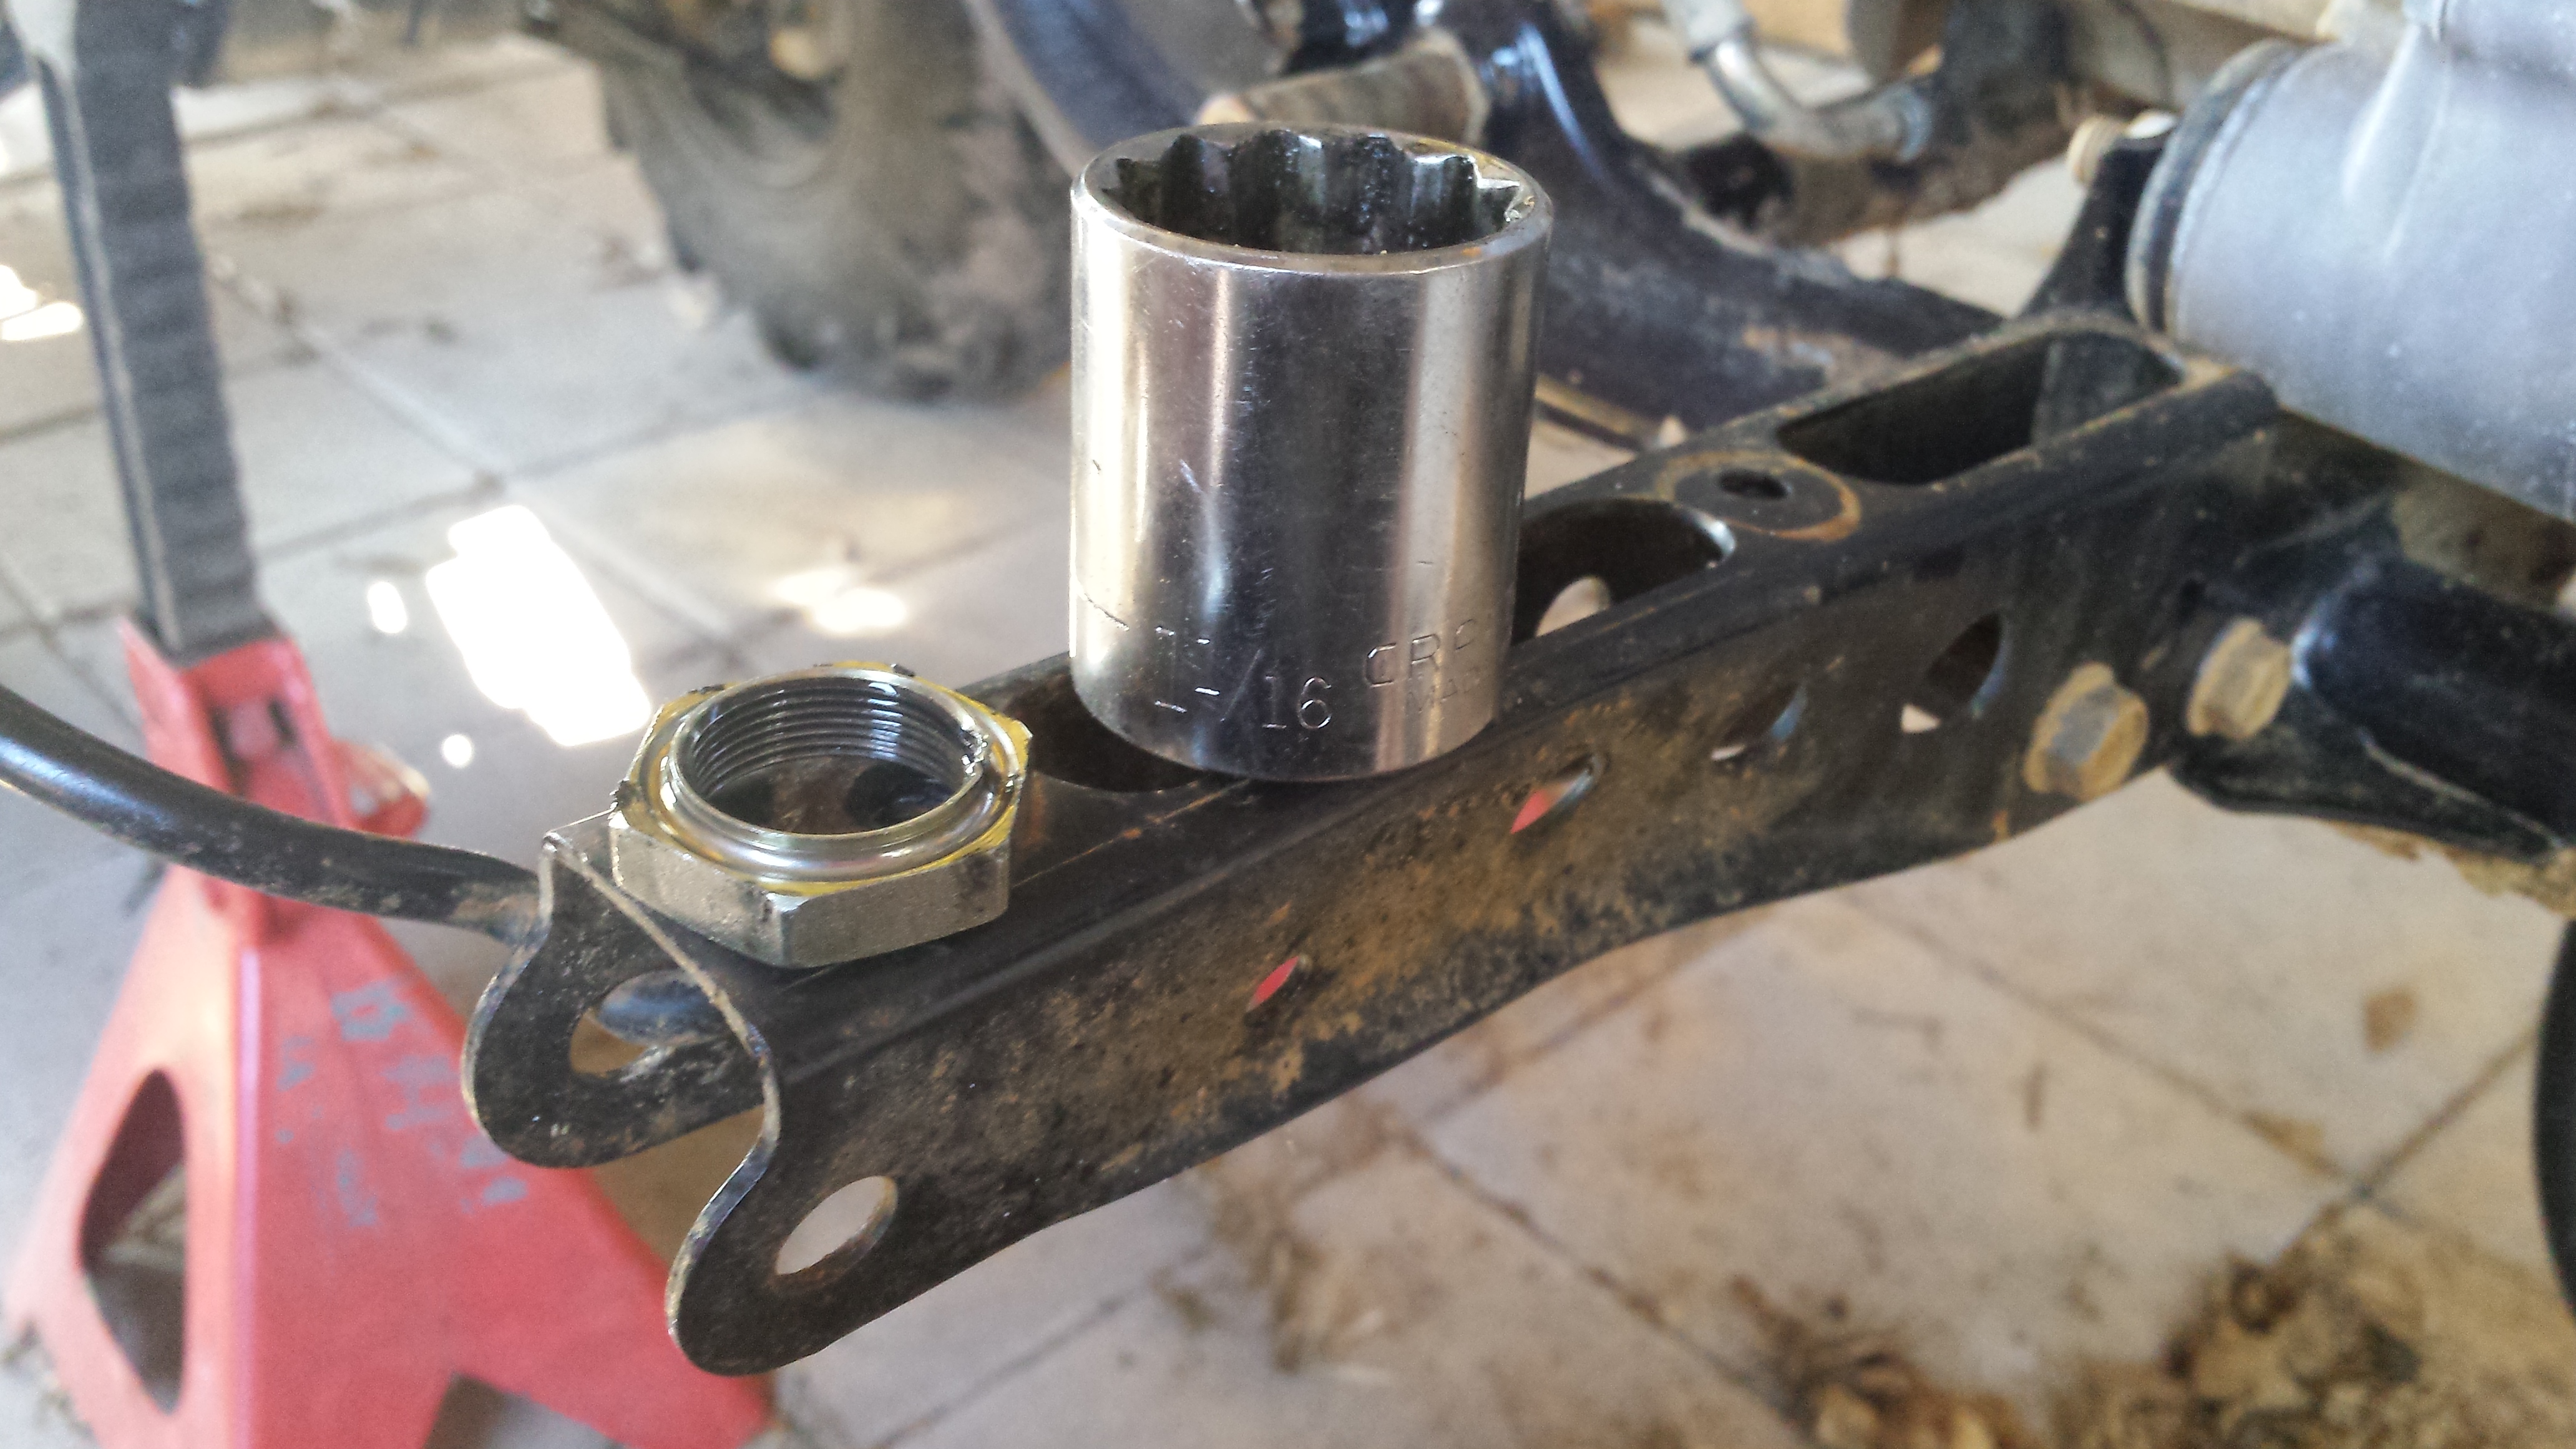
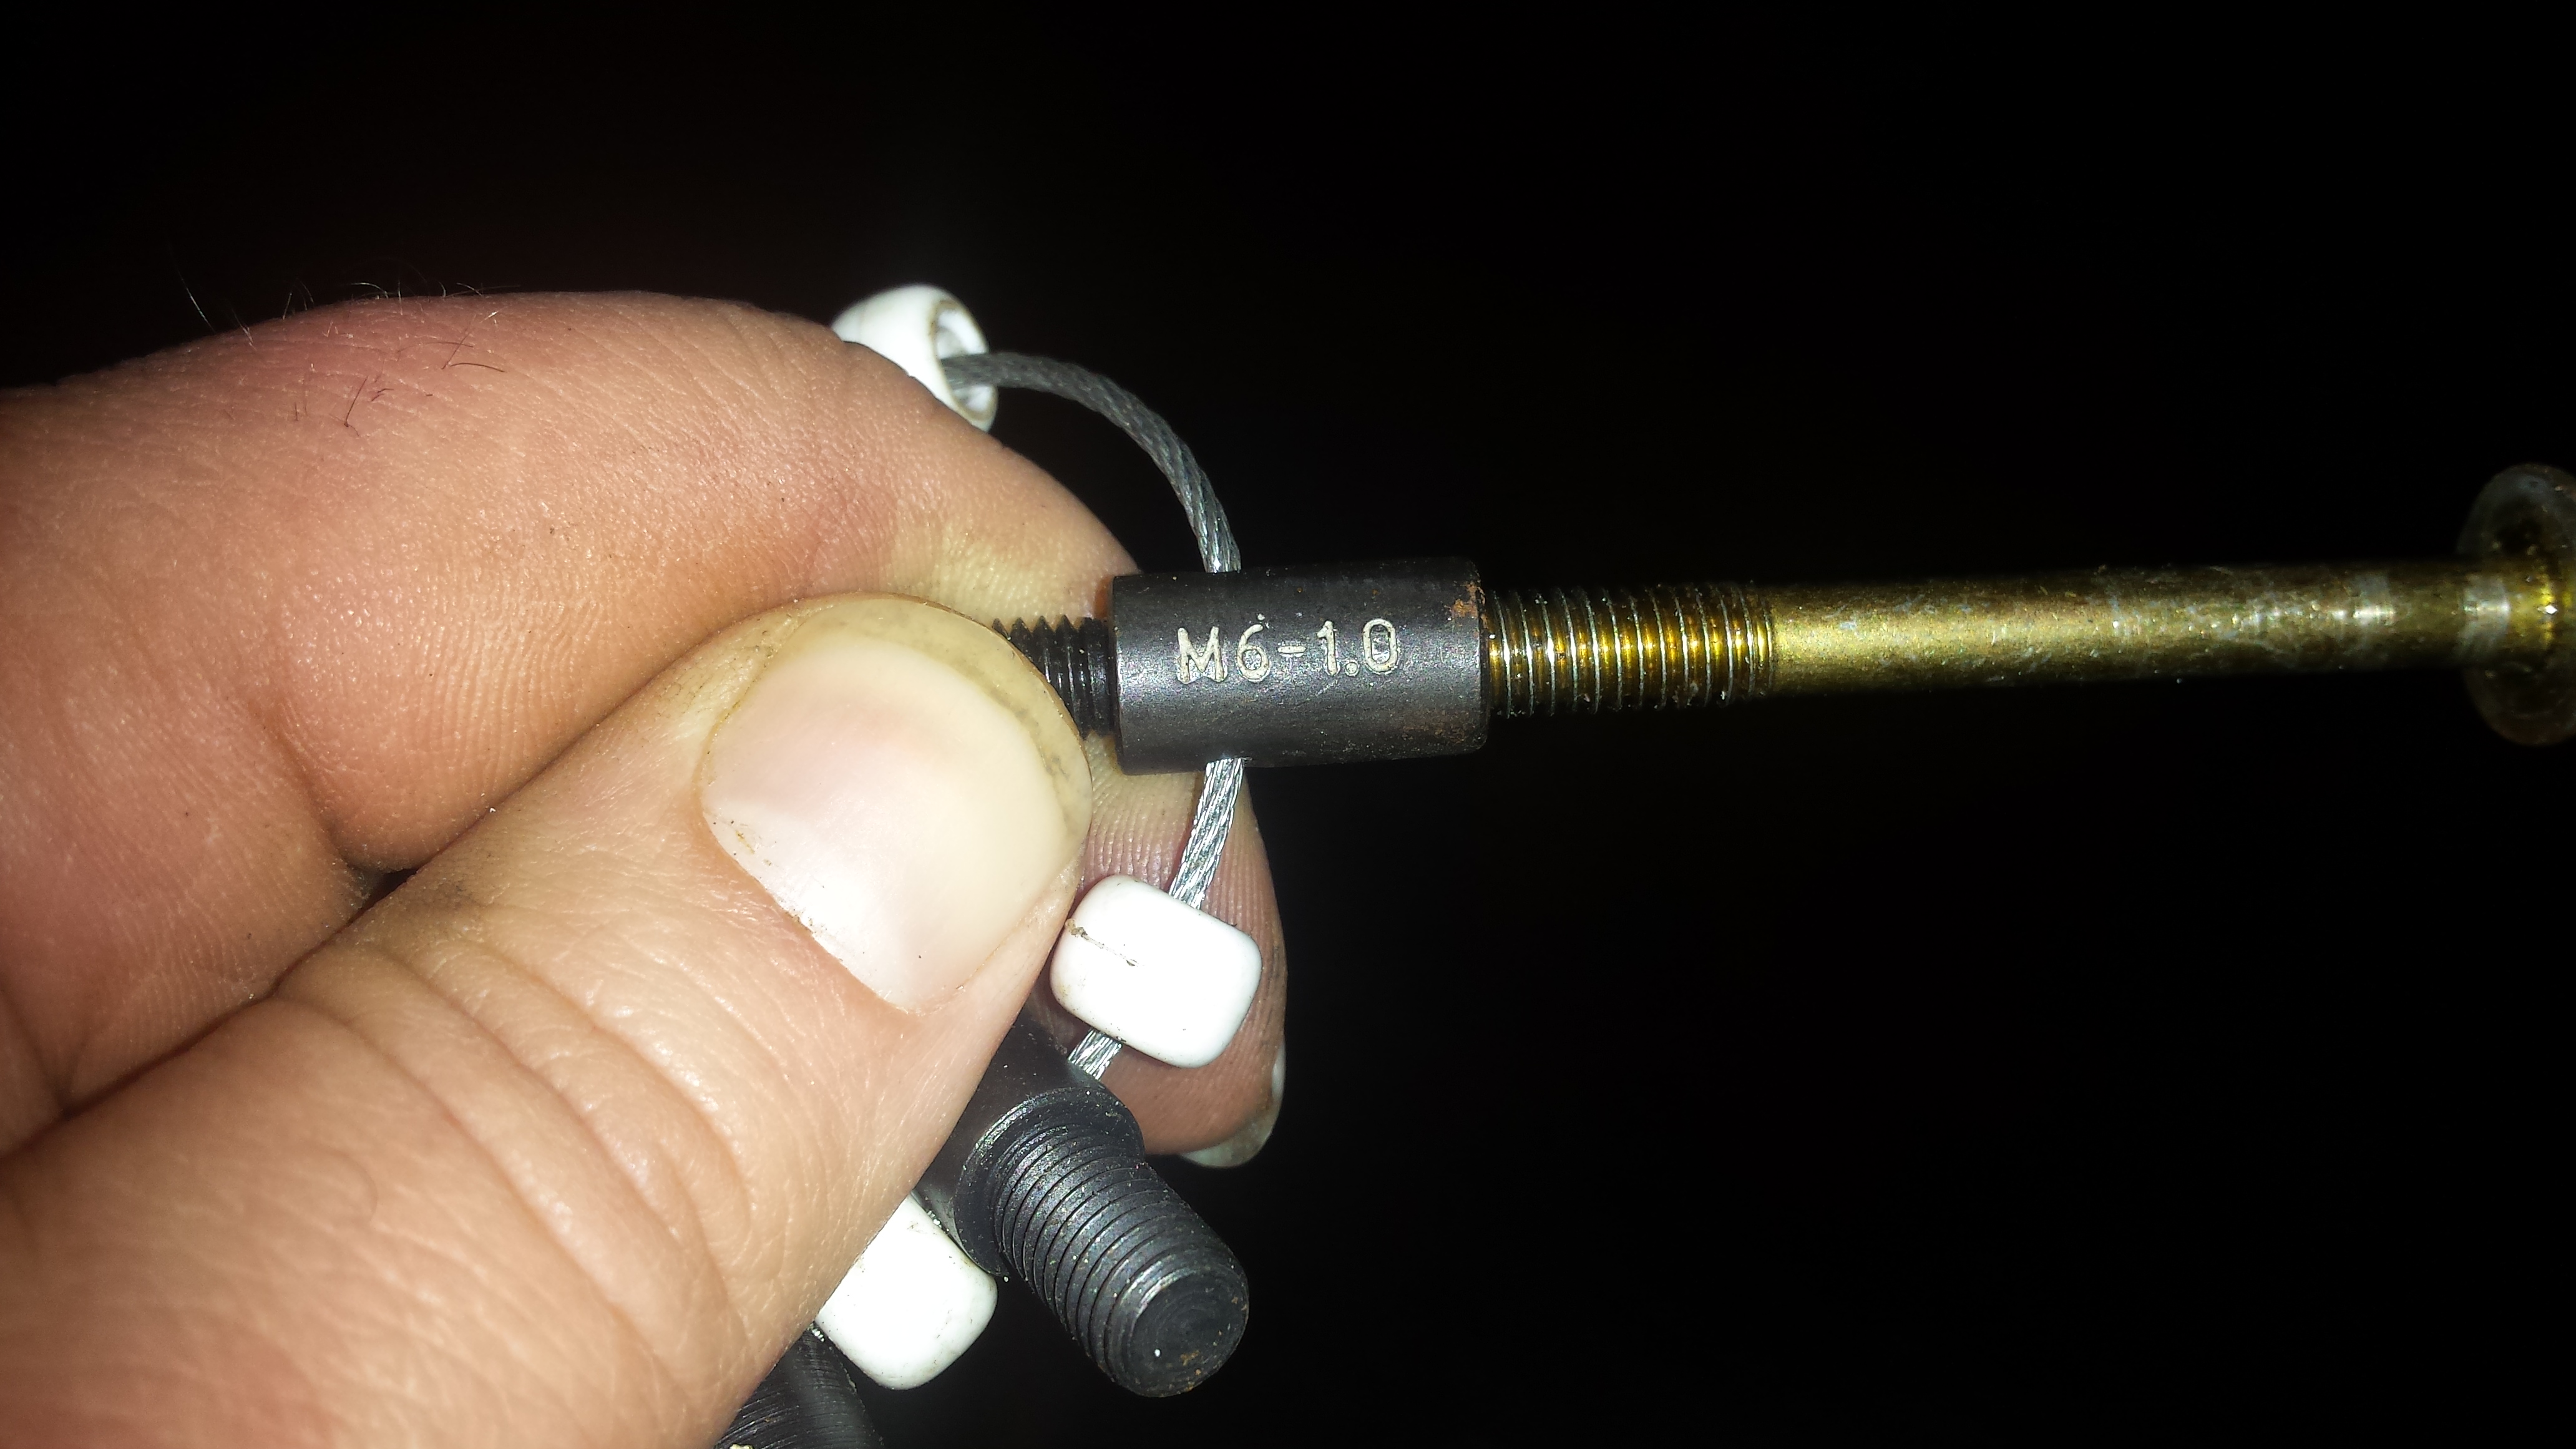
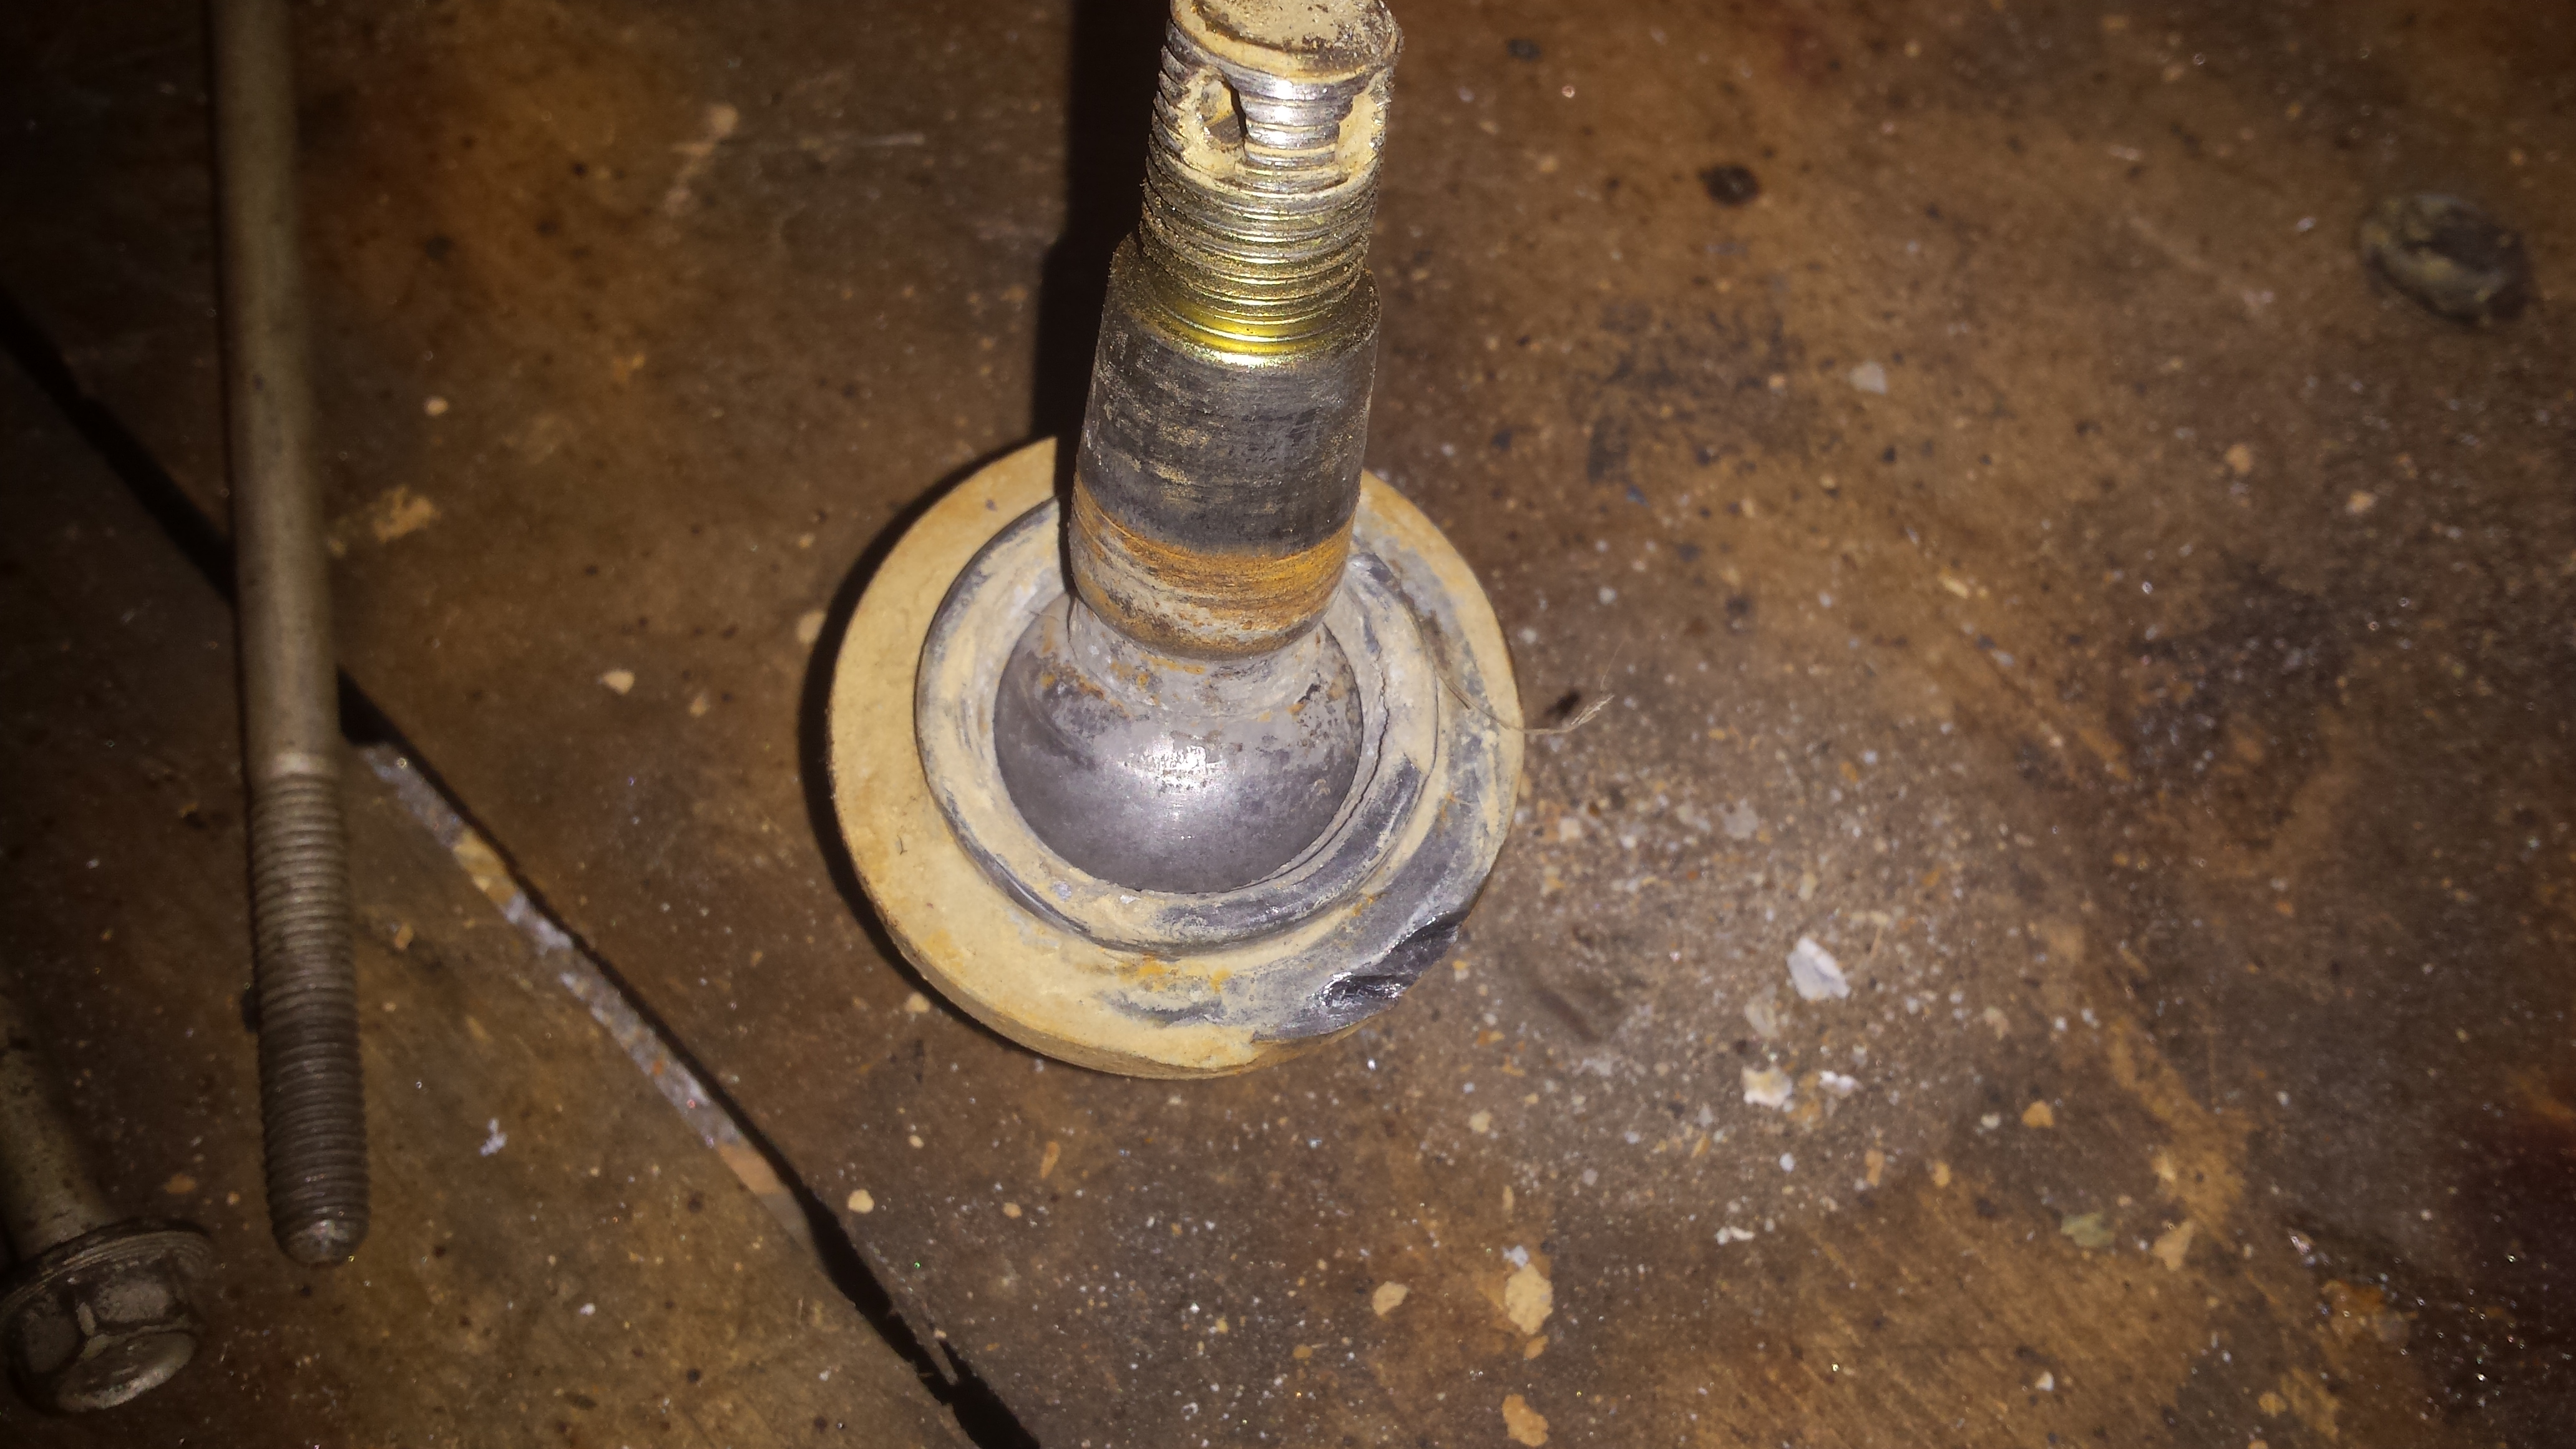
Need to remove the staked nut. This is easily done with an impact however I found out its better to have new nuts on hand because it tends to mess up the bent section on the used nut.
It just slides right off
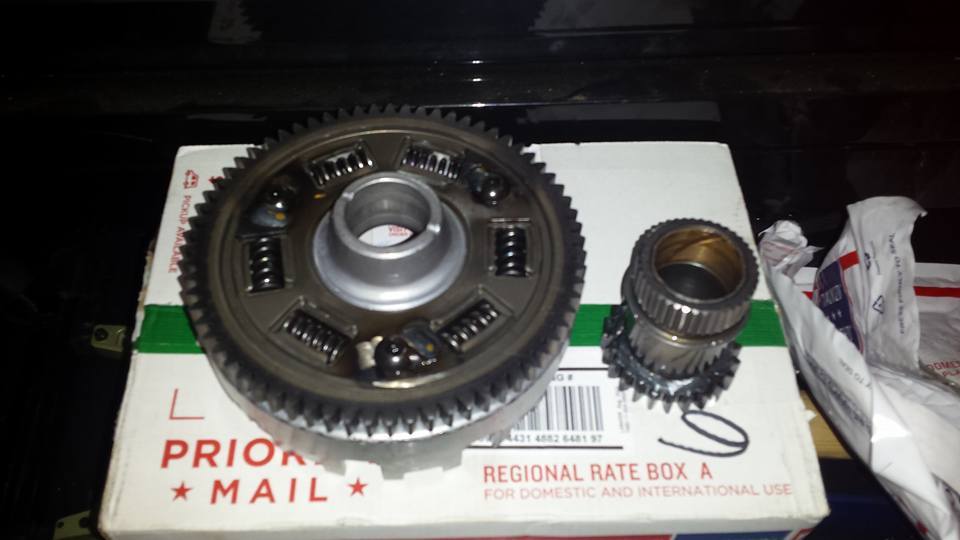
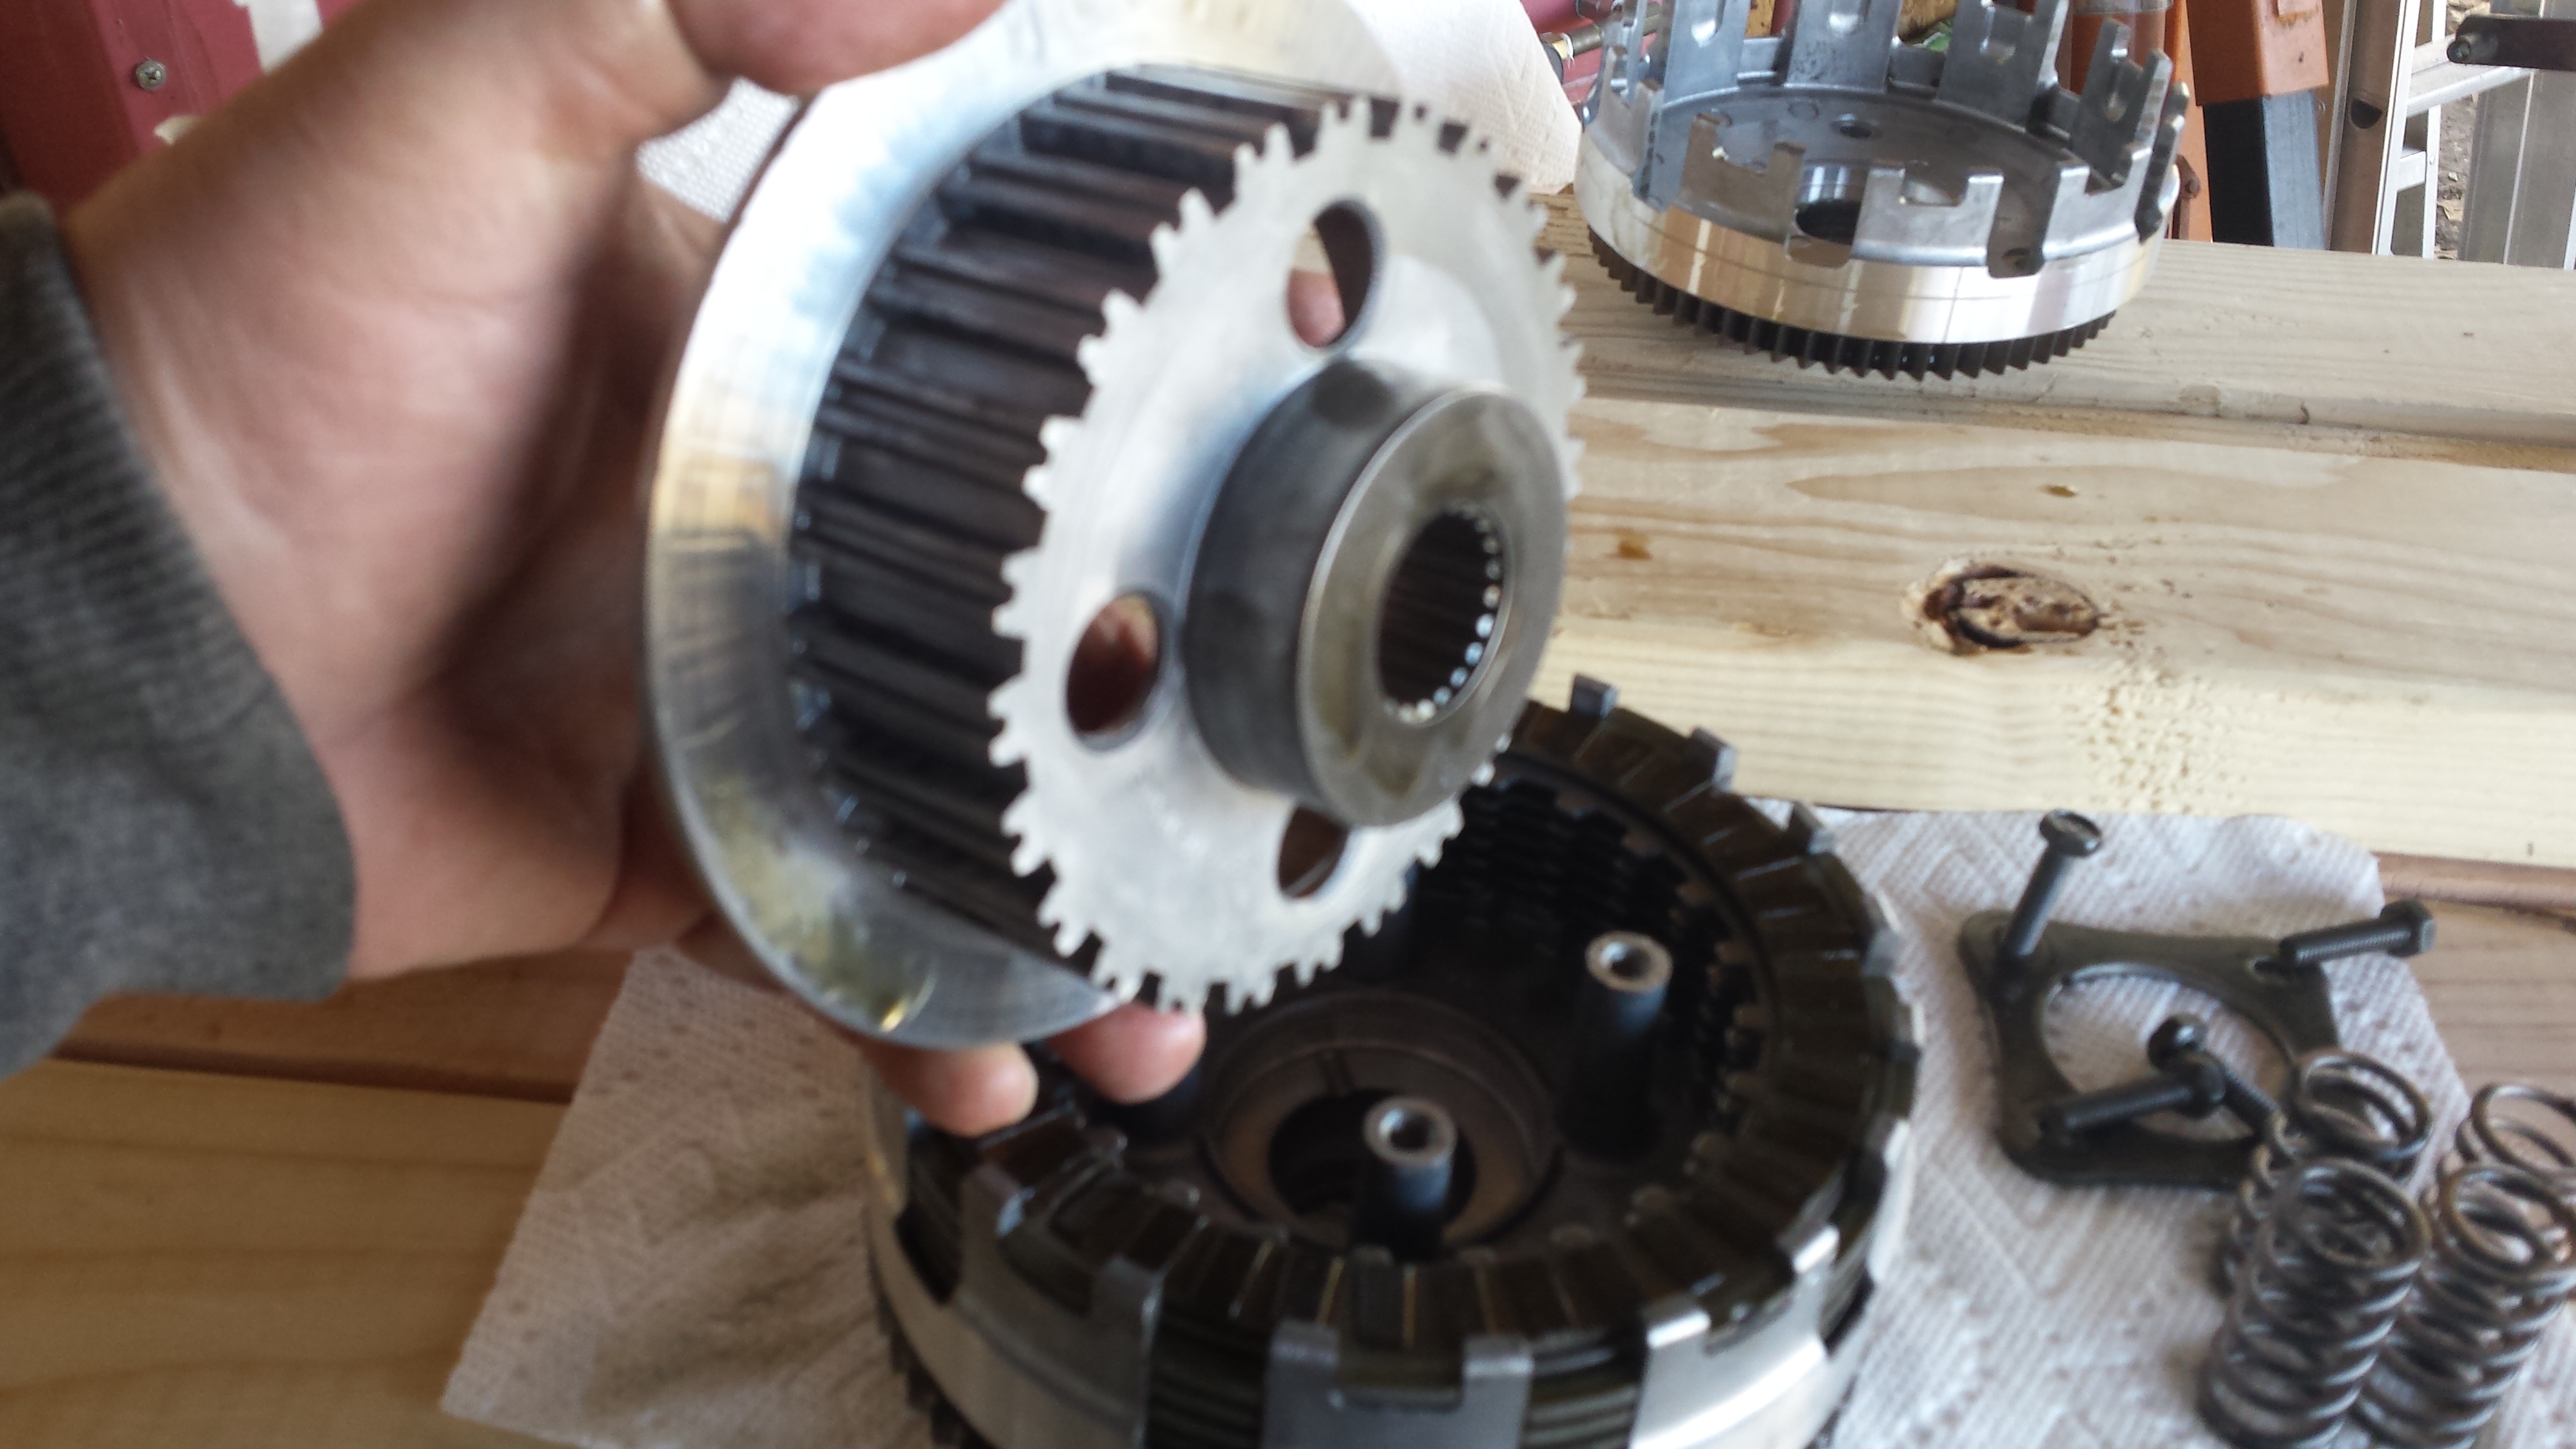
Stock on the right, 35% on the left. This is the drive gear
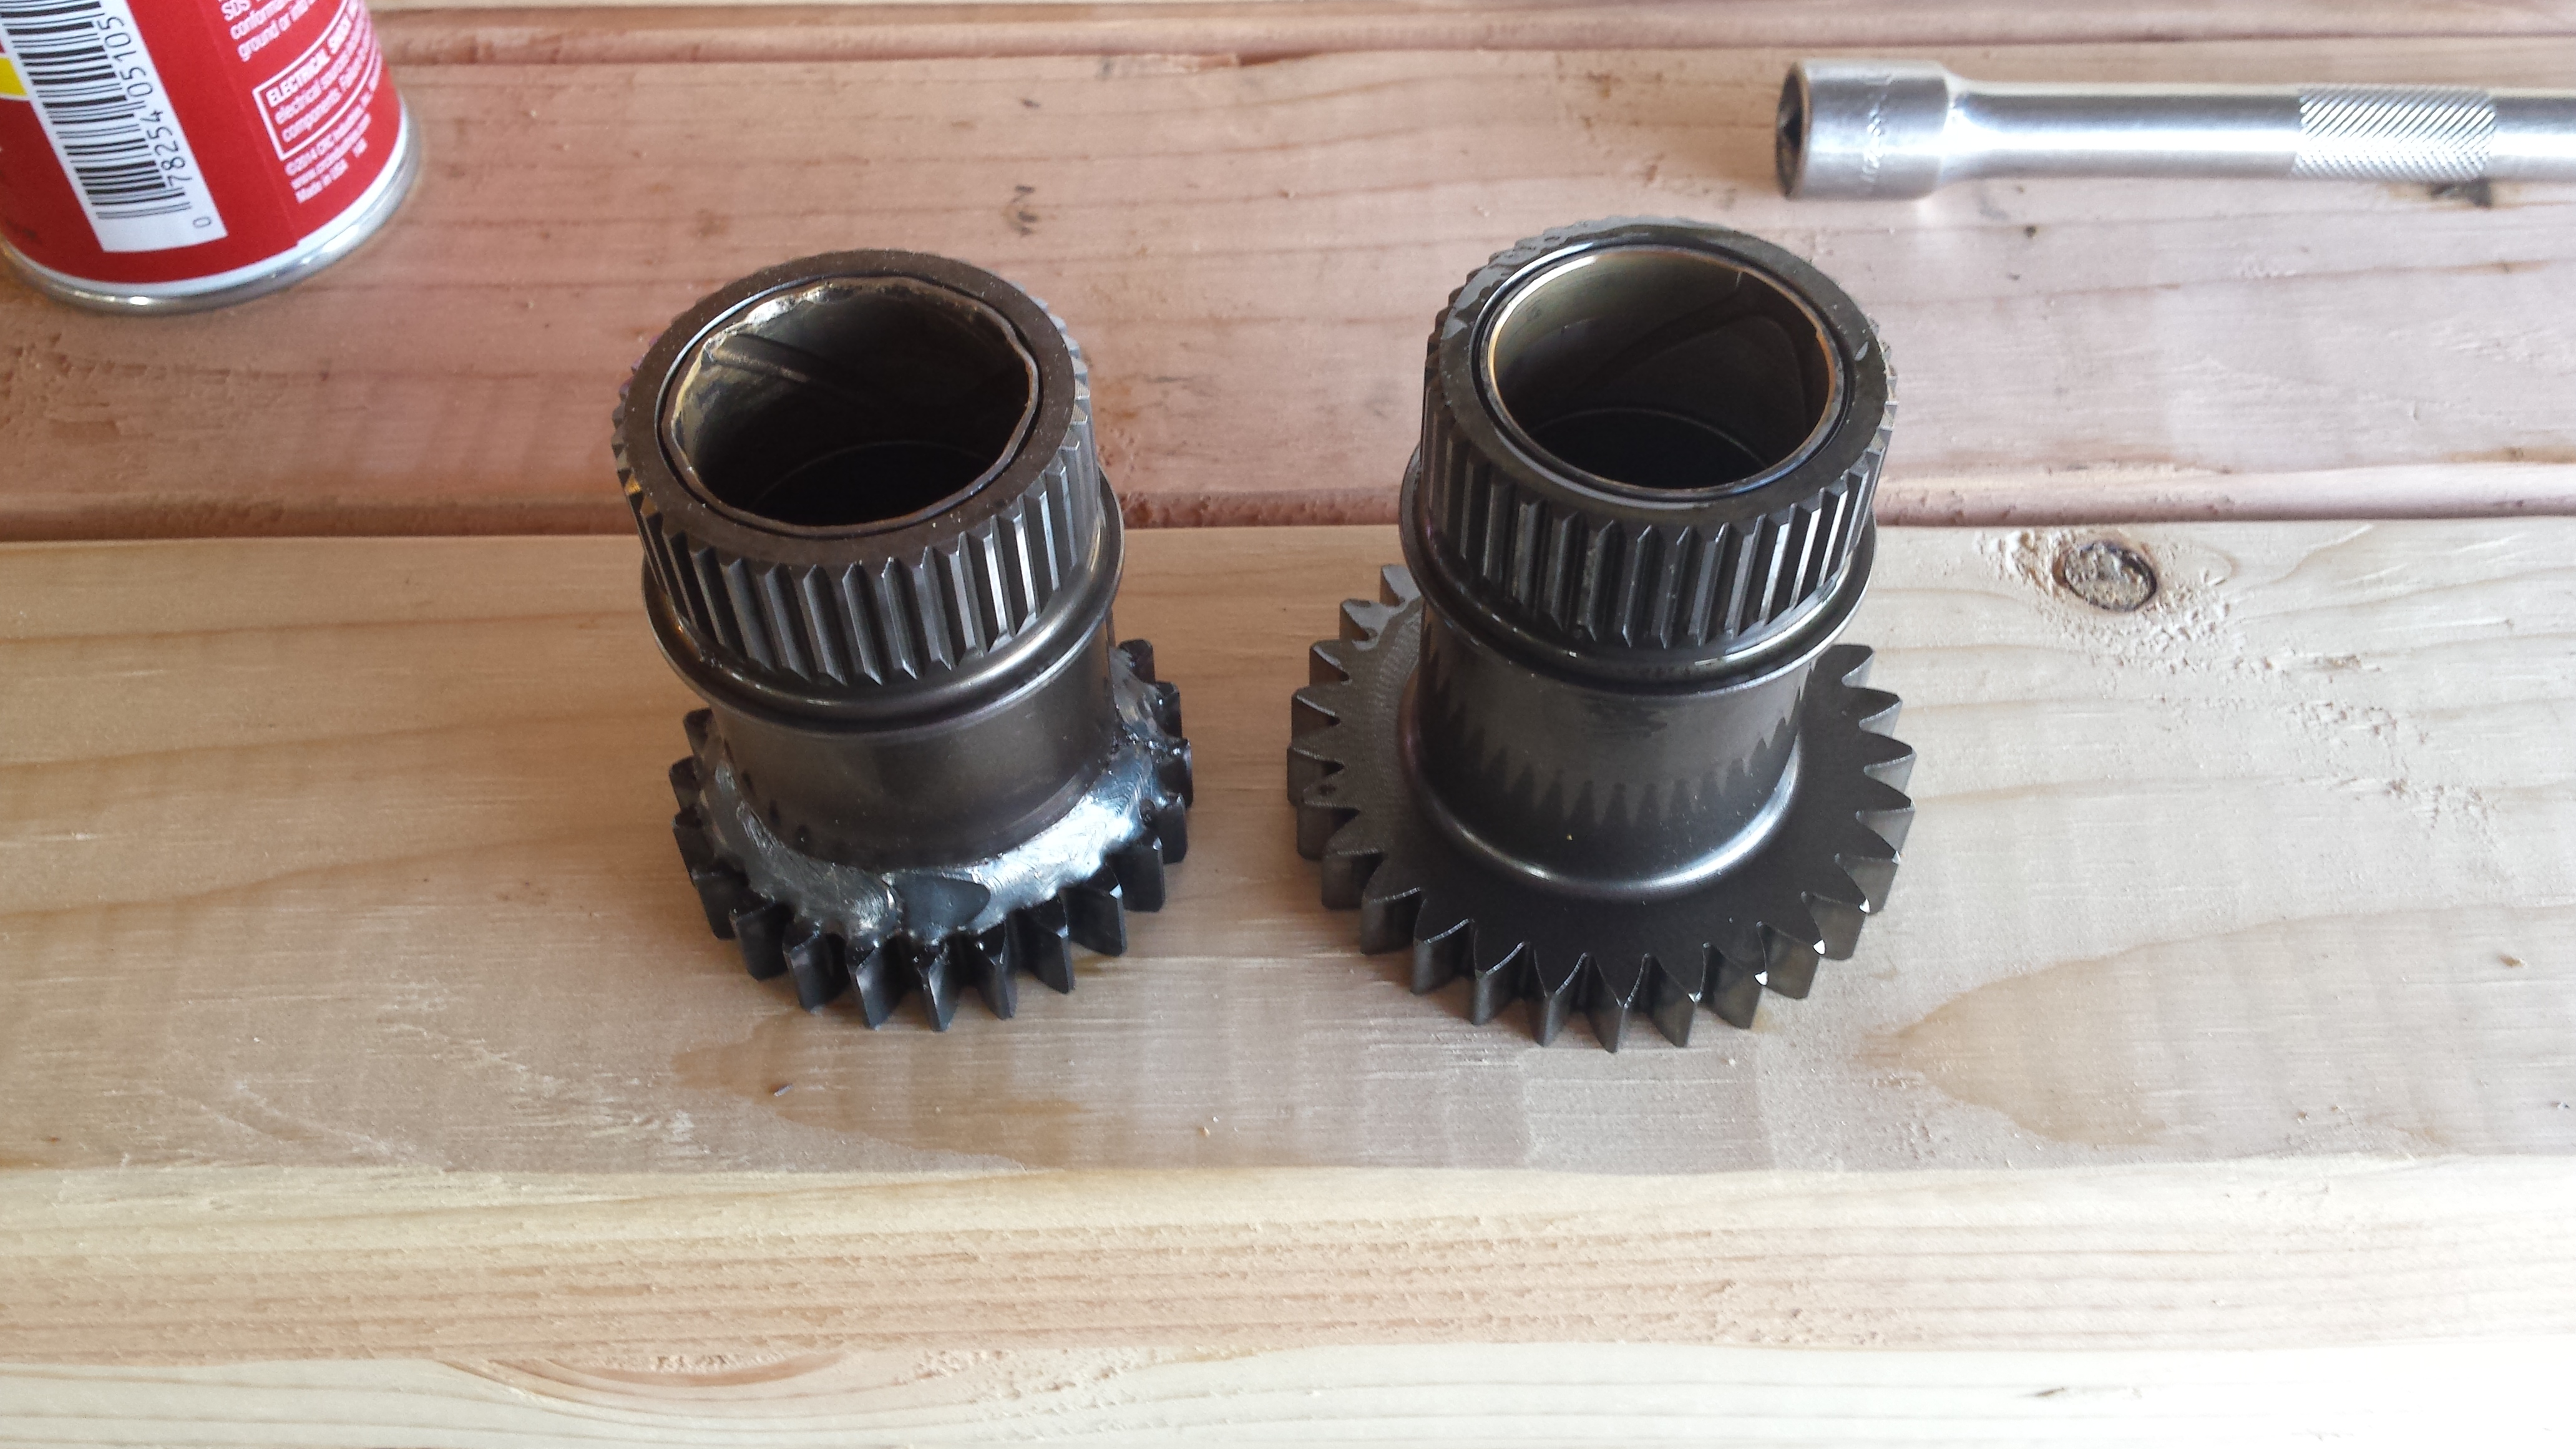
Stock on the right, 35% on the left. This is the driven gear.
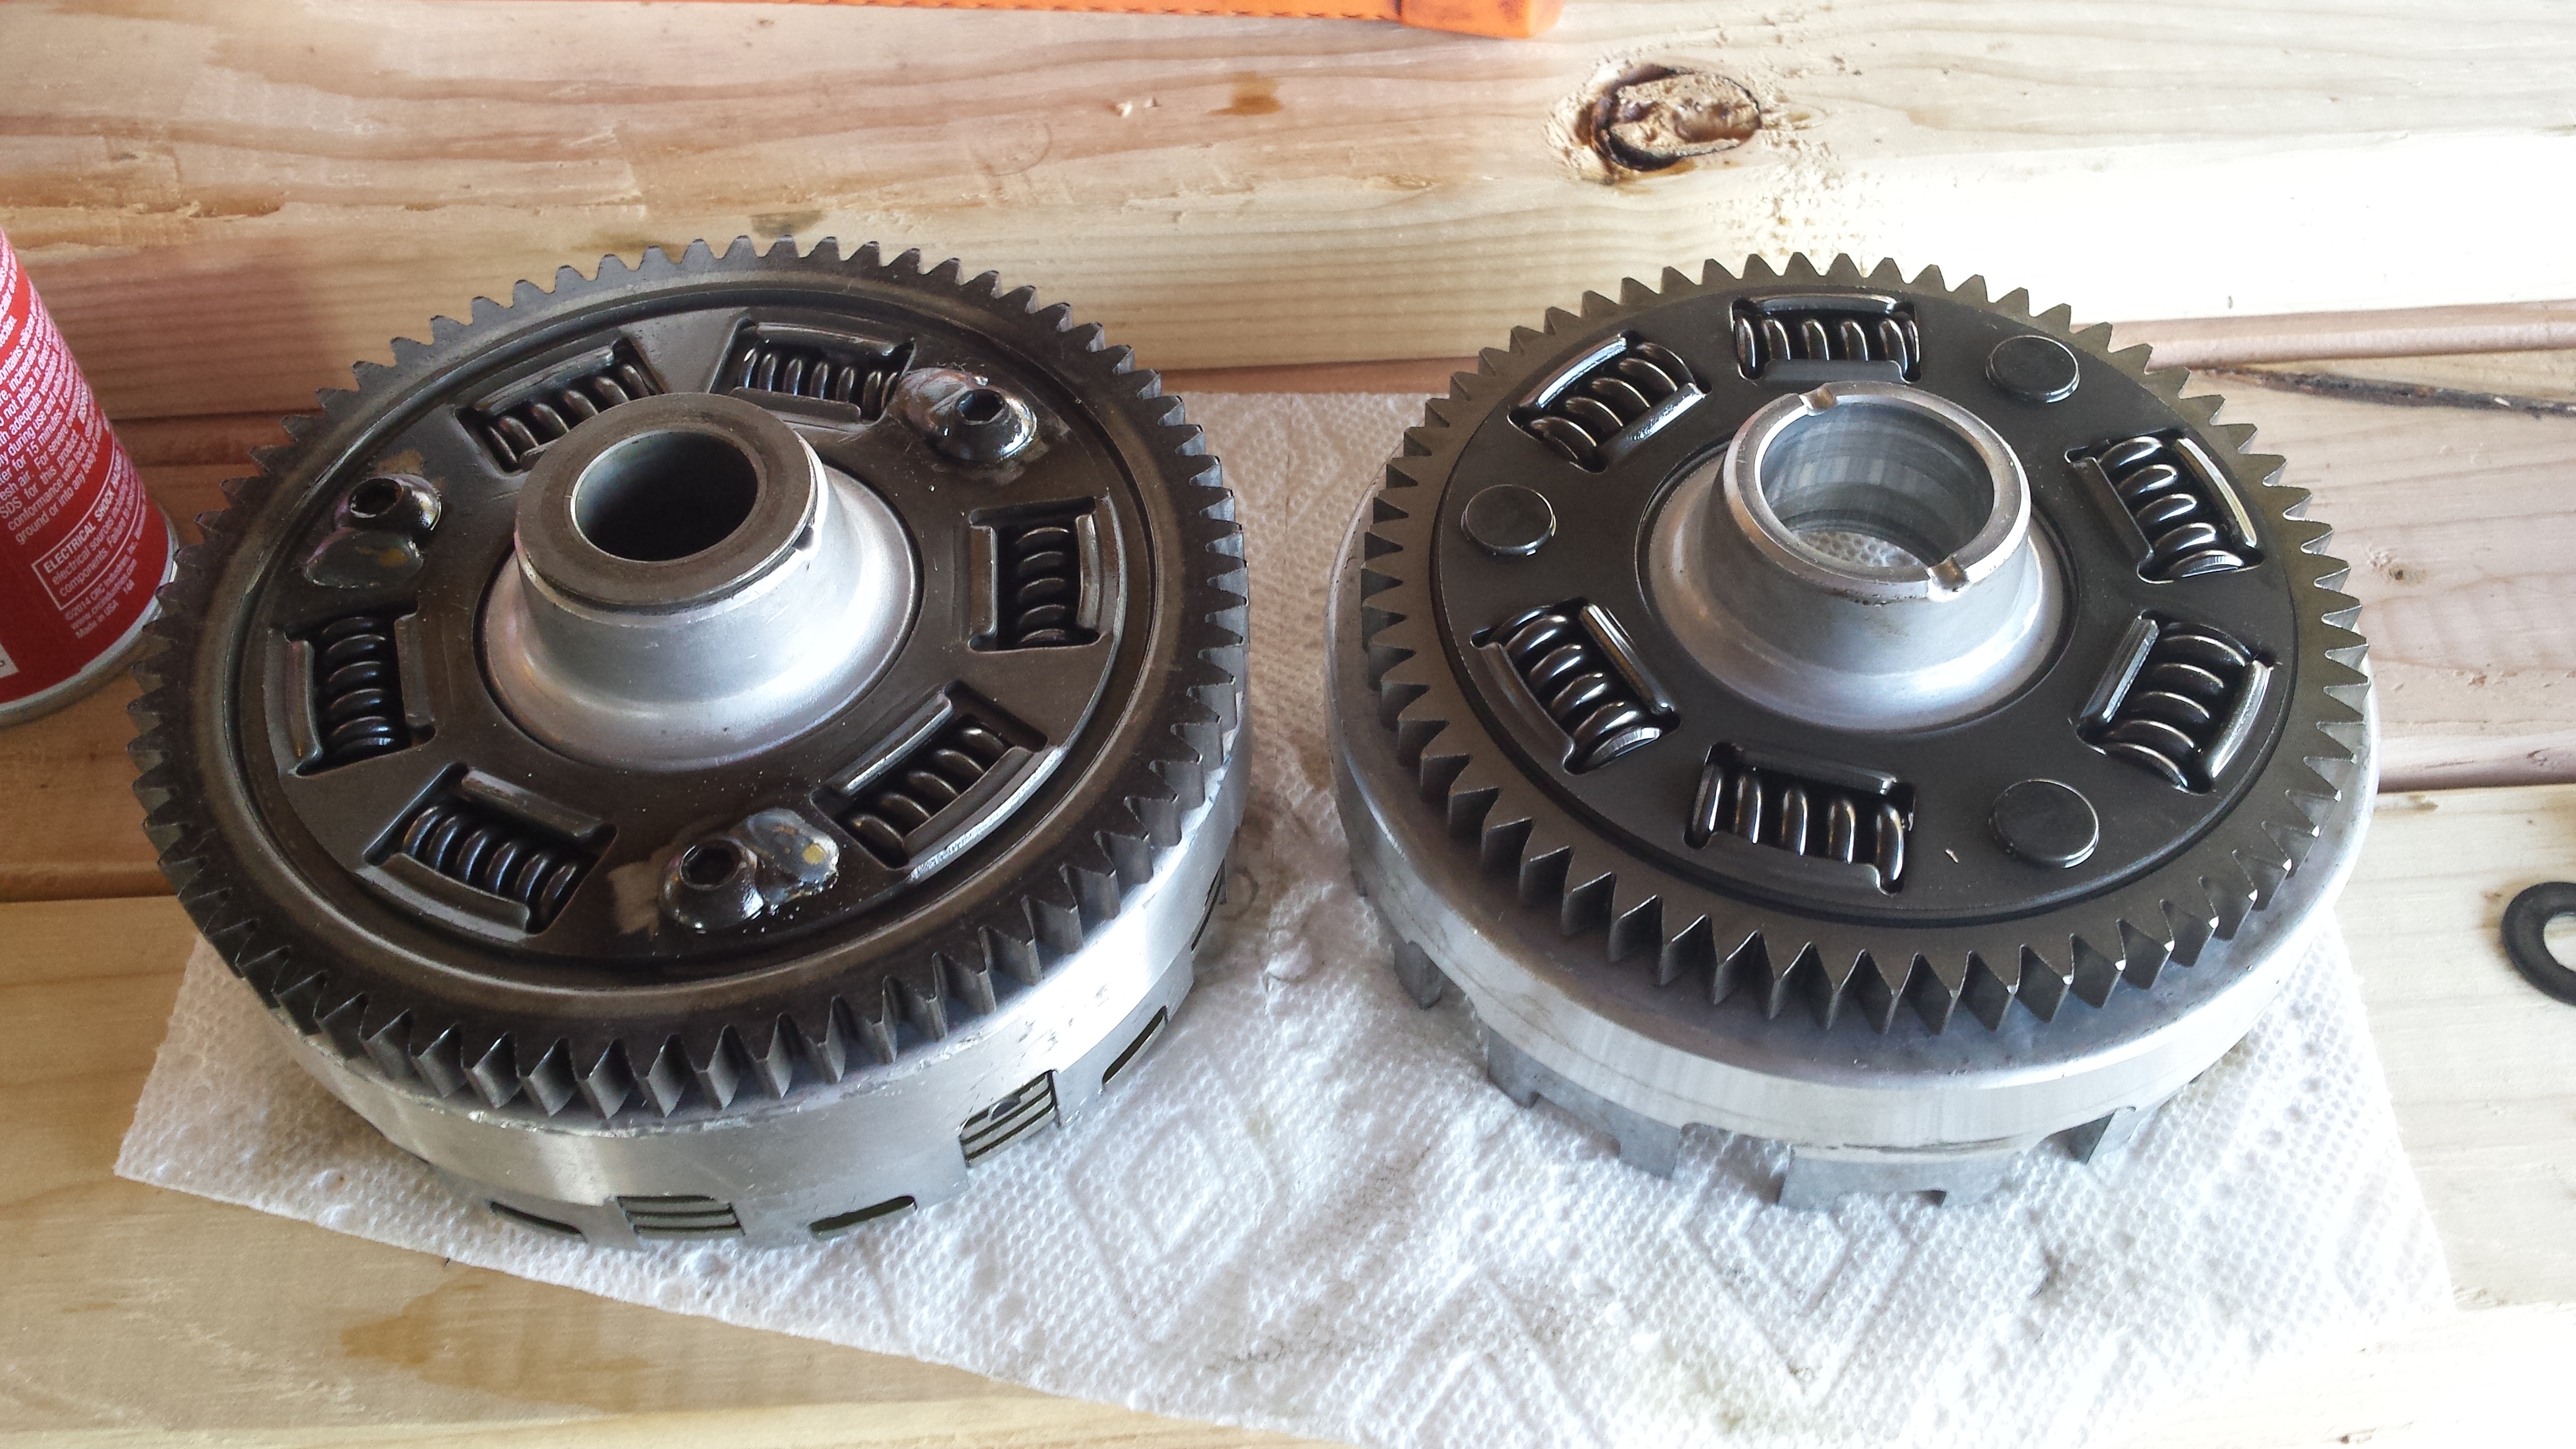
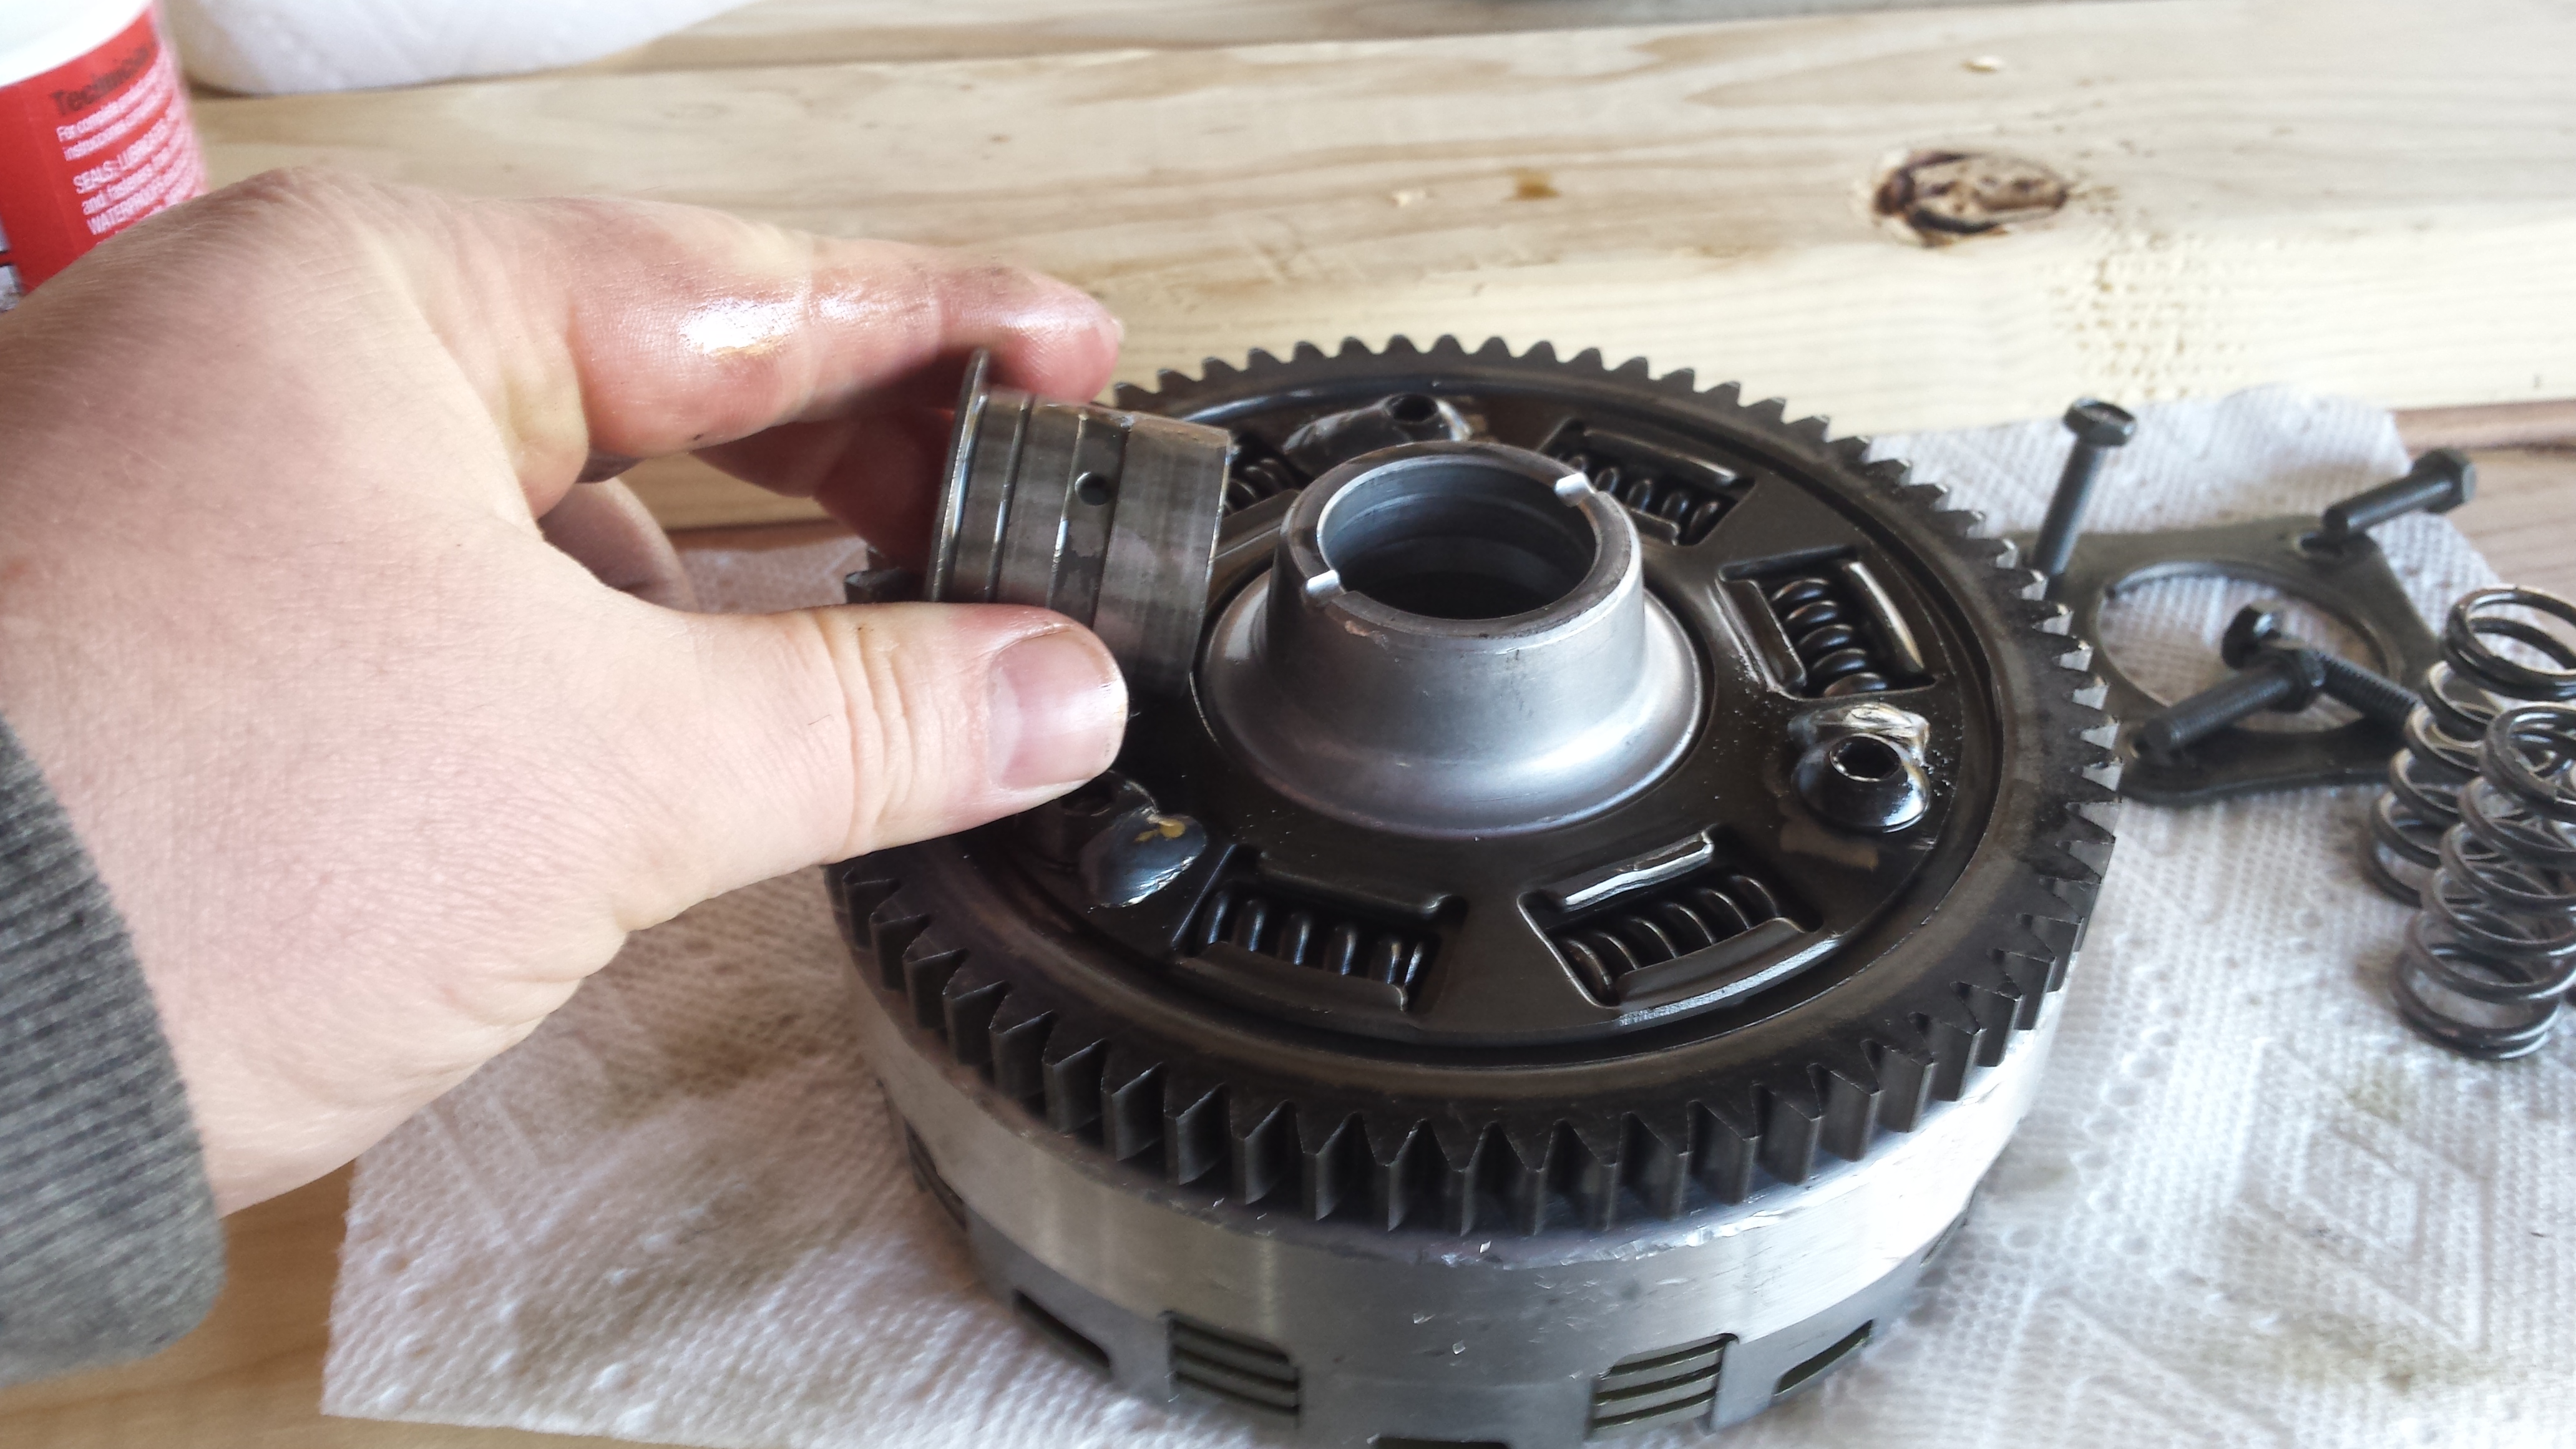
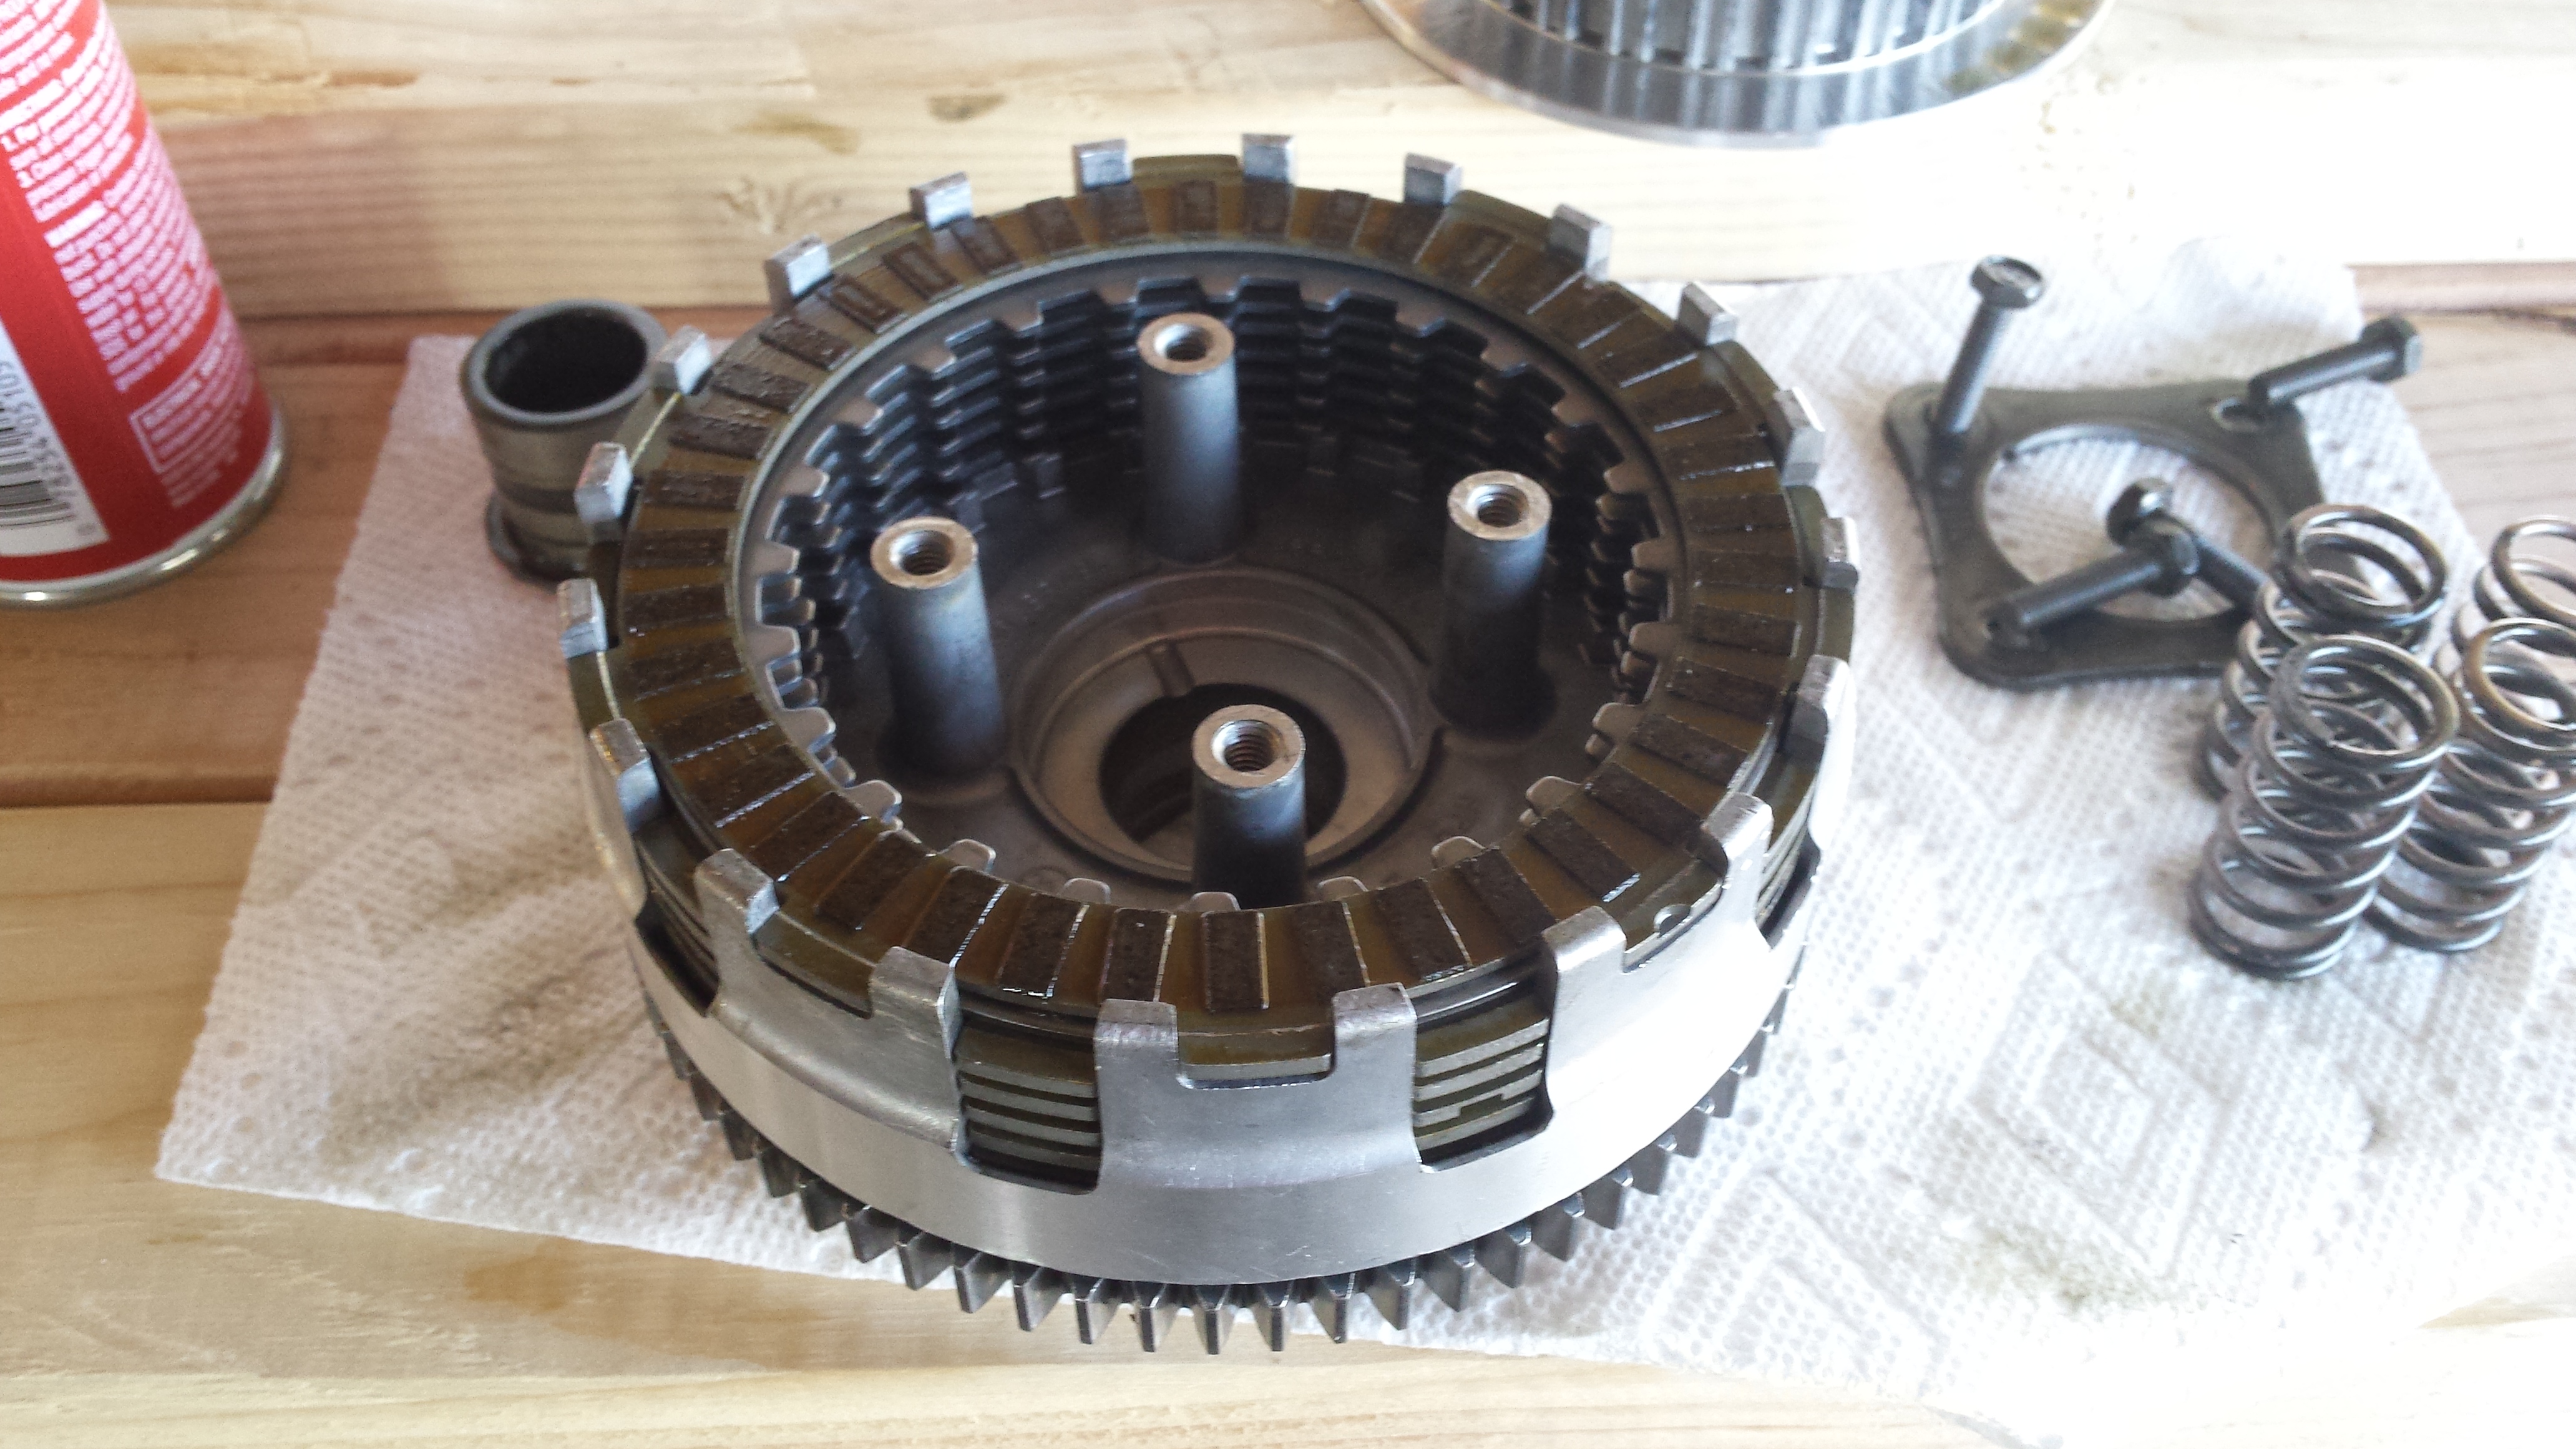
Don't forget to move this bushing to the new clutch basket.
----------------------------------------------------------

Here you can see the stock fan in place and the front cover of the engine which needs to be removed.

This is your centrifigal clutch, and behind it is where the small gear will be exchanged for the new one.

Need to remove the staked nut. This is easily done with an impact however I found out its better to have new nuts on hand because it tends to mess up the bent section on the used nut.

It just slides right off

Stock on the right, 35% on the left. This is the drive gear

Stock on the right, 35% on the left. This is the driven gear.

Don't forget to move this bushing to the new clutch basket.

----------------------------------------------------------
Jan 31, 2016 | 12:46 PM
#5
Thread Starter
|
Pro Rider
Joined: Aug 2010
Posts: 230
Likes: 0
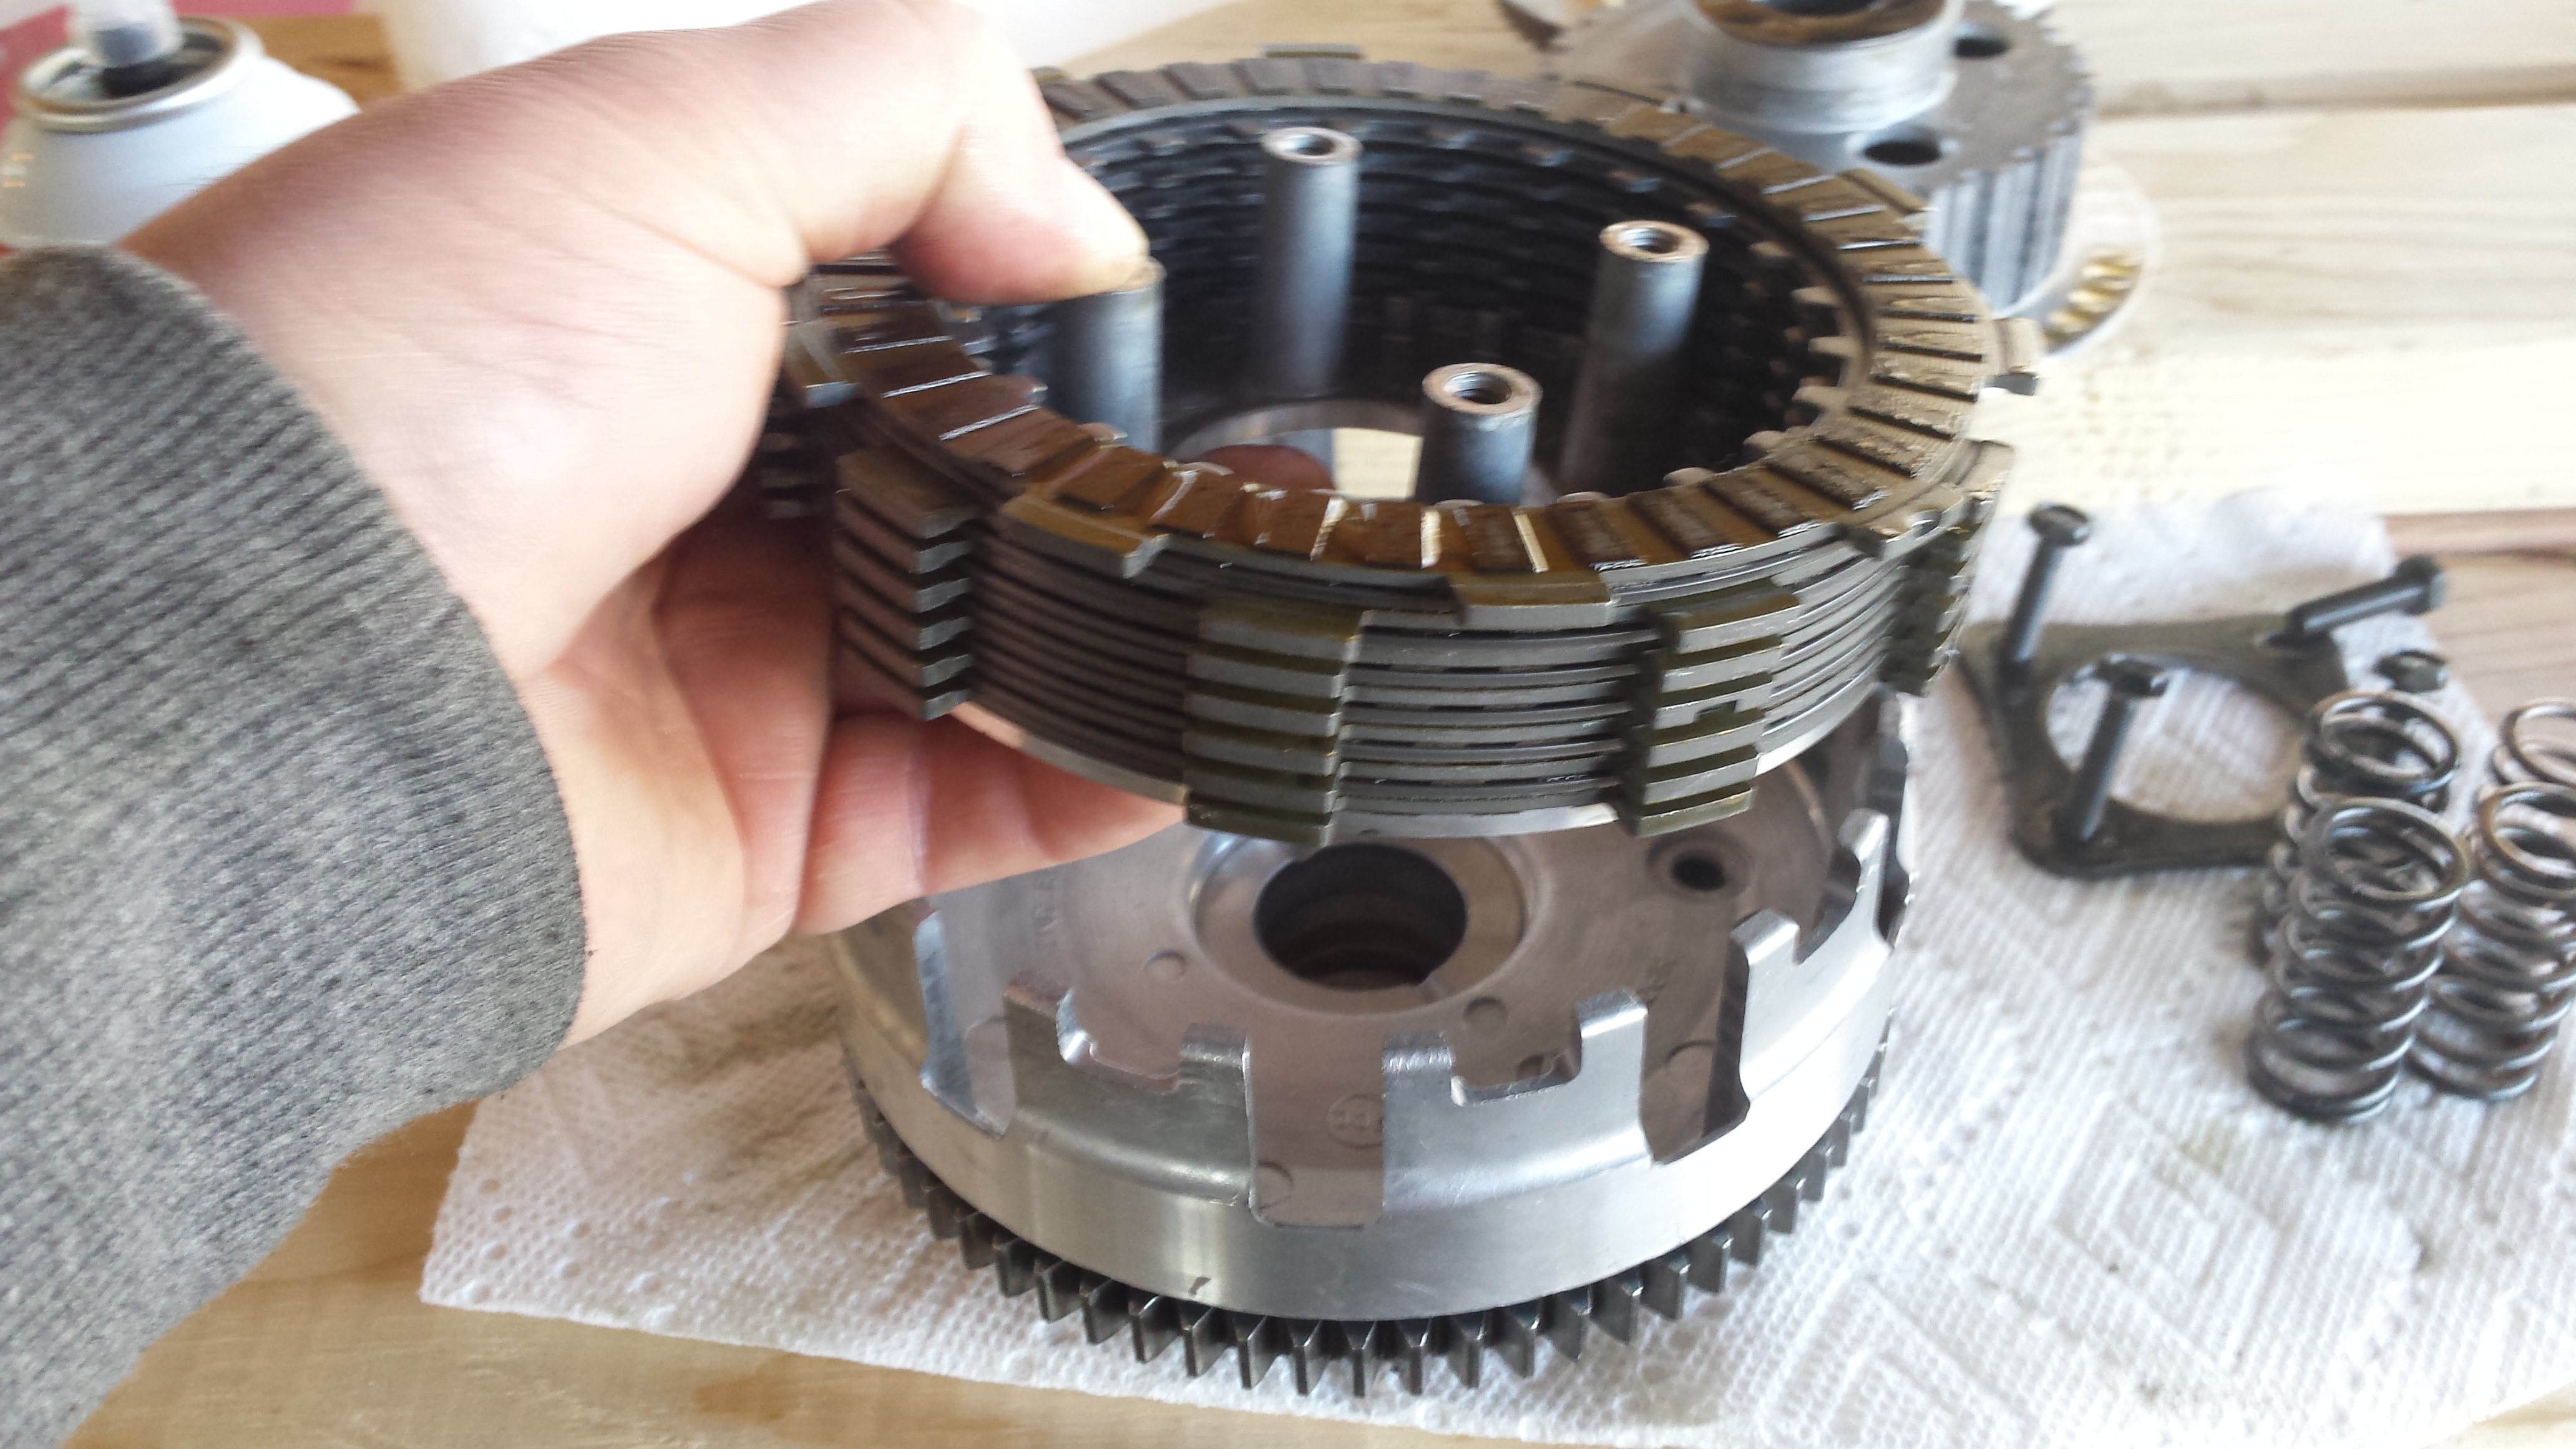
Loosen the 4 bolts and remove the clutch pack.
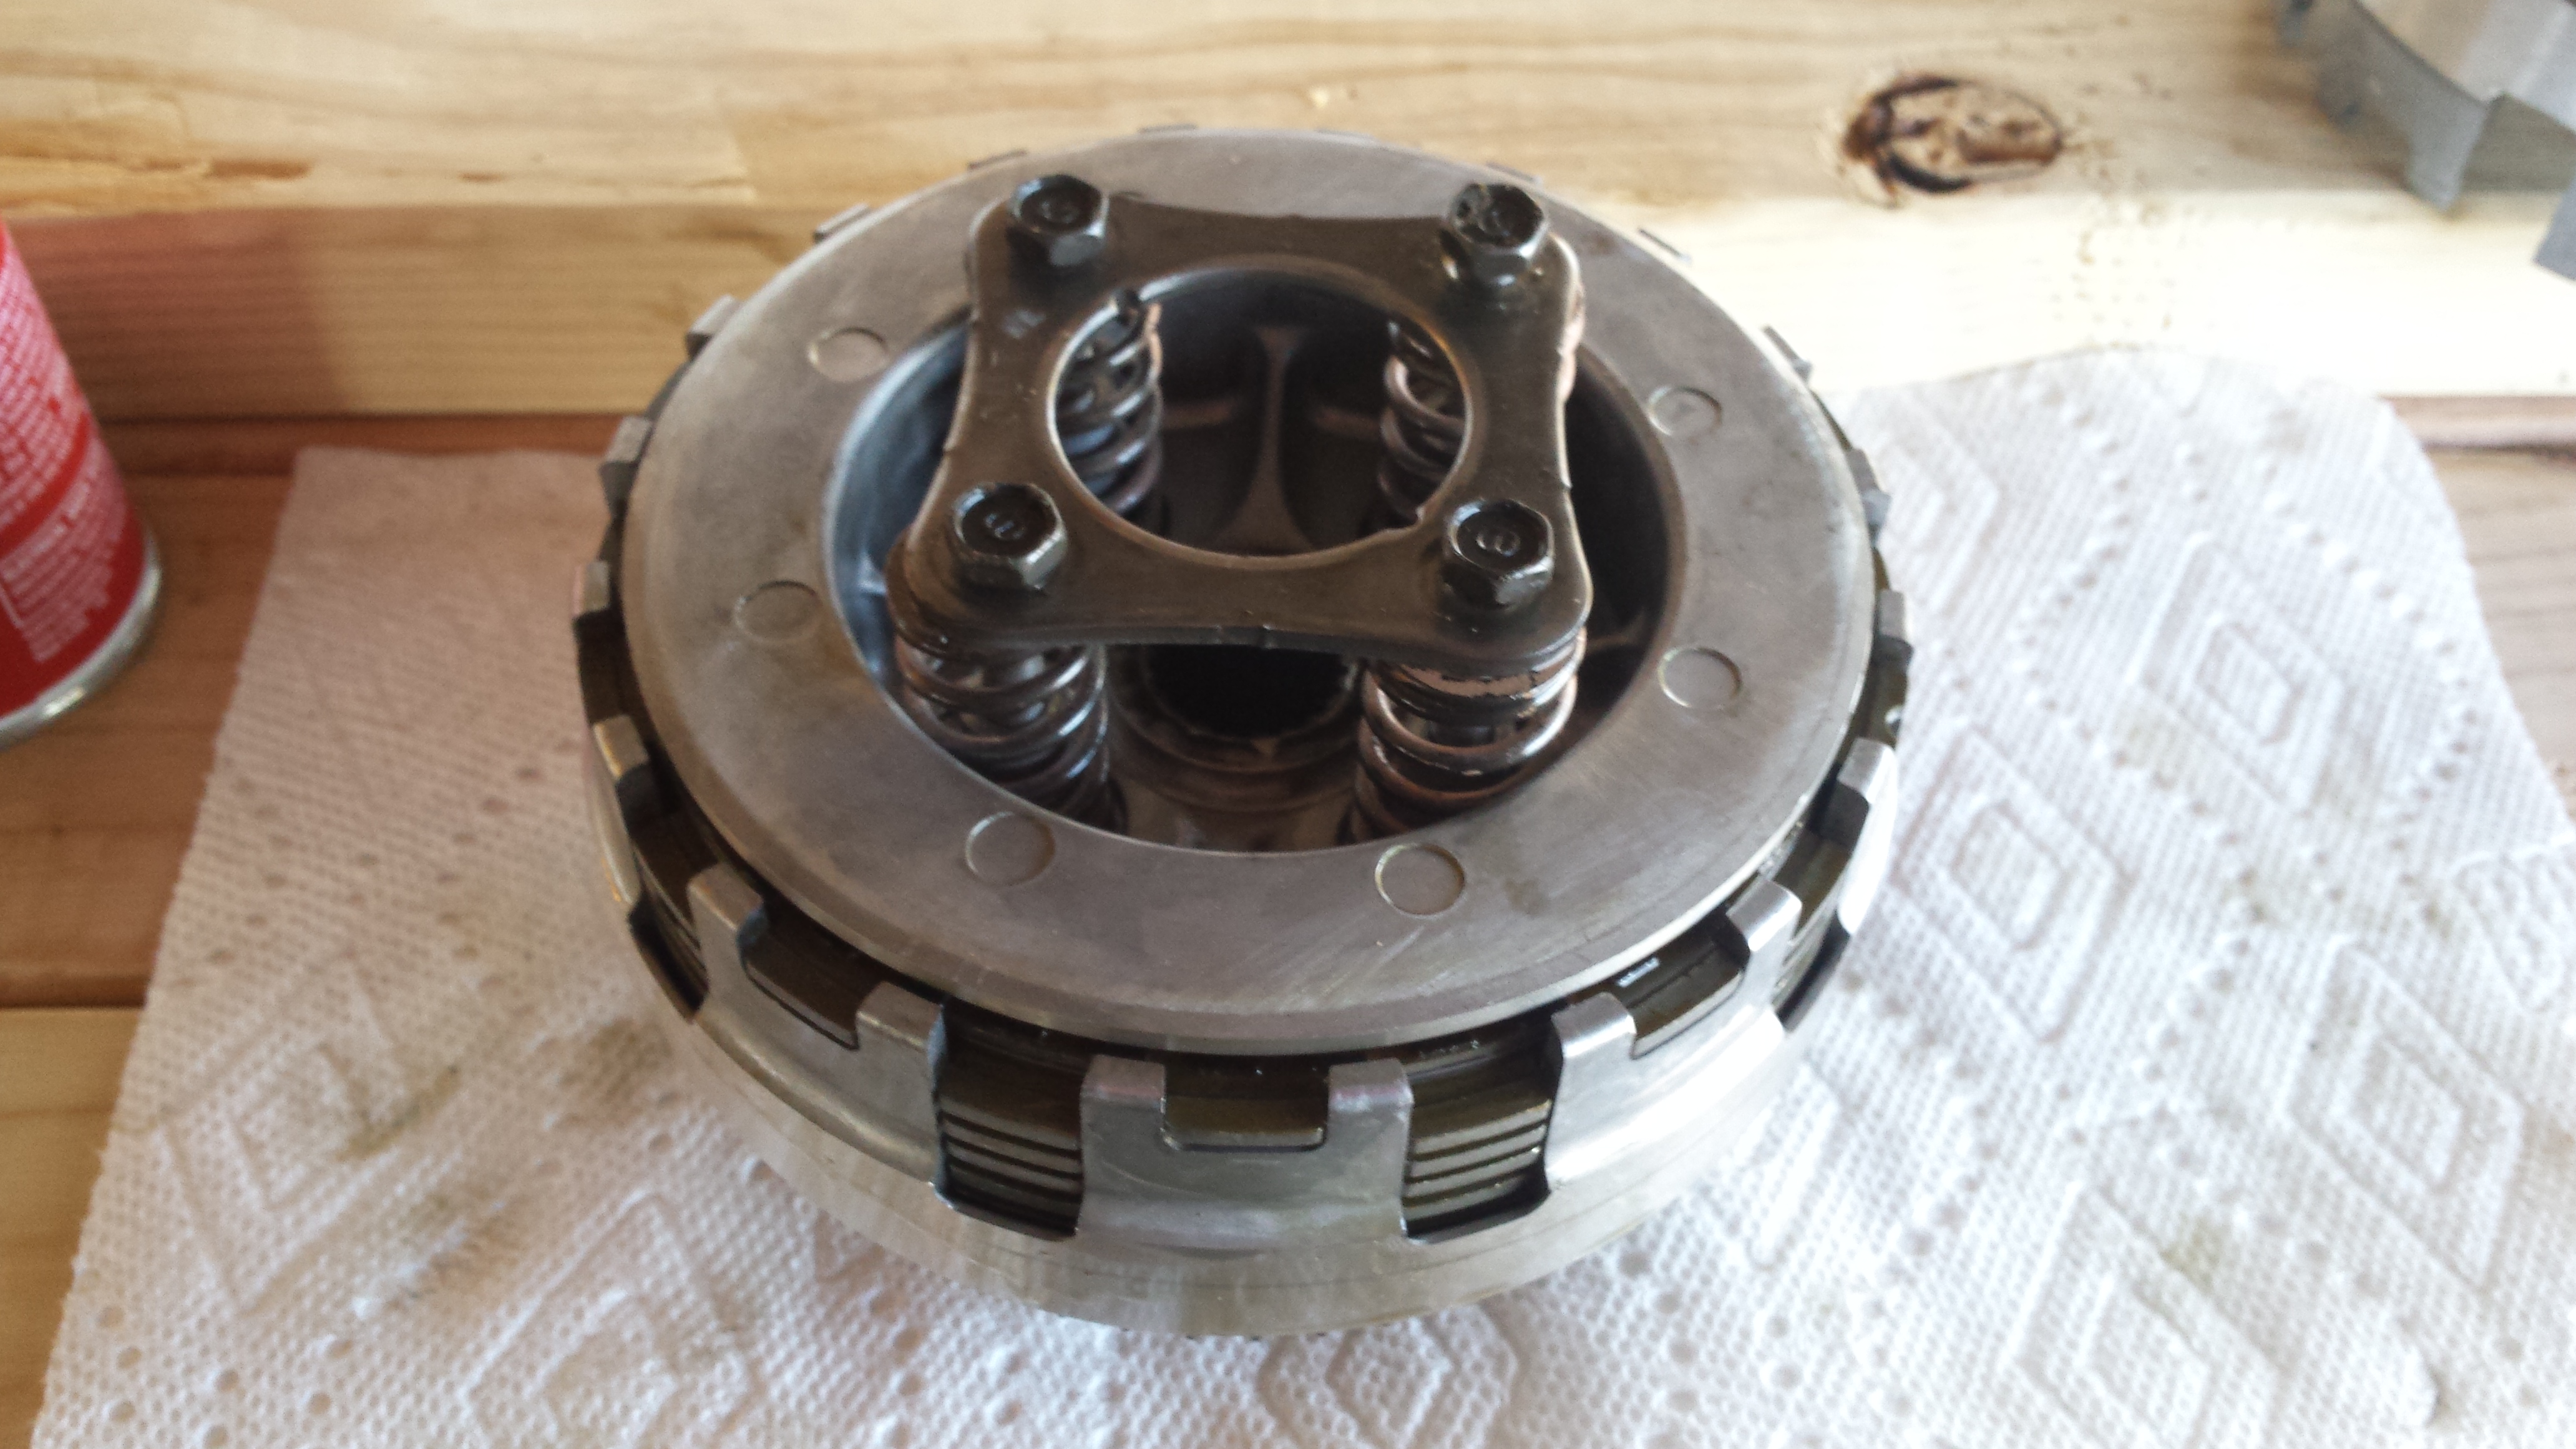

Move them to your new housing.
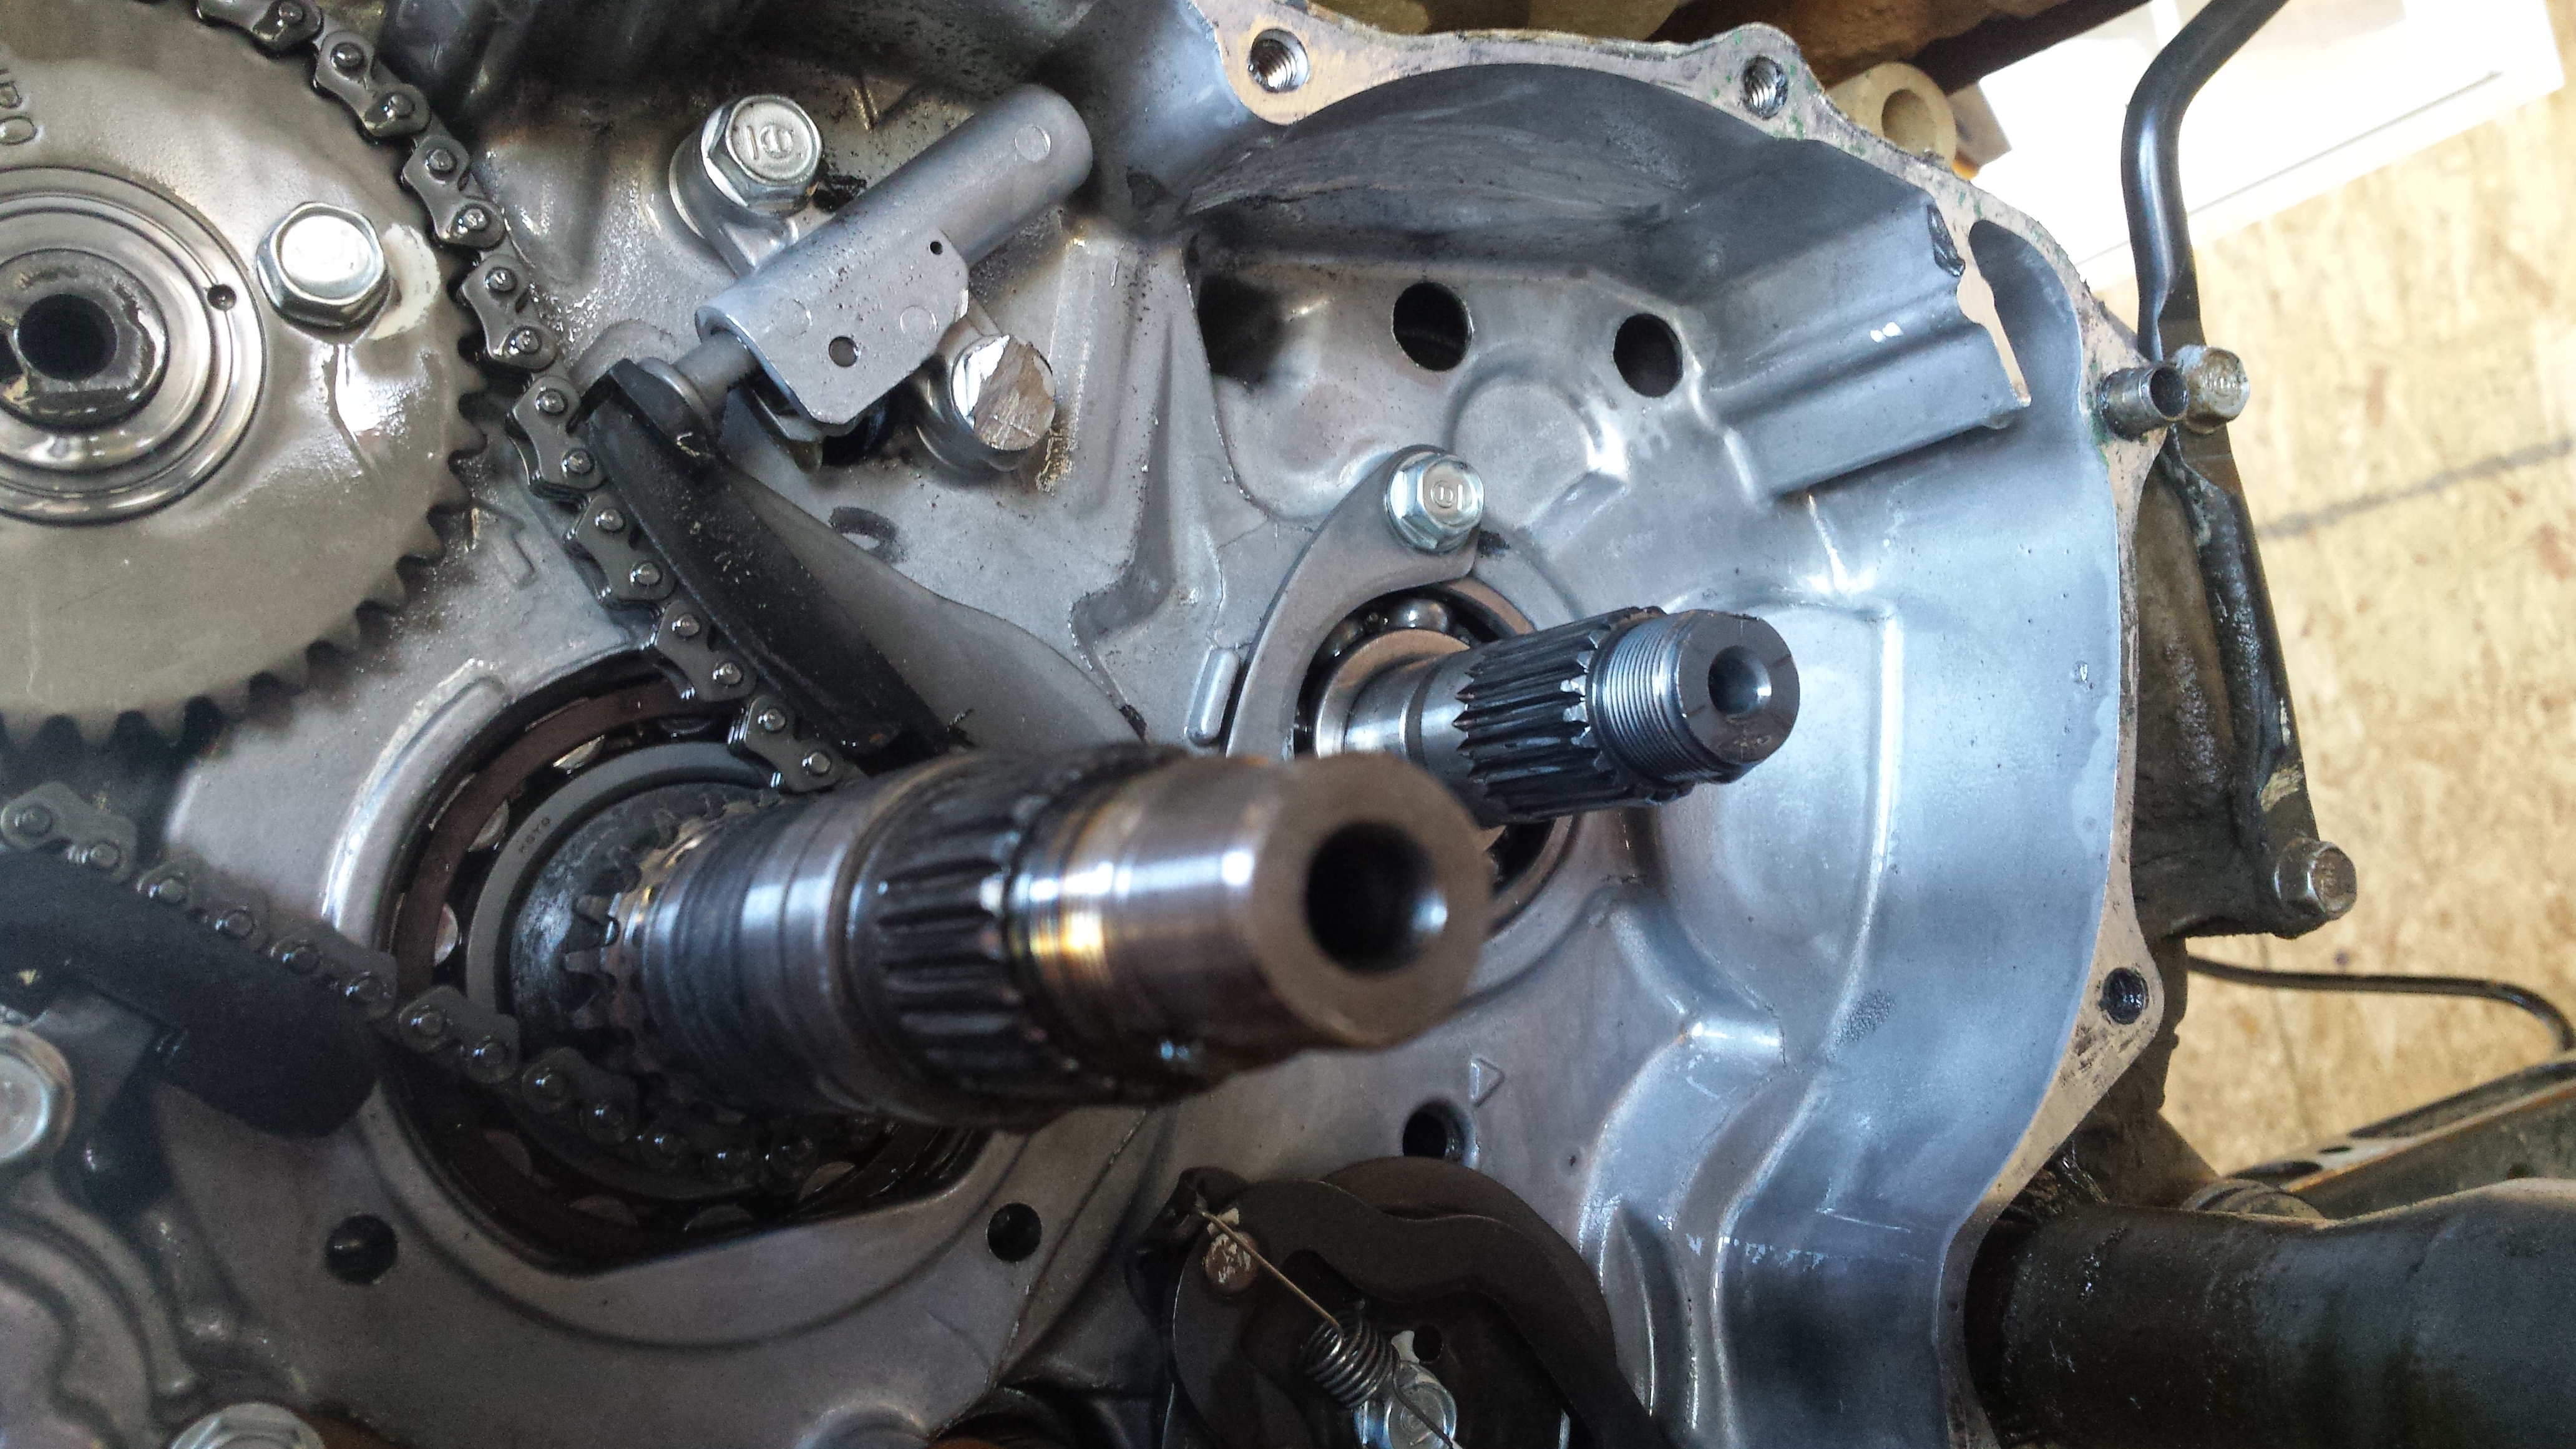
Before you reassemble you need to grind the engine case just above the right side shaft to make room for the larger gear. I did this with an air cutoff tool and took a little then installed and checked for drag. It took a couple of times removing a tad bit of material each time. Also you need to grind the head of the timing tensioner damn near off, again check for clearance periodically as you grind.

All clear and starting to go back together.

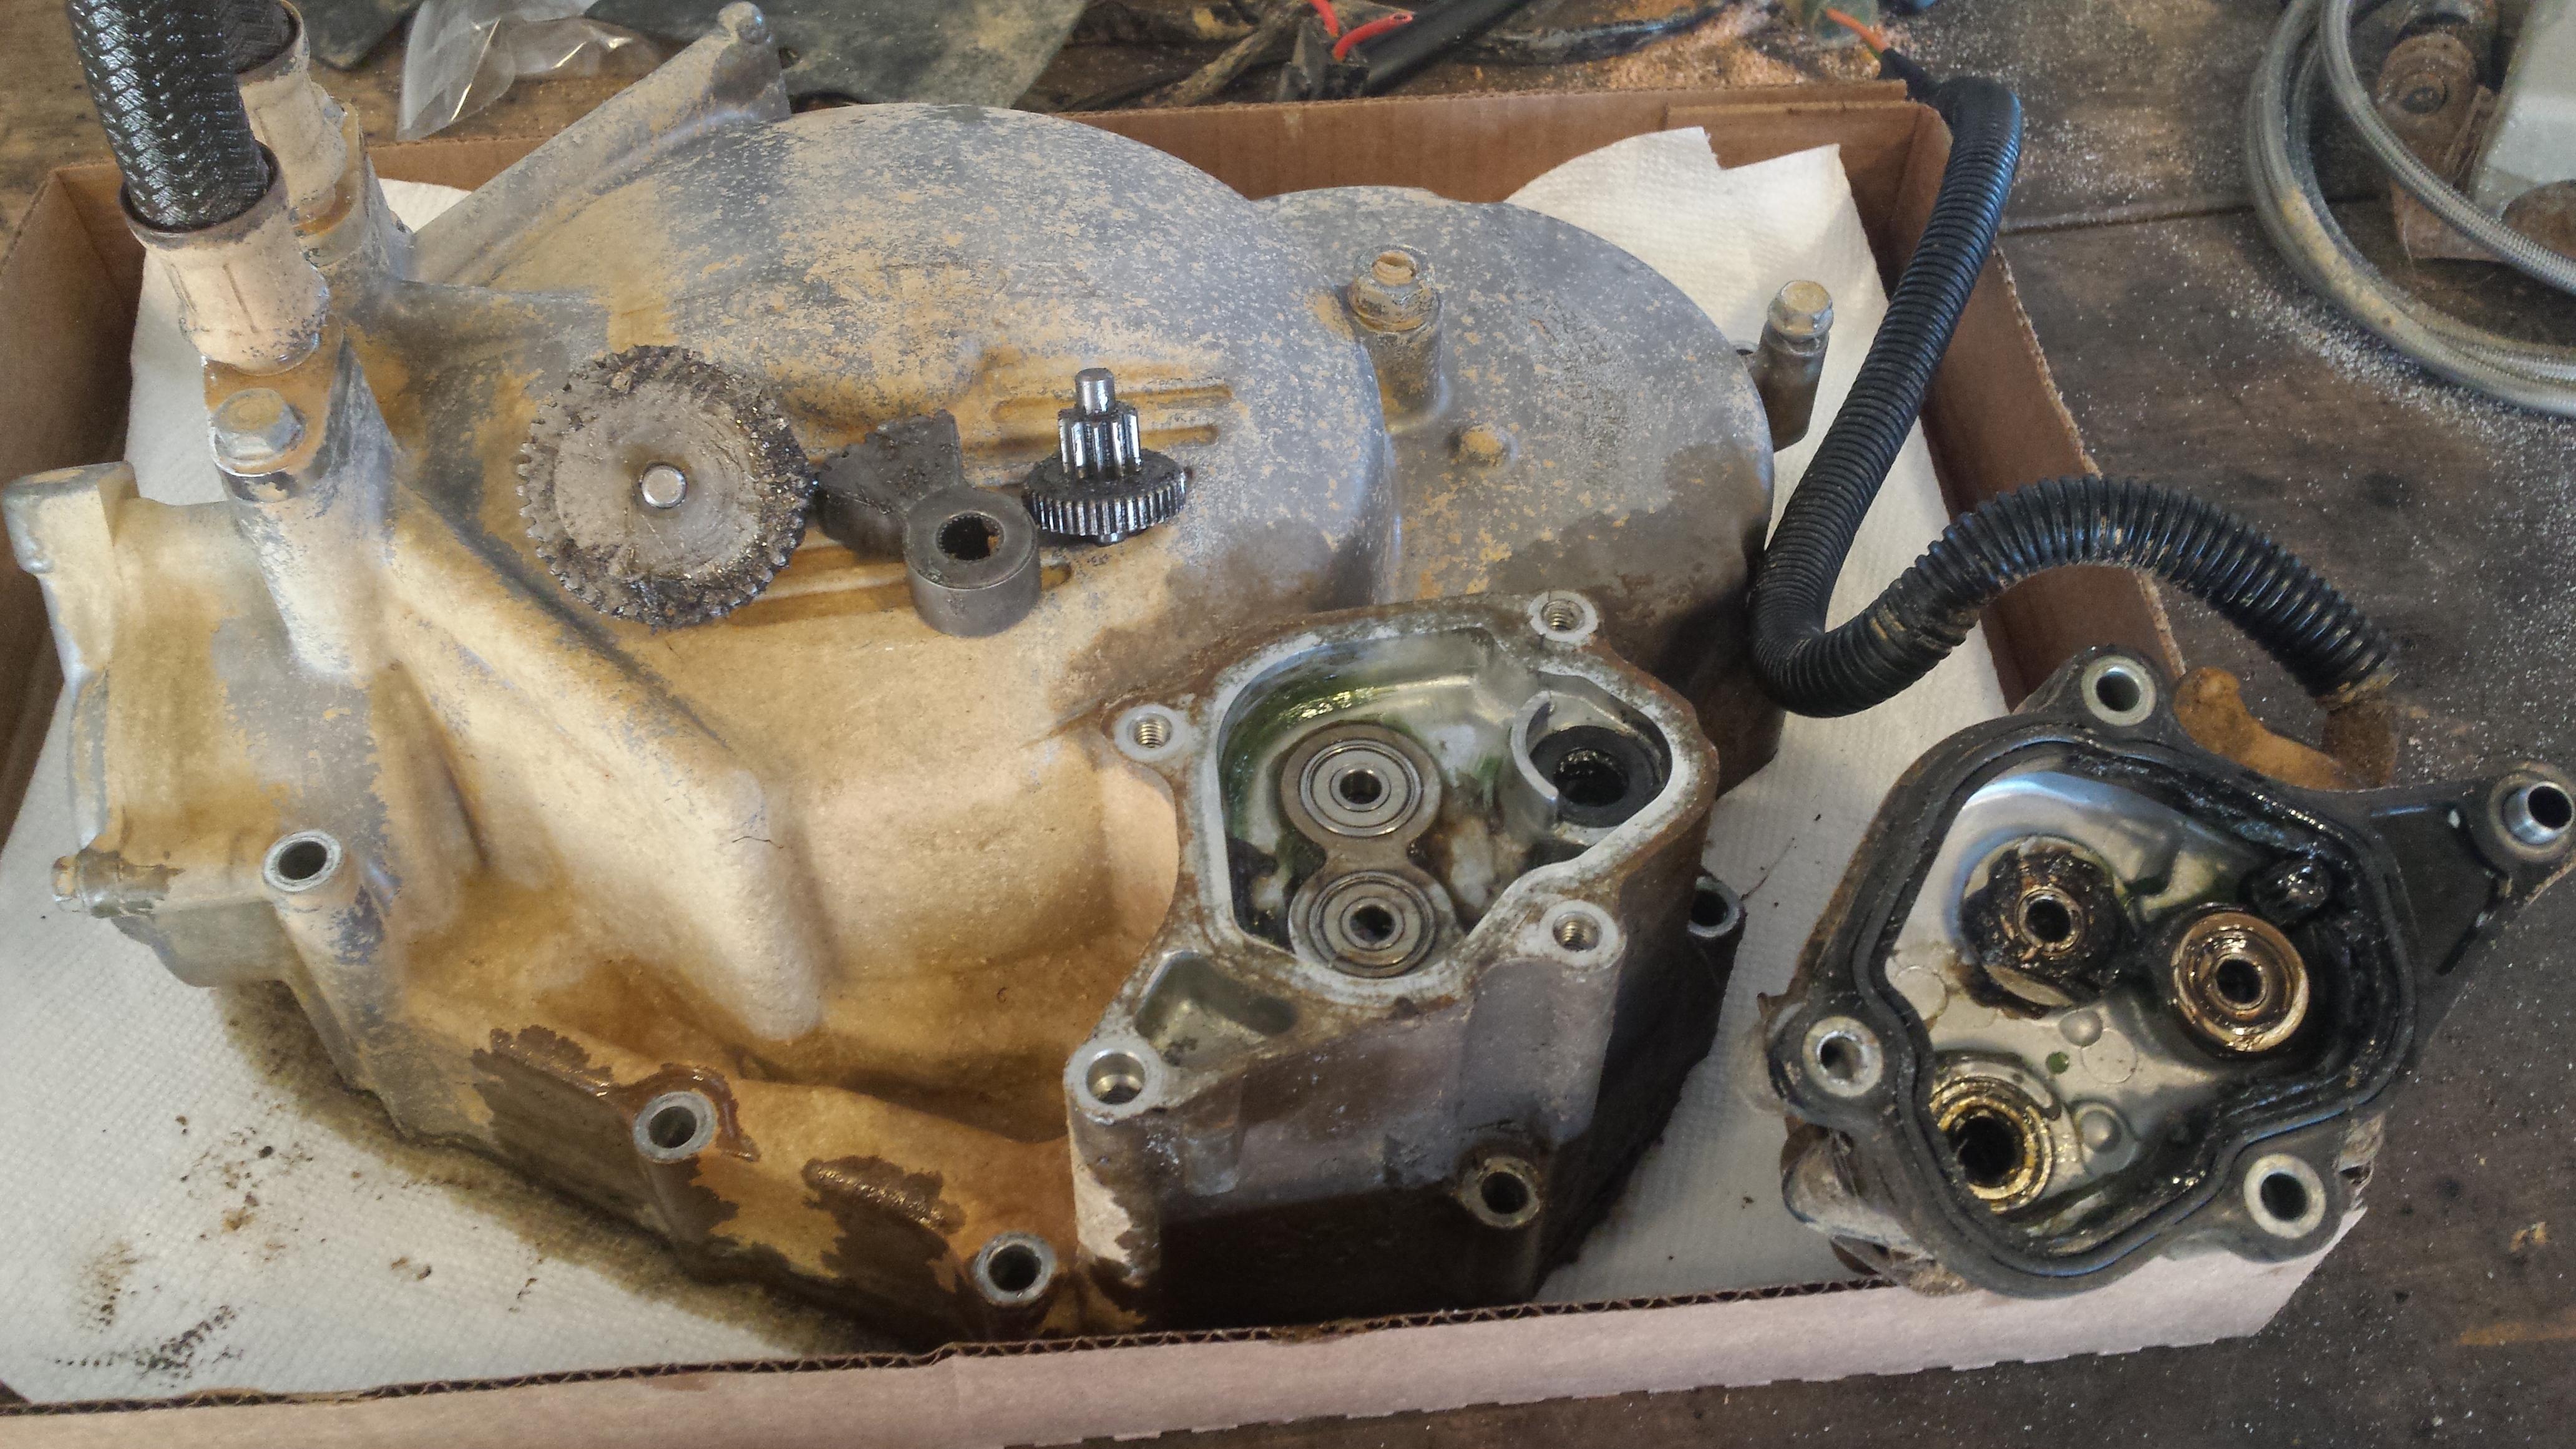
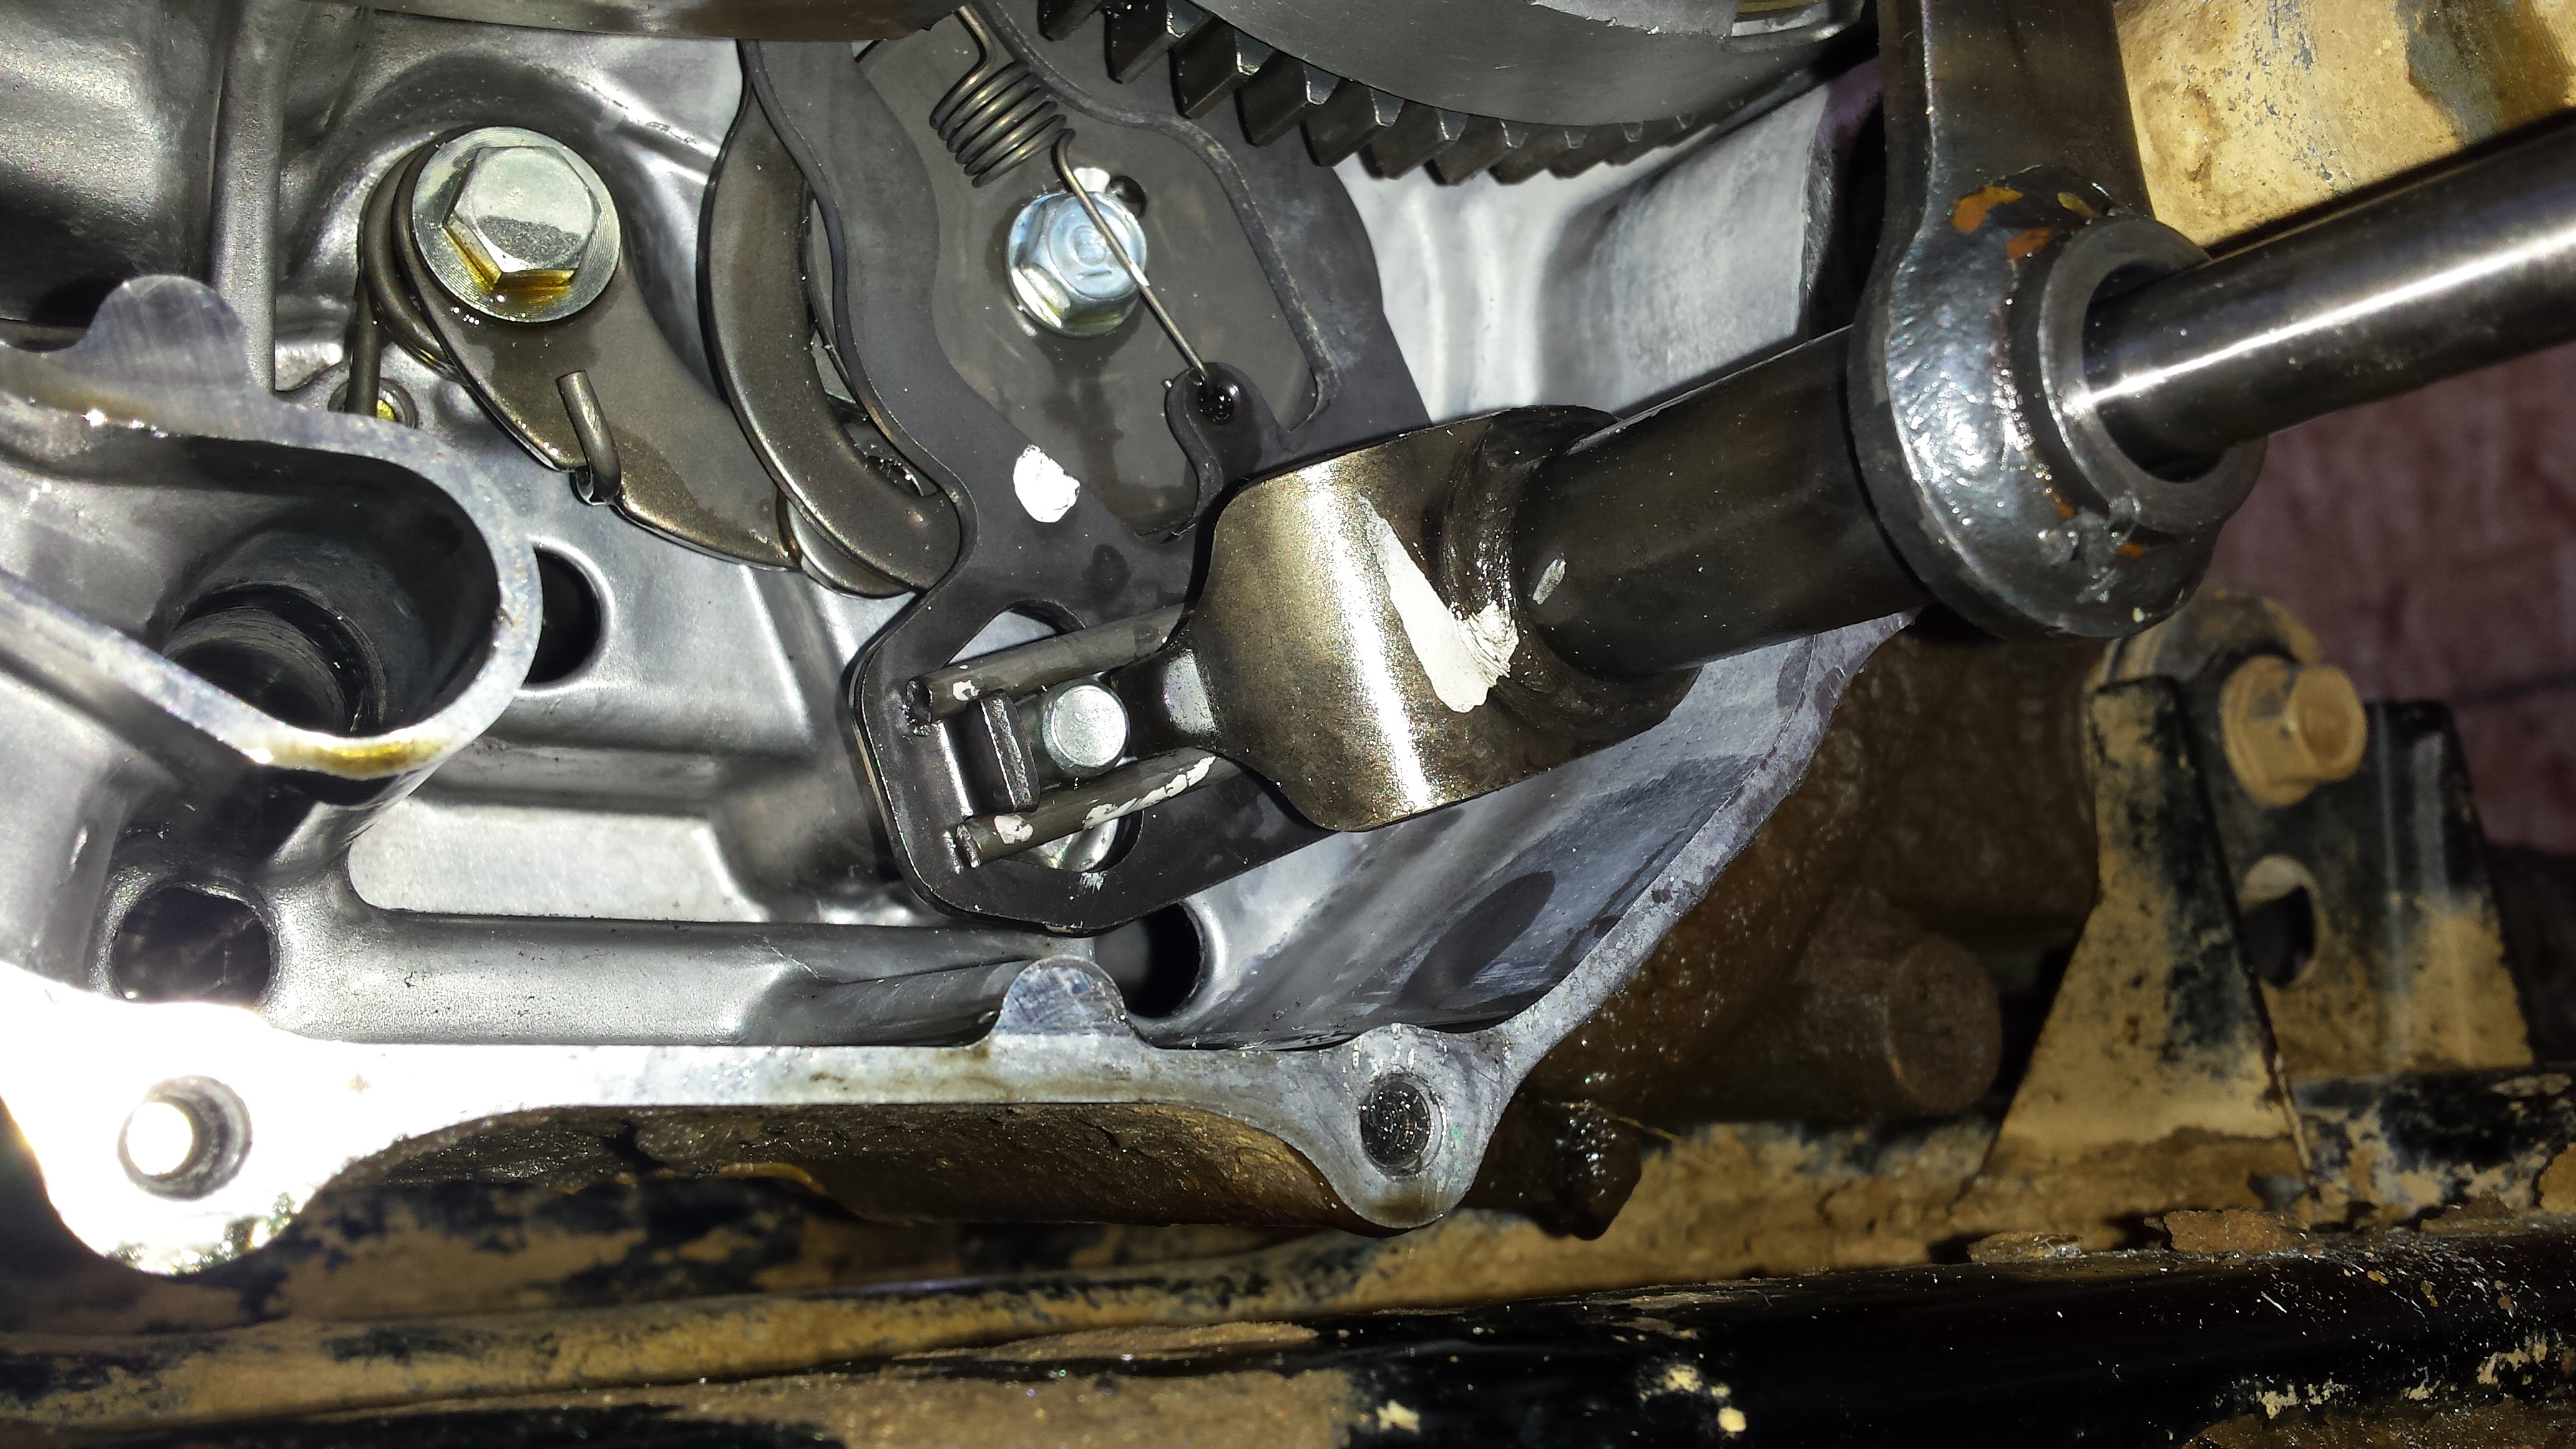
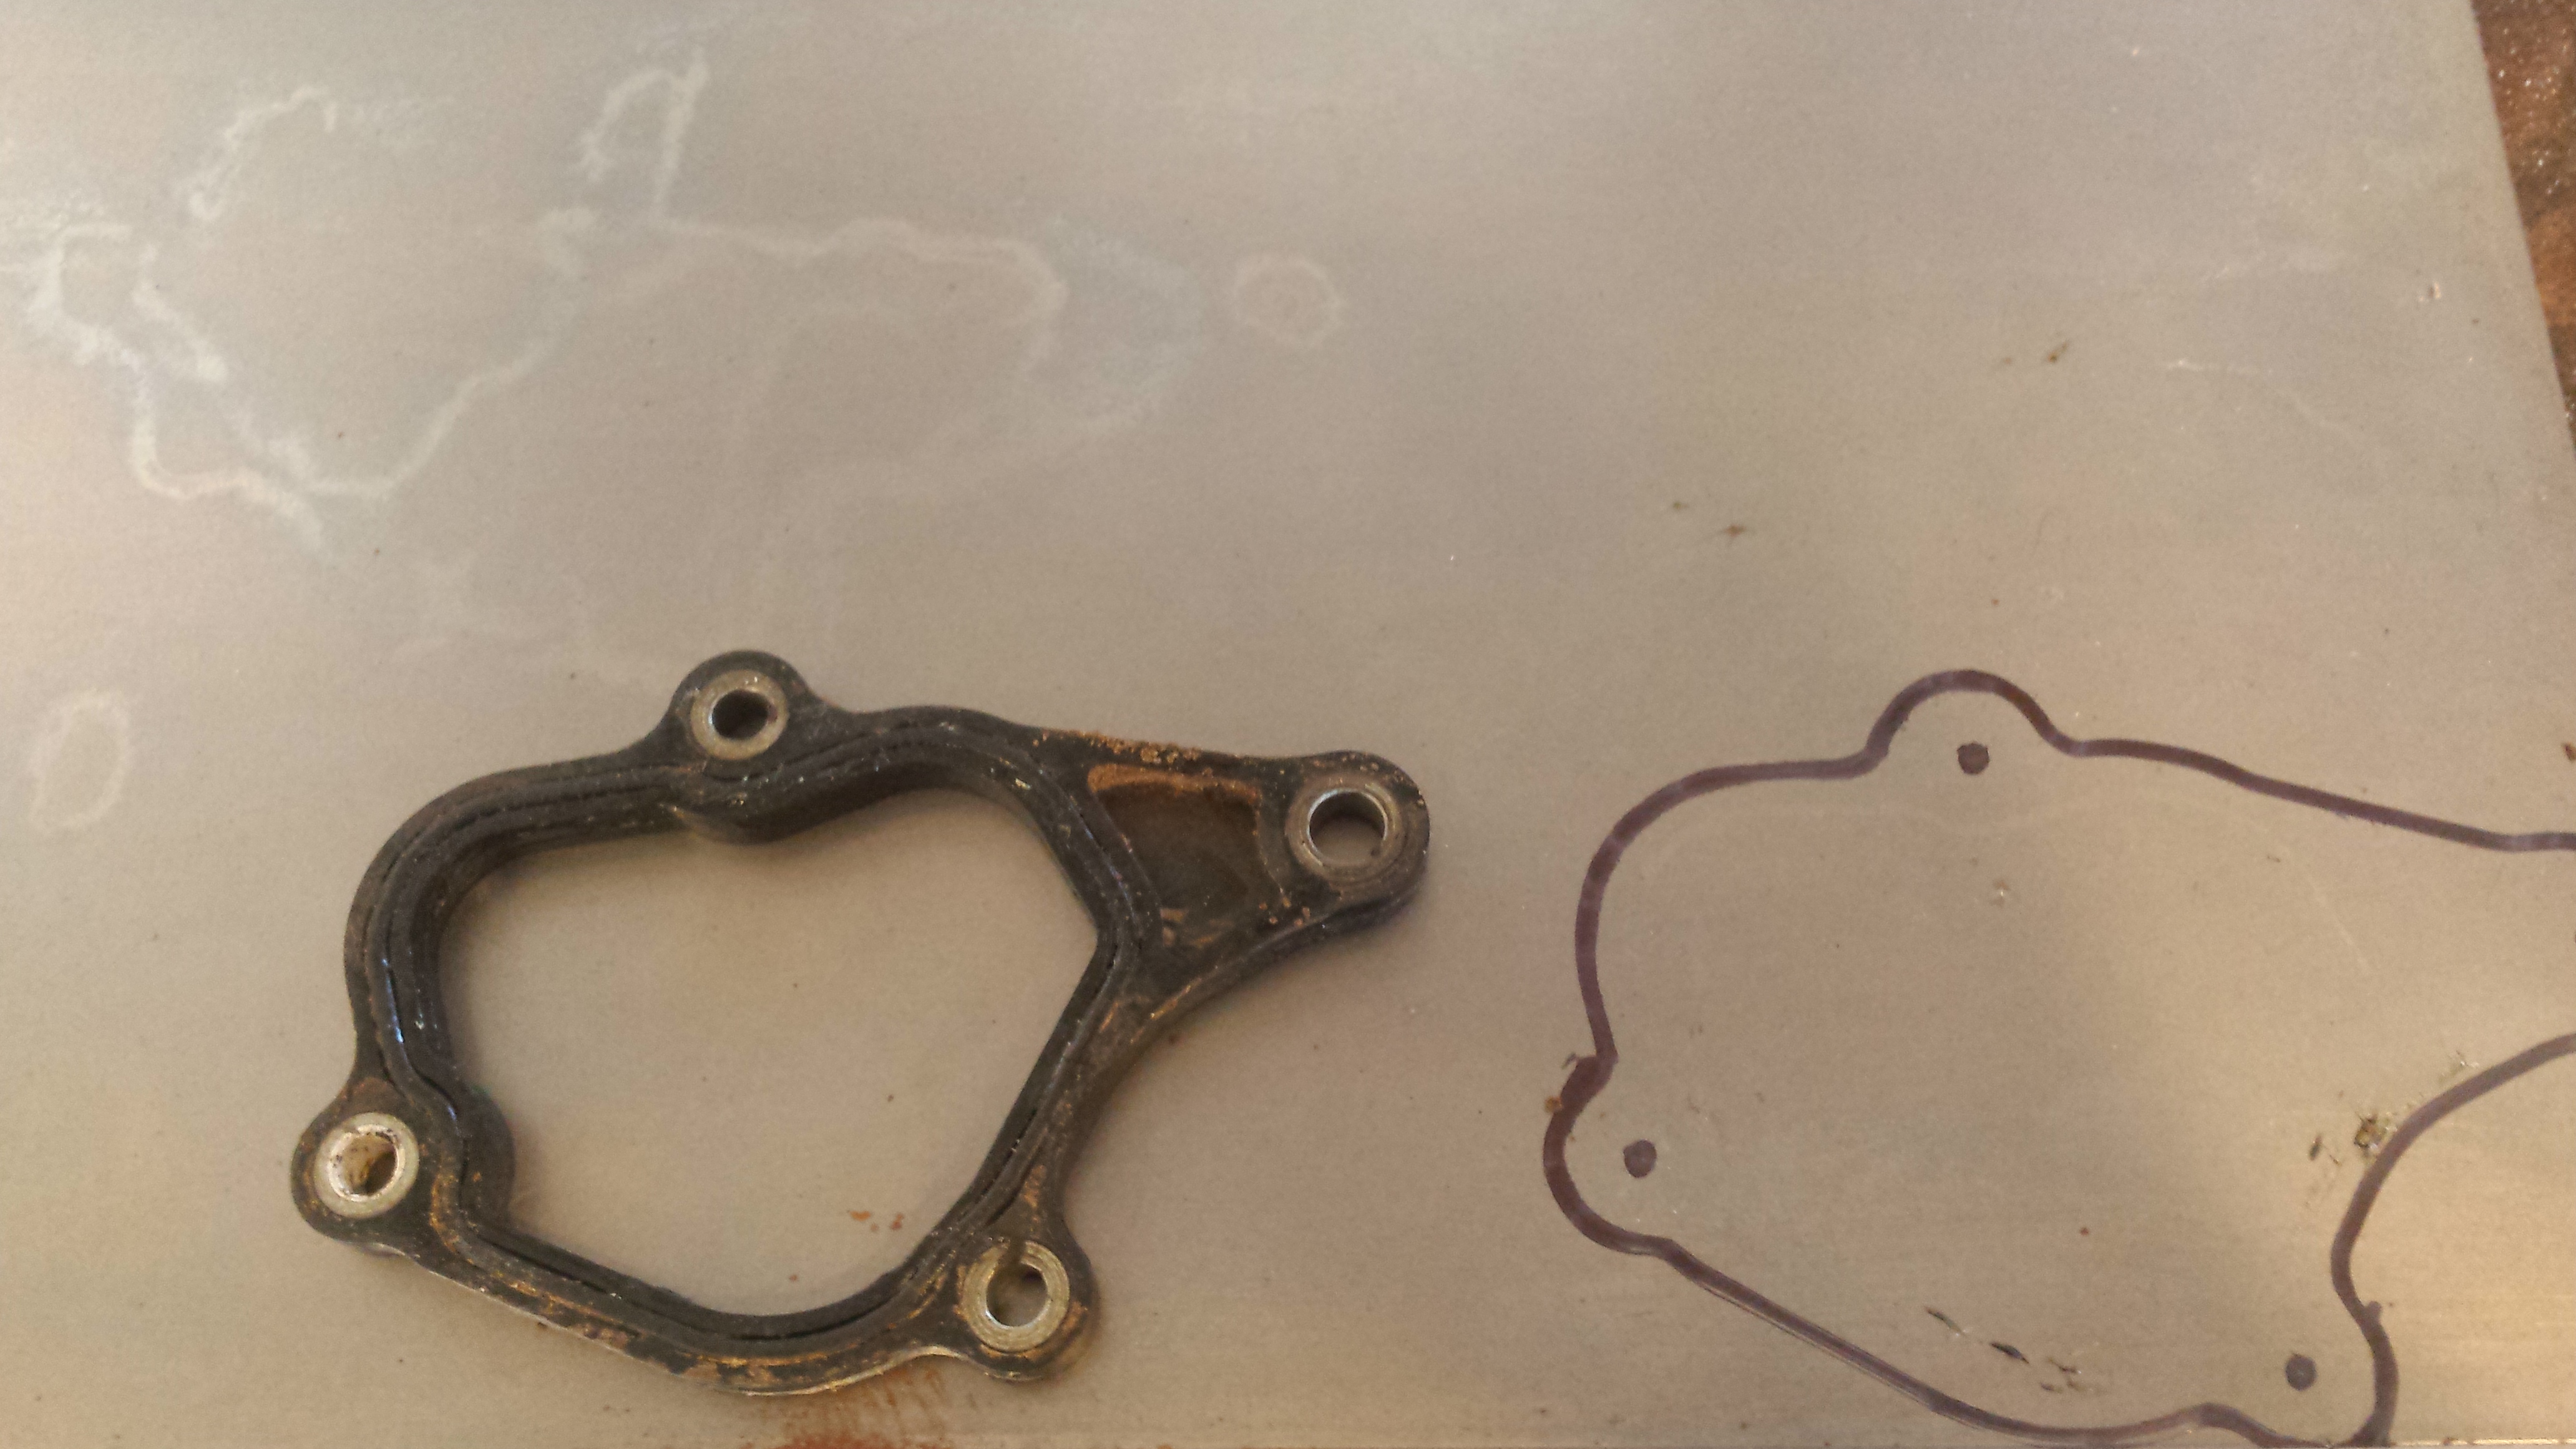
This is the ES shift mechanism. WHile its given me no issues since owning the bike I dont ever want it to so I'm deleting it and making this bike foot shift. One less thing for me to worry about. You can remove the internal gears but leave the ES motor on or delete it completely. If you want to delete it completely cut the splines off the small sshaft sticking out so we can make a cover plate.

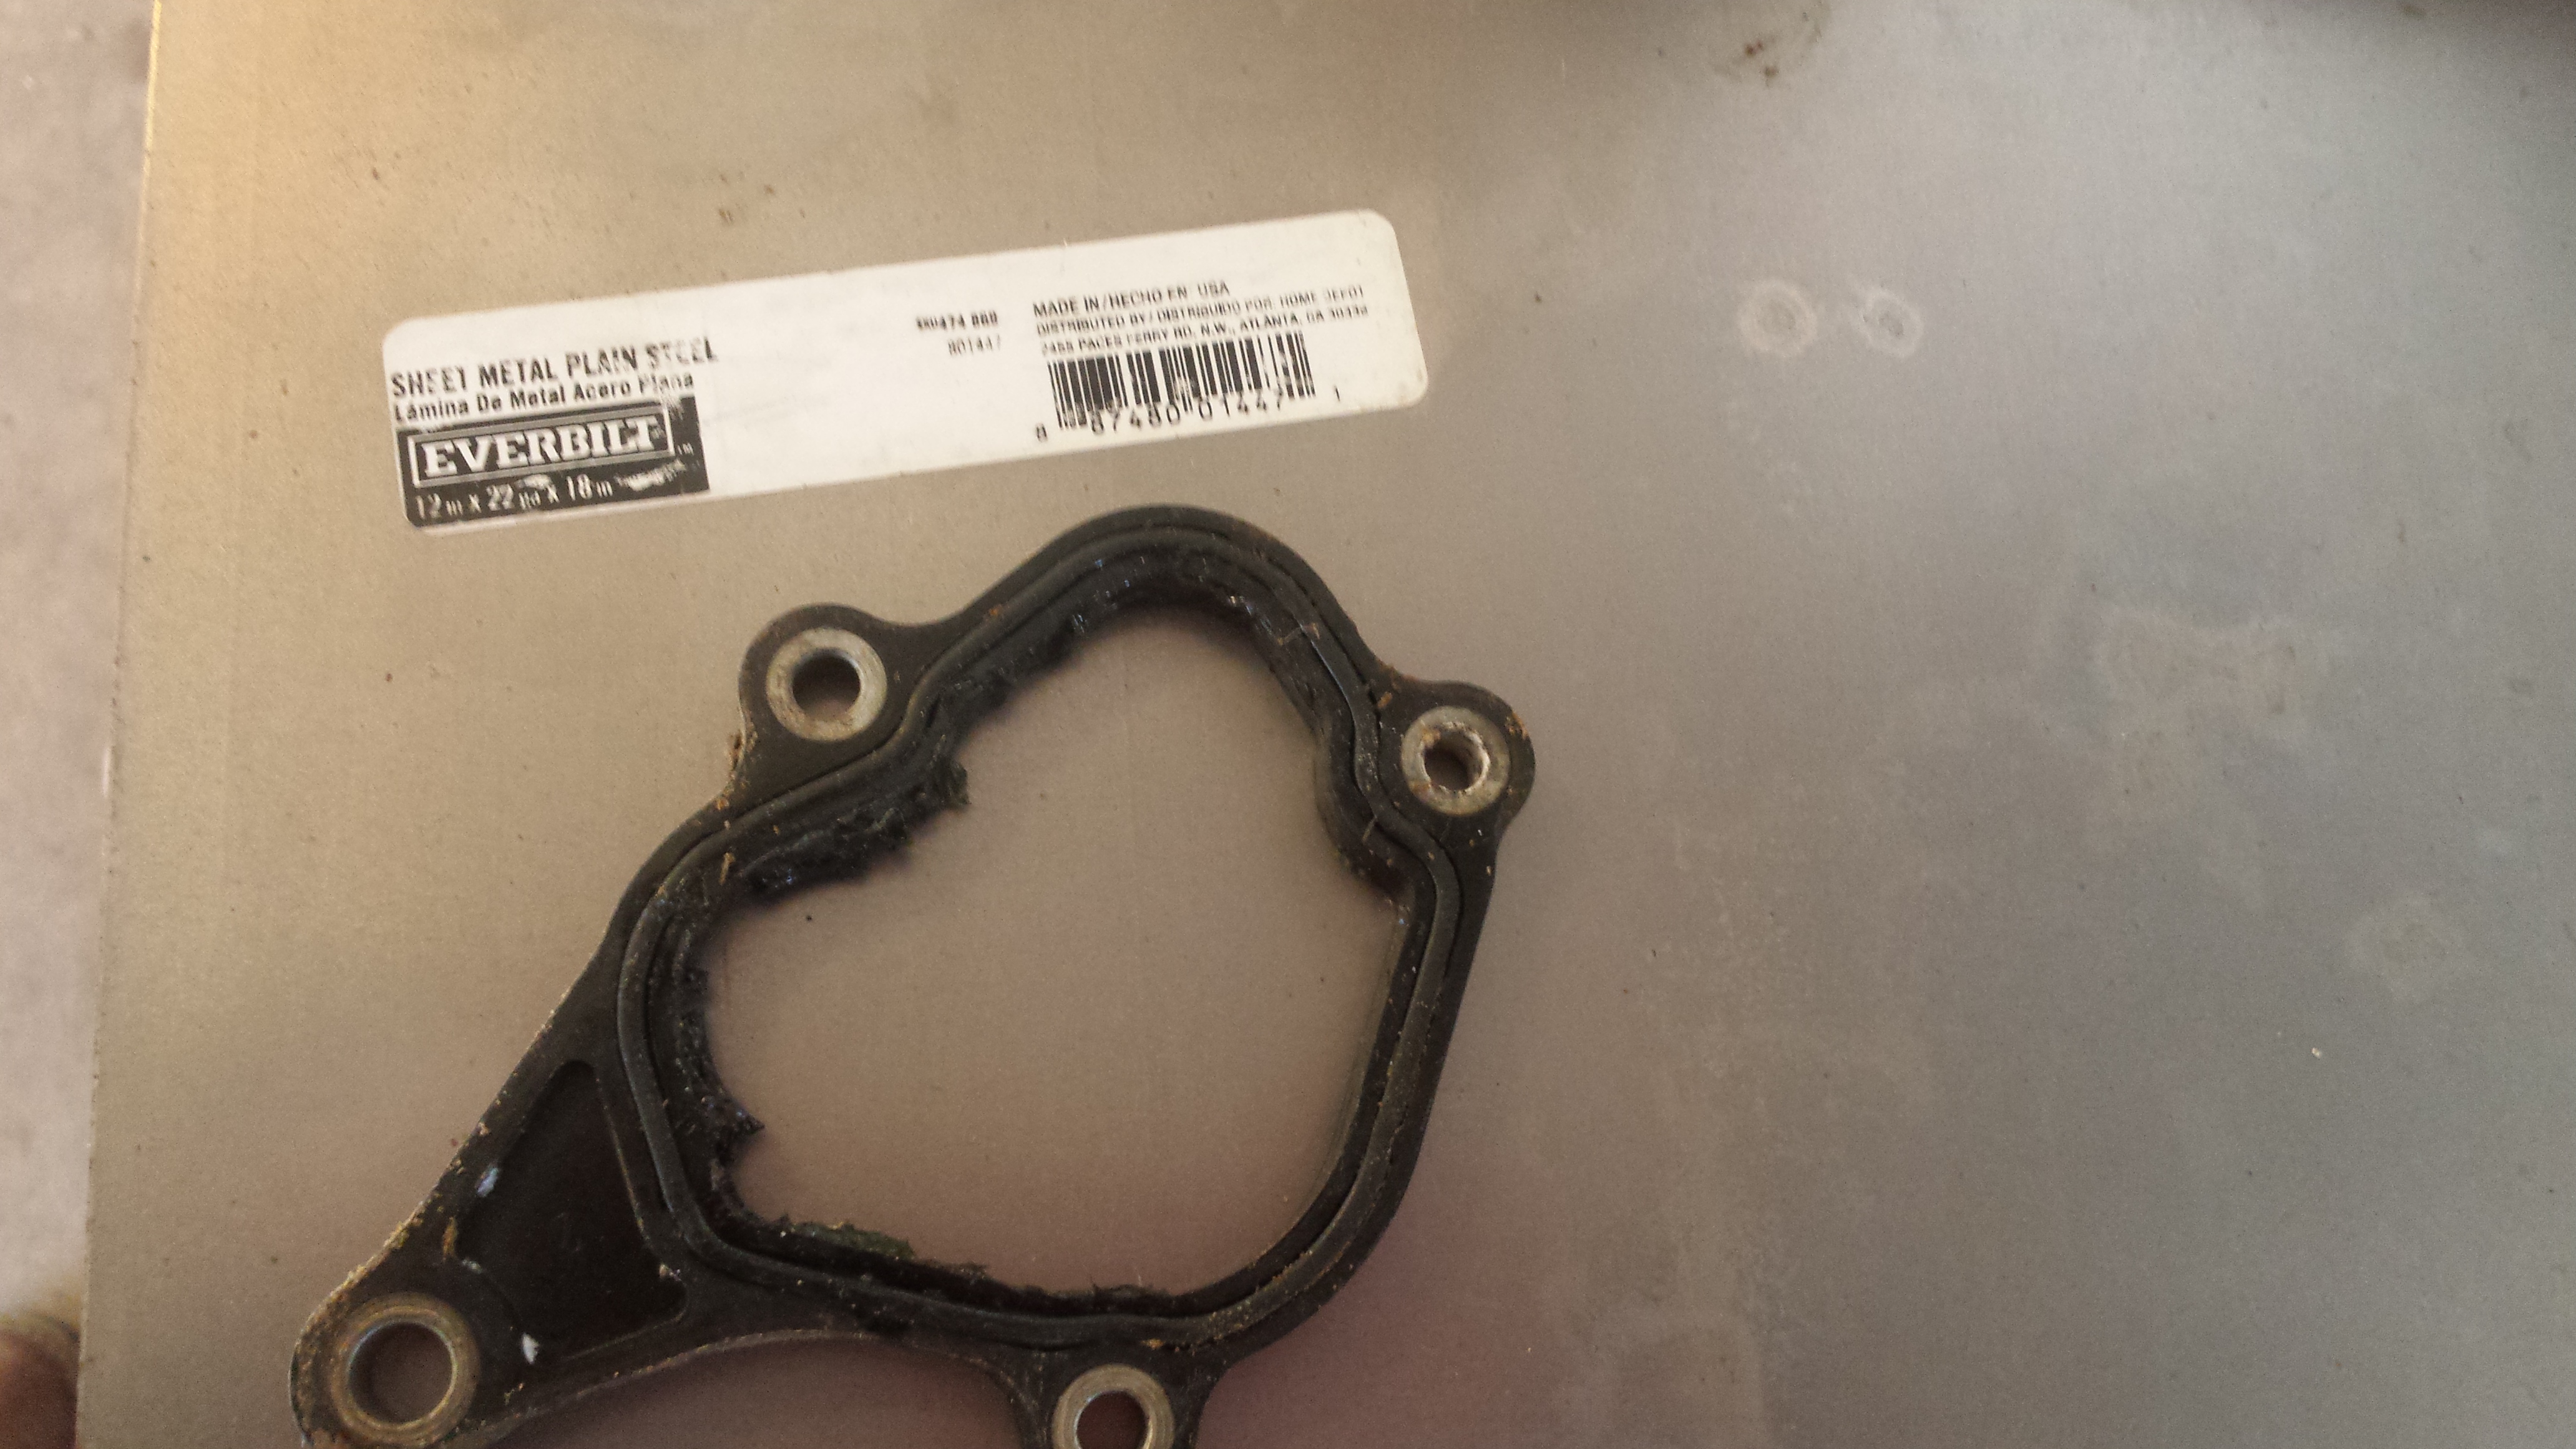
Here's the engine cover, shift motor, gasket, and gears. These are the gears you want to get rid of.
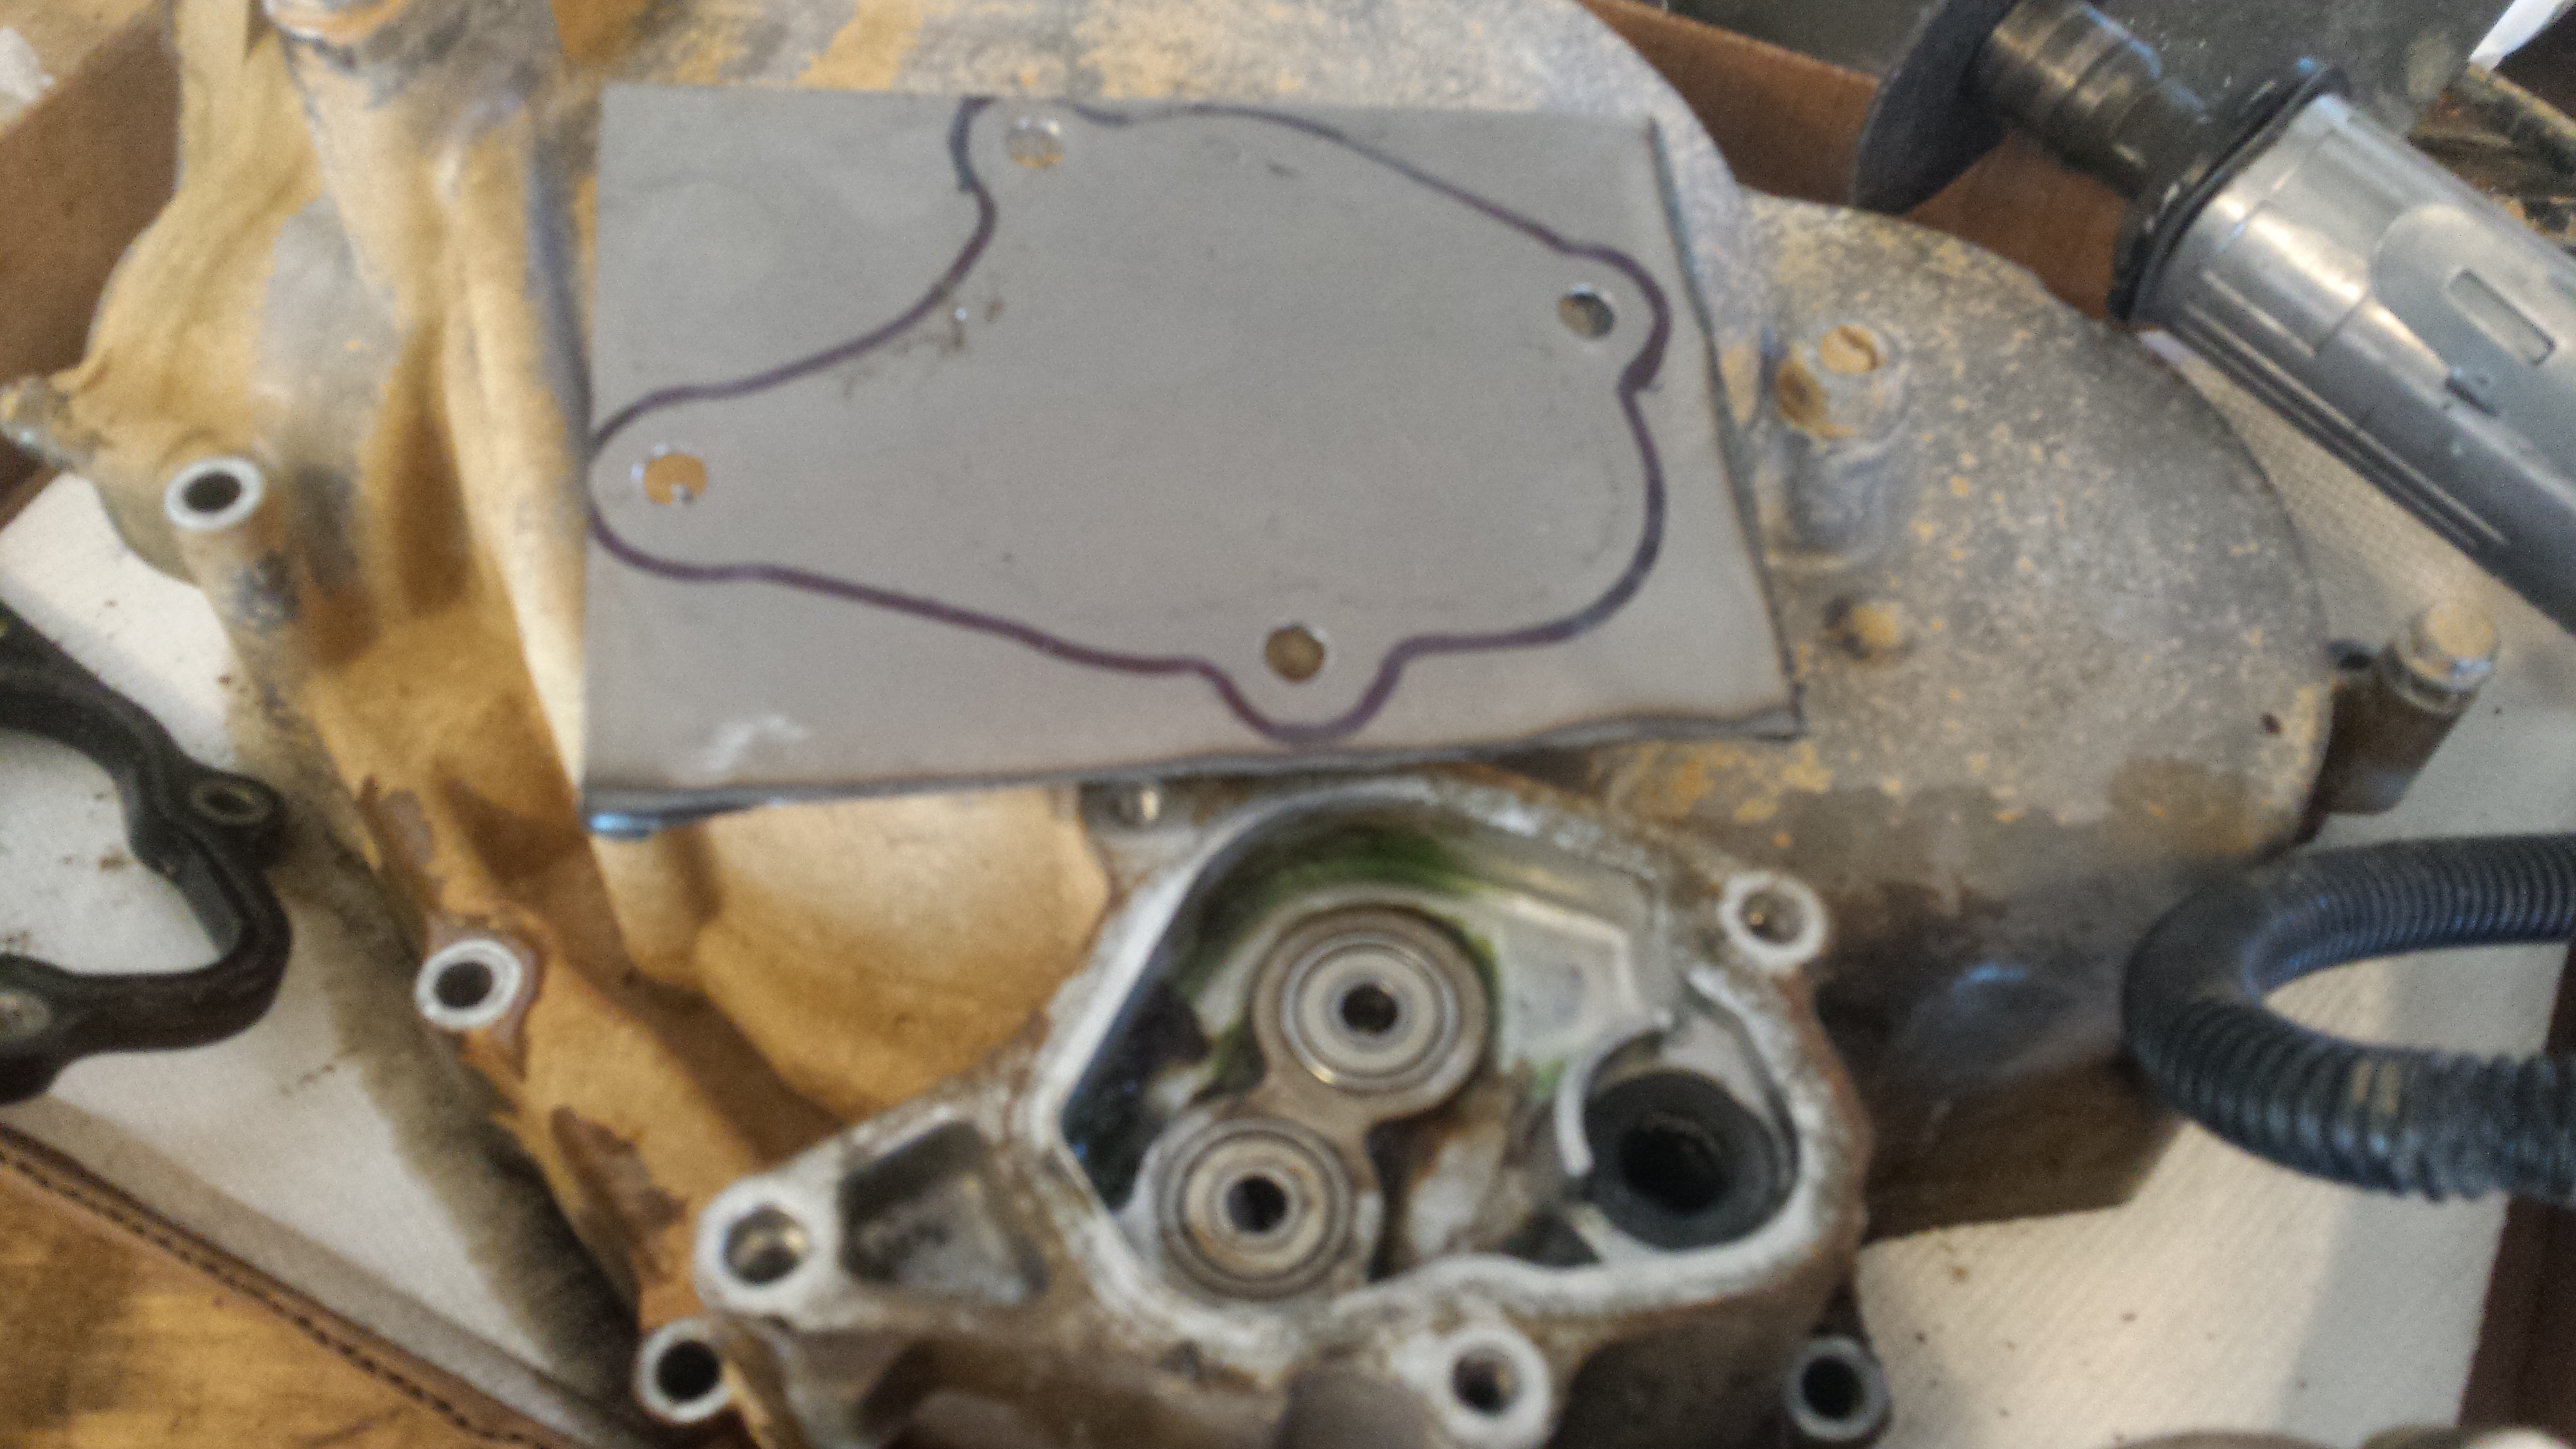
Figured the easiest way to make a cover plate was to trace something: Metal is from Home Depot.


--------------------------------------------------------------------------


Move them to your new housing.


Before you reassemble you need to grind the engine case just above the right side shaft to make room for the larger gear. I did this with an air cutoff tool and took a little then installed and checked for drag. It took a couple of times removing a tad bit of material each time. Also you need to grind the head of the timing tensioner damn near off, again check for clearance periodically as you grind.

All clear and starting to go back together.

This is the ES shift mechanism. WHile its given me no issues since owning the bike I dont ever want it to so I'm deleting it and making this bike foot shift. One less thing for me to worry about. You can remove the internal gears but leave the ES motor on or delete it completely. If you want to delete it completely cut the splines off the small sshaft sticking out so we can make a cover plate.

Here's the engine cover, shift motor, gasket, and gears. These are the gears you want to get rid of.

Figured the easiest way to make a cover plate was to trace something: Metal is from Home Depot.


--------------------------------------------------------------------------
Jan 31, 2016 | 12:46 PM
#6
Thread Starter
|
Pro Rider
Joined: Aug 2010
Posts: 230
Likes: 0
Loosen the 4 bolts and remove the clutch pack.

Move them to your new housing.


Before you reassemble you need to grind the engine case just above the right side shaft to make room for the larger gear. I did this with an air cutoff tool and took a little then installed and checked for drag. It took a couple of times removing a tad bit of material each time. Also you need to grind the head of the timing tensioner damn near off, again check for clearance periodically as you grind.
All clear and starting to go back together.
This is the ES shift mechanism. WHile its given me no issues since owning the bike I dont ever want it to so I'm deleting it and making this bike foot shift. One less thing for me to worry about. You can remove the internal gears but leave the ES motor on or delete it completely. If you want to delete it completely cut the splines off the small sshaft sticking out so we can make a cover plate.
Here's the engine cover, shift motor, gasket, and gears. These are the gears you want to get rid of.

Figured the easiest way to make a cover plate was to trace something: Metal is from Home Depot.
--------------------------------------------------------------------------
Move them to your new housing.
Before you reassemble you need to grind the engine case just above the right side shaft to make room for the larger gear. I did this with an air cutoff tool and took a little then installed and checked for drag. It took a couple of times removing a tad bit of material each time. Also you need to grind the head of the timing tensioner damn near off, again check for clearance periodically as you grind.
All clear and starting to go back together.
This is the ES shift mechanism. WHile its given me no issues since owning the bike I dont ever want it to so I'm deleting it and making this bike foot shift. One less thing for me to worry about. You can remove the internal gears but leave the ES motor on or delete it completely. If you want to delete it completely cut the splines off the small sshaft sticking out so we can make a cover plate.
Here's the engine cover, shift motor, gasket, and gears. These are the gears you want to get rid of.
Figured the easiest way to make a cover plate was to trace something: Metal is from Home Depot.
--------------------------------------------------------------------------
Jan 31, 2016 | 12:47 PM
#7
Thread Starter
|
Pro Rider
Joined: Aug 2010
Posts: 230
Likes: 0
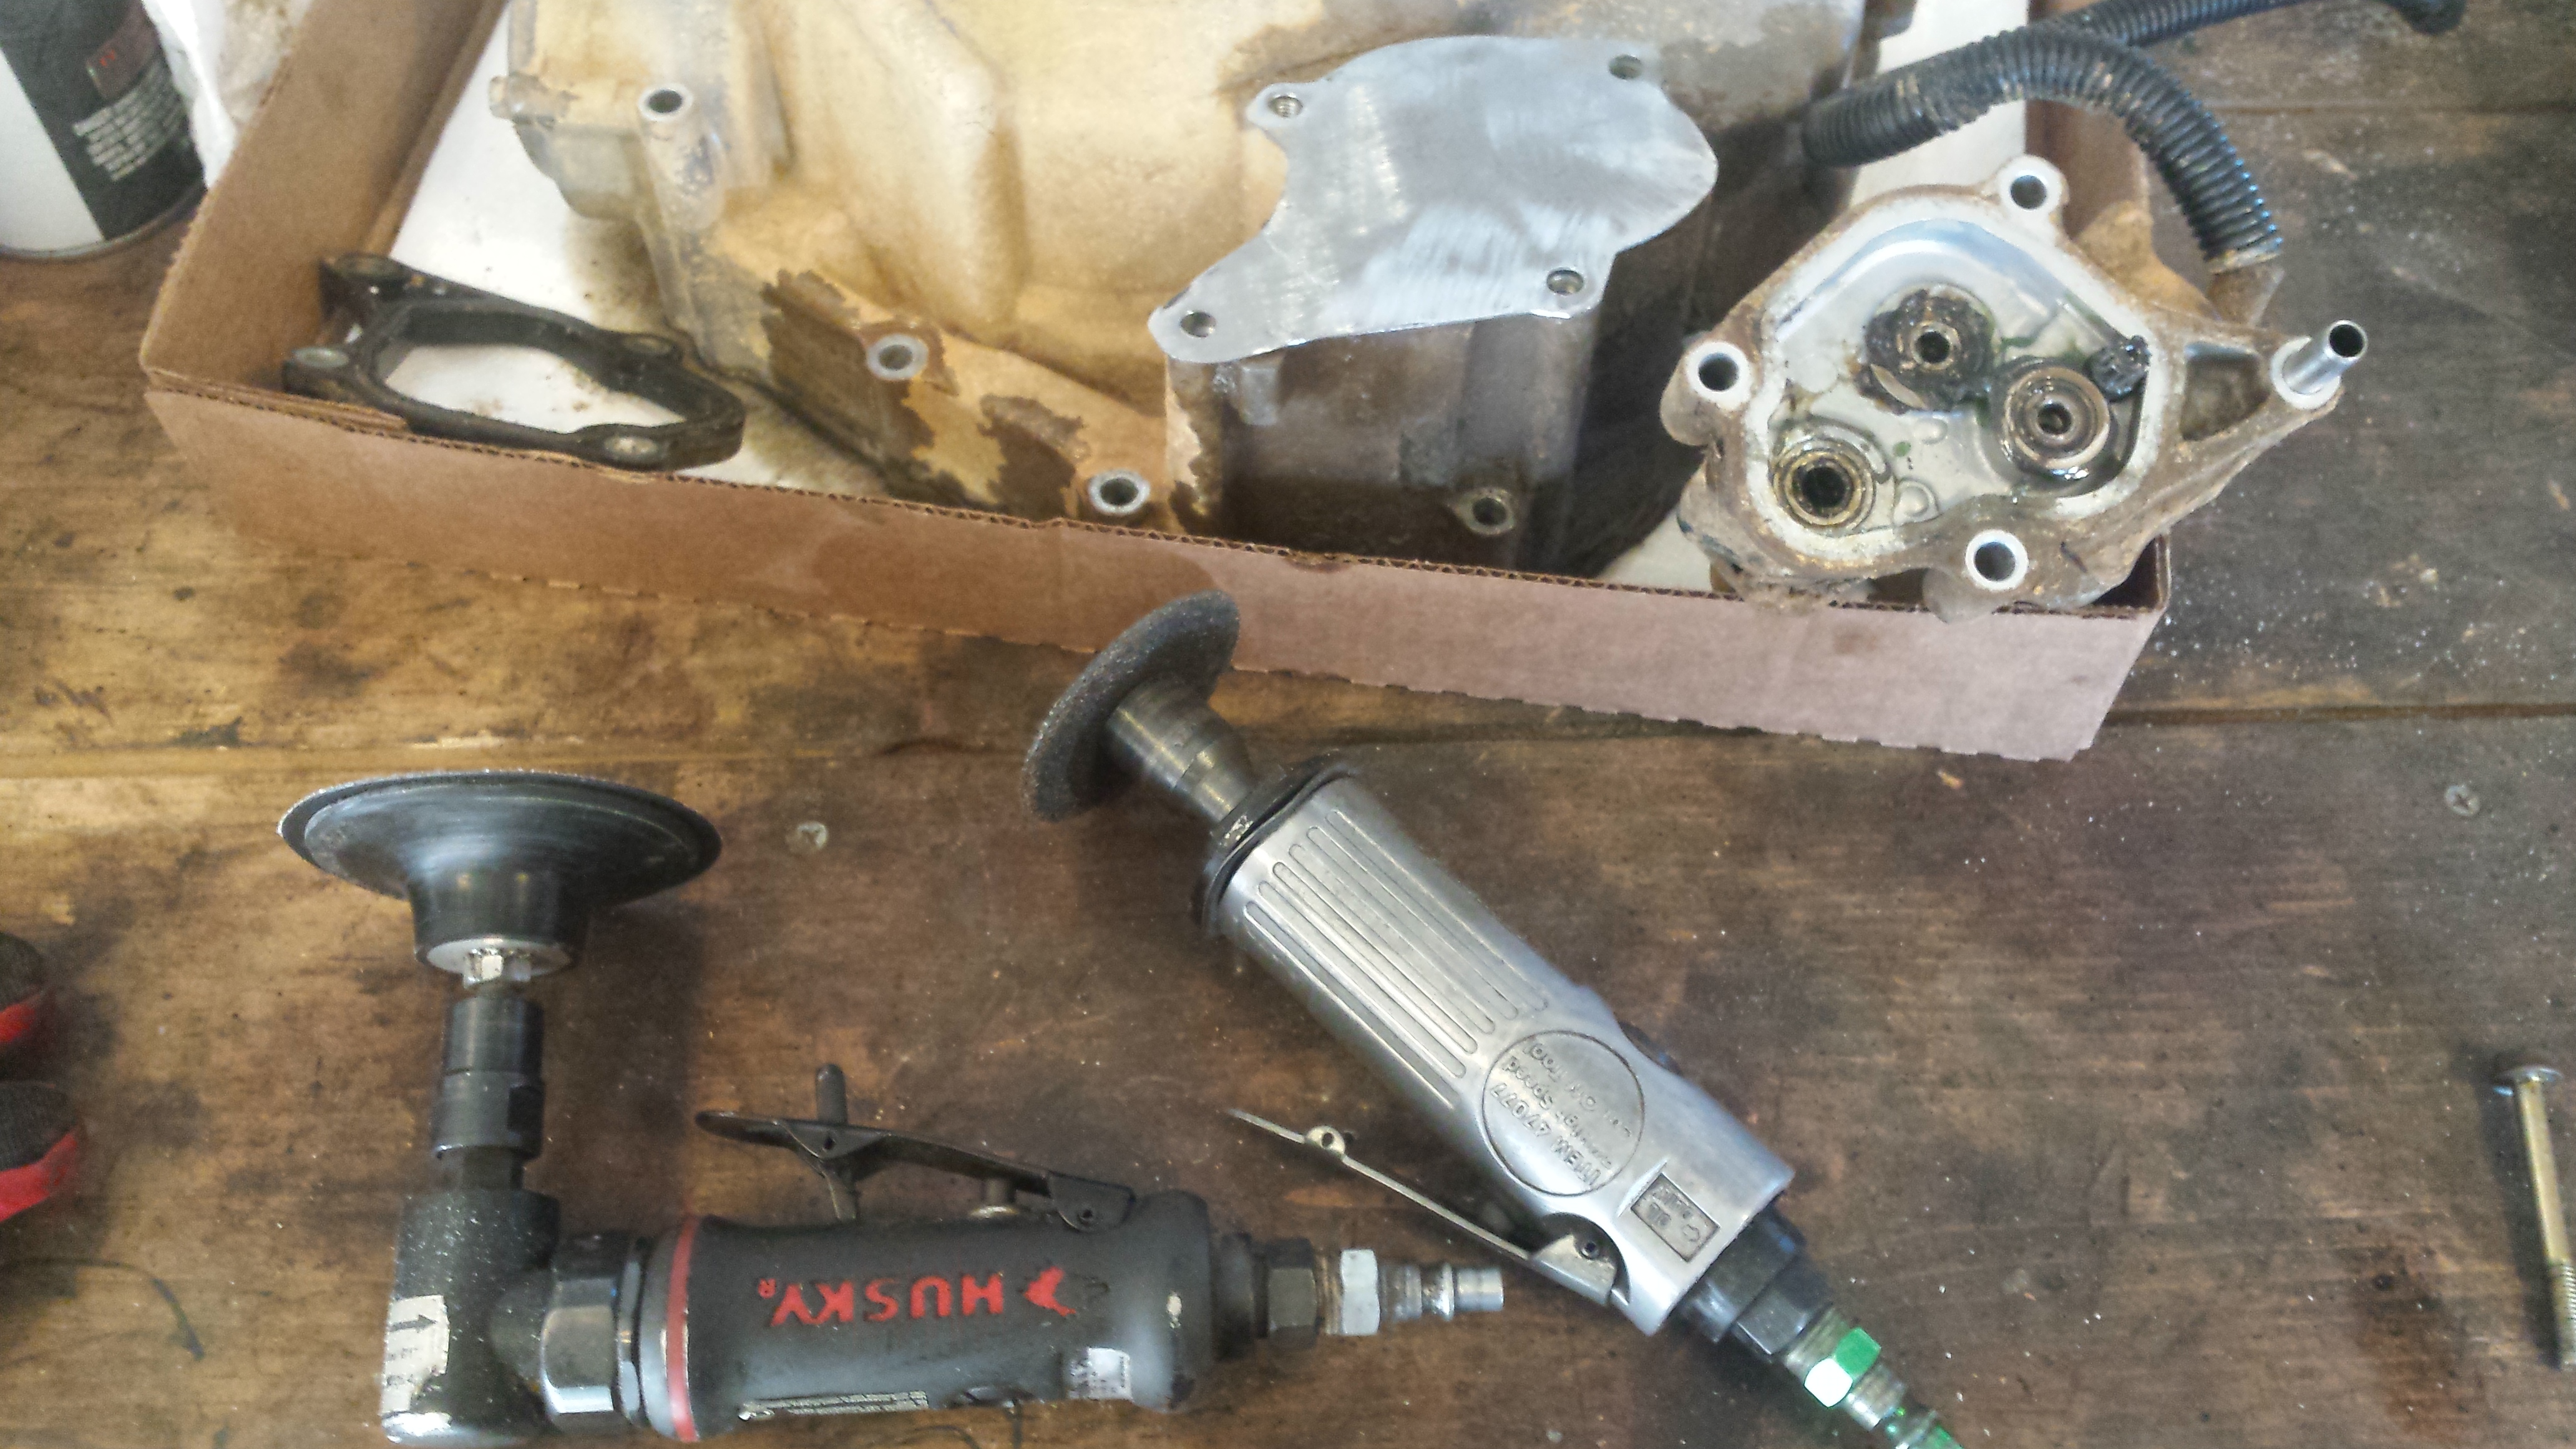
Rough shape.
This is all I used to make the cover plate, took ten minutes or less.
Completed.
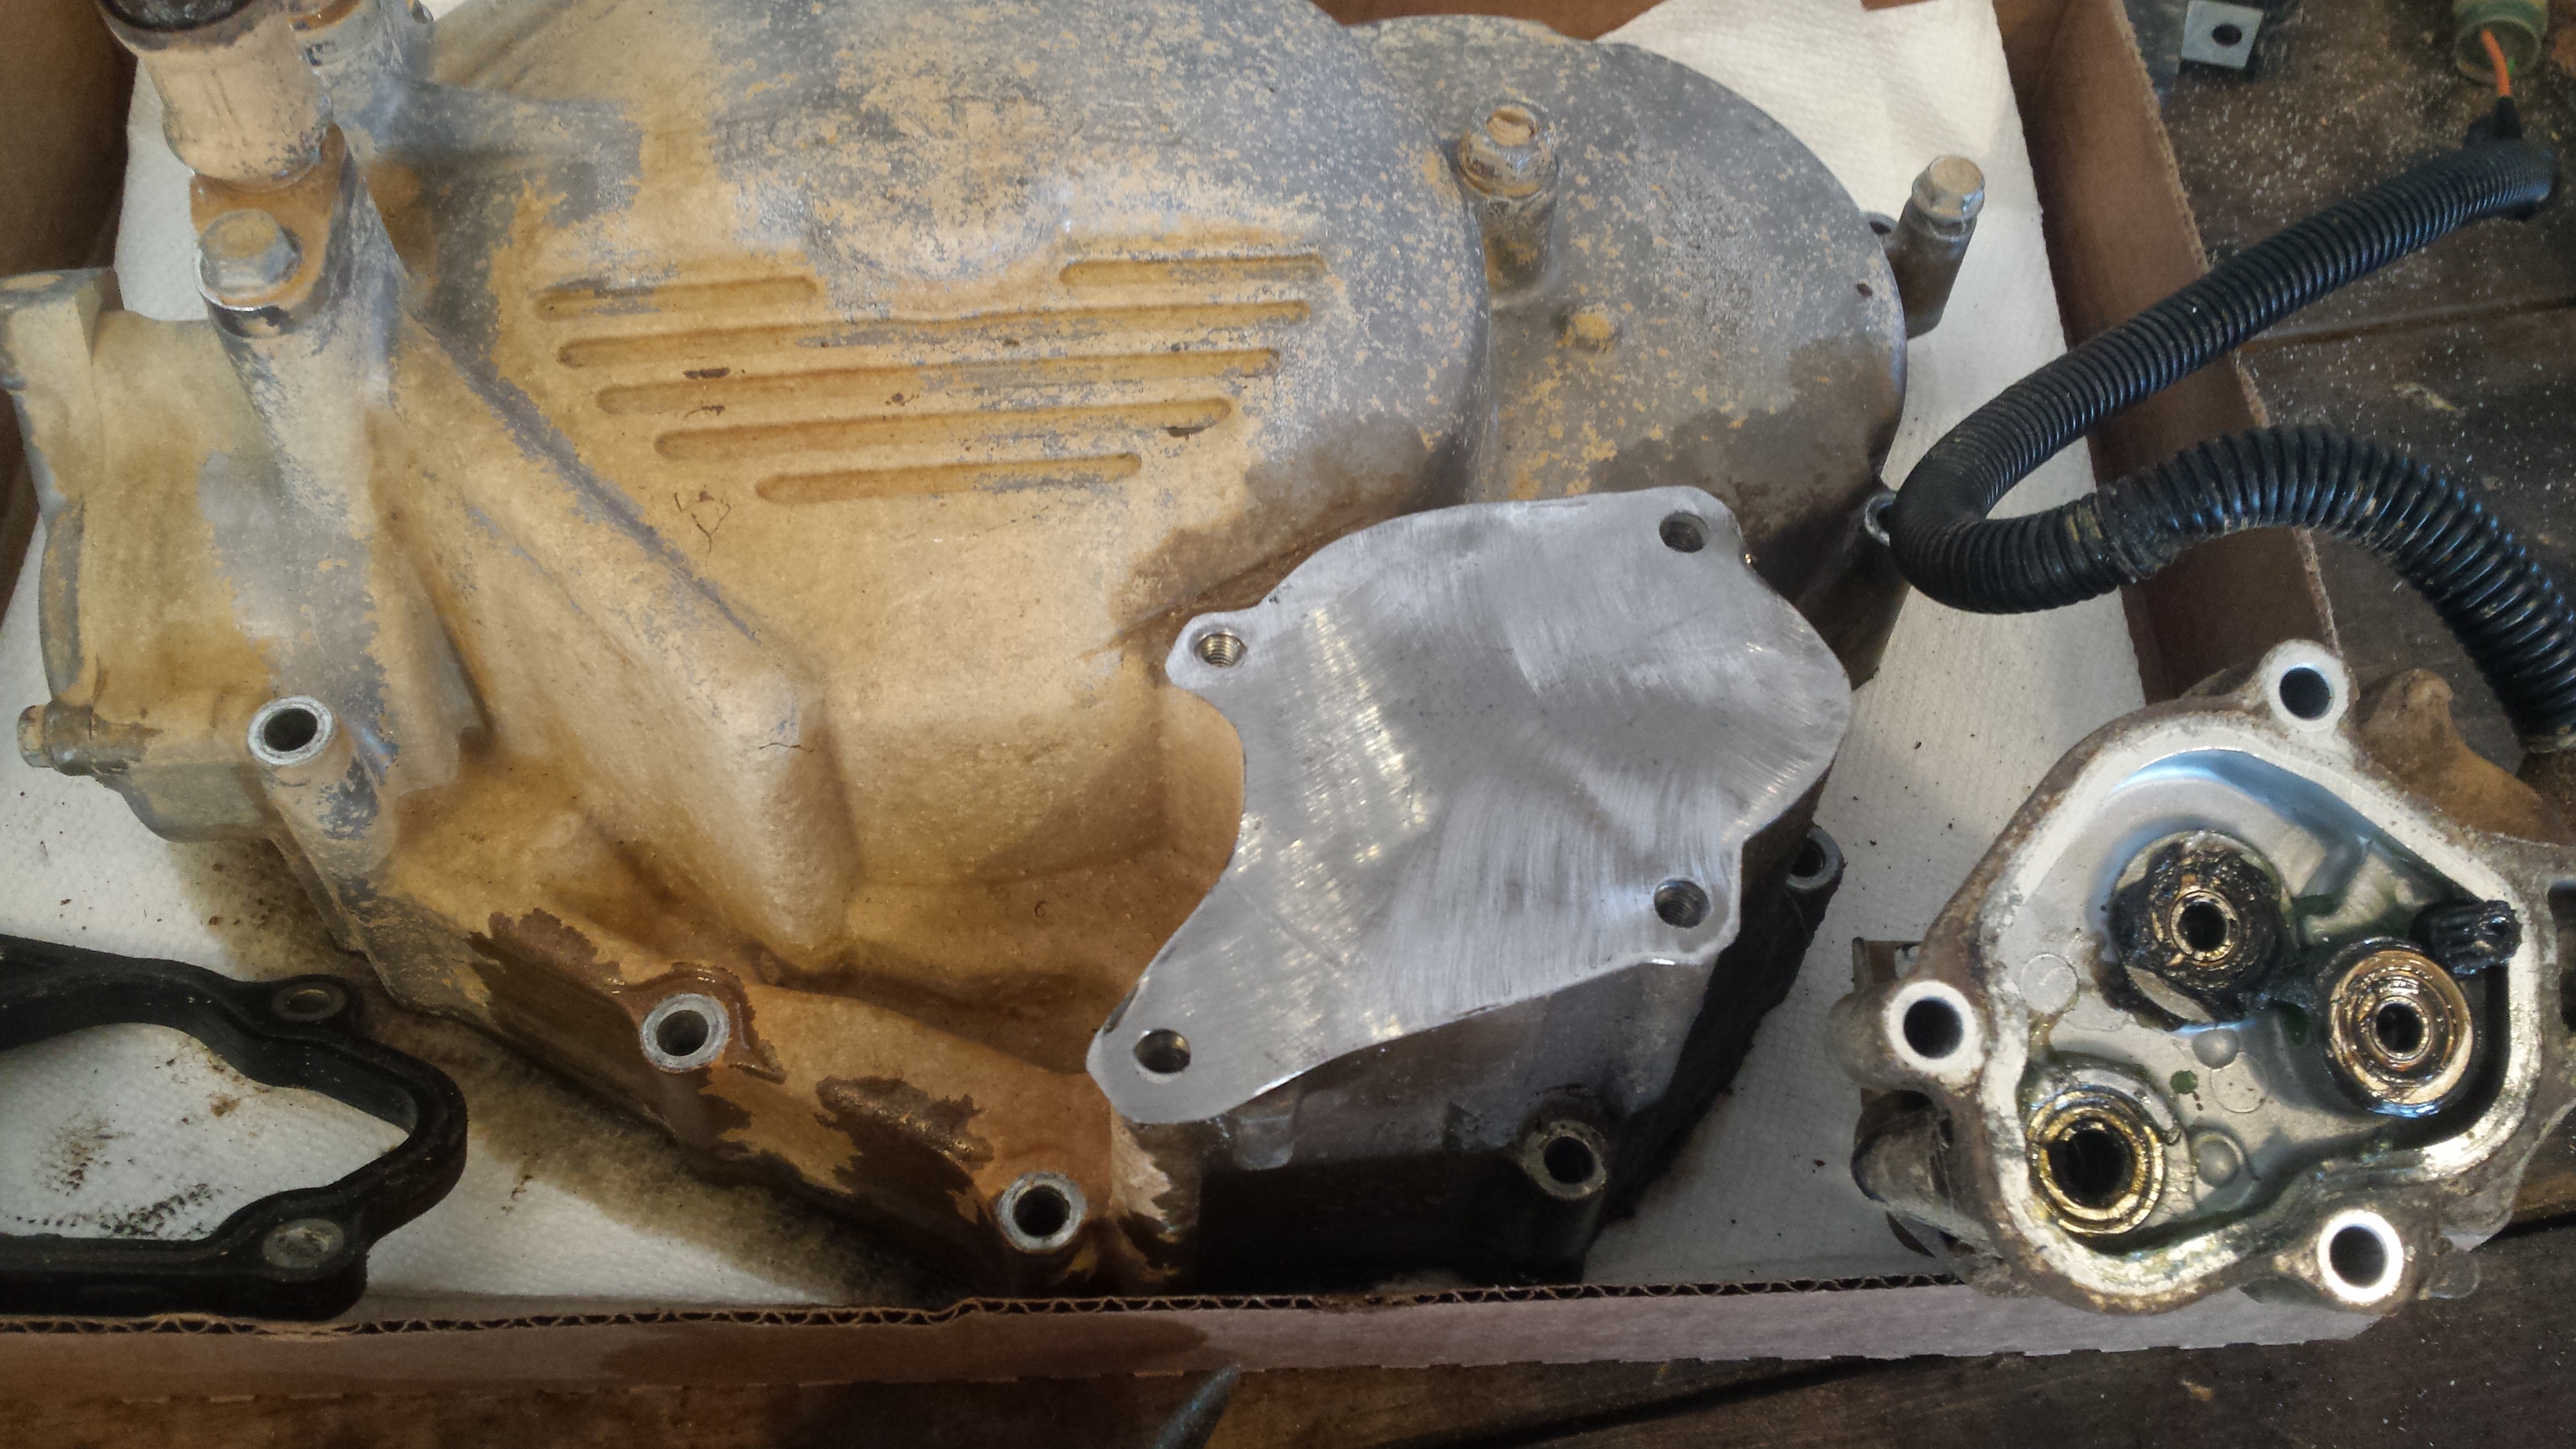
Stock bolts wont work for this cover so you'll need to source some....pretty short ones will work fine.
Cover is all cleaned up and ready to be reinstalled.
Reassembled and waiting for the cover.
--------------------------------------------------------------------------------

This is all I used to make the cover plate, took ten minutes or less.

Completed.

Stock bolts wont work for this cover so you'll need to source some....pretty short ones will work fine.

Cover is all cleaned up and ready to be reinstalled.

Reassembled and waiting for the cover.

--------------------------------------------------------------------------------
Trending Topics
Jan 31, 2016 | 12:47 PM
#8
Thread Starter
|
Pro Rider
Joined: Aug 2010
Posts: 230
Likes: 0
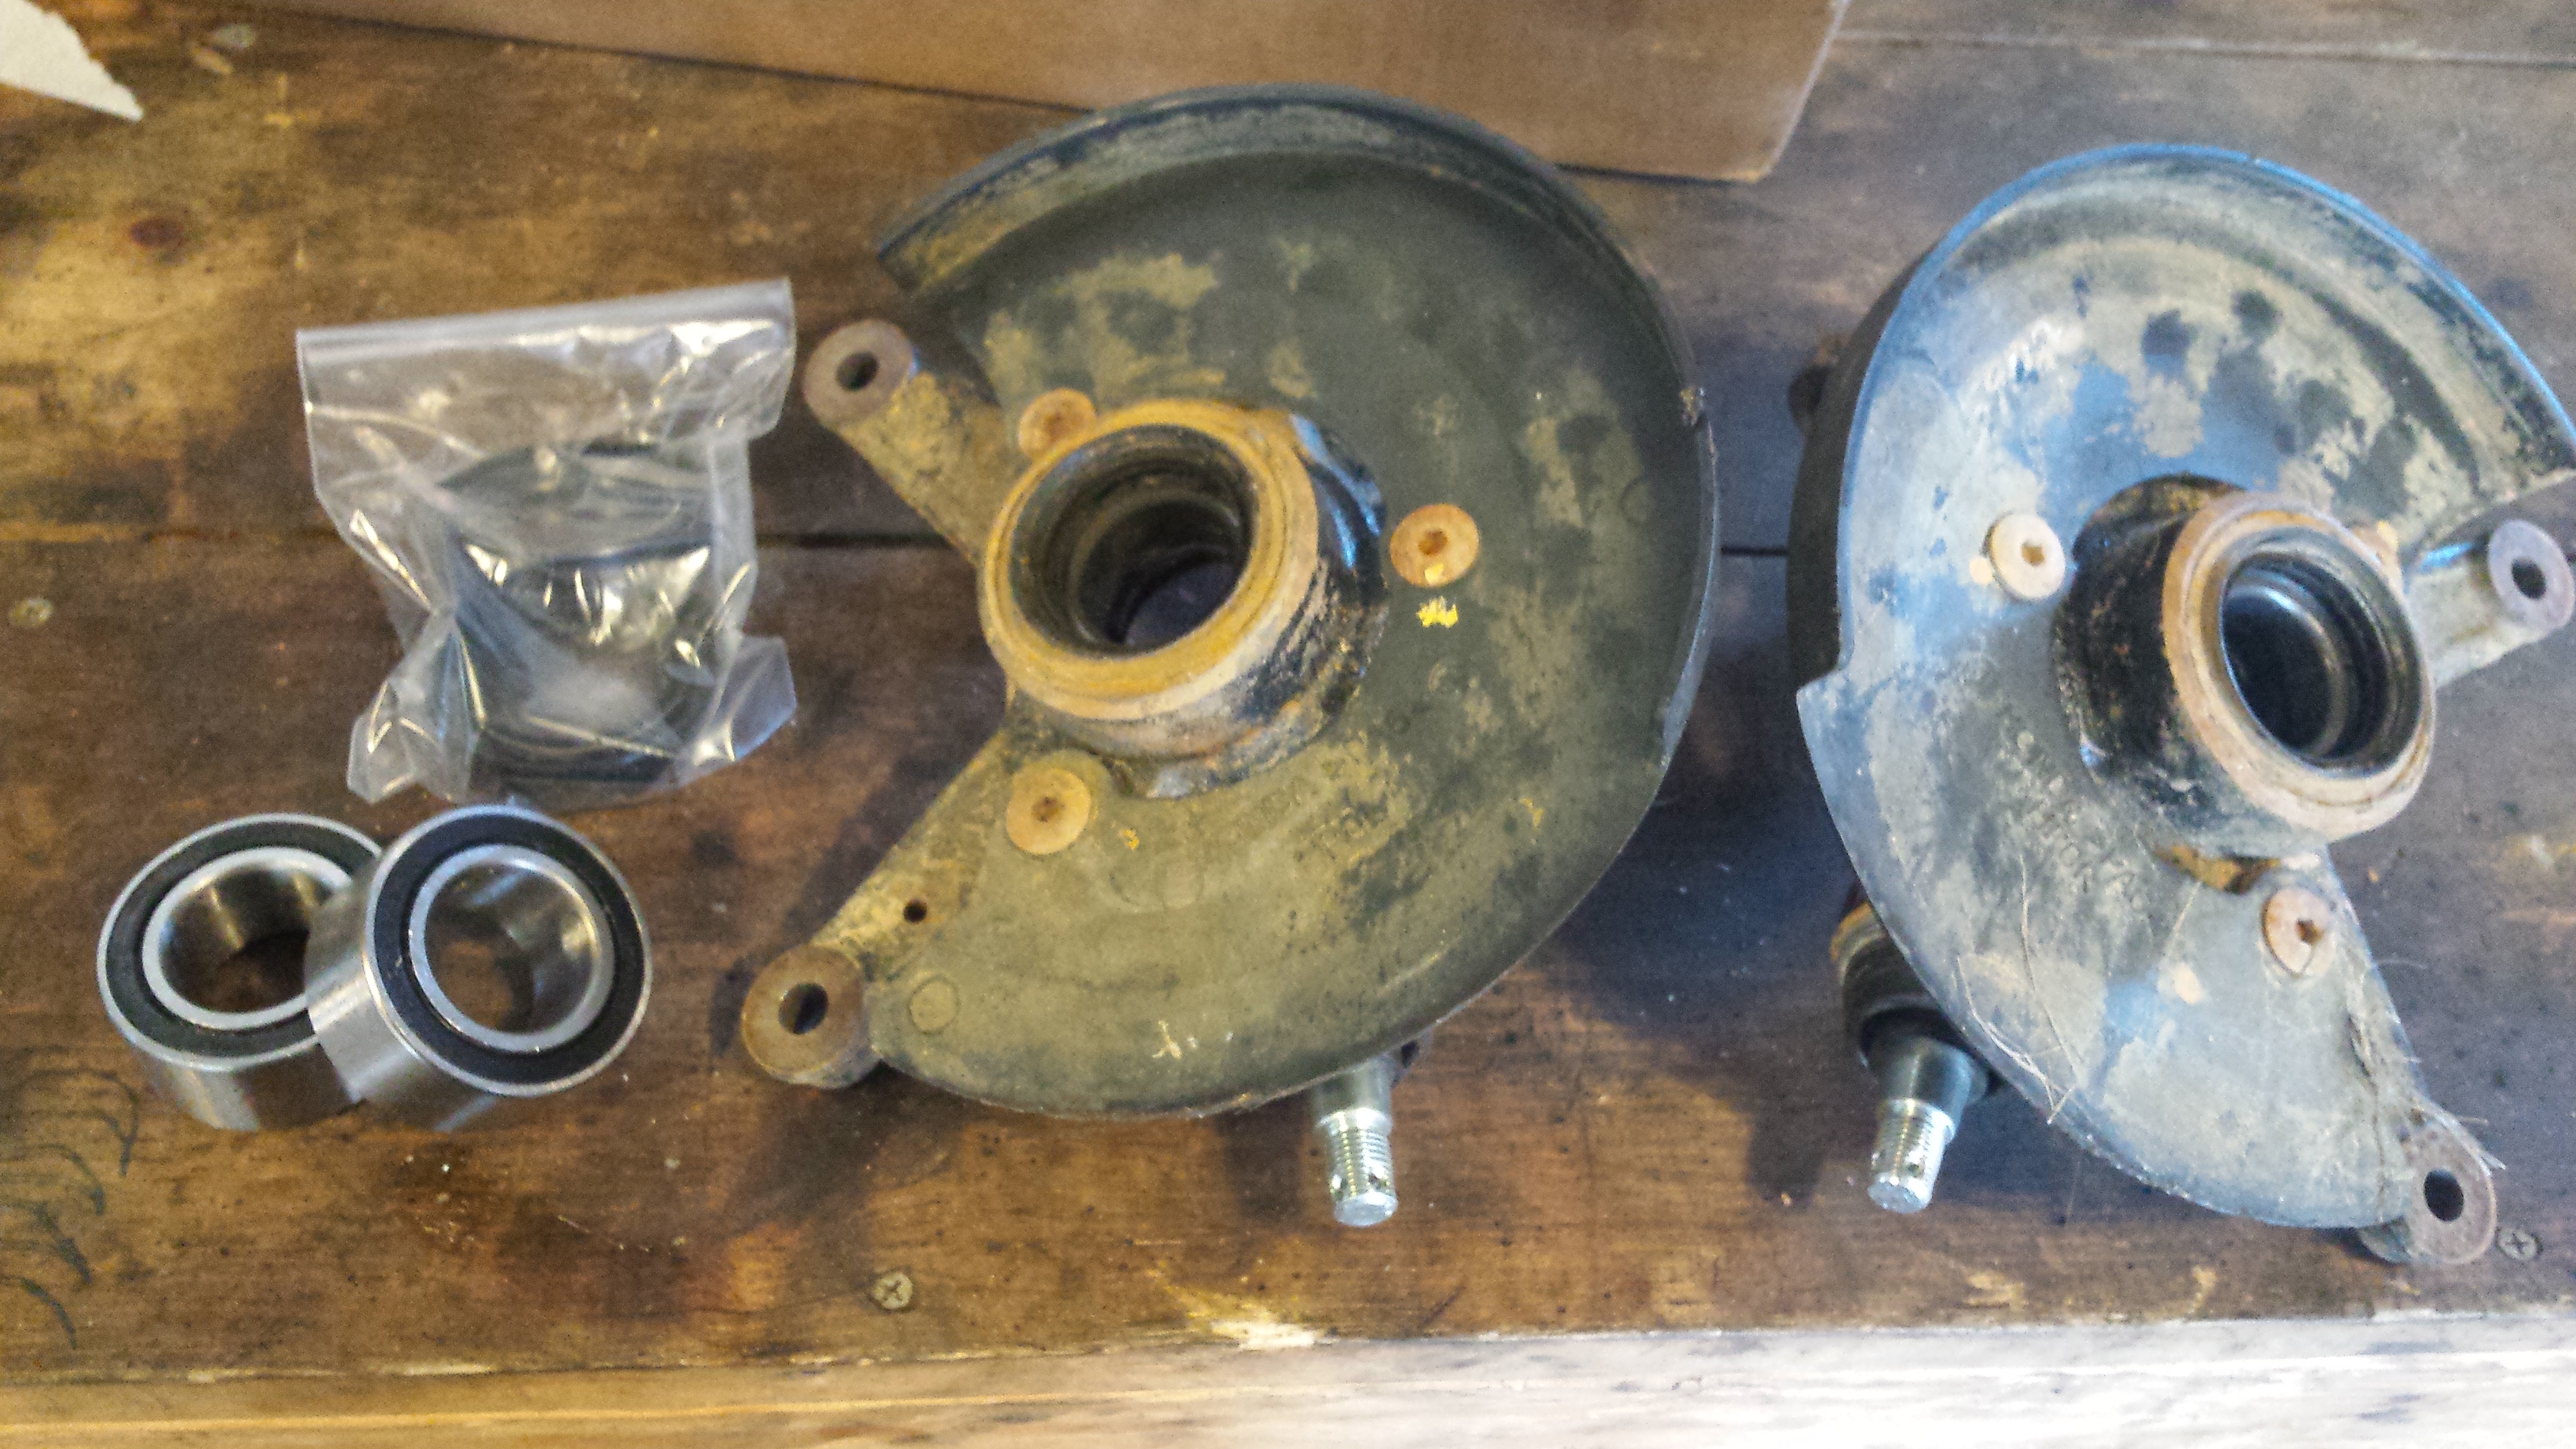
While the bike was apart I noticed all 4 ball joints had rips in the boots. Figured well now was as good a time as any so 4 new ball joints got installed.
Brake pads and wheel bearings had seen better days too so I ordered the stuff.
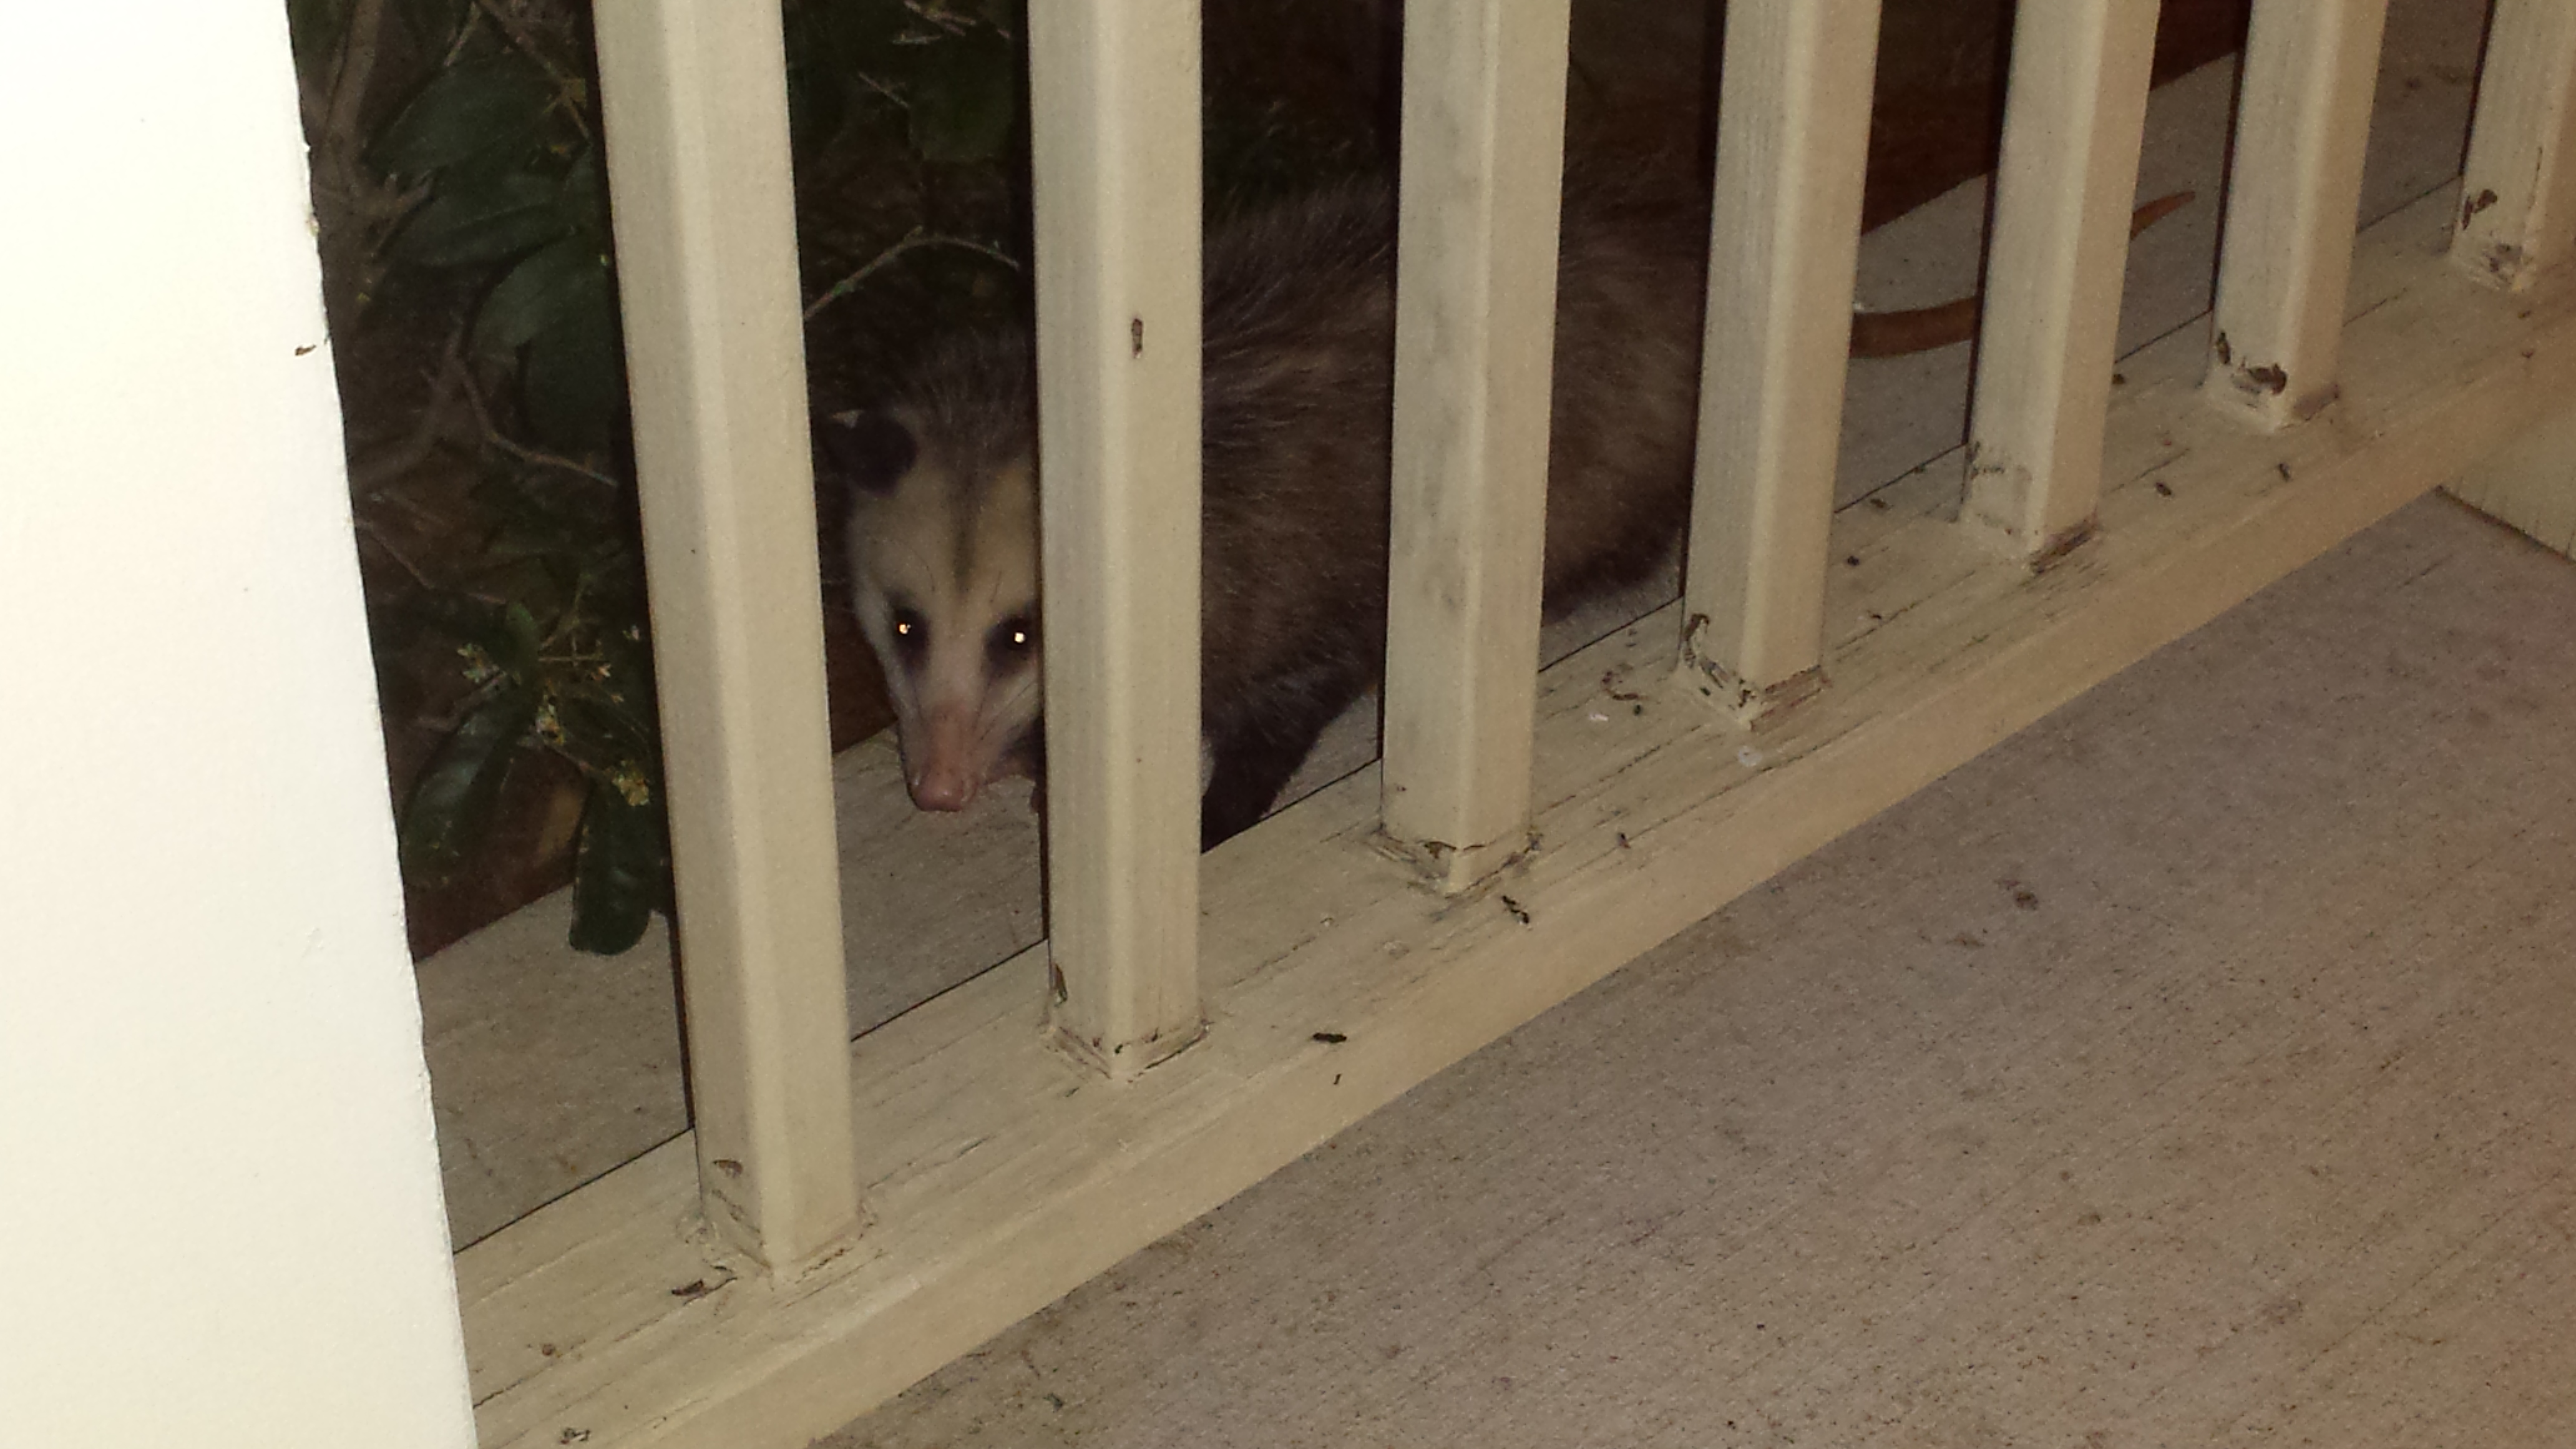
Visitor came to see me.
I've always hated how the front bumper on these bikes was silver while the racks were black, plus mine had some rust from the aluminum front cover holding mud against it so I decided to have it powder coated black while it was off.

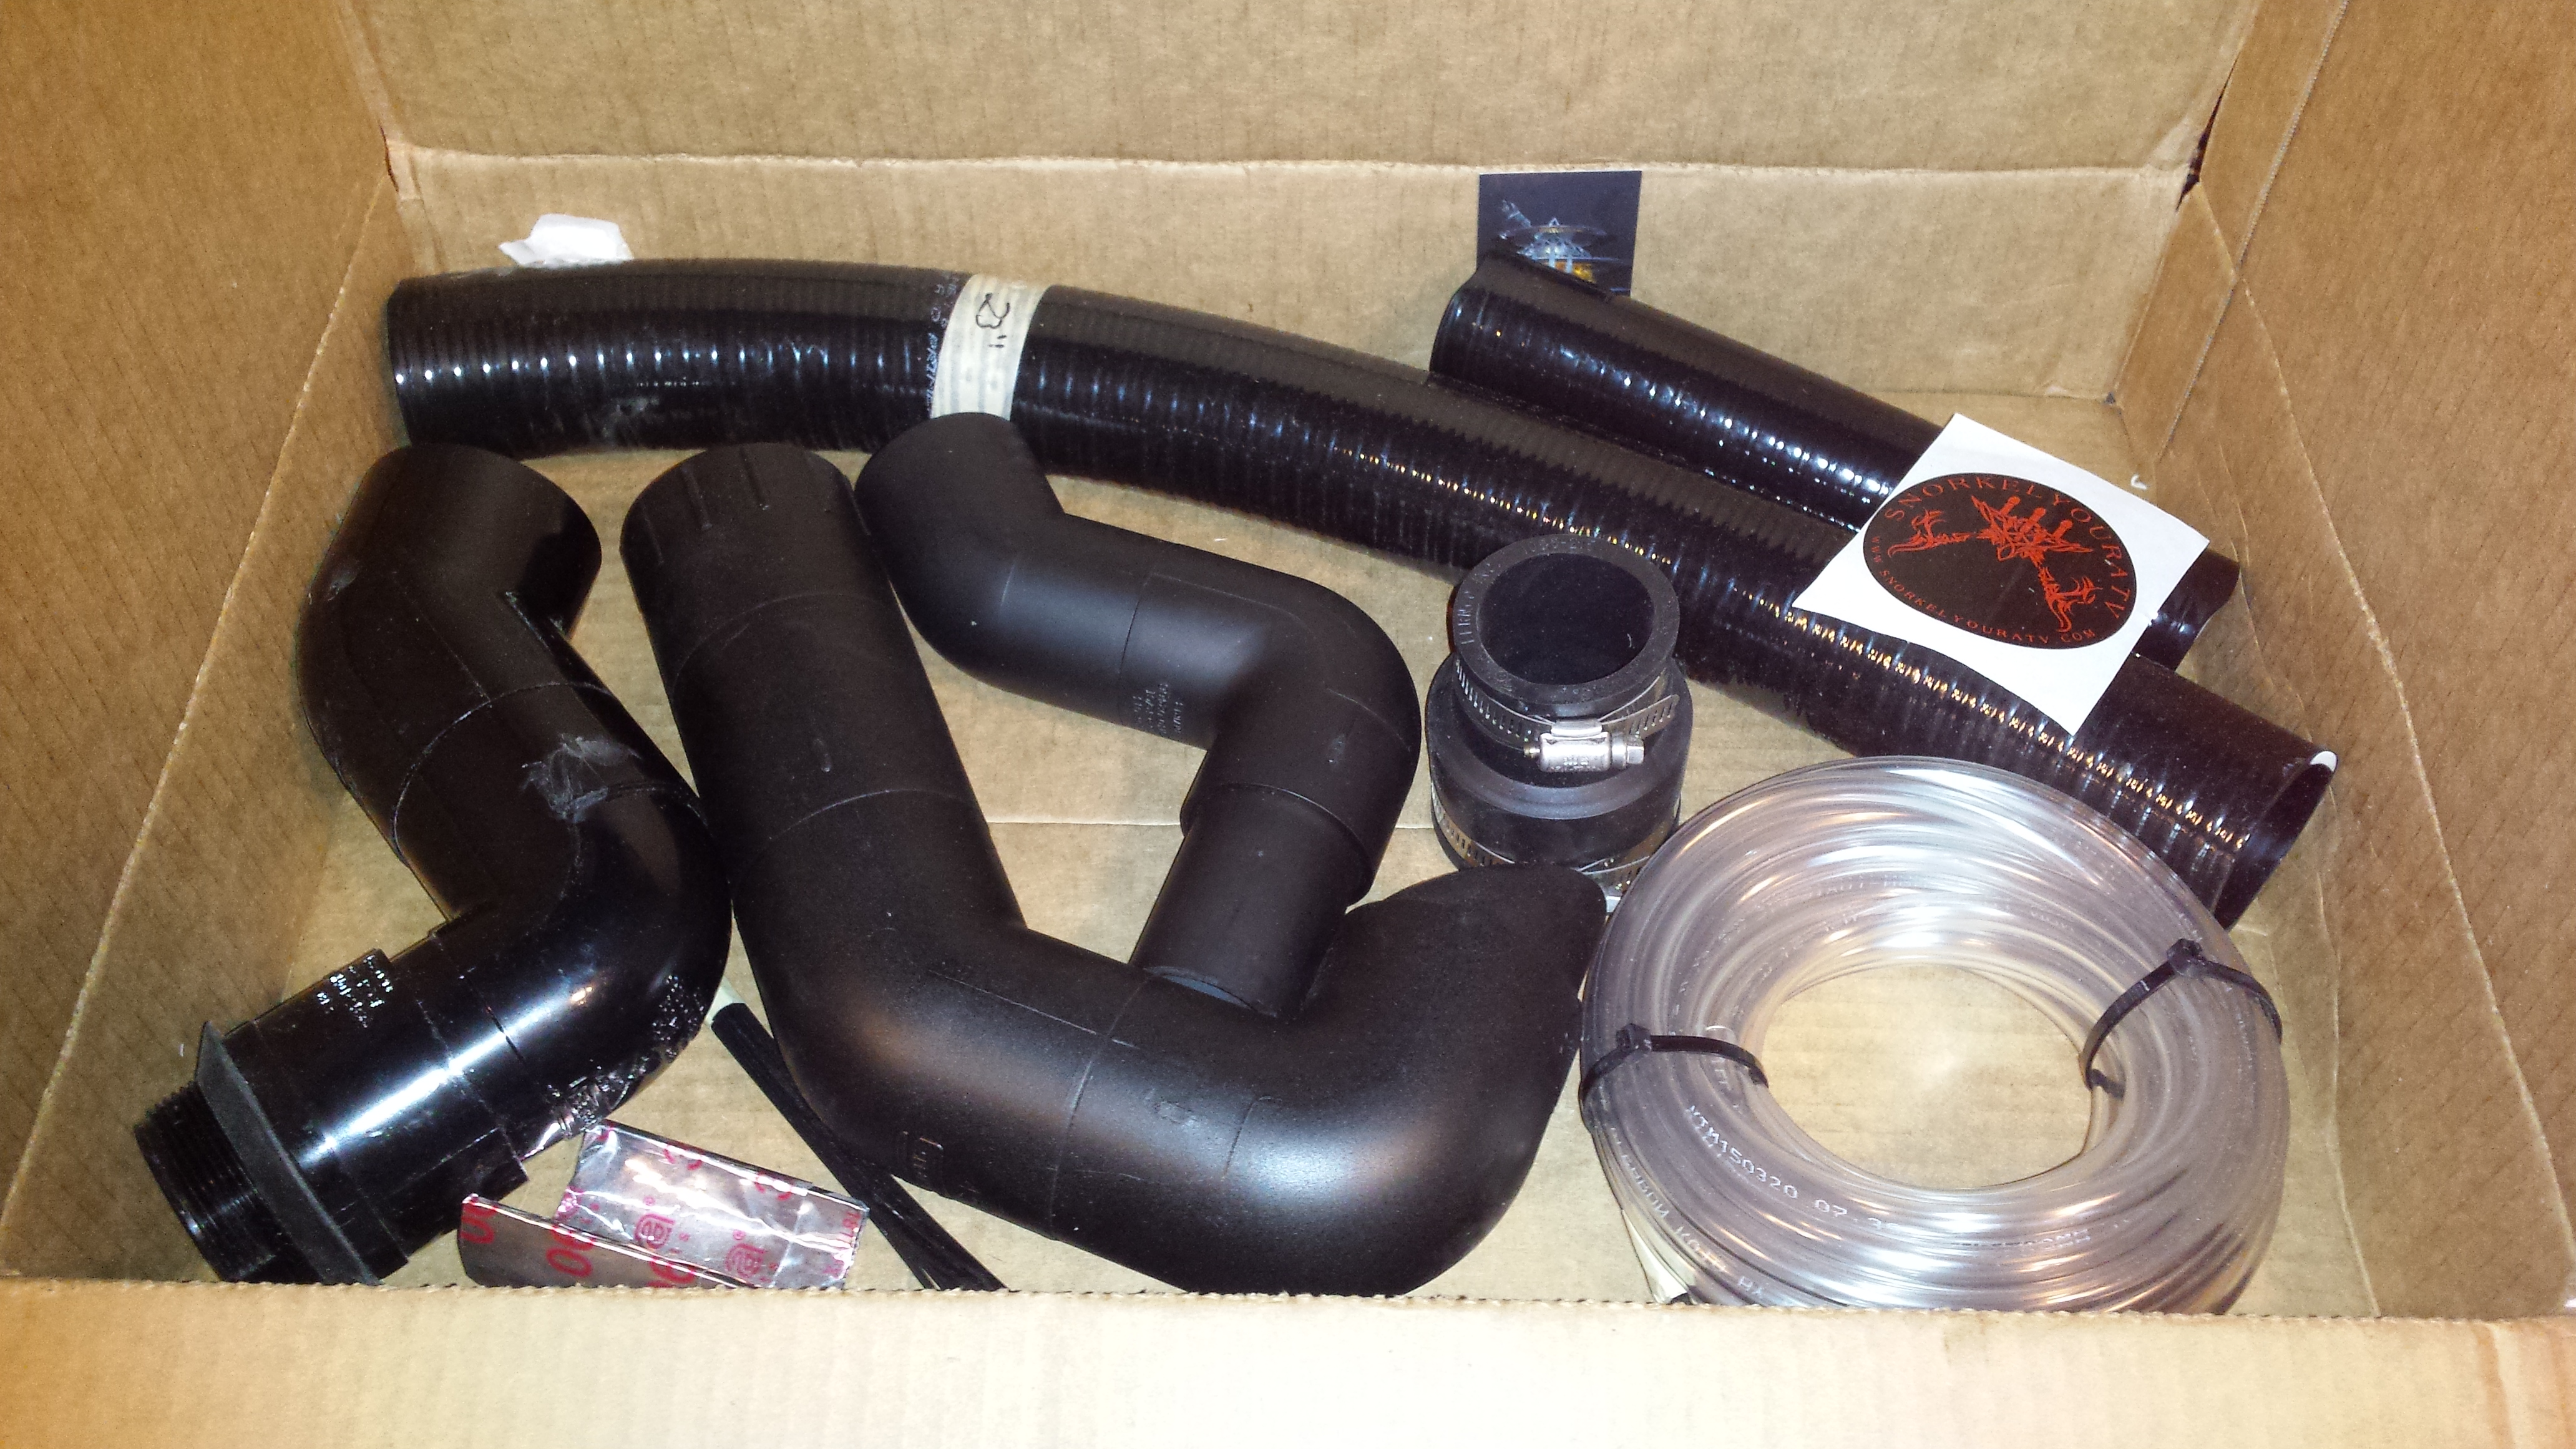
Speaking of things I hate.....that pile of PVC on my table. I said F it and decided to order one from snorkel your atv dot com.
Did a quick mock up to see how it would look.
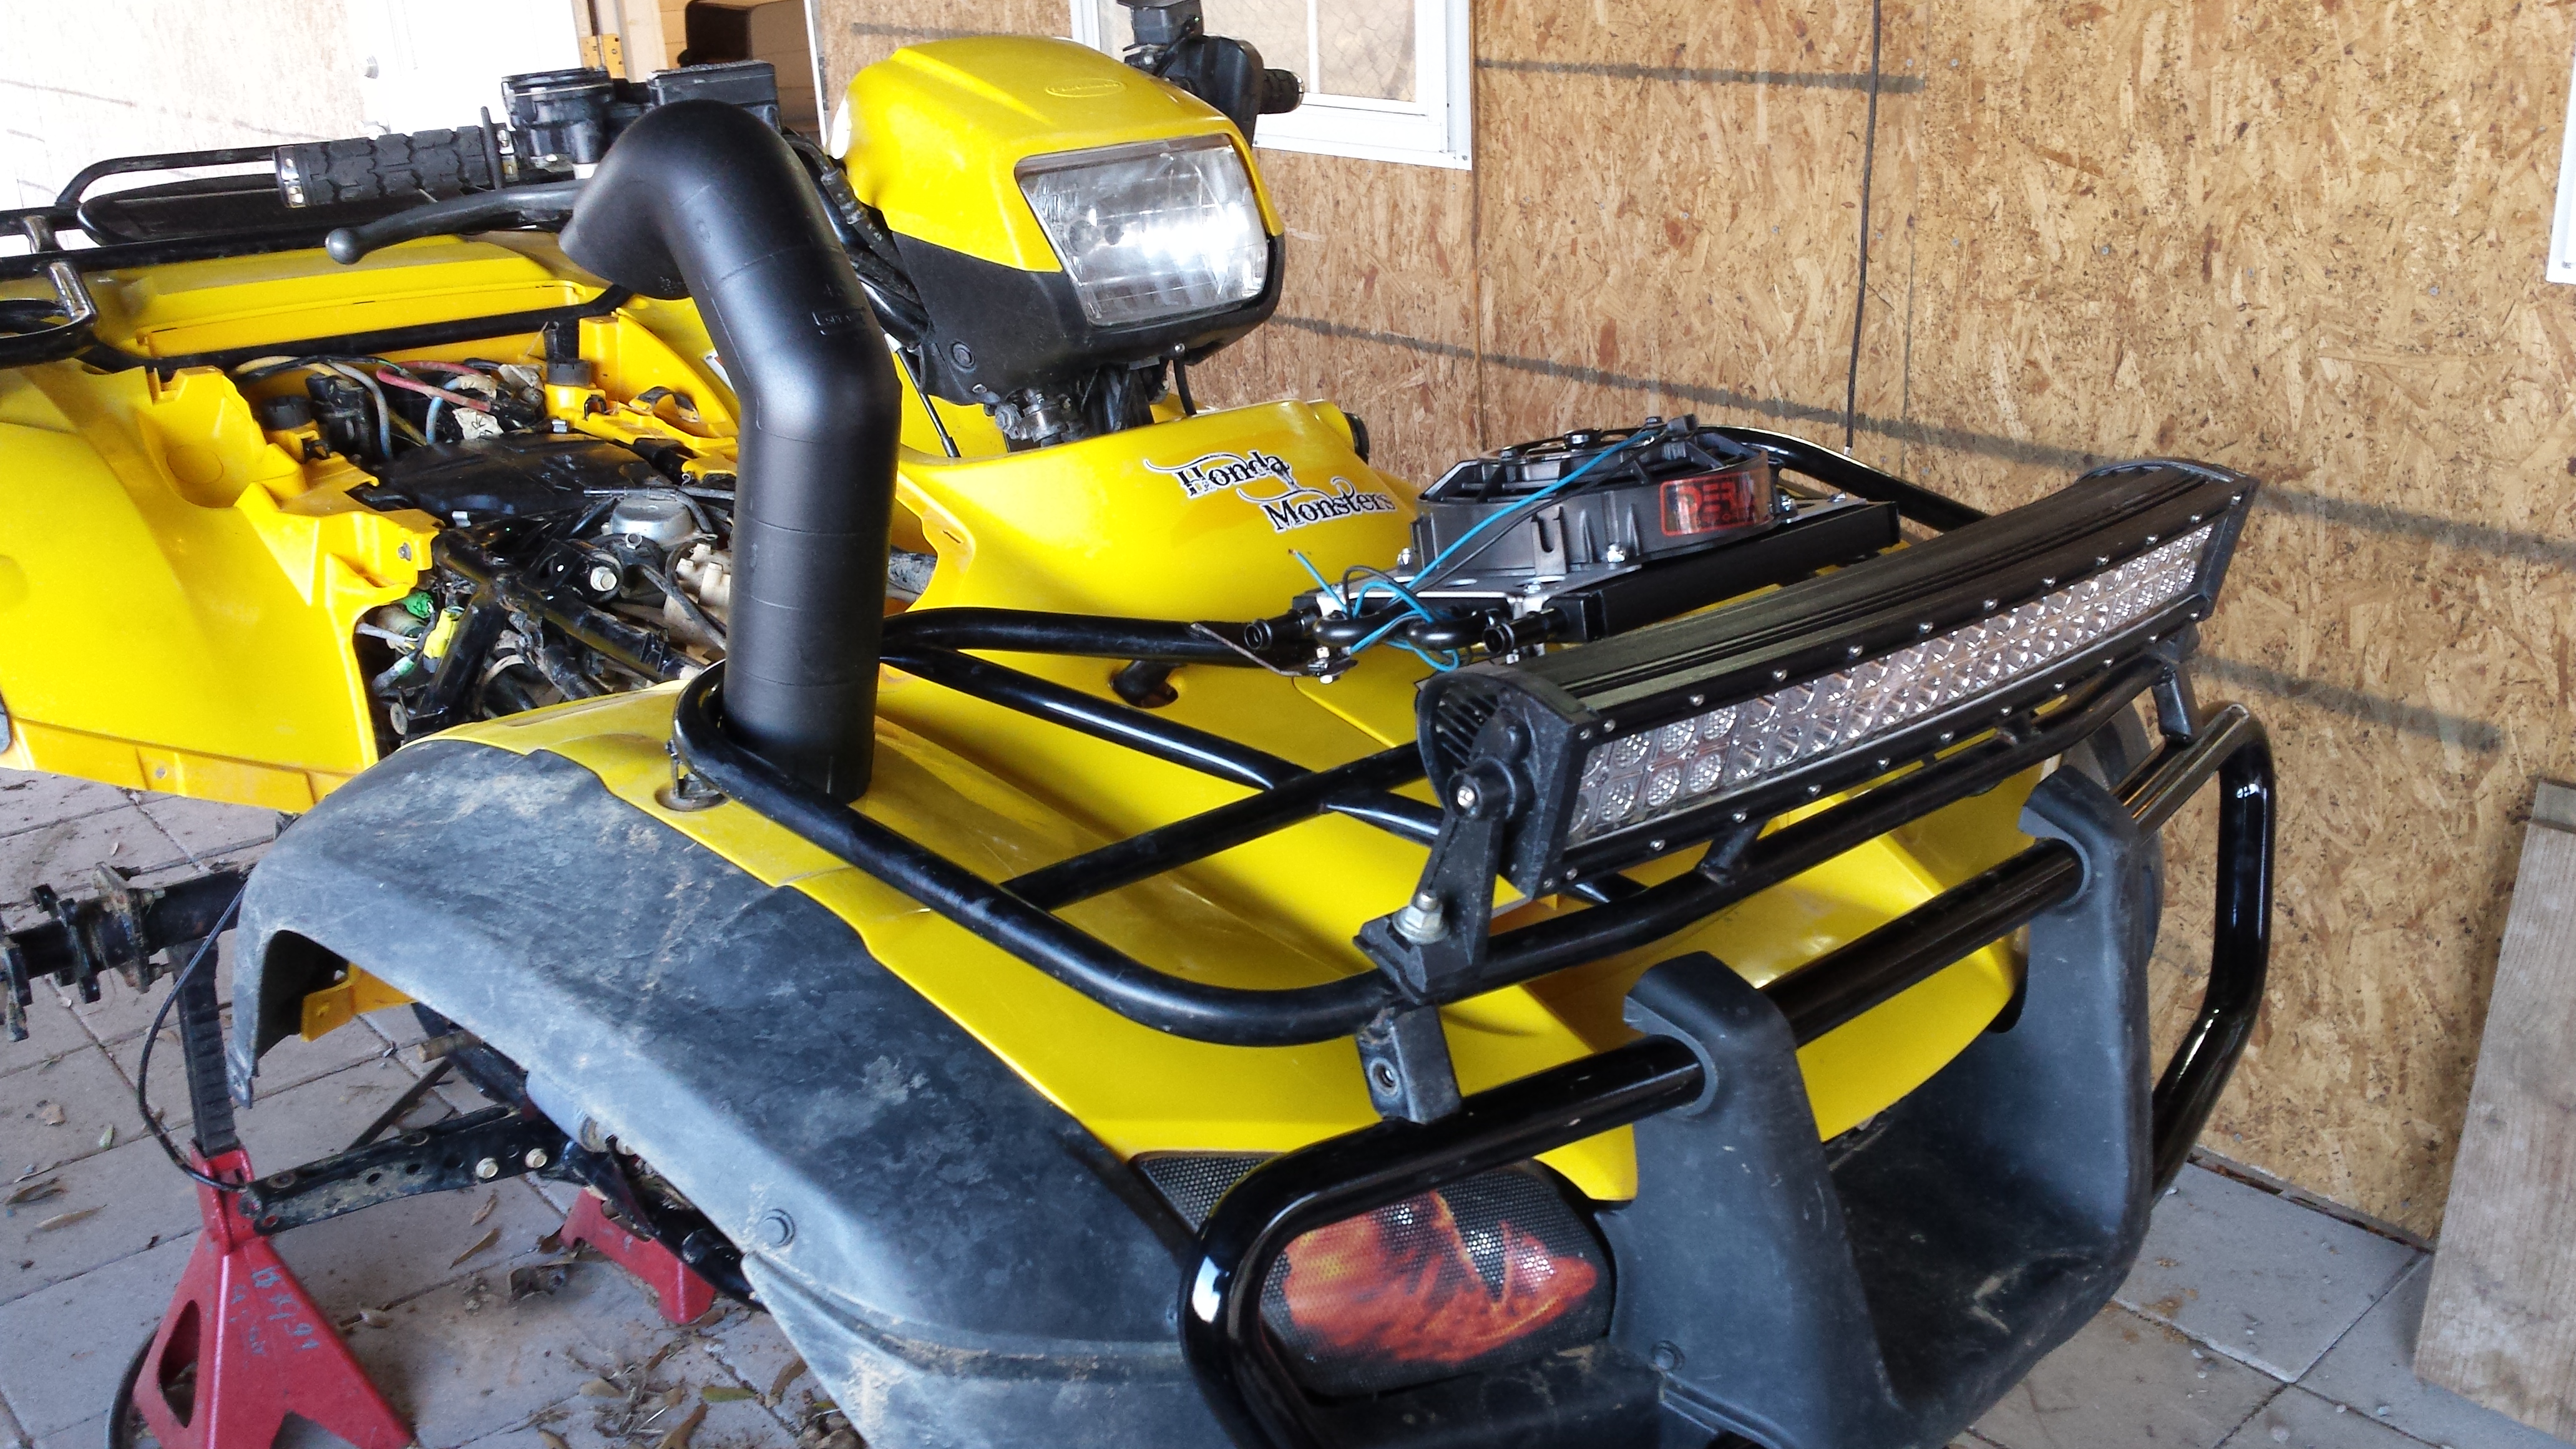
Plumbed the cooler with 1/2 cooler line spliced into the stock braided lines and cut the hole for the snorkel.
To come: custom frame sliders, snorkel completion, custom foot shift lever, and final reassembly! Stay tuned.

Brake pads and wheel bearings had seen better days too so I ordered the stuff.

Visitor came to see me.

I've always hated how the front bumper on these bikes was silver while the racks were black, plus mine had some rust from the aluminum front cover holding mud against it so I decided to have it powder coated black while it was off.

Speaking of things I hate.....that pile of PVC on my table. I said F it and decided to order one from snorkel your atv dot com.

Did a quick mock up to see how it would look.

Plumbed the cooler with 1/2 cooler line spliced into the stock braided lines and cut the hole for the snorkel.

To come: custom frame sliders, snorkel completion, custom foot shift lever, and final reassembly! Stay tuned.


