Check this out
 Dec 13, 2008 | 04:45 PM
#11
Pro Rider
Joined: Apr 2008
Posts: 399
Likes: 0
From: Maine
Awesome idea. I just bought the Quaovator kit and wasn't sure where I was going to install the temp gauge as I already have the Turf Mode switch and am adding the Reverse Override and Worklight Switch. The would leave me no good location for the Temp Gauge. A search of the forum and viola! A great idea.
Anybody else mount the temp guage in other locations?
Anybody else mount the temp guage in other locations?

 Dec 14, 2008 | 07:01 PM
#16
Pro Rider
Joined: Apr 2008
Posts: 399
Likes: 0
From: Maine
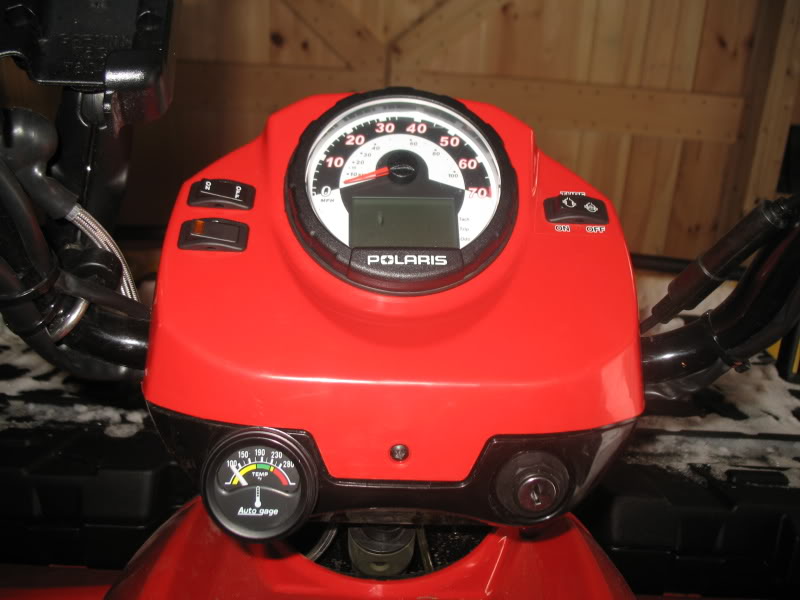
Koerbs - a little tricky fitting the mounting bracket, huh? Took me a few times in and out to get it to fit tight. Also a little tricky getting the bracket nuts on. Finally, I removed the headlight and was able to get a nut driver on the nuts. That worked great.
I started with the 22.5 degree angle ring as you did. I angled it up then had to roll the ring in slightly to get the gauge to set square. I really like where it sits and visibilty is fine for me.
I installed the backup light kit, the reverse override kit then got the guage mounted and wired, however, I ran out of time and didn't get the sending unit installed yet. Next weekends project.
Dec 16, 2008 | 08:21 AM
#18
Pro Rider
Joined: Apr 2008
Posts: 399
Likes: 0
From: Maine
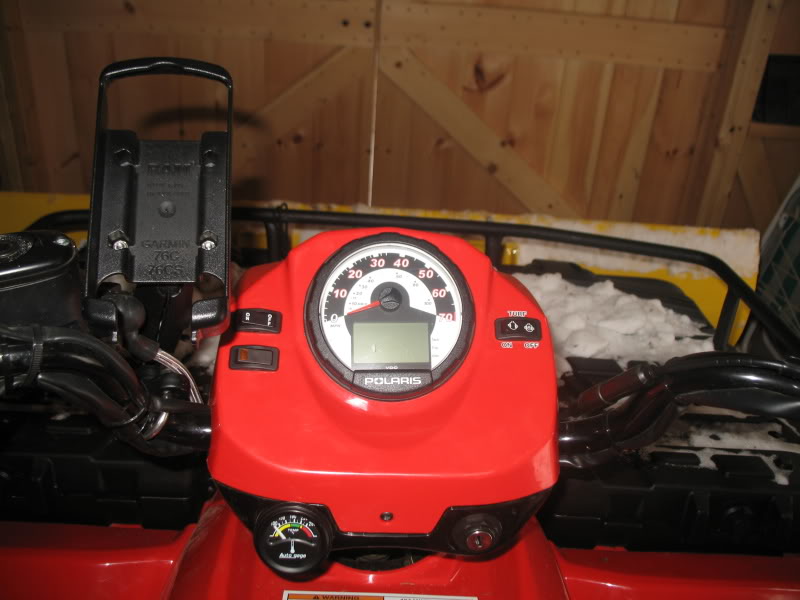
<div class="FTQUOTE"><begin quote>Originally posted by: Koerbs
Lets see a picture....</end quote></div>
I take a pic this weekend and post. I leave my house in the dark and get home in the dark this time of year.
Lets see a picture....</end quote></div>
I take a pic this weekend and post. I leave my house in the dark and get home in the dark this time of year.