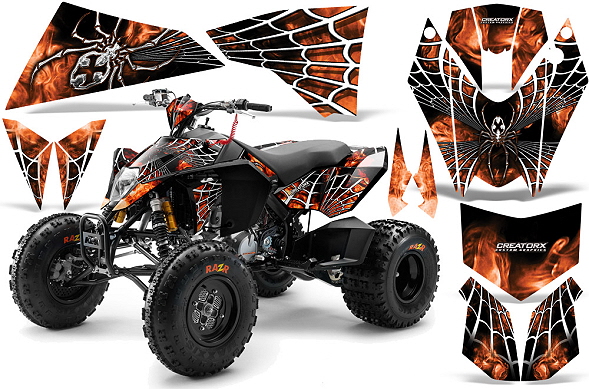
Ask the Editors: Secrets to the Art of Applying Graphics

Applying graphics to your ATV is certainly an art. Like all skills, practice tends to make perfect. The trouble is graphics kits aren’t cheap and removing crooked or jacked decals can be a lot of work! All that being said, there are a few steps you can take to make your initial graphic application go smooth.
1) Graphics are easiest to install on fresh plastic but that’s rarely the case so if you’re putting fresh stickers on your well-worn fenders, take the time to degrease and clean the plastic to the best of your ability right off the bat.
2) Don’t make it a one shot affair by blending up a frothy mix of dish-soap and water and apply it to the plastic with a sponge just prior to applying your graphics. This way, you have a slippery surface/ the ability to fine tune the positioning of the decals before they stick.
3) Once you like where you have everything, get that soapy water out from under your graphics by using an automotive detailing squeegee. Gently work from the center outward until the decals are flat and smooth.
4) Trapped air can be greatly reduced by thorough squeegeeing but occasionally air bubbles will still form. If this happens, resist the temptation to pop them with a pin and instead grab a heat gun or even a hair dryer. Apply even heat far enough away to make the graphic material pliable but not so close as to melt it (or distort the image)- Now use your squeegee to work those air bubbles out of the nearest sides.

