Rebuilding Xplorer 400 '96
#1
 06-13-2008, 11:47 PM


Join Date: Aug 2005
Posts: 62
Likes: 0
Received 0 Likes
on
0 Posts
So I started taking apart the Polaris a couple weeks ago. We've had it since new and it wouldn't be worth much selling since it's in pretty bad shape, but buying a new one is just too expensive so I decided to replace all the crapped stuff.
The list of problems:
-4x4 on front right wheel didn't work anymore
-Tranny wouldn't engage in High a lot of time and the dog gears would just grind together
-Clutch Belt started going out again after only a couple months
-Front Shocks are blown
-Radiator fan never engages (but it never has overheating problems luckily)
-Starter is going to go out soon (Rebuilt it temporarily until I get another one)
-Chains+Sprockets mostly garbage
-Brake Pads are almost crap
For future informational purposes, the 4x4 hub had one main problem.
The part of the knuckle that has the hub seal turning on it has grooves caused by the seal. This caused all the fluid to leak out and destroy all the bearings and part of the 4x4 roller engager thingy.
To fix this, I ordered a Speedi-Sleeve for the knuckle (Stainless steel sleeve that goes over the knuckle part, can be ordered from any bearing supplier), had the 4x4 roller engager rewelded to fix the wear caused by the three prong ''Washer'', bought new seals and bought new bearings (for both sides while I was at it).
It now works perfectly, Great! One thing off the list.
The other notorious problem is the tranny not wanting to engage in high. I found three things that together would likely cause this. #1 being the main reason I think.
1- The tranny mounting bolts seem to have slacked off over time. The tranny itself wasn't centered in it's original position and had a tiny amount of slack in it when I moved the shifter back and forth. Very easy fix, just reposition the tranny and tighten the bolts properly with new lock washers.
2- The shifter has a type of ball joint on the inside with a pin on each side of it to hold it in place. One of the pins was broken on mine, I welded it back in myself to fix the problem. I didn't see a noticeable difference after but I'm sure it helped some.
3- I took apart the transmission, the dog gear had some wear on it from grinding so many times, trying to engage the high gear. I welded the worn edges of it and grinded it back into shape with a dremel and some files.
So as of today, I finally go the wheels back on and took it for a spin. MUCH funner to drive when theres almost no problems. The High gear engages every single freaking time, the problem had been there for years, so this feels like a huge improvement.
The 4x4 works also obviously, so I won't get stuck in mud holes anymore.
For the 4x4 hub nut, I just tightened it fully then unscrewed it half a turn.
There's also the common problem where the clutch cover starts to sag overtime and the clutch rubs on the inside. The only fix for this is to buy a new clutch cover. I also added and extra support bracket on the left side of it, so even if you put your foot on it, it doesn't force it down. I did that a year or so ago though, I might have a pic somewhere. The clutch cover is about 125$.. kinda expensive but a very annoying problem.
Here's a pic from last year of the bracket I made for the clutch cover
Those were the two notorious problems I had with it that I've been able to fix for pretty cheap. I haven't received the rest of the parts yet so that'll have to wait, but I got the biggest problems out of the way. [img]i/expressions/face-icon-small-happy.gif[/img]
#2
06-13-2008, 11:55 PM
I'm glad you got it running so good. It takes serious skill to weld and grind parts to fit like that. That's almost home-made. If the belt cover does wear through you can slap on a fiberglass patch. It ain't purty but it works. [img]i/expressions/face-icon-small-smile.gif[/img]
#3
06-14-2008, 12:08 PM
Join Date: Aug 2005
Posts: 62
Likes: 0
Received 0 Likes
on
0 Posts
#4
06-14-2008, 08:28 PM
Join Date: Aug 2005
Posts: 62
Likes: 0
Received 0 Likes
on
0 Posts
I got a question while I'm at it. What are some good bang for buck tires I could put on the xplorer?
Original Tires are 25x12-10 Rear and 25x8-12 Front.
One of them already had a tube put in it last year and I'd rather swap em out before it blows out again.
I was looking at some M966 Mudzillas. I found some locally but they're 27''.. that's a bit big, I wanna keep the original drive/tire ratio.
Super Swamper seemed to make some nice ones too. I'd really like to get some mud tires.
#5
06-21-2008, 09:16 PM
Join Date: Aug 2005
Posts: 62
Likes: 0
Received 0 Likes
on
0 Posts
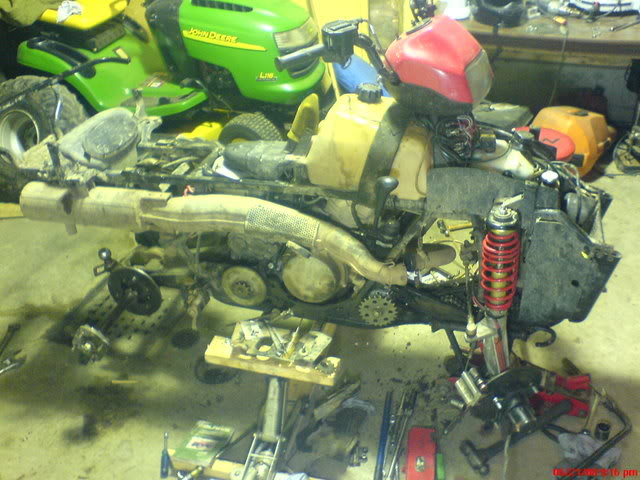
Well I'm already at around 1400$ in parts. I think that'll be enough lol.
I bought some ITP 589's for tires.
Here is a list of parts that I've replaced/bought so far:
-ITP 589 Tires
-Two front rims
-All Chains and sprockets
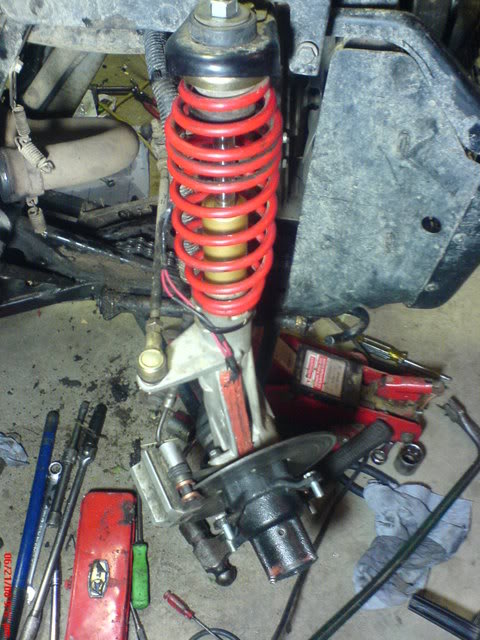
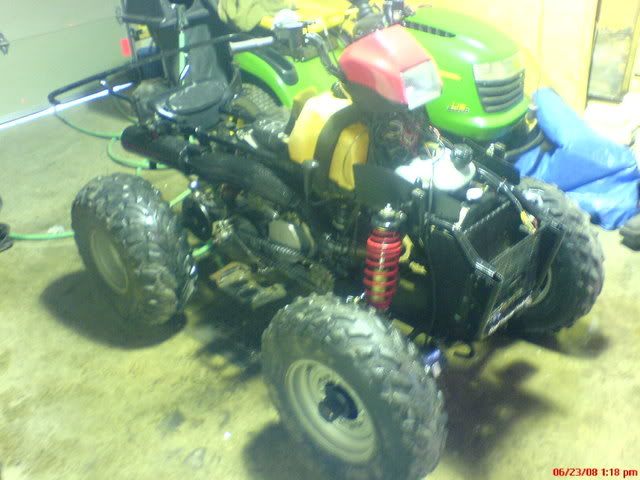
-Front Shocks (installed)
-Brake pads (Installed)
-One speedy sleeves for each knuckle because both 4x4 seals were leaking (installed)
-4x4 and Tranny output shaft Seals (installed)
-Front Hub Studs and Nuts (Installed)
-Clutch Belt (Installed)
-Secondary Clutch Bushings (Installed)
-Bearings for front 4x4 housing (Installed)
-4x4 inner hub welded
-Rear axle hub welded (broke when trying to take off)
-Radiator Fan
-Front Left Tie Rod end (crashed into a Tree hump while test driving.. snapped the damn tie rod end hahaha)
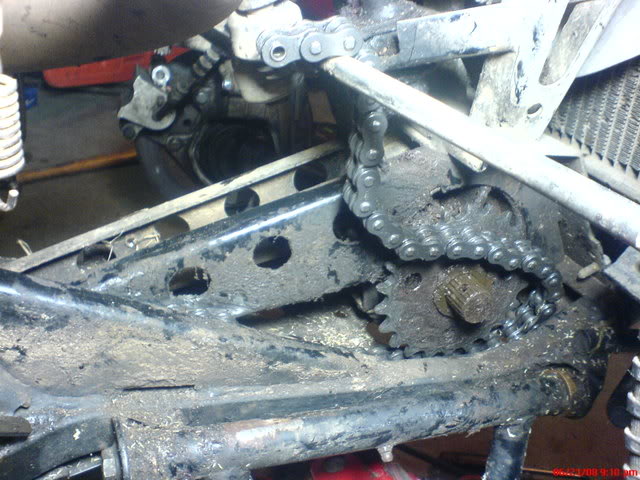
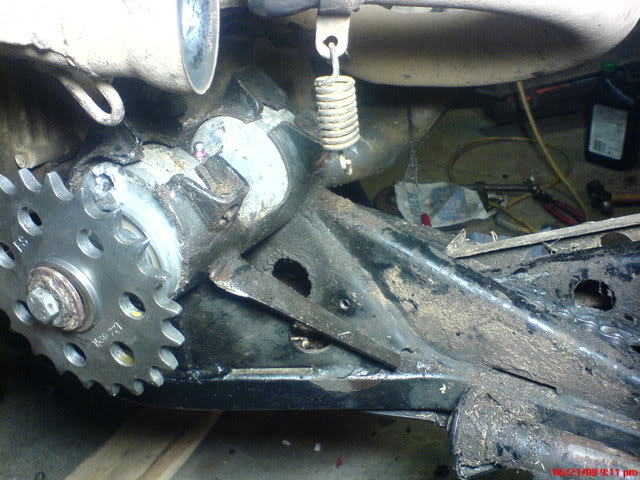
I'm currently installed the chains and sprockets but I'm having a hard time doing it.
The front eccentric gear shaft thing is offset for some reason. I'm not sure what exactly is crooked but the tranny sprocket and it's counter sprocket are misaligned by almost 3/4''. The two sprockets on the tranny shaft are in the correct position and are aligned properly, but the one coming out the eccentric gear box isn't. It doesn't seem to be made to be adjustable either so I'll have to modify it.
I bought some ITP 589's for tires.
Here is a list of parts that I've replaced/bought so far:
-ITP 589 Tires
-Two front rims
-All Chains and sprockets
-Front Shocks (installed)
-Brake pads (Installed)
-One speedy sleeves for each knuckle because both 4x4 seals were leaking (installed)
-4x4 and Tranny output shaft Seals (installed)
-Front Hub Studs and Nuts (Installed)
-Clutch Belt (Installed)
-Secondary Clutch Bushings (Installed)
-Bearings for front 4x4 housing (Installed)
-4x4 inner hub welded
-Rear axle hub welded (broke when trying to take off)
-Radiator Fan
-Front Left Tie Rod end (crashed into a Tree hump while test driving.. snapped the damn tie rod end hahaha)
I'm currently installed the chains and sprockets but I'm having a hard time doing it.
The front eccentric gear shaft thing is offset for some reason. I'm not sure what exactly is crooked but the tranny sprocket and it's counter sprocket are misaligned by almost 3/4''. The two sprockets on the tranny shaft are in the correct position and are aligned properly, but the one coming out the eccentric gear box isn't. It doesn't seem to be made to be adjustable either so I'll have to modify it.
#6
06-21-2008, 09:21 PM
#7
06-21-2008, 09:42 PM
Join Date: Aug 2005
Posts: 62
Likes: 0
Received 0 Likes
on
0 Posts
Trending Topics
#8
06-21-2008, 09:48 PM
#9
06-22-2008, 12:04 AM
Join Date: Aug 2005
Posts: 62
Likes: 0
Received 0 Likes
on
0 Posts
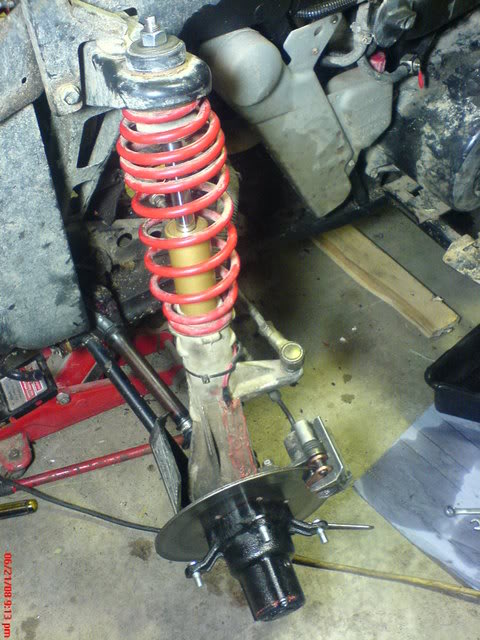
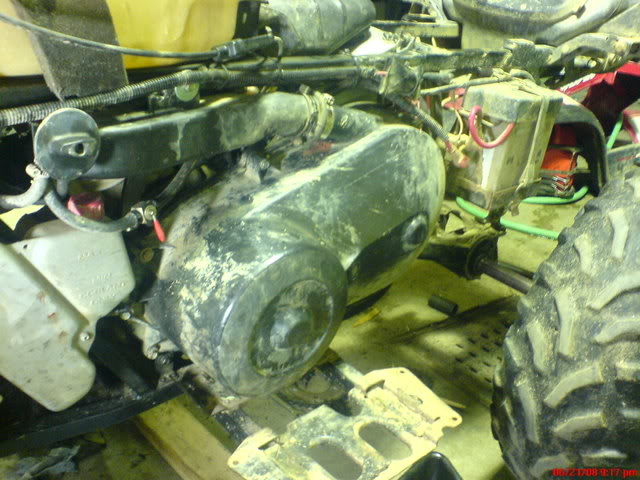
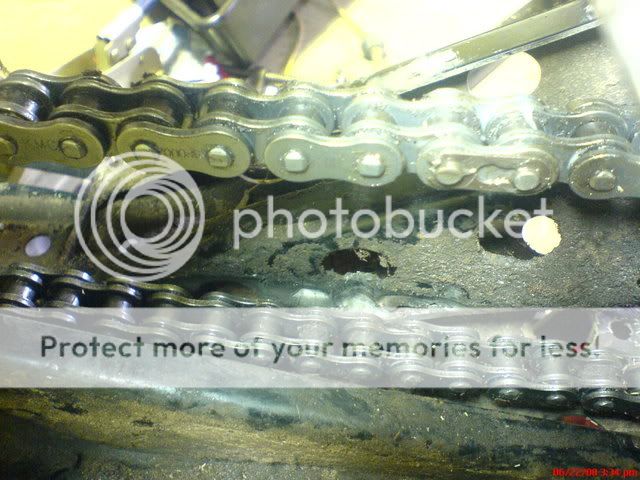
The chain was rubbing below the first of the 3 holes there.
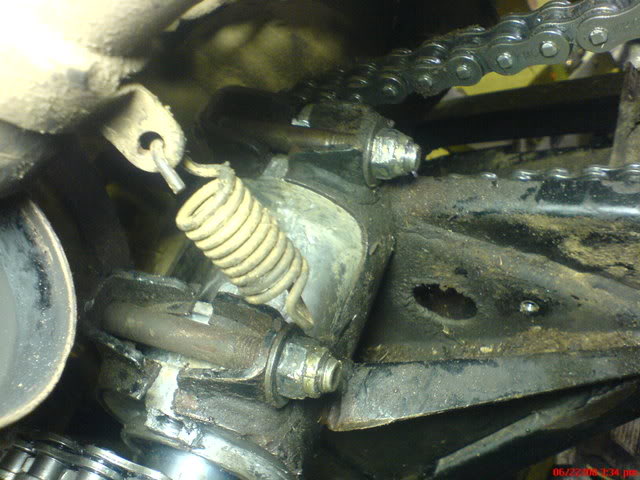
The completely Rebuilt Knuckles
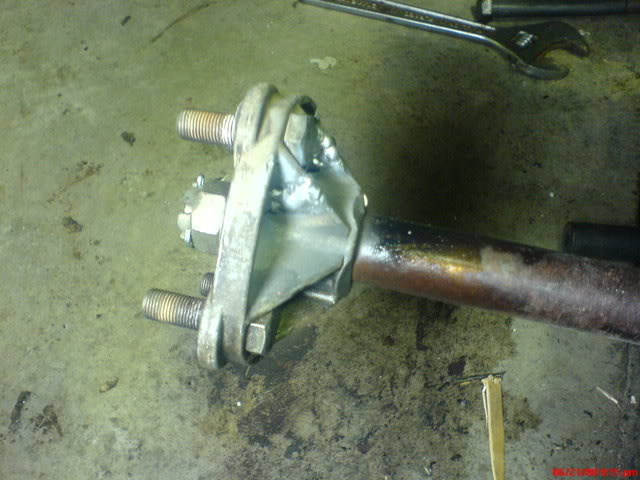
Had the rear hub welded after it cracked from hammering.
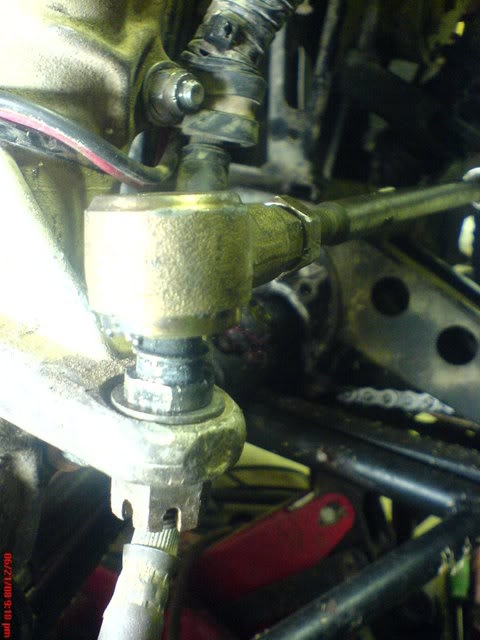
Welded the old tie rod end back on lol.. temporarily of course.
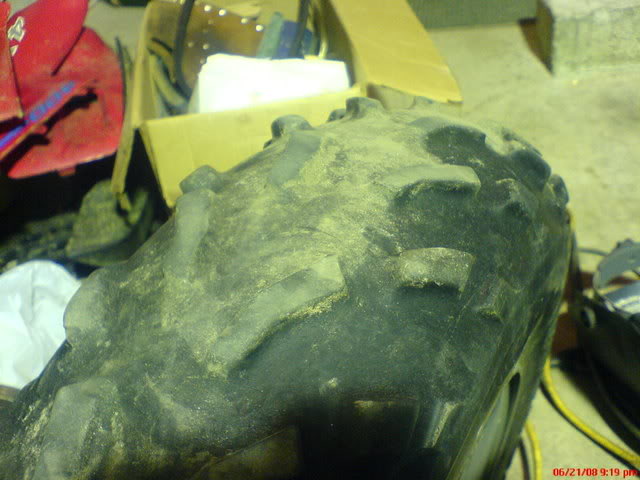
Old *** original '96 tires
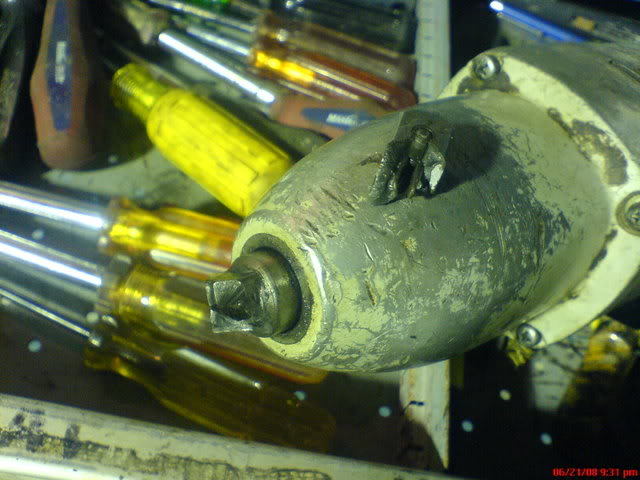
I somehow managed to break the 1/2'' drive on the electric impact gun..
The completely Rebuilt Knuckles
Had the rear hub welded after it cracked from hammering.
Welded the old tie rod end back on lol.. temporarily of course.
Old *** original '96 tires
I somehow managed to break the 1/2'' drive on the electric impact gun..
#10
06-23-2008, 07:27 PM
Join Date: Aug 2005
Posts: 62
Likes: 0
Received 0 Likes
on
0 Posts
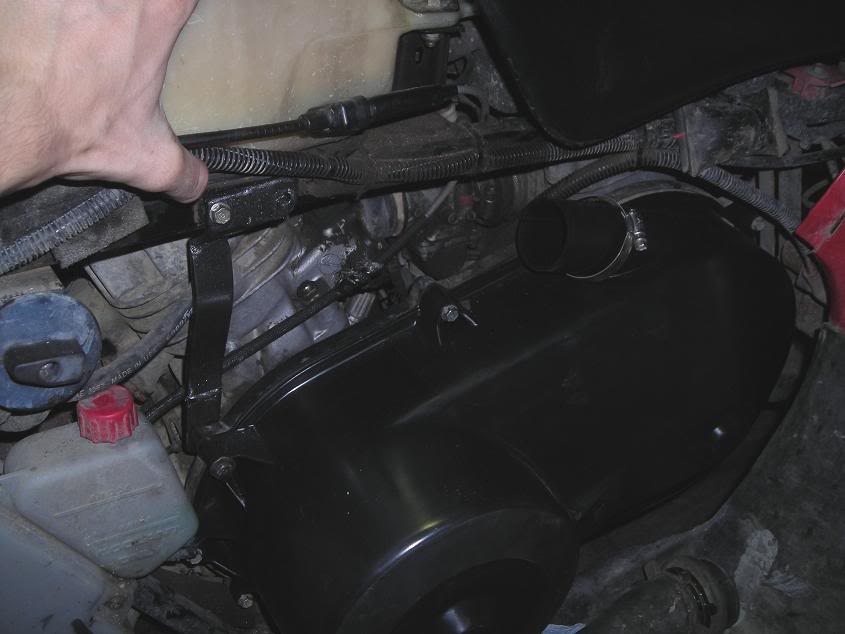
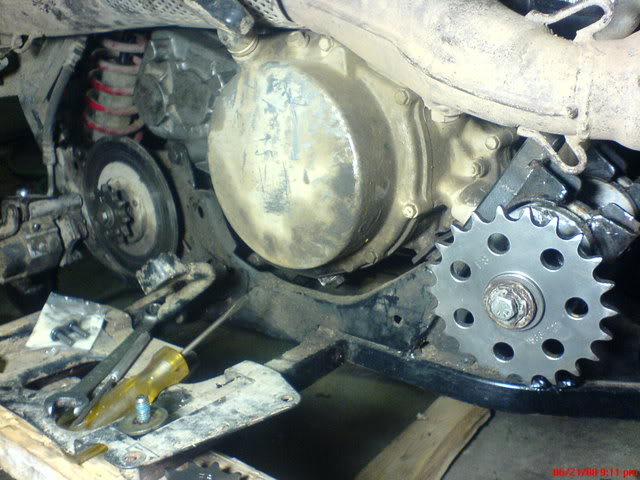
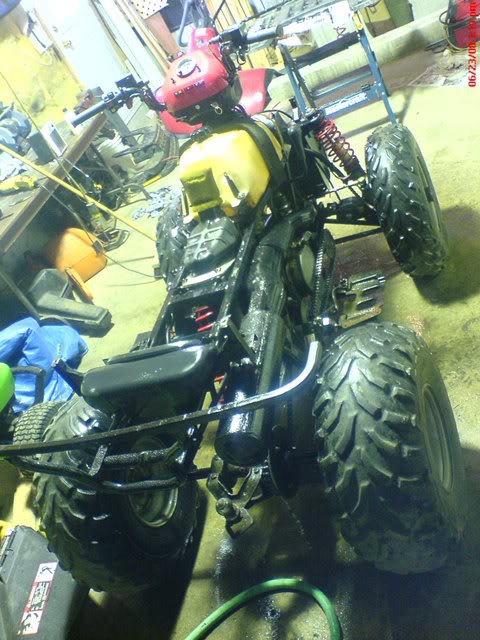
All done! Well mostly. I still need to get the new tires and have them mounted.
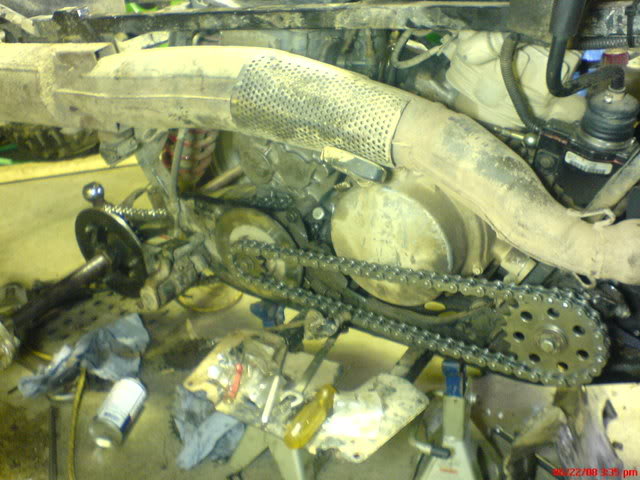
Here is the front gear converter after I realigned it.
Now there's a good 1/2'' between the chain and the body [img]i/expressions/face-icon-small-happy.gif[/img]
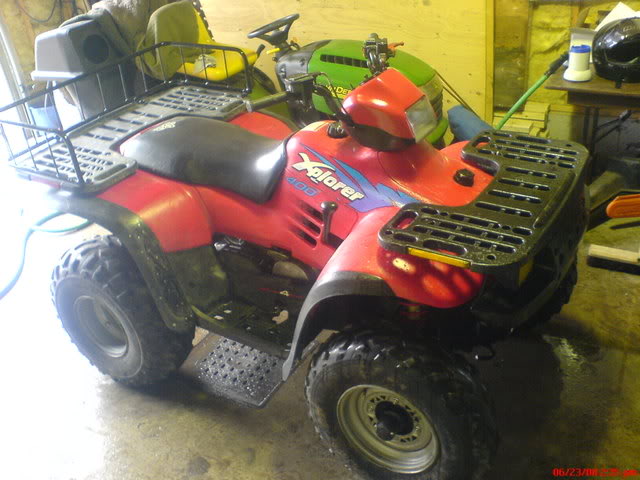
After I repainted a couple things..
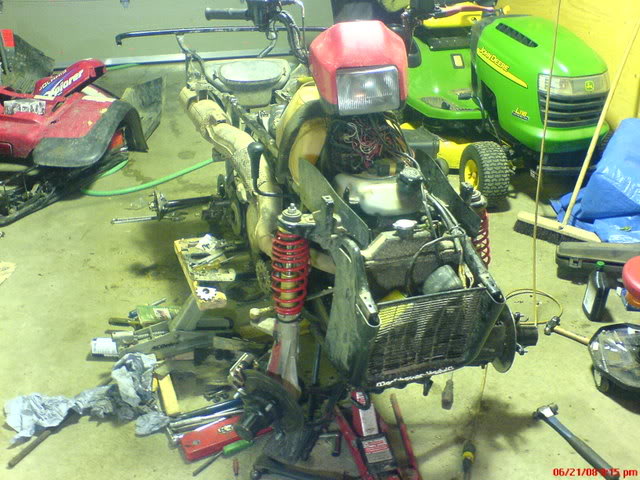
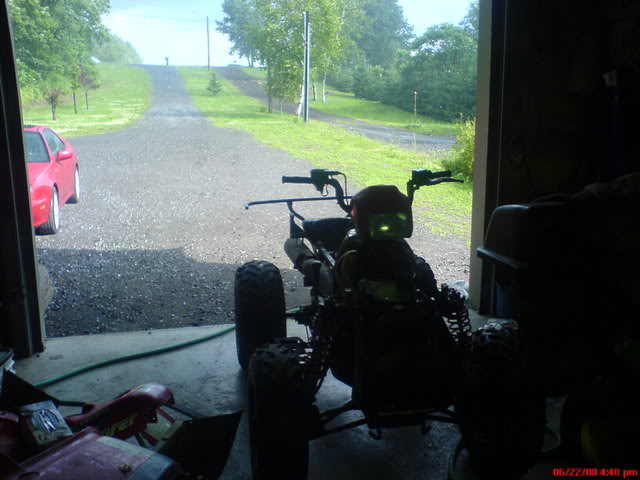
Right before going for the main test ride.
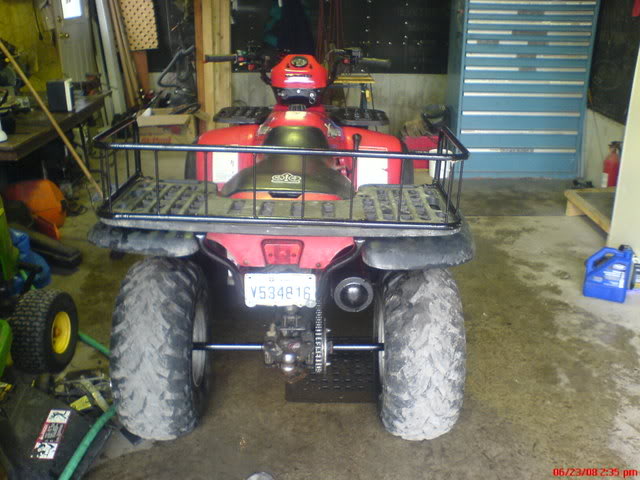
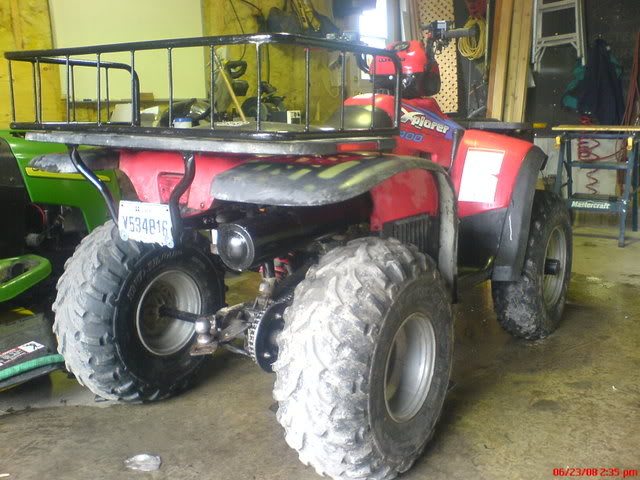
It went really great, other than the rear brake which was too tightened.
It's a lot more responsive with the new chains/sprockets. No more chain knock from the rear when theres a lot of load put on it. Also no more shock knock of course[img]i/expressions/face-icon-small-happy.gif[/img]
Here is the front gear converter after I realigned it.
Now there's a good 1/2'' between the chain and the body [img]i/expressions/face-icon-small-happy.gif[/img]
After I repainted a couple things..
Right before going for the main test ride.
It went really great, other than the rear brake which was too tightened.
It's a lot more responsive with the new chains/sprockets. No more chain knock from the rear when theres a lot of load put on it. Also no more shock knock of course[img]i/expressions/face-icon-small-happy.gif[/img]