When you click on links to various merchants on this site and make a purchase, this can result in this site earning a commission. Affiliate programs and affiliations include, but are not limited to, the eBay Partner Network.
Looking good! I replied regarding the case braces on the other thread...forgot to mention the gear box needs to be drained completely...common sense but I always miss the big things :P
Thanks for the advice about welding! Of course aluminum would need higher heat, dua! Brain fart on my part
All these years I have stayed away from welding aluminum, After what you did with a $99 mig (was it a Harbor freight? I have same mig) I think I will give it a shot
The gear box was drained completely of its 80W90, which appeared to be original and in excellent shape. I actually think this was a low hours bike before it was parked or?
I Drained the gearcase, opened the cover behind the driven clutch and inspected. all is well. So I closed it back up. I filled the case with atf and let it soak for a week or two while I rebuilt the engine. Then I drained it again, let it drain for 3-4 days. Finally filled with 80ML of 80W-90. Did I do good?
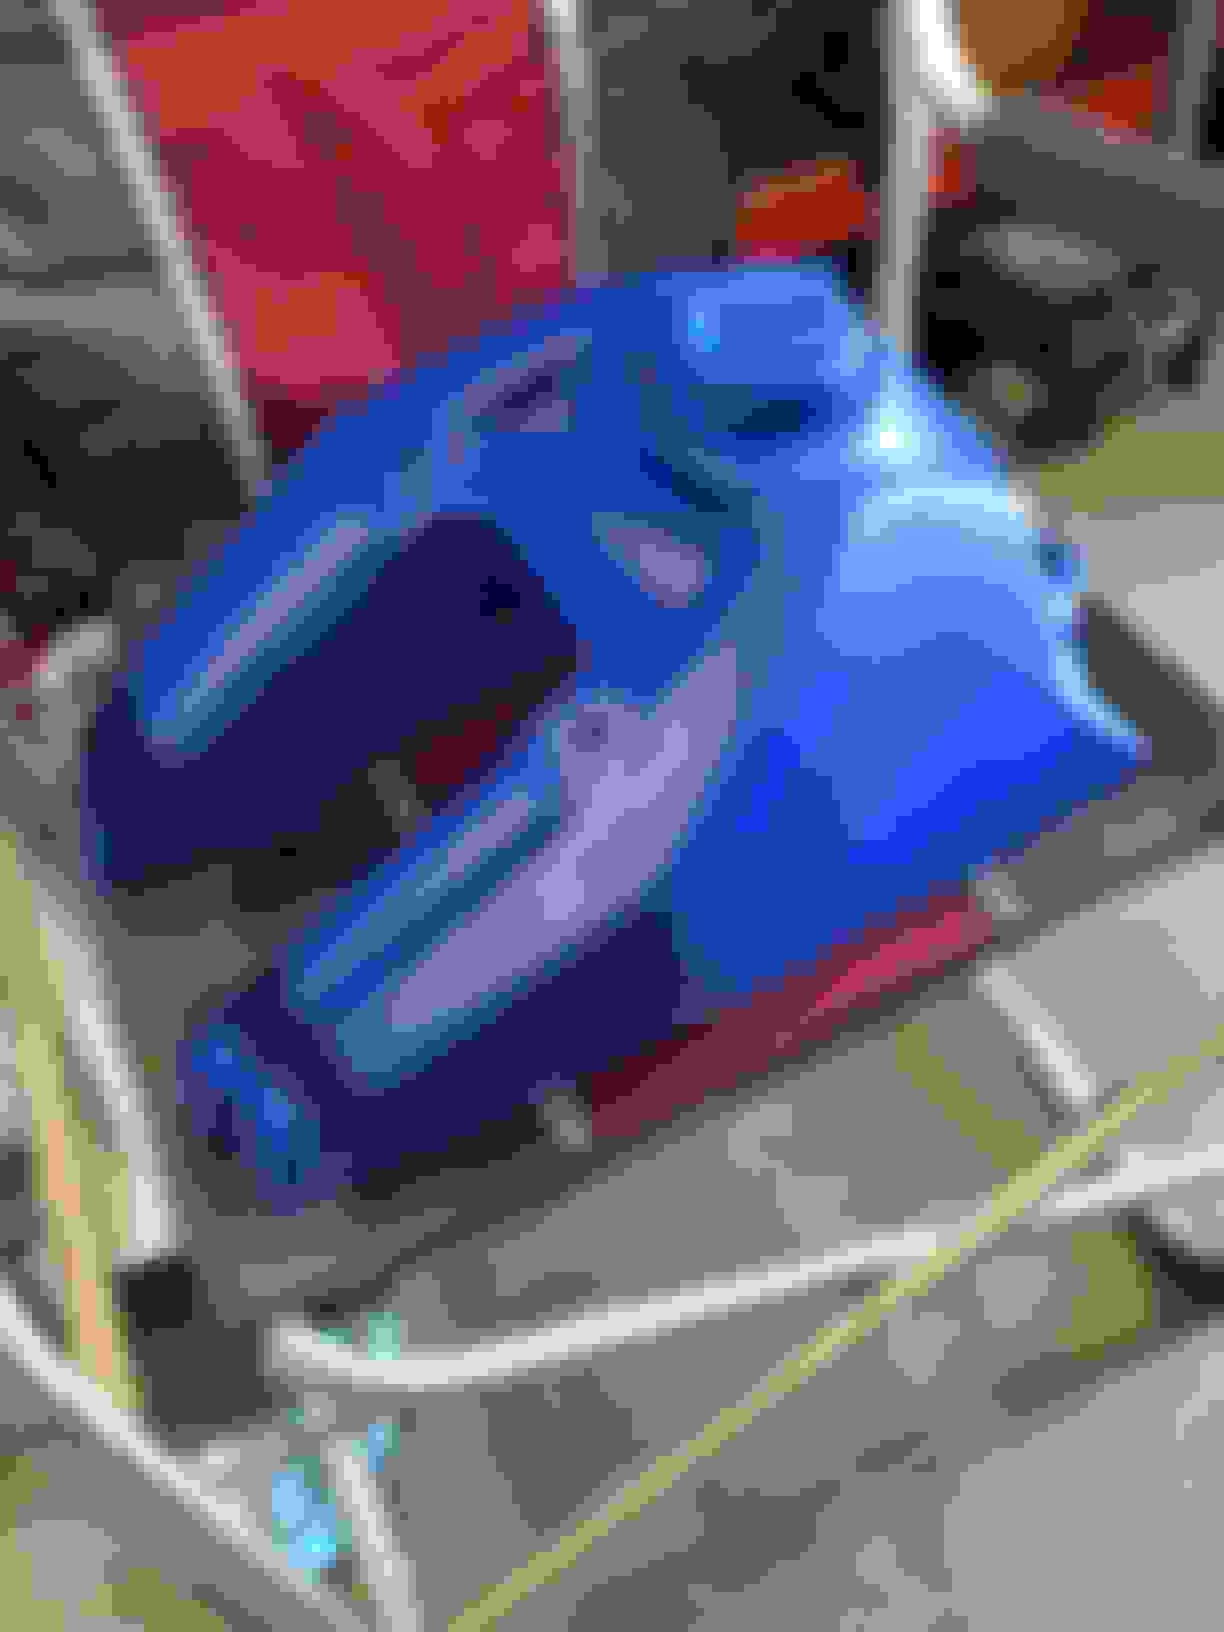
Parts are drying right now, paint and plastidip
More parts are arriving, back tires, front brake cable, new starter relay are in!
Should be driving this around next week, I will be waiting on 13T and 26T sprockets and chain
It needs a new plastic nose piece, that should do it for now! Just need to get the kid riding it see if he will let me sell his 84 Badger 80 now
Still looking at making a really simple engine brace along the spine underneath, would basically connect the extension plates to the front engine mount and give the engine case some support from underneath.
Either that or weld the case, or do both
I wish the recoil starters for these bikes were not $90!! Wow
thoughts?
Kids were driving atv yesterday! Woohoo! Predator 90 made it into the shop for the first time... she is up next
Krylon flat black and Duplicolor "remove able coating" (ie plastidip) in Patriot blue.
Krylon extreme heat with ceramic on exhaust
Little bit of cleaning and prep with acetone, very happy with results of plastidip!!
I may make a Suzuki stencil and repaint the logo
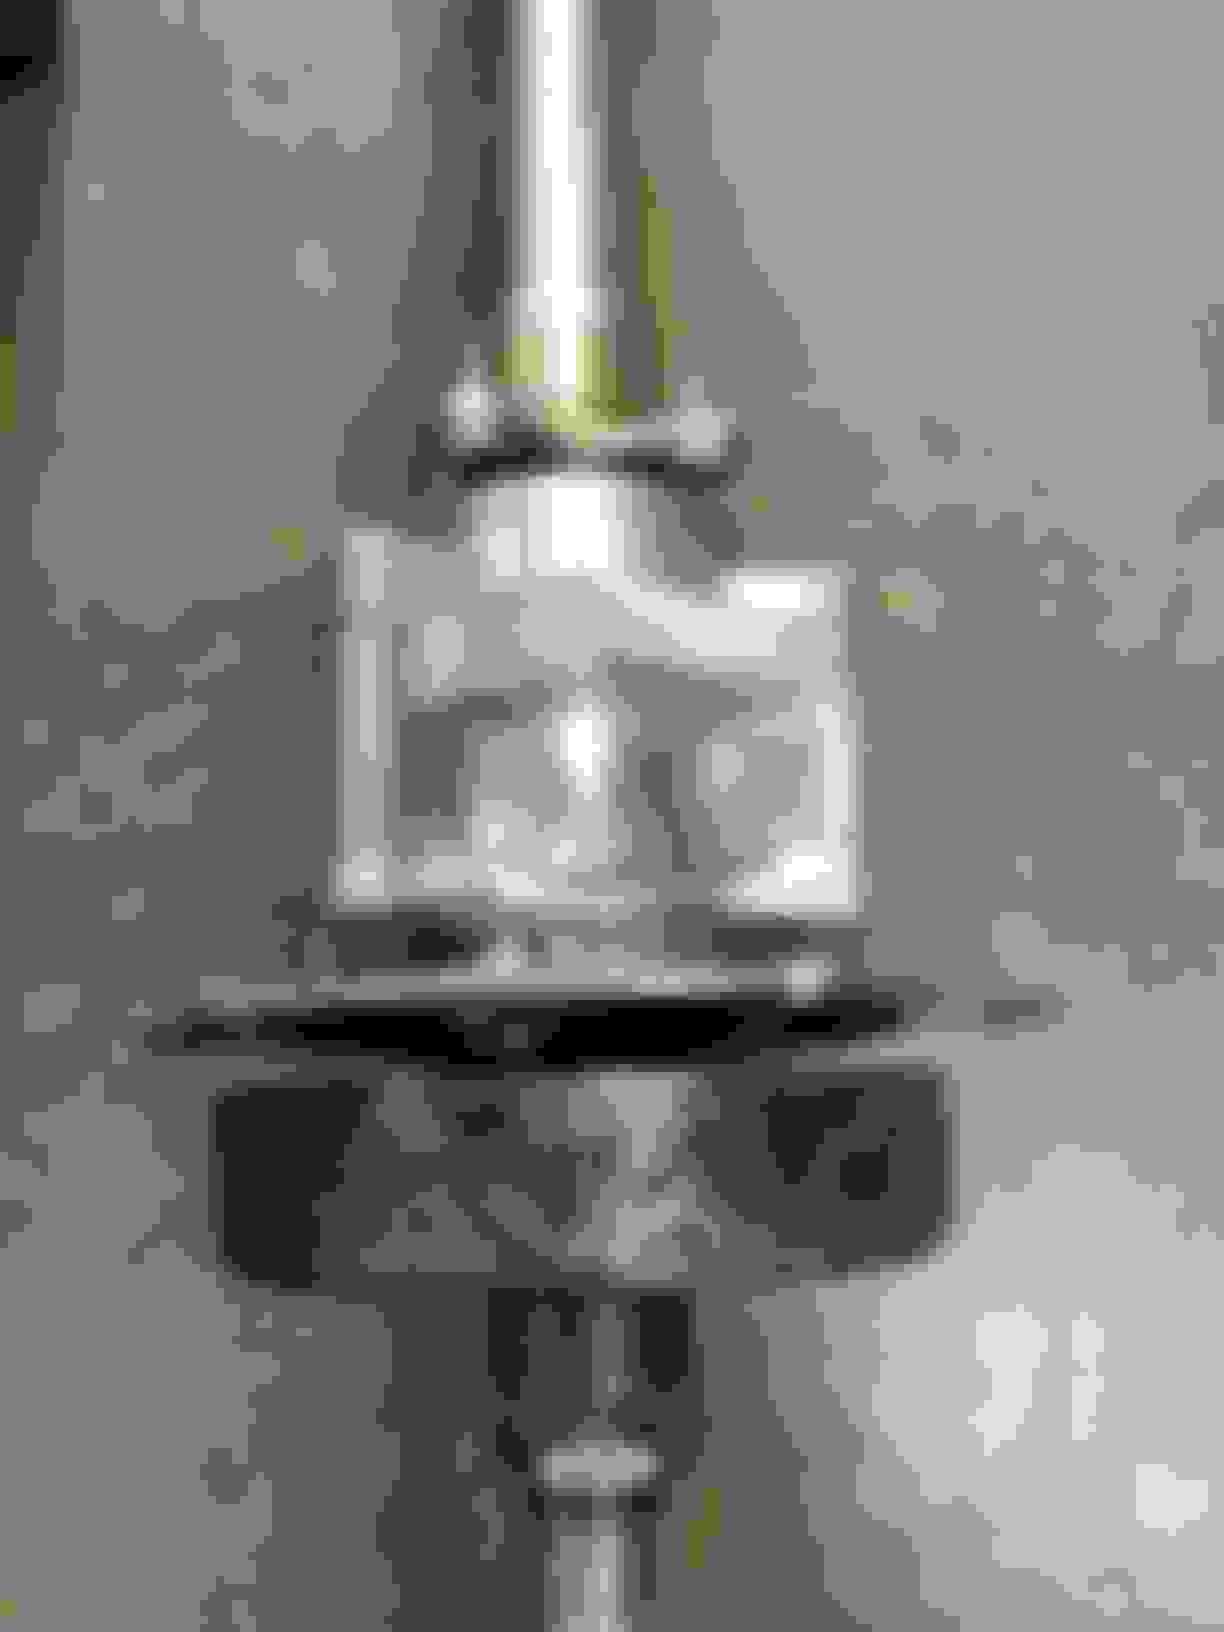
Foot peg mod came out nice, I had a piece of solid stock I milled with a grinder and belt sander to fit inside one half, welded solid. Removed some material from other footpeg so they would sit flush and BINGO
BEST MOD YET
Assembling the bike I have already needed to remove left footpeg about 3 times
Oil injection block off also complete. Keep it simple! 7/8"-14 pitch tap fit directly into engine case no drilling required. Now I have a plug! freebie
Shaved stock shock lower mount off diff housing, thanks Dirtdevil for all the great tips
Some front tires sprockets and chain we can drive this sucker
Side case mounted w new gasket/dry
I am having fun figuring out which fasteners go where, this bike was 60% taken apart when I got it
The more I look at it the more I want some width
Going to run all 4 wheels backwards for now, skip the front spacers (maybe 1/2" or so) and look into front suspension mods
This bike is a keeper, at least for a few seasons. So once it has proven itself reliable let the real mods begin
Mounted rear tires with my HF mini tire changer (money saver)
19-7-8 Carslisle are hard to seat the bead on these factory wheels (skinny)
So I may have to use starting fluid this am (protect your face!)
Onto the plastics...I need a new front nose piece. The white plastics that came with this bike are so/so
I will see what I can do with them
I have been learning about "timing" the lt80
I believe I hit the mark, I guess we will find out
I think I have the wrong vent on the right side of the carb plugged, one is vent one is vacuum. I have the rearmost vent plugged front is open to atmosphere. Backwards?
Thanks guys!
from earlier, I aligned stator with mark on case left side, is that timed? simple
Neighbor has a metal shop going to see about shaving the head ourselves
I just want to get my kid on this thing see if he can handle it then come back and moddddddd
thanks for that!
front hole copy
1/32 casting line copy
your timing is perfect I have all the ducting off the engine
starting fluid was the trick for seating the rear tires, now I can plasti dip the back wheels!
Lookout world I have the straight edge, welding clamps and plumb bob out...in the preliminary stages of making some J Lucky Extenders
I assume the backing plate of the extenders retains the factory steering stop and they are 3.5" out if my research is correct
Also looking into moving front spindles forward 1" possibly when I build these, if tie rods clear it may work
3" extenders
angle iron for the lower, strap for the top
Need to make a side plate that ties into shock mount bolt and cut/weld support in to act as steering stop
Once again the simplest solutions are sometimes the best. Should work well with lt160 shocks!

 Jul 30, 2016 | 12:28 PM