Wiseco 440 Big Bore Kit
| Wiseco 440 Big Bore |
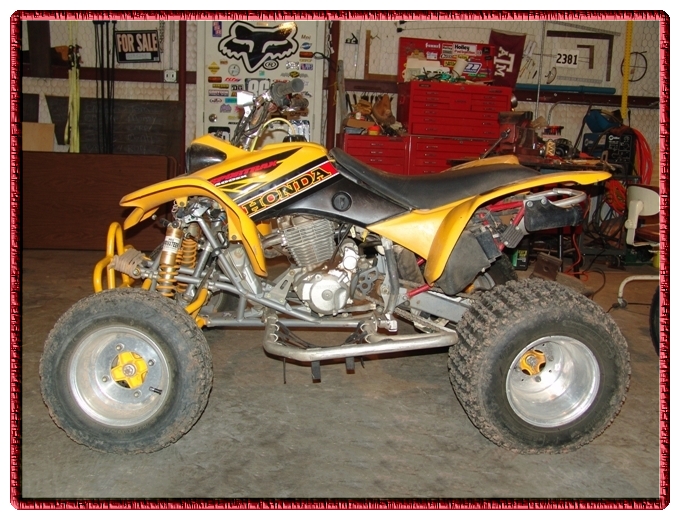 |
It’s only natural that no matter how fast your quad is, you always wish for just a little more speed and power. That’s where I have been with my 400EX. It has all the major upgrades done, a-arms, extended rear axle, shocks, nerf bars, steering stem, etc. But the engine was still bone stock except for a White Bros. pipe. I was looking for a little more power, especially after riding the new 450R so a call to Wiseco and a big bore kit was in the making. Wiseco has been in business since 1949 and well known for making pistons and that’s why I chose them for my big bore kit. I don’t have a good local source for boring cylinders so I sent mine to Wiseco to let them do the machine work. This way I knew it would be done to their specifications. More on that later, lets get down to business.
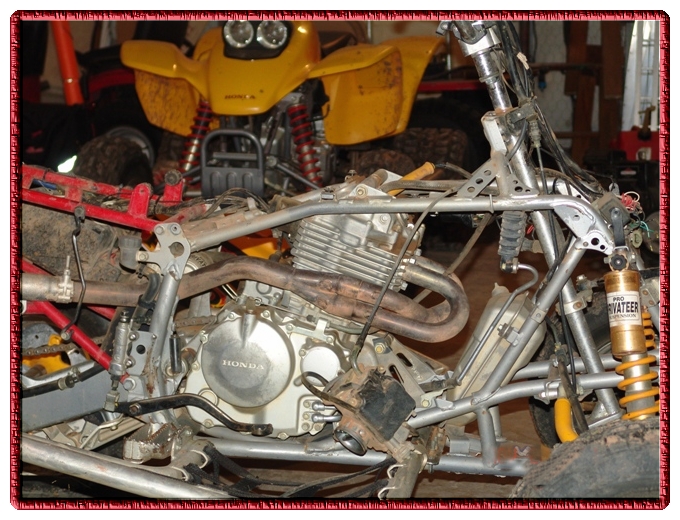 First off this is not a job for first time mechanics as it does get somewhat involved. I highly recommend having a good service manual handy as you go along. First thing to do is remove all the plastic, starting with the rear fender and seat and then the front fender. Pretty straight forward stuff here. Be careful with the wire connectors for the lights and ignition switch. Next remove the gas tank and the plastic cover under the tank that’s covering the top of the engine. Next, wash you quad real good. Since the engine will be opened up, you want to make sure no dirt gets down inside the crankcase. Once its clean and dry, its time to start disassembly. The carb is next and just to make things little easier, I removed the air box assembly first, then the carb. This is not totally necessary, but makes it a little easier to put it all back together. Exhaust is next and this will depend on what exhaust you have installed, there are several variations here. Now remove the bolt from the frame that goes through the top of the rocker arm cover. There are two spacers on this bolt, one longer than the other, so no problem about which one goes where when you are ready to put it back.
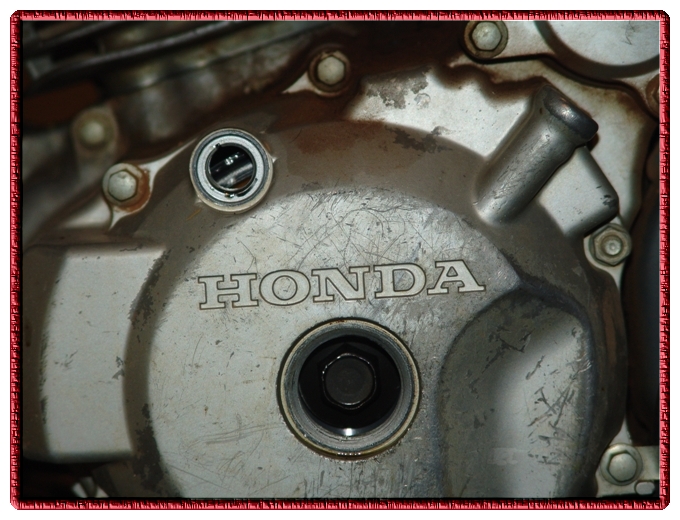 Most anyone with even limited mechanical abilities can get this far without much trouble, but from here on, it gets little more complex. The valve cover is next with numerous bolts around the perimeter and one larger one direct in the center. Now, at this point I would recommend setting the piston at top dead center and in the firing position, it will make things easier later on. There are two hex headed plugs on the left side of the crankcase, one large one small, remove them both. With a socket and ratchet turn the engine over until the timing mark lines up inside the smaller hole. You will probably need a flashlight to see the timing mark. Now the camshaft should be line up correctly. If you look at the camshaft gear you will see three lines, one at the top and one on each side lining up with the cylinder head. This is how it must be for re-assembly so pay attention. Now that we know we are for sure at top dead center we can remove the camshaft. First, lets turn the engine far enough to get to the bottom bolt first. After removing the bottom bolt, turn the engine back to where it was before removing the top bolt. Now you can remove the camshaft gear and then the camshaft. Here is where I differ from most service manuals. They recommend tying the cam chain up with string or something to keep it from falling down into the crankcase. This makes it a lot harder to remove the cylinder head and the actual cylinder. Since I know I will not be turning the engine, I just let the chain drop down into the crankcase out of the way. It can be retrieved later with a hook and wire. Just remember not the turn the engine as this will bind the chain possibly bending or breaking it. If this happens, it means pulling the engine and splitting the cases to replace the chain. You don’t want to have to do this!.
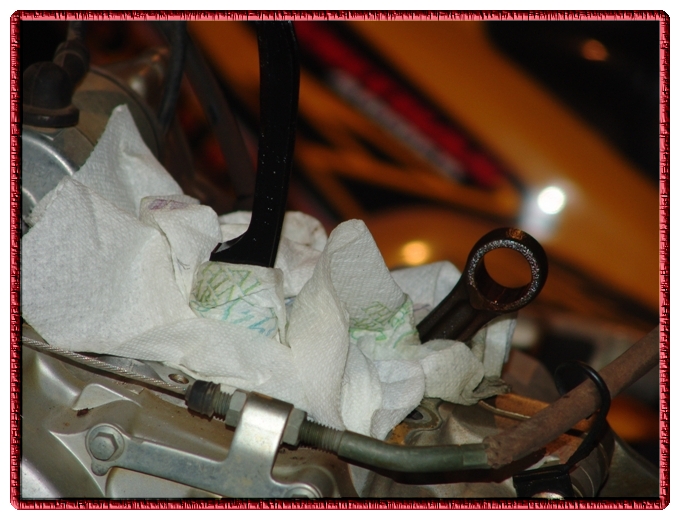 Now you will see four acorn nuts that hold the head on. After removing the nuts make sure to remove the four flat washers also, making sure you don’t drop them into the crankcase. The head will most likely be stuck so taping it side to side with a rubber hammer may be necessary to get it loose. You will be able to see the top of the piston at this point and it should be at the very top of the cylinder. Now is the time to remove the timing chain guide that is sticking out above the cylinder. A little wigglingand maneuvering will have to be done to get it out. Remove four more nuts and the two small bolts on the right side and the cylinder is ready to remove. Again, it will probably be stuck and use of a rubber hammer will most likely be necessary. Be careful not to hit the cooling fins and break them off. Now carefully pull the cylinder up off the piston. Next, take some shop rags and cover the opening into the crankcase, we don’t want anything falling down in here as there is not much hope to get it back out. Now remove the clip holding the piston pin in place, push out the piston pin and remove the piston. Cover the engine up with plastic bag or something so protect it while the cylinder is off to the machine shop.
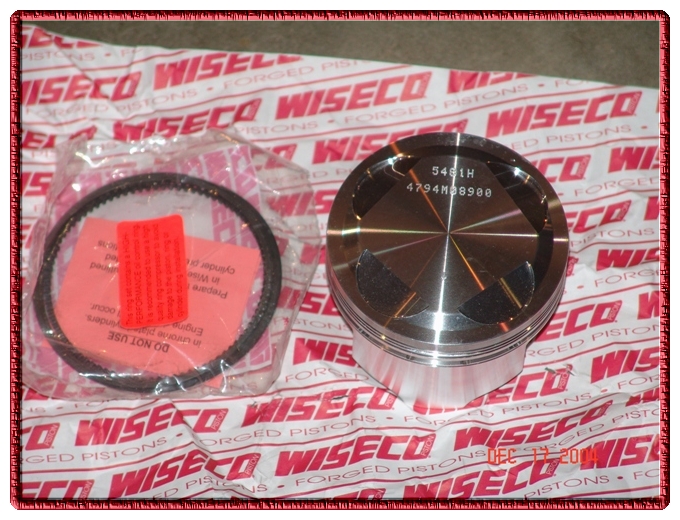 The Cylinder has been returned from Wiseco with the new pistonand necessary gaskets. It’s now time to start installation. Fist thing to do is install the new piston. Install one of the pin retainers in the piston and then position the piston over the connection rod. Use some engine oil and lubricate the pin and push it into place. Now, being real careful install the other pin retainer. Make sure your rags stay in place in case you might drop the retainer. I use small tipped needle nose pliers to install the ring as I find this easiest for me, you can use whatever you feel comfortable with, Just be careful not to let it get away from you. They are really hard to find if they go flying off. Don’t ask how I know this. Place the new base gasket in place and install the cylinder. This is what I found to be the most difficult part of this job. Luckily I had a ring compressor that could be used to hold the rings in place until they were seated in the cylinder and then removed the compressor. Take you time and make sure not to force anything as you don’t want to break any of the rings. Once the cylinder is completely seated you can torque down the cylinder bolts. Make sure to check the service manual for correct specifications for you model. I feel its very important to use the correct torque specs instead of guessing how tight they are. You could easily get one more tight or loose than the others or possibly strip the threads right out of the case, not something you would want to have happen. Don’t forget to install the cam chain idler at this point before you get the head bolted down. Now the head can now be replaced. Make sure you use a new gasket and again, make sure you torque the head bolts to the proper specs. Now use that wire and hook and retrieve the chain from the crankcase. Holding the chain re-install the camshaft and cam gear. Make sure the lines on the gear line up with the head and you should be ok for timing. That is if you made sure not to turn the engine over while you were waiting for the machine work to be done. Install the top cam gear bolt and turn the engine enough to install the lower bolt. Then tighten both to the factory specs. Install the timing chain tensioner in the back of the head. Replace the rocker arm cover and tighten the bolts to spec. This is the best time to check the valve clearance. Remove the four plugs on the rocker arm cover and set the valves to the correct clearance. The engine should still be at top dead center so you can set all of the valves at one time without having to turn the engine over. Next is the long bolt and two spacers than fit in the frame and the top of the rocker arm cover. Replace the plastic shield and then re-install the carb and air box. Gas tank is next followed by the plastic. Assembly is finished, but wait, don’t start it yet. With the larger piston you will need to re-jet the carb for more fuel.
 Trial and error are the only way to go from here. I searched the forums for jetting ideas on the 440 and most everyone was raising the needle one slot, running a 45 pilot jet and 165 main jet, so that’s where I started. The engine cranked up fairy easily and seemed to be running fine. I run through several cycles heating the engine up by riding but keeping the rpm to about half throttle. Each time I would let the engine cool completely off before starting again. I gradually started increasing the throttle and the engine began to bog down toward higher RPM’s. I changed out the main jet dropping one size at a time until the engine ran fine all the way though wide open. I ended up with a 150 main. I now this sounds lean, but it all depends on each quad, the way you ride, atmosphere conditions, elevation and few other things thrown in. Also, I stayed with the stock OEM camshaft, and that makes a difference too. If you use an aftermarket cam you will most likely gain some power at top end, but loose some at bottom. Since my riding style is mostly done at bottom end, I did not want to give up any low end power. In fact, the bottom end with stock camshaft and the 440 big bore is noticeably better than stock 400. The needle position, which controls mostly mid range is working fine with the clip in the 4th slot. The idle jet, which controls idle to about ¼ throttle seems to be little rich for my application. Most everyone was running the 45, but I think the 42 will work better for me. If I let the quad idle for more than 20 seconds it will die soon as you hit the throttle, so I am guessing its running slightly on the rich side. Just remember to start rich and work your way down. Listen to the engine and how it runs. You can also pull the spark plug and look at the tip. If its light brown color, you have the right jet. If it’s white, your too lean and if its black sooting looking, still to rich. The preferred way of checking the plug is to run the quad at max speed for few seconds then turn off the ignition and cost to a stop, pull the plug and check it. This way you can read what the plug is doing at max RPM. Again, I caution to start rich and gradually work your way down, don’t want to burn up a brand new piston.
  I was extremely pleased with the power gain from the big bore. With the addition of 40 cc’s I was expecting some increase, but was really surprised at how much more low end power it has now. On my MX track where I was shifting down to second to make a tight corner and pull out fast enough to shift to third to make the first double jump, I can now pull the corner without downshifting, I just leave it in third and it will pull itself out of the corner fast enough to make the first double with no problem. Cruising along in second gear if you hit the throttle the front end will start climbing, it would not do that before. Pretty impressive to me since I weight little over 225 with full riding gear. I think I have it pretty much broken in now and the more I ride, the better I like it!
The difference in power from a stock 400EX and the 440 are easy to feel just by riding them, and that’s proof enough for me. But, I know some of you will want some cold hard figures to look at. We set up a test run of 75 yards and run the stock 400EX and then the 440EX. Both quads were run 10 times, with two different riders, so we have total of 40 runs to go by. After averaging all 40 runs the 440EX was .5 seconds faster. Now if you calculate this out to 1/8 mile, which is average length for sand drags, it comes out to 1.5 seconds faster. We have no way of measuring the torque but both riders commented on the 440 having much more noticeable torque over the stock 400.
I am very pleased with the outcome of the Wiseco big bore. If you checked out the pictures of the cylinder being processed by Wiseco you can see the time and effort they put in to make sure its done right. I am very confident that the reliability will be just a good as the stock engine, yet have much more power.