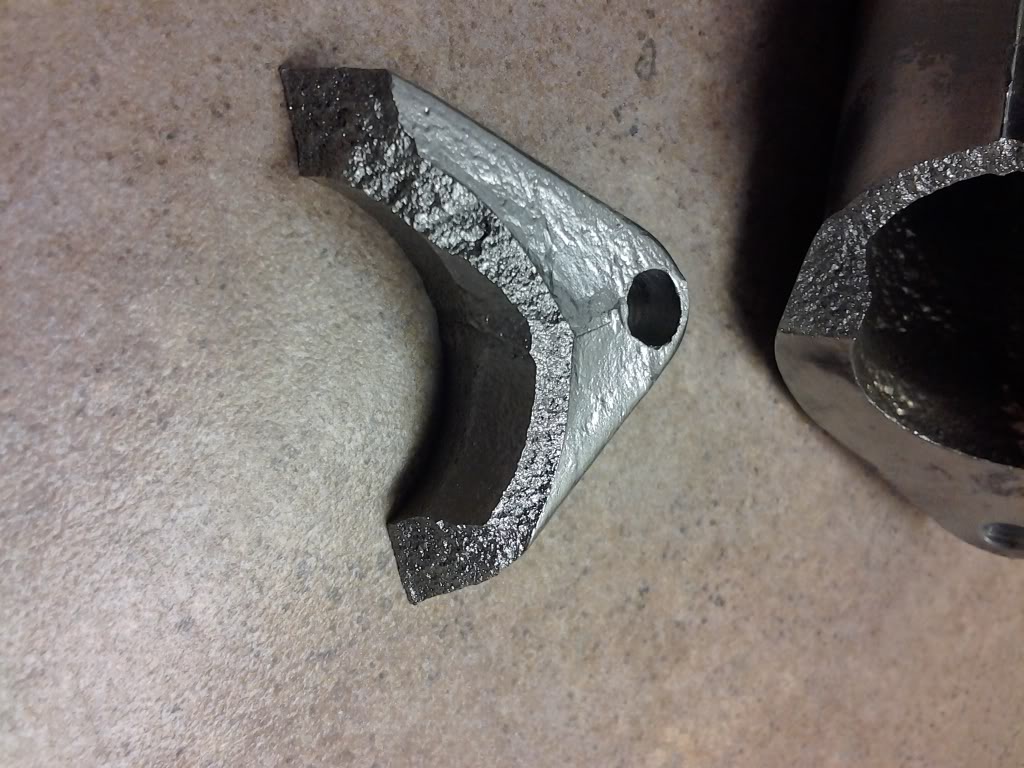
What causes this problem??


 I'd like to try this sometime....
#12
 10-19-2011, 07:47 AM

Join Date: Oct 2011
Posts: 18
Likes: 0
Received 0 Likes
on
0 Posts
#13
10-19-2011, 11:26 AM
Join Date: Oct 2011
Posts: 18
Likes: 0
Received 0 Likes
on
0 Posts
#18
10-19-2011, 10:55 PM
Join Date: Oct 2011
Posts: 18
Likes: 0
Received 0 Likes
on
0 Posts
#19
10-19-2011, 11:37 PM
Trailblazer
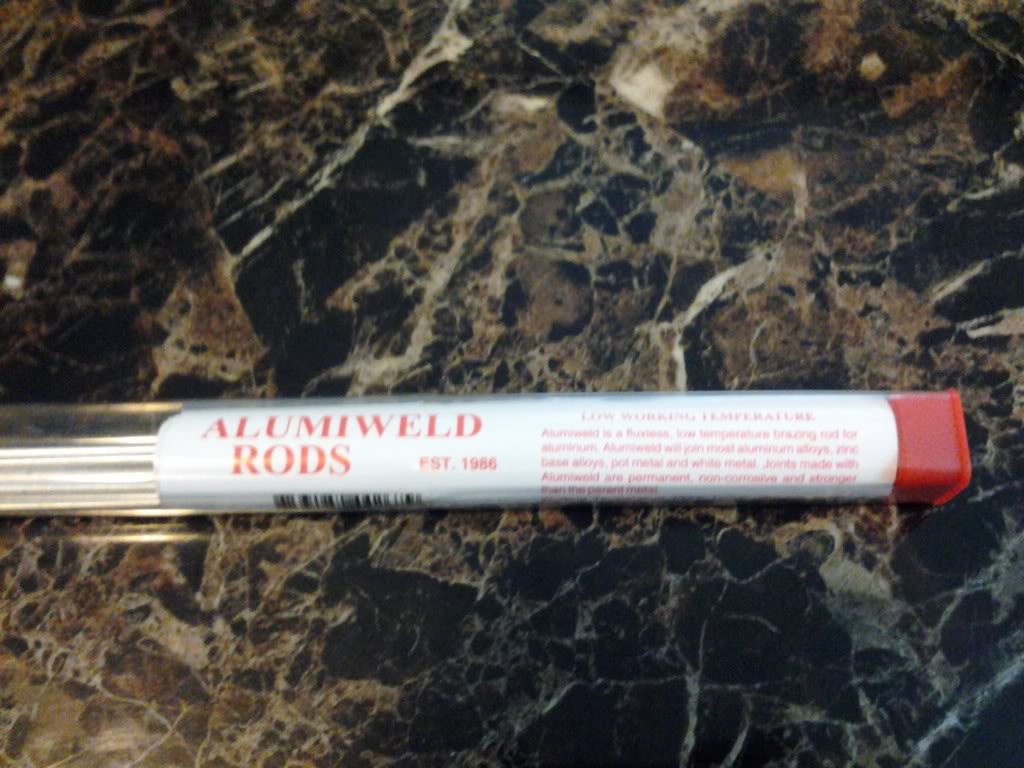
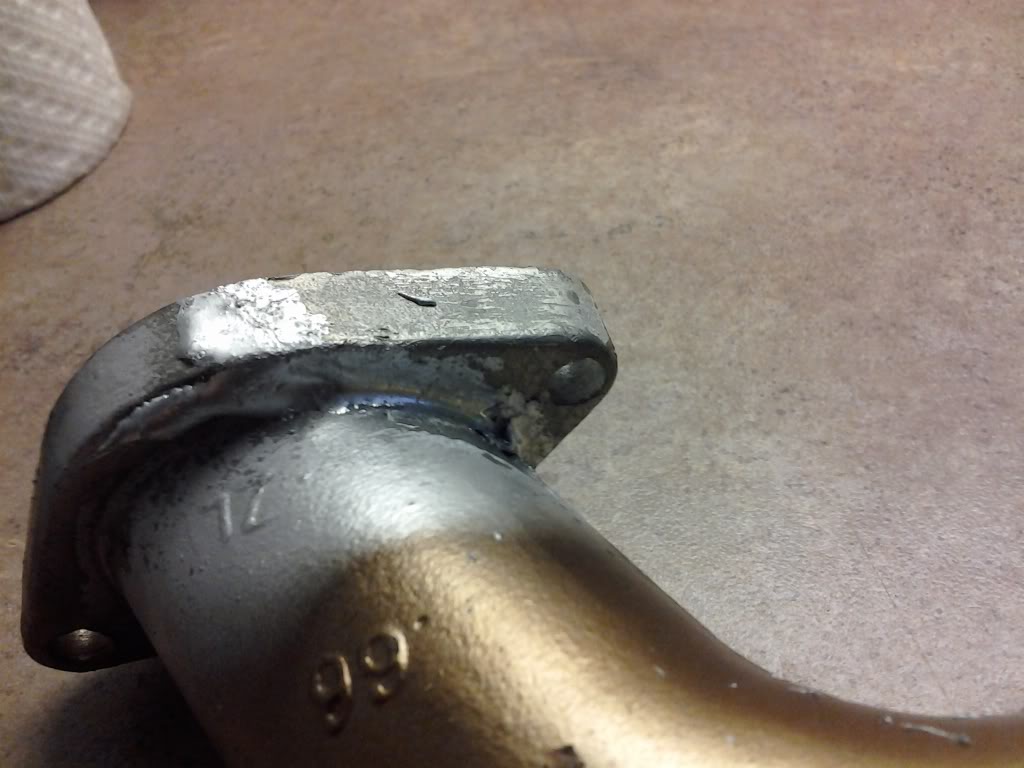
sorry I didn't get back sooner, didn't check e-mail for a day or so. Looks like you found the rods anyway and jumped right on it. Weld doesn't look all that bad either. Congrats!
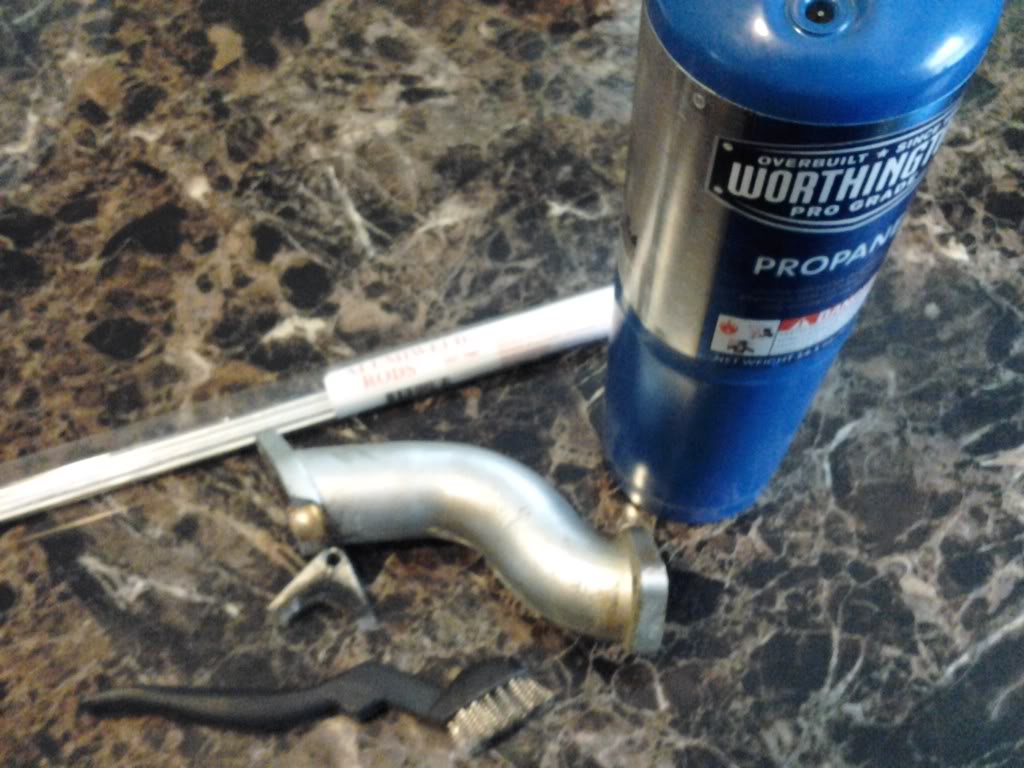
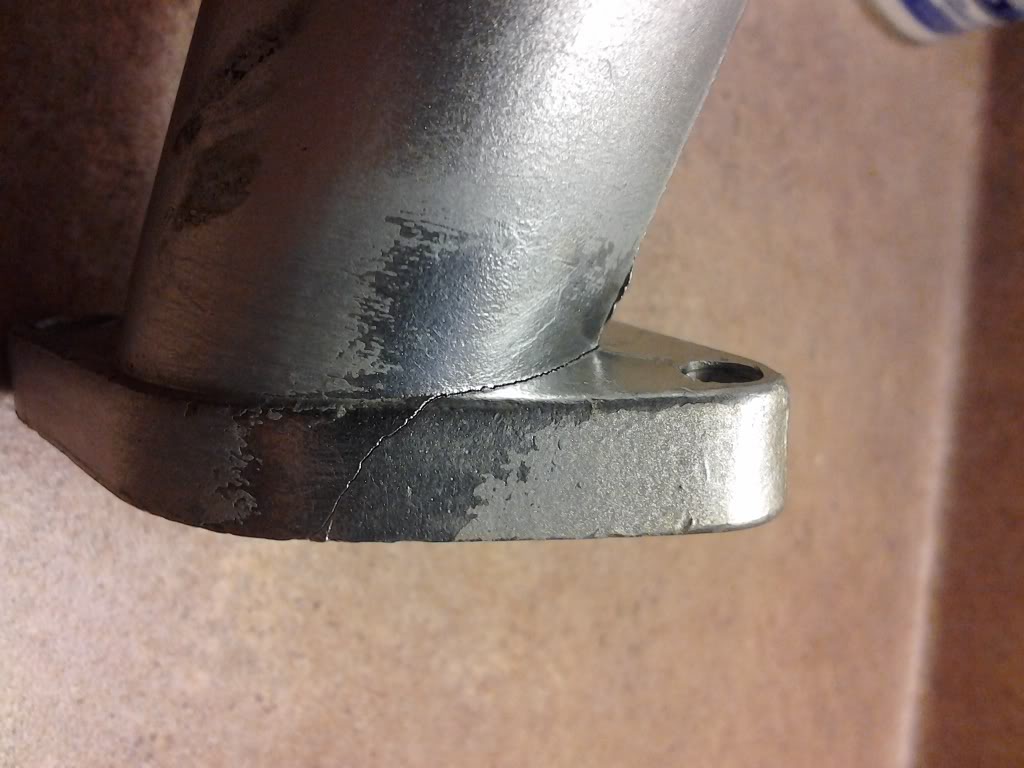
I will take that dremel tool and sorta groove out where the crack is just to get deeper penetration and try to weld both sides. You can always clean up the weld with the dremel. I found the key is to make sure you get the object you are welding hot enough and it will just suck up the alumaweld very similar to soldering. Either way you got a good join and save a part. There are enough rods in that little pack to make a whole bunch of small repairs so it should save you some $$ over time.
I will take that dremel tool and sorta groove out where the crack is just to get deeper penetration and try to weld both sides. You can always clean up the weld with the dremel. I found the key is to make sure you get the object you are welding hot enough and it will just suck up the alumaweld very similar to soldering. Either way you got a good join and save a part. There are enough rods in that little pack to make a whole bunch of small repairs so it should save you some $$ over time.
#20
10-20-2011, 08:12 AM
Join Date: Oct 2011
Posts: 18
Likes: 0
Received 0 Likes
on
0 Posts
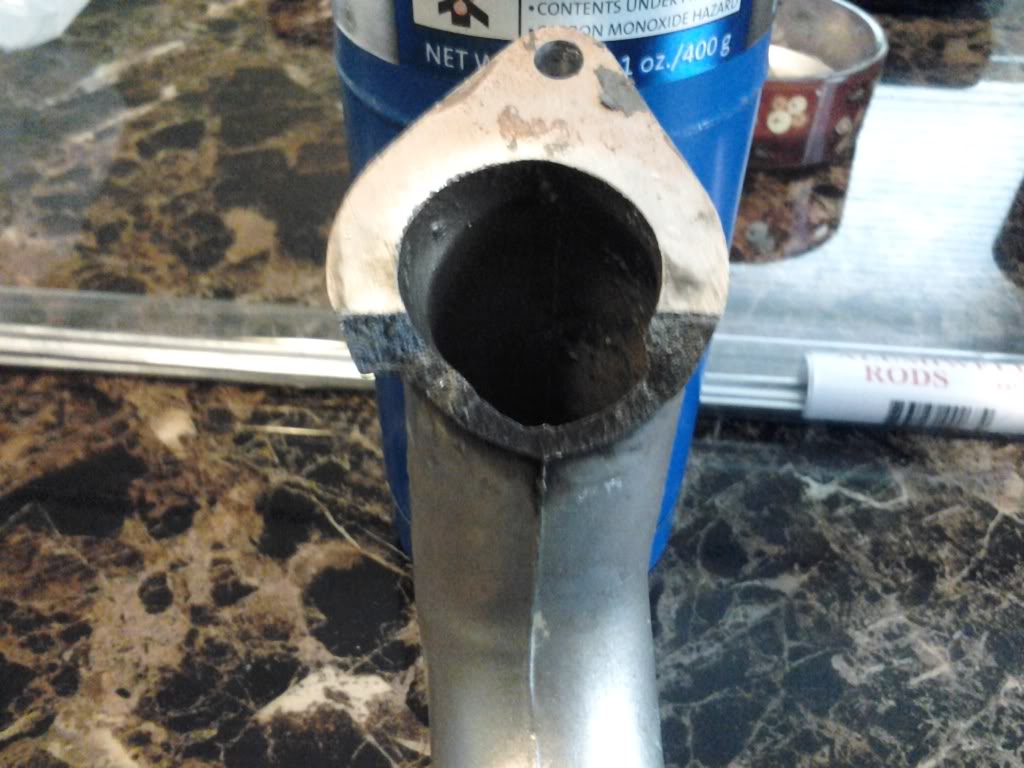
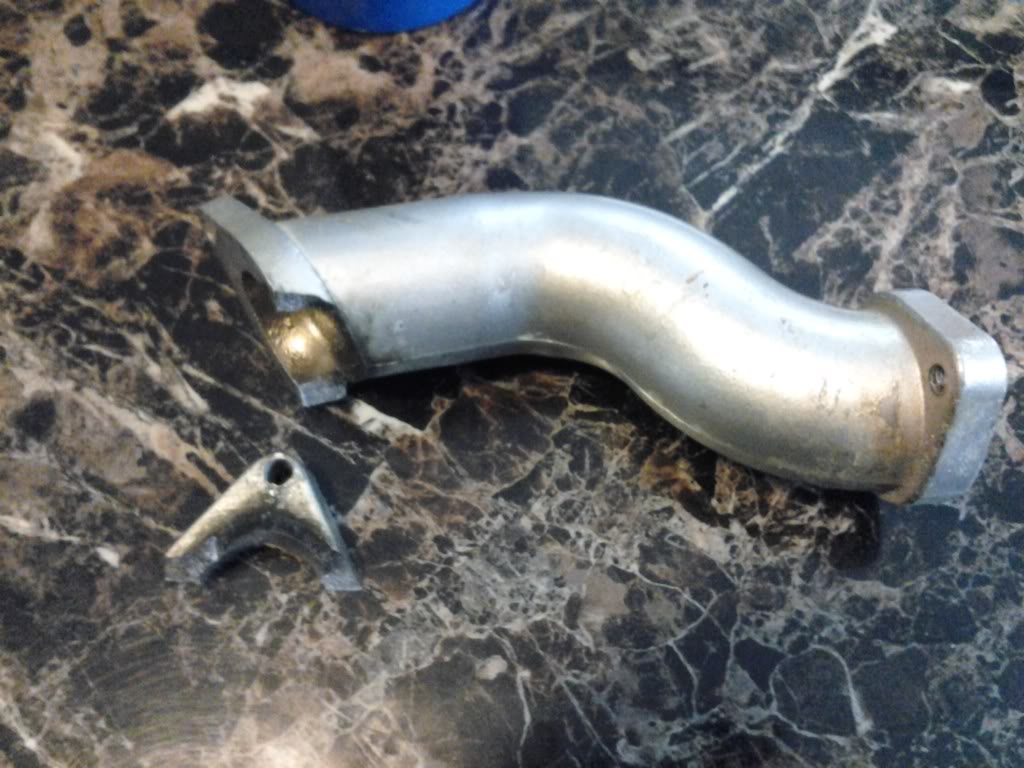
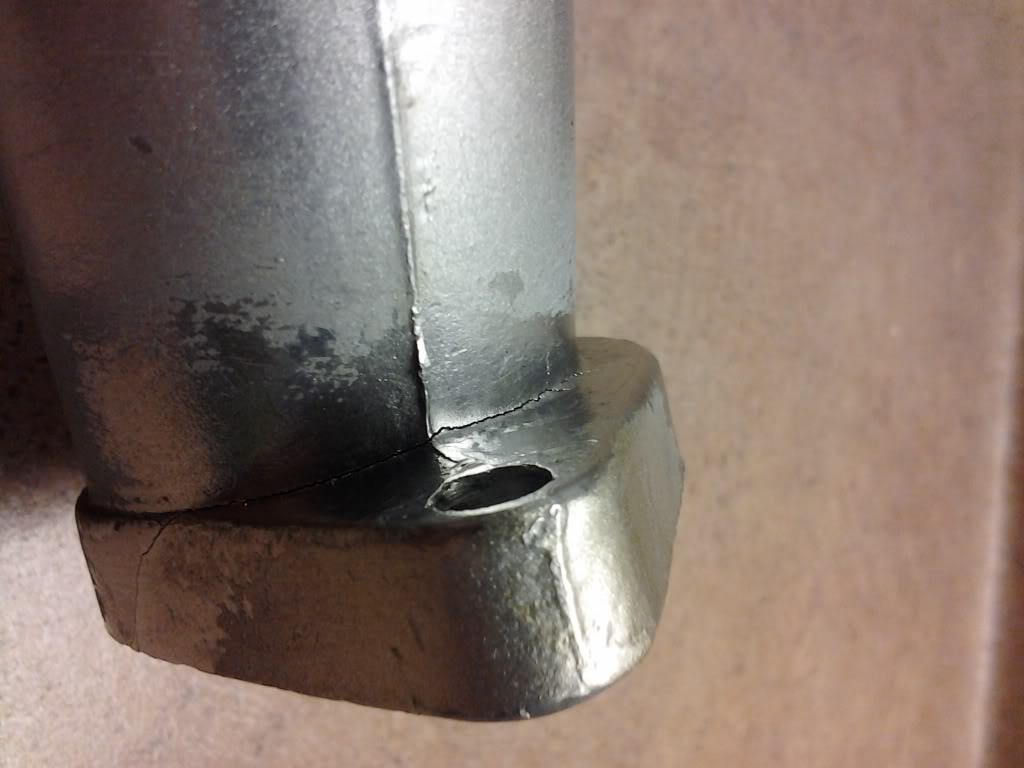
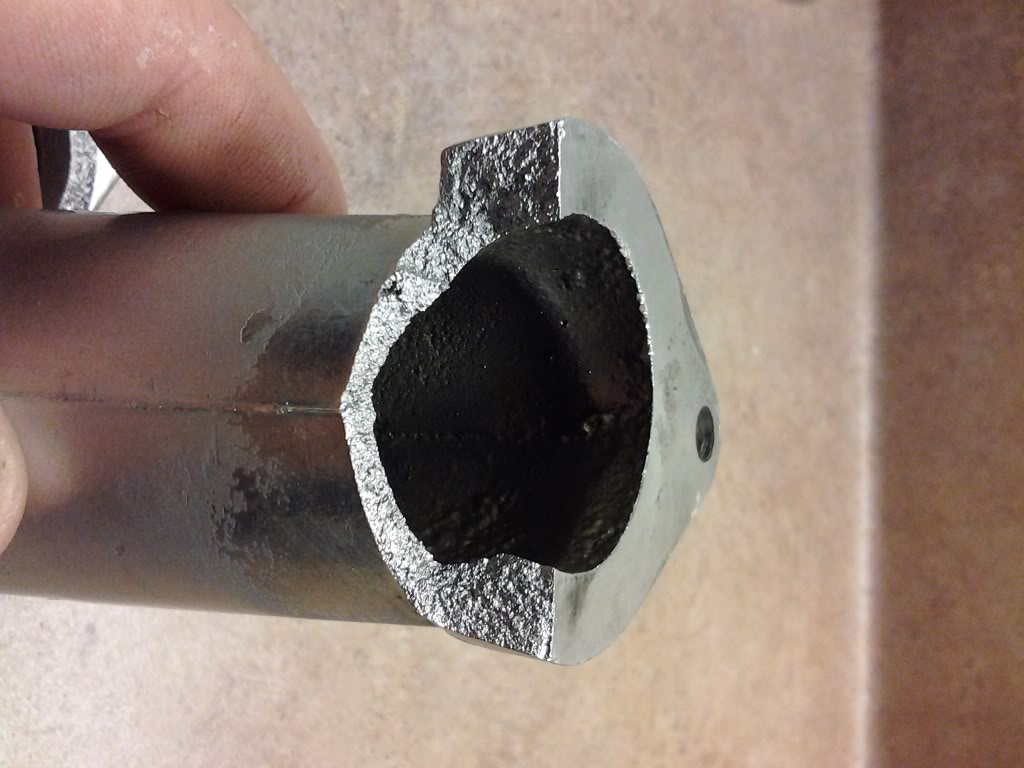
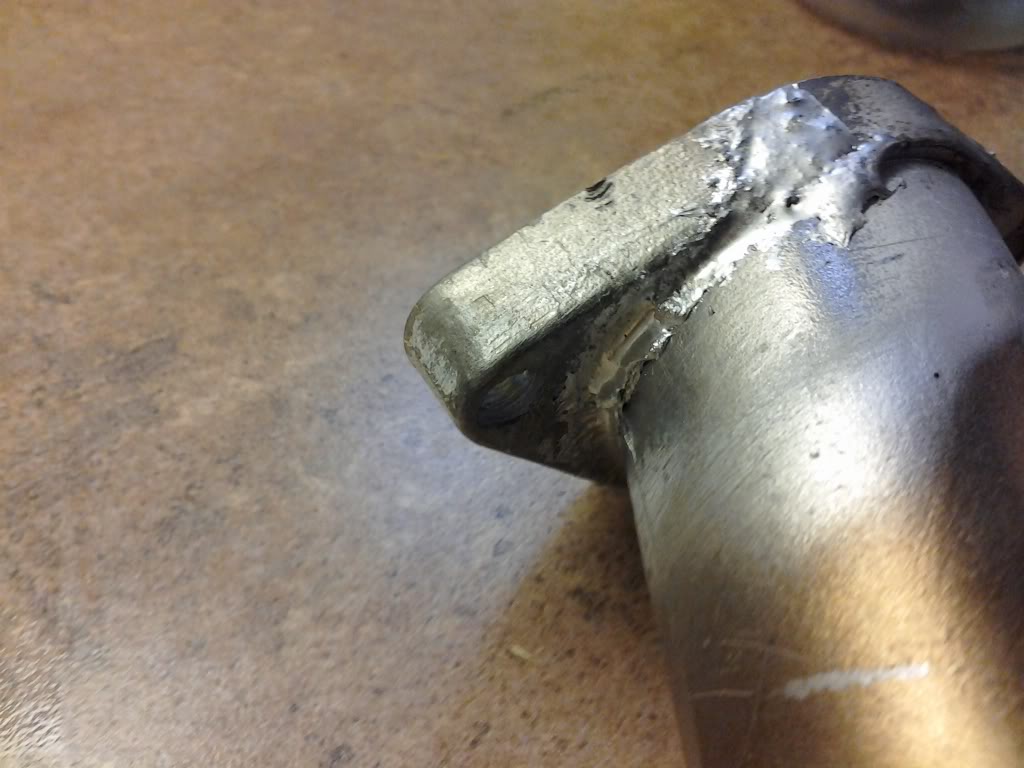
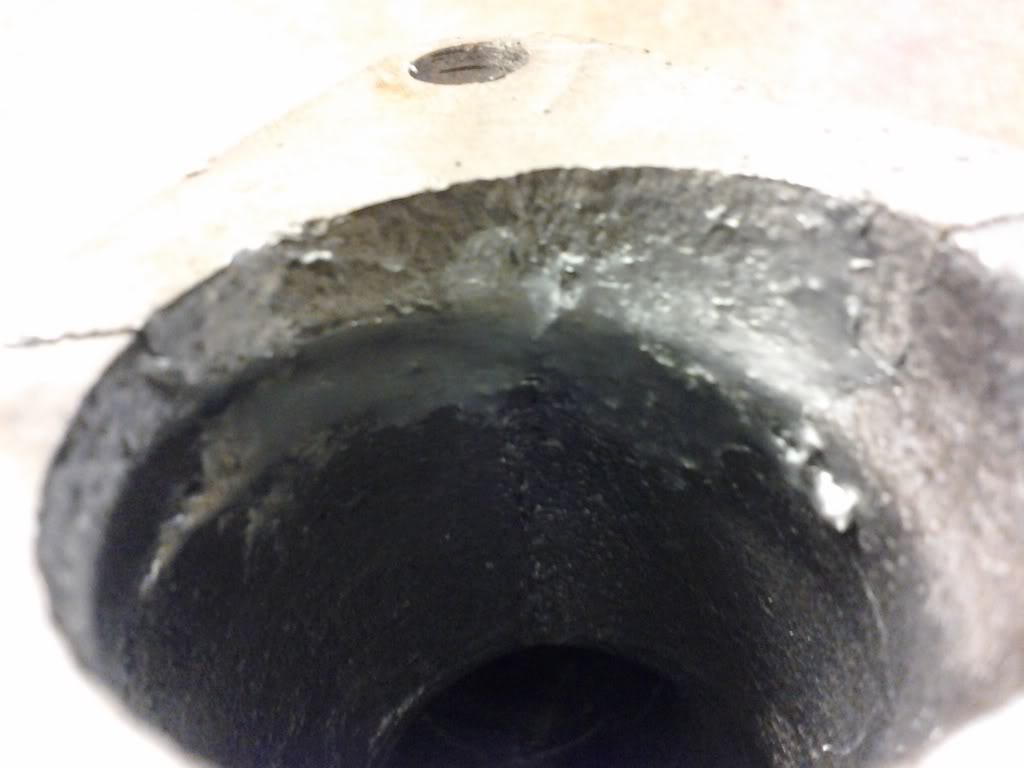
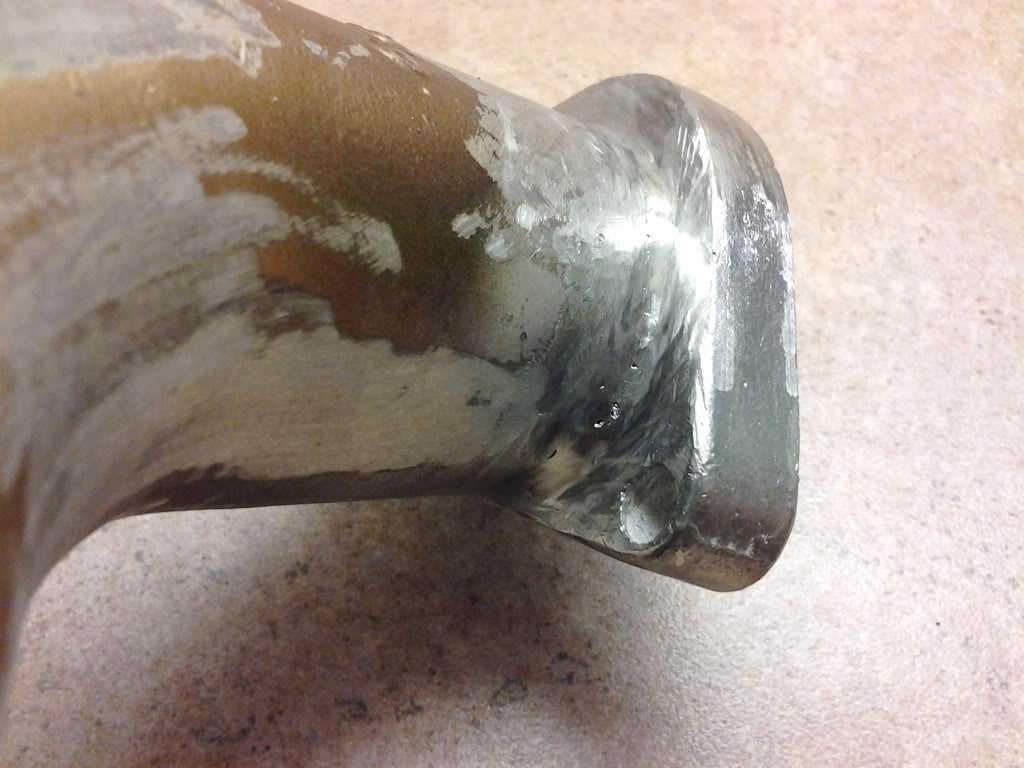
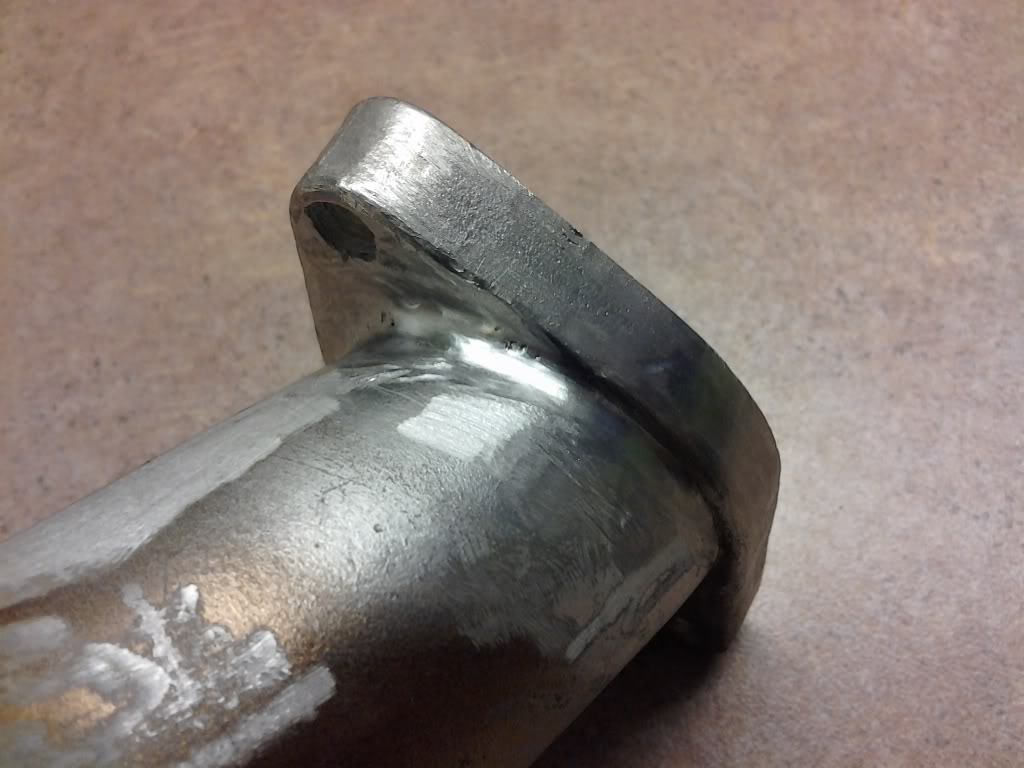
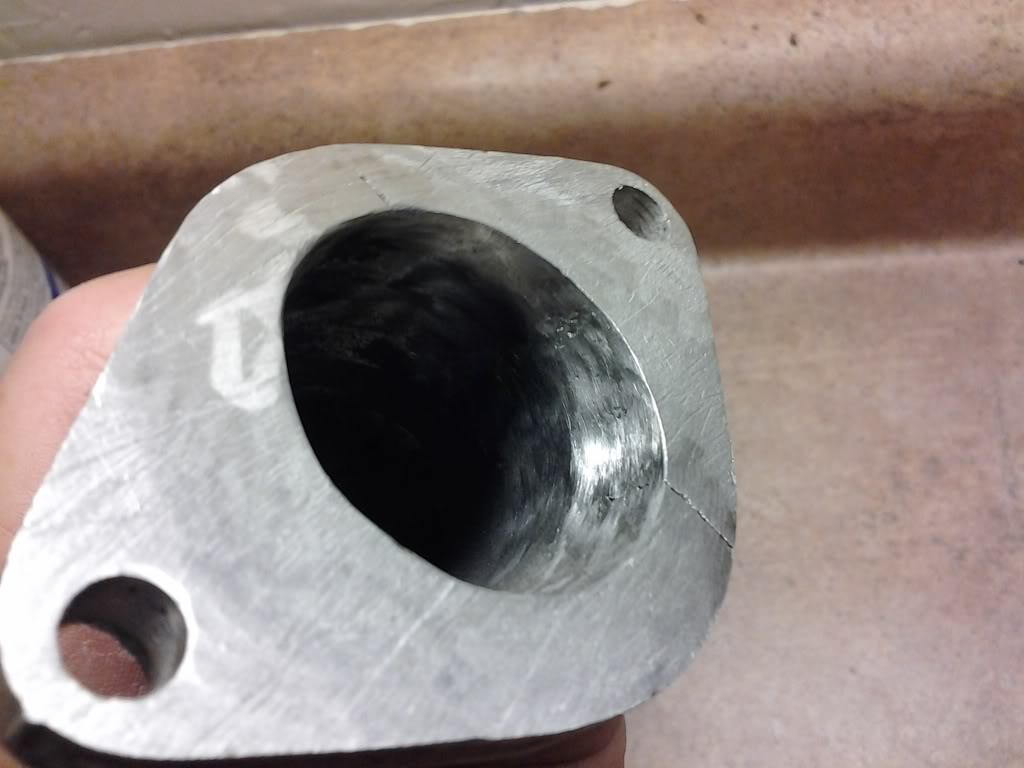
I have welded both sides. Only thing I didn't weld was the cracks on the flat surface where the gasket goes. Everything else was welded. What I did was I heated up the part and put some metal ON the broken surface and then brushed it with a SS brush to even it out and placed the parts together. I then did the outside of the crack (was ugly as hell!) and then I did the inside. When I did this, it pulled the metal from the outside through the crack and evened out the "blobs" since there was metal between the pieces. While it was still blazing hot, I ran the rod over the outside crack again to smooth things out a bit more and make it a little nicer. 
My thoughts on this procedure is that with a bit of practice, this method can be fairly easy and save a poopload of $! I got a quote from the local machine shop before I did this and they wanted $75+ to fix the part!!
I thank you for the advice! I am glad I got to try this BEFORE I spent the $ for the repair work!! Money WELL spent!