When you click on links to various merchants on this site and make a purchase, this can result in this site earning a commission. Affiliate programs and affiliations include, but are not limited to, the eBay Partner Network.
Thanks for all the advice so far, I'm sure I'll have more questions in the future. I'm waiting to give it to her when she gets out of school. She is a straight "A" student and she reads one grade ahead of where she is, so I want this to be surprise for her. I probably won't start tearing it down to the frame until late fall early winter. I want her to have fun with it during summer break.
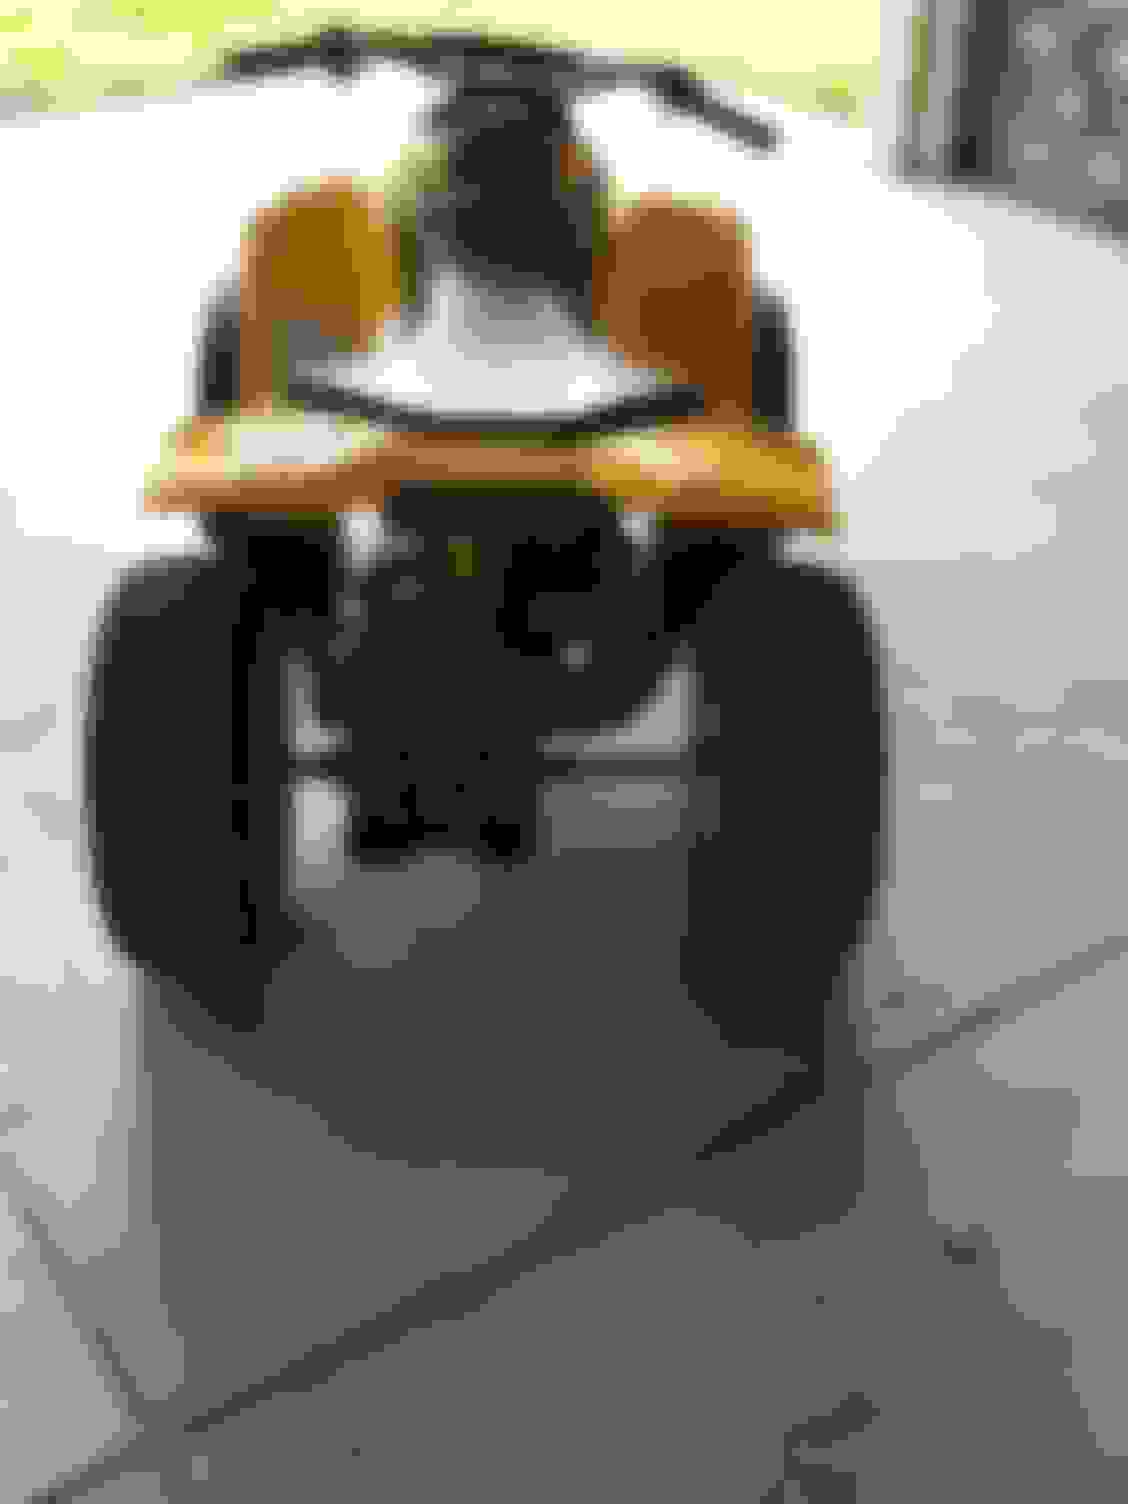
Flipped the rear wheels around..
Added 2.5" durablue wheels spacers up front... I had to put them on the lathe and remove some material to get them to fit flush on the hub and clear the bearing housing.....
Added some LT160 shocks up front...
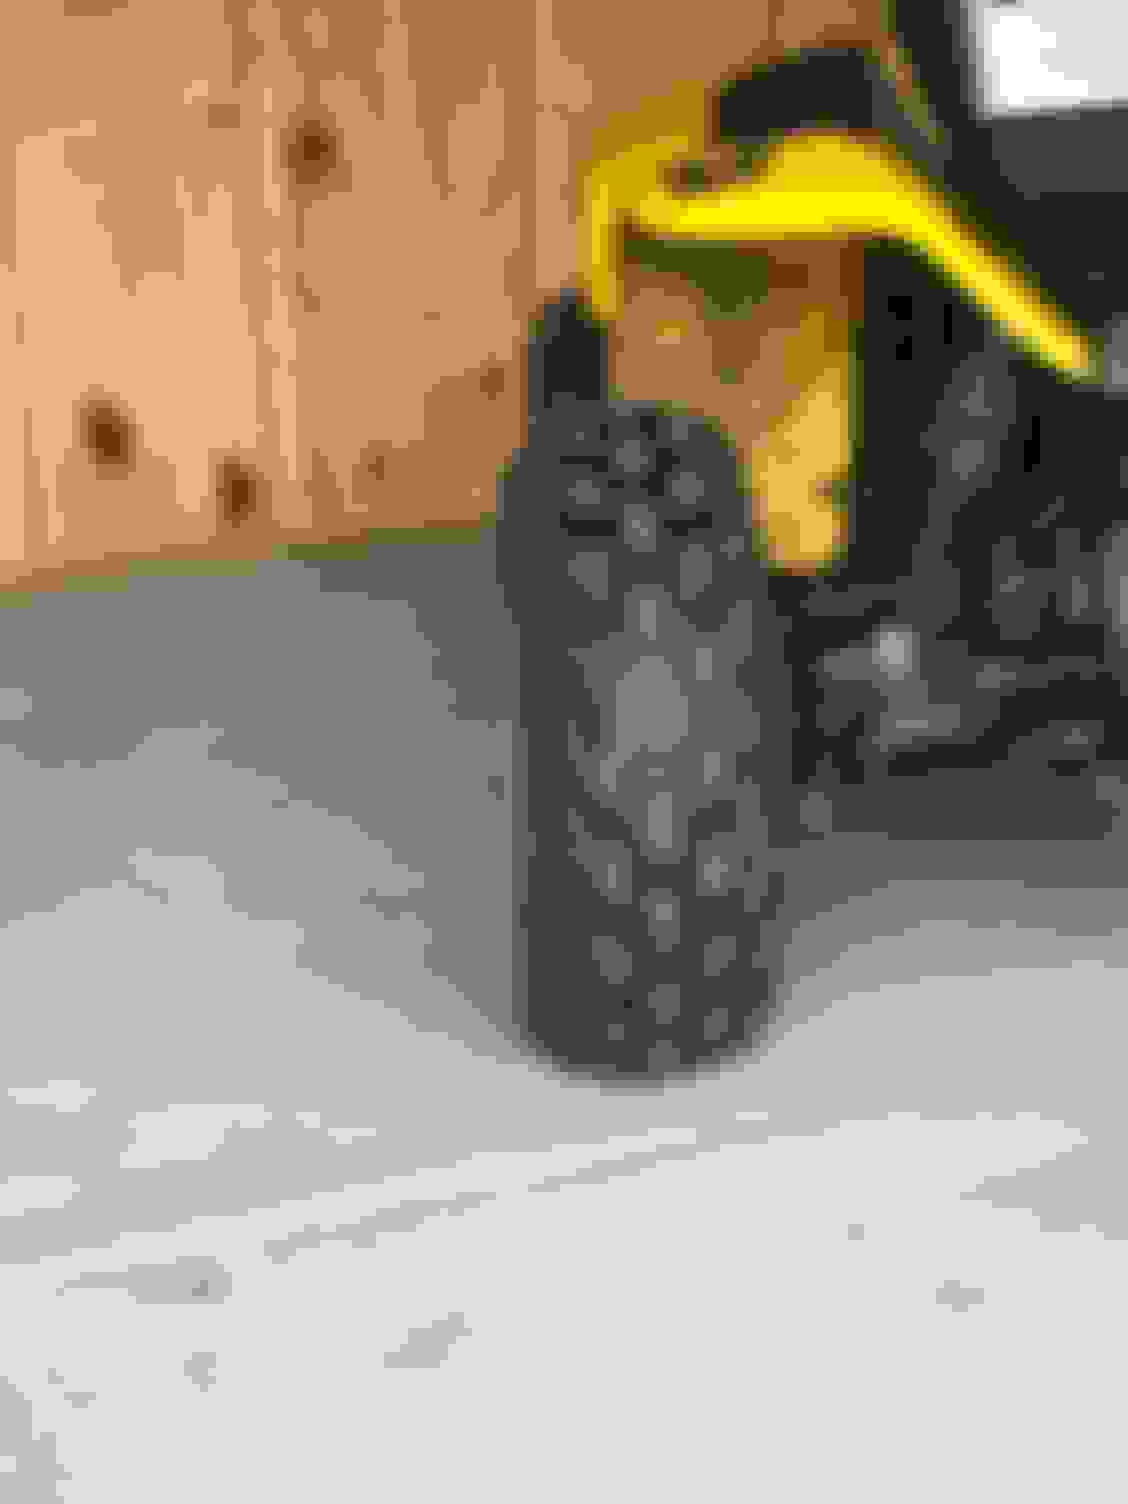
Here is an easy way to fix that camber issue (and it is an issue)...these are made with 1/8" plate...Had to make these for the "long travel" shocks from Midwest-Mini...
The real issue is the single a-arm design...camber will go more negative as the suspension is compressed...hence why I went with a double a-arm set-up on my build...
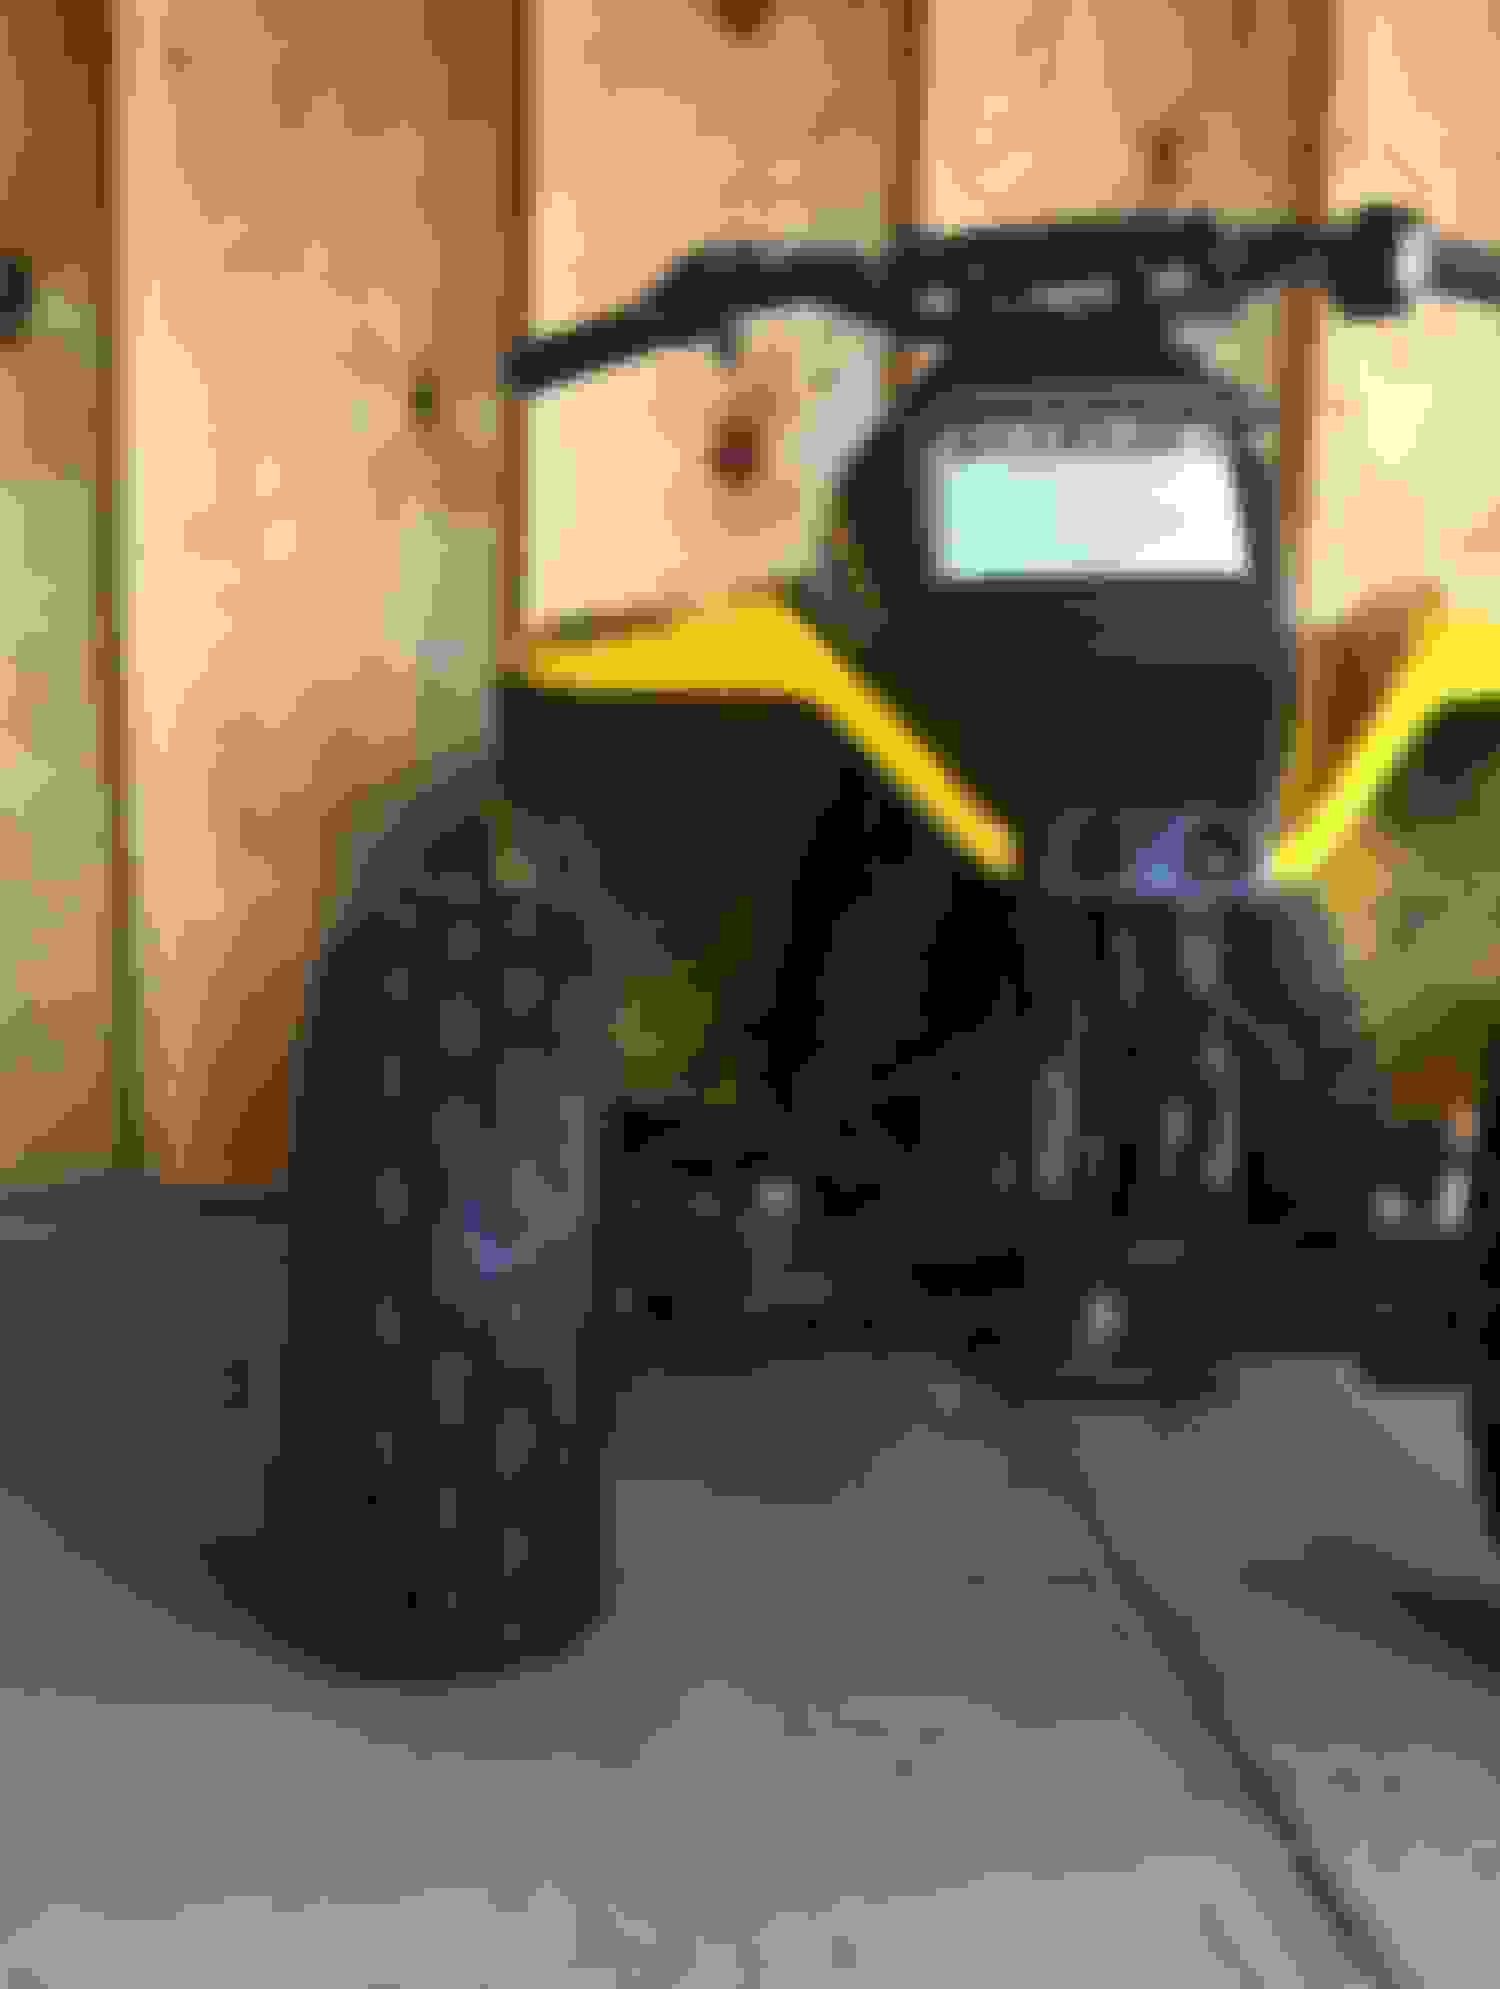
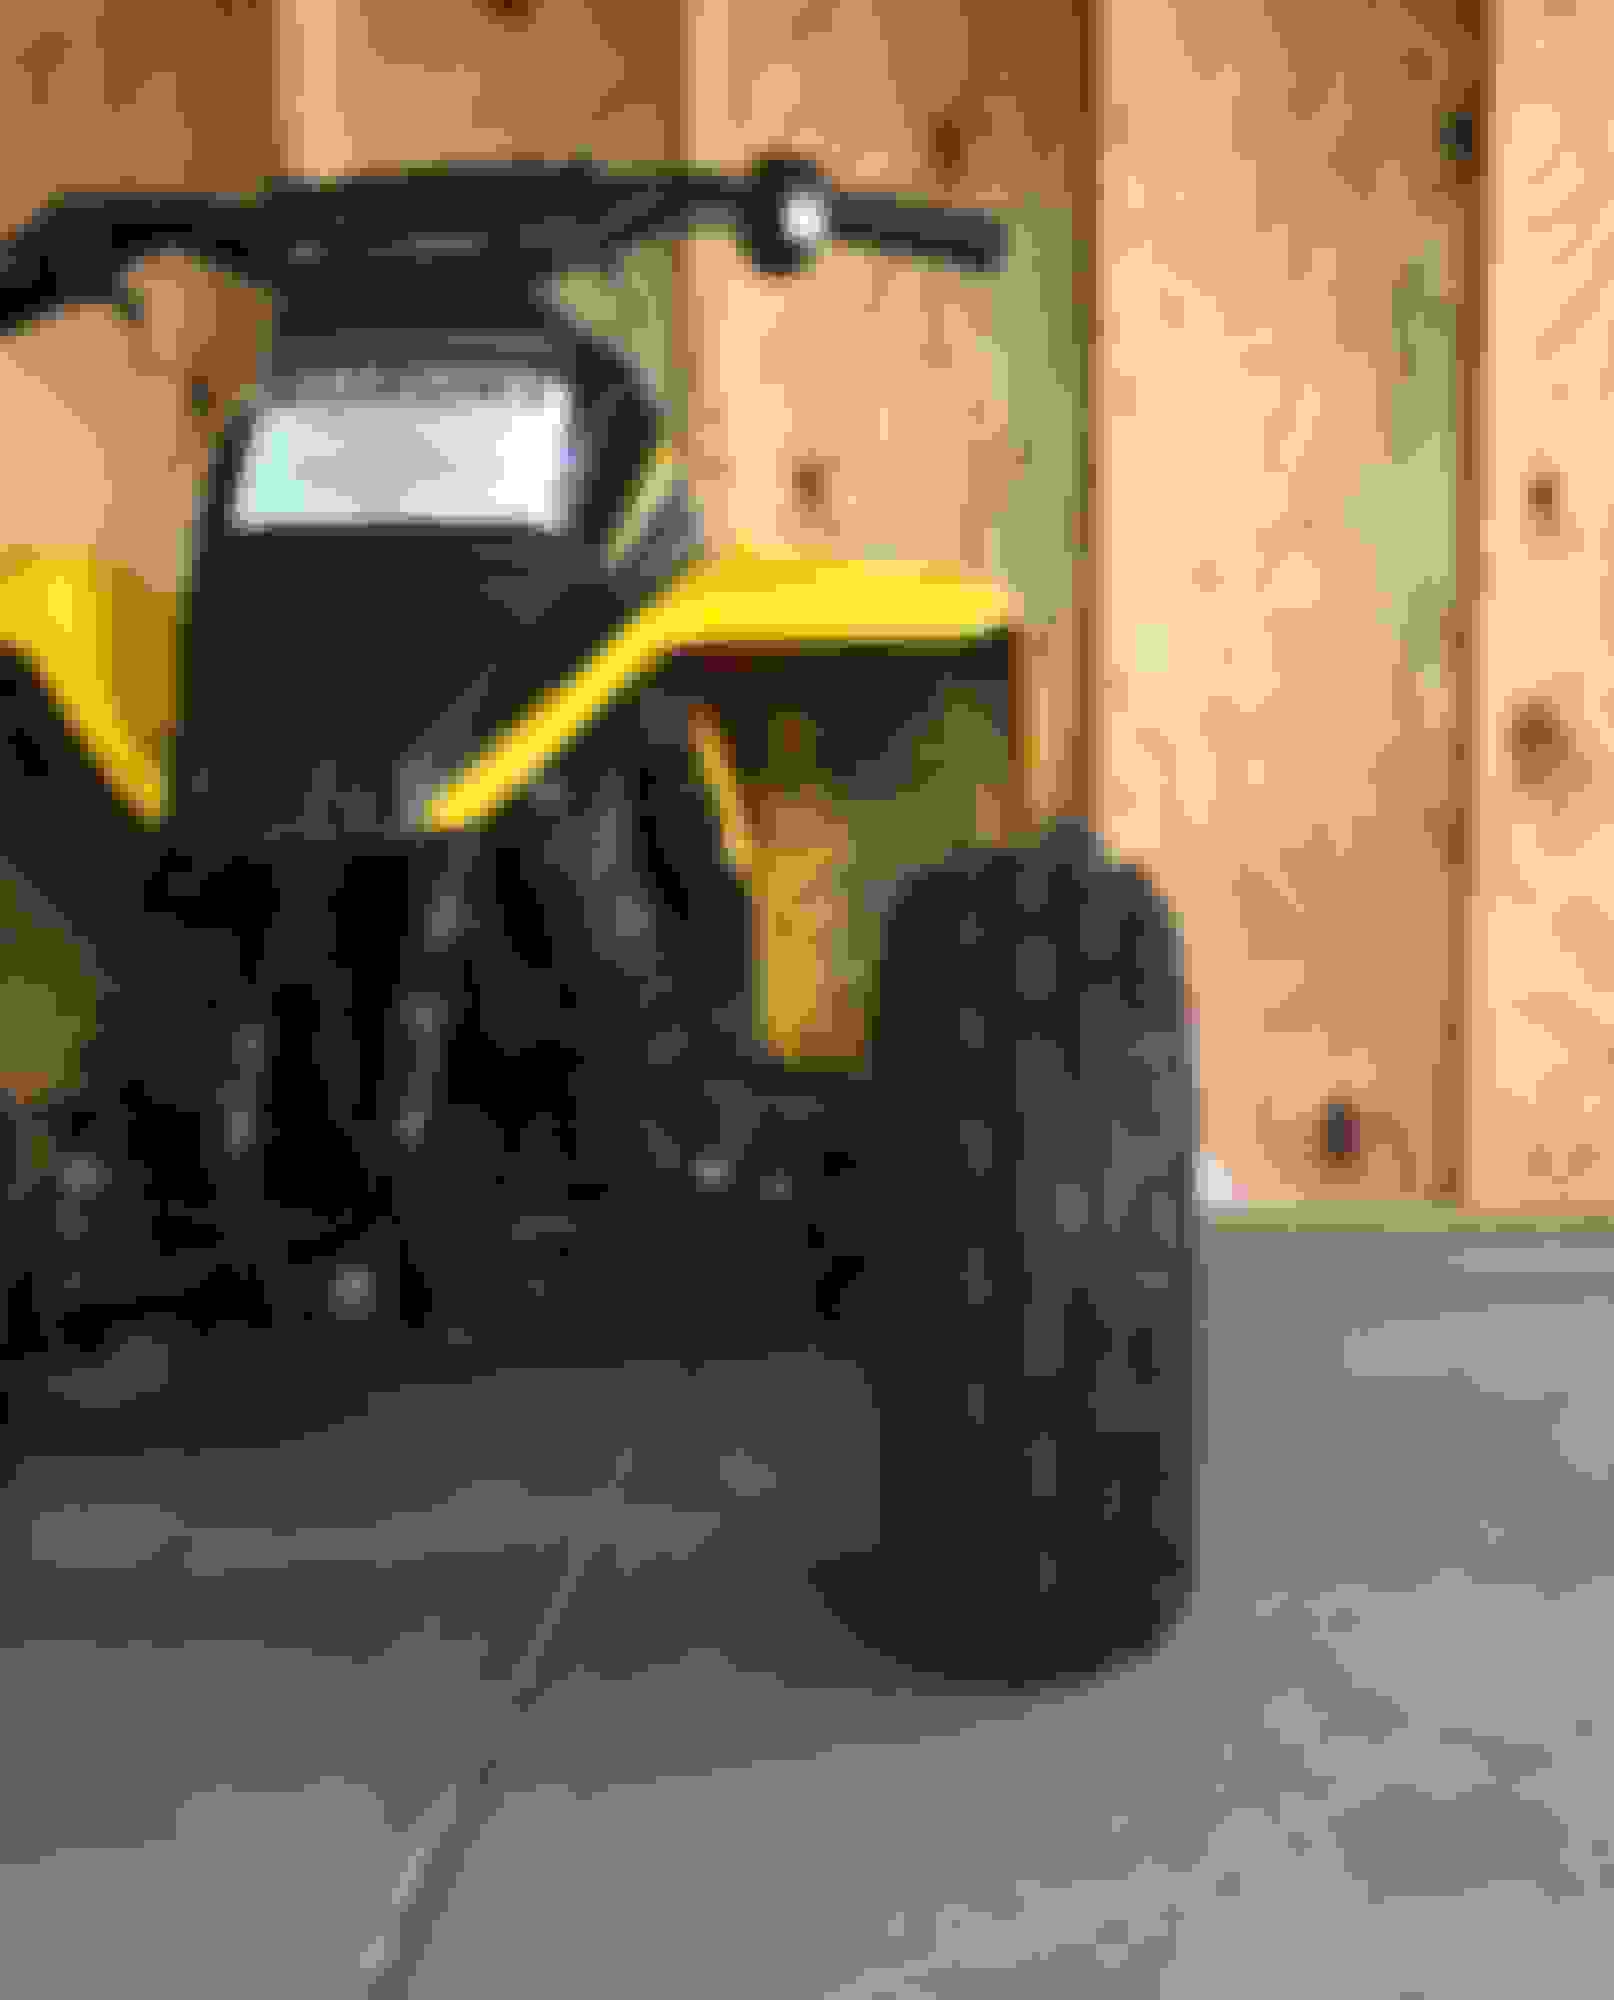
I think the camber might have been from the photo angle.... does this look better???
What do you think? The toe is a little off but I'll take care of that this weekend when I have a little more time
i might try that with the shock mount if it still looks screwed up
easy way to check is to put a decent size level against the tire ()|
zero to a tad of negative / \ camber is the objective (I say a tad of negative camber because as you compress the suspension the camber goes a lot negative quickly)

 Apr 25, 2017 | 05:14 PM