


*Rappy!* Raptor 660 Build Thread

 Jul 6, 2016 | 05:59 PM
#34

Pro Rider
Joined: Sep 2003
Posts: 989
Likes: 0

Same here! According to my history, the last time I posted something was back in '07. Almost 10 years ago! A lot has happened/changed since, ha!

 Aug 11, 2016 | 03:37 PM
#37
Thread Starter
|
Pro Rider
Joined: Jan 2001
Posts: 370
Likes: 0
From: TN
Most of the cast parts have all been bead blasted, as that is the best way to get all the dirt and grime out of all of the crevices. After blasting them I typically clean them with either acetone or laquer thinner to get any oil wax or grease off of them before painting. Also, I mentioned in the past posts what I painted most of the parts with.
Aug 11, 2016 | 04:03 PM
#38
Thread Starter
|
Pro Rider
Joined: Jan 2001
Posts: 370
Likes: 0
From: TN
Please see last post.
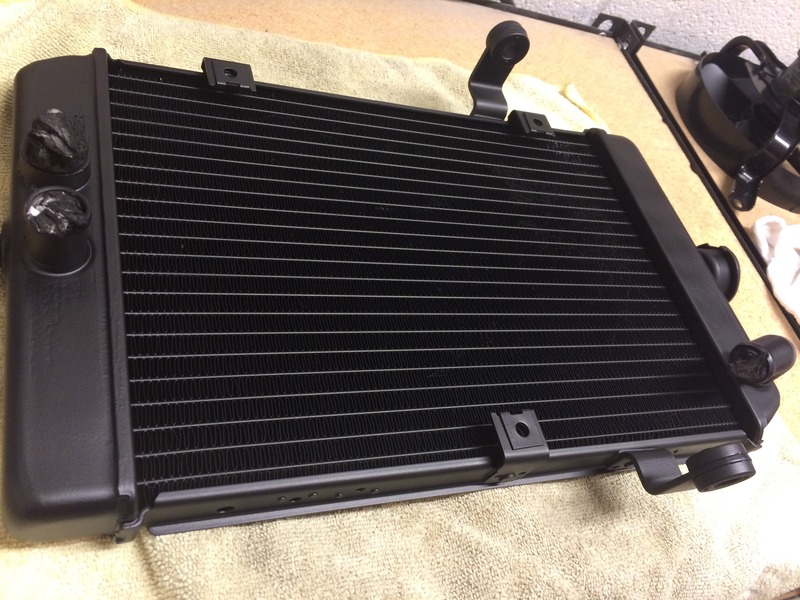
Ok, time for cooling system fun. I have straightened as many fins as possible that were bent on the front side of the radiator. It's not 100% perfect, but it still flows well and cools well so all is good. Got it all painted up again as well.
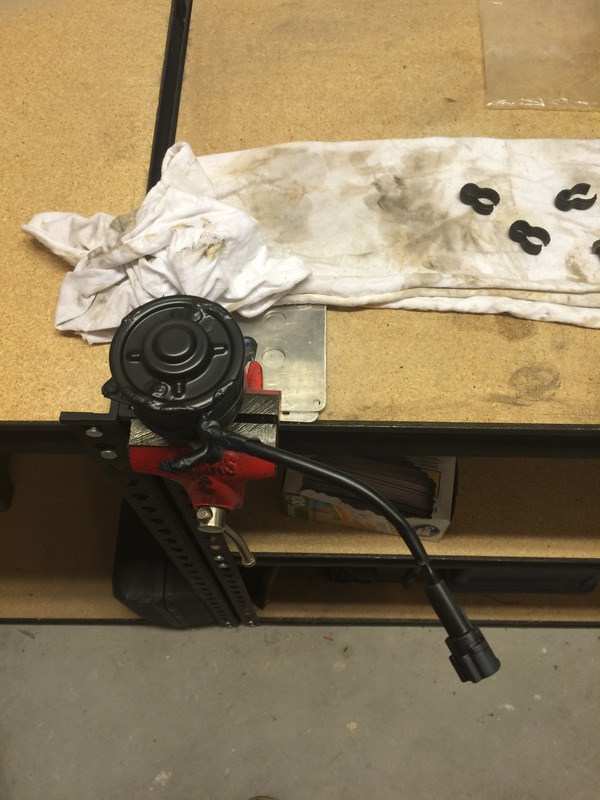
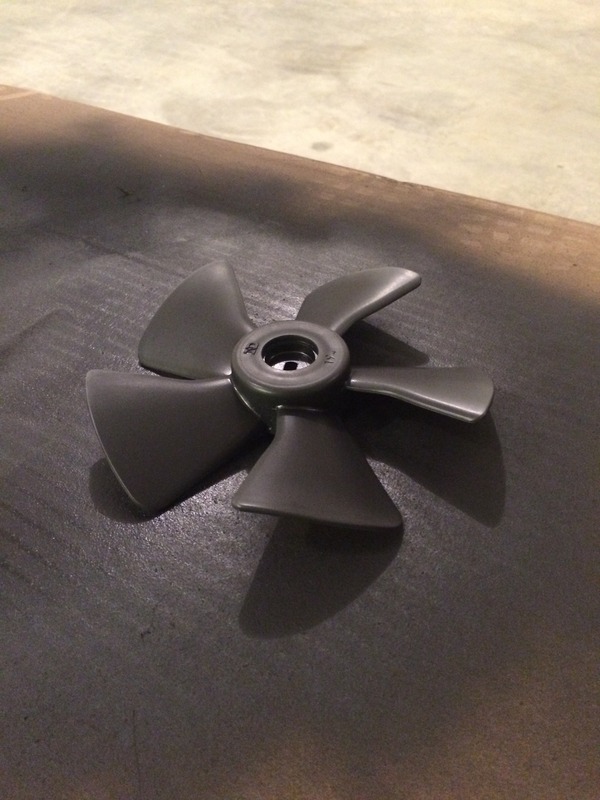
Cleaned up the fan motor and blade. Touched up some of the paint on the motor, then painted the fan.
Thermostat housing installed.
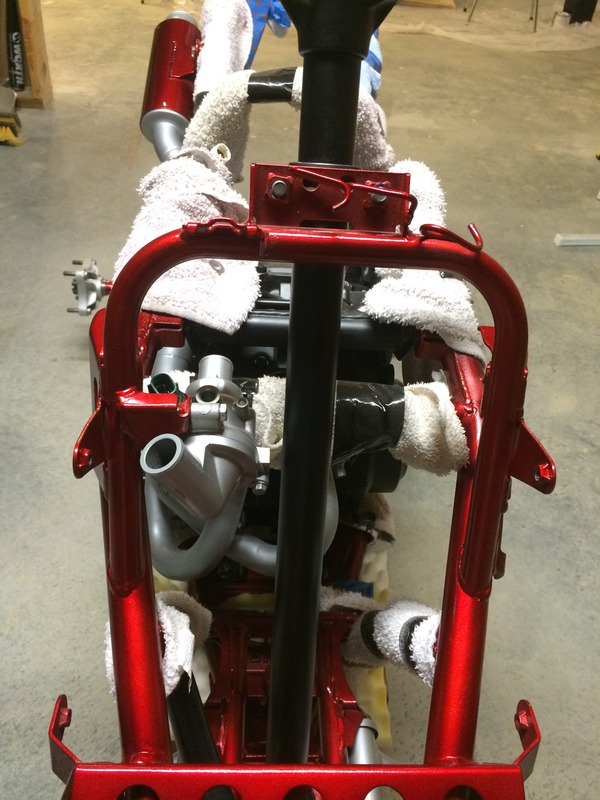
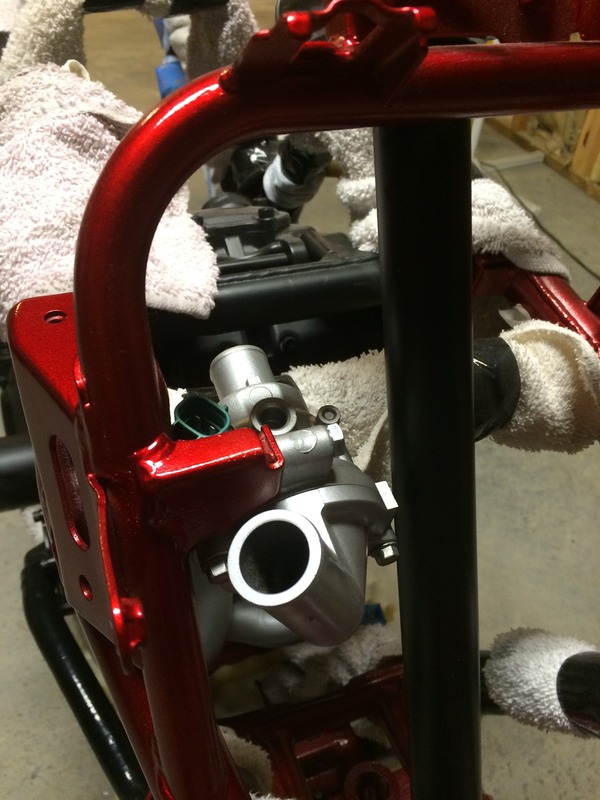
Finally, she is all plumbed with new hoses. I've gotta say these silicone hoses make me all giddy inside like a school girl, haha! The upper most hose is still rubber due to the silicone hose kit not including that hose, why I am not sure. But I had a new piece of rubber hose with just the right bend in it that I could make work. Luckily this hose is very short and will be hidden from sight once the quad is together.
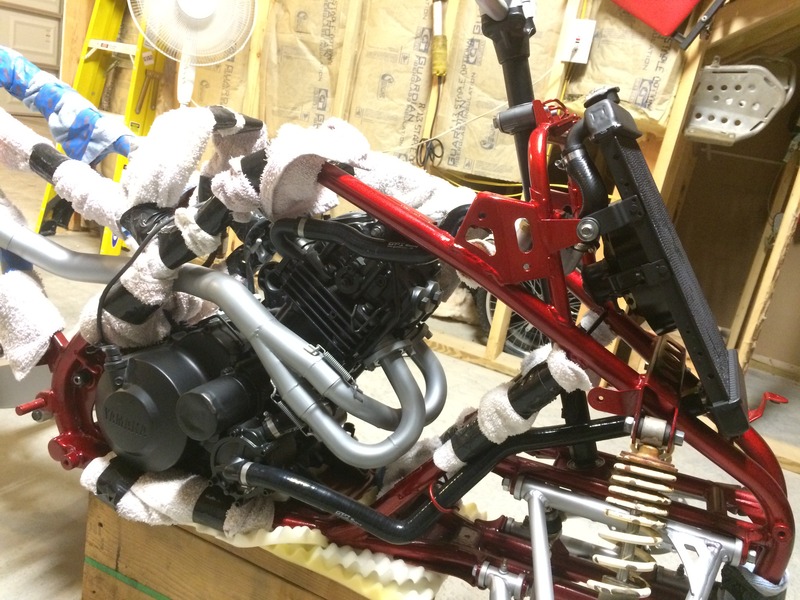
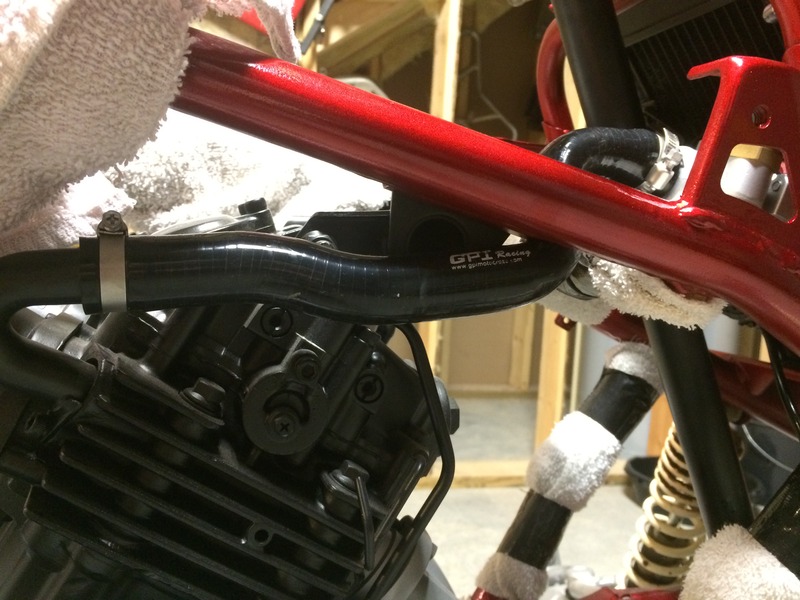
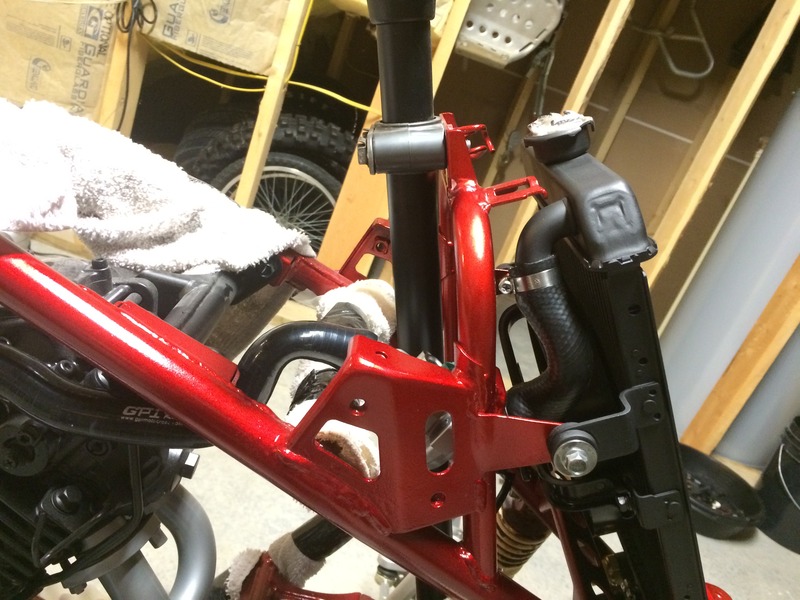
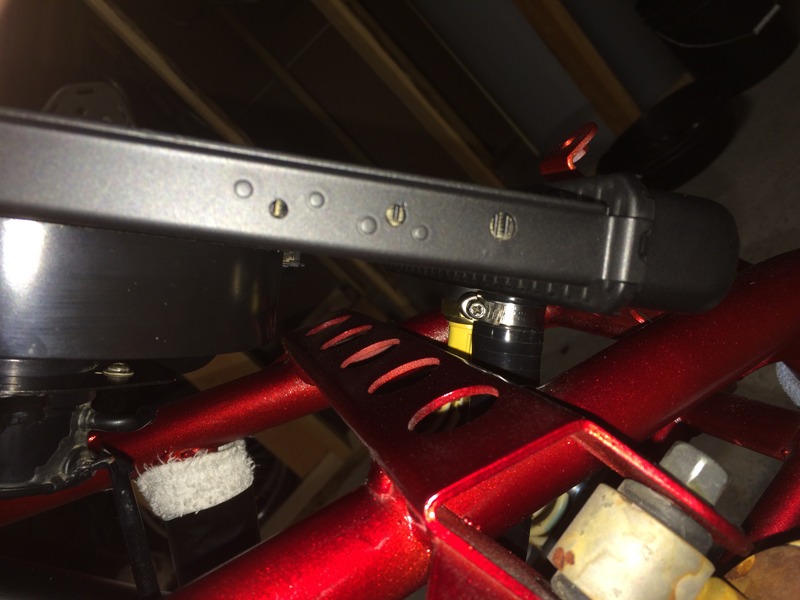
Now that the cooling system is mostly complete, I will hold off on adding fluids just yet, as I have a bit more work in other areas that I would like to finish first. I will add all fluids when I am ready to start this baby. Please continue to disregard the shocks as they are only place holders until the new shocks arrive!
Ok, time for cooling system fun. I have straightened as many fins as possible that were bent on the front side of the radiator. It's not 100% perfect, but it still flows well and cools well so all is good. Got it all painted up again as well.

Cleaned up the fan motor and blade. Touched up some of the paint on the motor, then painted the fan.


Thermostat housing installed.


Finally, she is all plumbed with new hoses. I've gotta say these silicone hoses make me all giddy inside like a school girl, haha! The upper most hose is still rubber due to the silicone hose kit not including that hose, why I am not sure. But I had a new piece of rubber hose with just the right bend in it that I could make work. Luckily this hose is very short and will be hidden from sight once the quad is together.


Now that the cooling system is mostly complete, I will hold off on adding fluids just yet, as I have a bit more work in other areas that I would like to finish first. I will add all fluids when I am ready to start this baby. Please continue to disregard the shocks as they are only place holders until the new shocks arrive!


 Sep 12, 2016 | 07:30 AM
#40
Thread Starter
|
Pro Rider
Joined: Jan 2001
Posts: 370
Likes: 0
From: TN
Thought I'd try a quick video update for this post for more of a"live footage" type feel lol, if you guys like it feel free to subscribe to me on youtube. I will still update the thread here of course.